New for the blur filters
The Depth of Field filter known from previous versions has been renamed Lens Blur.
The Iris Blur and Tilt Shift filters have been added to the blur filters , which together with the improved Field Blur form a separate blur gallery.
First of all: It is a pity that the new filters cannot be used as smart filters. Now to the functionality, which I would like to explain using a few sample images.

Field blur
This filter already existed in Photoshop CS5, but the functionality has changed a little. When it is called up, a field point is immediately set, which I can use to control the pixel value of the blur either in the slider on the right or using the circle slider. In principle, a field point has the same effect as the Gaussian blur.
It gets interesting when you set several field points, because now I can control the blurring in the image as I wish. And a group picture is a good example of this. After a user meeting, we once experienced that a few people in the group shot wanted to be blurred in order to remain unrecognized. So I simply set the field points and determine the blurring. I blur three people and set field points with a blur of 0 pixels for the others.
Field blurring is also a good way of creating different depths of blur in one shot. You can also easily delete field points using the reset button.
With all three blurring options, I can hide the circle slider and the sharpening lines using the H shortcut. Simply hold down H to do this.
You can use the M shortcut to display the blurring process as a mask. Black is sharp, white is blurred and gray is clearly the transition area.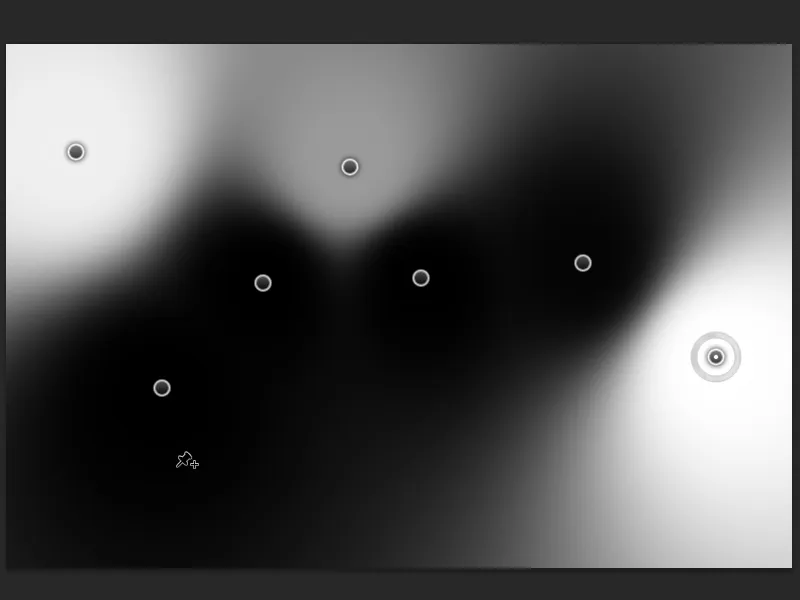
If you need the blurring gradient as a mask for later editing, you can save it as a mask in the channels. To do this, simply activate the checkbox in the menu bar. This also works for the iris blur and the tilt-shift filter.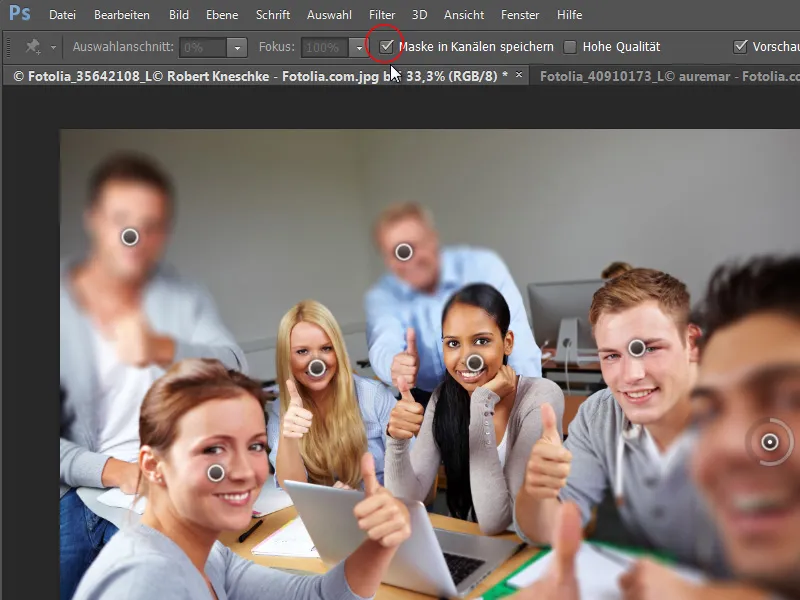
I simply activate the checkbox. And after confirming the filter, you will find the mask in the channels. Click on the channel thumbnail to select the mask content and use it as a mask for an adjustment layer, for example.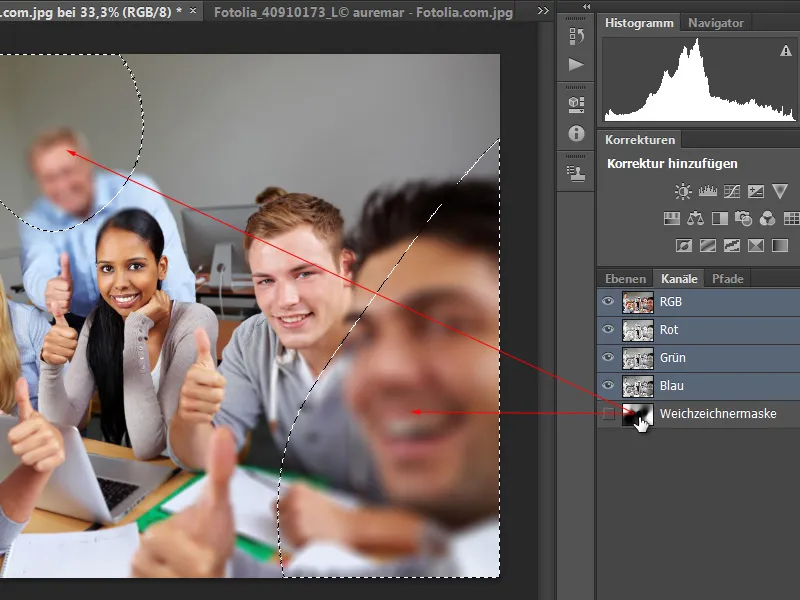
In this example, for a black and white adjustment layer.
Iris blur
The iris blur works a little differently. The sharpness field is defined via the point (presumably the "iris"). I can use the inner points to control the sharpening process (I can also control the points individually with the Alt key!) and the outer points to control the size and shape of the sharpening field or the blur mask. The intensity of the blurring can be adjusted using the circle slider and the slider on the right.
Using the monkey picture as an example, I set the focus points exactly at the monkeys and now have a nicely controlled focus in my subject with a depth of field gradient away from the monkeys. The focus in the menu bar determines how much the blur should extend into the iris. 100 percent means that the inside remains sharp. The lower the focus value, the more it is blurred in the iris area.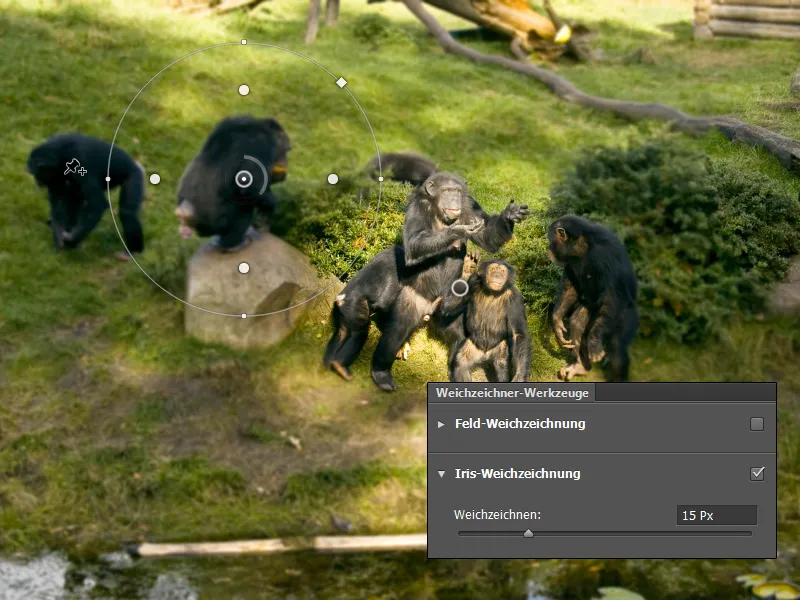
Tilt shift
The tilt-shift effect is a popular effect that had to be created in a more complicated way until Photoshop CS5. The tilt-shift effect is striking:
- Miniature look - the impression of a model landscape in photographs taken from a bird's eye view
- softened depth of field towards the edges
- Slight increase in saturation and brightness
I can now create this miniature look with the tilt-shift filter. To do this, I rotate my sharpening strips a little and align them with the course of my hay wagon. The blur is approx. 15 pixels with a symmetrical distortion of the blur area of approx. 40 %. The result is a simple miniature effect.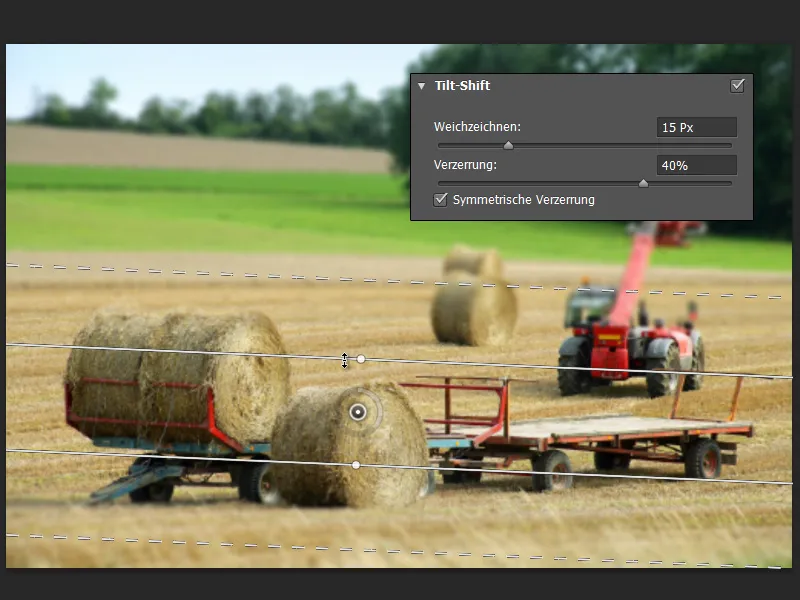
Bokeh blur effects
You can add bokeh blur effects to the field, iris and tilt shift blur effects.
In photographs, you often see blurred shapes in the background, which can give a picture a pleasant charm. Bokeh comes from the Japanese and, according to Wikipedia's definition, is "a term used in photography to denote the subjective, aesthetic quality of out-of-focus areas in a photographic image projected by a lens. It is not about the strength of the blur, but about how the blurred areas look."
I'll take my tilt-shift image as an example.
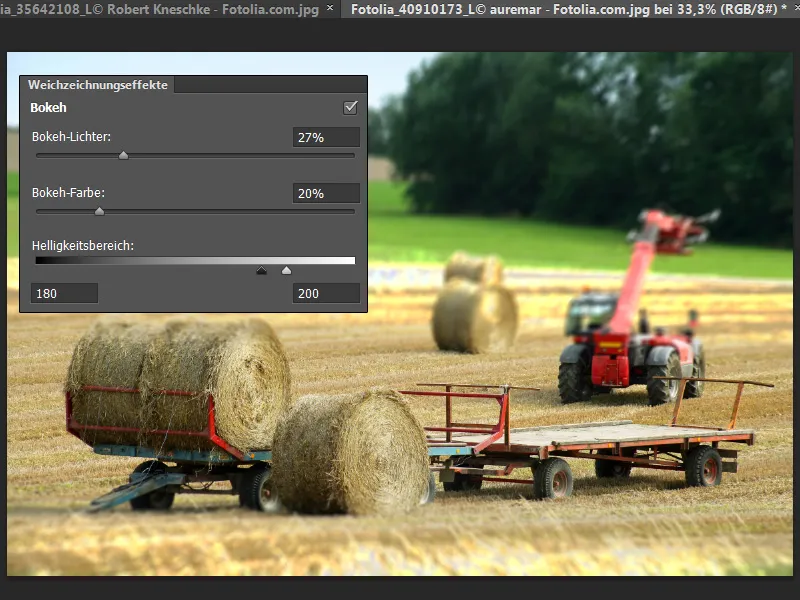
- Bokeh highlights: 27 % - this setting determines the strength of the highlights.
- Bokeh color: 20 % - this ensures blending with the surrounding colors of the blurred areas.
- Brightness range: 180/200 - limits the bokeh effects in the image.
As the sky is a bit "too much" here, I limit the brightness range accordingly and adjust the color and light according to the values specified above. With these settings I have nice bokeh effects, especially in the cornfield at the front and at the rear edge.