Creating 3D graphics requires more than just modeling objects. A crucial step in the 3D painting process is understanding and arranging UV maps. In this tutorial, you will learn what UVs are, what they are used for, and how to effectively arrange them in a flat layout to achieve optimal painting results.
Key Takeaways
- UVs are 2D representations of 3D objects.
- Effective UV arrangement prevents texture overlapping.
- The right use of UV maps is crucial for surface design quality.
Step-by-Step Guide
1. Introduction to BodyPaint
For starters, you need a 3D model that we will use in this tutorial. I recommend a simple cylinder that you can later customize to your needs. You can adjust the cylinder's height to about 100 cm and maybe experiment with the four segments to optimize your model.
2. Open UV Edit
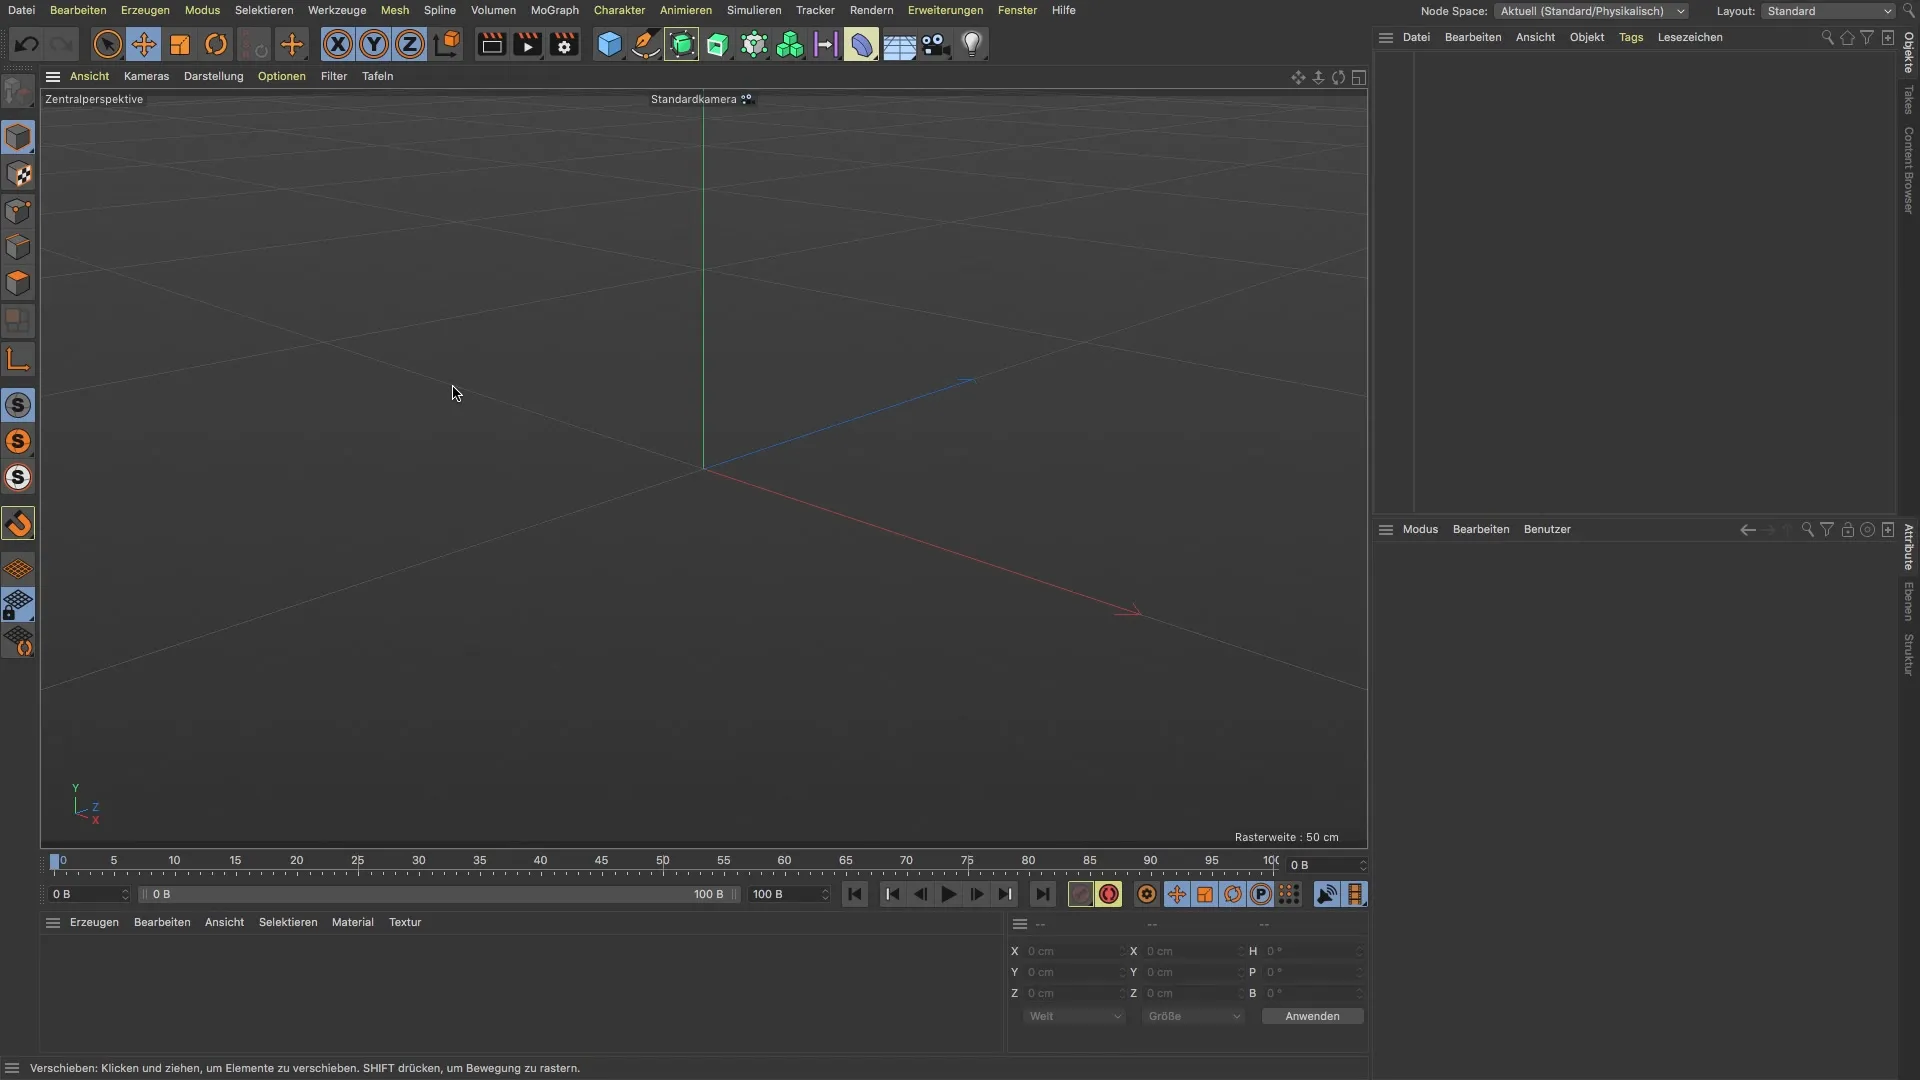
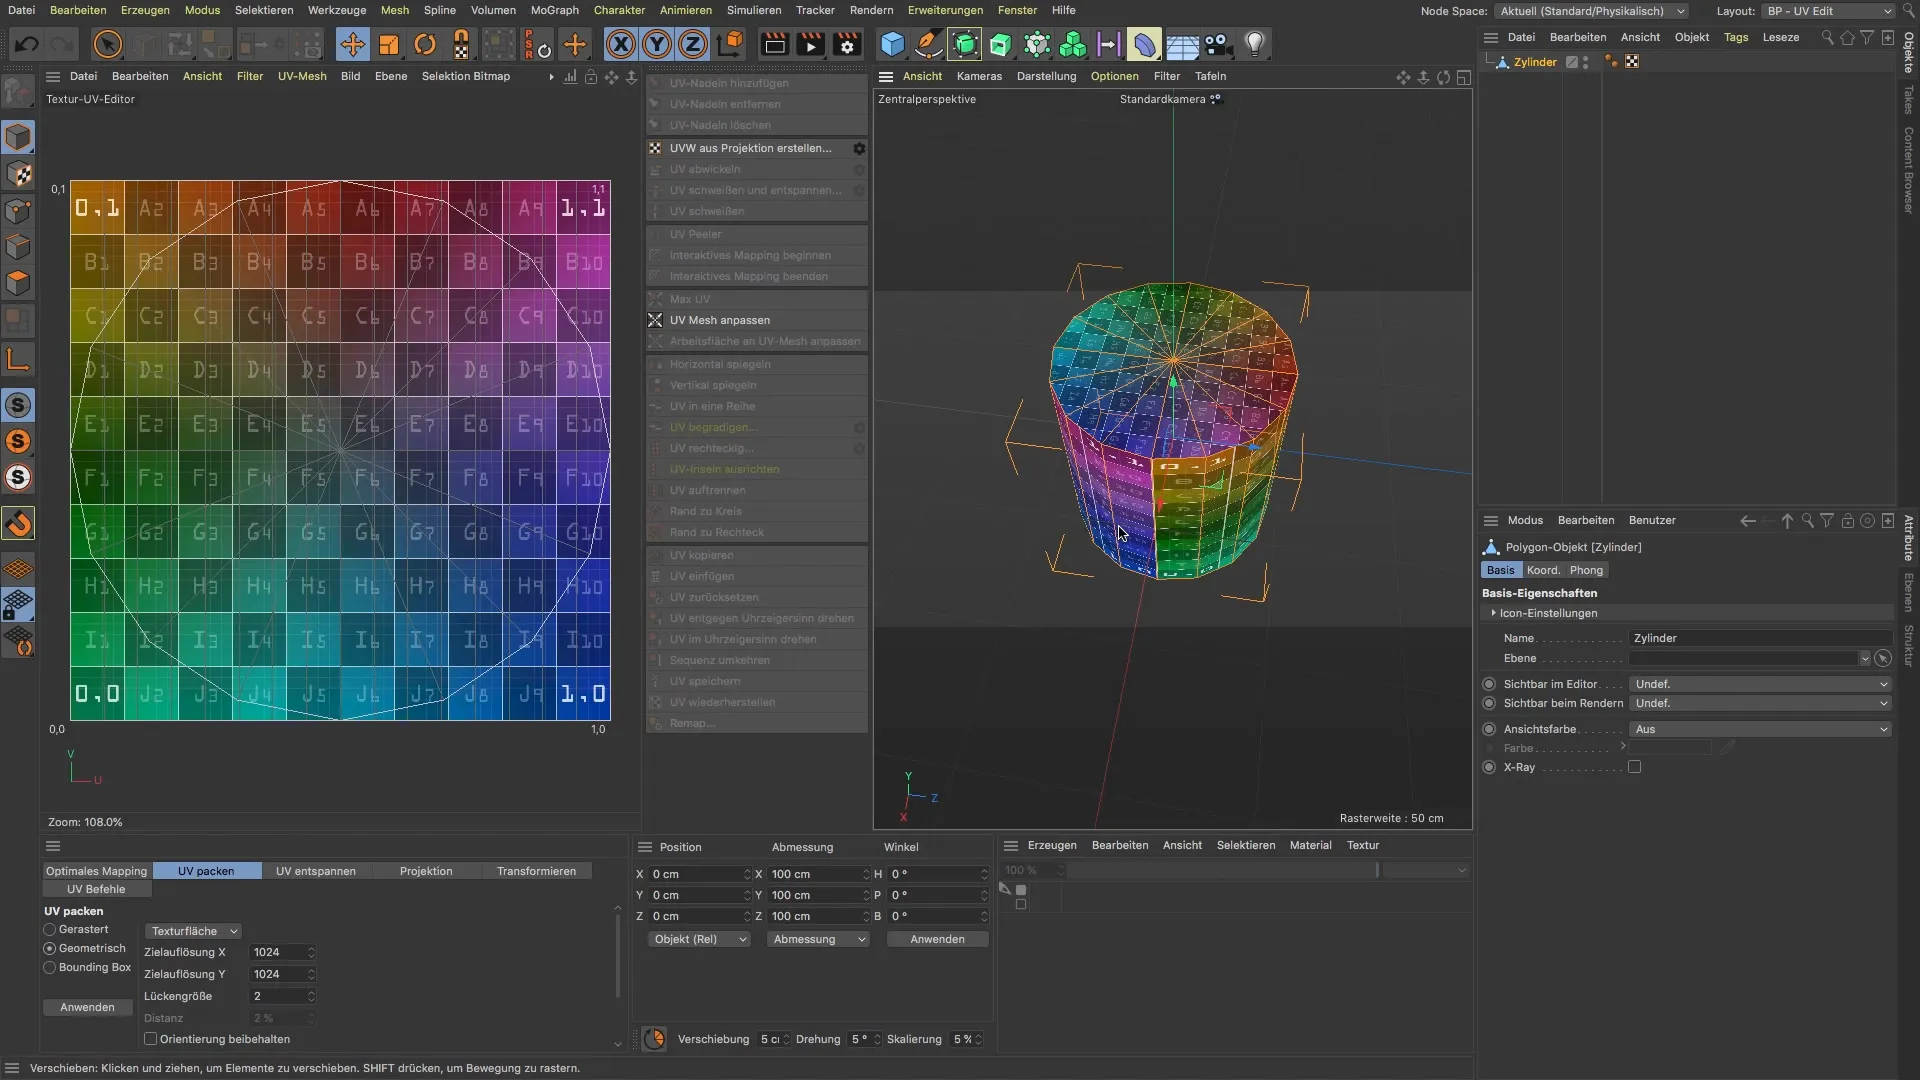
After creating your cylinder, it's advisable to switch to the UV editor. This specific part of Cinema 4D offers its own layout to help you better manage your model's UV coordinates. In the menu, you'll find the "Bodypaint UV Edit" section that you can select.
3. Identifying the UV Issue
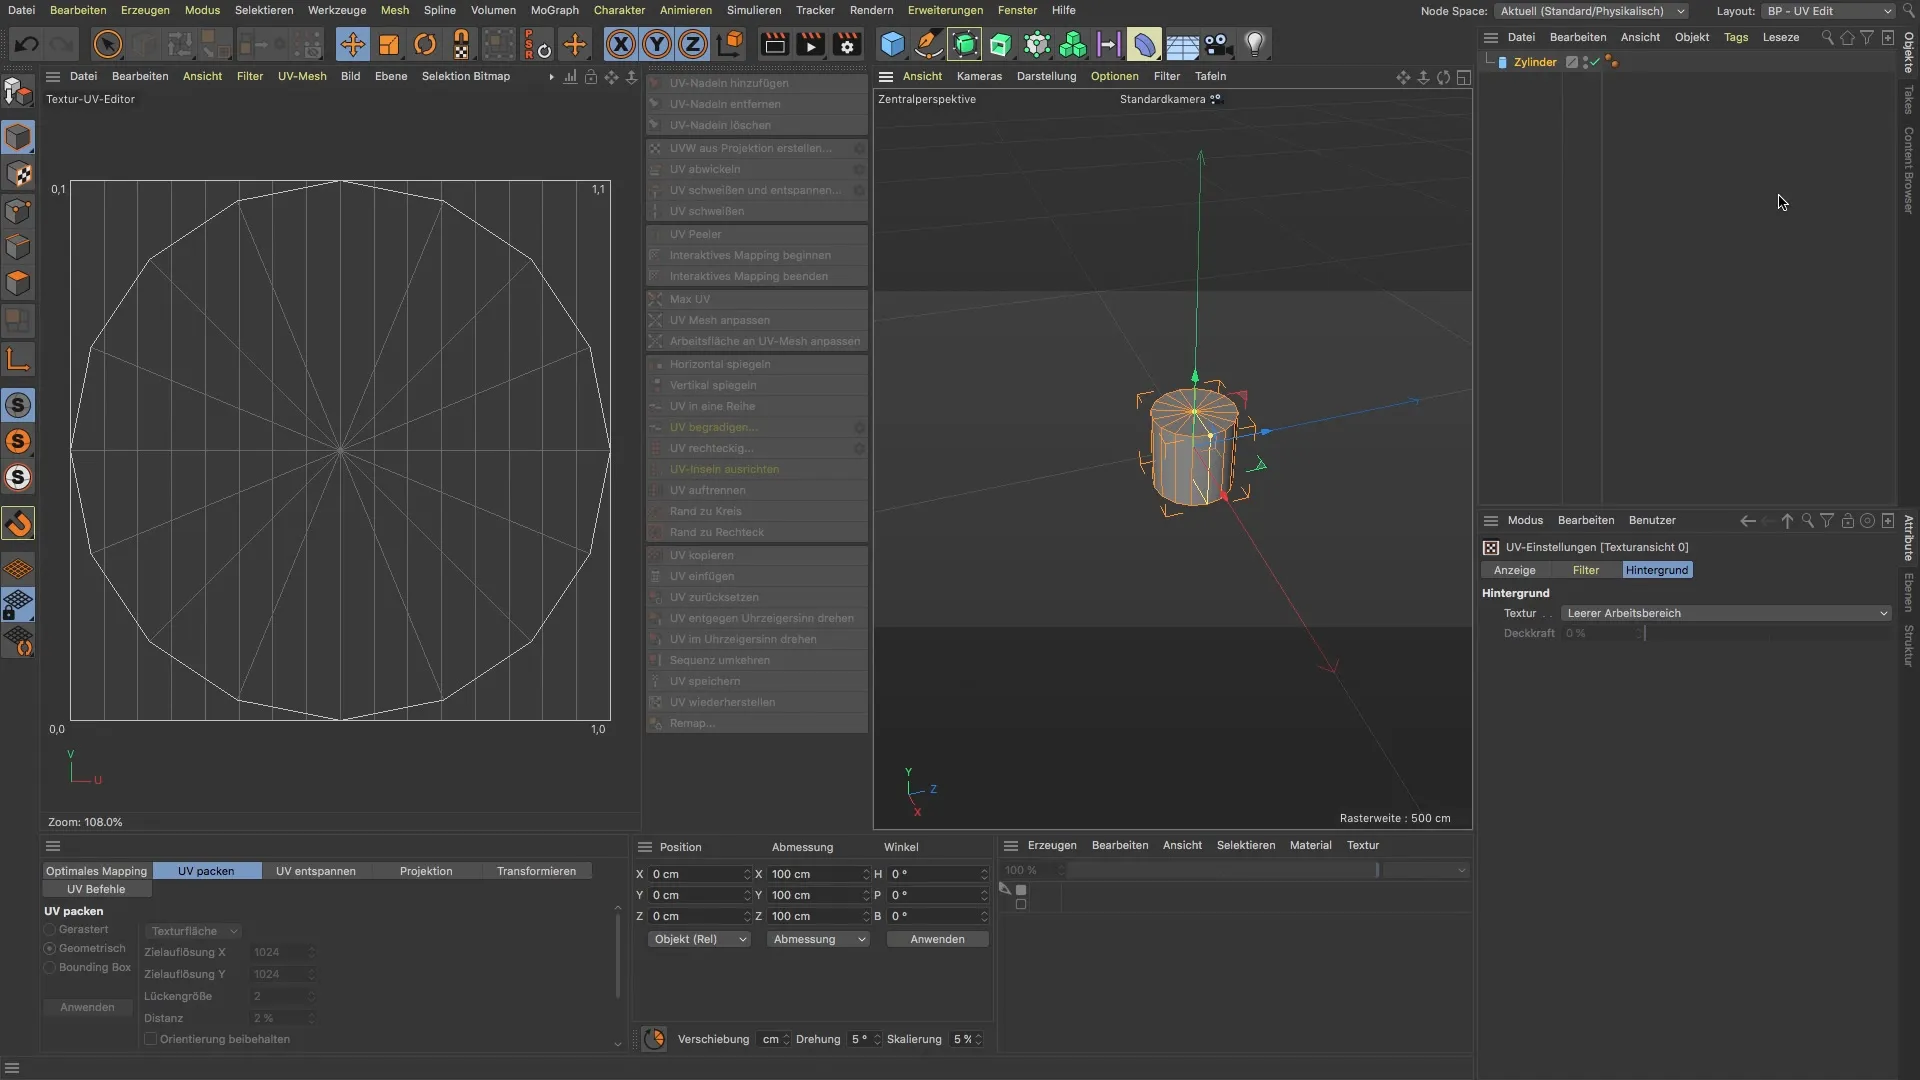
Once you're in UV Edit, you will likely notice that the UV coordinates of your model, the UVs, are overlapping. This is the most common issue faced by 3D designers. The UVs represent the model's surface in a flat 2D form, and overlapping UVs can result in textures not being applied correctly.
4. Introducing the UV Map
To better understand the situation, go to Textures and select the "UV Map" option. This will show you the current flat arrangement of the UVs and illustrate how they are distributed on your cylinder. It's crucial to recognize that the arrangement is not optimal for painting due to parts of the UV map overlapping.
5. Convert the Cylinder
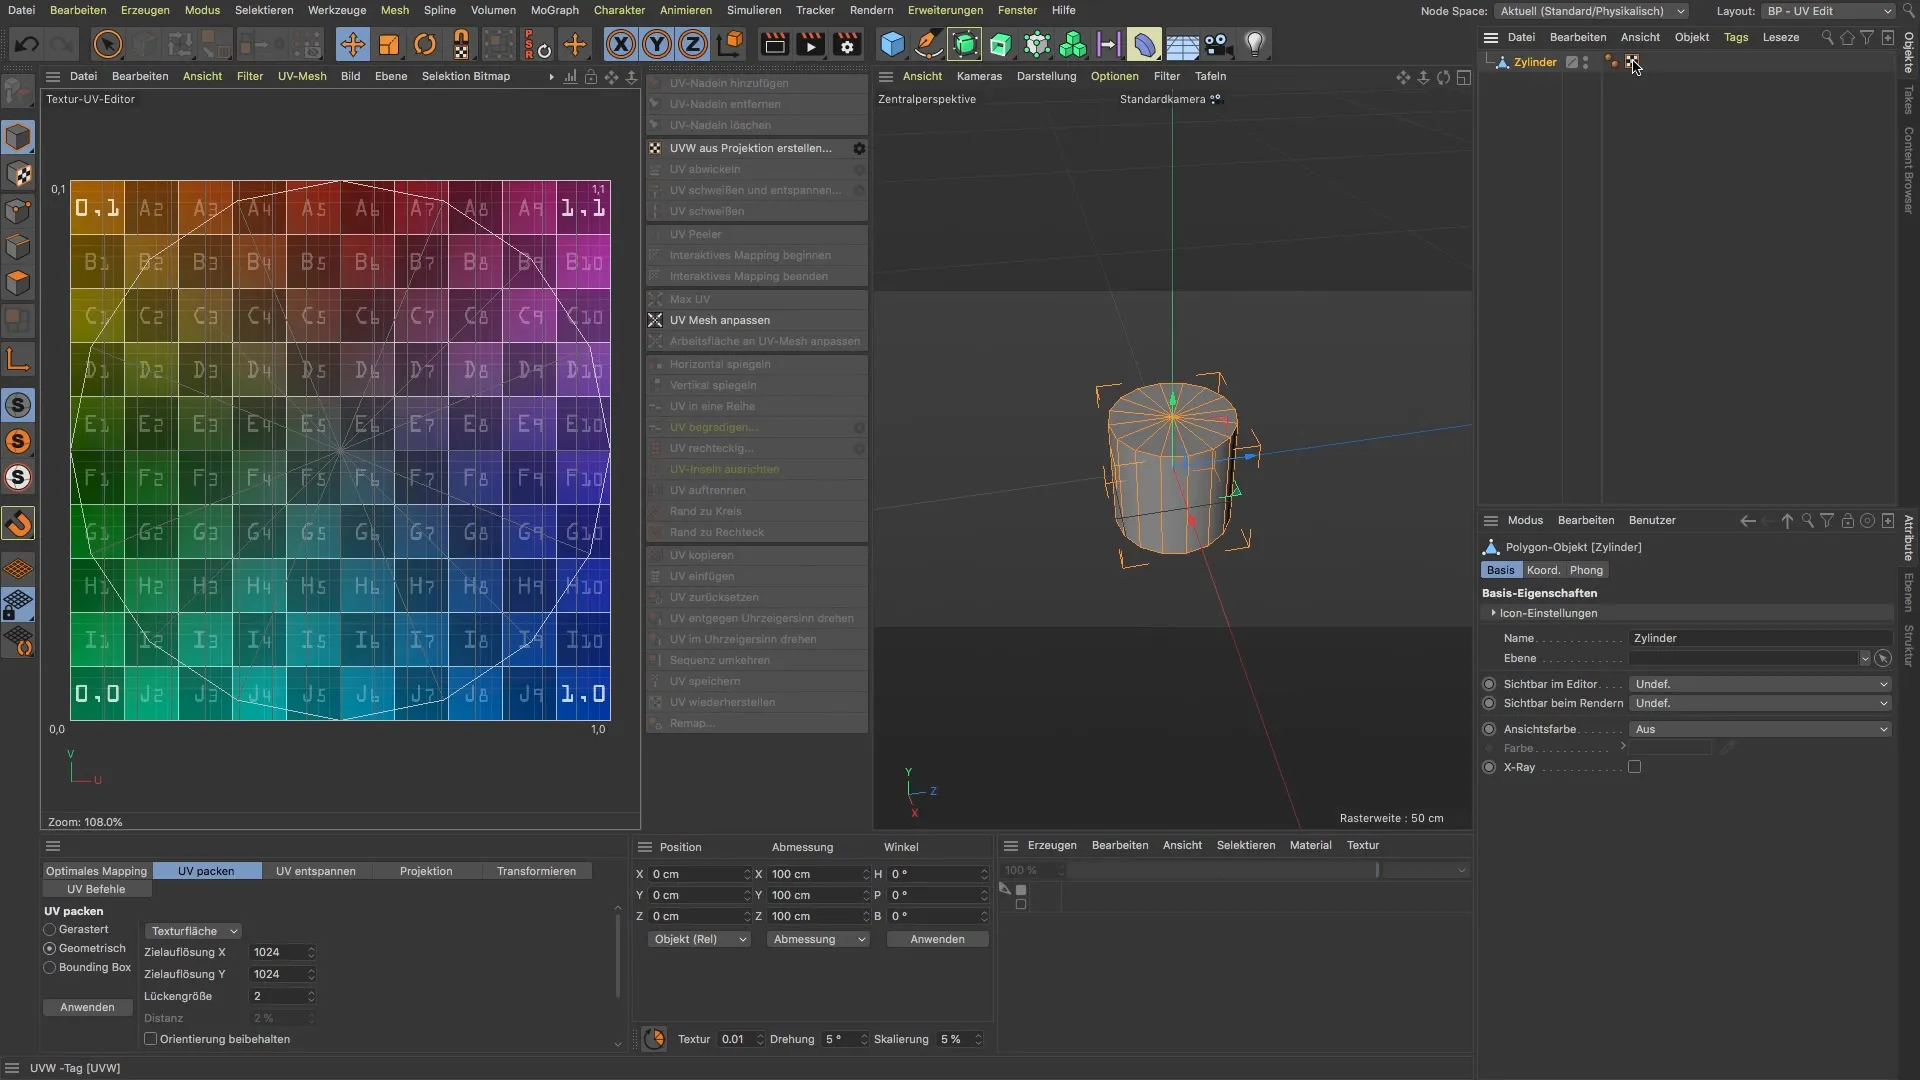
To adjust the UV map, you need to convert the cylinder to the UV tag. This action ensures that Cinema 4D understands how to handle the UV coordinates on the 3D model. Be prepared that this step may take a while, but it is essential for further editing.
6. Assess the UV Distribution
Once the conversion is complete, you will have a new view of your UV map. The UVs are now evenly distributed around the object, significantly facilitating painting. This distribution is crucial to avoid overlaps and ensure textures are correctly applied in desired areas.
7. Avoiding Texture Overlaps
It's important to ensure that all parts of the cylinder—especially the tube—are properly arranged. You want the UVs to lie parallel to each other and not overlap to achieve the best results. Once this is done, you are ready to start painting.
8. Summary of Steps
You now have a basic understanding of UV maps and how to effectively manage them in Cinema 4D. You have learned to identify the issue of overlapping UVs and implement solutions to achieve optimal painting results.
Summary
In this tutorial, you have learned the basics of UVs and their importance in 3D graphics. You now know how to properly prepare and configure your cylinder models to avoid texture overlaps and achieve high-quality surface design.
Frequently Asked Questions
What role do UVs play in 3D graphics?UVs are crucial for correctly applying textures to 3D objects.
How do I prevent overlaps in my UV map?Ensure that the UVs are arranged parallelly and do not overlap in any areas.
Can UVs be used for complex models like figures?Yes, UVs are important for all types of 3D models to apply textures correctly.
Are UV maps similar in other software programs?The concepts are similar, although the implementation may vary.
How long does it take to create an effective UV map?The time varies depending on the model's complexity and your experience.
