The Tilt-Shift effect is a creative technique that makes photos look like miniature landscapes. With Photoshop, you can easily achieve this look by using targeted blurring and contrast. In this tutorial, I'll show you step by step how to apply the Tilt-Shift effect to your photos - perfect for cityscapes, landscapes, or creative experiments. Let's get started and transform your images into fascinating miniature worlds!
Step 1:
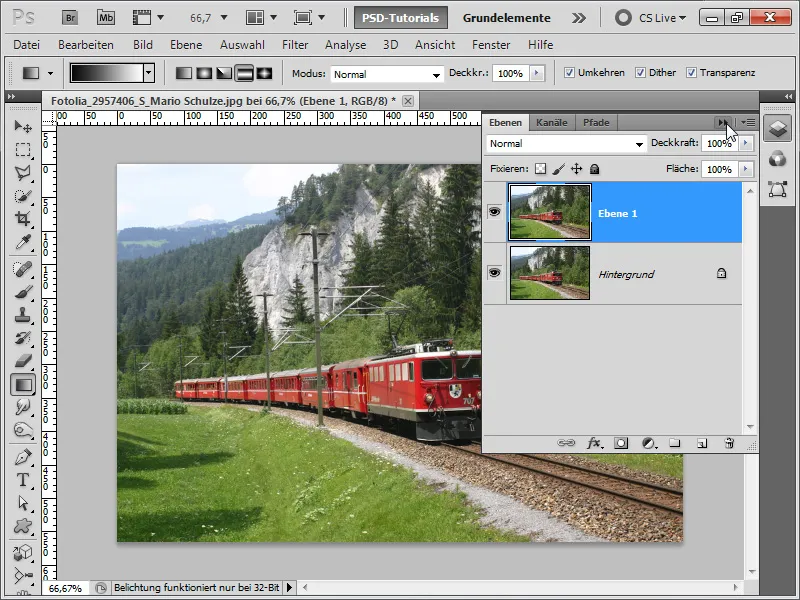
First, I open a photo of my choice, with the best results being achieved with photos taken from a slightly above angle. Now, I duplicate my layer in the Layers panel using Ctrl+J.
Step 2:
Next, I go to the Filter menu and click on Blur gallery.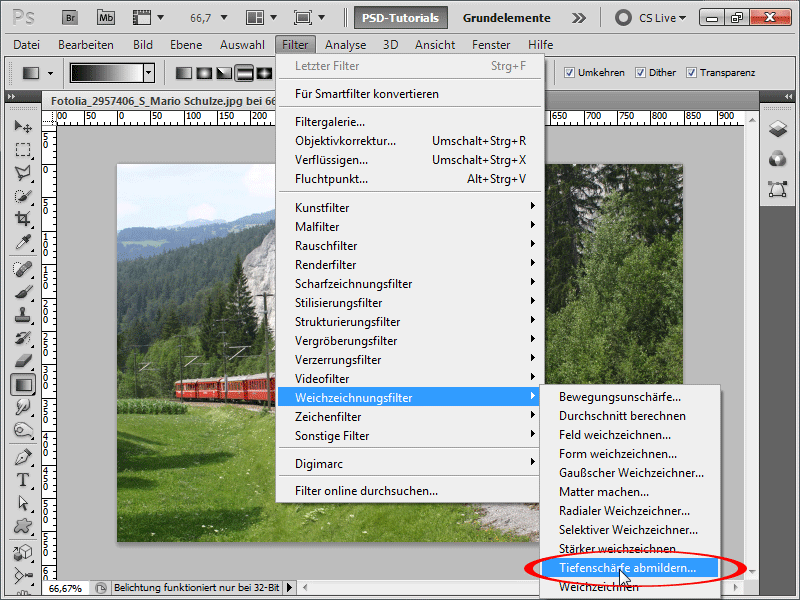
Step 3:
I leave the default options as they are because I already like the result of the depth of field blur.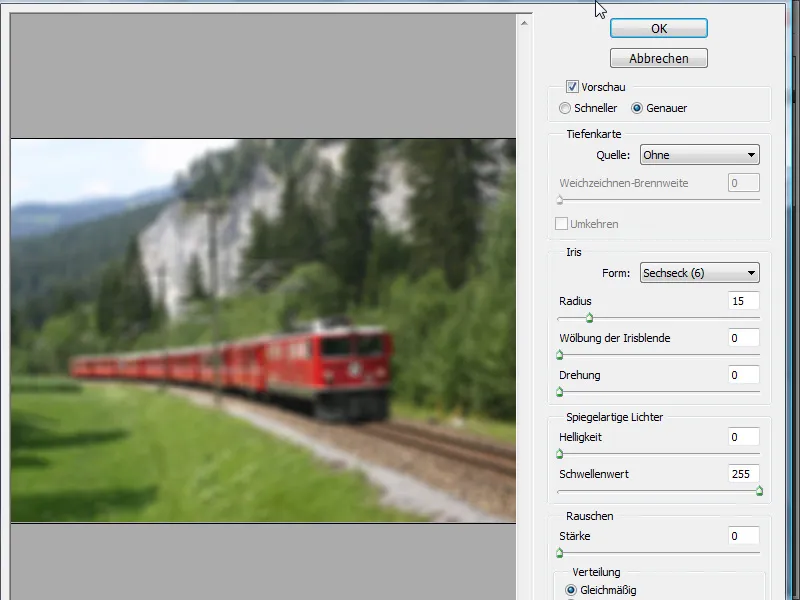
Step 4:
Now, I add a layer mask, grab the Gradient tool, and add a reflective gradient.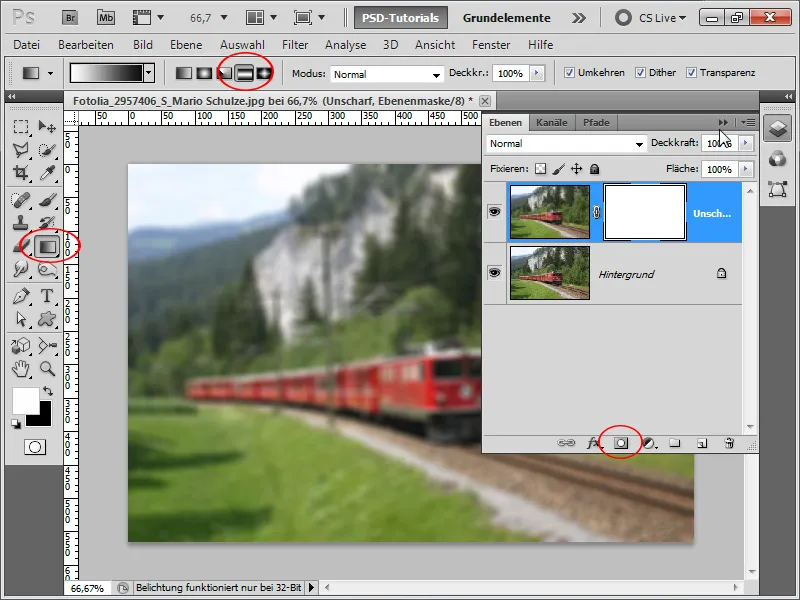
Step 5:
Now, the track is sharp, but the rest is blurry. It already starts to feel like a model train landscape.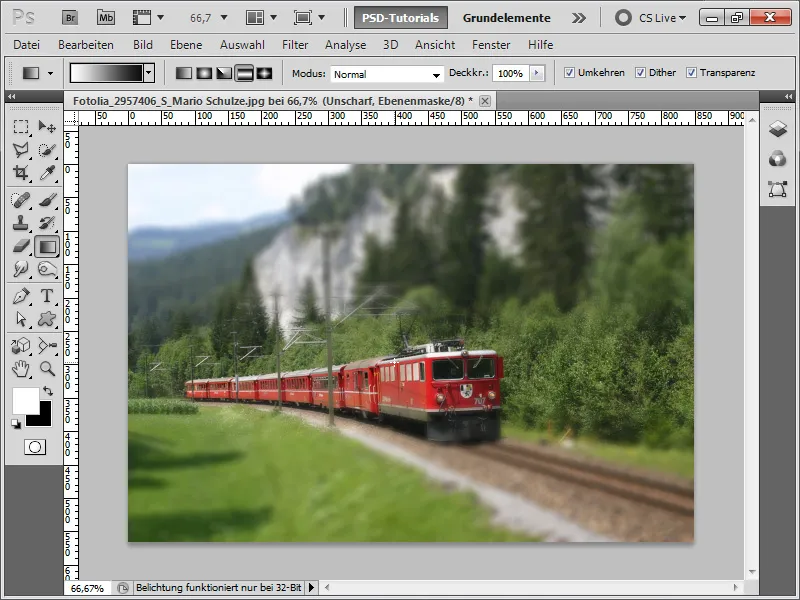
Step 6:
Since the colors are a bit flat, I increase the saturation using a Hue/Saturation adjustment layer. I can also use another adjustment layer Brightness/Contrast to enhance the contrast and further improve the image.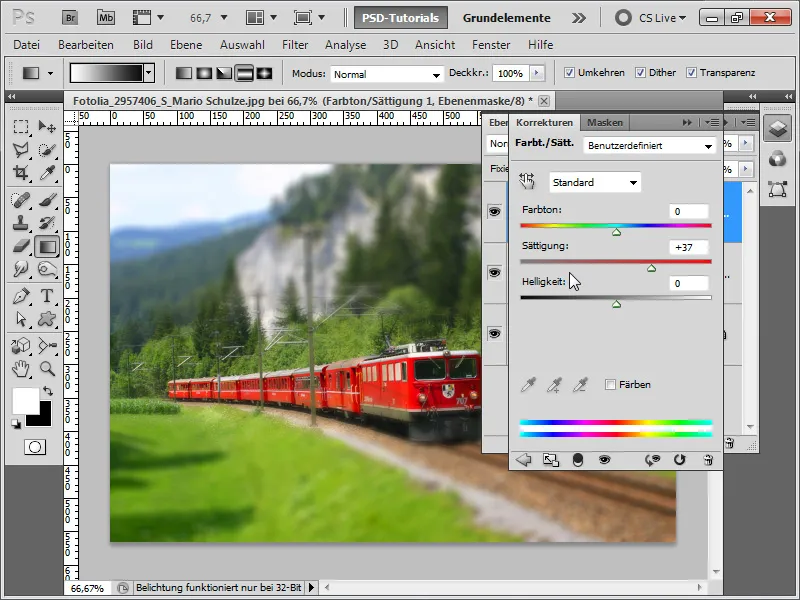
Step 7:
To further enhance the effect, I duplicate my background layer again with Ctrl+J and apply the Unsharp Mask filter (Menu>Filter>Sharpening filter) on it.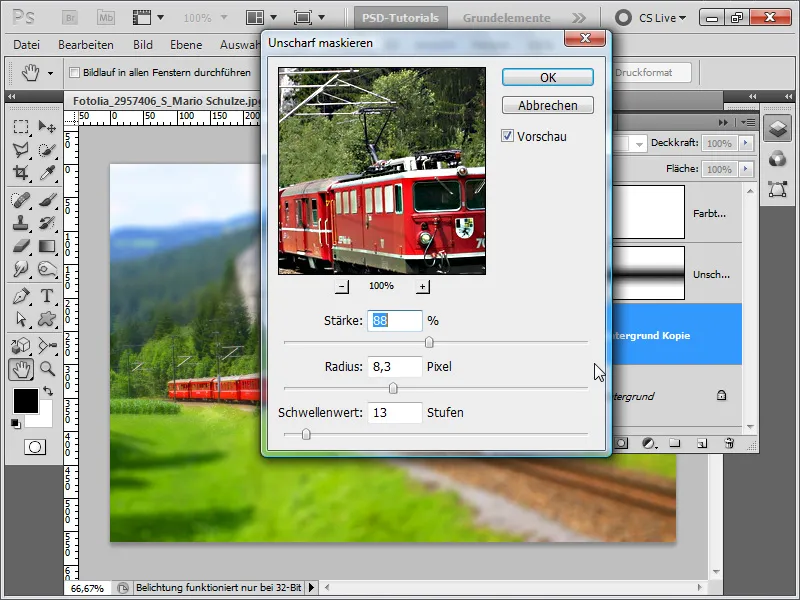
Step 8:
And this is how the final image looks like now: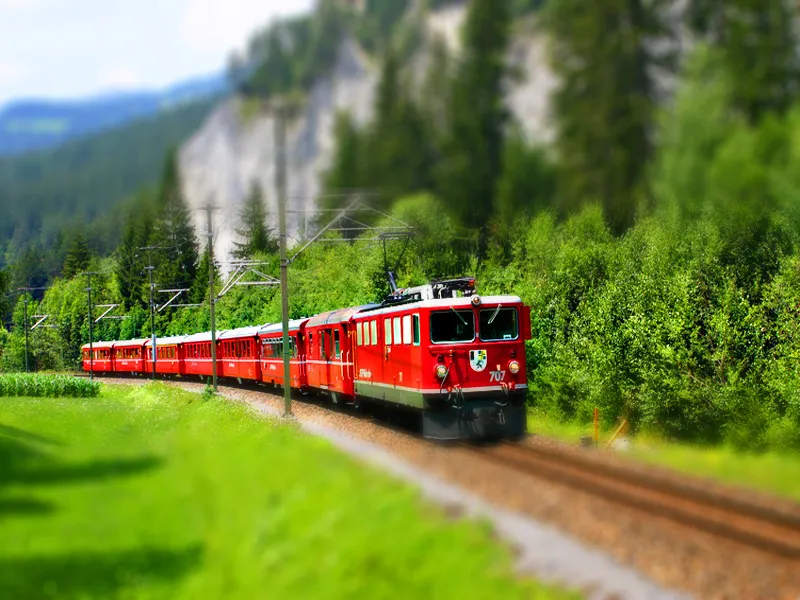
Step 9:
The effect looks best when people are photographed from a bird's eye view: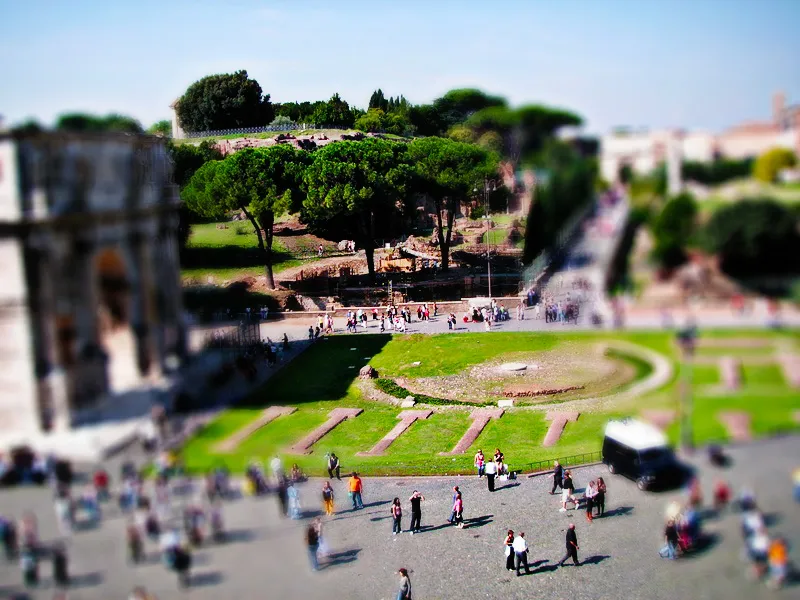
Step 10:
Since the effect is always structured the same way, I'll just create an action for a different image. First, I open the image and then record the action named "Tilt-Shift Effect."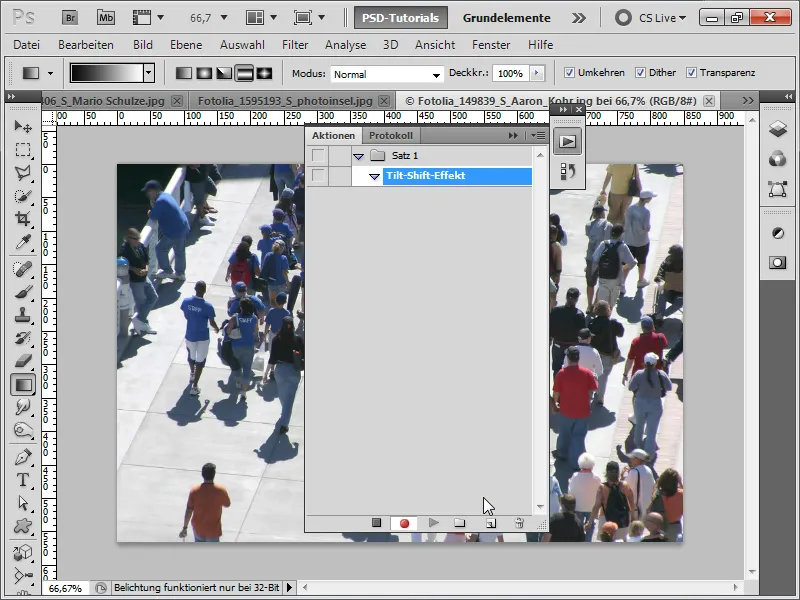
Step 11:
After completing all the steps, I can stop the action recording.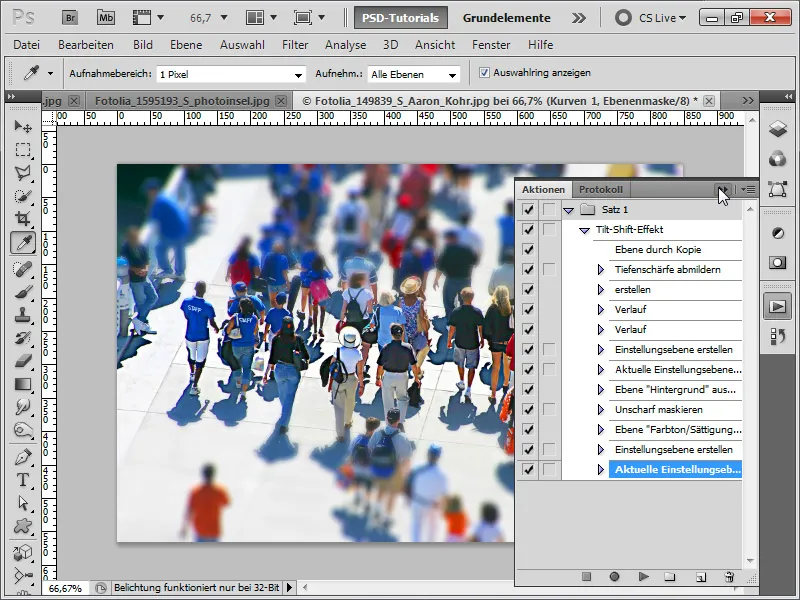
Step 12:
The final image will look like this: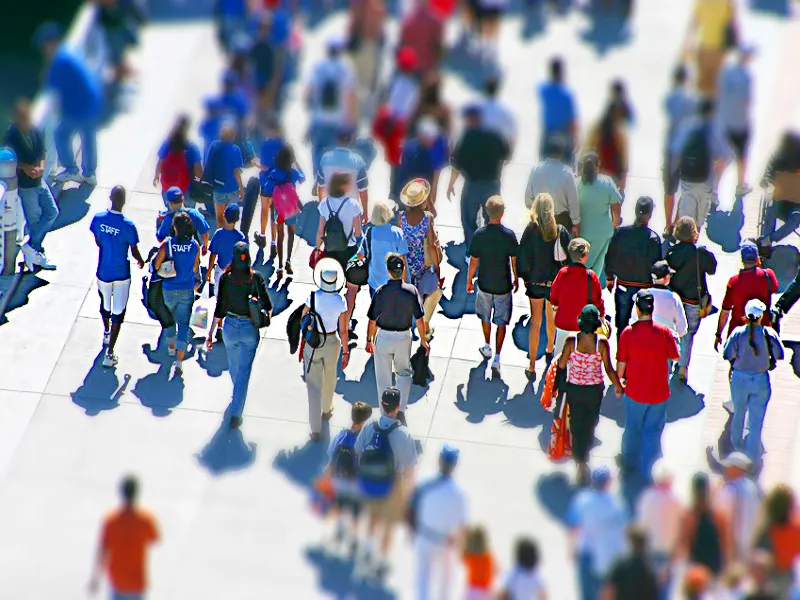
Step 13:
Now, I load the new image and click on the Play button in the Actions panel.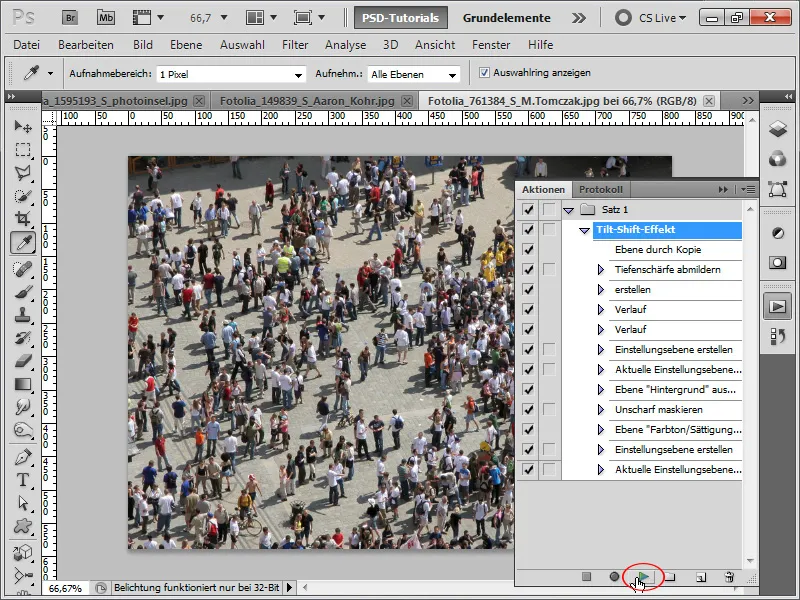
Step 14:
And this is how the image looks after playing my action: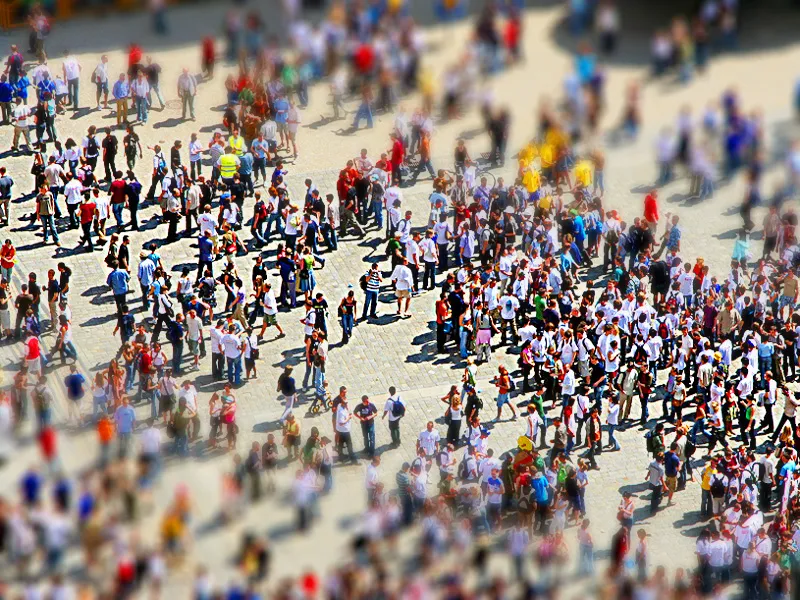
Step 15:
Because I really like my action, I'll go ahead and apply it to this image as well: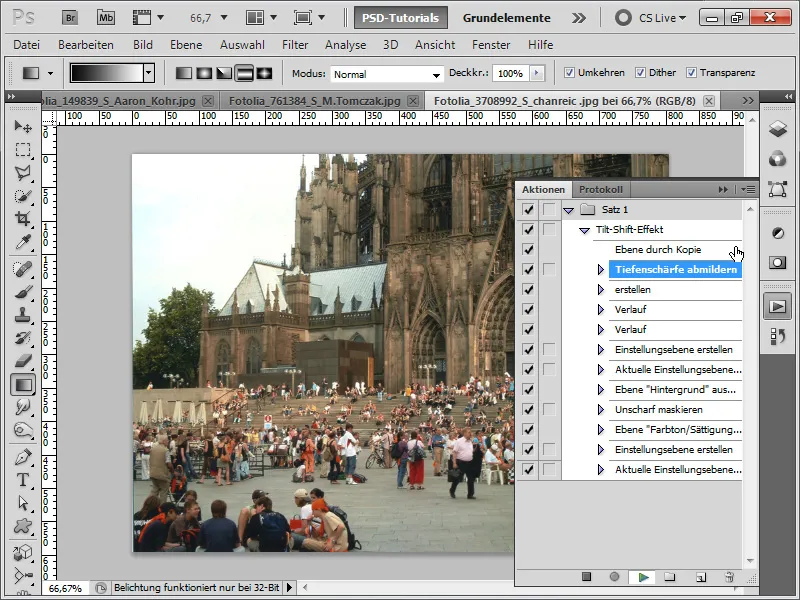
Step 16:
The result looks like this (fortunately, I can edit the gradient in my layer mask at any time).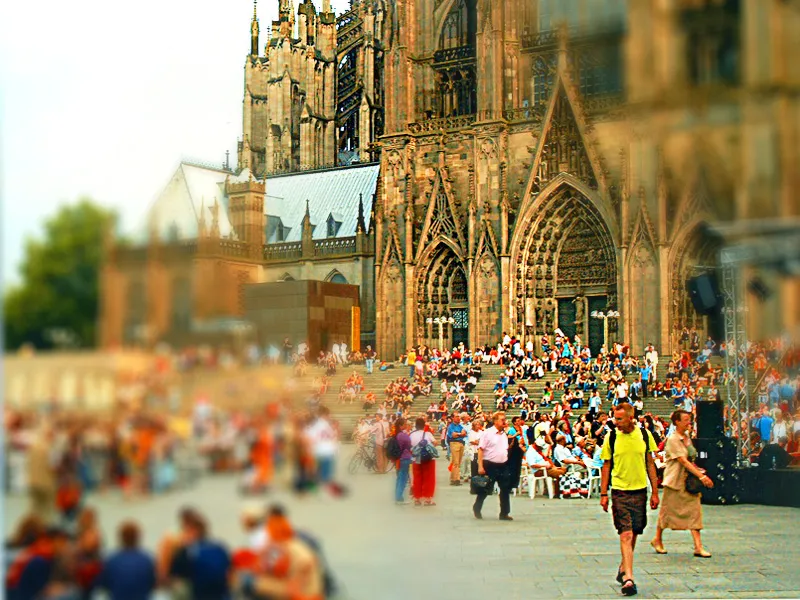
Step 17:
Or I could try recording a highway scene and now play the action.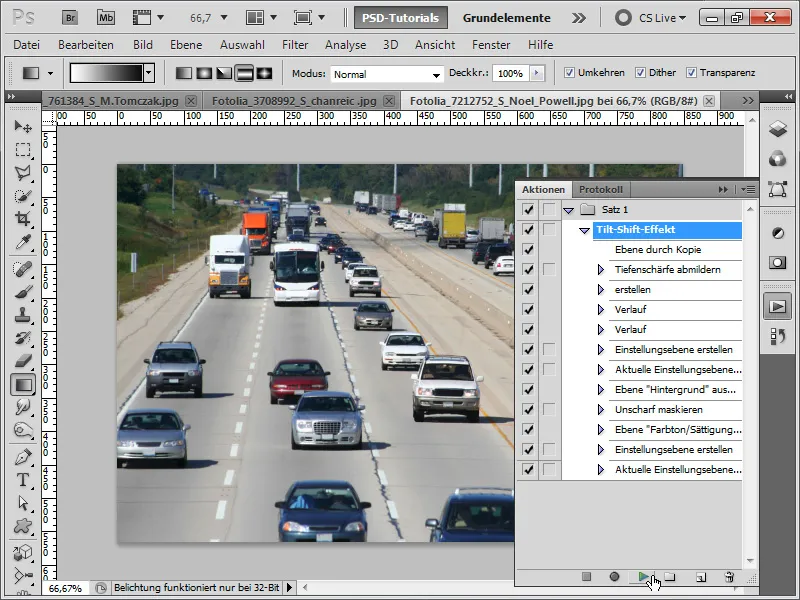
Step 18:
The result looks like this: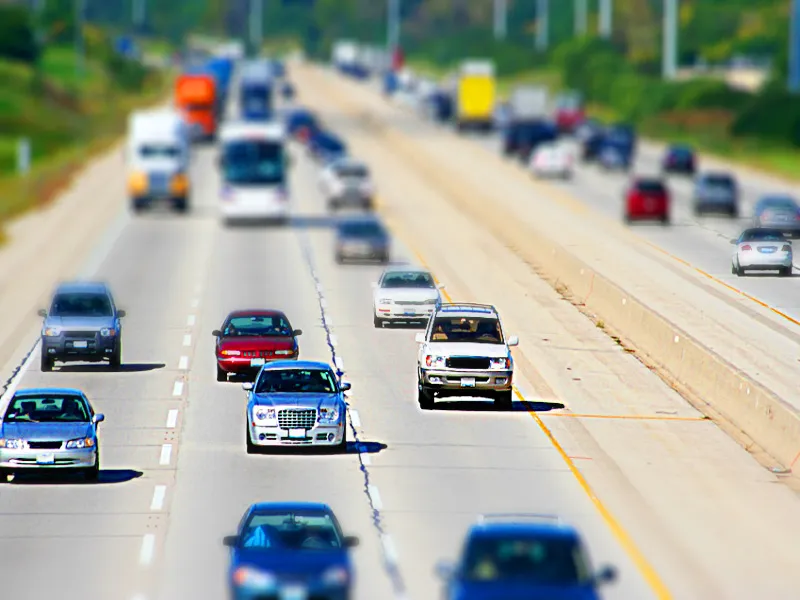
Step 19:
Or I take a recording of a tractor and now play the action.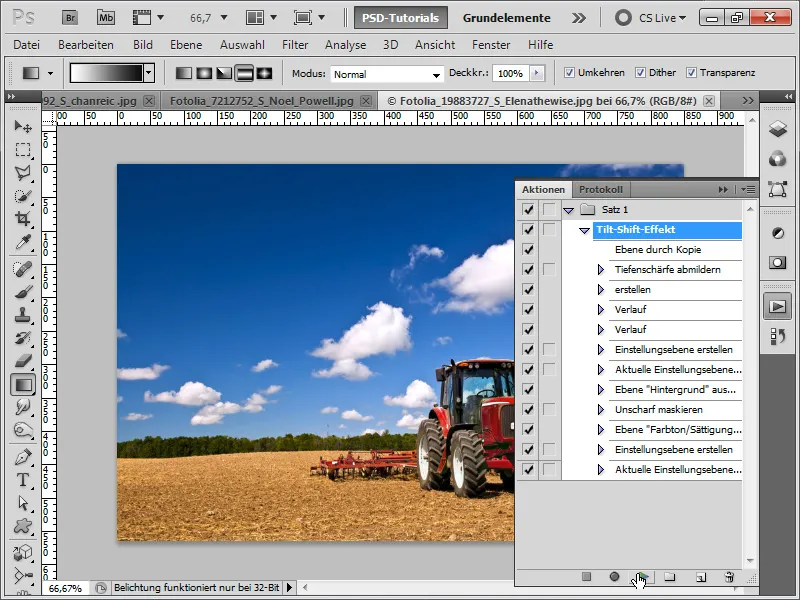
Step 20:
The effect then looks like this:
Step 21:
But as already mentioned, the effect works best with images taken from an aerial perspective.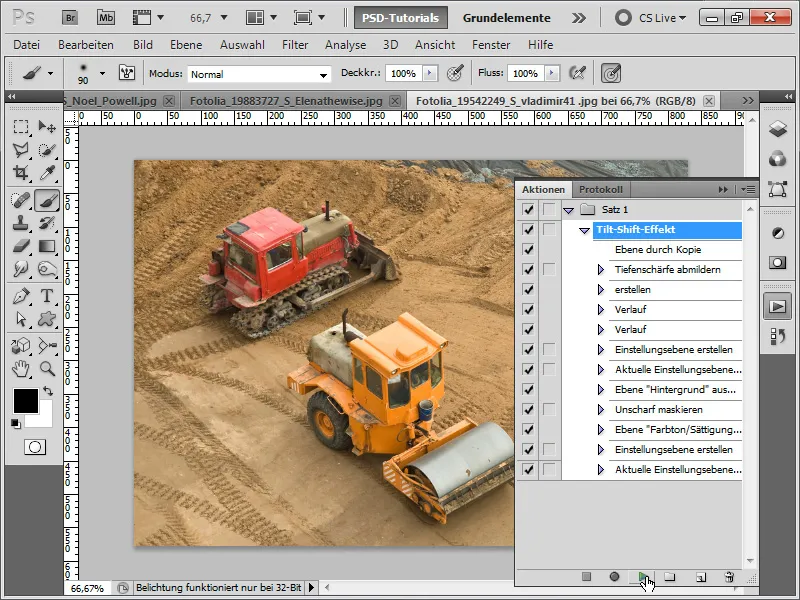
Step 22:
The result then looks much better:
Step 23:
For this image, I also execute the action, but then optimize it afterwards.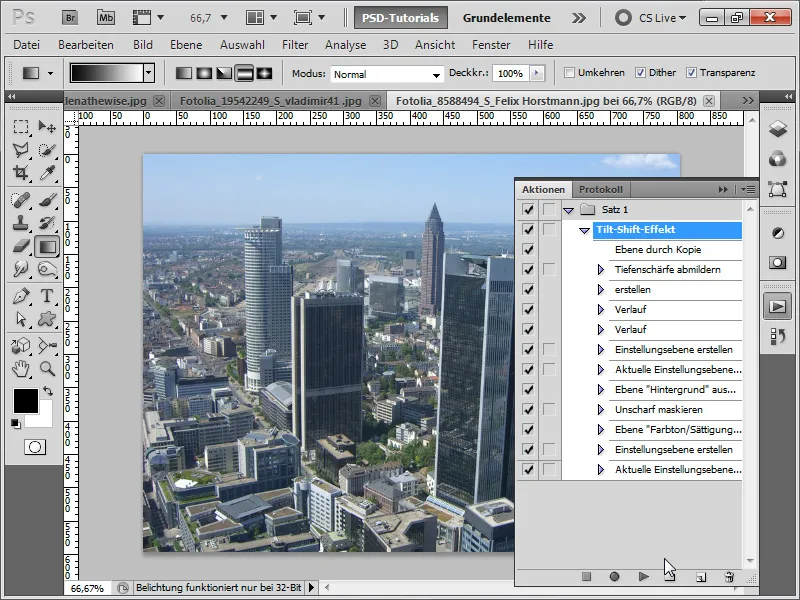
Step 24:
After playing my action, the result looks like this. As you can see, the skyscrapers are not optimally displayed.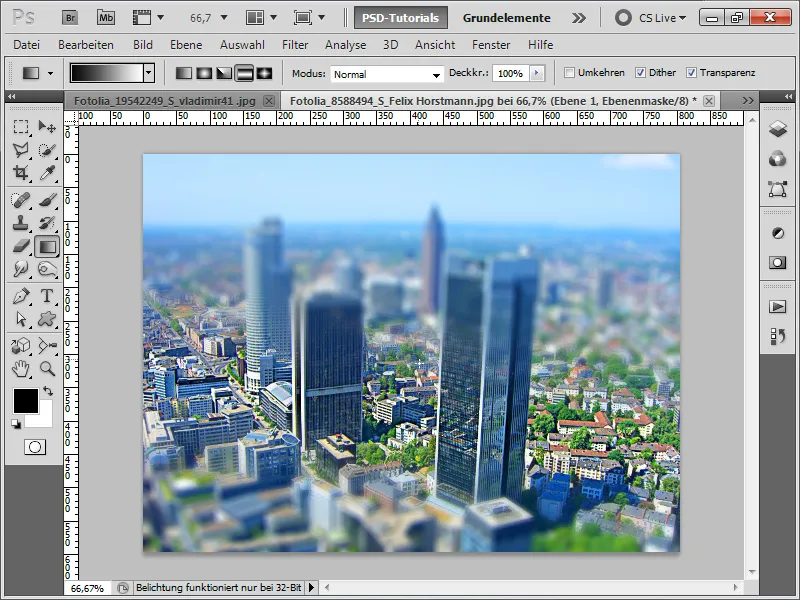
Step 25:
If I now use a soft brush in my layer mask to exclude the skyscrapers from the blur, the result looks even better: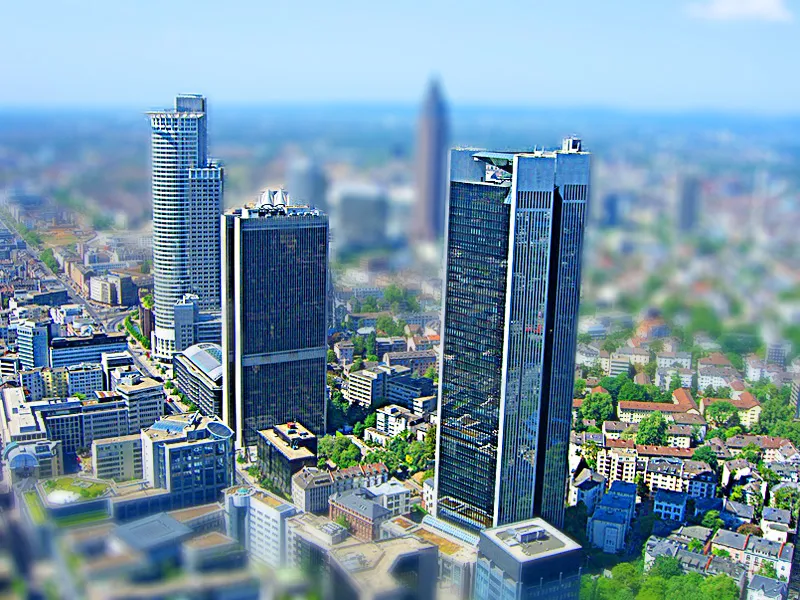
I have attached the Tilt-Shift action as a working file.


