In this quick tip, I would like to show you something that can be a great help while working - especially when it comes to adjusting certain things to other things, e.g. the positioning or size of the typo, or color correction, you can use this function very well.
This function is the snapshot function in After Effects.
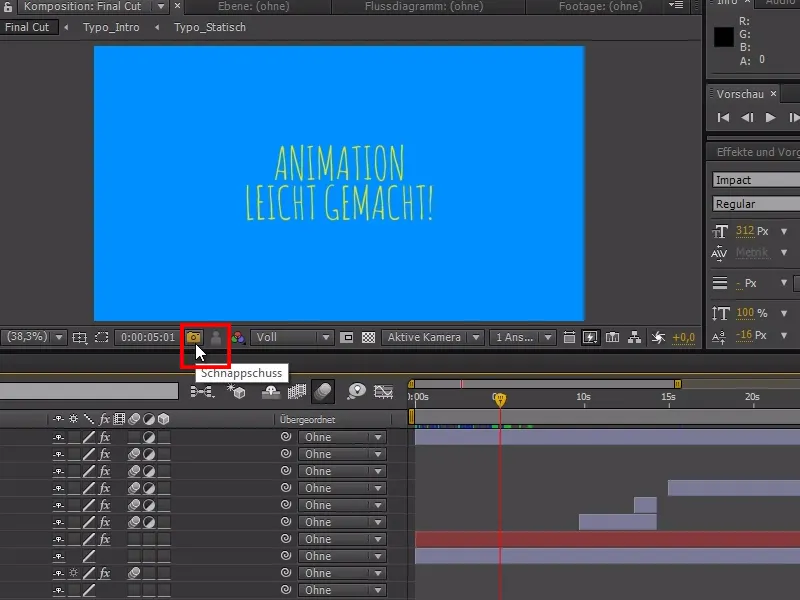
Some of you may already be familiar with it: you can take a snapshot with the camera symbol - you can even hear a sound.
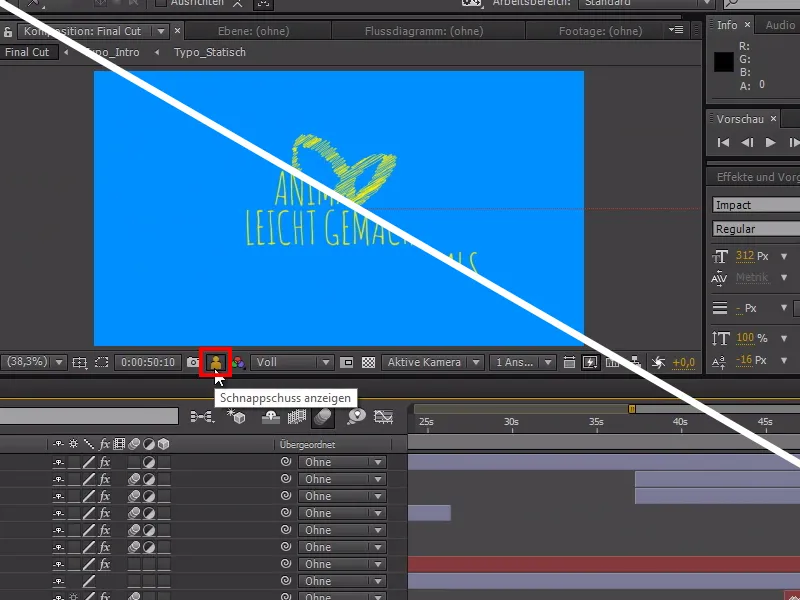
However, this snapshot is not saved anywhere on the PC. The snapshot is located in After Effects and can be viewed with the icon next to it until a new snapshot has been taken.
If we now move the Tim cursor to another part of the project, we can use the snapshot display icon to view the snapshot we took earlier.
I therefore have a snapshot space free that I can always access.
However, the photo taken is deleted when the camera icon is pressed again.

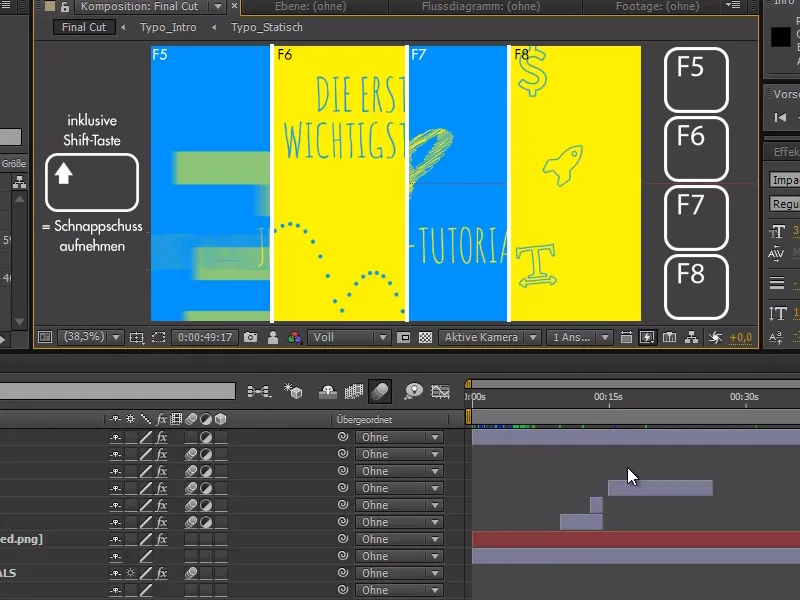
However, it is possible to take up to 4 snapshots in After Effects! All we need is the Shift key and the function keys 5, 6, 7 and 8.
We can take a snapshot by holding down the Shift key and F5 and, when we release the Shift key, view it again with F5. The same works with the other three function keys F6, F7 and F8.
And the best thing about it is the fact that each function key represents a snapshot place - we can take up to four photos and call them up with the respective function key.
With these tips, you can now make good use of the snapshot function in After Effects to compare texts in terms of layout and typography or to better adjust images in terms of color. The option of having four snapshot slots available with the function keys is a great function that is not mentioned here in the user interface.
With this in mind, I hope that this quick tip has helped you.


