You are currently working on an exciting project in After Effects or Premiere Pro and want to process your work efficiently? In this guide, I will show you how you can transfer your projects to the queue using Adobe Media Encoder. You will learn how to use the queue to optimize your rendering processes and handle multiple projects simultaneously. Let's get started without further ado!
Key Insights
- Adobe Media Encoder allows you to transfer projects from After Effects and Premiere Pro to a queue.
- You can close the programs while rendering without experiencing delays.
- The order of projects in the queue can be flexibly adjusted.
- The output settings of projects are changeable and easily accessible.
Step-by-Step Guide
To transfer your project effectively to the queue, follow these steps:
Step 1: Open Adobe Media Encoder
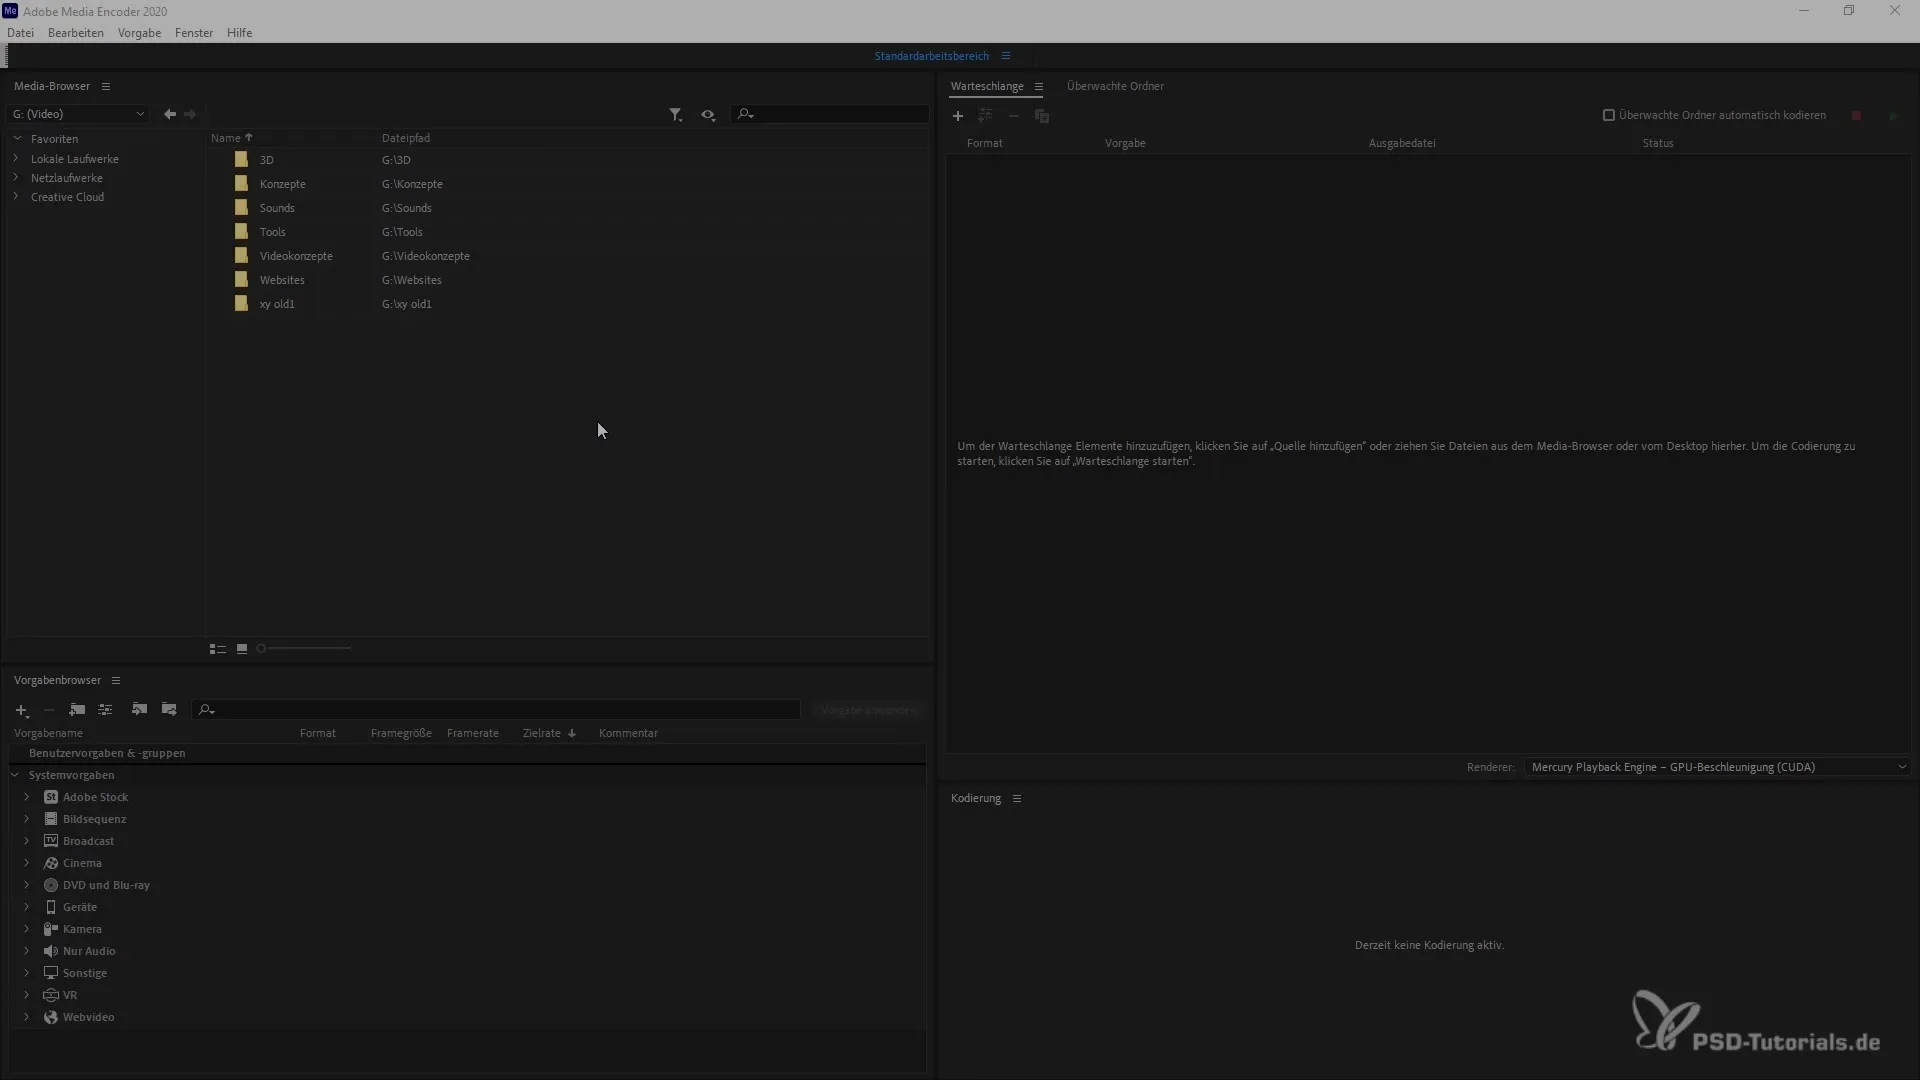
First, make sure Adobe Media Encoder is open. Start the program to use the queue.

Step 2: Transfer Project from After Effects to Queue
If you want to render your project from After Effects, first select the desired project. To transfer it to the queue, click on the "Queue" button. The project will then be transferred directly to the Adobe Media Encoder queue.
Step 3: Transfer Project from Premiere Pro to Queue
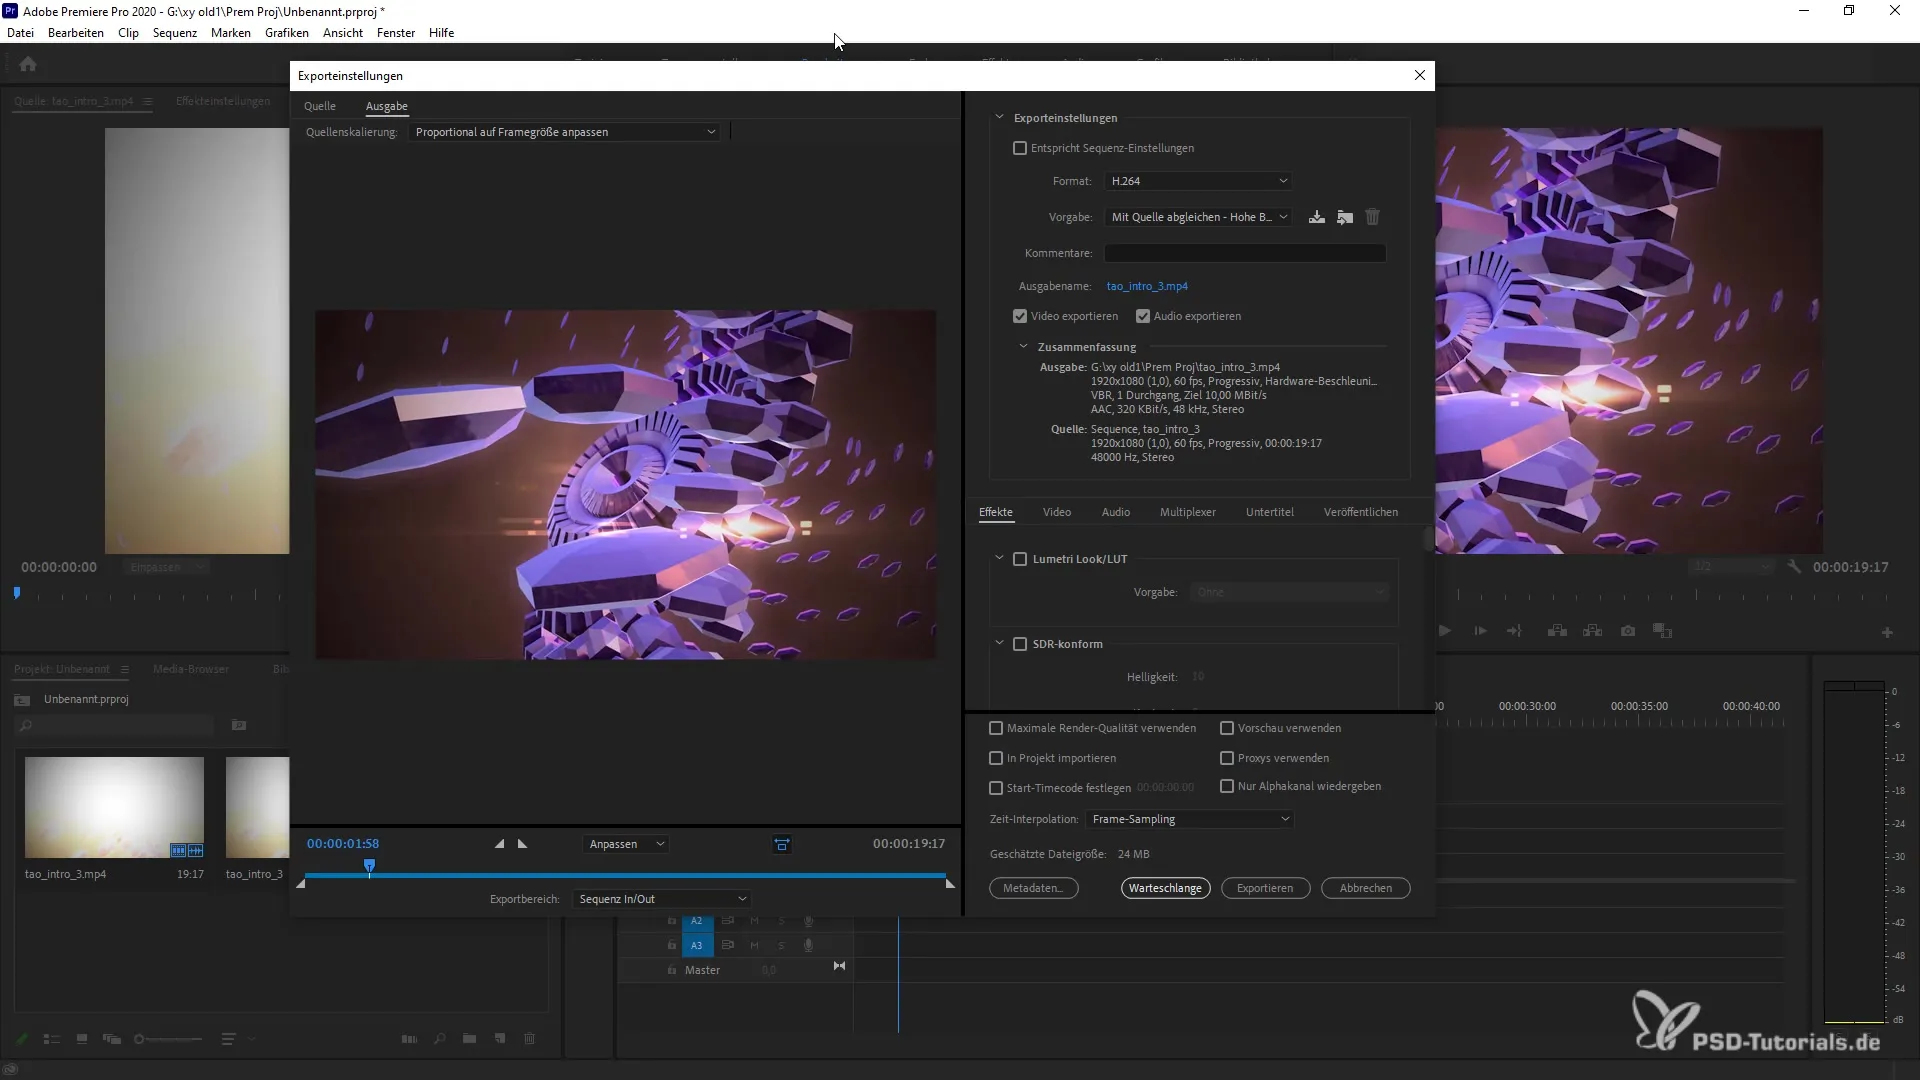
If you have a project from Premiere Pro, you can also transfer it to the queue. Use the Ctrl + M key combination to open the export dialog. Then click on "Queue" to transfer the project to Adobe Media Encoder.

Step 4: Manage Projects in Queue
Now you can see that both projects you have added are in the queue, even if you have closed the respective programs. This is one of the great advantages of Adobe Media Encoder!
Step 5: Change Project Order in Queue
If you want to change the order, simply hover over the queue and drag the projects to the desired position.
Step 6: Adjust Project Settings
You can adjust the settings for each project in the queue at any time. Select the respective file and customize the export settings to your needs.
Step 7: Set Destination Folder and Output Files
Before starting rendering, consider where the exported files should be saved. You can adjust the destination and choose whether to use the default settings or other custom settings.
Step 8: Start Rendering
Once everything is set up and you are satisfied with the export settings, you can start rendering. Simply click on the corresponding button displayed in the queue. Your projects will now be processed one after the other.
Summary
You have now learned how to efficiently transfer your projects from After Effects and Premiere Pro to the queue of Adobe Media Encoder. This guide will help you manage multiple projects simultaneously and optimize render times. Use this feature to improve your workflows and save time.
Frequently Asked Questions
How do I open Adobe Media Encoder?Start the program to use the queue.
Can I render multiple projects simultaneously?Yes, you can transfer projects from After Effects and Premiere Pro to the queue simultaneously.
How can I change the order of projects in the queue?You can rearrange the projects in the queue using drag and drop.
Can I change the export settings?Yes, you can adjust the project settings at any time before starting rendering.
Where can I find the rendered export files?The export files are saved in the designated folder, which you can customize.


