Adobe Media Encoder is an essential tool for those working in video editing. The preset browser plays a central role by allowing you to efficiently manage your export and encoding settings. This guide will show you step by step how to make the most of the preset browser to optimize your workflows.
Key Insights
- The preset browser allows for drag-and-drop of presets and easy creation of new ones.
- You can import and export presets to share your settings.
- The search function is useful for quickly accessing frequently used presets.
Step-by-Step Guide
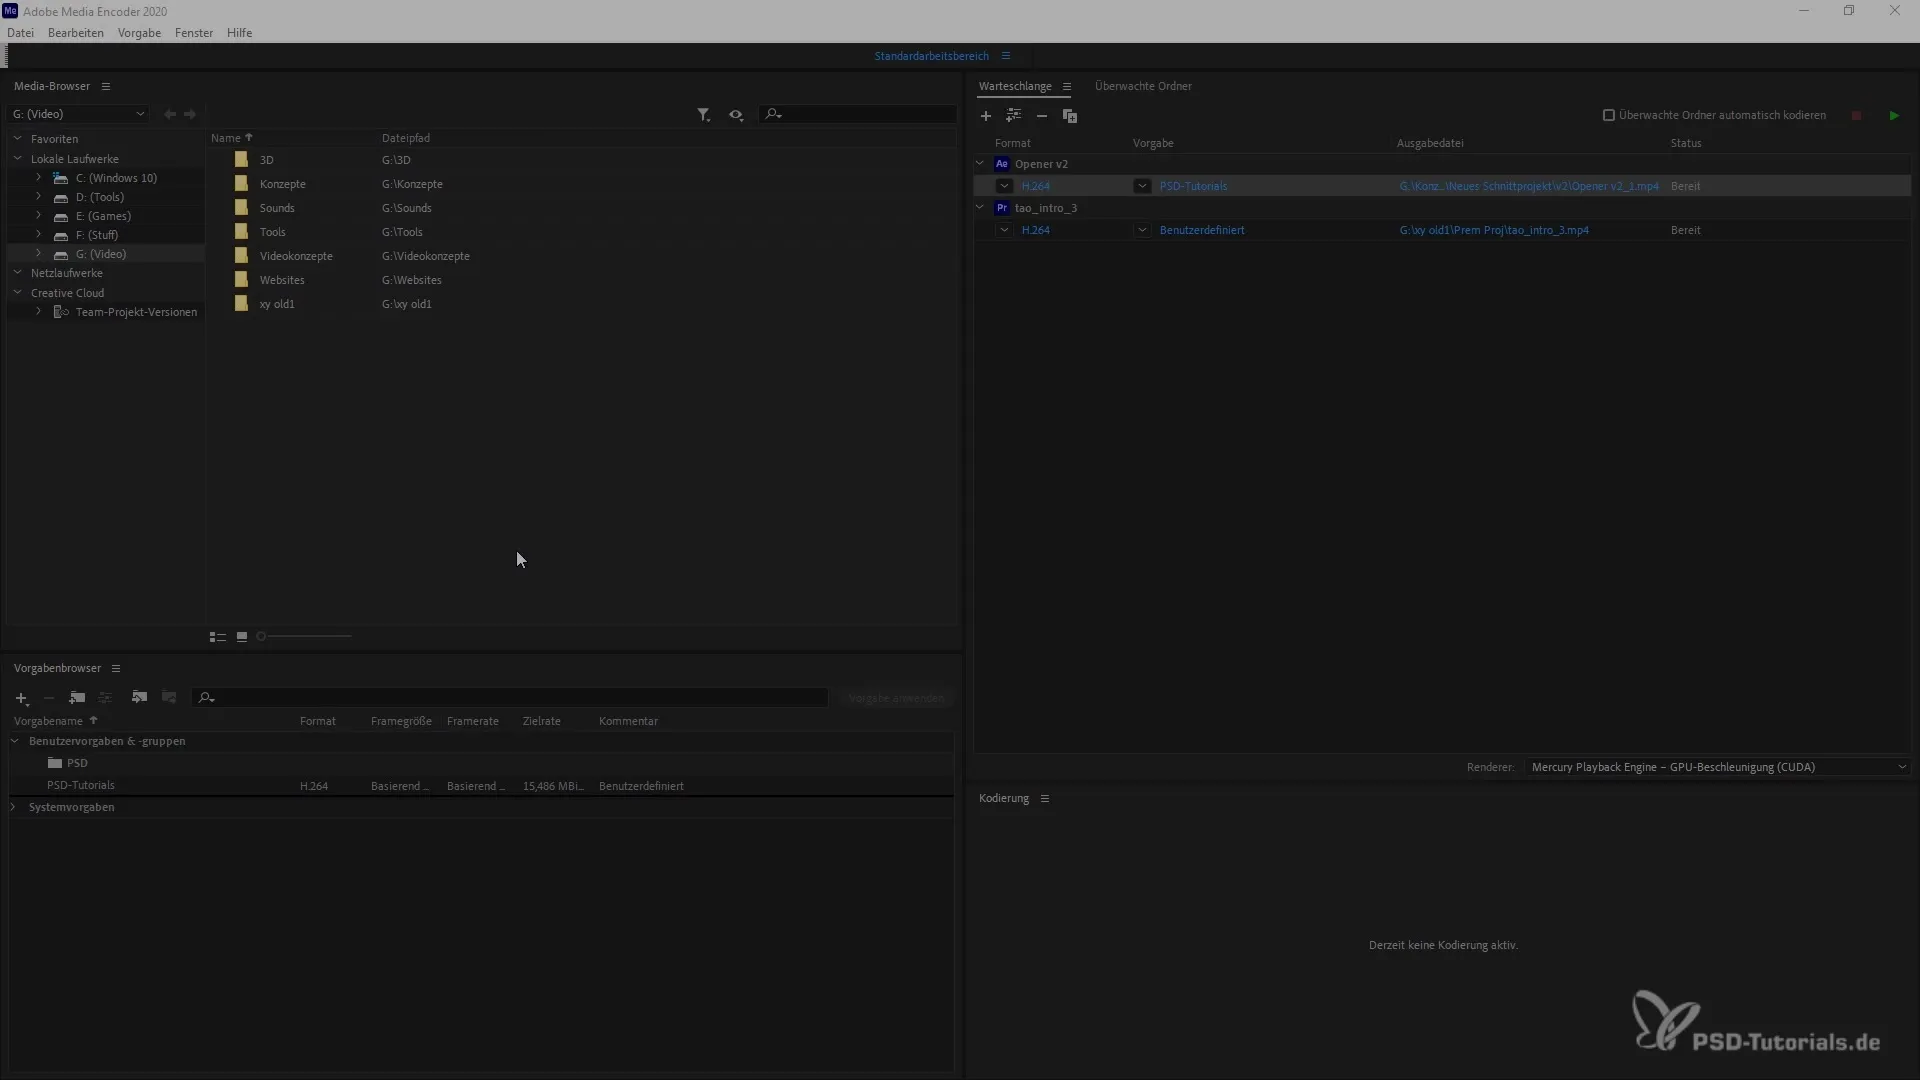
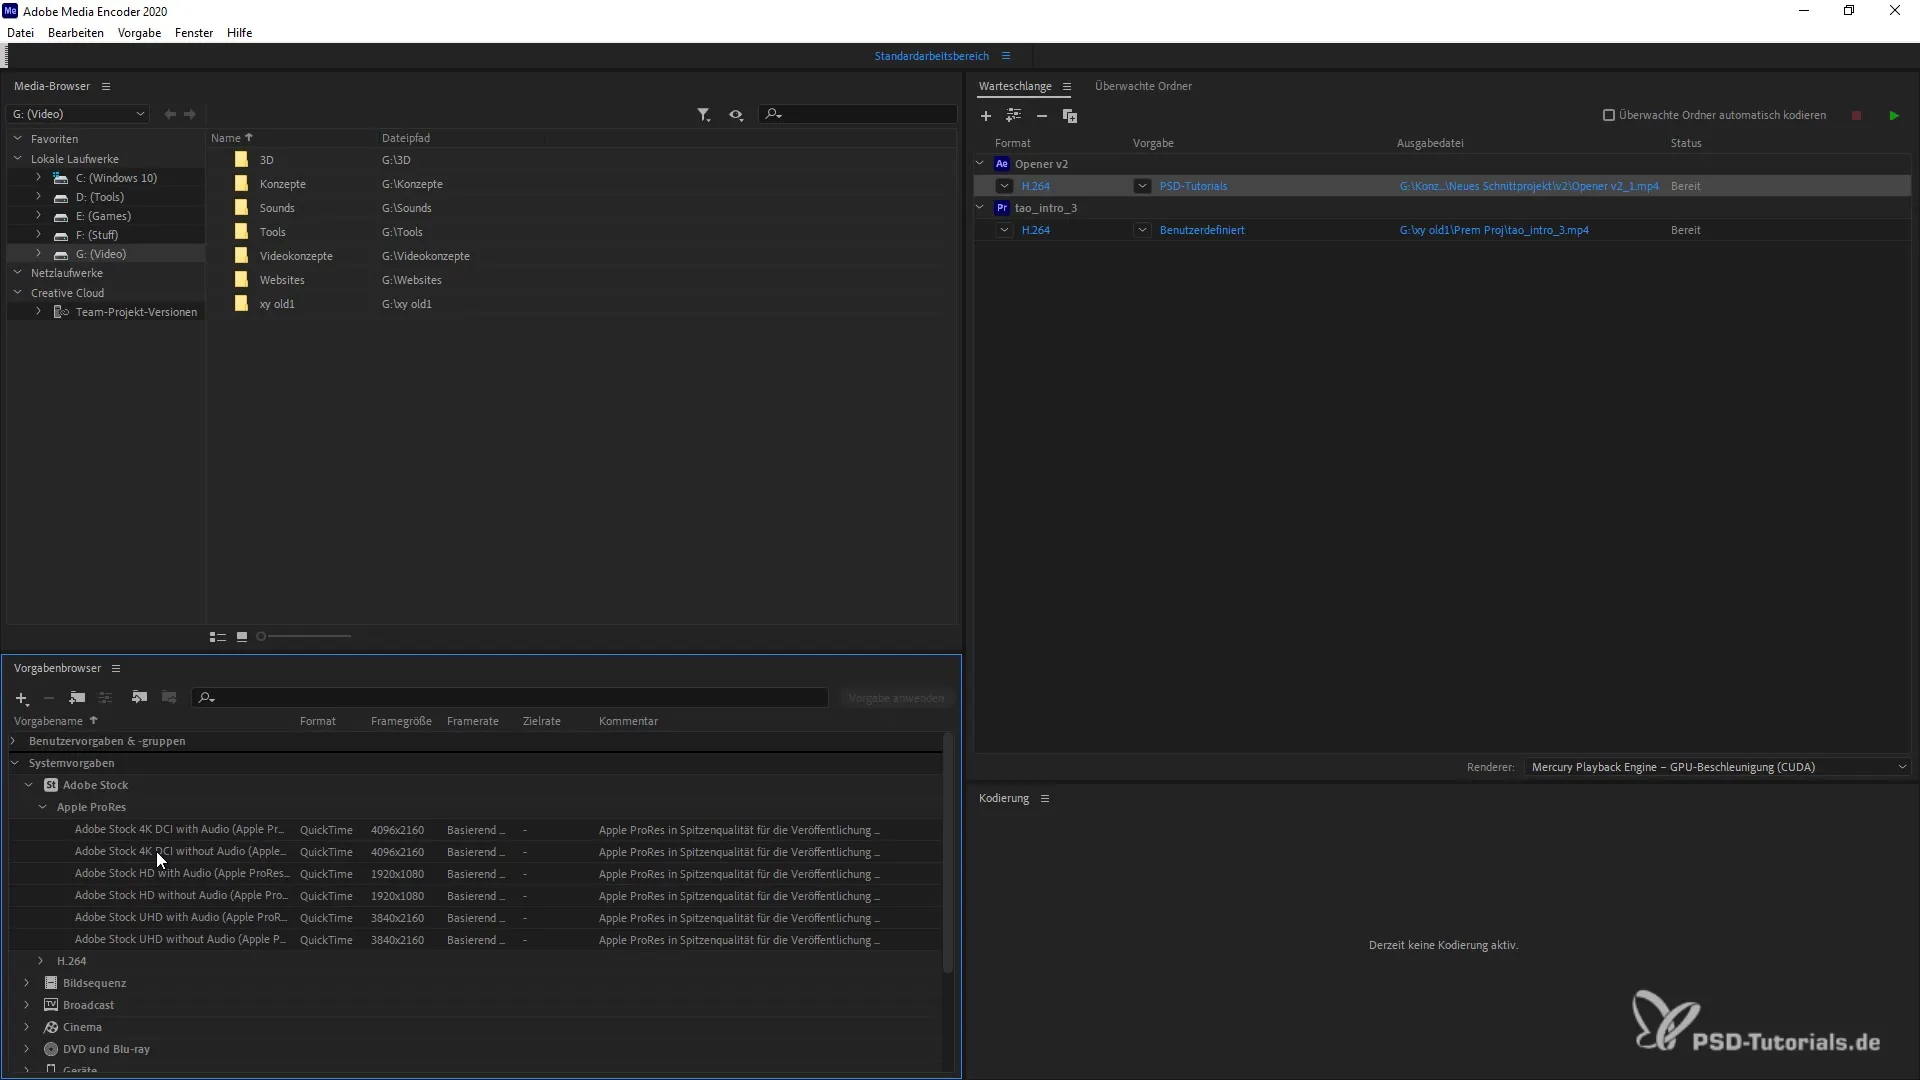
Start by opening Adobe Media Encoder. The preset browser is the central place to manage your presets. Here you can see your existing system presets. The main window of the Media Encoder has a drag-and-drop function that allows you to easily arrange and move presets.

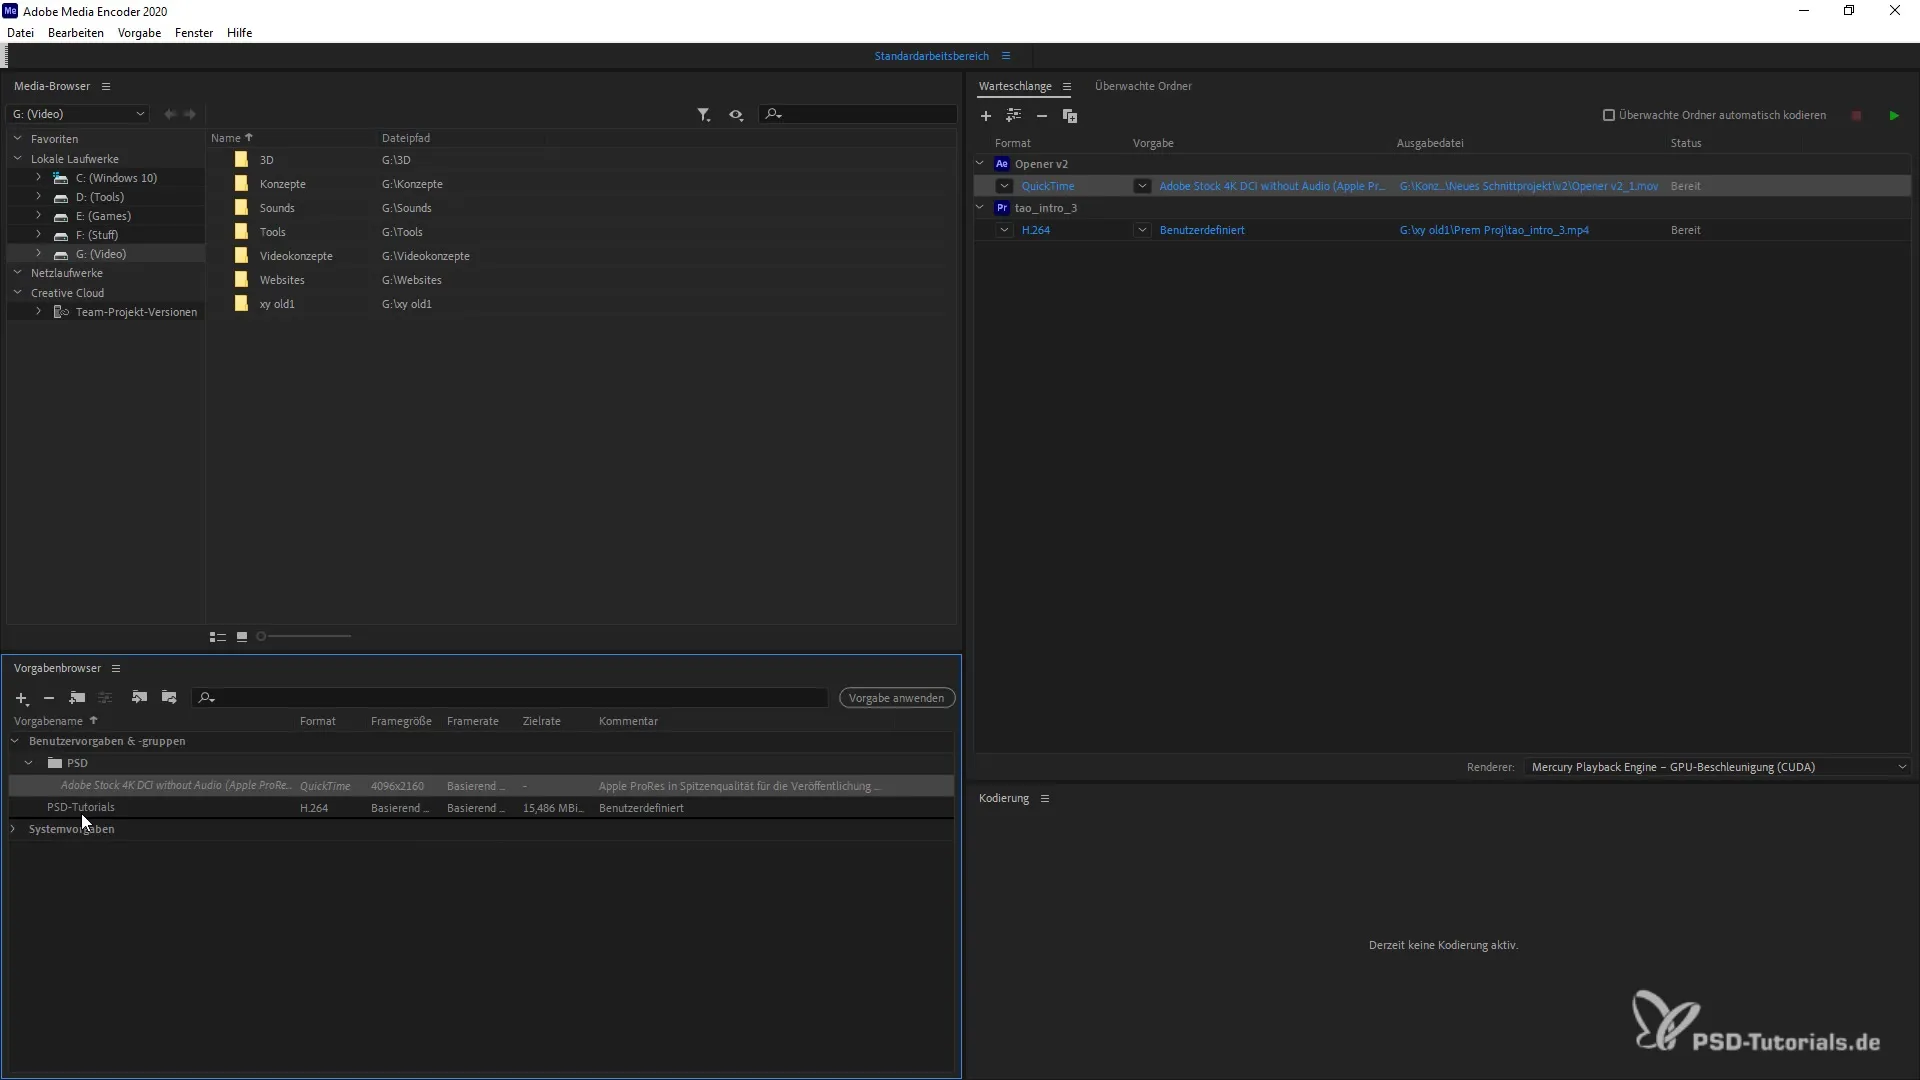
To edit specific presets, you can simply drag and drop them to the desired position. For example, if you have a preset like the "Adobe Stock 4k dCi" preset, you can move it to a folder or customize it. This way, you always have the right preferences at hand.

If you want to create new presets, it's also straightforward. There is a minus button that allows you to delete undesired presets. This way, you can ensure that your preset browser only contains the settings relevant to you.

Additionally, you have the option to import or export existing presets. This is especially useful when working with a team and wanting to share specific settings. To import presets, simply go to the corresponding menus in the preset browser.
Another important aspect of the preset browser is the useful search function. You simply need to enter part of the preset name, and you will receive a list of corresponding presets. This saves time and makes the work more efficient, especially when switching between multiple presets frequently.
If you want to apply a preset differently, you can simply select it and drag it to the desired location. Thanks to the drag-and-drop system, this will be easy for you. This way, you can customize your workflows and quickly find the presets you need.
In conclusion, the preset browser in Adobe Media Encoder is a powerful tool that can enhance your productivity. By following the tips given here, you will become more confident and faster in using the various presets.
Summary
This guide has brought you all the important steps for using the preset browser in Adobe Media Encoder 2020. You have learned how to customize, import, export, and quickly find presets. Use these features to make your video productions even more efficient.
Frequently Asked Questions
What is the function of the preset browser?The preset browser is used to manage and customize export settings in Adobe Media Encoder.
How can I create new presets?You can create new presets in the preset browser and customize existing presets.
Can I import or export presets?Yes, the preset browser allows you to import and export presets for use and sharing with other users.
How can I quickly find specific presets?The search function in the preset browser allows you to find presets quickly by entering part of the name.
Are the drag-and-drop functions intuitive?Yes, the drag-and-drop system is straightforward and allows for quick arrangement of presets.


