In Adobe Media Encoder 2020, you have the opportunity to automate render jobs, which is particularly useful if you have to render projects regularly. The function of the monitored folder allows you to select a specific folder that is continuously checked for new files. When you place a file in this folder, it will be processed automatically. In this guide, you will learn how to set up and effectively use monitored folders to optimize your workflow.
Key Takeaways
- Configuring a monitored folder allows the Media Encoder to automatically process your render jobs.
- Multiple formats and output directories can be set for different projects.
- You can adjust and deactivate monitored folders at any time to ensure flexibility.
Step-by-Step Guide
Creating a Monitored Folder
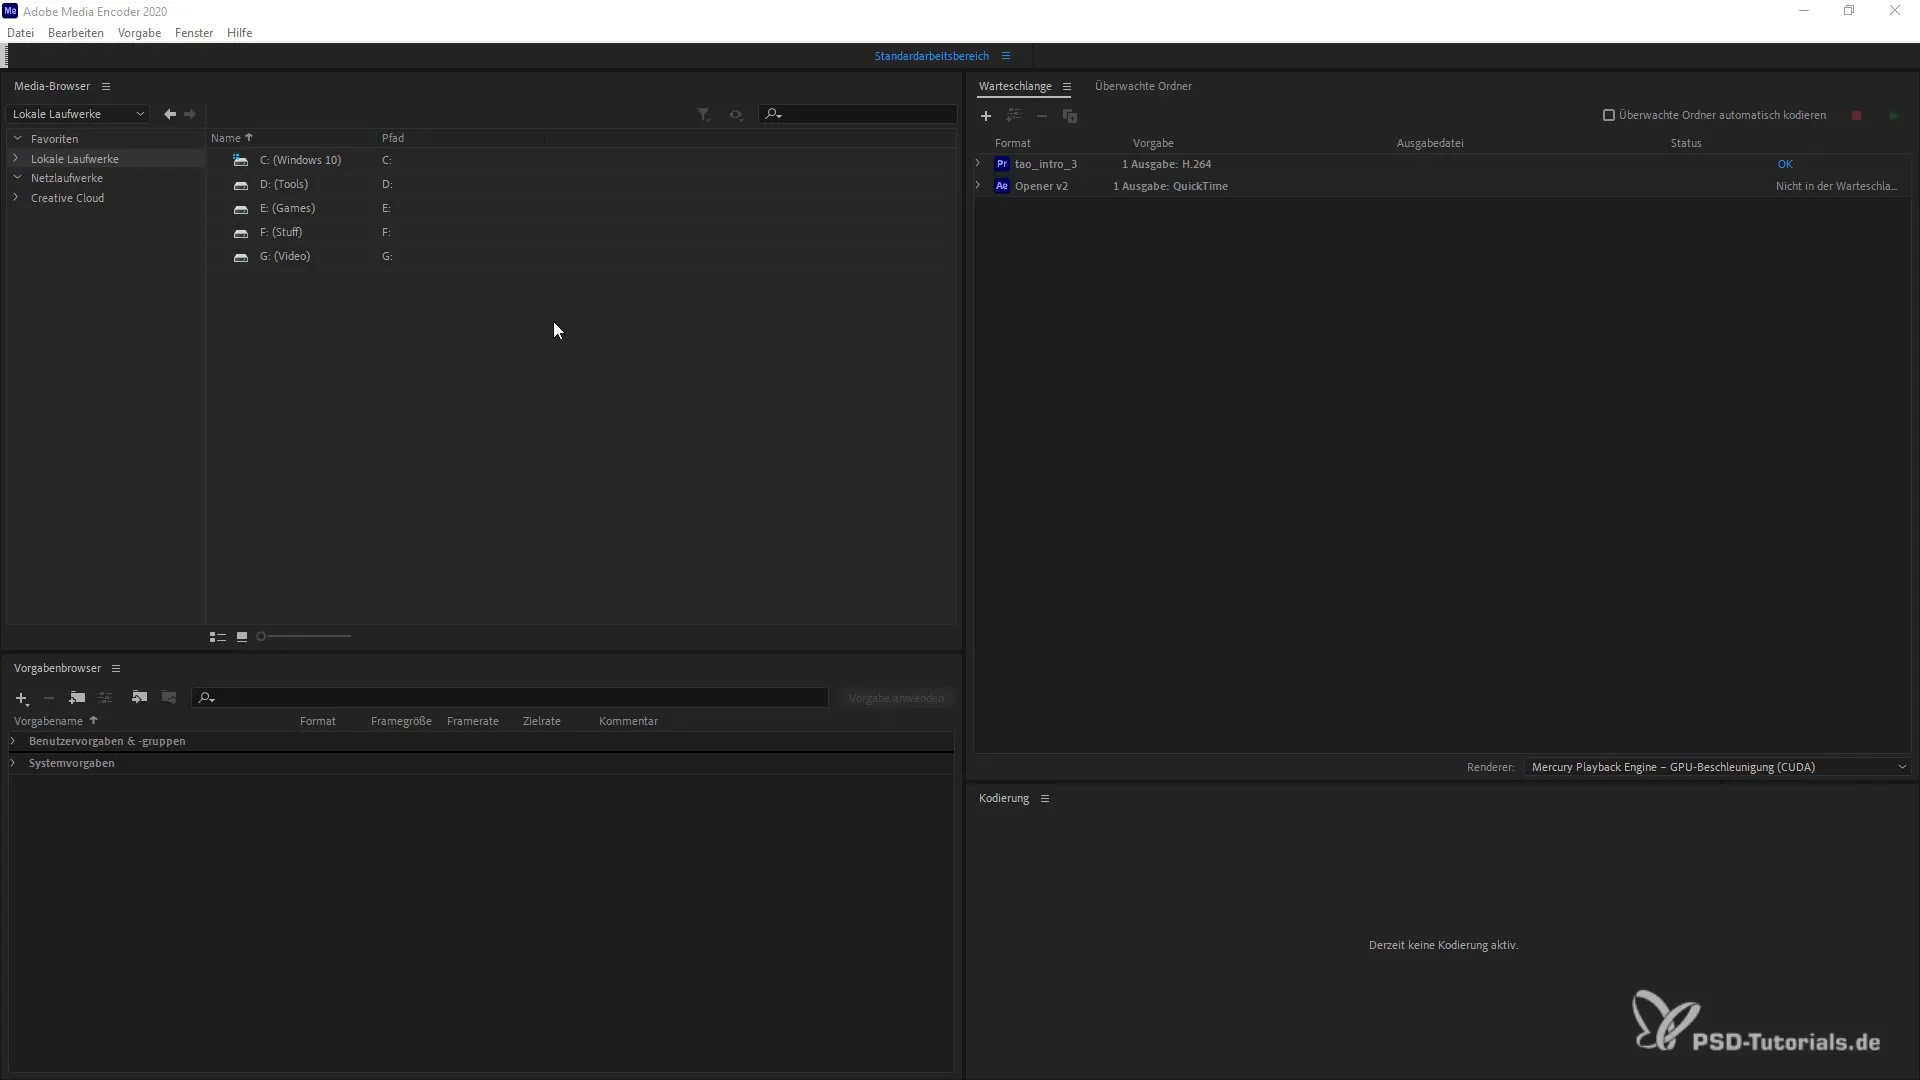
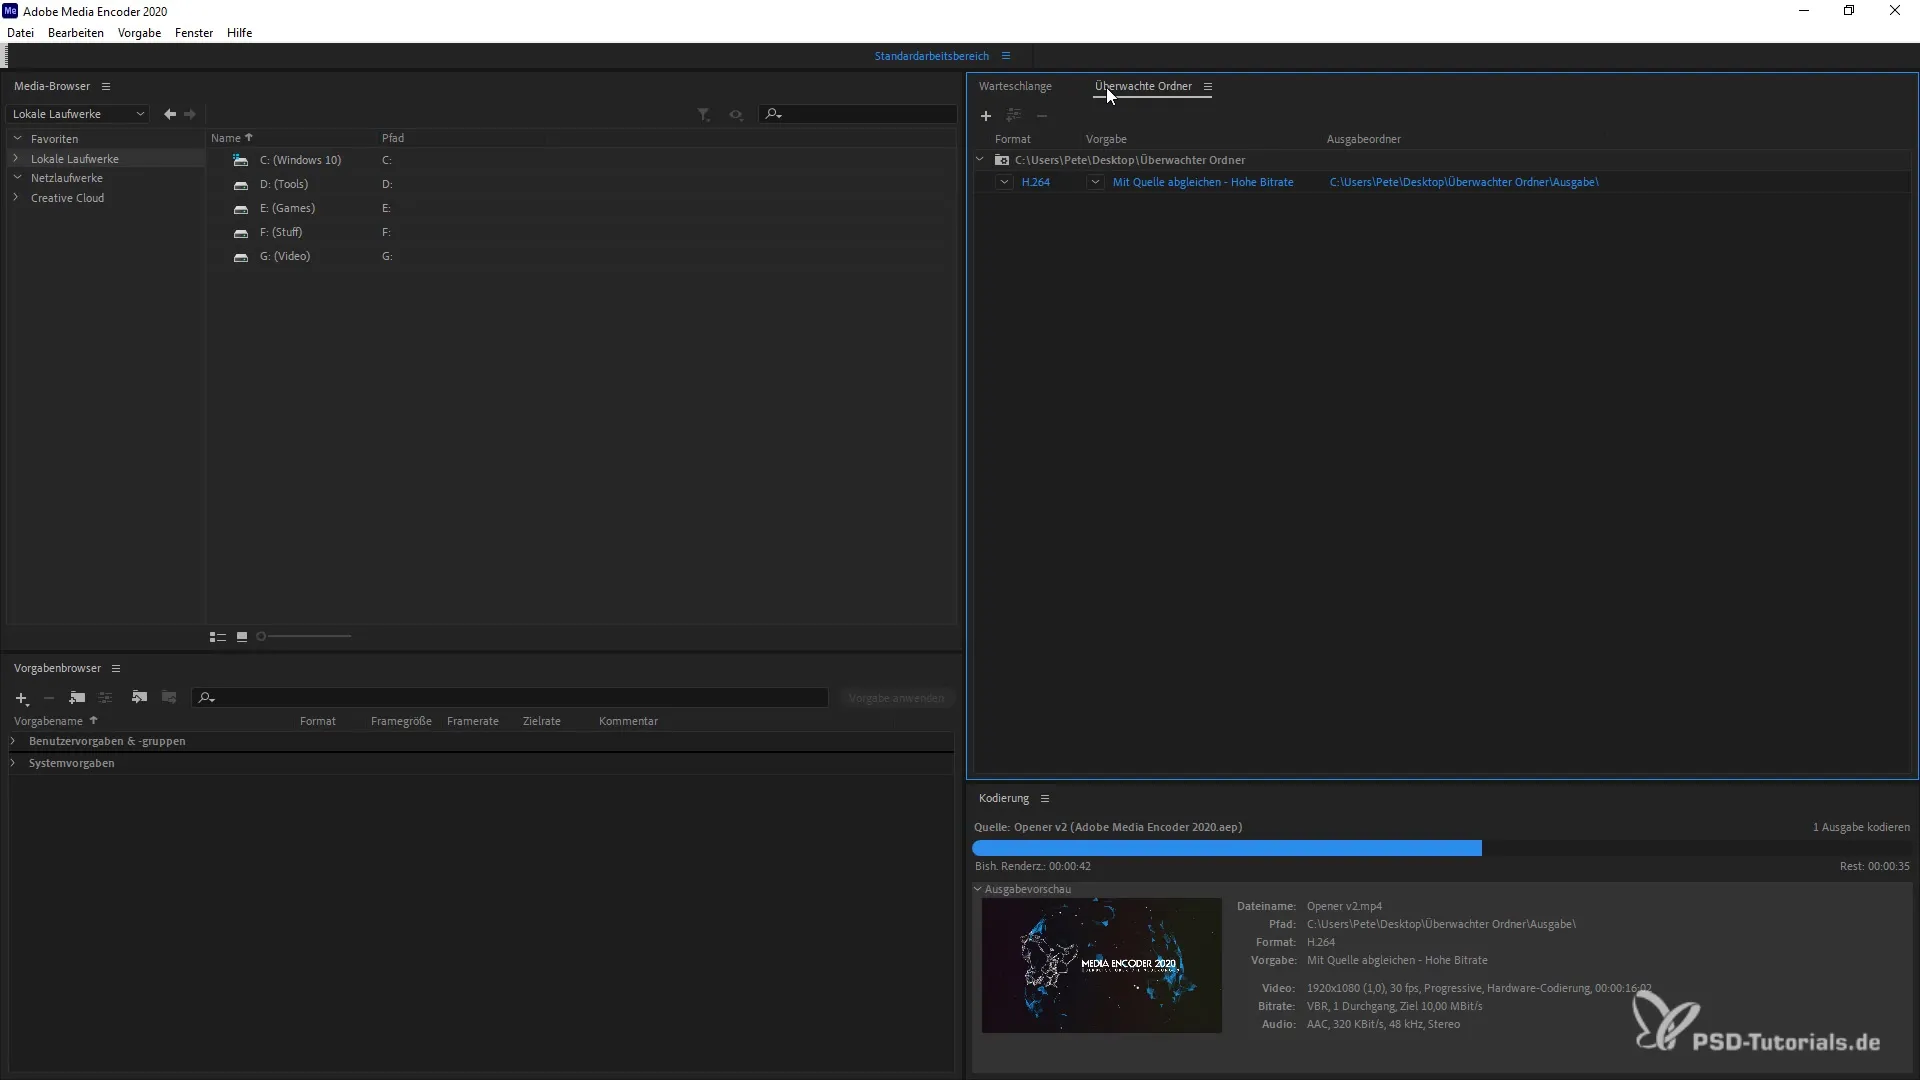
To set up a monitored folder, open Adobe Media Encoder and navigate to the "Monitored Folders" tab. Here you can specifically choose a folder for the Media Encoder to monitor in the background. Simply drag and drop the desired folder into the area, and it will be added.

Setting Preferences for the Monitored Folder
After adding the folder, you should adjust the corresponding settings for the output. The format in which the Media Encoder should output the files, as well as the target directory for these outputs, should be configured correctly to ensure smooth operation.
Activating Automatic Encoding
To activate automatic encoding, go to the queue in the Media Encoder and enable the "Automatically encode monitored folders" option. This ensures that any file you place in the monitored folder is detected, and the rendering process starts immediately.
Adding Projects to the Monitored Folder
Now you can start working. By adding projects or files to the monitored folder, the Media Encoder will automatically capture them. You can do this both beforehand, before enabling automatic checking, and afterwards.
Viewing Monitoring and Progress in the Browser
Once the file is in the monitored folder, you can track the encoding progress in the program. The progress bar indicates how far the rendering process has progressed and when the file will be completed.

Deactivating and Adjusting the Monitored Folder
If you no longer need the monitored folder or want to make changes, you can simply deactivate it or remove the folder. The Media Encoder will ask if you want to finish the current job before releasing the monitored folder.
Returning to Default Settings
When you delete or deactivate the monitored folder, you will return to the default settings of the Media Encoder. This way, you can set up other folders or continue working in the regular queue.
Summary
With the function of the monitored folder in Adobe Media Encoder, you can significantly streamline your workflow. By defining folders for the program to monitor, you save time and can work on your projects more effectively.
Frequently Asked Questions
How do I add a monitored folder?Drag the desired folder into the "Monitored Folders" section using drag-and-drop.
What happens when I add a file to the monitored folder?The Media Encoder will automatically start the rendering process once the file is detected.
Can I set up multiple monitored folders?Yes, you can add multiple folders and configure different settings for each folder.
How can I deactivate the monitored folder?You can delete the folder from the context menu or deactivate automatic encoding.
Will I lose data if I delete the monitored folder?No, only the connection to the Media Encoder will be removed; the files in the folder will remain unchanged.


