The potential of Adobe Media Encoder 2020 can be significantly expanded through its customization options. This software can be tailored to your needs, allowing you to define the layout of workspaces, the width of columns, and even the visibility of certain folders. These customizations can help you work more efficiently and keep track of your media files. In this guide, I will show you step by step how to personalize the Adobe Media Encoder to optimize your workflow.
Key Takeaways
- Customization of workspaces and folders in Adobe Media Encoder.
- Creating, editing, and resetting workspaces.
- Individual arrangement and column widths for more effective usage.
Step-by-Step Guide
To utilize the customization options of Adobe Media Encoder 2020, follow these steps:
First Step: Open Workspace
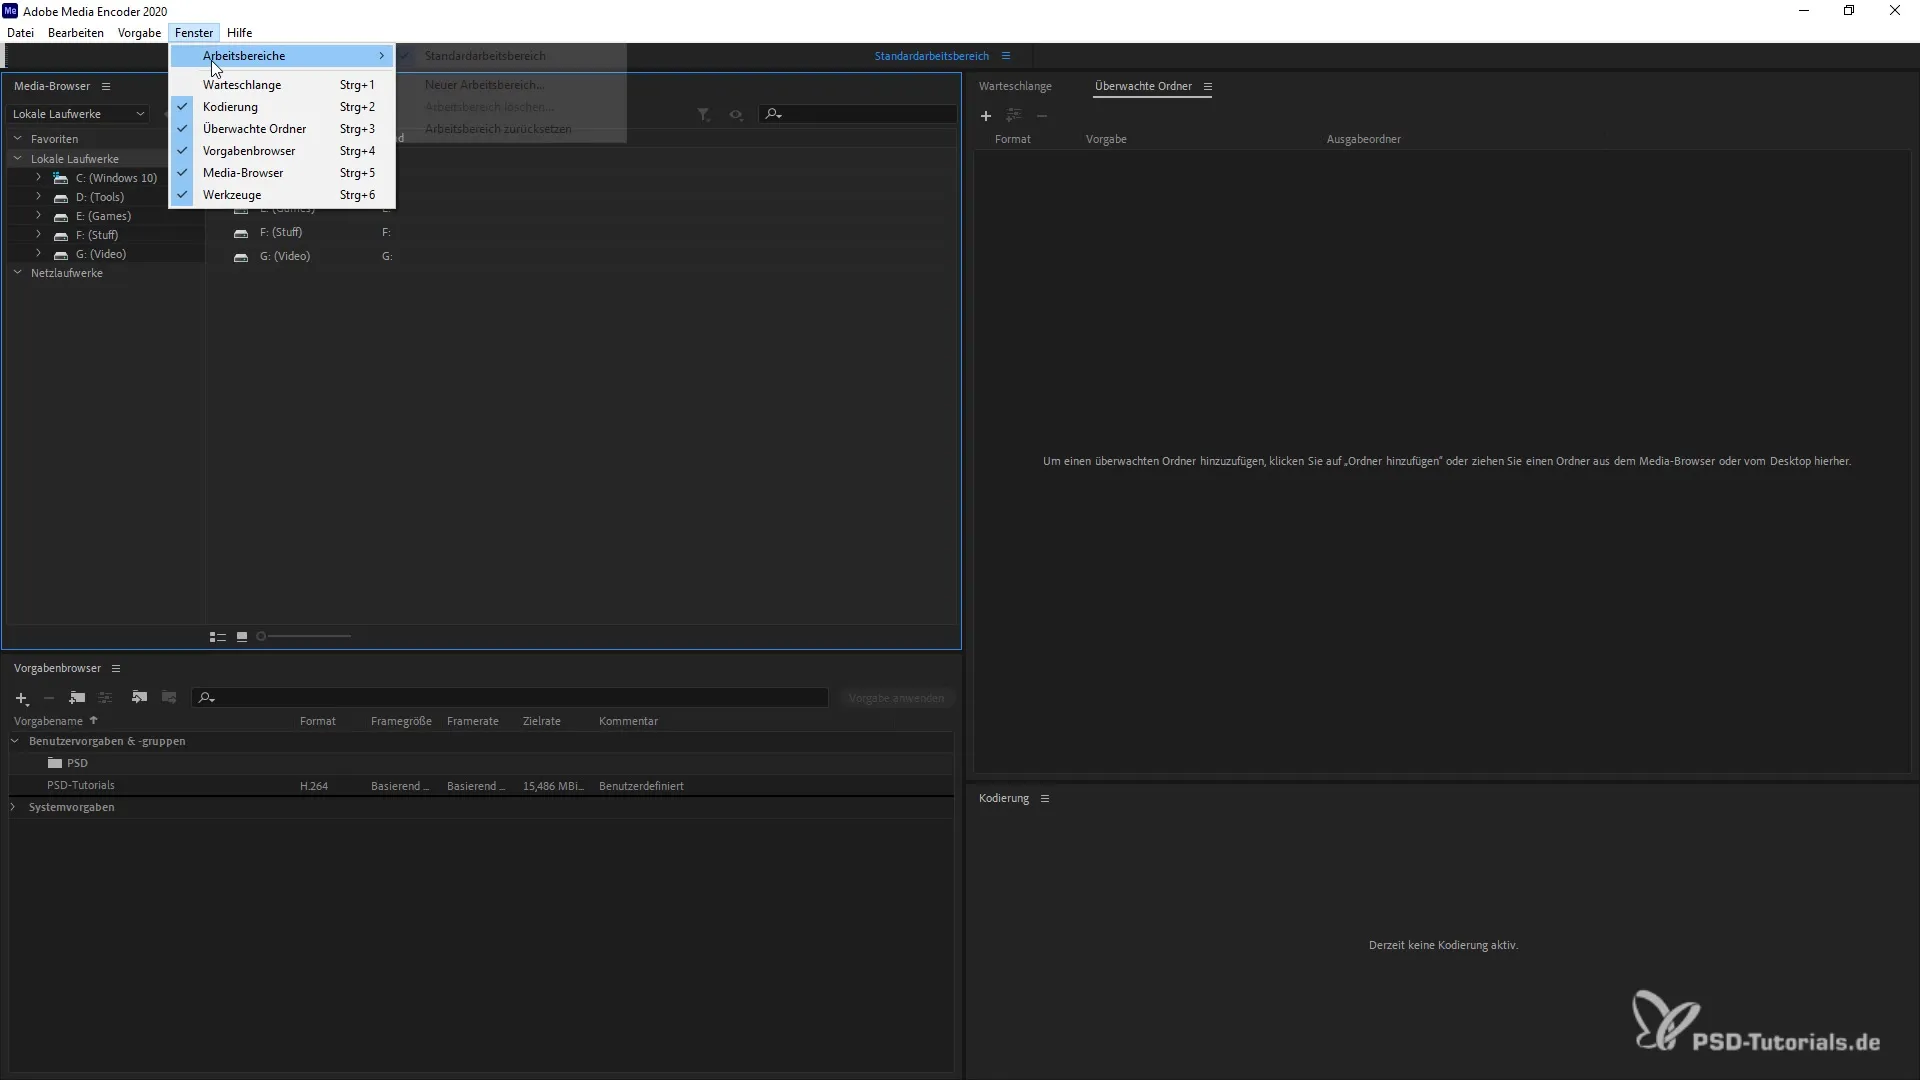
First, open Adobe Media Encoder. Click on the menu bar and select "Window". Here, you can access the "Default Workspace" or create a new workspace. You can also delete or reset an existing workspace. For this tutorial, we will create a new workspace.
Second Step: Create New Workspace
Click on "Create New Workspace" in the dropdown menu. Give it a meaningful name, such as "PSD". Confirm with "OK". The new workspace will now appear in the middle bar.
Third Step: Select and Edit Workspace
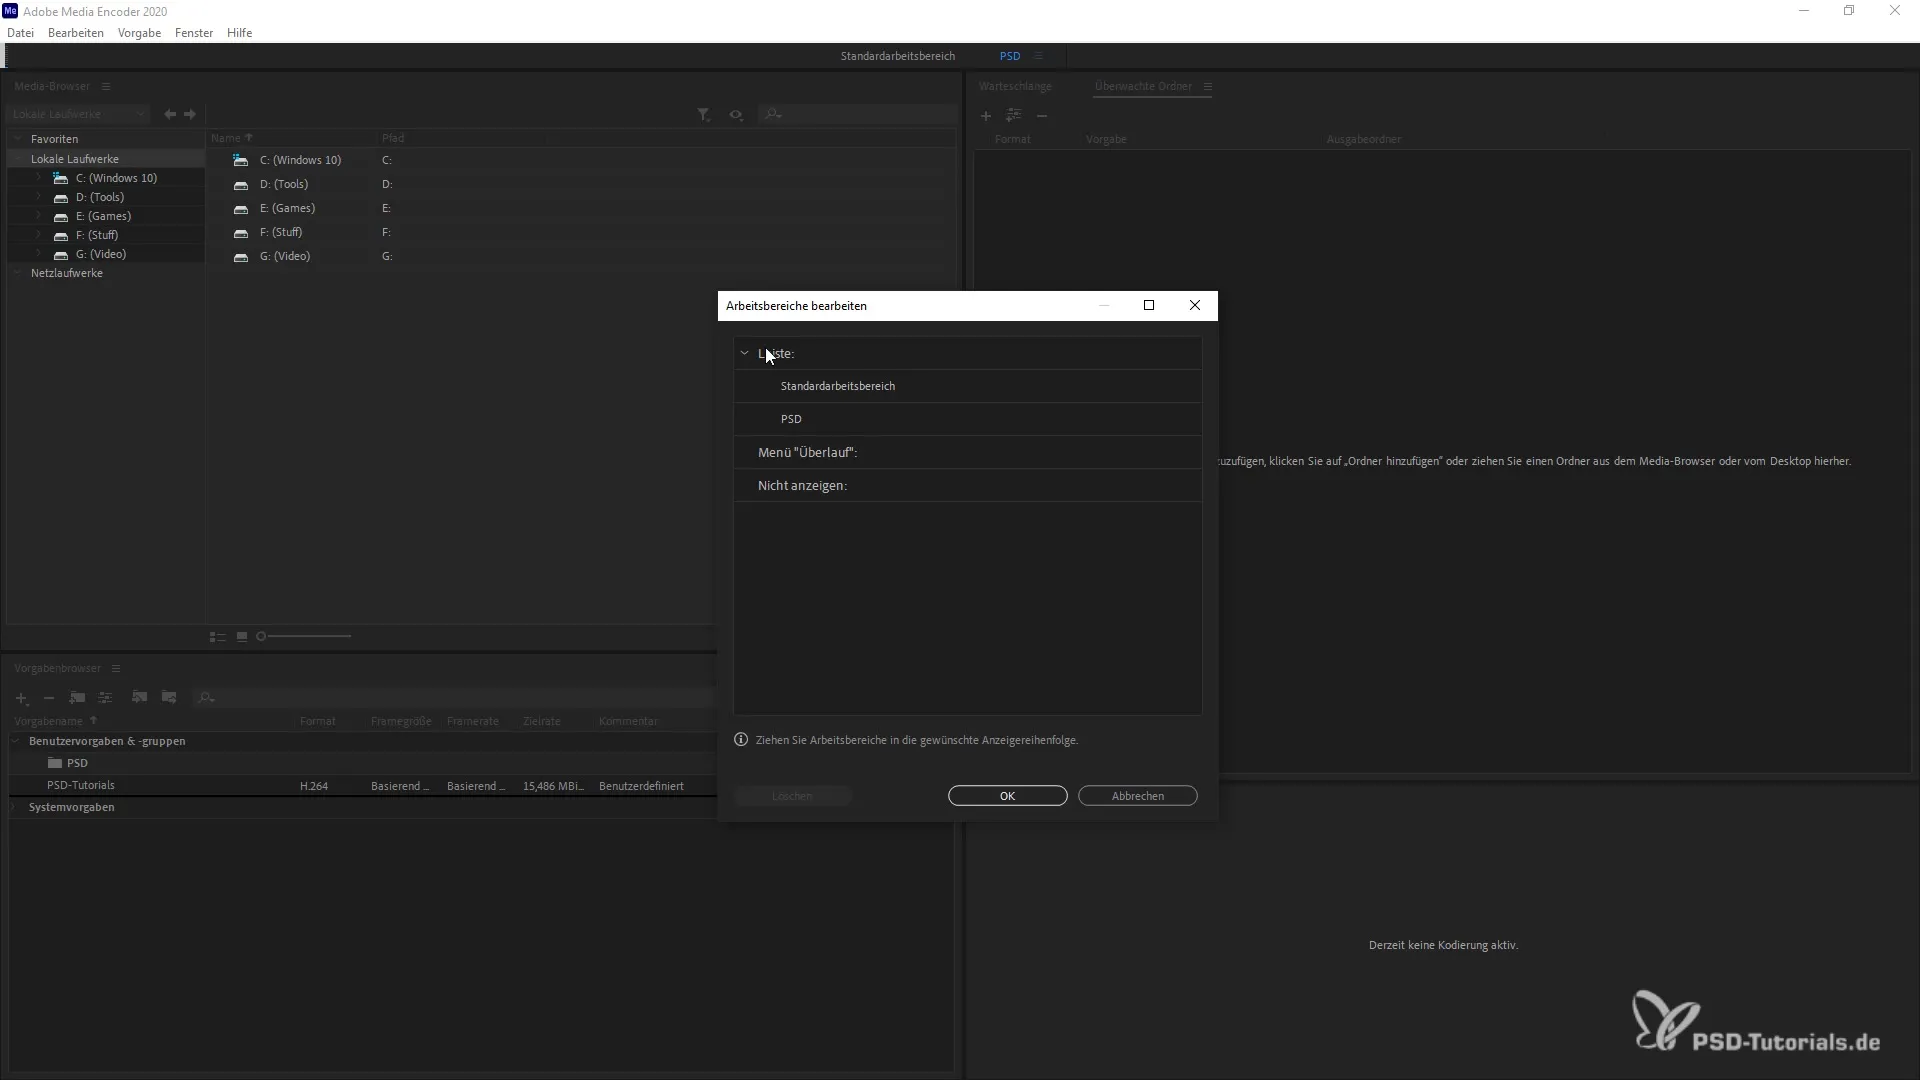
Click on your newly created workspace to see the available options. You can make changes to your workspace and save them. Clicking on "Edit Workspace" will open a window with more editing options.
Fourth Step: Arrange Windows
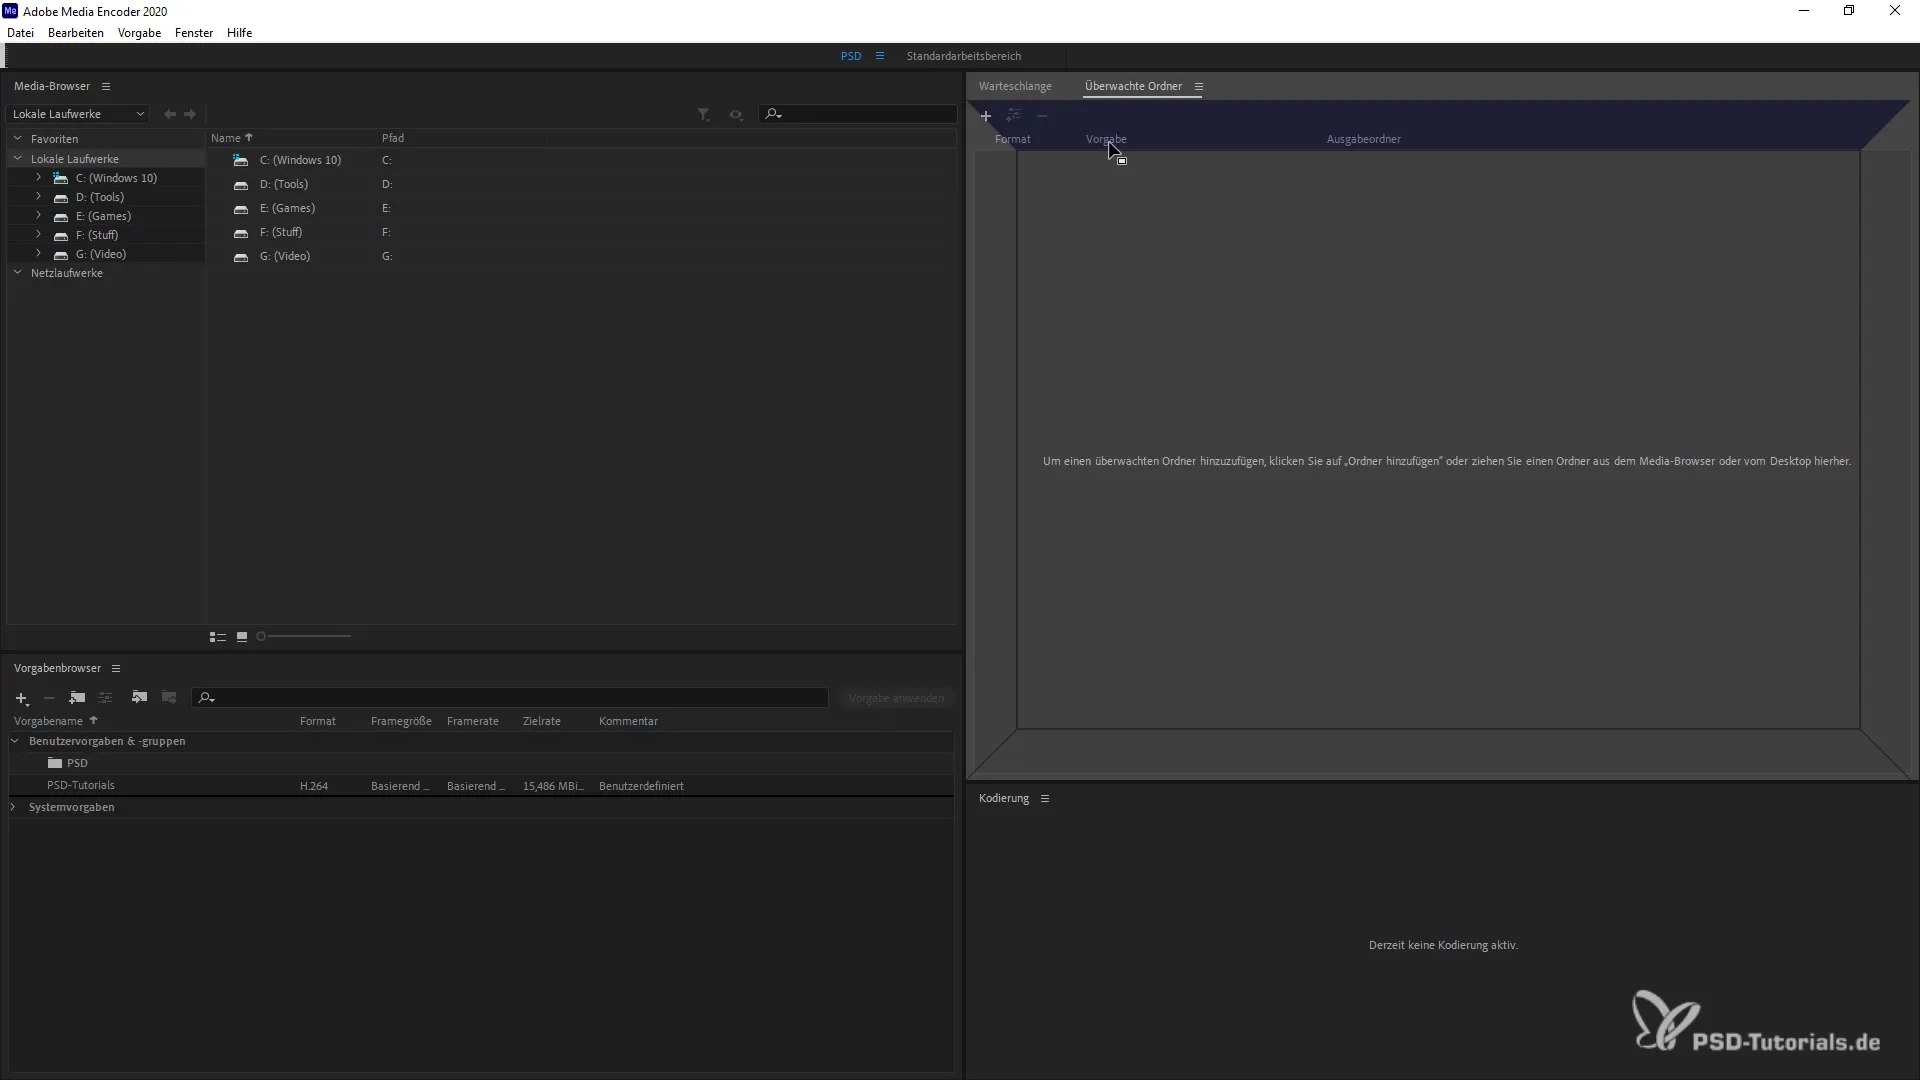
You may want to see the "Watched Folder" and the "Queue" simultaneously on your screen. To do this, hold down the left mouse button, drag the watched folder window, and dock it to the queue. This way, both windows are visible, and you can work more efficiently.
Fifth Step: Adjust Column Width
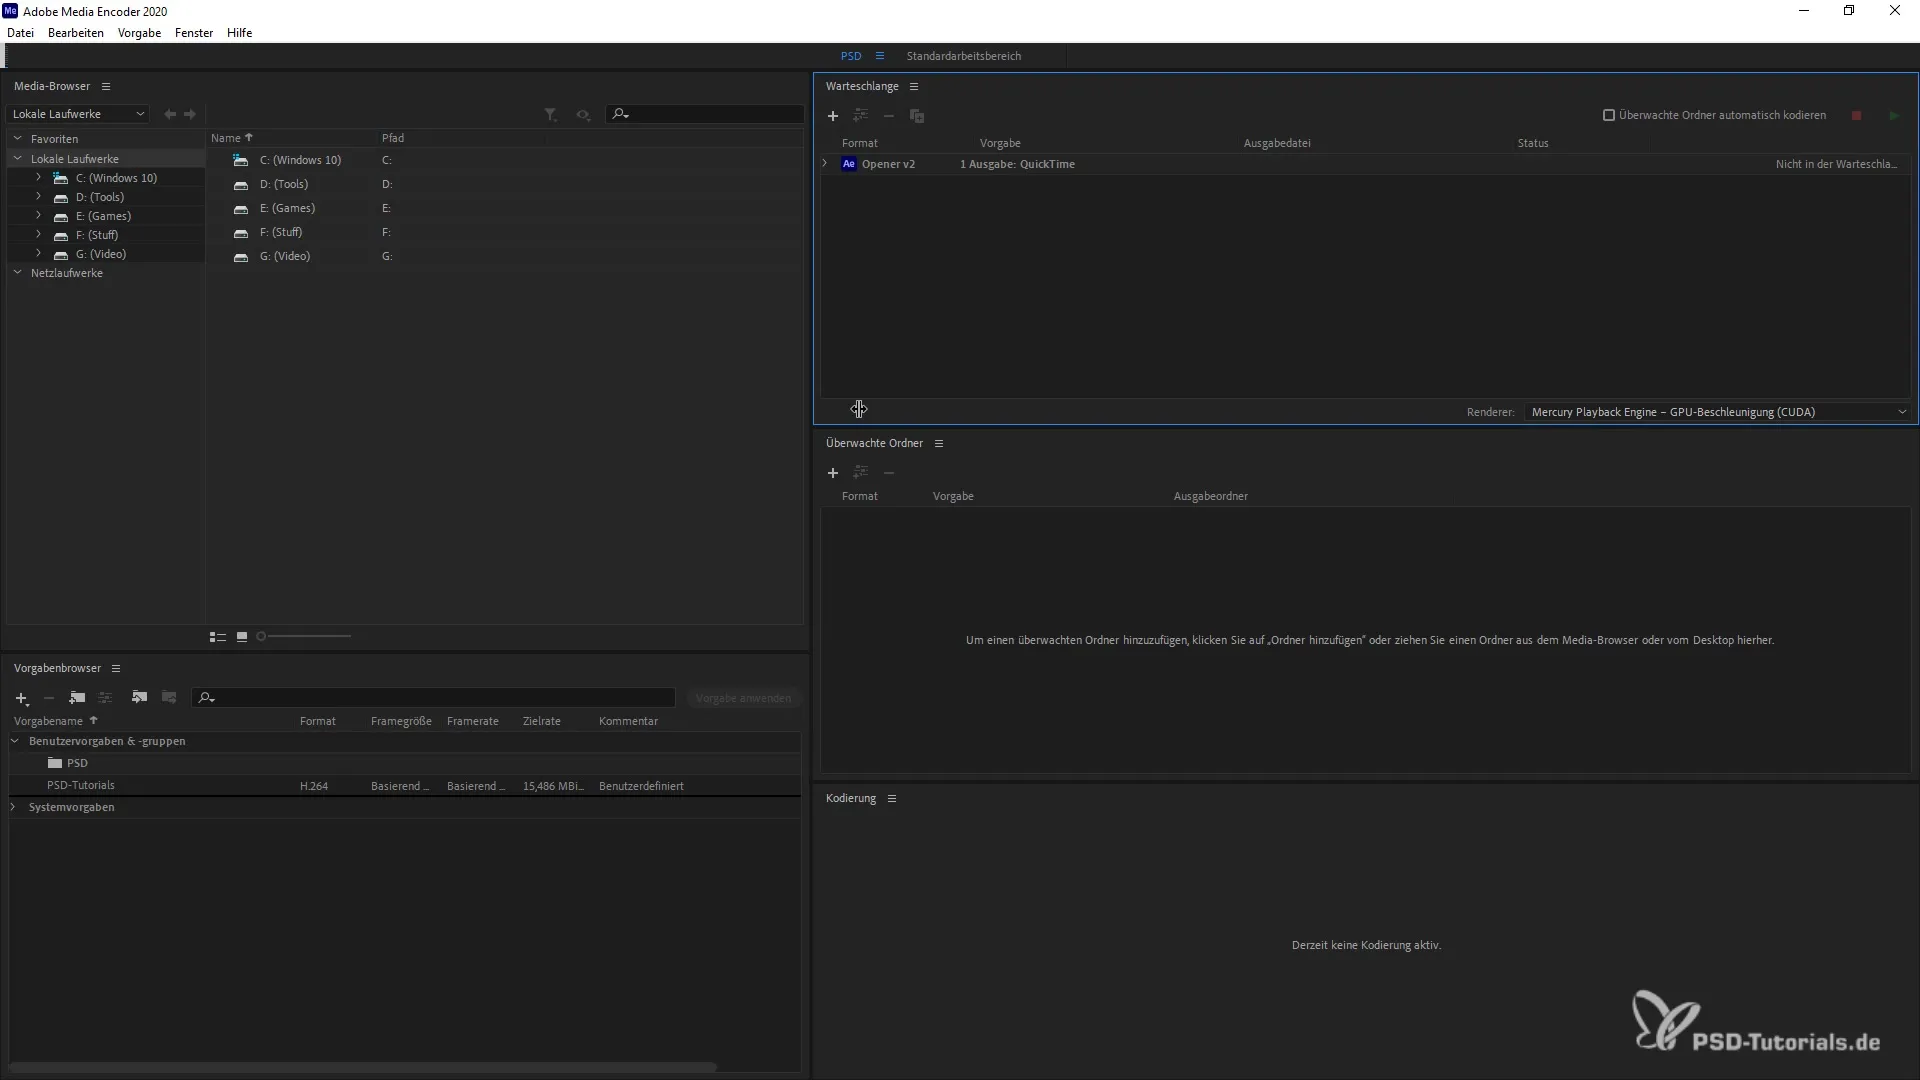
You can adjust the column width both horizontally and vertically. Hover the mouse over the column boundaries, hold down the mouse button, and drag to change the widths. This way, you can reduce less important areas and create more space for the relevant ones.
Sixth Step: Save Changes
Once you are satisfied with the arrangement and column widths, go back to the "Window" menu. Here, you can save your new workspace by selecting the name "PSD" and confirming the changes. You have now successfully saved your customizations.
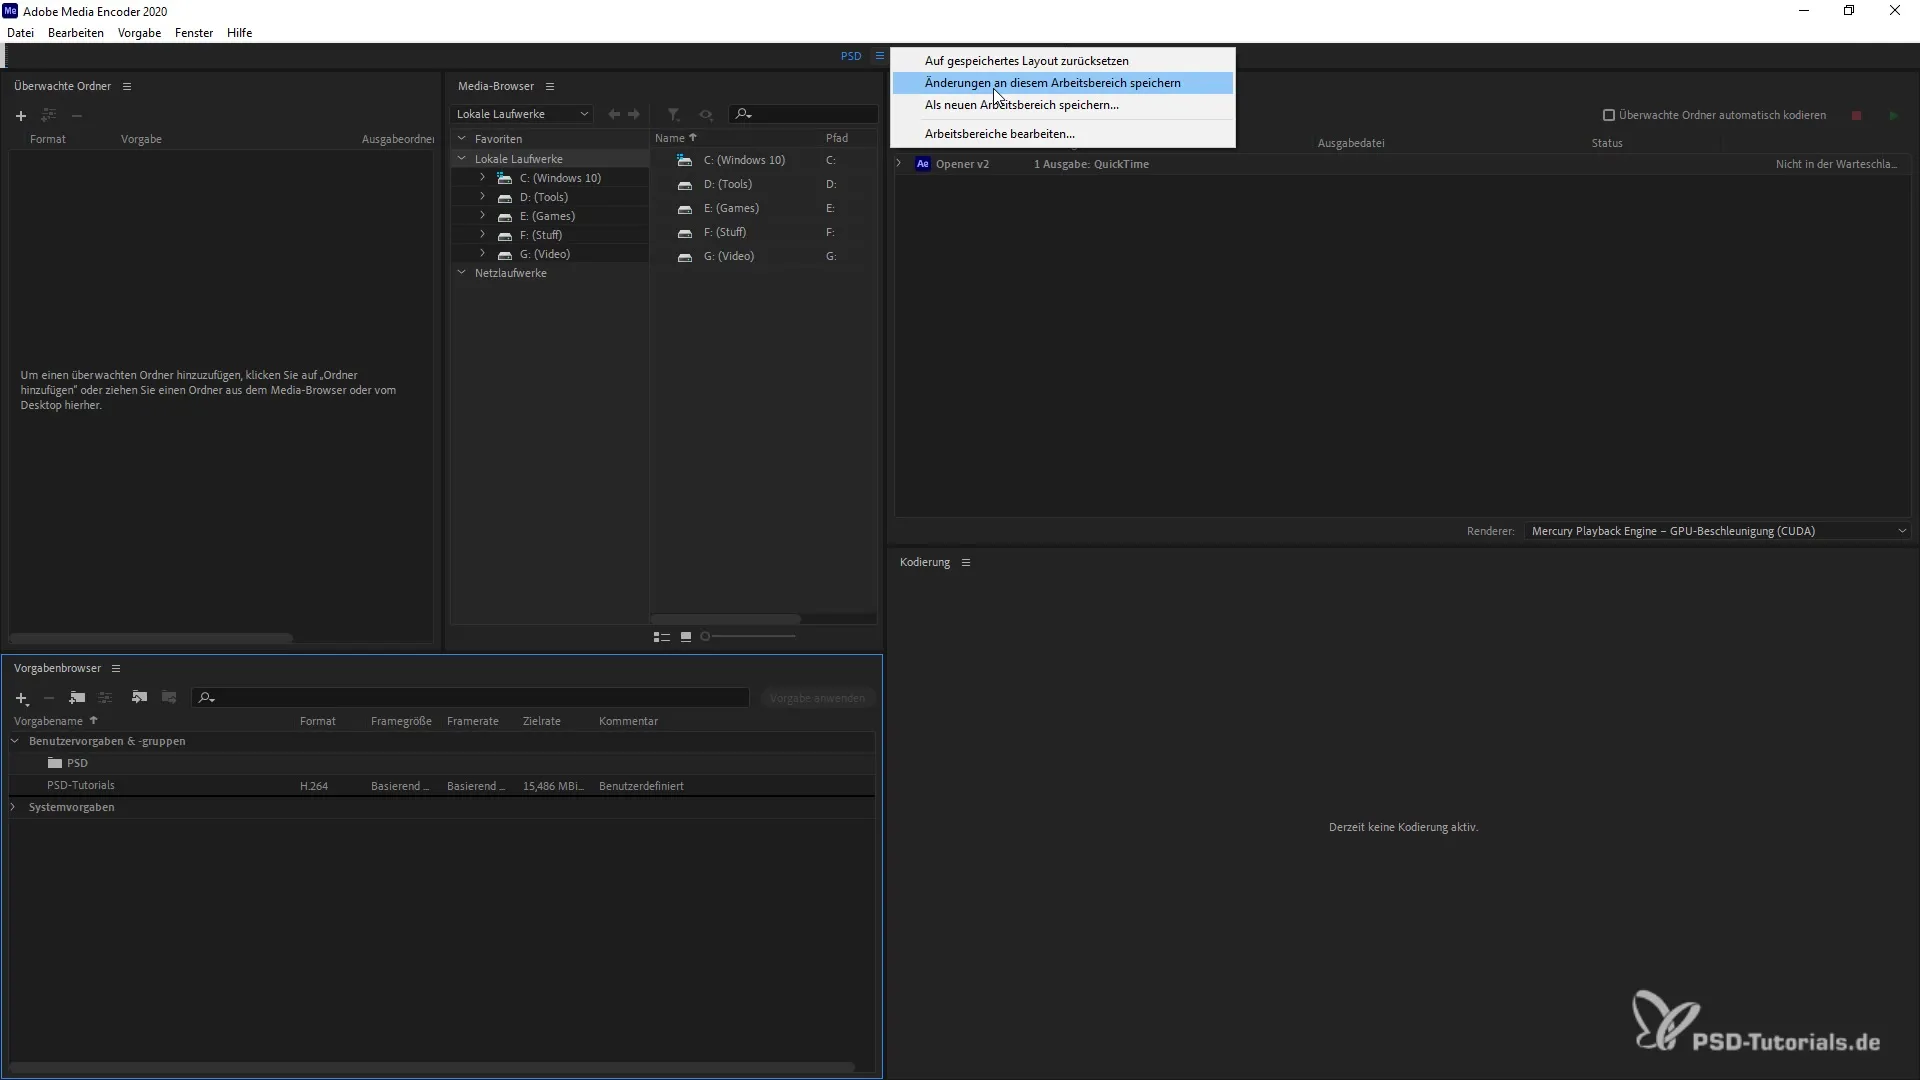
Seventh Step: Switch Workspace
To switch between workspaces, go back to the "Workspace" window. Choose the "Default Workspace" or the one you created in this tutorial. With a simple click, you are immediately back in the desired layout.
Eighth Step: Reset Default Workspace
If you want to make minor changes to the default workspace, you can do so. Go back to "Window" and select "Default Workspace". Here, you have the option to reset everything to the usual setup.
Summary
This guide shows you how to effectively customize Adobe Media Encoder 2020 to optimize your workflow. You have learned how to create workspaces, adjust window arrangements, and define different column widths. These customizations can help you increase efficiency and better organize your projects.
Frequently Asked Questions
What is a workspace in Adobe Media Encoder?A workspace is a specific arrangement of windows and tools that you can customize according to your needs.
How can I create a new workspace?Go to "Window" and select "Create New Workspace". Give it a name and confirm.
Can I save the changes made to the workspace?Yes, you can save the changes through the respective options in the "Window" menu.
How do I adjust the column width?Hover over the column boundary with the mouse, hold down the mouse button, and drag to adjust the width.
Can I reset the layout at any time?Yes, you can always return to the default workspace or reset your self-created workspace.

