Heyer ho Pixelgemeinde,
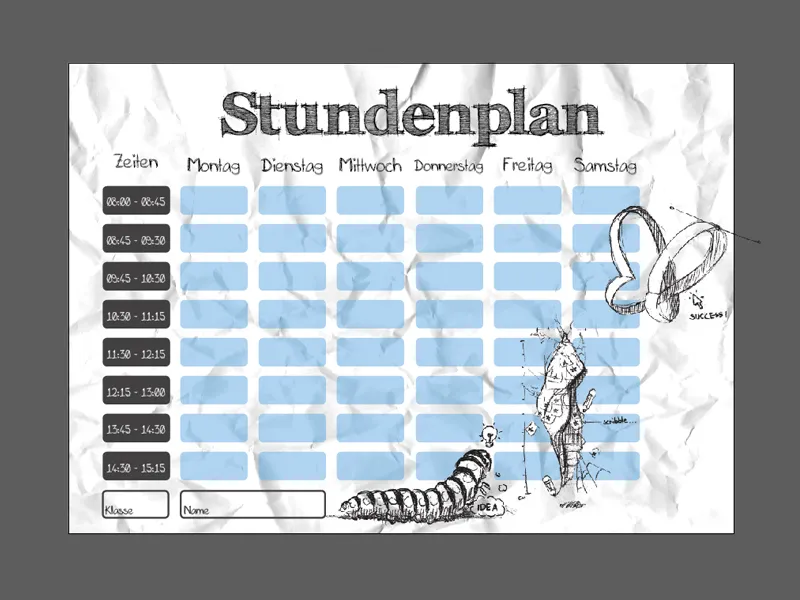
Today I want to show you how you can create a customized timetable for yourself or your children in Illustrator.
Finally, the days of free timetables with a predefined design are over! You finally have the opportunity to show off your personal timetable to your friends or at school!
And the timetable is very easy - I'll show you how to get one step closer to your personalized timetable: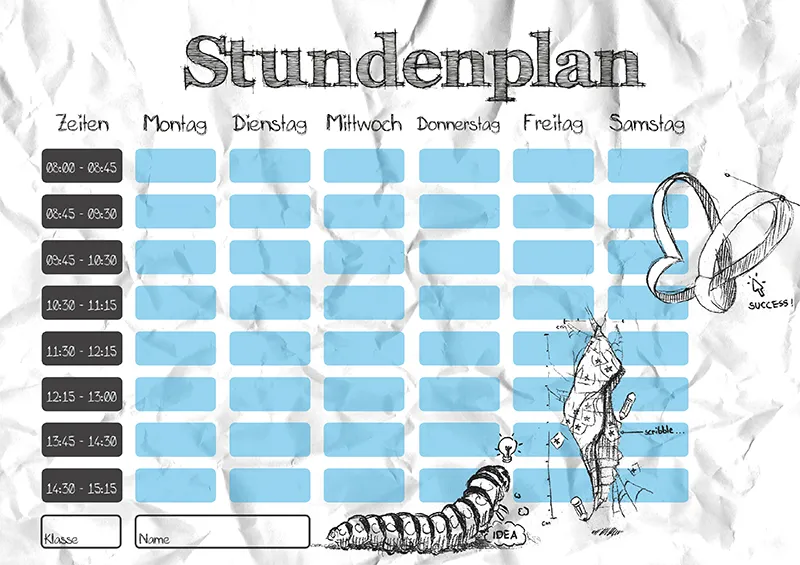
Step 1 - The preparations
Before we can really get started, we first need to set up the document! In this example, I decided to use a DIN A4-sized document in landscape format.
I then insert the rulers using the shortcut Ctrl+R.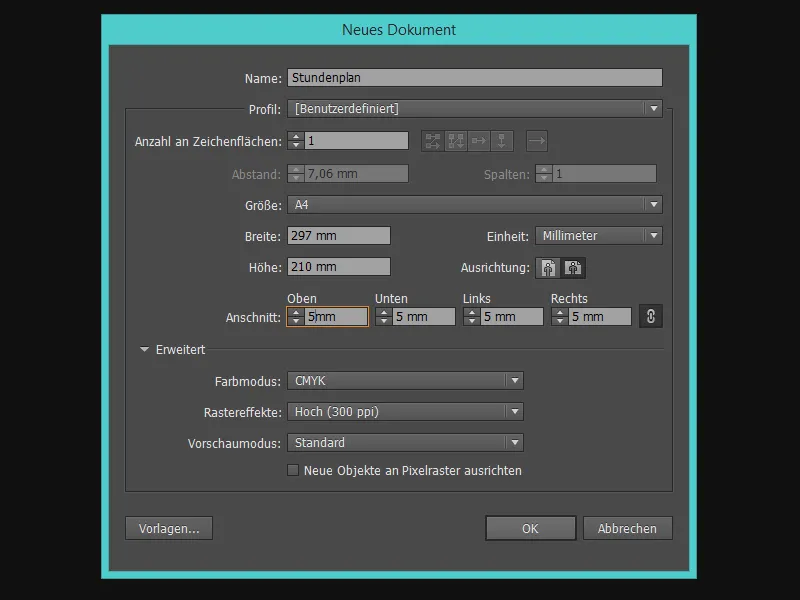
Now it's time to think about the column layout.
How many days of the week do I want to display on my timetable? How many columns do I need in total? In my example, I decide on 6 days of the week including a time column and a place column. That makes a total of 8 columns.
So that we don't have any problems with positioning the fields later, we create lots of guidelines now !
There are two best ways to create guides: Firstly, we can simply drag a guideline onto the ruler in the document (horizontally and vertically) by holding down the mouse button ....webp?tutkfid=90024)
... or we can create a straight vertical line with the line tool ( Shift+ :) while holding down the Shift key and then right-click - with the Move tool (V) - and click on Create Guideline..webp?tutkfid=90025)
In order to position the guideline precisely, we need to make more precise specifications for its X and Y axes.
To do this, we click on the guideline and enter the value in mm at the top of the menu under X to specify how far the guideline should be moved horizontally.
The values of the X-axis in this example are
10mm 40mm 45mm 75mm 80mm 110mm 115mm 145mm 150mm 180mm 185mm 215mm 220mm 250mm 255mm 285mm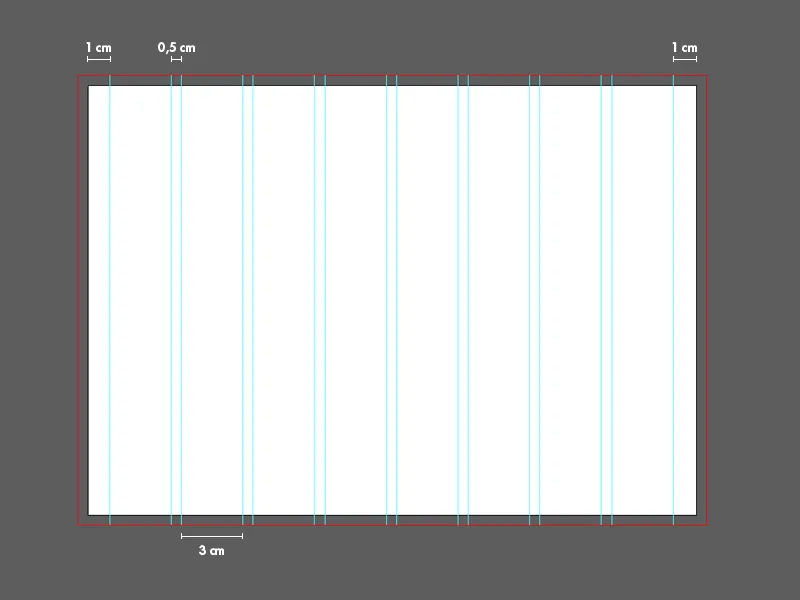
Step 2 - The title and the days of the week
I now create a text field with the text tool (T) and draw the frame on both sides up to the edge of the page.
For the title, I use the font FFF Tusj Bold and the font size 76 pt - the text is centered.
I then create another text field and enter "Monday".
The text fields for the days of the week are based on the size of the columns, so we drag the text frame up to the corresponding guides.
For the days of the week, I use the font Mia's Scribblings ~ and the font size 20 pt - the text is also centered here.
I duplicate the weekday text boxes by copying and pasting them several times (a horizontal guideline helps here to keep the text on one line). Finally, they are assigned to their respective column.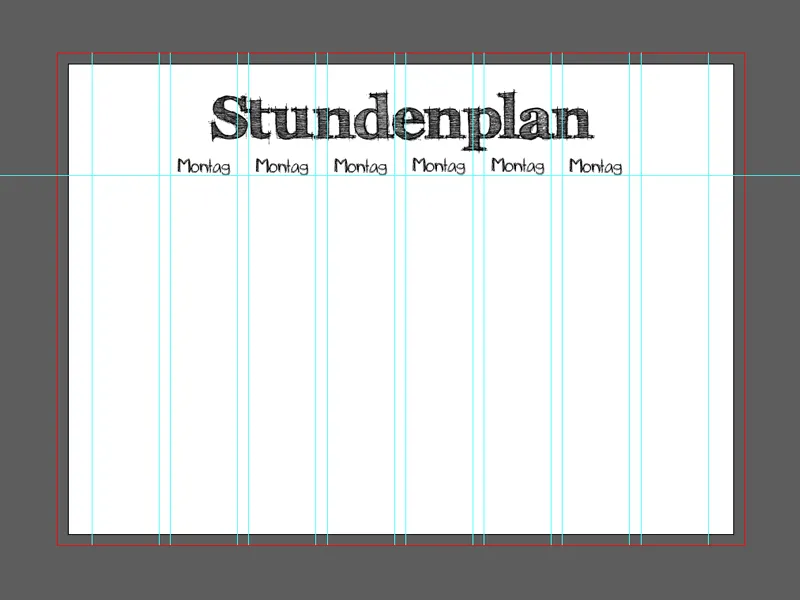
Now just rename the days of the week ...
Monday every day might be something for Stefan - but not for me.
For "Thursday" I had to play a little trick and reduced the font size to 17 pt.
I create another horizontal guideline at the end and place it 5 mm below the guideline for the text.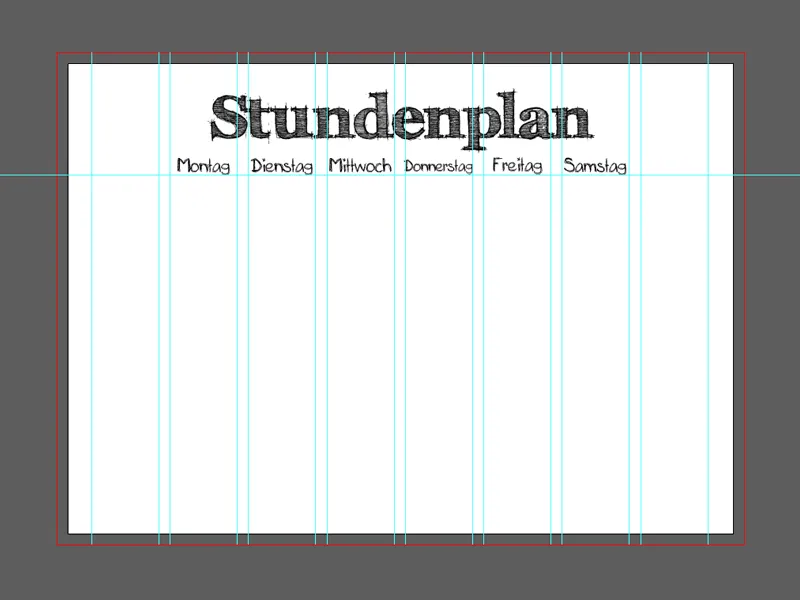
To make it easier to work without accidentally marking a guide, we lock it by clicking on View>Guides>Lock Guides..webp?tutkfid=90029)
Step 3 - The fields for entering the hours
I take the rectangle tool (M) and draw a rectangle within the column (in the example, the rectangle is 3cm x 1.3cm).
For rounded corners, we can simply click on one of the circles within the shape in Illustrator CC and drag inwards while holding down the mouse button. Alternatively, the rounded rectangle tool also works. Once we are happy with the field, we can duplicate it several times (in the example there are 8 fields in total) and arrange them one below the other.
Illustrator sometimes helps us to position them correctly with intelligent guides. If necessary, horizontal guides at 5 mm intervals to the fields can also help.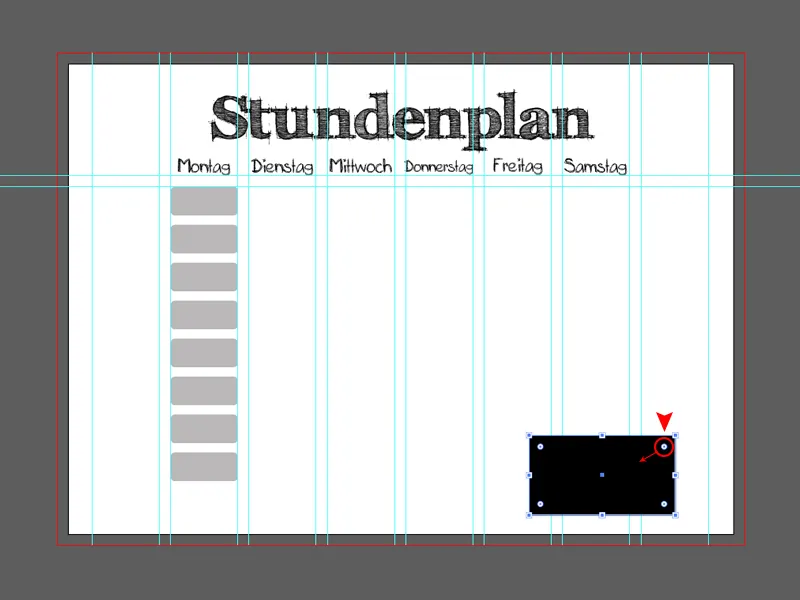
Now I just select all 8 fields by holding down the Shift key and group them by going to Object>Group.
We duplicate this group using the copy & paste method and add it to its respective column.
Done!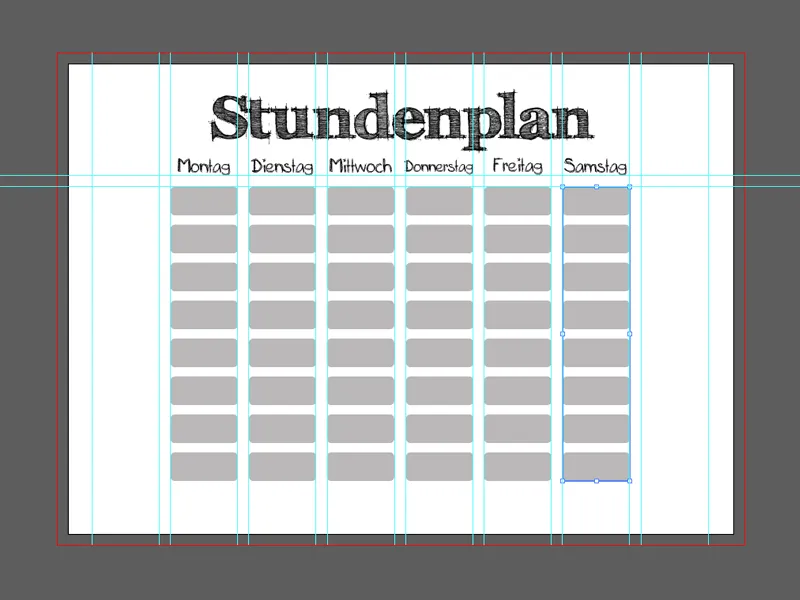
Step 4 - We decorate!
The basic structure of the timetable is now theoretically finished, but as it looks very unkind, I will spice it up with a drawing! This scribble font goes best with a sketch as an eye-catcher - so let's go to File>Place... and insert my drawing.
The drawing was previously cropped in Photoshop and saved as a PNG file in 3 parts.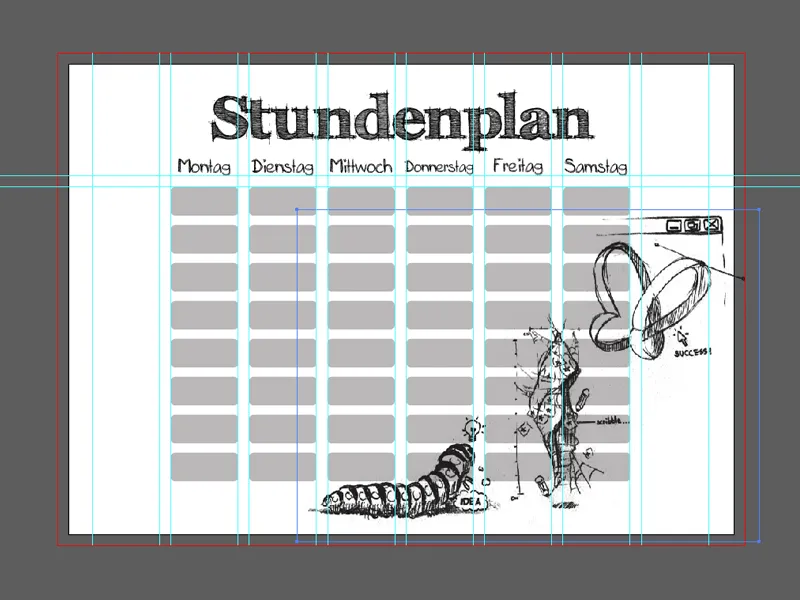
As I don't like the visible gray areas under the drawing, I use the pen tool (P ) to create a path around the outline of the drawing and fill it with white.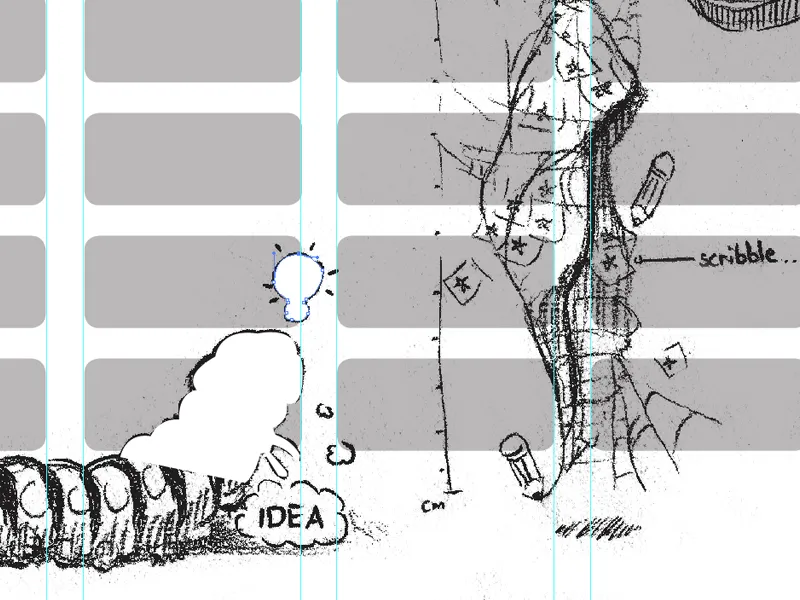
Finally, I place the white areas behind the drawing by clicking on Object>Arrange>Backwards step by step (repeat this step several times if necessary).
The white areas are now grouped with the corresponding part of the drawing - this makes it easier to move the drawings including the white areas if necessary.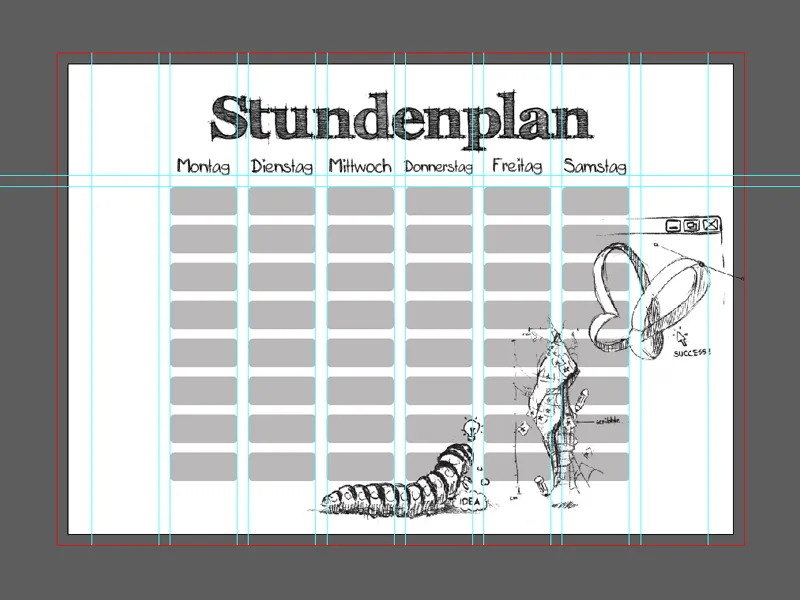
Step 5 - Name, class and times
Now we need a few more fields for the owner's name, the class and fields with the corresponding times.
To do this, we simply copy one of the fields from the days of the week (simply double-click in the group).
These fields can be extended without any problem - without losing the rounded corners:
Simply use the direct selection tool (A) while holding down the mouse button to draw a frame around the page that is to be extended and then drag it in the desired direction while holding down the Shift key..webp?tutkfid=90035)
In the example, the column for "Times" and a field for name and class have been inserted.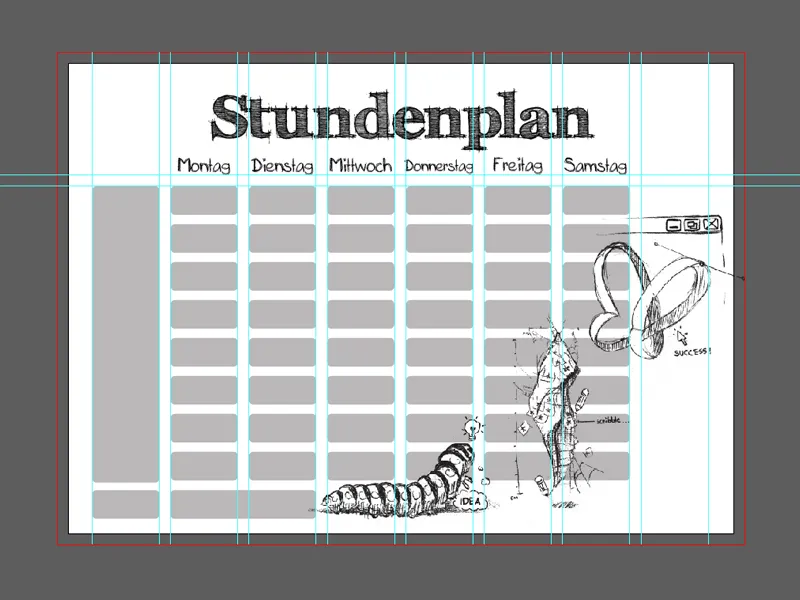
Now we just need to title and fill in the fields.
To do this, we simply create some text fields again (we can also duplicate existing text fields ) and adjust them accordingly.
In the example, I'm again using Mia's Scribblings ~ with a font size of 12pt - and centered as always.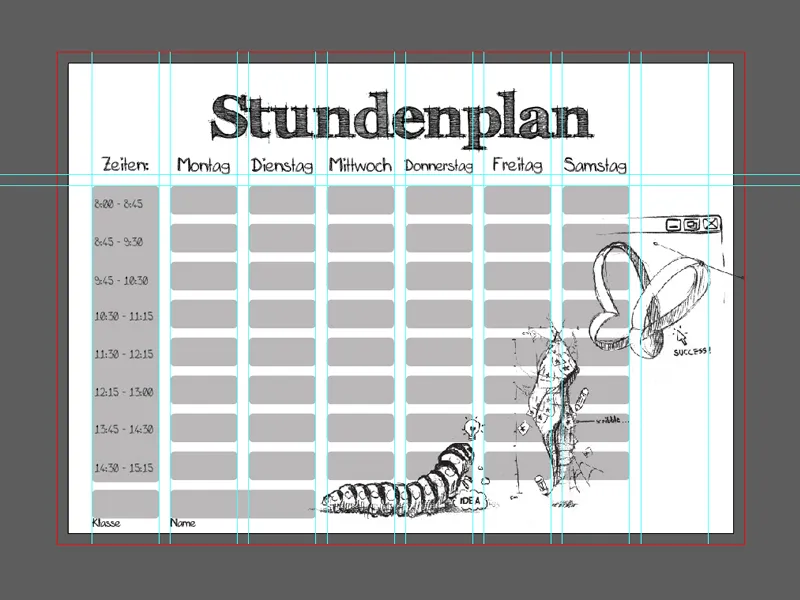
Step 6 - Final touches
Finally, I changed a few things.
For example, I turned the gray fields for the days of the week blue and reduced the transparency slightly (Window>Enable Transparency ).
I also replaced the large "Times" field with several small dark gray fields and colored the font white.
The class and name fields have been given an outline and the drawing has been moved a little more appropriately.
As a small highlight, I crumpled up a sheet of paper, scanned it in and used File>Place... to set the sheet as the background.
Simply drag the image to the right size (DIN A4) and move it to the background under Object>Arrange>Move to background.
Fits perfectly with the Scribble fonts!
Now you can print out your timetable (note the bleed area) and save it as a PDF.