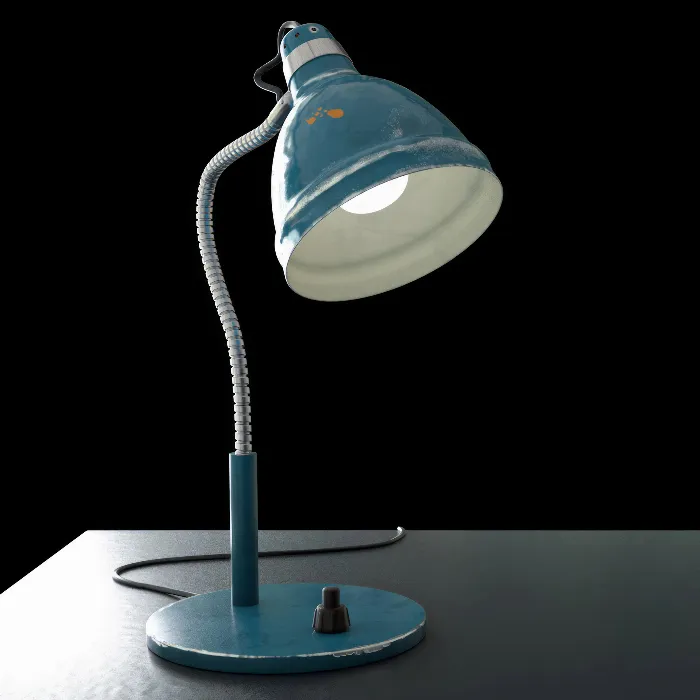
To give your 3D models a more realistic and worn look, using a dirt map is essential. A dirt map, or "dirt texture," helps to add details that make the model appear more alive. In this tutorial, you will learn how to effectively create and adjust a dirt map in BodyPaint 3D.
Key Takeaways
- A dirt map enhances the realism of materials.
- Working in the bump channel is crucial for design.
- Adjustments to visibility and colors can be easily made.
Step-by-Step Guide
To successfully create your dirt map, follow these steps:
First, you need access to the material properties of your model. Double-click on the material you want to edit. You can do this by double-clicking on the small material icon. It is important to work in the material editor to avoid potential errors. Double-clicking is a helpful way to quickly access it while maintaining the flow of your workflow.
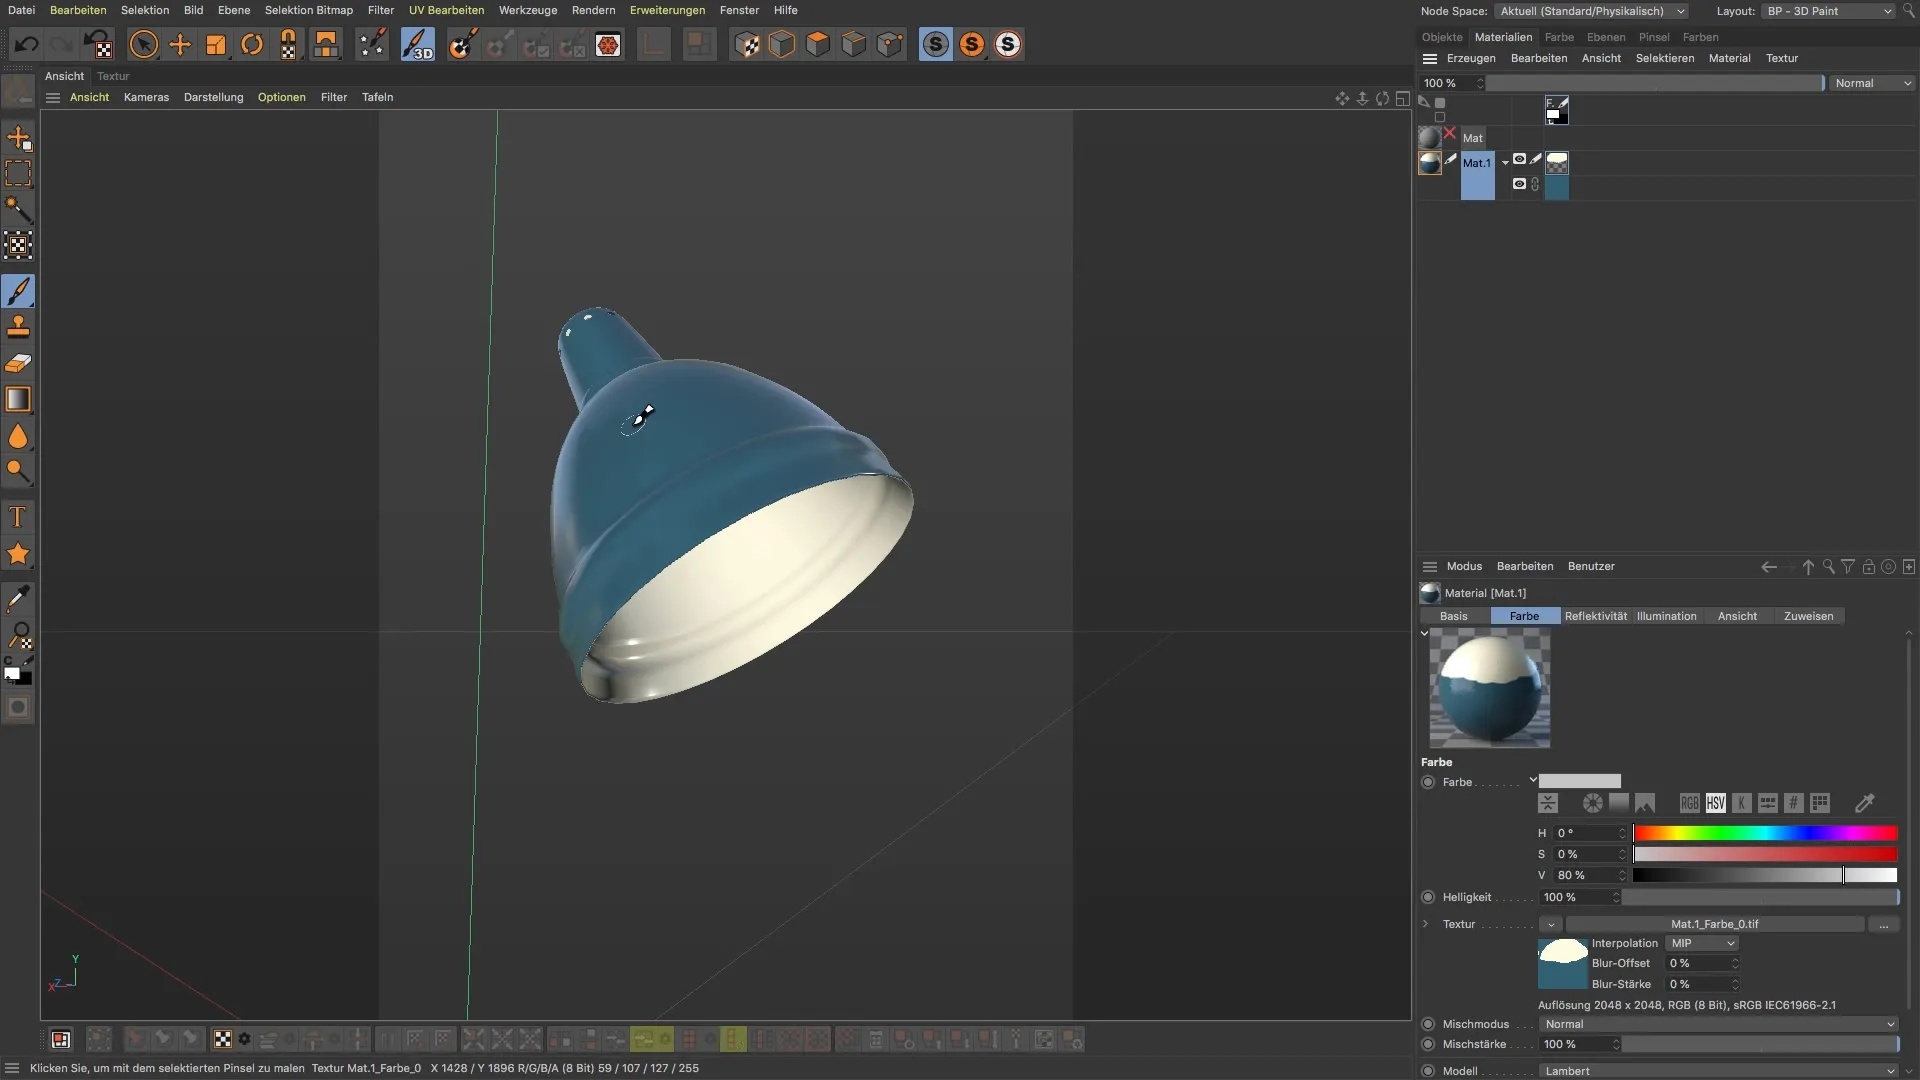
Once you are in the material editor, focus on the diffusion channel. First, load the texture for the dirt map. Since the dirt map plays a fundamental role, make sure to use it in the right channel. Select the diffusion channel by clicking on the corresponding field. To have this map have the greatest impact on the material, ensure that the "Affect Reflection" function is enabled. This makes the effect more realistic by influencing the reflection with wear and tear.
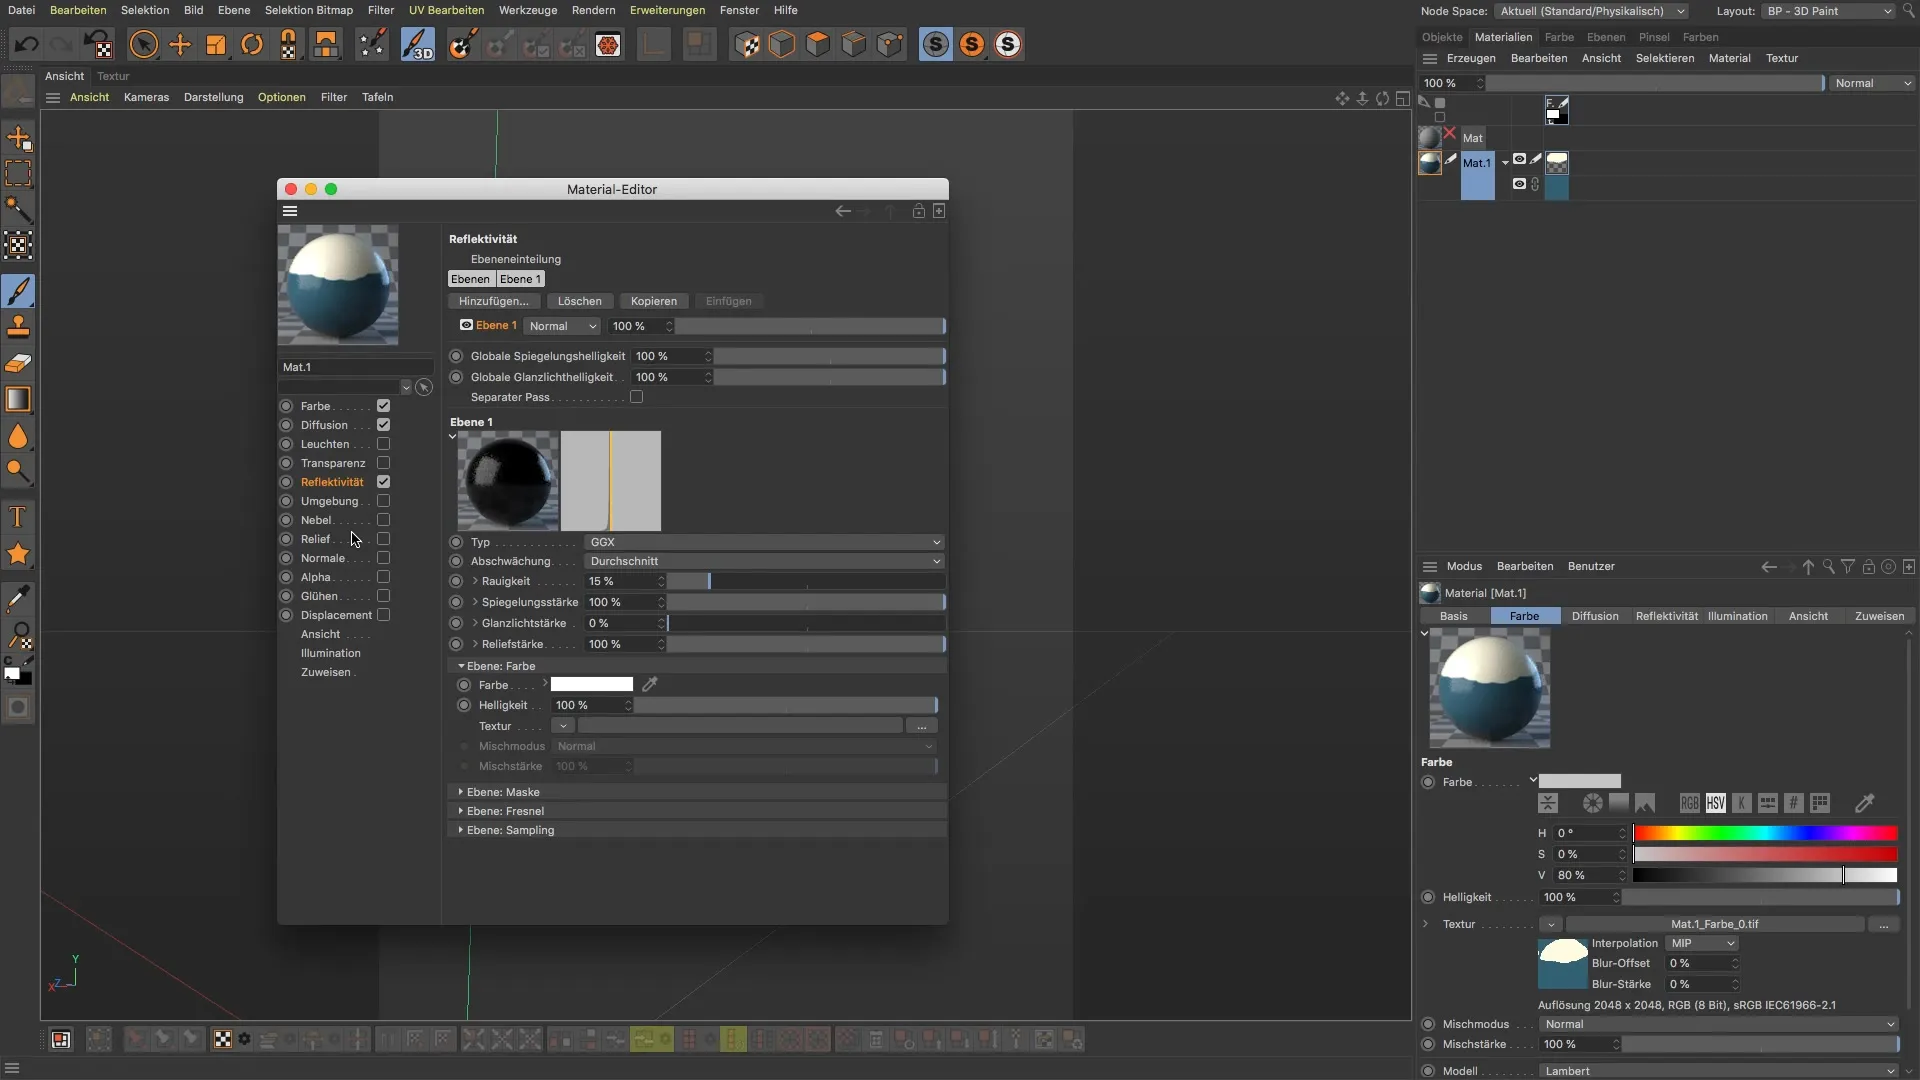
Now is the time to load the dirt map. In this specific tutorial, we are using a 2K mapping file. It is advisable to save the map as a TIF to preserve the layers that you may want to add later. Make sure you download the desired map from a trusted source to avoid legal issues. Here we recommend Cornelius Demrich's site, which offers great maps.
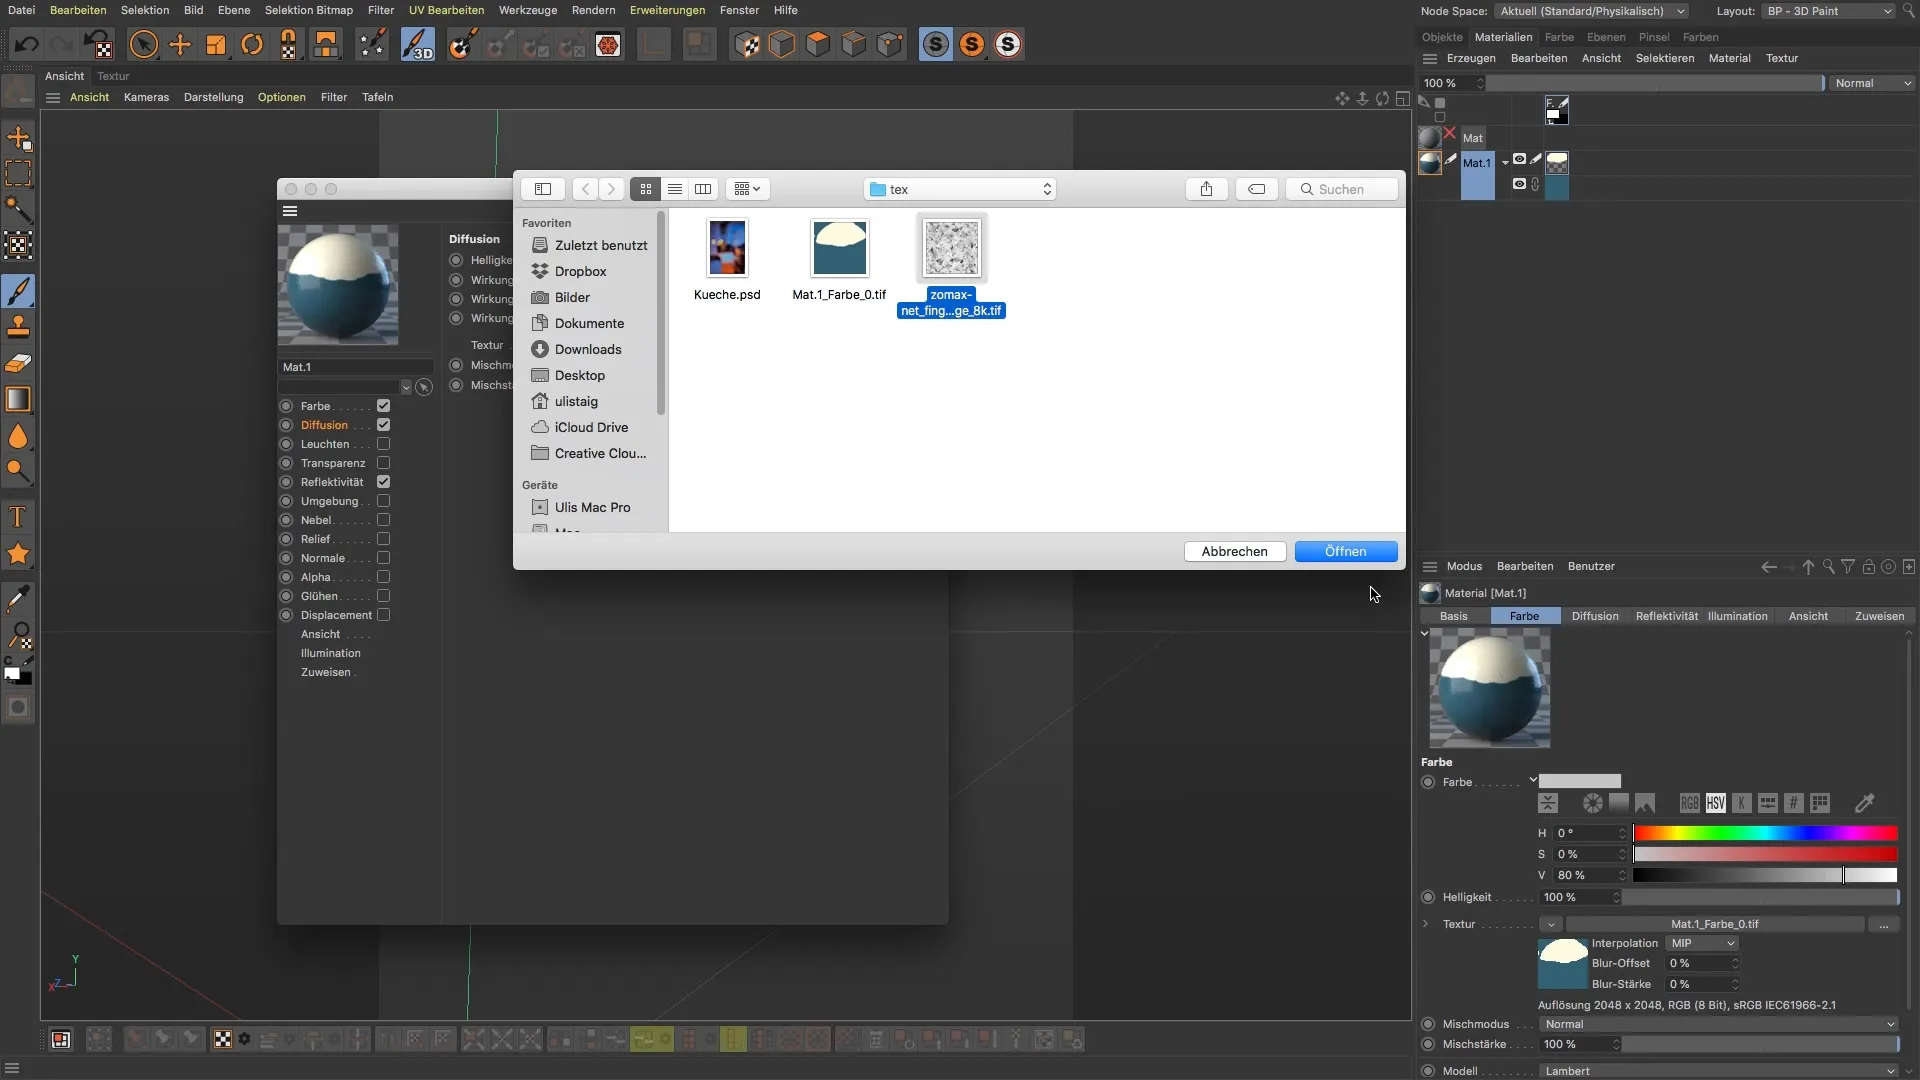
After successfully loading the map, adjust the mix strength slider to around 33%. This prevents the texture from appearing too dominant, which can affect the overall model representation. You can also experiment with values between 30% and 40% to achieve the best effect.
To increase realism, adjust the reflections of the dirt map. Avoid excessive dirt accumulation on the reflective areas of your model, as this can significantly affect the overall design. Here, you can again choose the "diffusion" function and ensure you select the correct painting layers.
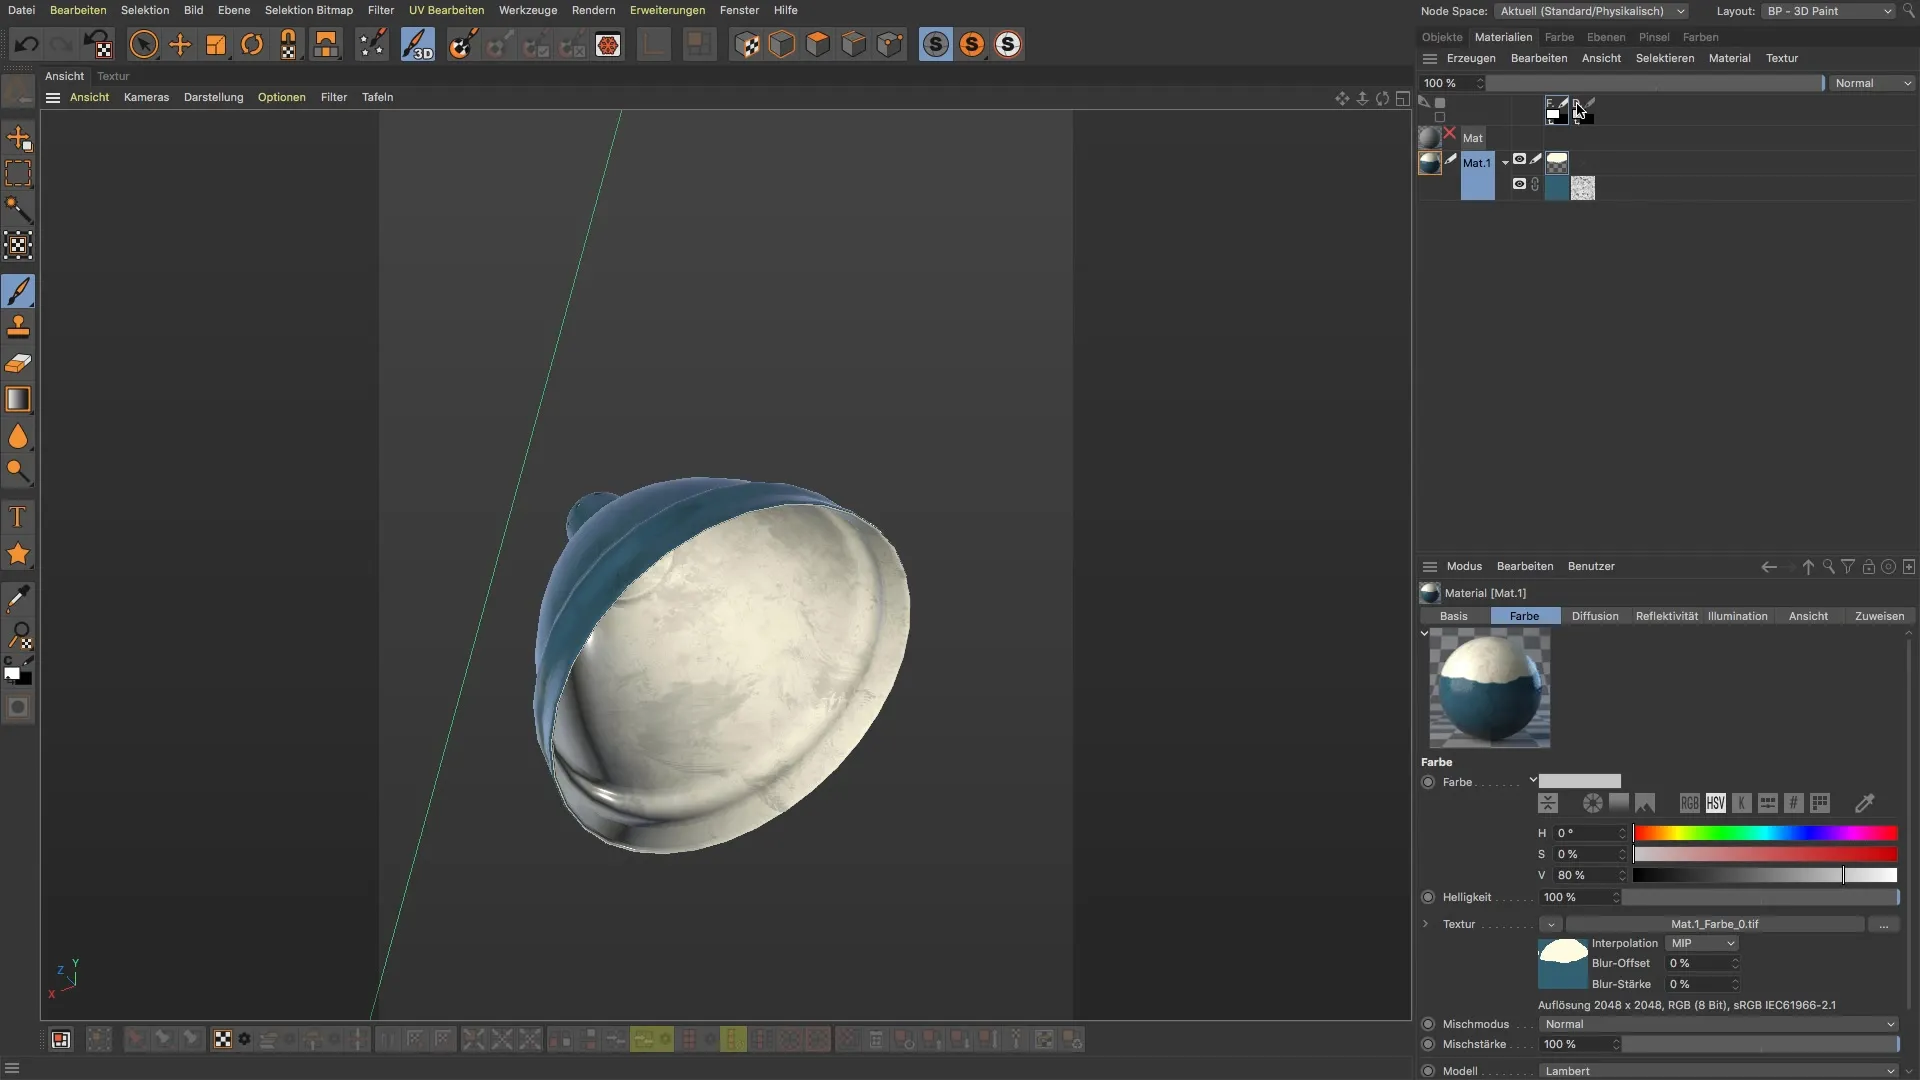
Next, create a new layer for the inside of your map. Name this layer to maintain clarity. For example, you could name it "Inside." Saving in TIF format will help you preserve the quality of your edits.
Now you can start painting. Adjust the brush size as needed and ensure a hardness of 100%. Begin gently applying your color to the inside. For more precise control, check the textures in the textures tab rather than just working in the normal view. This way, you can see exactly how the borders run and where adjustments are needed.
If the brush size is too small or you encounter difficulties, adjust the size or decrease the brush size to reach tighter areas. Let your creativity flow to paint the entire inside evenly or in your style with the color.
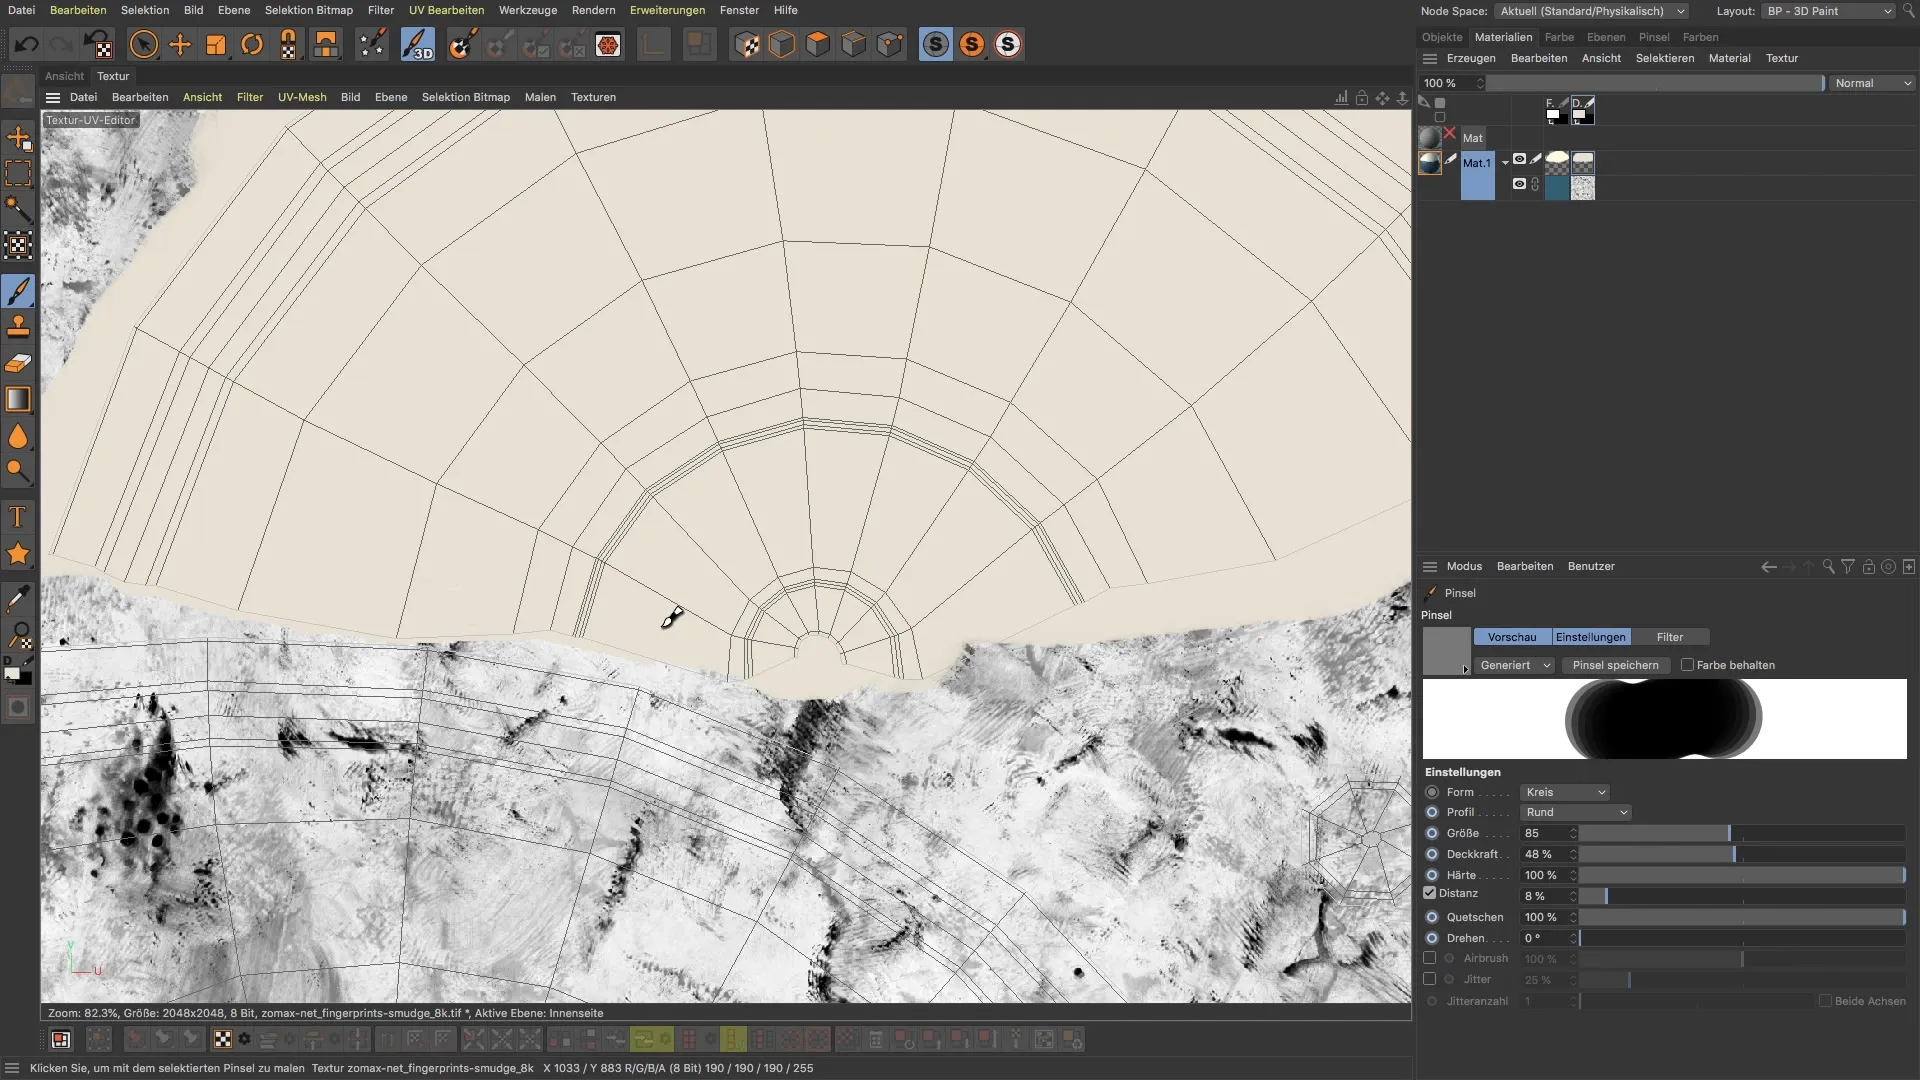
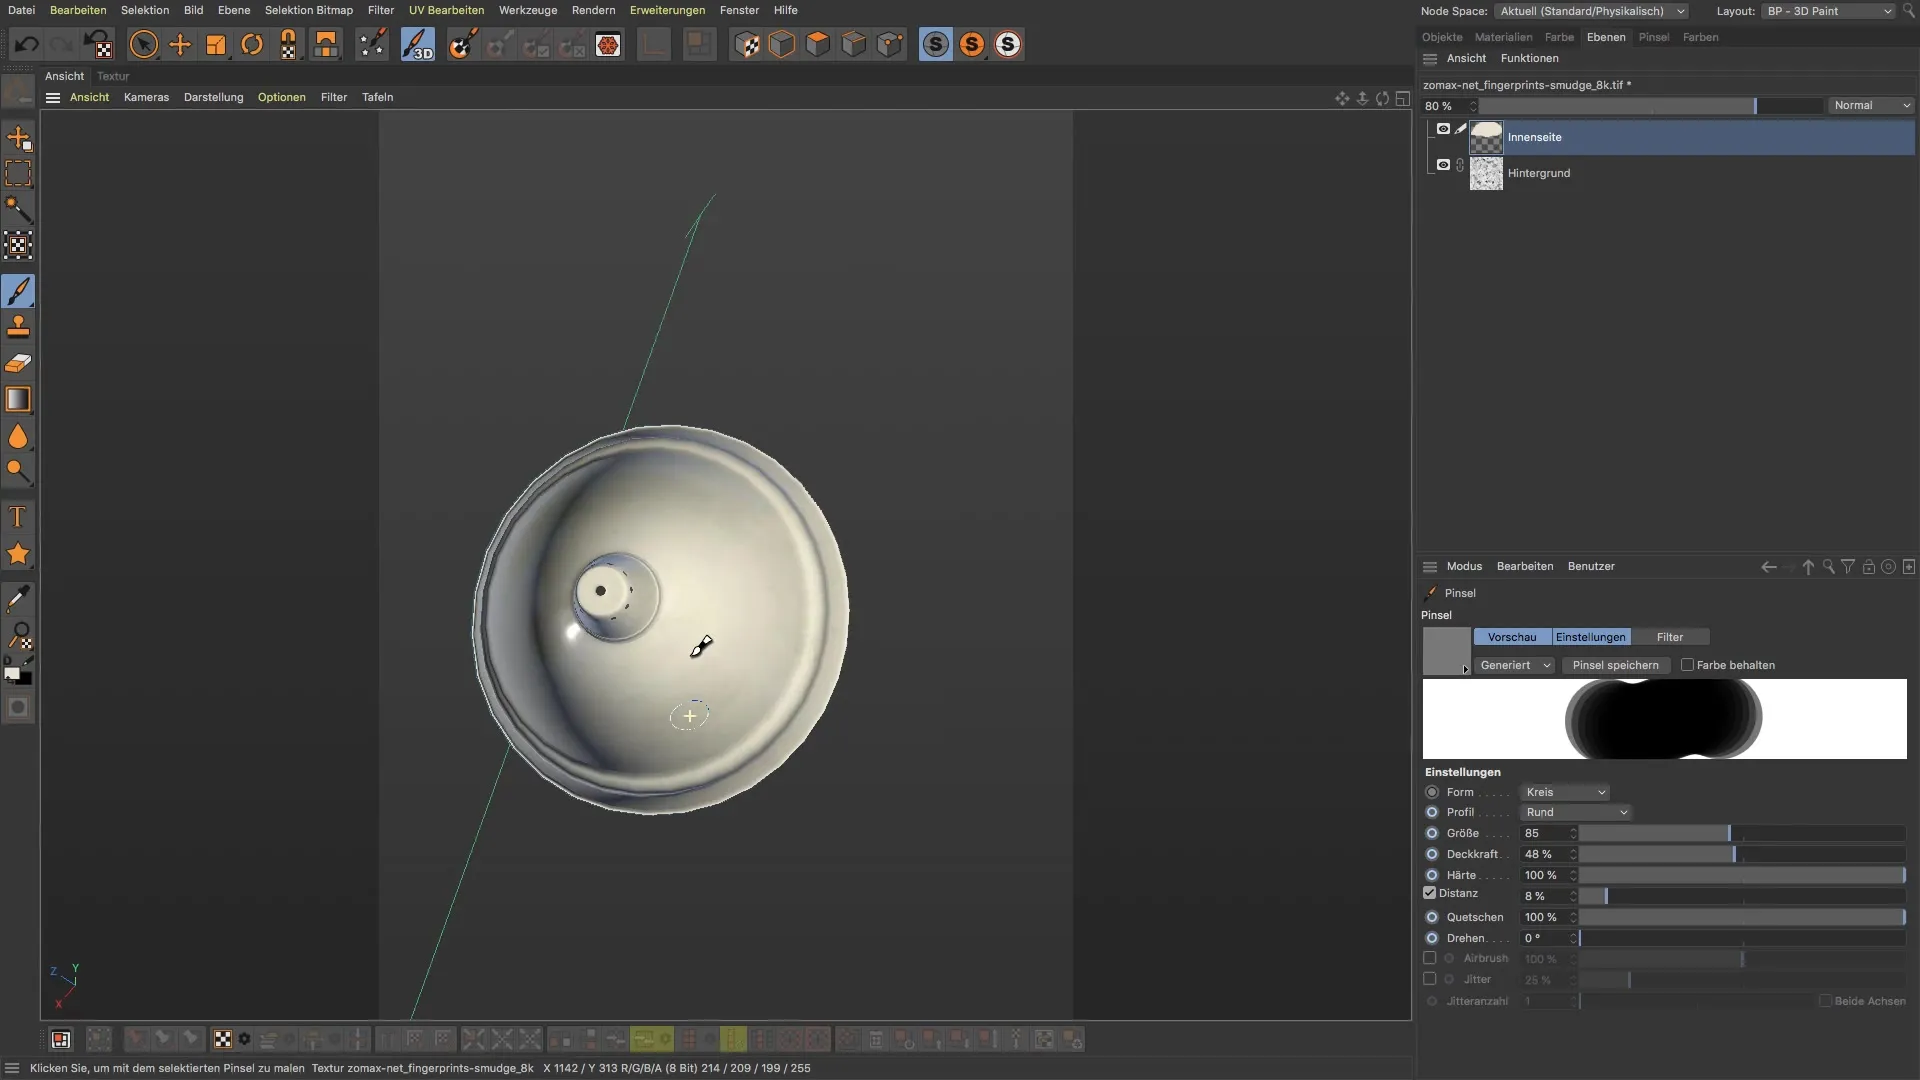
Once you finish, check the opacity of the layers. Reducing it to around 80% ensures that the dirt map is not too prominent while still allowing realistic details to be visible. You can further adjust visibility according to personal preference. This not only adds depth but also a certain patina crucial for many 3D models.
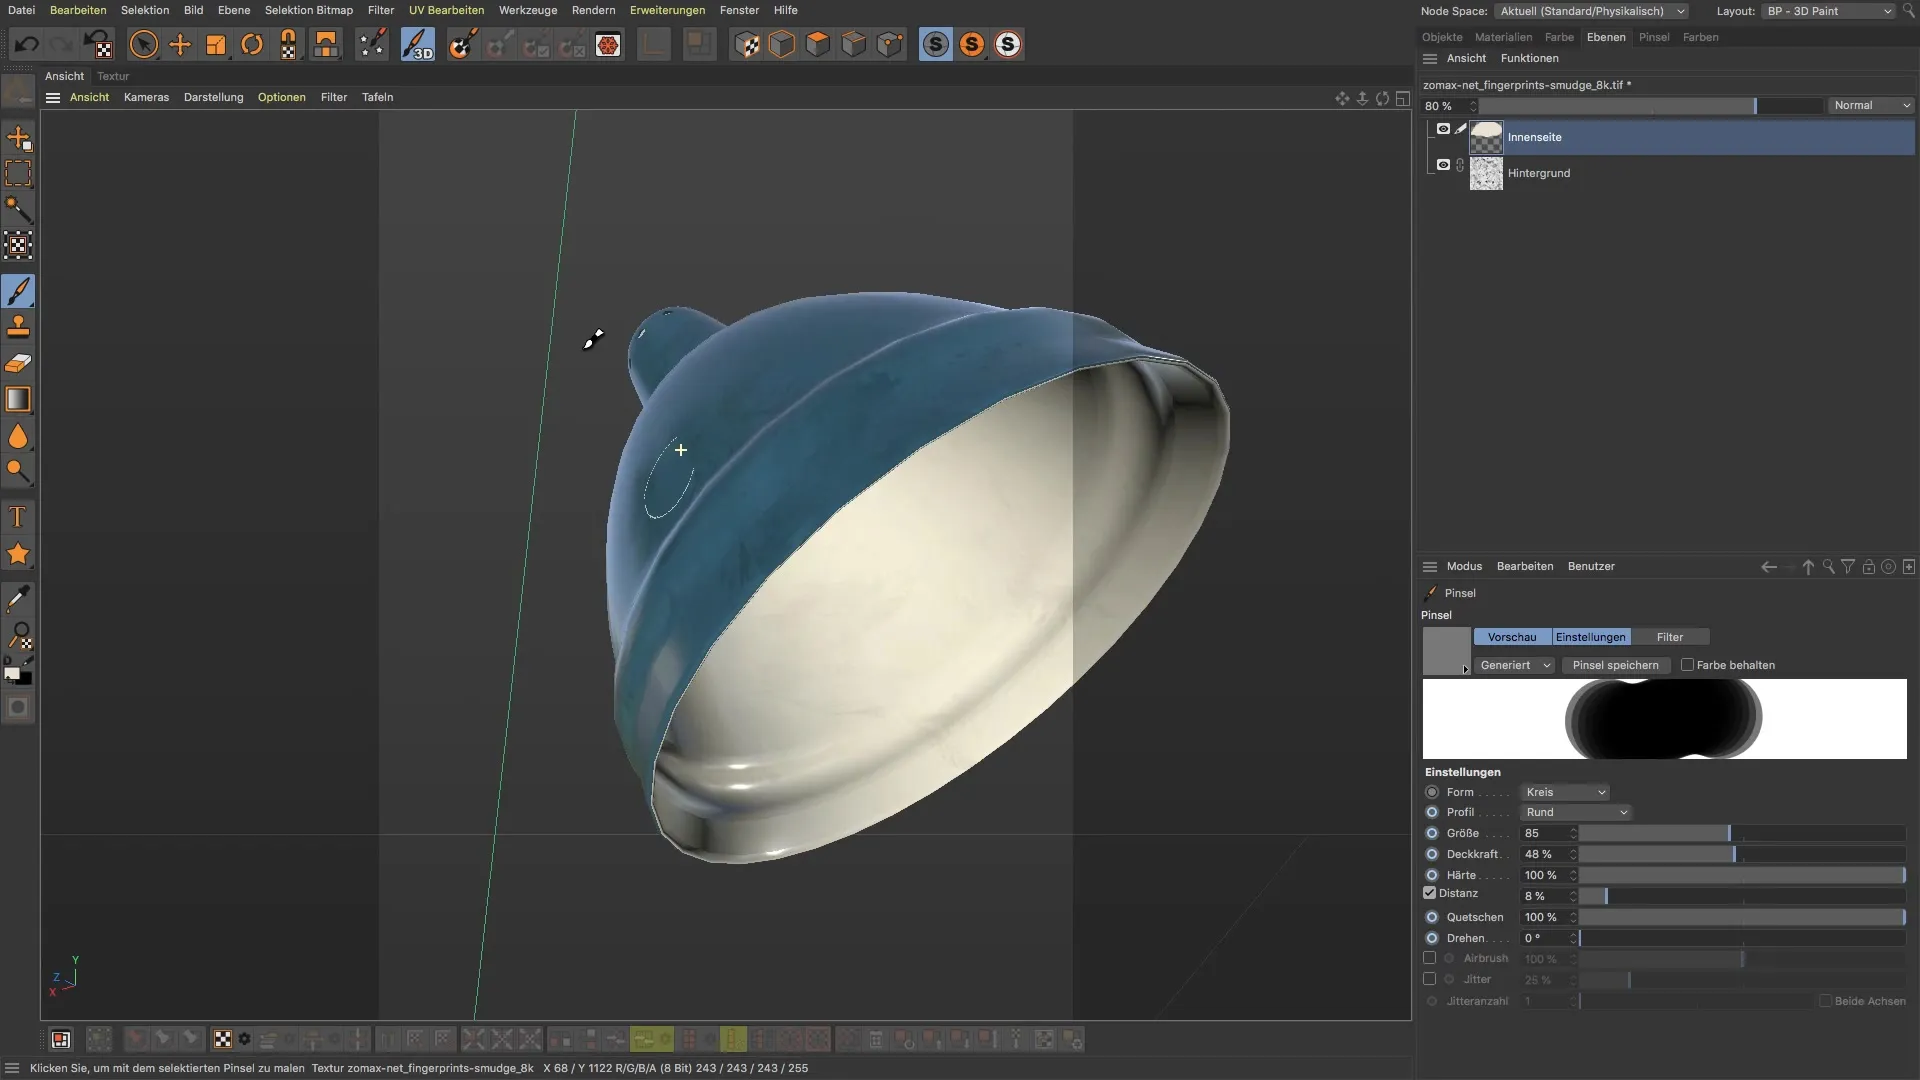
You will quickly realize that it's important to consider seams – so-called "seams" – as well. These can be disruptive during painting. Instead of being worried, stay calm; we will address these seams later in the tutorial.
Summary
In this guide, you have learned how to effectively create and adjust a dirtmap in BodyPaint 3D. You have navigated through the different phases of the process step by step and now understand the importance of adjustments in the material editor. The result is an improved realistic representation of your model, highlighting it and bringing it to life.
Frequently Asked Questions
How do I load a dirtmap in BodyPaint 3D?Double-click on the material and choose the diffusion channel to insert the dirtmap.
What is the difference between TIF and JPEG for textures?TIF files preserve layers and quality, while JPEGs use compression and may lose details.
How can I adjust the visibility of a dirtmap?Reduce the opacity of the corresponding layer in the layers management panel.
Where can I acquire high-quality dirtmaps?A recommended source is corneliusdemrich.com, where you can find many free and high-quality maps.
What is a "Seam" in a 3D model?A seam is a junction that occurs when textures are connected at different points of a model, occasionally leading to undesired transitions.
