Working with BodyPaint 3D, you will be confronted with complex textures and rendering techniques in many situations. In this tutorial, you will learn the crucial render settings to maximize the full potential of your creations. The example in this video shows you what a lamp looks like at the end of the rendering process and how you can adjust your own models to achieve similar results. Focus on the techniques learned and the important render settings to achieve the best look for your projects.
Main Insights
- The visual impression can be significantly influenced by the choice of background.
- By adjusting your material properties, you can improve the quality of the rendering.
- Understand the basic render settings to achieve impressive results effectively and efficiently.
Step-by-Step Tutorial
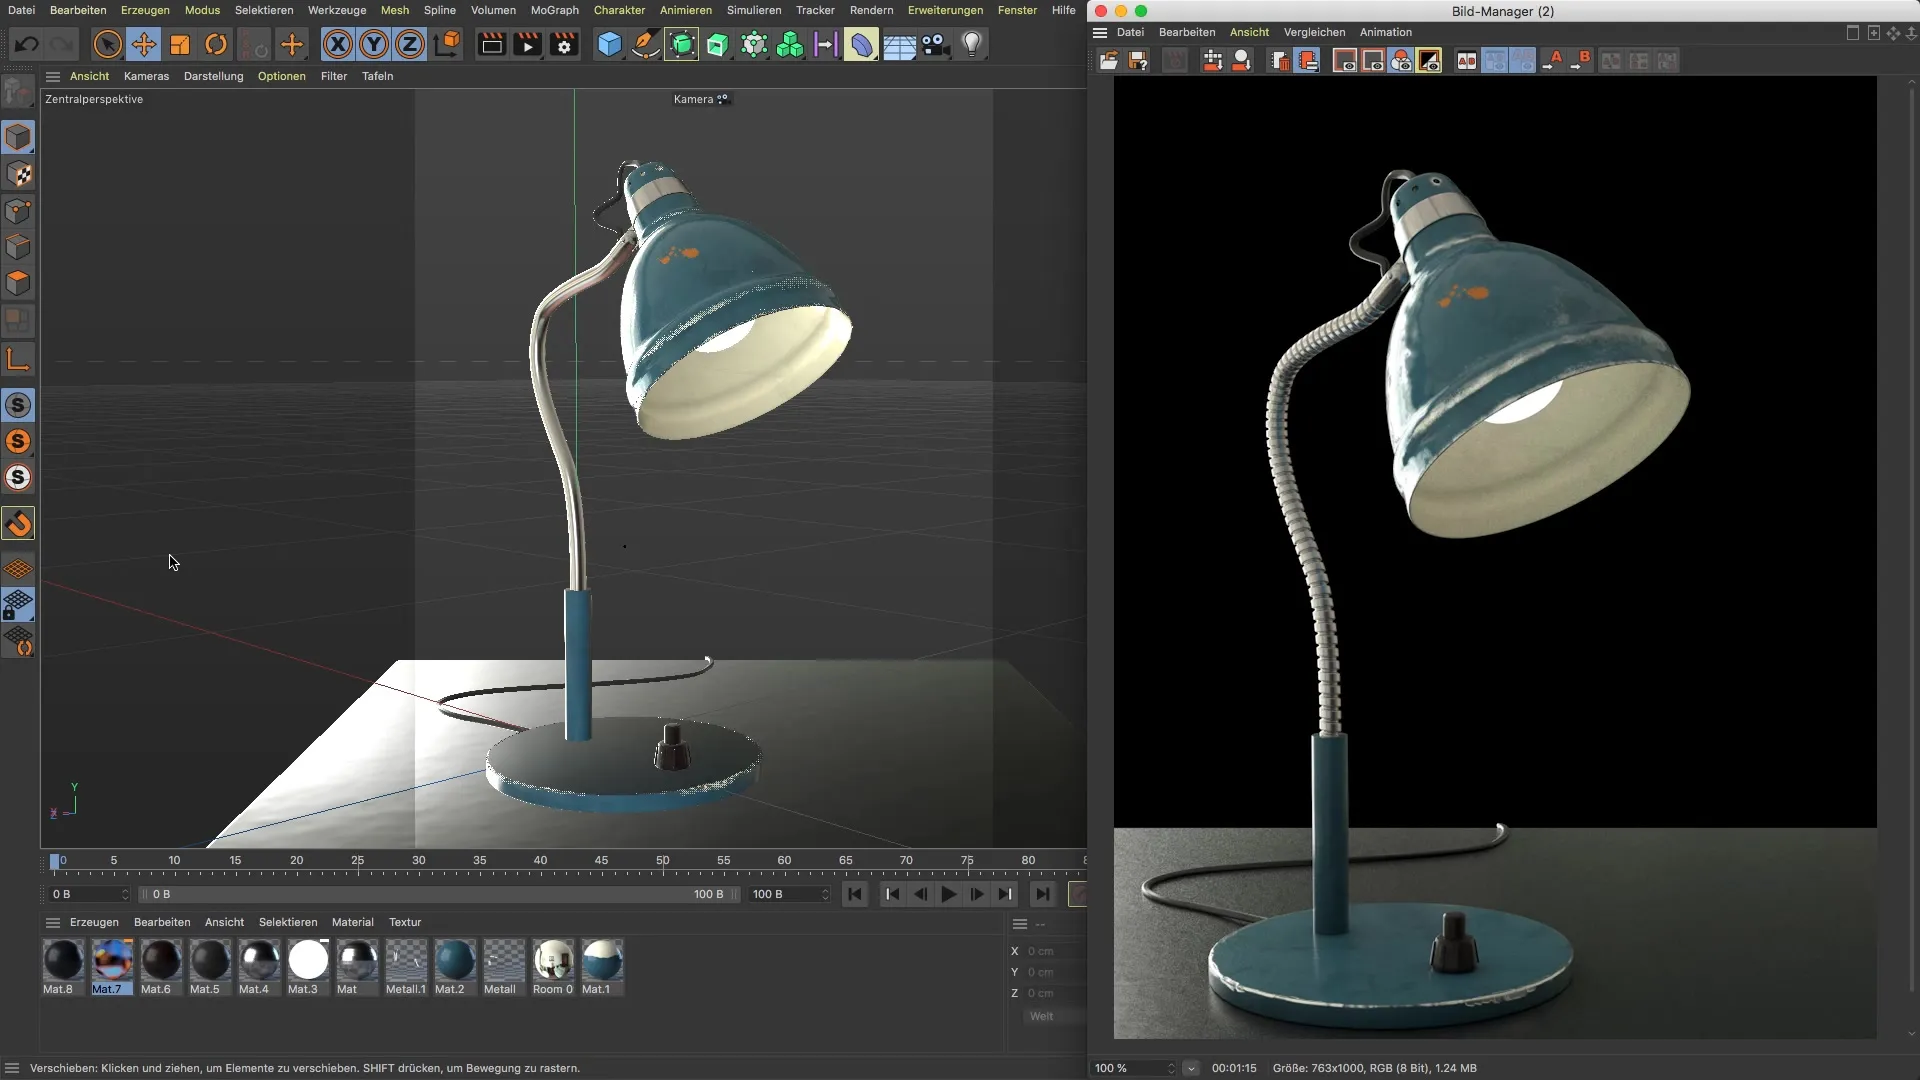
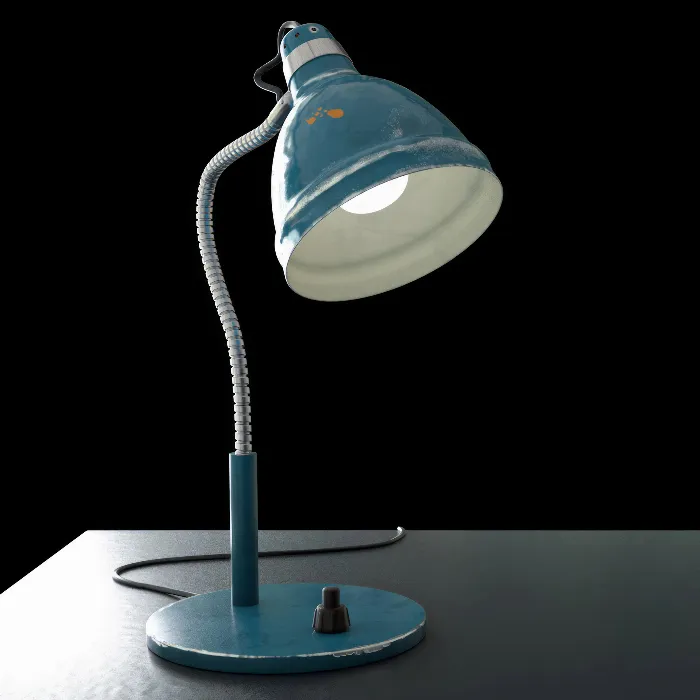
Initially, the tutorial presents the end result. You will see how the lamp looks after it has been rendered. It is important to note that the design of the lamp is perfectly matched to a black background, which focuses on the model.

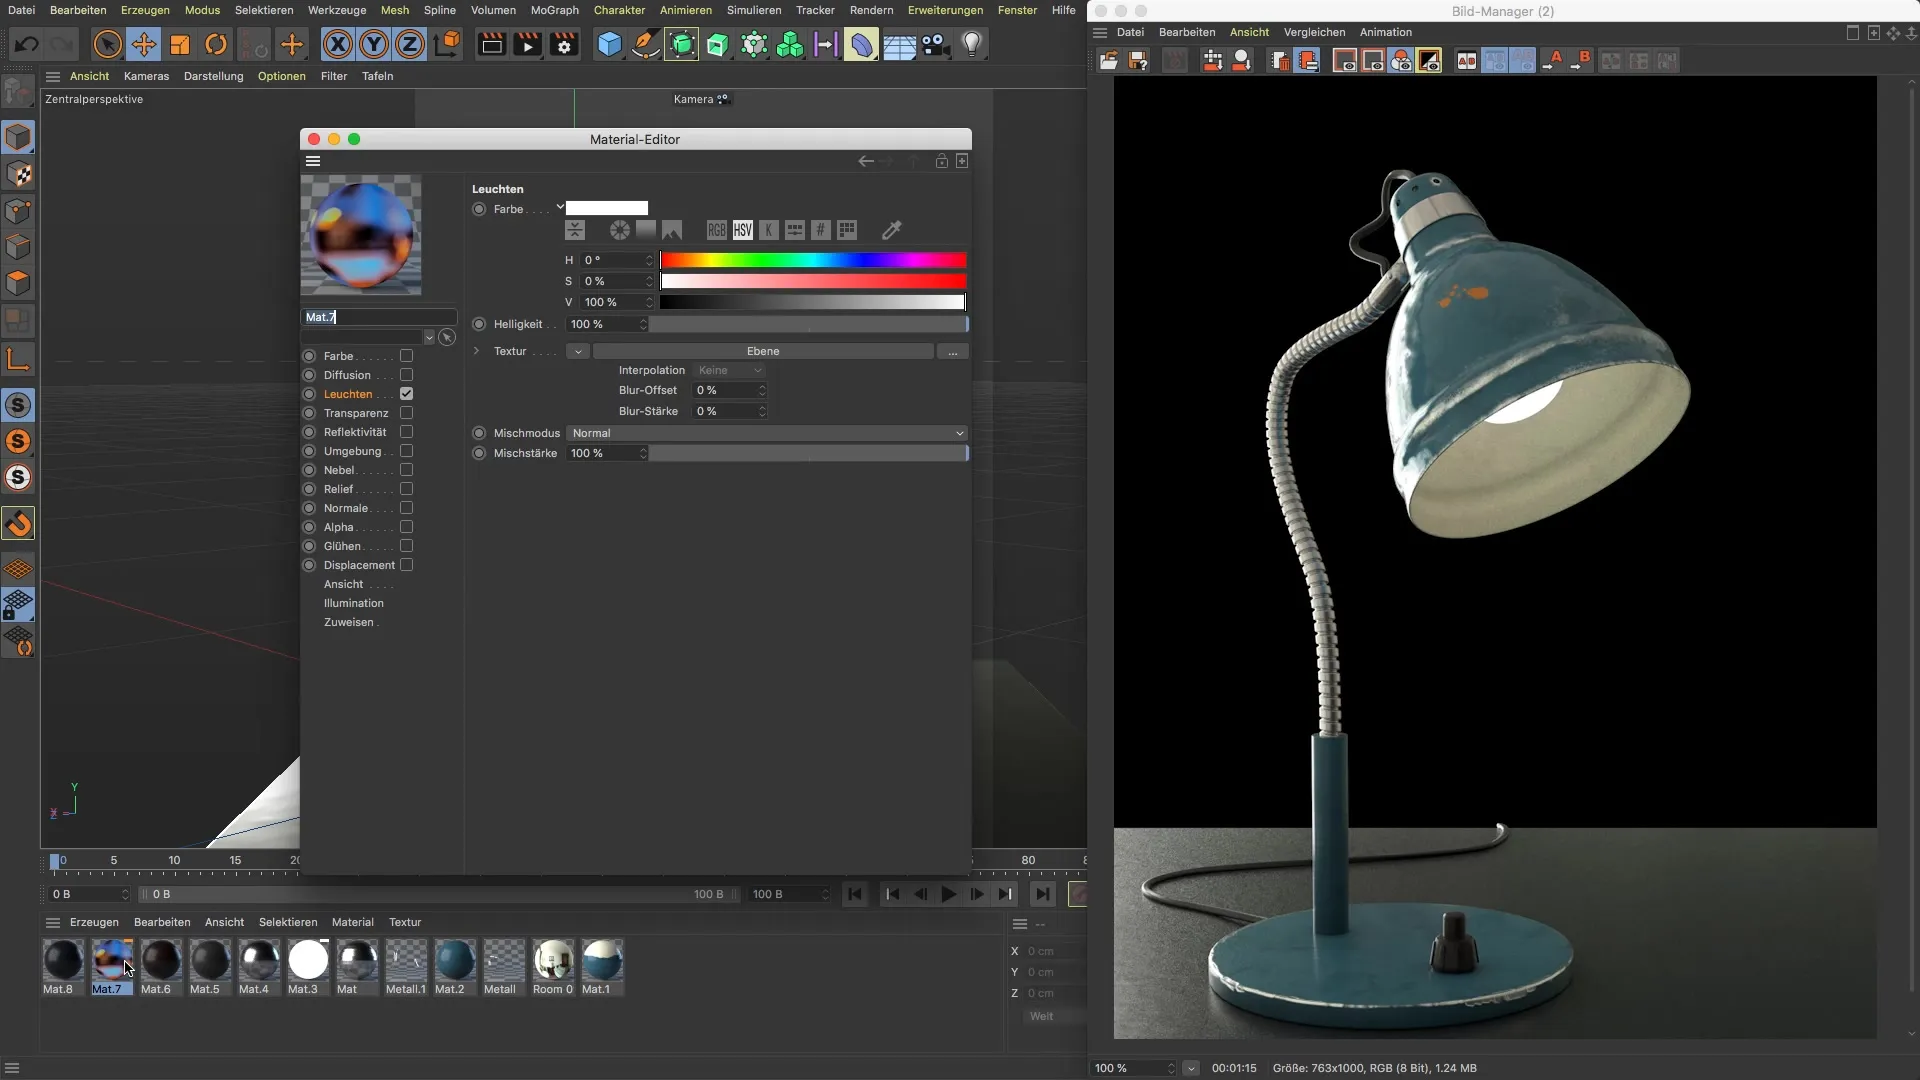
An important aspect is the use of the right material. The tutorial points out that you can adjust the material used for the lamp to your advantage. By placing your model in a more realistic environment instead of a completely black background, you can significantly enhance the presentation of your work.

If you wish, you can also use your own HDRI maps to add different light sources and environments. Alternatively, the black background remains an option if you want to focus on the model itself.
The technique you have learned allows you to create models with various effects, such as paint damage. This method opens up many creative possibilities in your projects.
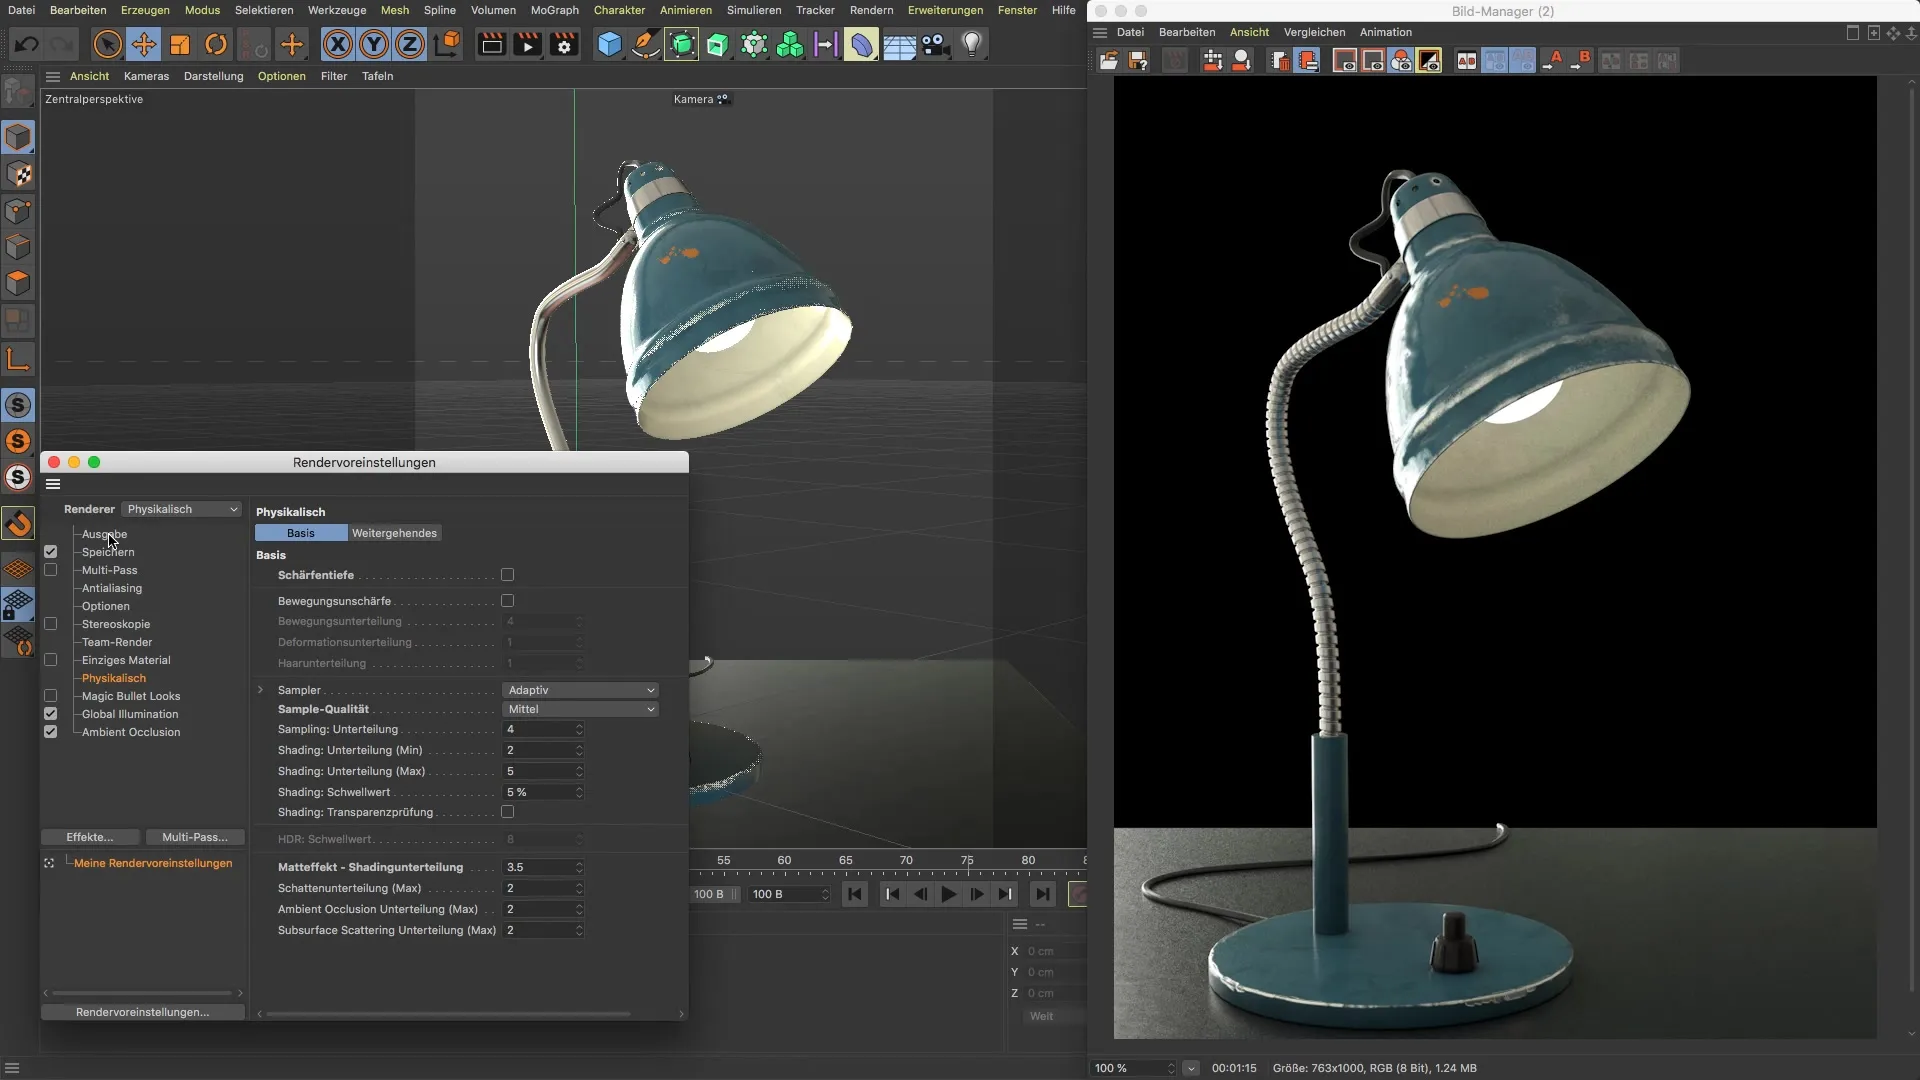
Now let's focus on the render settings. You should not only concentrate on the final image, but also understand the processes happening behind the scenes. An important setting is the rendering resolution. As explained in the video, the resolution is ideally set to 1080p, which already provides you with good visual quality.

Sample quality is another critical point. For most projects, medium sample quality is perfectly sufficient. This ensures efficient rendering without excessively sacrificing quality.
For the matte surface of the model, it is important to adjust the matte effect parameters. The tutorial shows that fine-tuning these values is crucial for how clean and detailed the texture appears. To improve quality, the subdivision level was raised from 2 to 3.5 to achieve a less grainy result.
Finally, understanding render settings should not only serve as a basic technique, but also as an inspiration to integrate these concepts into your own workflow. Use what you have learned to further develop your artistic visions and realize sophisticated designs.
Summary
In this tutorial, you have learned how to make simple yet effective adjustments to the render settings to optimize the quality of your products. You can now work more confidently with BodyPaint 3D and integrate the latest techniques into your workflow to create impressive graphic experiences.
Frequently Asked Questions
How can I change the background color?You can adjust the background color in the project settings or use custom materials.
What is the recommended sample quality for renderings?Medium sample quality is sufficient in most cases.
How do I change the material properties?You can adjust the material properties in the material library of BodyPaint 3D.
Does increasing subdivision level improve render quality?Yes, a higher subdivision level enhances texture detail and reduces graininess.

