Here I would like to briefly show you how to create a double outline for texts that are to remain editable. This is basically quite simple.
You can see the example in the screenshot above and that's exactly what I want to do now.
Step 1
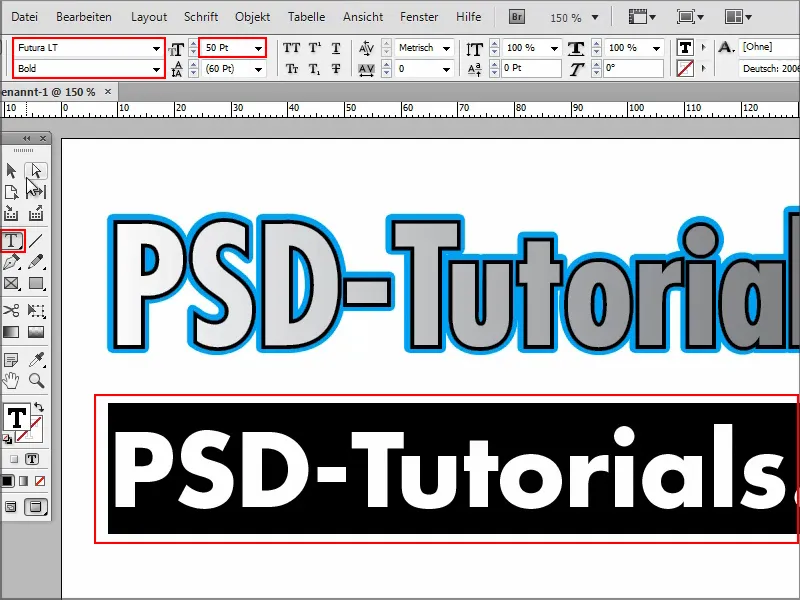
I create a new text area, write "PSD-Tutorials.de", can select everything with Ctrl+A and give the text a proper font in Bold. I increase the size of the font and, holding down the Shift key, jump up in increments of ten.
Step 2
Then it's time to get started: to create a double outline, I first have to create a normal outline.
I select the text and give it a color, let's say pink.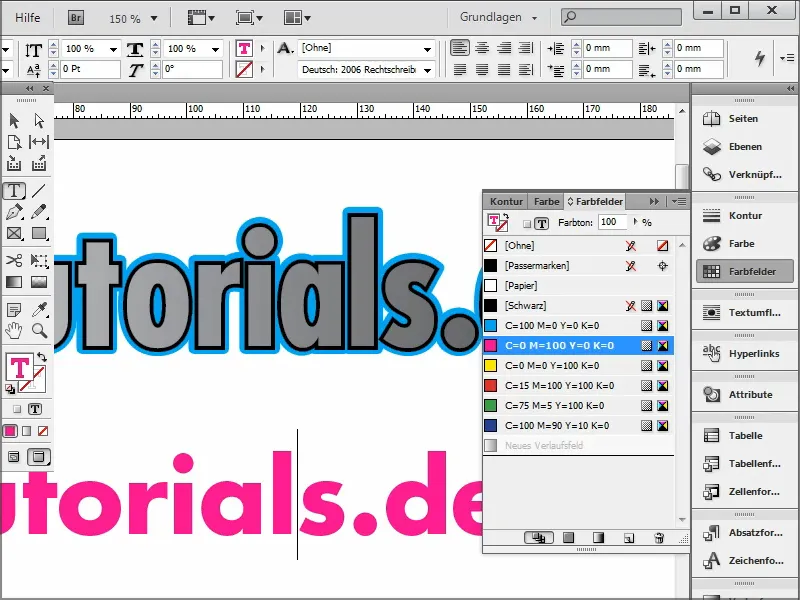
Step 3
If I want an outline, I first have to select everything again and then click on Outline at the top.
I select black, for example, and I have an outline.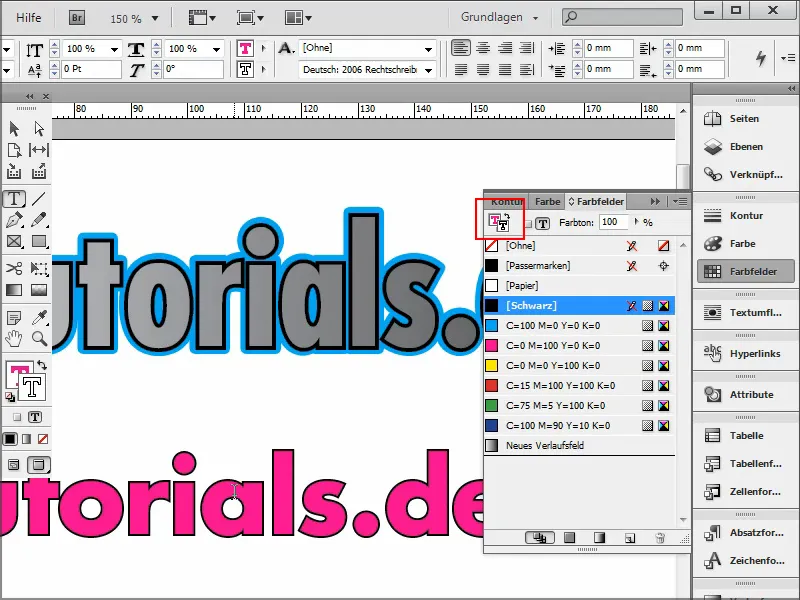
Step 4
I can set how many pixels of contour I want in the contour control panel.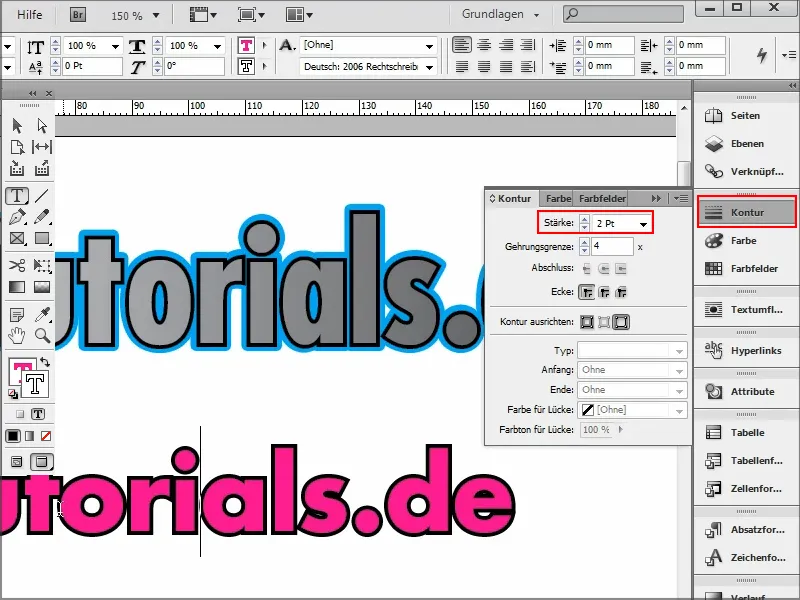
Step 5
What if I need another contour, as in the example above?
To do this, I simply go to the effects menu by clicking on fx at the top. I select Shine outwards....webp?tutkfid=90090)
Step 6
... and the settings window opens. Here it is important that I select the setting for: Object and set the mode to Normal.
I can select the color directly and confirm with OK.
I set the opacity to 100%.
Now everything is still very soft like a drop shadow or a normal soft glow. I therefore set the technique from soft to precise and set the value for overlap to 100%.
And now I have my contour. It's still a bit too big for me, which is why I set the size as I need it. For example, 1 cm or, if I want it smaller, I can also enter 0.5 mm manually.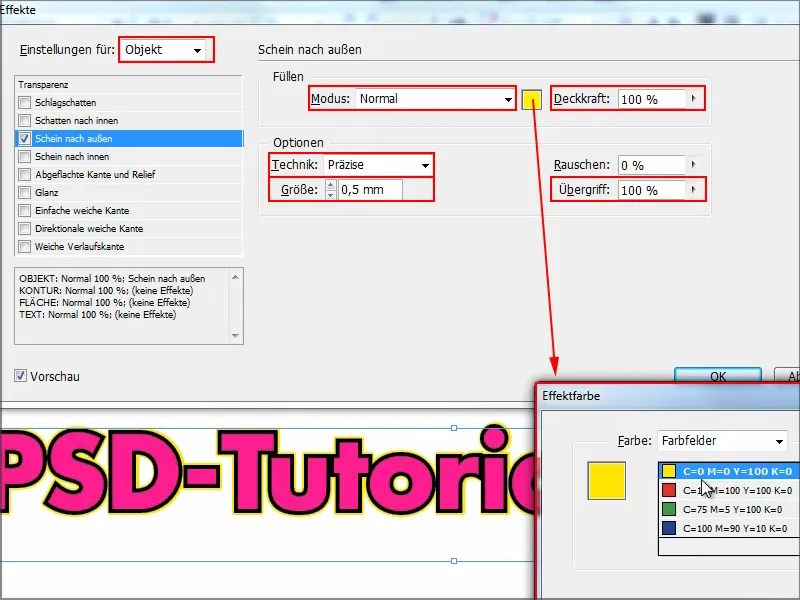
Step 7
I now have the double contour and the whole thing can be edited at any time. I can change everything in the text, for example remove the ".de", no problem.
Or, as you can see in the example above, I could insert a gradient. To do this, I select the text (here: "PSD"), go to Color fields and click on New gradient field. I then have a small gradient in it.
If the gradient appears in the outline, you have to undo this again and first swap the area and outline in the settings window at the top.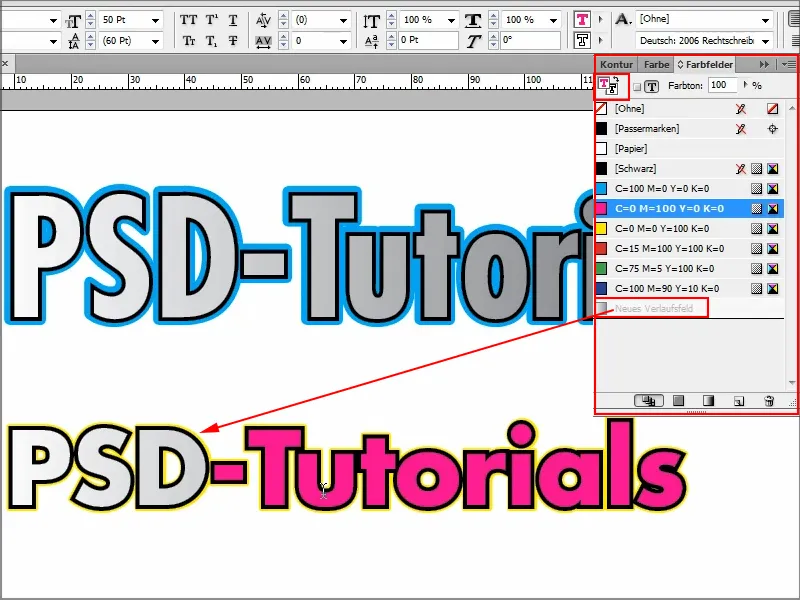
This can all be combined and is of course fun.
I can make changes at any time. To do this, I simply go to Effects and double-click on the object in the control panel. Now I want blue instead of yellow and it can also be a bit thicker. I confirm with OK and that's it. It's all done quickly.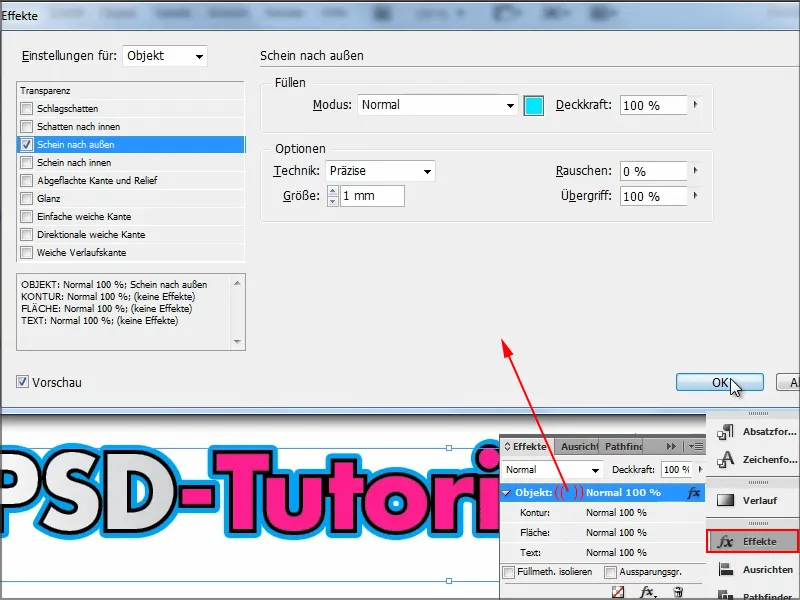
That was the little tip on how to create a double contour. Anyone who needs it now knows how to do it.


