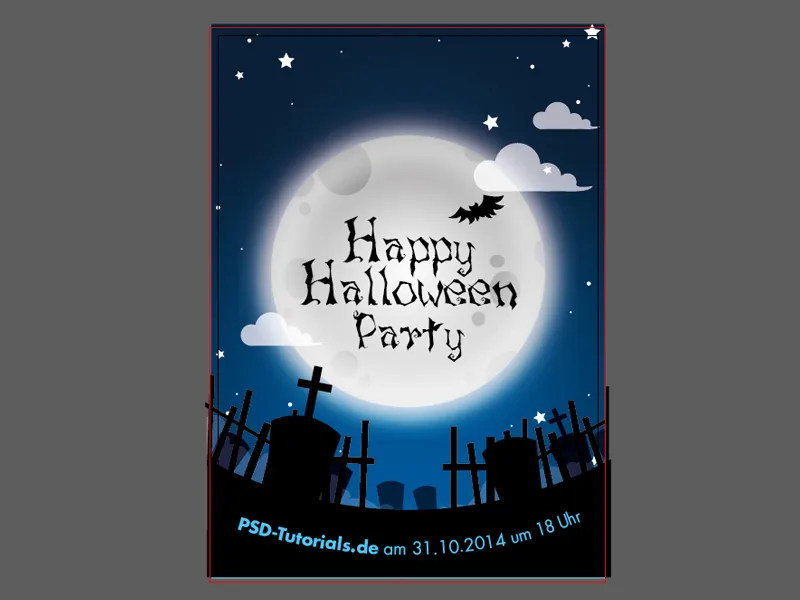
I'm going to show you how to create a spooky Halloween-themed invitation card with little effort and simple shapes.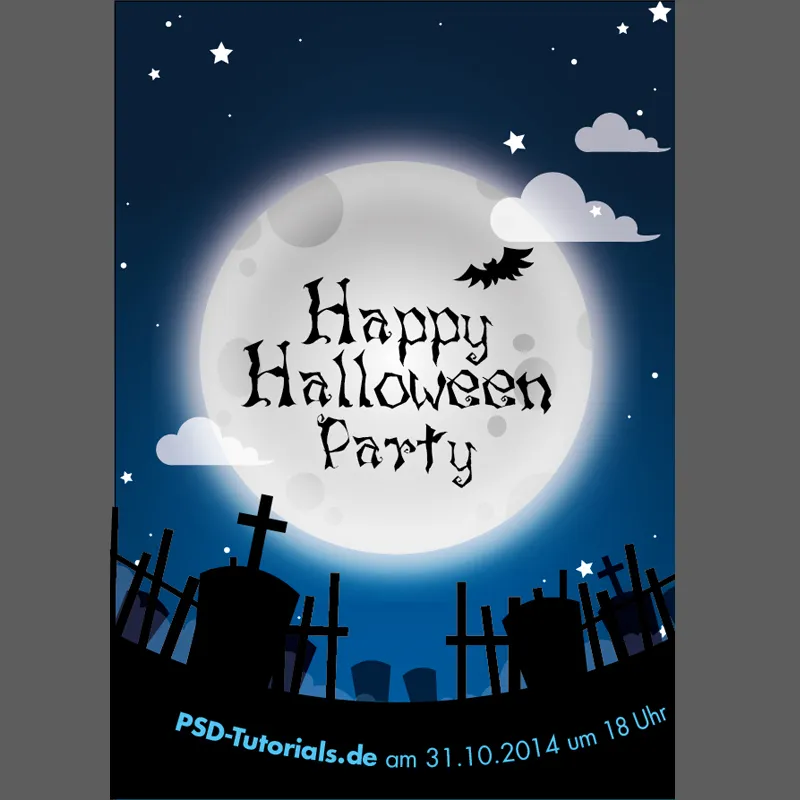
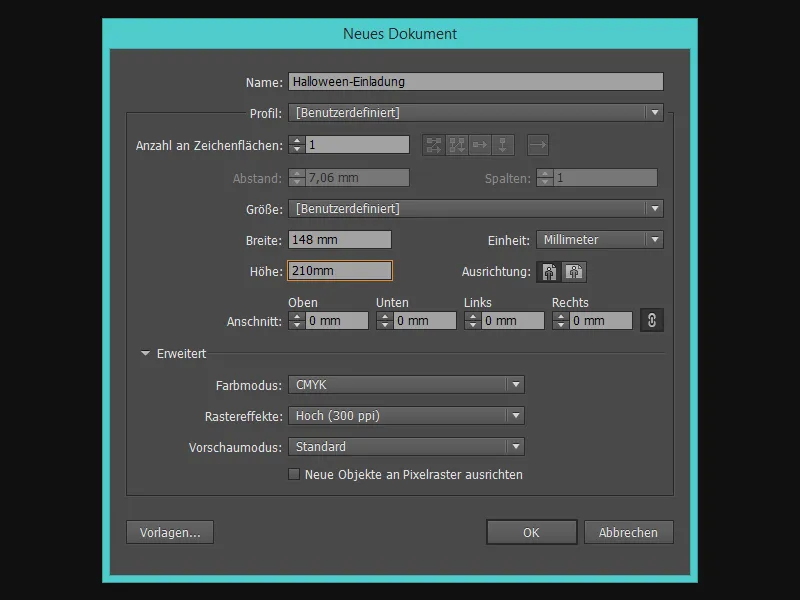
Before we officially start the tutorial, let's set up our file.
For the example, I'll use a DIN A5 format, i.e. 148 mm x 210 mm, and call the file "Halloween invitation".
As it will be printed later, we will use the CMYK color mode.
Step 1 - The dark background
For the perfect spooky atmosphere, we need a starry night sky - or are you celebrating in broad daylight?
I choose a nice dark blue in the color field and draw a rectangle the size of the invitation card using the rectangle tool (M).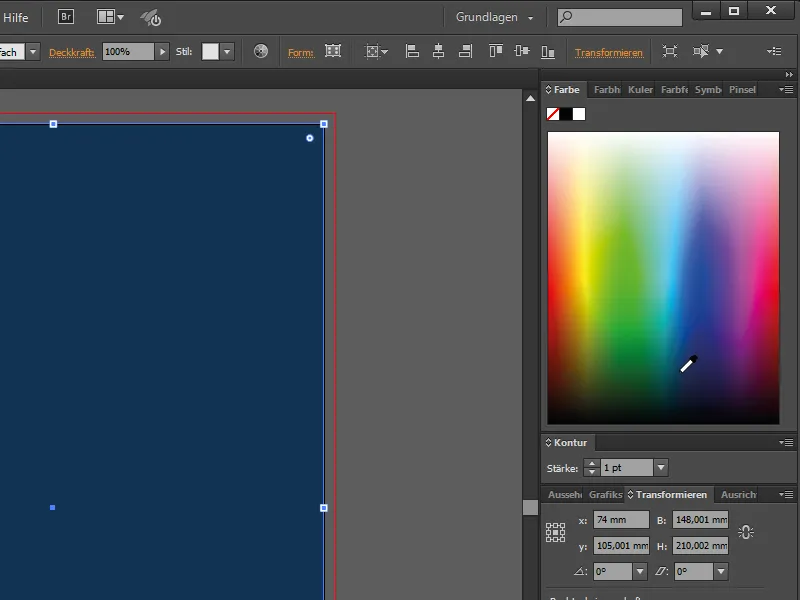
Now create another rectangle and fill it with a gradient.
The gradient runs in a circle from black (at the edge) to white (in the middle).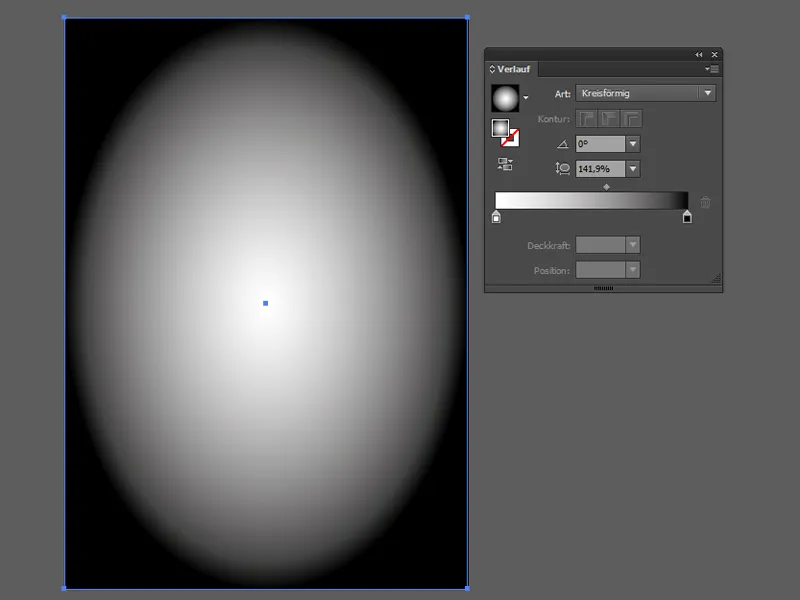
For the night sky, we need a few more card-sized rectangles with different filling methods to get these great colors.
You can find the fill modes in Illustrator under Window>Transparency.
We now change the fill method of the rectangle with the circular gradient to Multiply and reduce the opacity to 50%.
So that we don't accidentally select the sky all the time, we select all the objects in the background and lock them by going to Object>Lock>Select.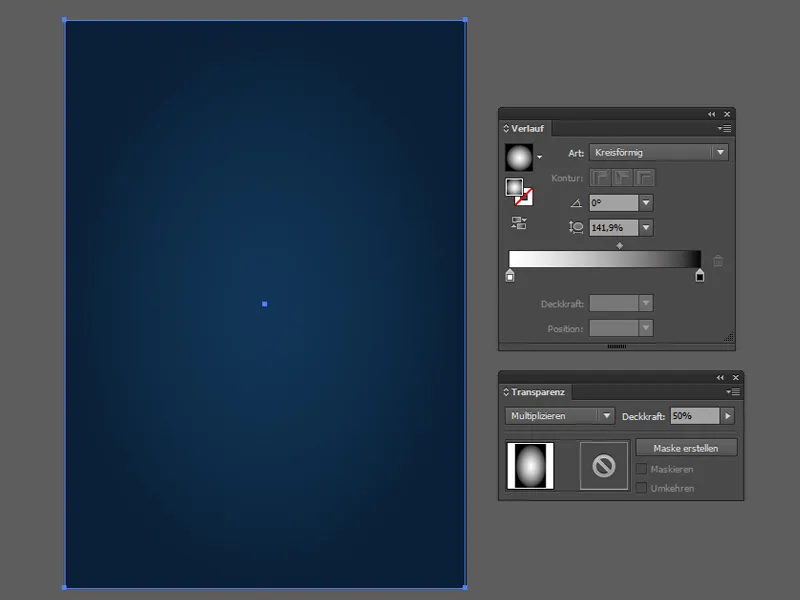
What must not be missing now? Exactly, the moon!
To do this, we use the ellipse tool (L) and create an even circle by holding down the Shift key.
I fill the circle with a gradient - this is the same gradient as before, only with a light gray instead of black.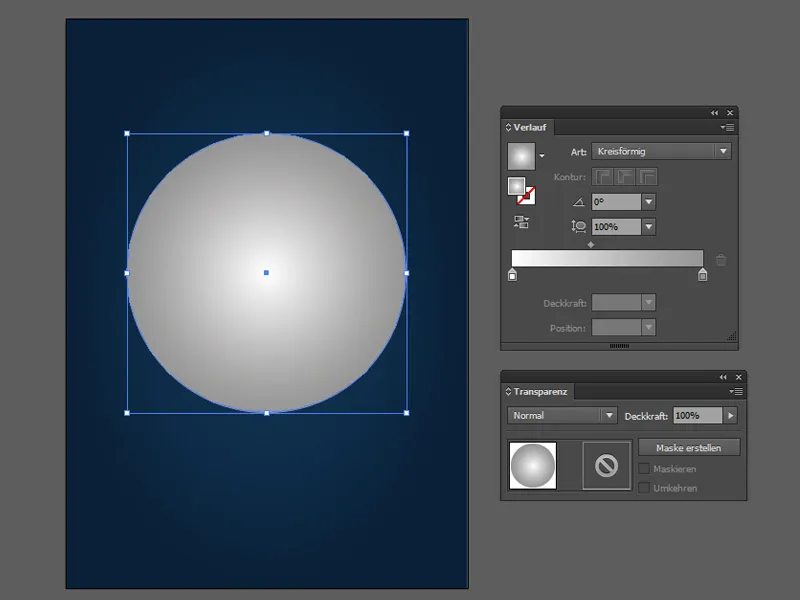
Now we come to the crater on the moon: to do this, we simply create a few circles in different sizes using the ellipse tool.
For the next steps, we need the Pathfinder (under Window>Pathfinder) to merge all the crater circles (1).
Then we copy the moon circle and place it under the crater circles, select both objects and hold down the Alt key and click on the Create intersection icon (2). Now we only have the craters in moon shape. Finally, just reduce the opacity to 30%.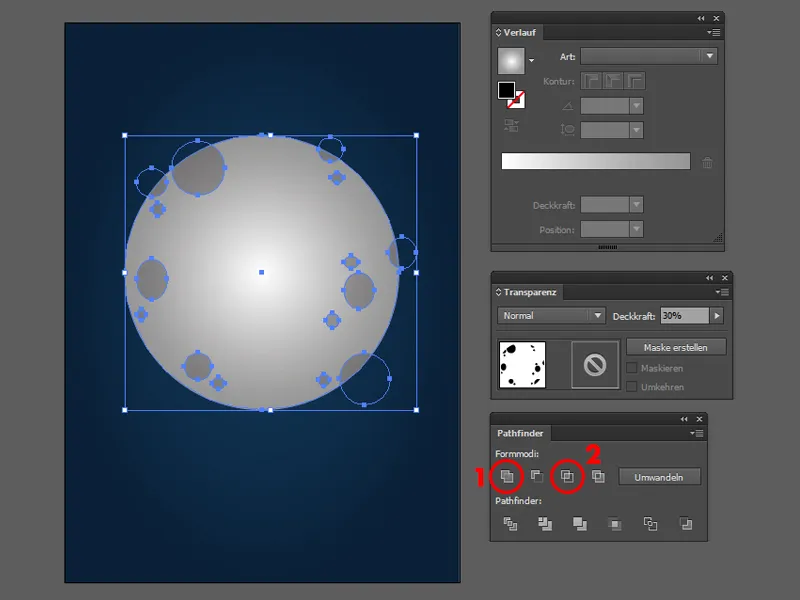
For a glowing moon, I create a copy of the moon circle, change the color by clicking on a white color field and place it behind the moon with Object>Arrange>Step backwards.
Then I go to Effect>Photoshop Effects: Blur Filter>Gaussian Blur...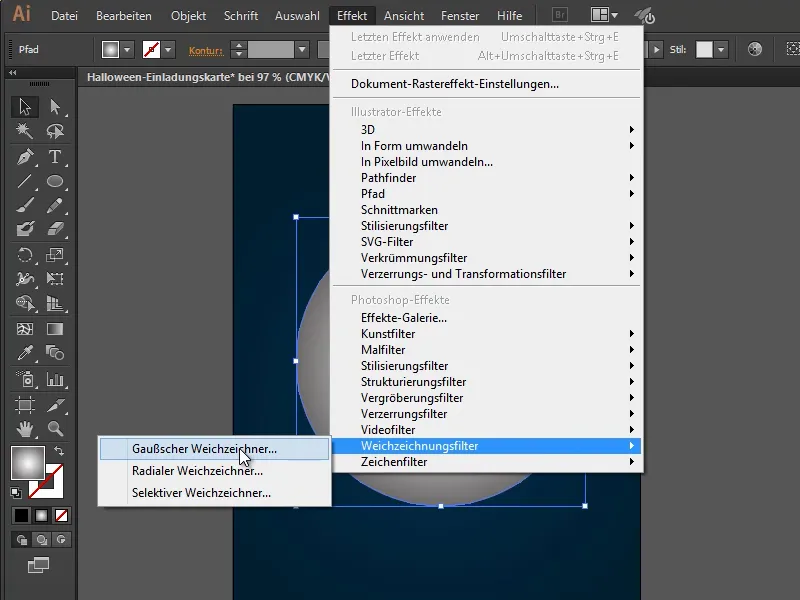
... with a radius of 70 px.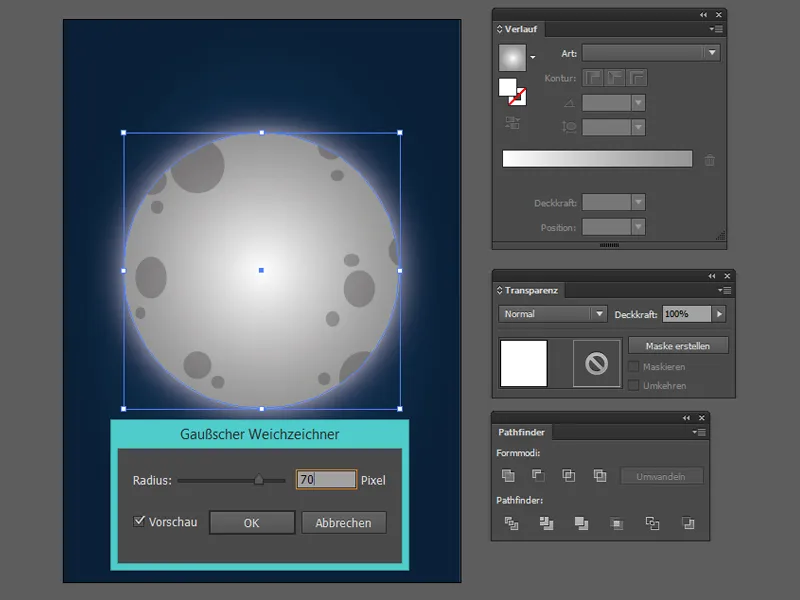
We finish our moon with a glow in front of the moon.
To do this, we copy the moon circle again and color it white as in the last step. We then create another, slightly smaller circle by holding down the Shift key, select both circles and center them by clicking on Center horizontally (1) and Center vertically (2) at the top of the bar. Finally, click on the Remove intersection icon (3) in the Pathfinder.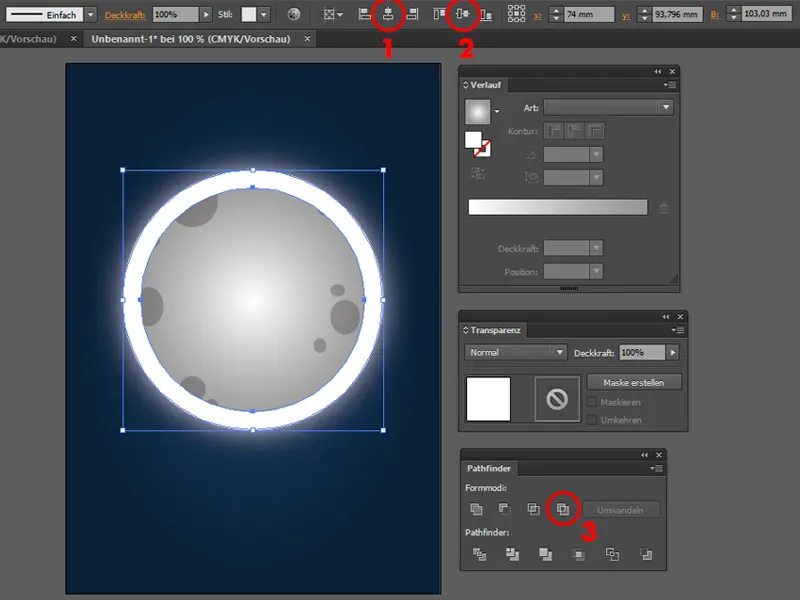
We repeat the effect with the ring as with the moonlight (behind) with the Gaussian blur and 70px radius.
All we need to do is go to Effect at the top and click on Apply Gaussian Blur. Now the moon is ready!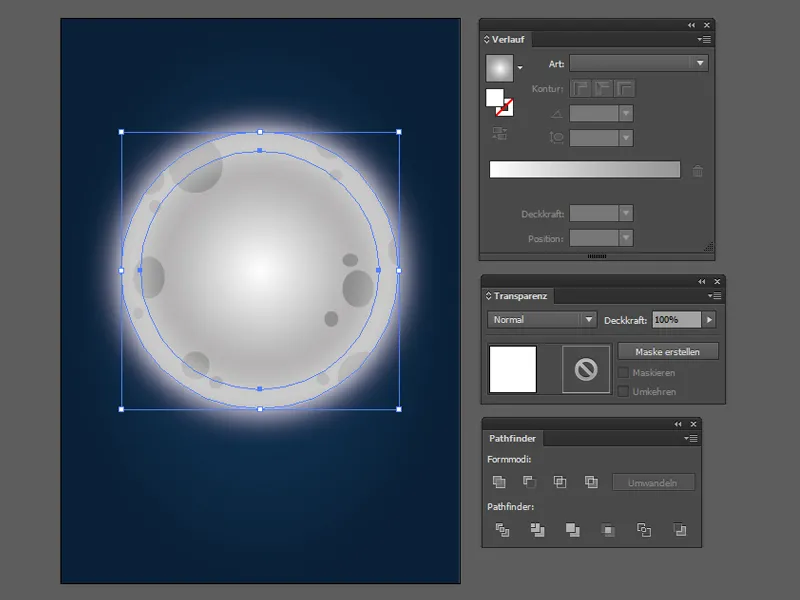
For a starry sky, we need stars - and they can be created quickly! Fortunately, Illustrator also has the star tool in addition to the ellipse tool (L).
All we have to do here is create some white circles and stars of different sizes and place them in the sky.
It would also be an advantage if we could select all the objects in the starry sky and combine them into a group using Object>Group (Ctrl + G).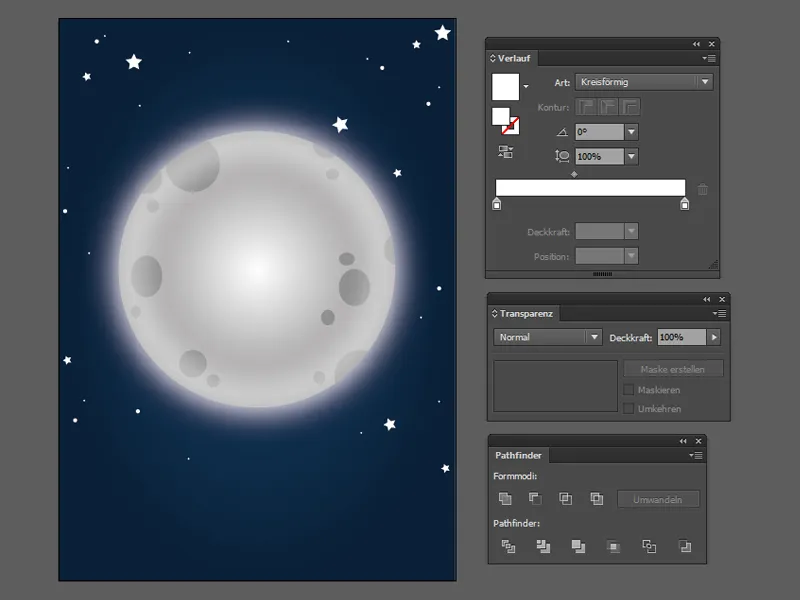
Finally, the lower part of the background should glow light blue.
To do this, I again create a rectangle the size of a map and create a gradient from light blue to transparent and set the fill mode to copy one into the other.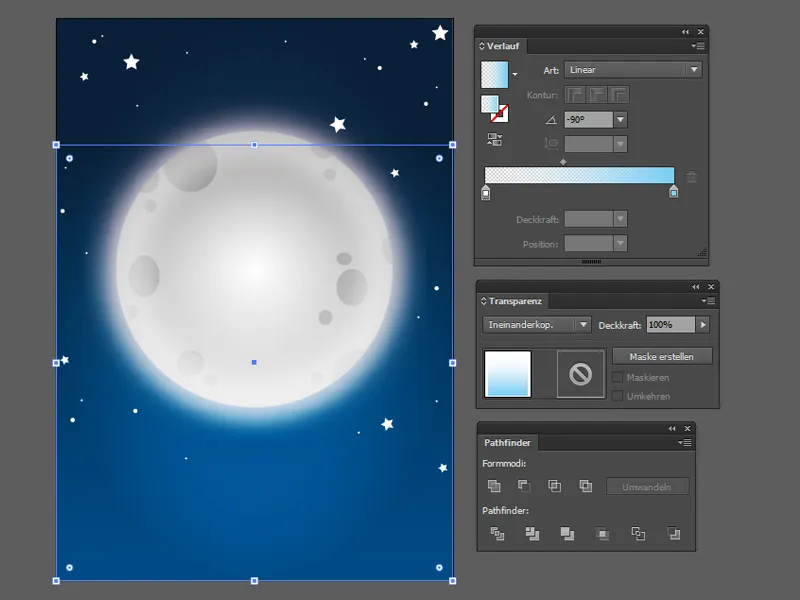
A white gradient in the transparent completes the night scene in the fill mode Overlay.
Finally, we can select everything by using the selection tool (V) and holding down the mouse button to draw a frame around the entire file and lock everything so that the background does not disturb us when we now edit the foreground.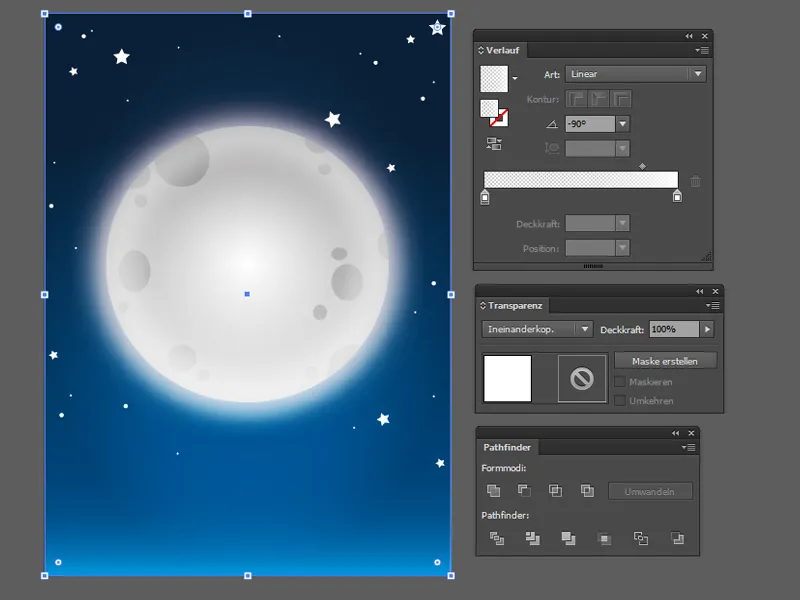
Step 2 - The horror graveyard
Now it's time to give our Halloween invitation card a location - a cemetery is just the thing!
Here we mainly need the pen tool (P) to draw the gravestones, crosses and the hill.
By holding down the Shift key, we can even work with straight lines.
We now divide the cemetery into 3 layers: The first layer is the closest and therefore completely black.
We group this layer and set the mode to Multiply.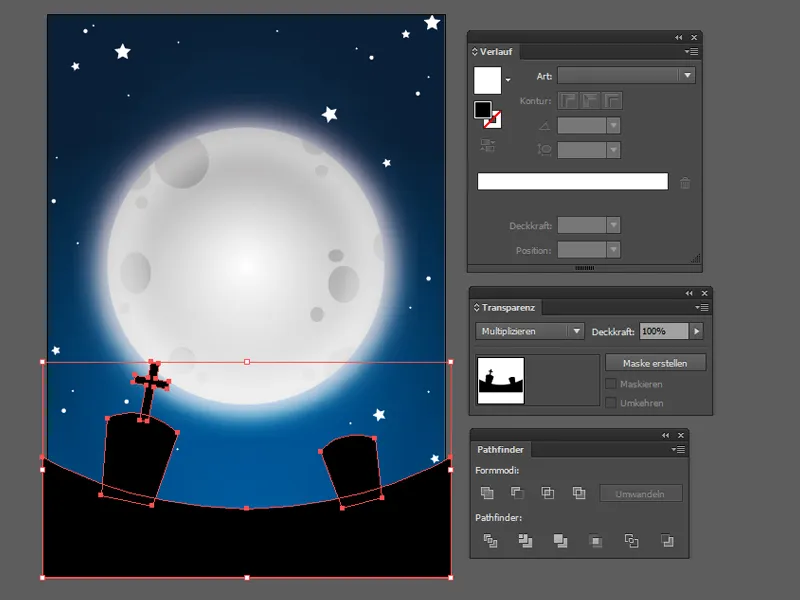
As all the gravestones look mostly the same, we simply copy them and place them on the hill in the 2nd layer.
Finally, we select all the objects in the 2nd layer, click on the Merge icon(1) in the Pathfinder and set the fill mode to Multiply at 90% opacity.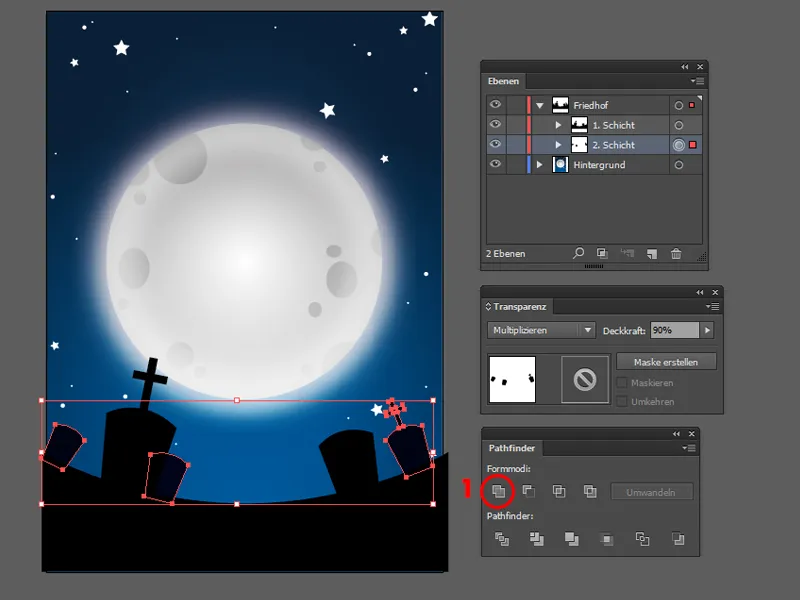
We repeat the whole process with the last layer: copy, offset, select everything, merge and set the fill mode to Multiply with reduced opacity. Now our cemetery has much more depth.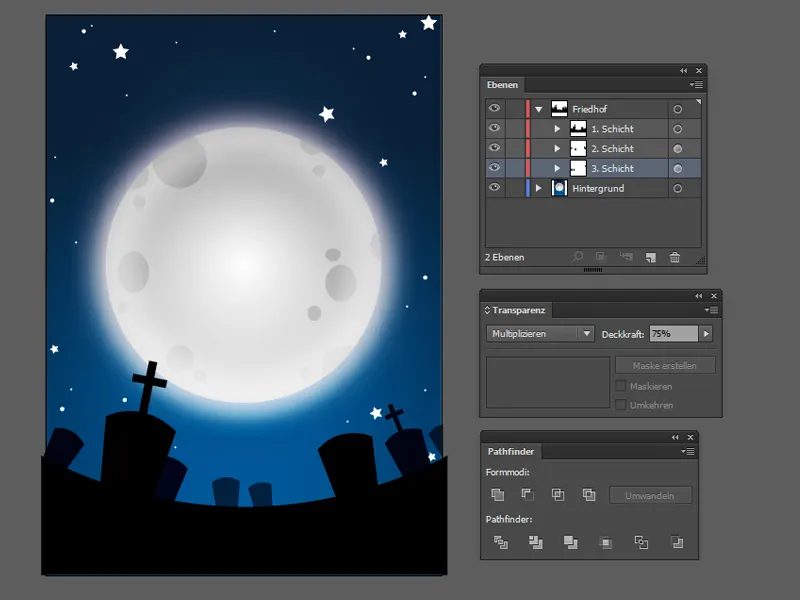
Do you know what's missing? A rather broken old fence would be the perfect eye-catcher for your cemetery!
You can quickly put it together with the rectangle tool (M). Simply create several narrow rectangles of different sizes, transform them and place them correctly. To save yourself some work, you can also make just one half and then group them, mirror them (via Object>Transform>Mirror...) and place them on the other side of the map.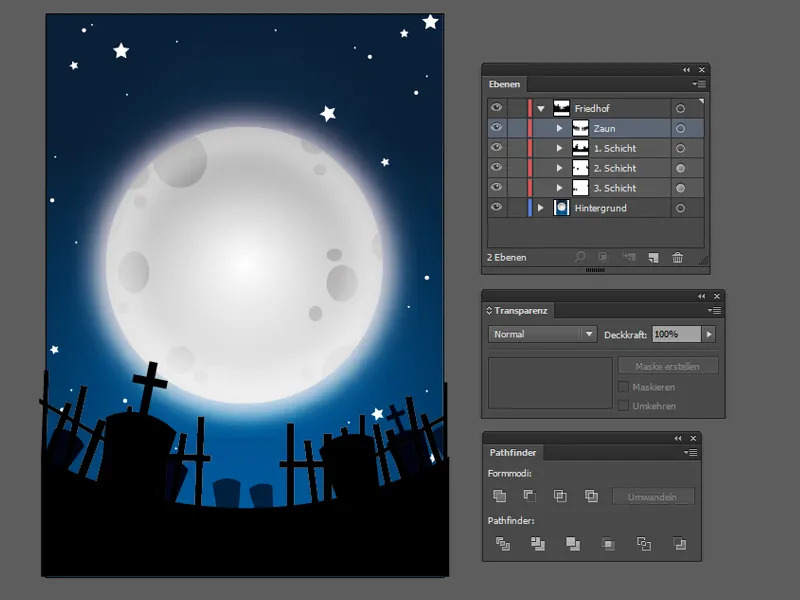
Do you know what? The graveyard scene is still a bit too clear for me ... fog and a few clouds in front of the moon would be great now!
You can create great cloud-shaped objects with the ellipse tool (L) in combination with the pen tool (P).
Simply create several white circles in different sizes by holding down the Shift key and then fill in the spaces between them with the pen tool. Then all you have to do is combine the paths in Pathfinder and reduce the opacity slightly.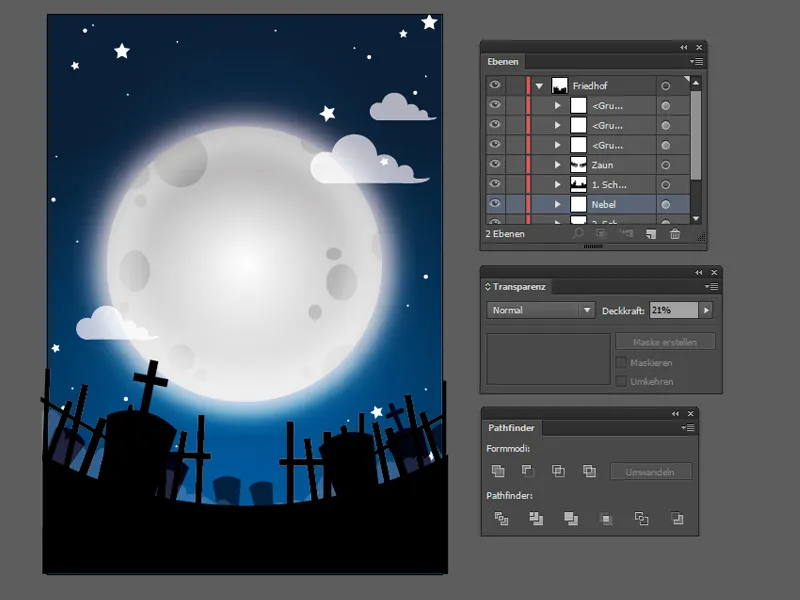
Step 3 - No invitation without text
Now it's time to add some text to the invitation card! The moon is the perfect place for the title - so let's write "Happy Halloween Party" in the moon.
To do this, we use the text tool (T) and draw the frame over the moon in a new layer.
For the title, I use the font LunacyMore with a font size of 65 pt, where the initials have a font size of 75 pt.
The other information (place, date, time and address) is at the bottom of the hill.
To do this, I drew an arc with the pen tool and then went to the arc with the text tool; the icon changes and the text can be written on the arc.
For this text field, I used the Futura LT Pro font with a font size of 18 pt.
Of course, you can also use your own favorite fonts.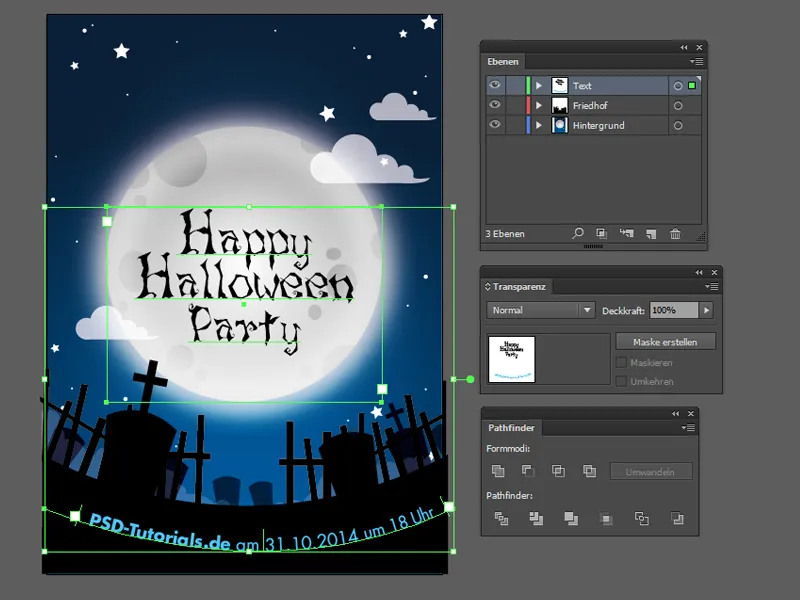
The only small eye-catcher missing is a typical black bat above the title.
And now your invitation card for the next Halloween party is ready!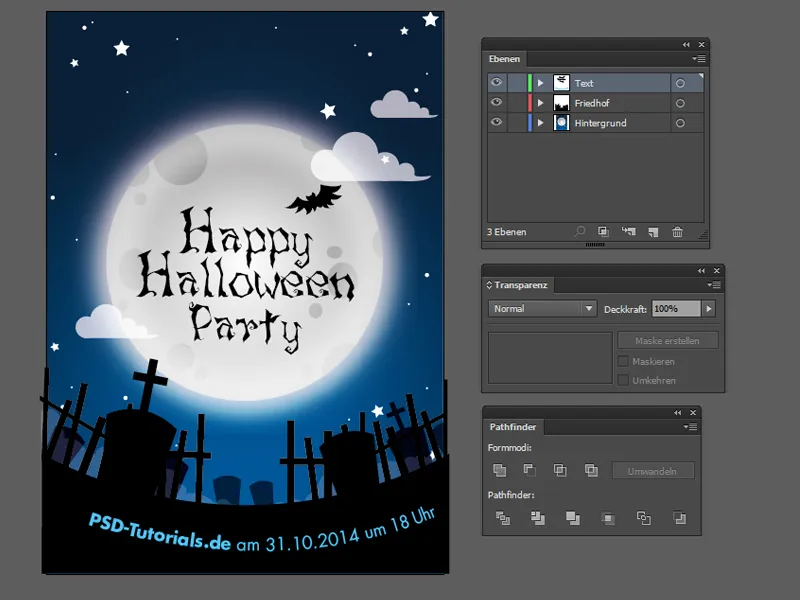
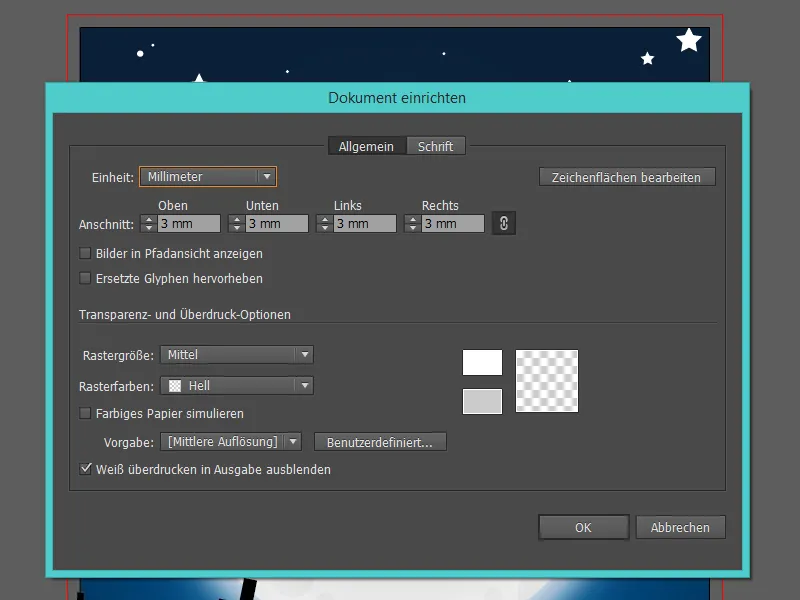
Finally, just set up a 3mm bleed for printing via File>Document Setup.
Ideally, we would have done this step right at the beginning, but as this is a vector file, we can easily adjust the background to the bleed.