Interactive forms in Adobe InDesign provide an easy way to design PDFs with fillable fields, buttons, and dropdown menus. This feature is ideal for digital documents such as registrations, surveys, or contracts. With InDesign, you can insert and customize form elements like text fields, checkboxes, and radio buttons to create user-friendly and professional forms. In this guide, I will show you step by step how to create, export, and deploy interactive forms. Let's get started and make your design functional!
Adobe has expanded InDesign CS6 with a long-missing feature: from now on, interactive forms can be created directly in the layout and exported as a PDF file. This eliminates the previously necessary cumbersome detour through Acrobat.
To assign the desired functions, InDesign provides a new panel in the menu Window>Interactive>Buttons and Forms.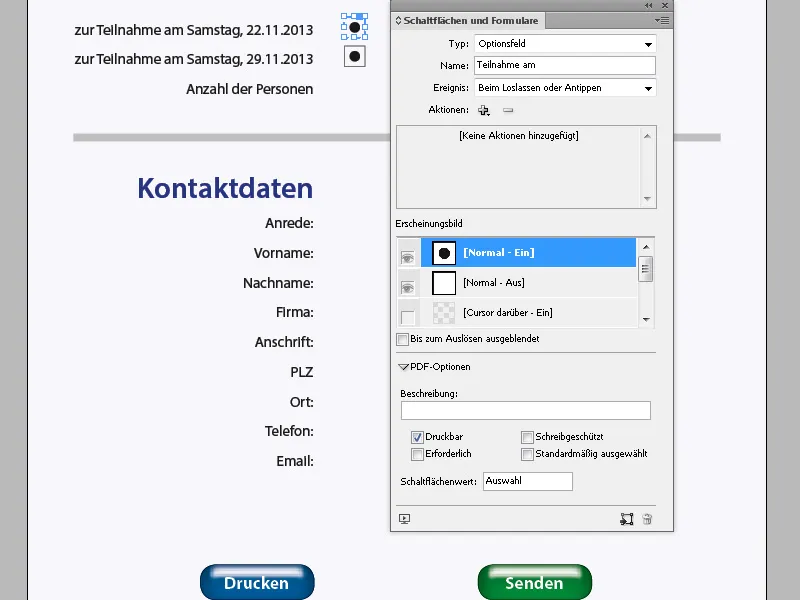
First, you create the layout for the desired form. For the future input fields, you then draw placeholder boxes with the Rectangle Frame Tool (F) or the Rectangle Tool (M) in the required size. For better organization, try to maintain a consistent size and alignment.
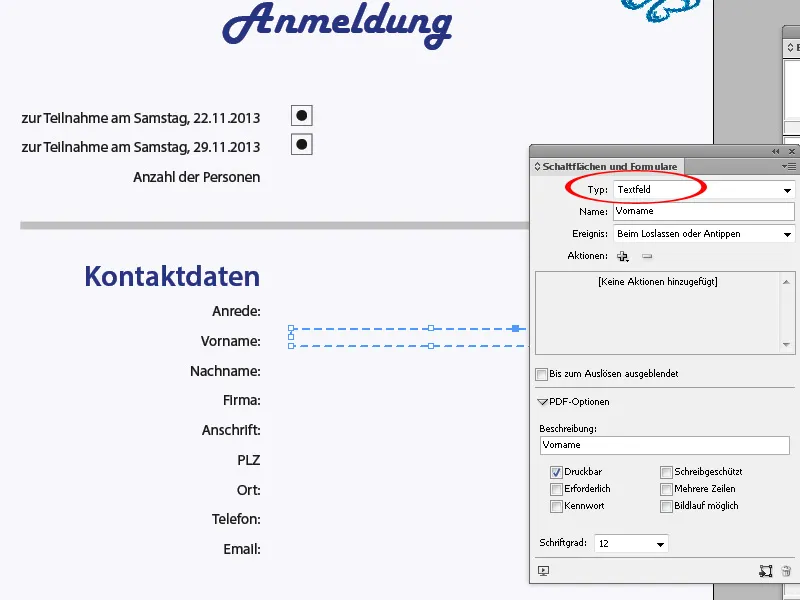
Next, assign the desired functions to each input field. To do this, select the first box with the Selection Tool (V). In the Forms panel, choose the Type. The following options are available:
• Checkbox
• Combo Box
• List Box
• Radio Button
• Signature Field
• Text Field
For Checkboxes, Combo Boxes, List Boxes, and Radio Buttons, you can easily use the templates already provided by InDesign. You can find these in the Context Menu of the Forms panel.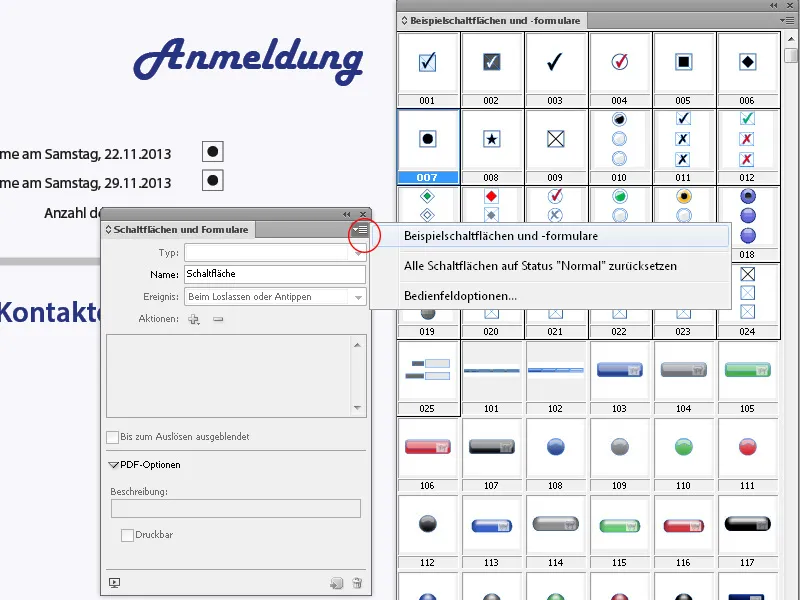
Simply drag the desired element from the palette onto the sheet and place it there while holding down the mouse button. You can also adjust the size to fit your needs and scale accordingly.
Then, in the Forms panel, assign the placed and formatted element the appropriate function via the drop-down menu in the Type field.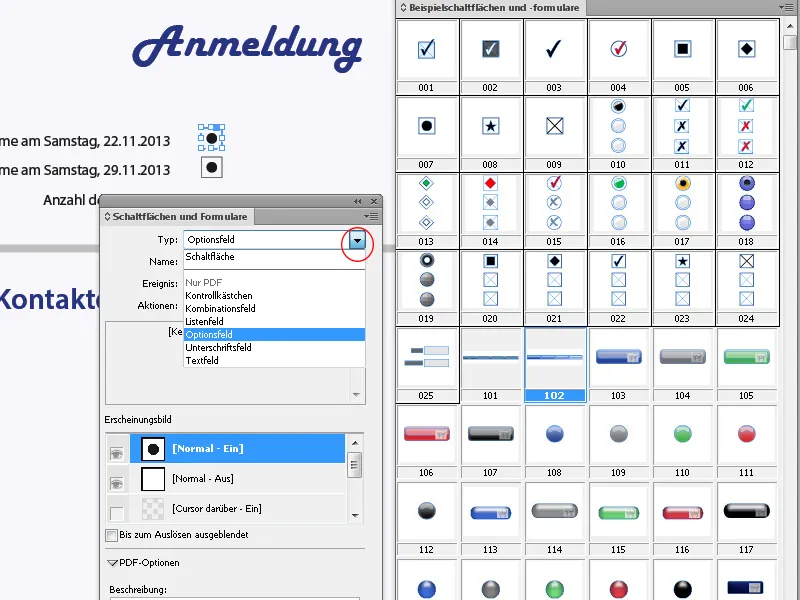
Below are the typical uses of the form elements:
• Checkboxes: These are used to make a single or multiple selections.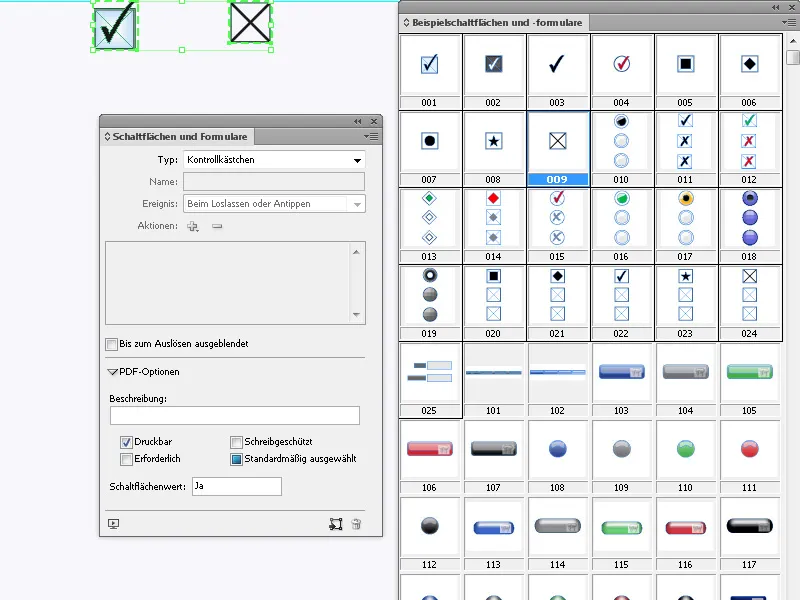
• Combo Box: With a Combo Box, the desired selection can be made from a drop-down menu (e.g., choosing between Mr. and Mrs.).
First, create a Text Frame in the required size and place it on the sheet. The contents to be selected (e.g., Mr. and Mrs.) are first named in the List Items field of the Forms panel, and then created by clicking the plus symbol.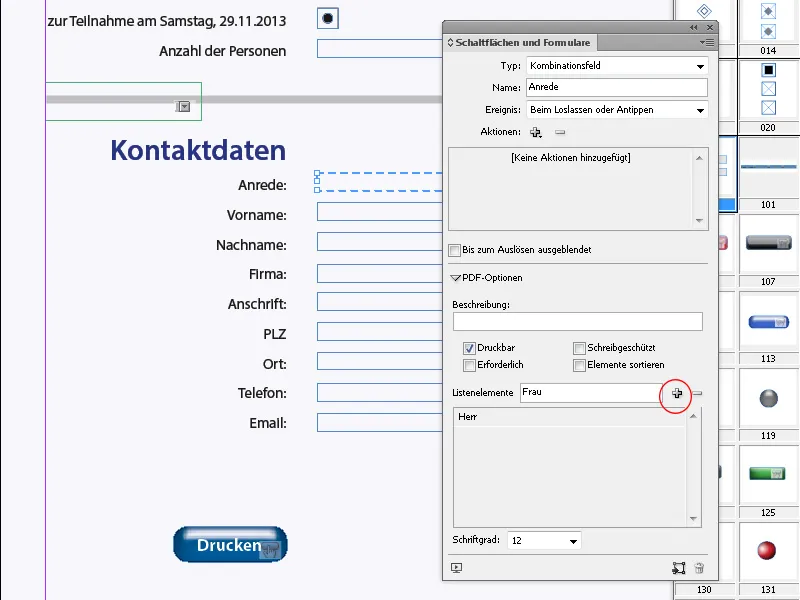
In the PDF form, a small arrow appears on the right edge of the field, which can be clicked to expand the menu and make the selection.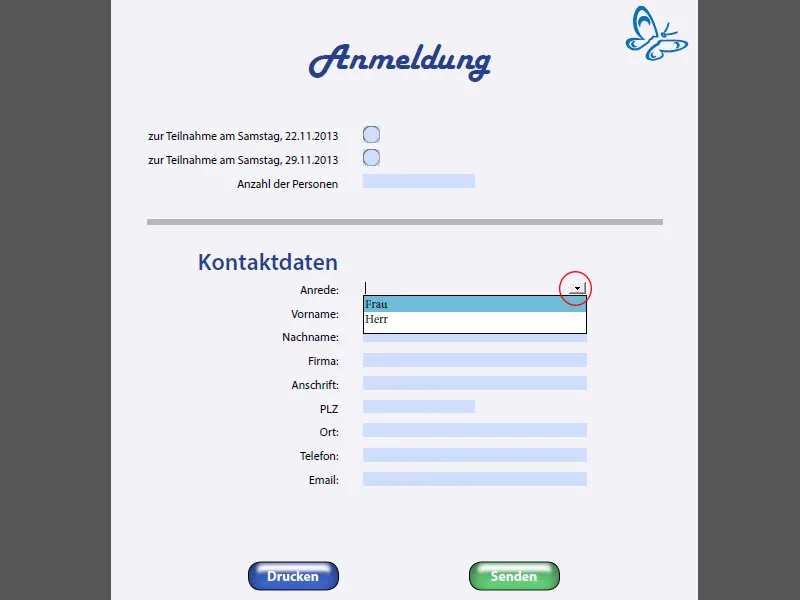
• List Box: The List Box behaves similarly to the Combo Box, except that the selection of list items is made by clicking an ascending or descending arrow, not using a drop-down menu.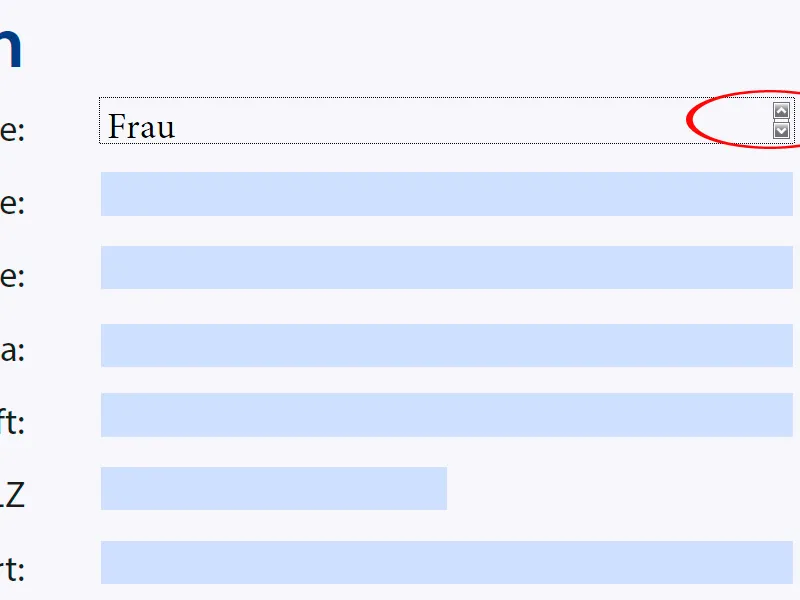
• Radio Button: With this, a choice can be made from multiple options. You can place as many fields next to each other, group them, and then mark them as an Option Field. For InDesign to recognize the association, the name for all elements belonging to an Options Field must be the same.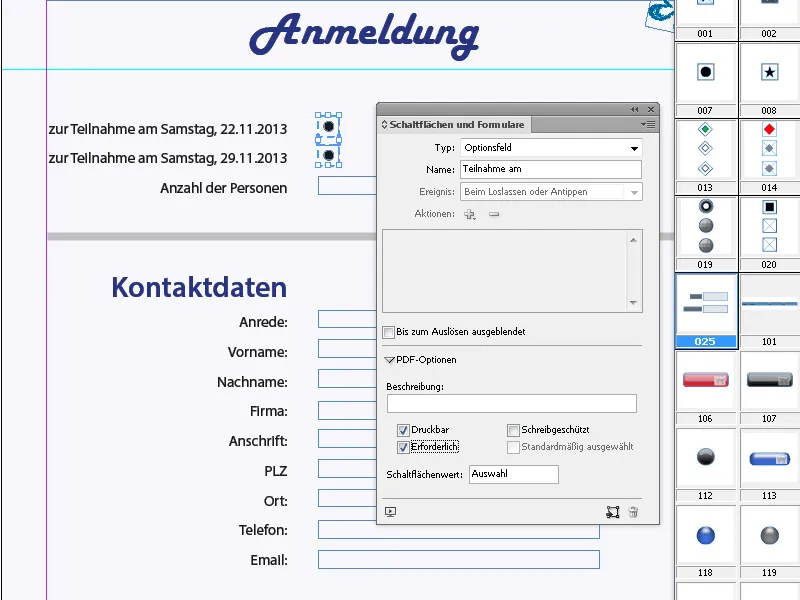
• Signature Field: This is only useful if the recipient has a digital signature.
• Text Field: Field for entering custom texts such as name, address, etc.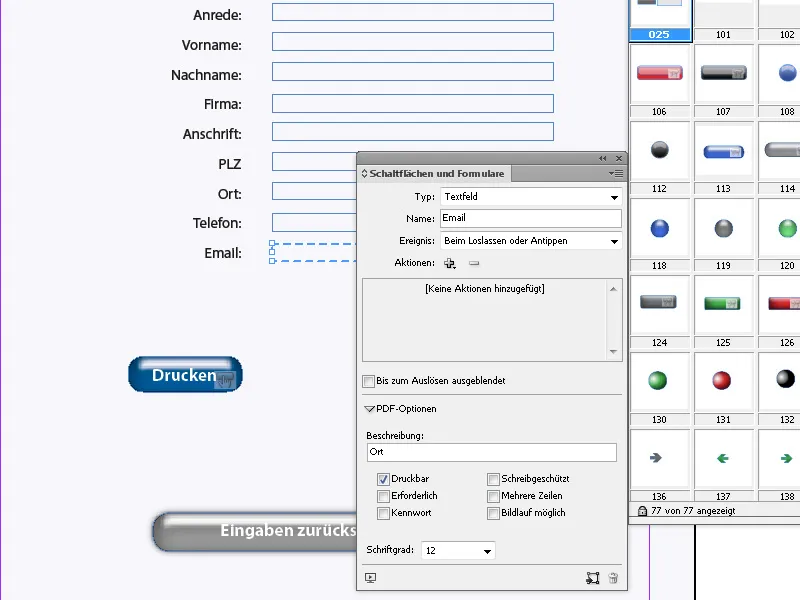
All fields in the PDF Options section of the Forms panel can be provided with a description. This will be displayed as a tooltip in the PDF document when hovering over it. Additional options such as Printable or Multiple Lines can be selected via the corresponding checkboxes.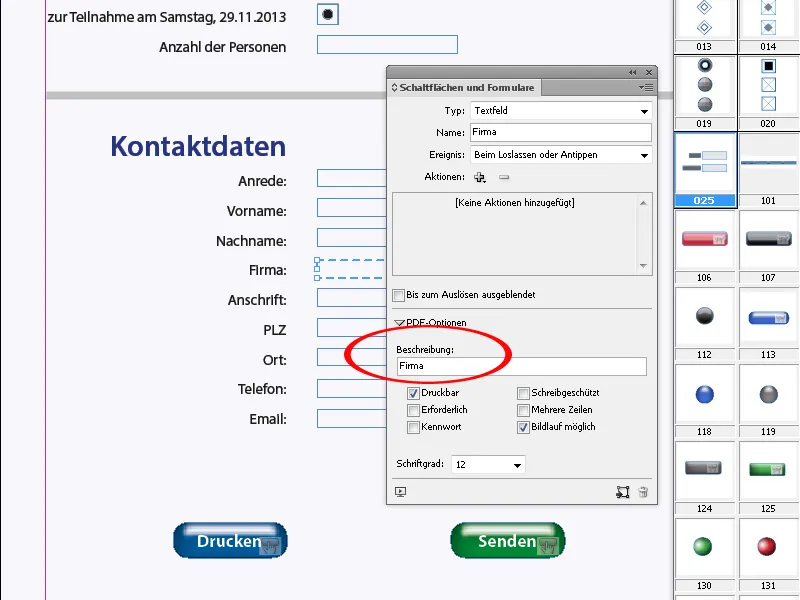
The font size for filling in the form fields can be set in InDesign.
To ensure that entries are made by the recipient in the corresponding field, you can use the Required checkbox. The input fields of the exported PDF form will then have a red border on mouseover, and printing or submitting without the required information will not be possible and will be accompanied by an appropriate error message.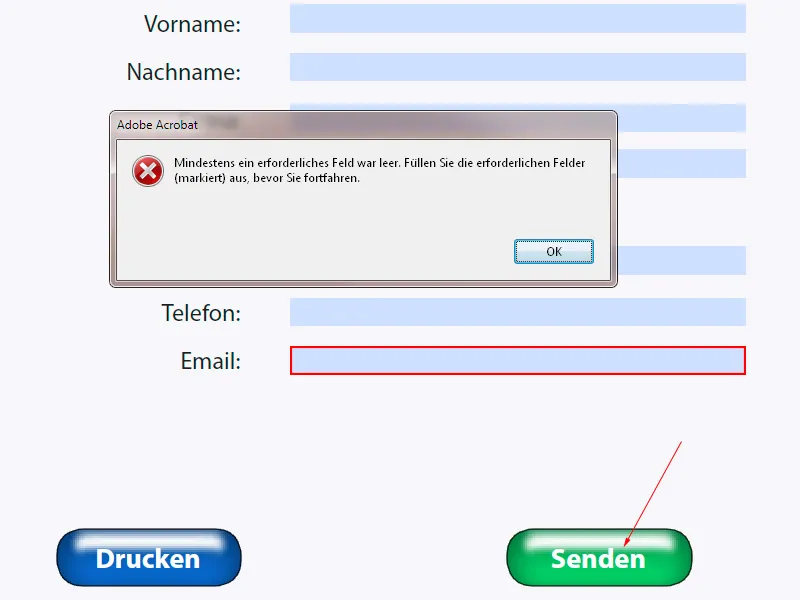
You can either design a button yourself from a textbox or use standard buttons already supplied by InDesign (you can find them in the palette menu of the form control panel) adjusting them in size and with labels to suit your needs.
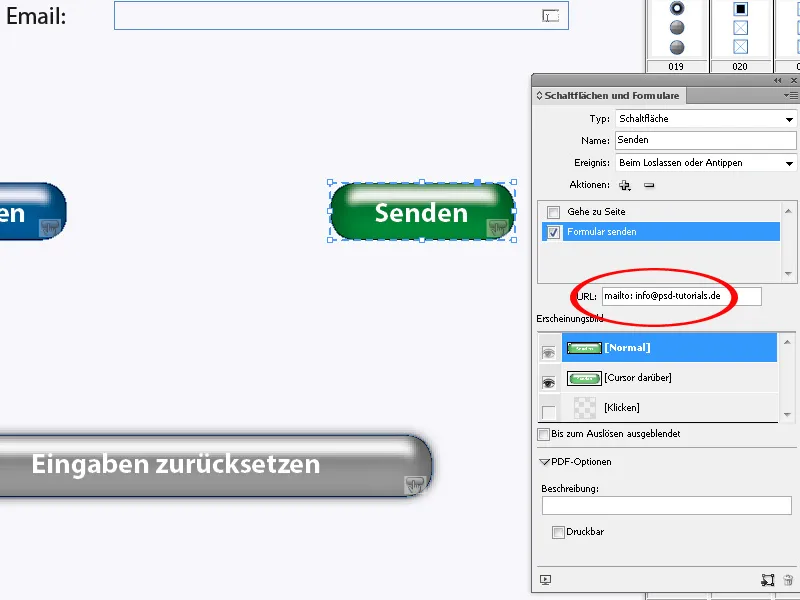
Name the button in the Name field. Now you have to assign the desired action to it by clicking on the plus symbol. In this context, the three actions print form, send form, and reset form are probably the most requested. To later send the PDF form by clicking on the button to a specified email address, you must enter it in the URL field with a prefixed mailto:.
For a mouseover effect, you can create a second, modified version of the button. Click on the entry Hover appearance in the Appearance section. Now modify the button (e.g., with a different color or a drop shadow etc.) This state will now be saved and displayed on mouseover.