A professional preflight check in Adobe InDesign is essential to ensure that your document is ready for print or export. During this process, you check linked fonts, images, and colors for possible errors, and prepare your layout for sharing or archiving. Packaging a document ensures that all necessary files such as images, fonts, and links are consolidated. In this guide, I show you step by step how to perform the preflight check, review fonts and images, check colors, and professionally package your document. Let's get started and prepare your project optimally!
Preflight check
Before exporting InDesign documents for print, they should undergo a preflight check.
In the bottom left of the status bar, InDesign displays the minimized Preflight palette by default. Once the program detects errors, they are signaled there.
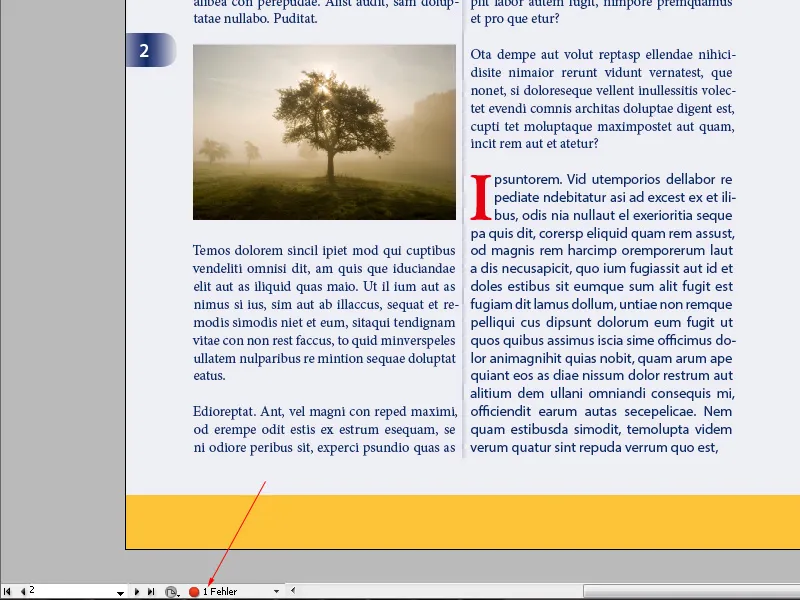
To view the details, the Preflight panel can be opened with a double click.
If there are any errors, they are listed hierarchically in a tree structure that can be easily expanded by clicking the preceding arrows. On the right side of the list, the affected pages are listed as links in a separate column, allowing you to jump directly to the problem area with a click. The errors are also identified immediately - e.g., overset text - so you don't have to guess for long, but can edit the respective area by clicking the link to the page directly. Subsequently, the error message disappears from the Preflight palette.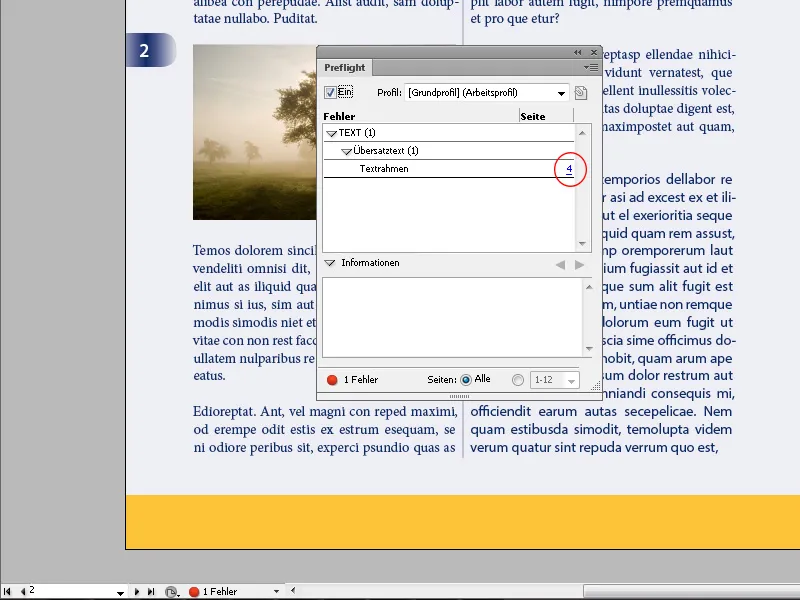
If a font is missing, which can happen, for example, when you receive the InDesign document from another user without the included fonts, an error message will appear when opening the document.
By clicking on Find Font, a window opens listing all included fonts. The missing font is marked with a yellow warning symbol. You can now select it and choose a replacement font in the Replace with field to replace the missing one.
However, if the original font should be used, you must obtain and install it first. Then nothing needs to be replaced. Simply click Done.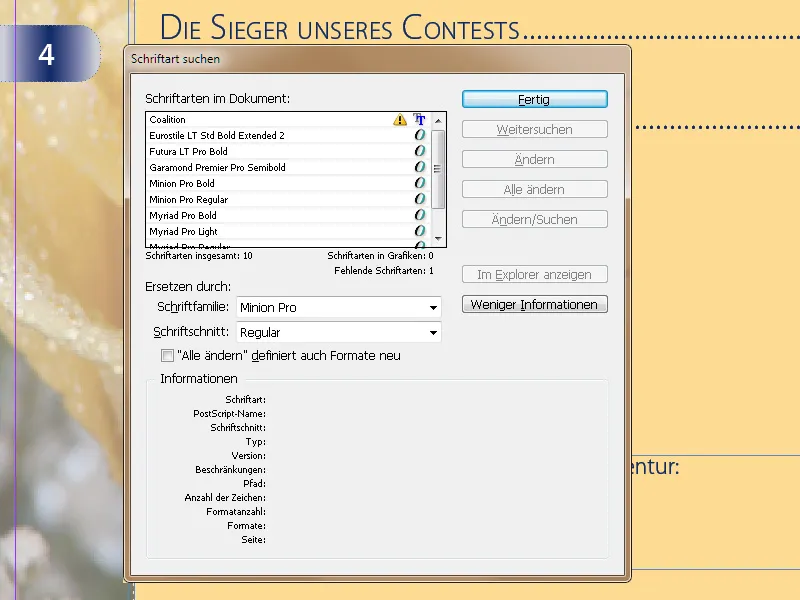
If a font used in the document is deactivated with font management, InDesign immediately detects this and displays it as an error in the Preflight panel. In the document, the missing font is then marked with a red underline (not in Preview mode).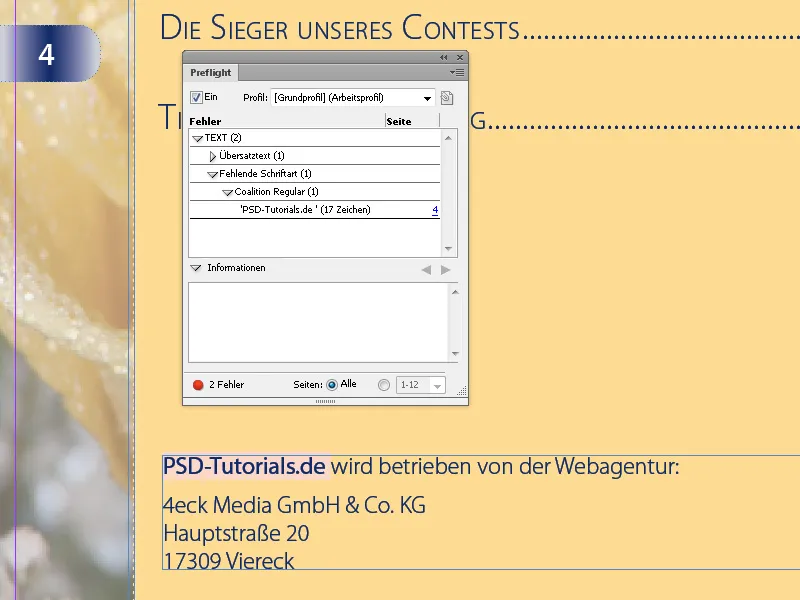
The preflight used in InDesign follows a standard basic profile. The settings stored in this profile can be checked via the entry Preflight Profiles in the Palette Menu.
The settings of the basic profile cannot be edited. However, if you want to check the document for specific errors, e.g., for printing, you can create a copy by clicking the plus symbol and edit the settings as desired. Then name it and save it.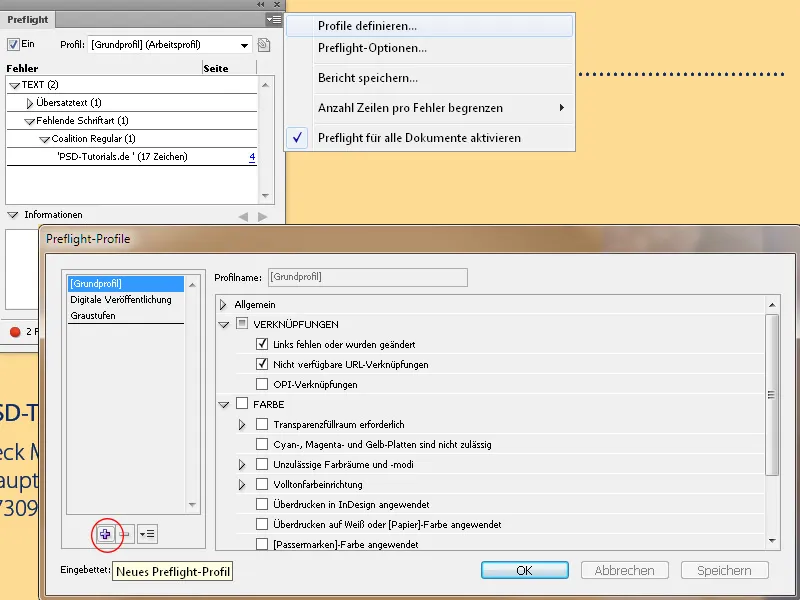
To apply the profile, you must select it. To apply it also when reopening, you must open the Preflight options via the Palette Menu and set your profile as the working profile.
By embedding working profile in new documents, you also make it available for future work.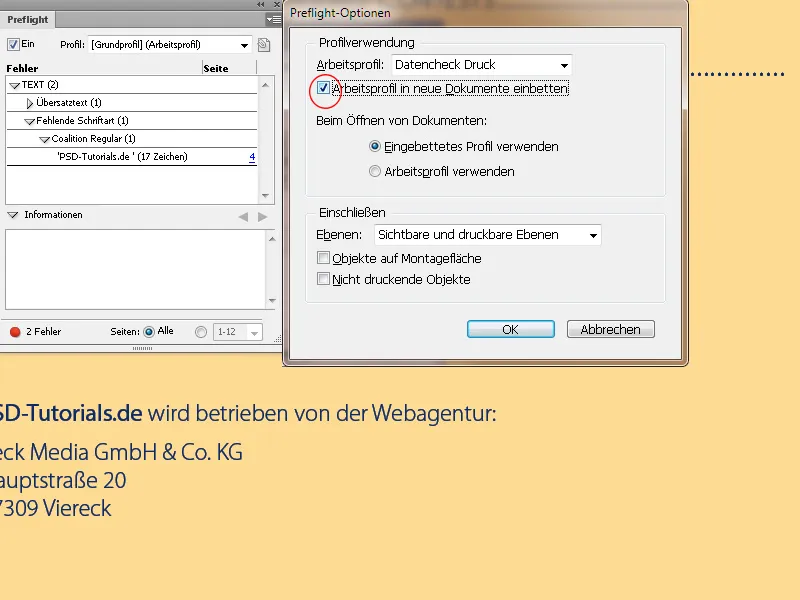
Check linked images
In the Preflight palette, errors due to missing or altered links are indicated. With a click, you can access the linked page in the document. If images have been edited in the meantime or moved to another folder, this is signaled by a corresponding symbol (yellow exclamation mark for altered and red question mark for missing links) at the top of the respective image or graphic frame.
Clicking on it will update the corresponding image and the error message will disappear from the Preflight panel. This can also be done via the Links panel through the Update button.
Moved image files must be relinked using the small button at the bottom of the panel so that InDesign can access them.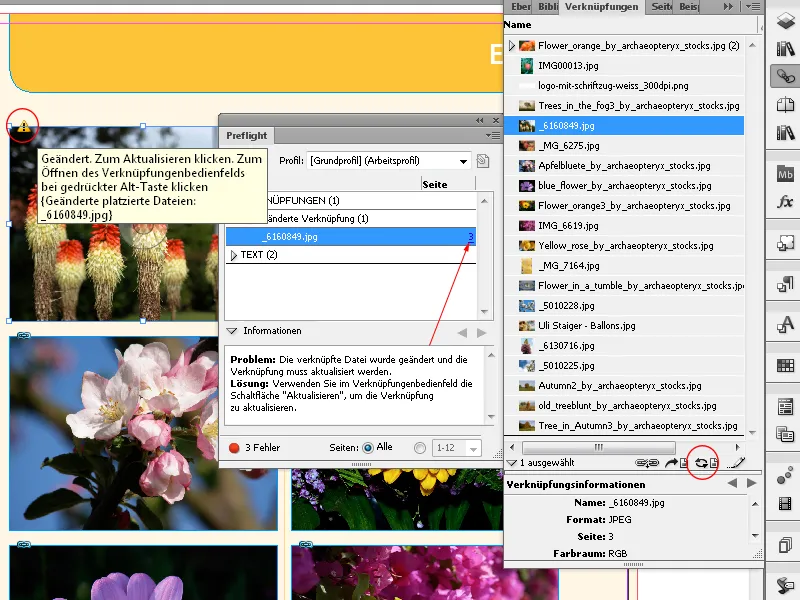
In the Links panel, repeatedly used images are grouped, and by clicking the preceding arrow, the pages where the file has been placed are visible.
For better control, in addition to the file name and status via the Palette Menu, you can access the Palette Options and display further properties such as the effective resolution or color space as separate columns. The width of the panel can be easily adjusted if required.
When selecting an entry, various information is displayed in the lower part of the panel. You can precisely define these in the right column of the Palette Options.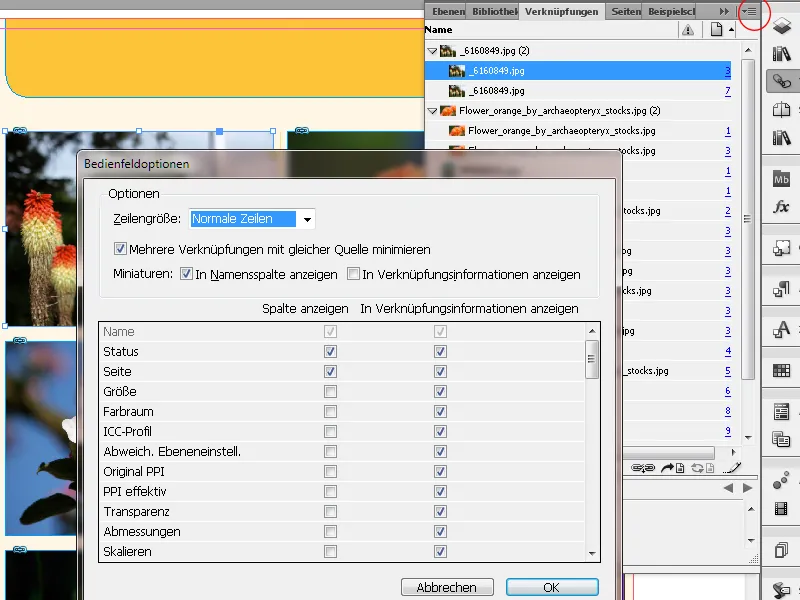
Through the entry Edit with of the context menu, you can give the finishing touch to a selected image with the image editing program of your choice directly from the layout. After saving the changes, InDesign updates the link automatically.
Often, images for a document are used from different source folders. To copy all files to a directory belonging to the specific project, simply select all entries in the Links panel and choose the command Copy link(s) to… from the context menu. After selecting the target directory, all image files are copied to their new location, and InDesign will refer to them from now on.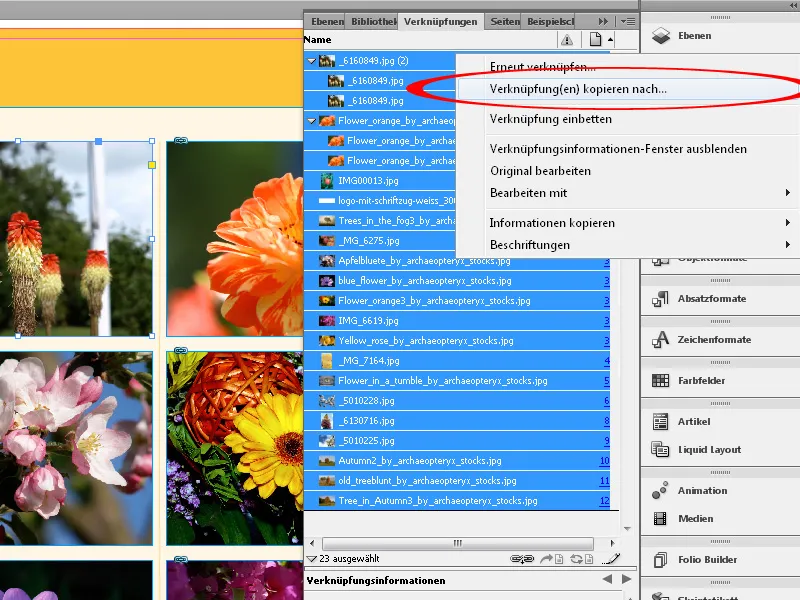
Checking colors
Especially in print output, the colors used in the document play an important role. Perhaps, for whatever reason, besides the colors of the Euroscale, you have also set spot colors and colored various objects with them. For a printing job at a professional printing company, it makes a significant (price) difference whether the document is printed in 4-5 or even 6 colors, as a separate printing plate must be produced for each additional color, and an extra printing unit must be set up.
Therefore, before exporting to PDF, you should consult the Ink Manager. To do this, open the Color palette (F5) and click on the entry Ink Manager in the palette menu.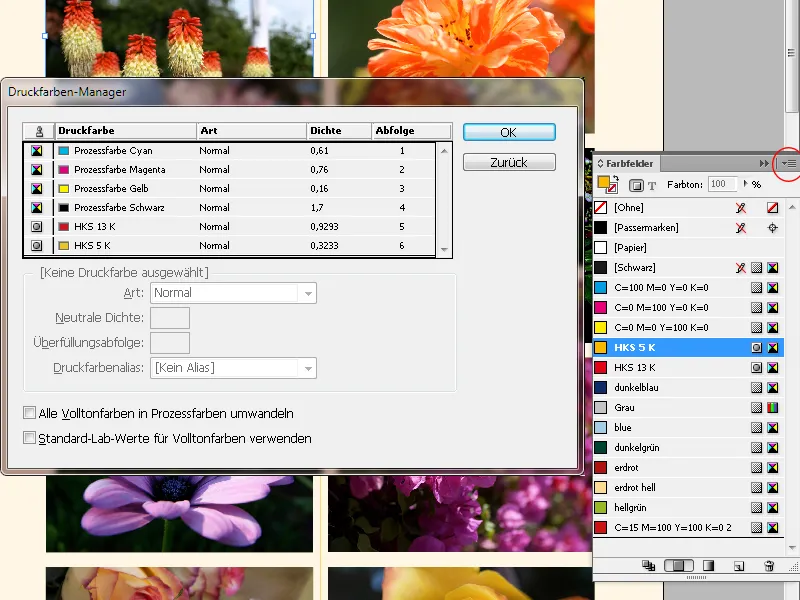
Here, all colors used by objects in the document are displayed. The colors of the Euroscale are marked with a small CMYK icon as process colors. Spot colors are marked by a small circle within a square. Additionally, the label of the color scale used (usually HKS or Pantone) and the corresponding color number are displayed.
By clicking on the small spot color label, the spot color will be converted to the CMYK channels for output. The icon will change accordingly. Clicking again will revert the output to an additional spot color channel. If all colors are to be output only in the channels of the Euroscale (which is unavoidable, for example, with most digital printing machines), you can also check the box Convert all colors to process colors.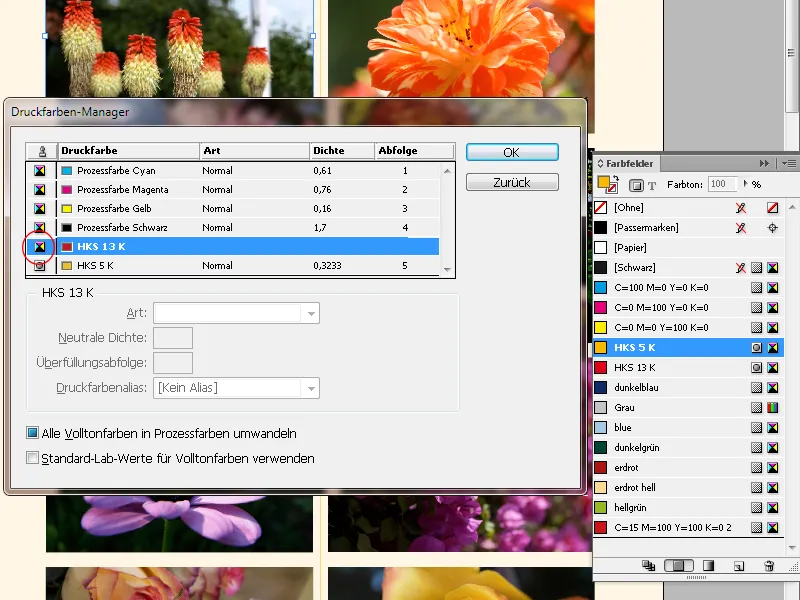
The crucial feature of this action is that spot colors are only converted to process colors during output (PDF export). They remain in the document, and the objects colored with them remain unchanged and can be output as individual channels by clicking on them in the Ink Manager next time. This may be necessary for an accurate reproduction of the color tone (e.g., in sensitive colors of a corporate design or in pattern books). Certain color tones (e.g., a pure orange) can be simulated unsatisfactorily in the Euroscale.
An additional check of the color channels intended for output and the objects contained therein is provided by the Separations Preview (menu Window>Output or Shift+F6).
Here, like in the Ink Manager, all channels are displayed, but they can also be individually activated or deactivated. InDesign then displays only the elements present in the activated channel. The mouse pointer also serves as a color value measurement tool for the touched area. You can also call the Ink Manager from the Separations Preview palette menu if needed.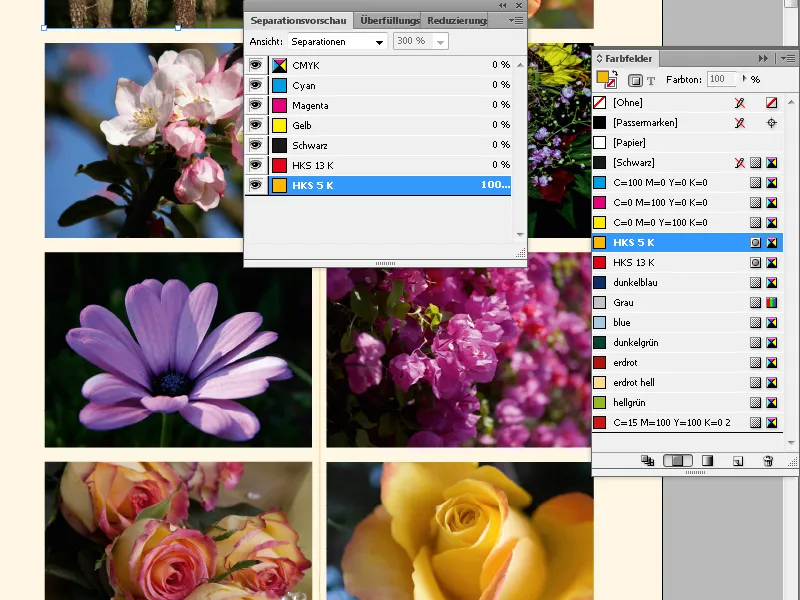
Package document
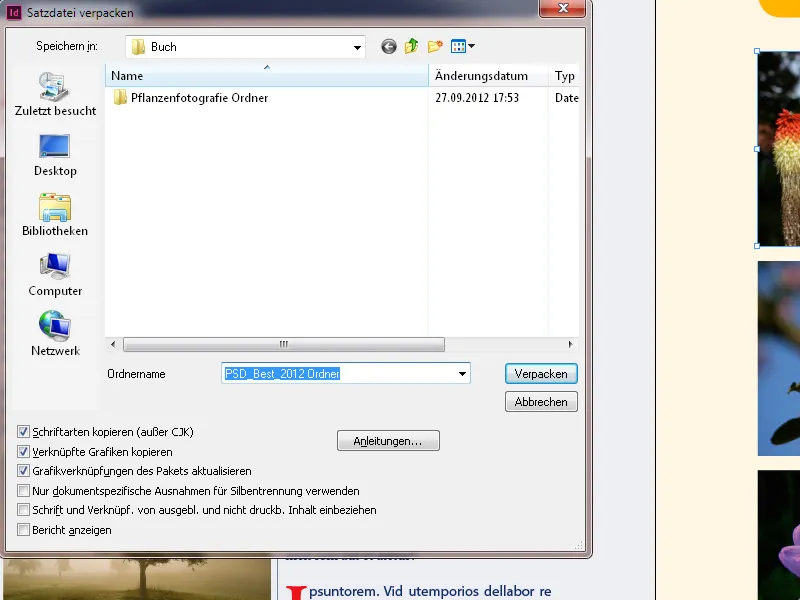
To hand over an InDesign document to another user, the program provides a dedicated function, with the help of which the file along with all images and fonts used in it is stored in a separate folder. To do this, from the File menu, select the command Package (Alt+Shift+Ctrl+P).
Here, on the left side of the dialog box, you can go through all tabs again and check if all fonts and images are present.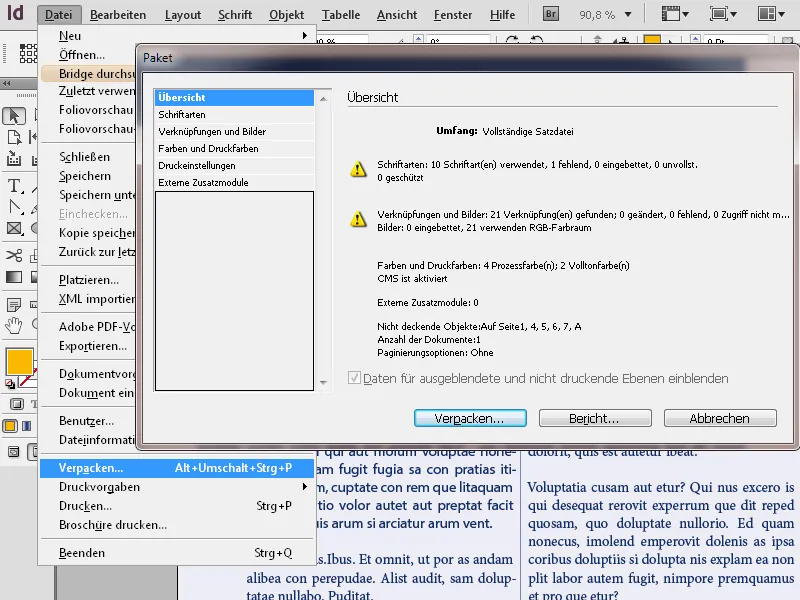
By activating the checkbox Show only problems of the Fonts and Links and Images tabs, only entries with any errors will be visible (which makes the overview easier).
However, all RGB images are also displayed as issues, but this should not make you nervous, as they can all be converted to CMYK during the subsequent PDF export.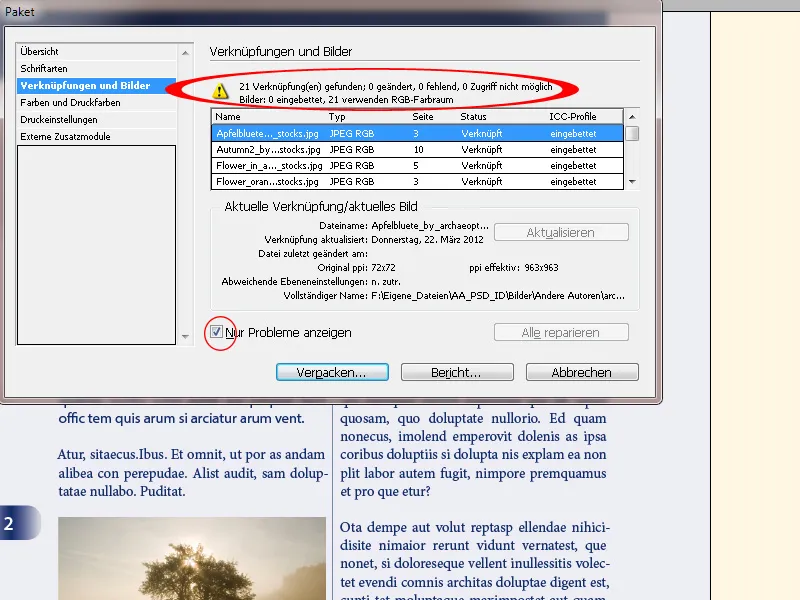
After clicking Package, InDesign will first ask you to save the file again, then open an input field labeled Printing instructions, where various information for the recipient can be provided if needed. After clicking Continue, it will prompt you to specify a target directory and name.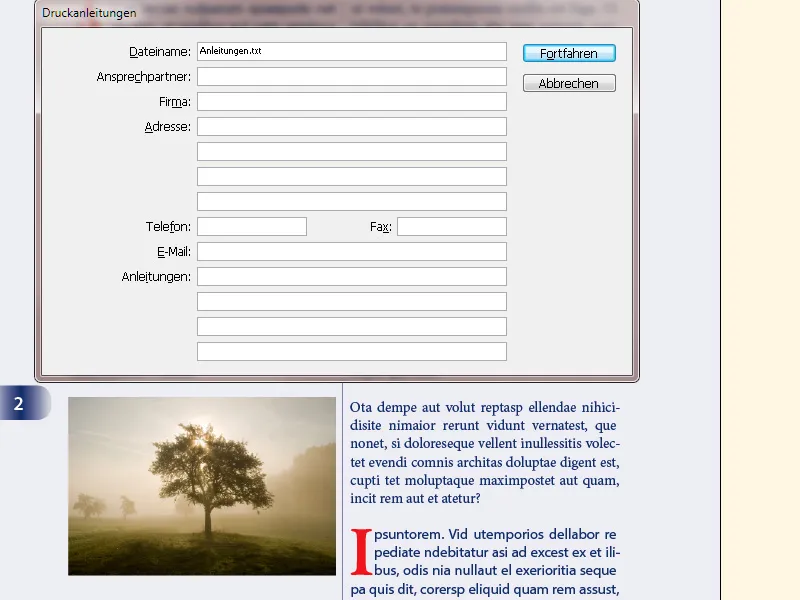
In this save dialog, separate checkboxes are already activated for simultaneous saving of fonts and images. If this is not desired for any reason (e.g., licensing), the checkboxes must be removed.
After clicking Package, a project folder with the InDesign document as well as two subfolders containing the fonts and images will be created in the target directory.
At the same time, the links in the document will be adjusted to this new directory, so they will be displayed correctly on a different workstation.
If certain fonts used in the document are missing on the recipient's computer, InDesign will search for and activate them in the included Document Fonts folder.
This greatly facilitates sharing and helps prevent errors due to missing or differently modified fonts with the same name on the new computer.