Tables with round corners - always in demand, always not so easy. Or is it? Actually, it is. Let me show you how.
First, I use the text tool (1) to draw a text field (2) and give it a decent size of 100 x 100 mm (3, then 4). I set the whole thing to center (1, then 5, then 6).
Then we go to Table>Insert table... (7). I take five table body rows and four columns (8).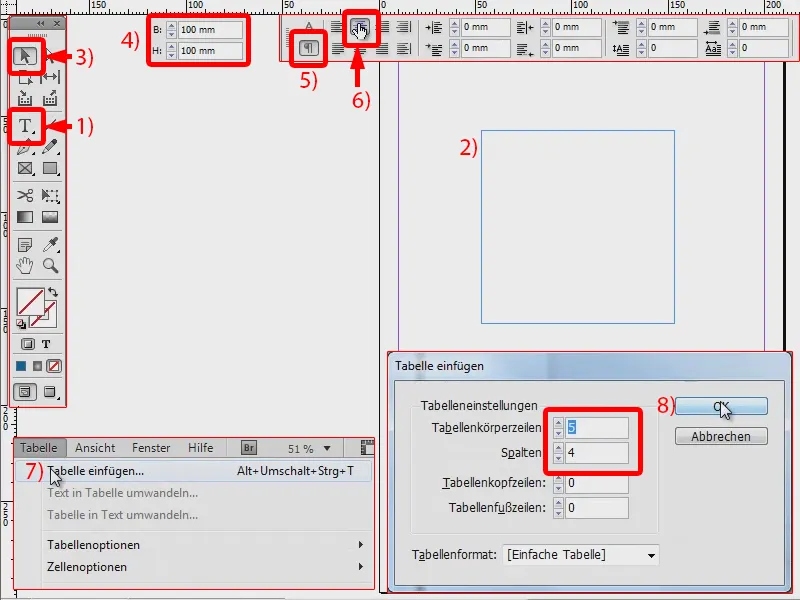
I select the table (1) (2). And now I only want to change the outer lines, i.e. those shown here in blue (3), to 0 pt (4). It will look like this (5).
If I select everything again (6), I can change the size by setting it to 20 x 25 mm, for example (7).
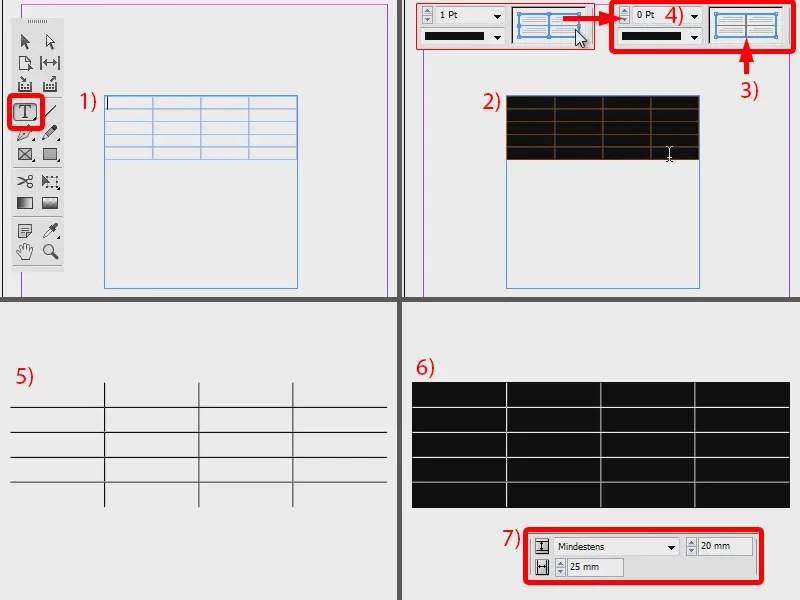
It is now exactly the size of my text frame. Now I change the color, for example to a nice blue (1, 2, 3).
It's still square, but I want it to be round. That's why I go to Object>Corner options... (4). Here I say rounded (5) and set this to 6 mm (6). The interlinking symbol is activated so that this is applied to all corners (7). Confirm with OK (8).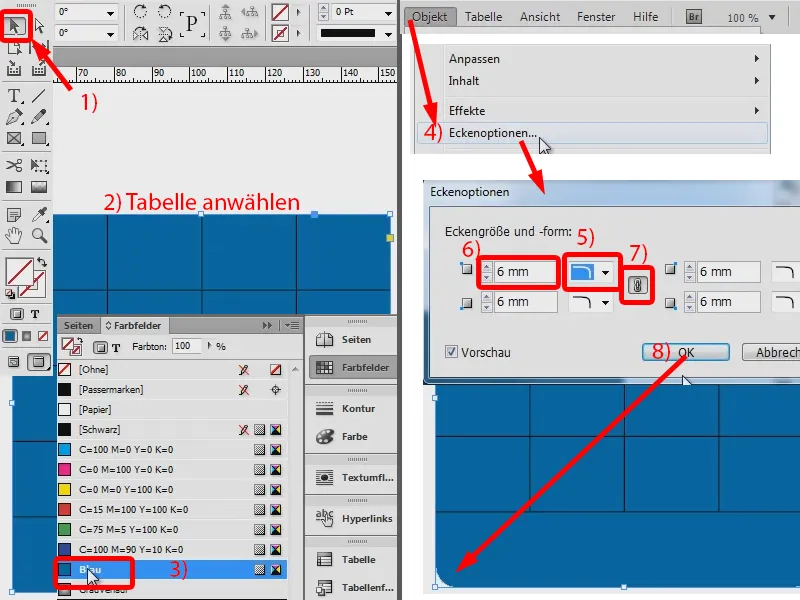
Here you can see (1) that it doesn't quite fit in yet, I can pull it down a little further (2, until all the lines are visible).
And then I also want to give the whole thing an outline of 1 pt in black (3). And now I have a round table.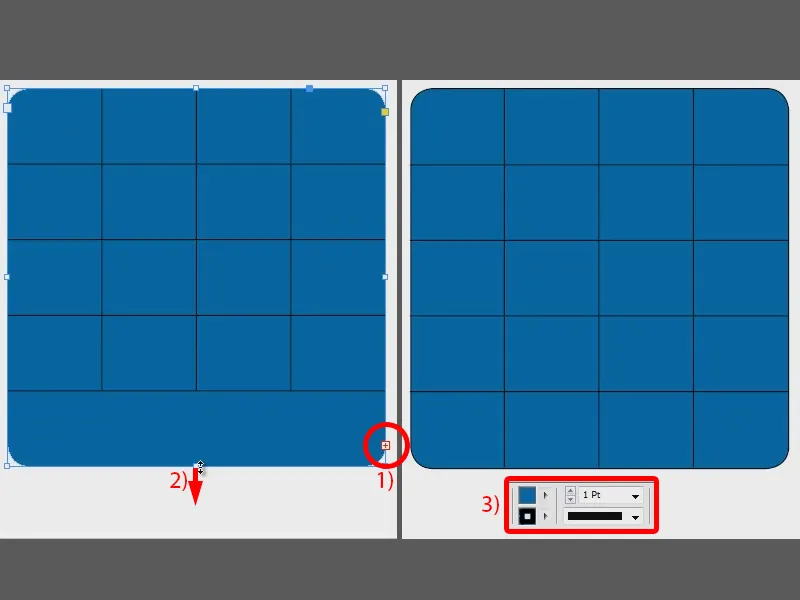
I could now change the color of these rows and columns, for example to a light blue (1). And I could now add the values that I want (here, for example, the numbers 1 to 12). Center them (2), set the text color to white (3), then it looks really good. A round table is that simple.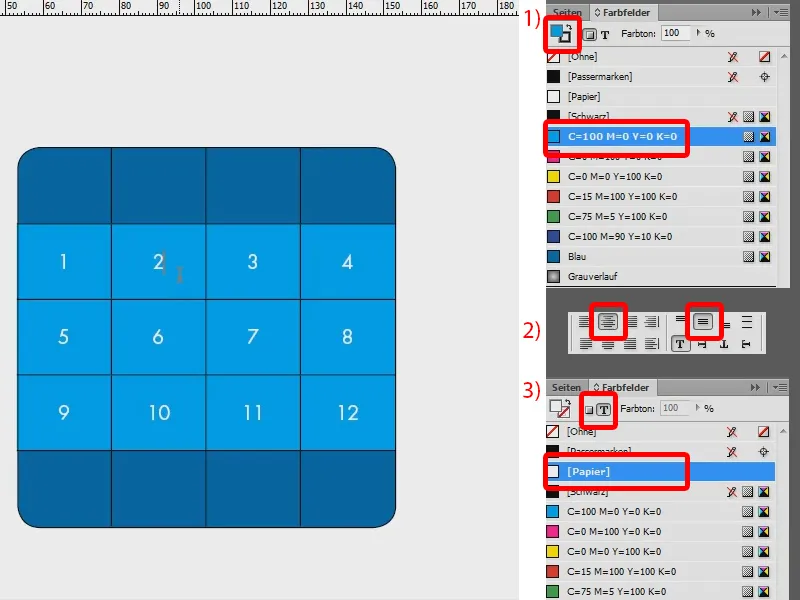
Alternative procedure
This is option one. But there is also a second one, which is not bad either: I draw up another table (1, create text field, then Table>Insert table...). Select the table again (2). I now remove the outline completely (3: set all outlines to blue and 0 pt) and have my table here (4).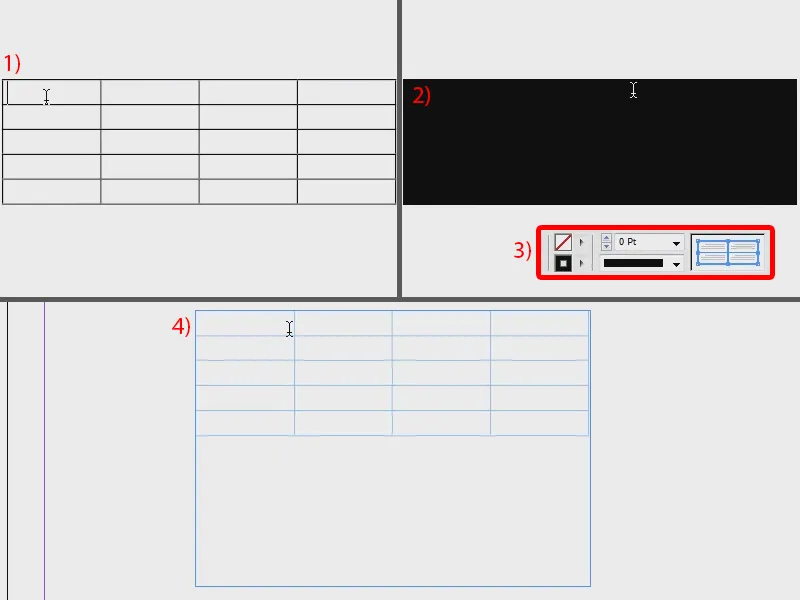
I insert the values centered again (1), color the area red (2) and set the text color to white (3). I can also use a different color at the top and bottom, for example green (4).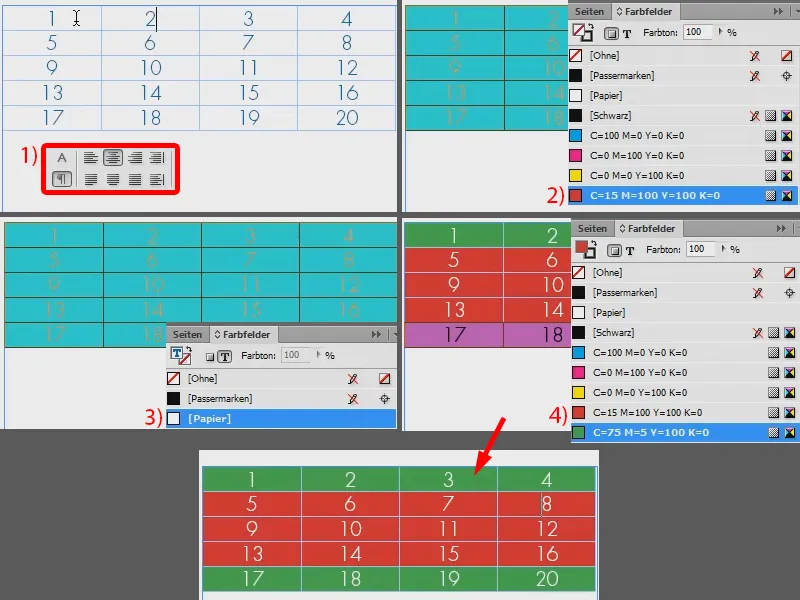
And now I just have to insert the whole thing into a frame, which is already rounded. I drag it to (1), go back to Objects>Corner options... and select rounded at 14 mm (2).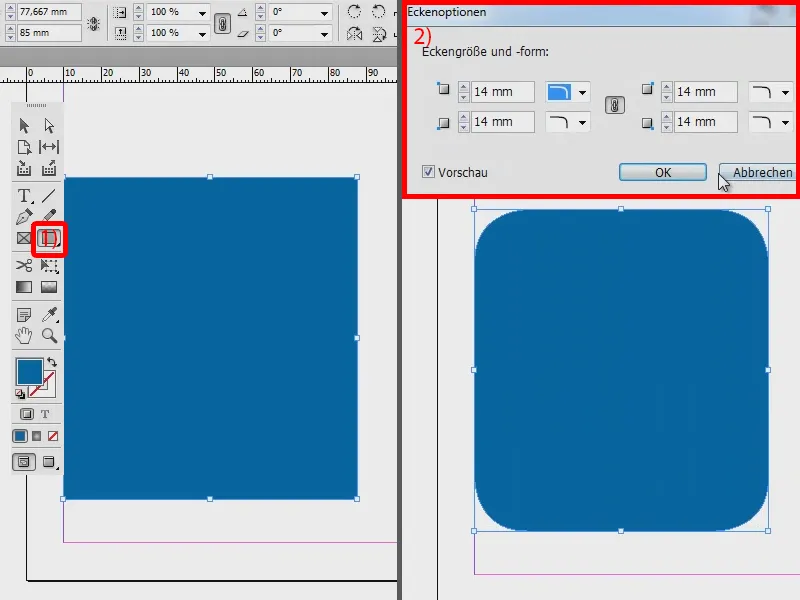
Now I simply take the table and cut it out with Ctrl + X (1). And now I right-click in the blue frame and select Insert into selection (2).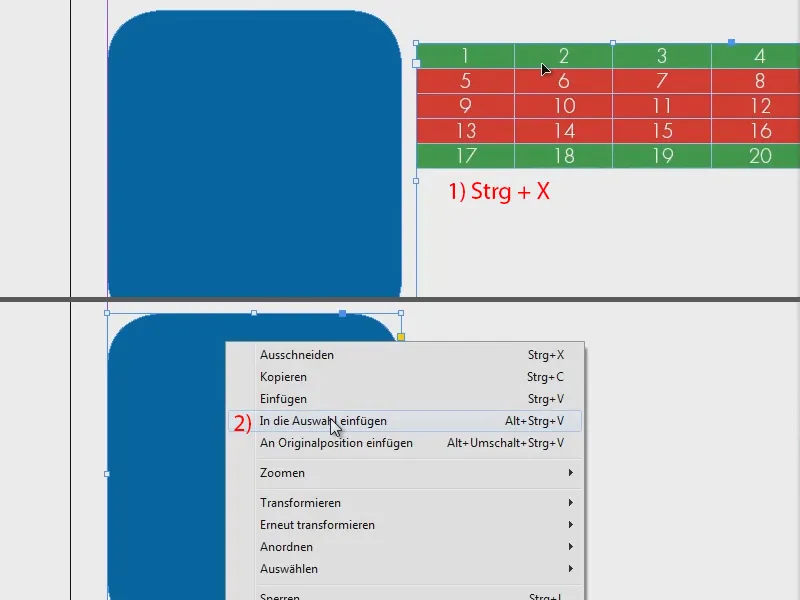
I can now use the direct selection tool to move the table as I want it (1). I make the frame a little wider so that it fits and reduce the height (2). And if I now fill the area with green, it will look like this (3).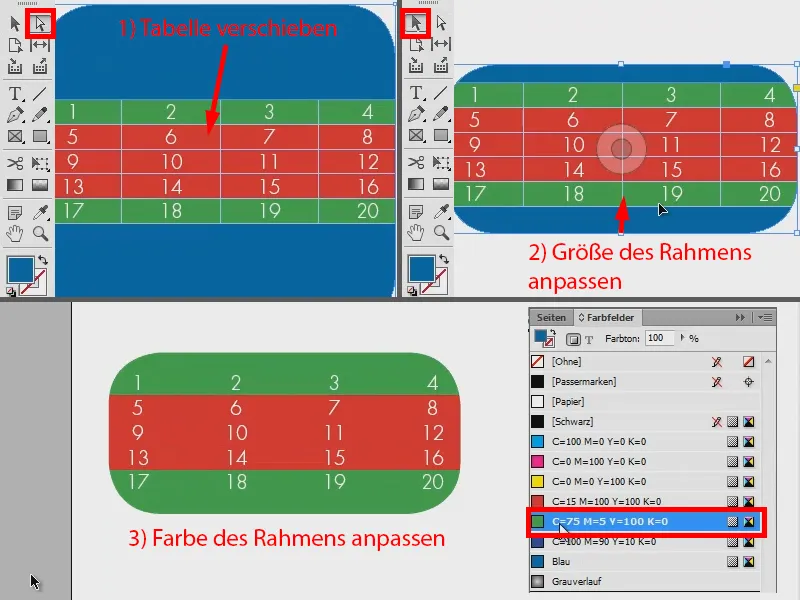
So: two ways to quickly create a rounded table. Try it out.


