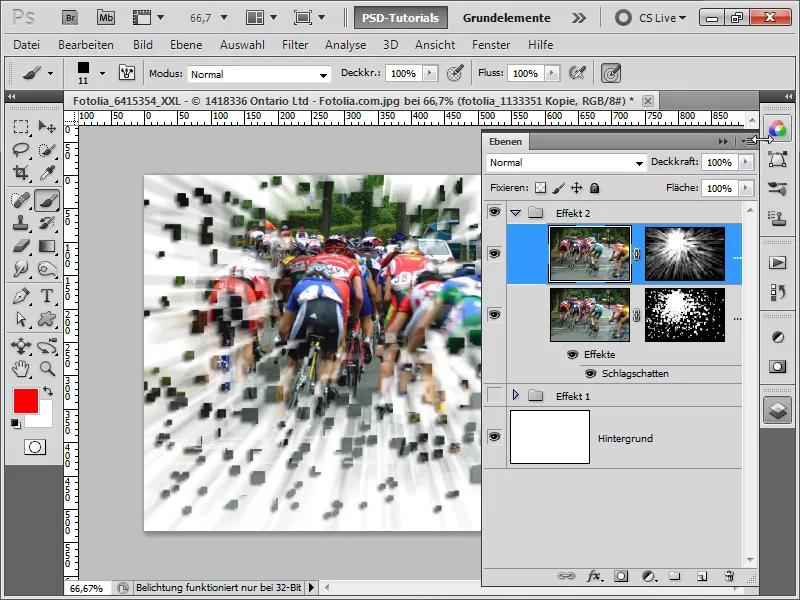
The effect of exploding fragments adds dynamism and energy to your photos. This technique is ideal for creating breathtaking and modern designs – whether it's for posters, digital artworks, or creative projects. With Photoshop, you can step by step create an impressive fragmentation effect by combining layer masks, brushes, and transformation tools. Let's get started and transform your photo into a spectacular explosion!
Step 1:
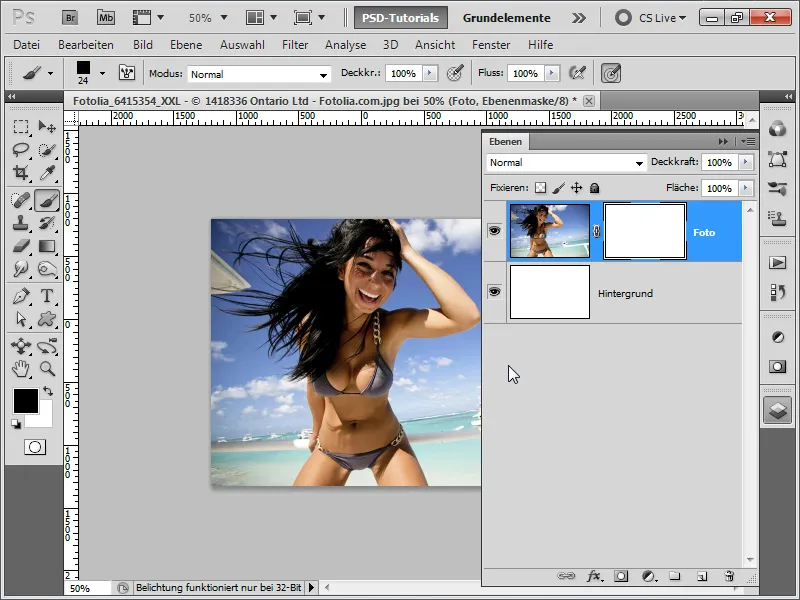
First, I open my photo, convert the background layer into a normal layer with a double click in the Layers panel, and then add a layer mask to the photo. After that, I create a new layer and fill it completely with white.
Step 2:
I click once on the layer mask and then press Ctrl+I to invert the image and thus completely change the opacity to full opacity. Then I add a drop shadow.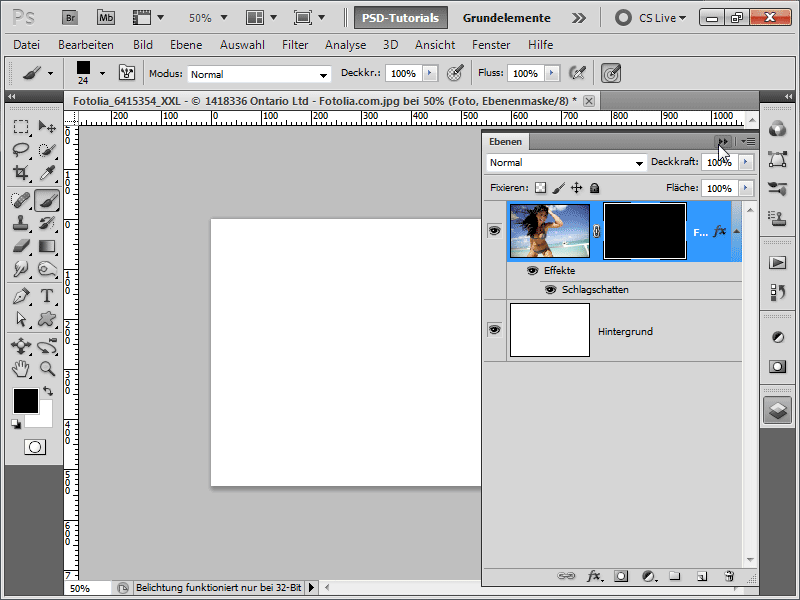
Step 3:
Next, I grab my brush and right-click on my workspace; then I see all the brushes available to me. If the square brushes are not already loaded, I click on the small arrow in the brush menu and then load the "Square Tips" library.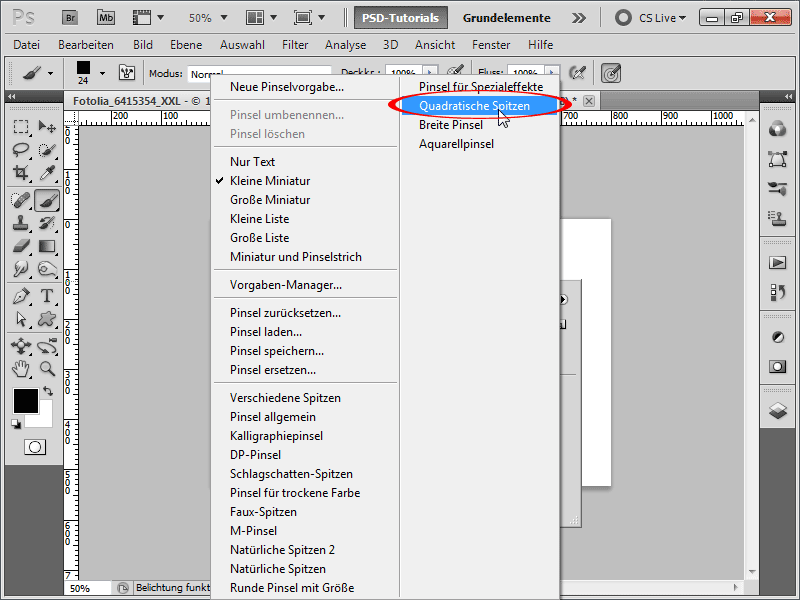
Step 4:
Now I take the largest of the square brushes.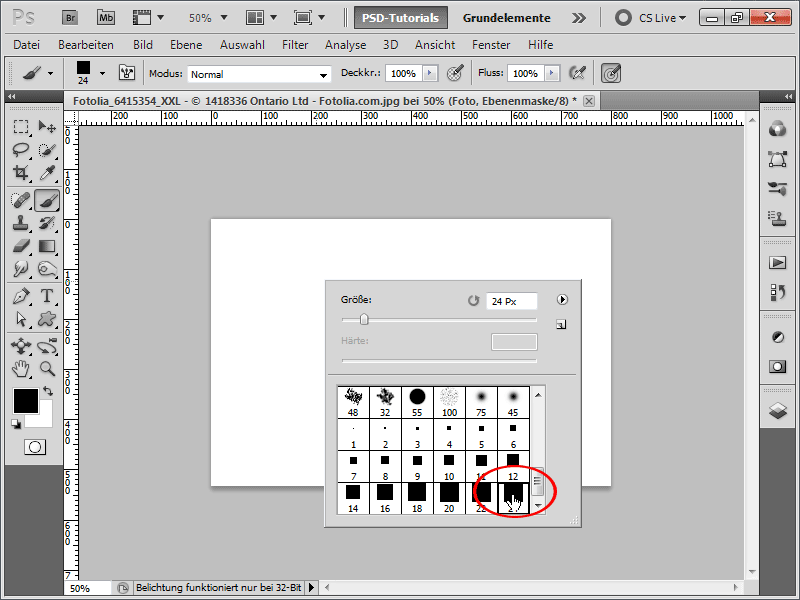
Step 5:
In the brush panel (can also be opened with F5), I give my brush a larger spacing.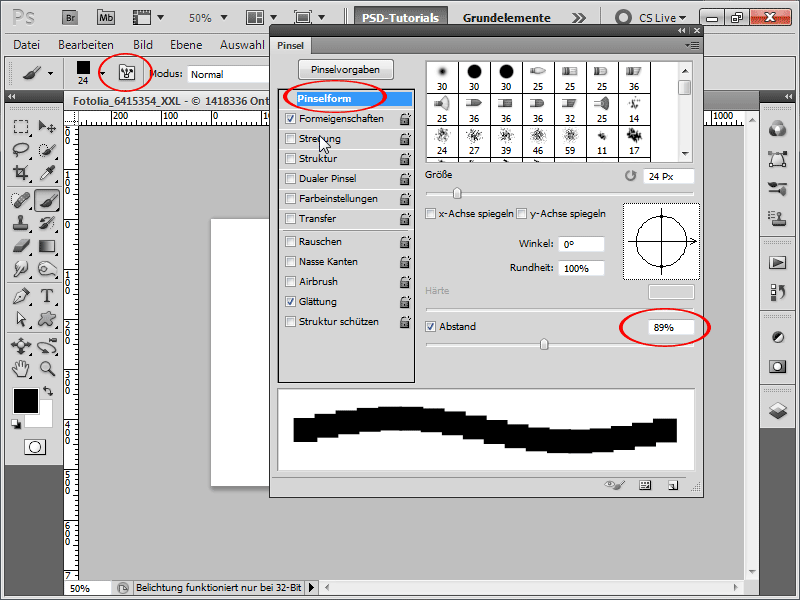
Step 6:
I also increase the scatter: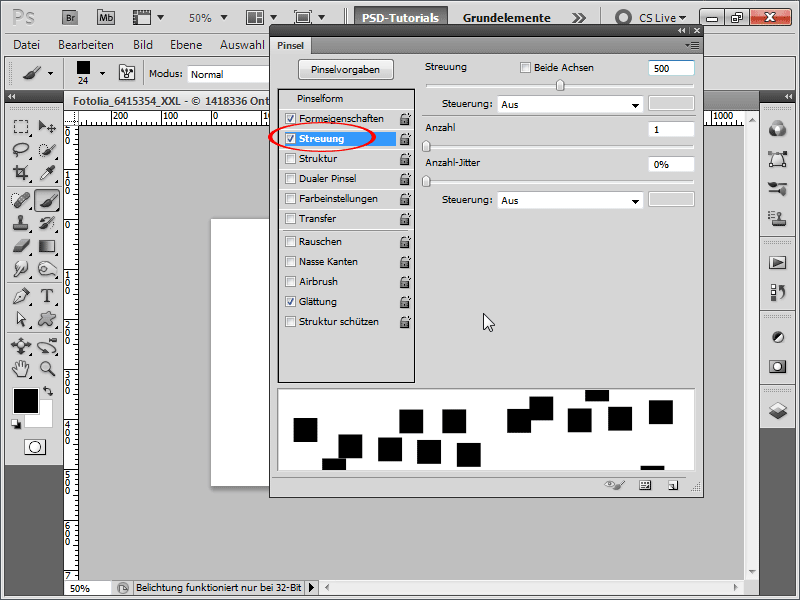
Step 7:
Now I paint with white color, revealing parts of my image again. However, I only want to see the face completely and the rest should only be partially visible through the fractal pieces.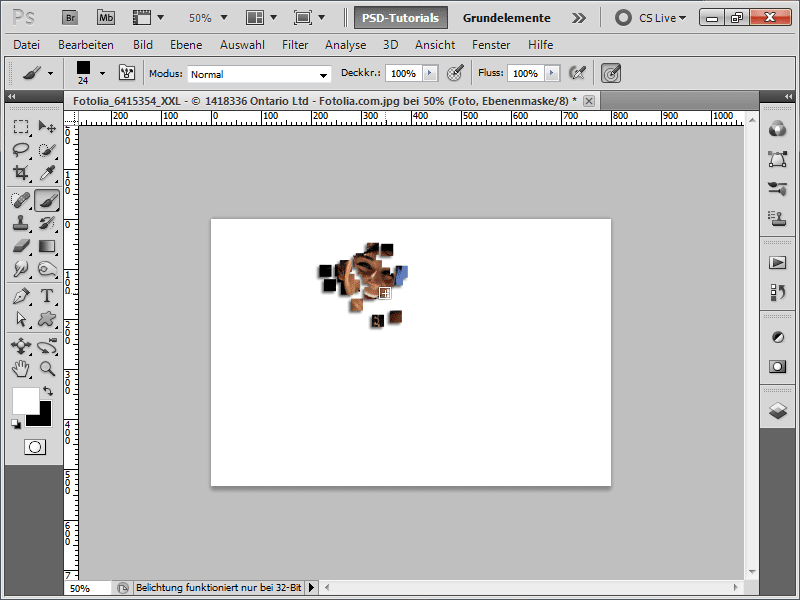
Step 8:
Occasionally, I can also change the brush size.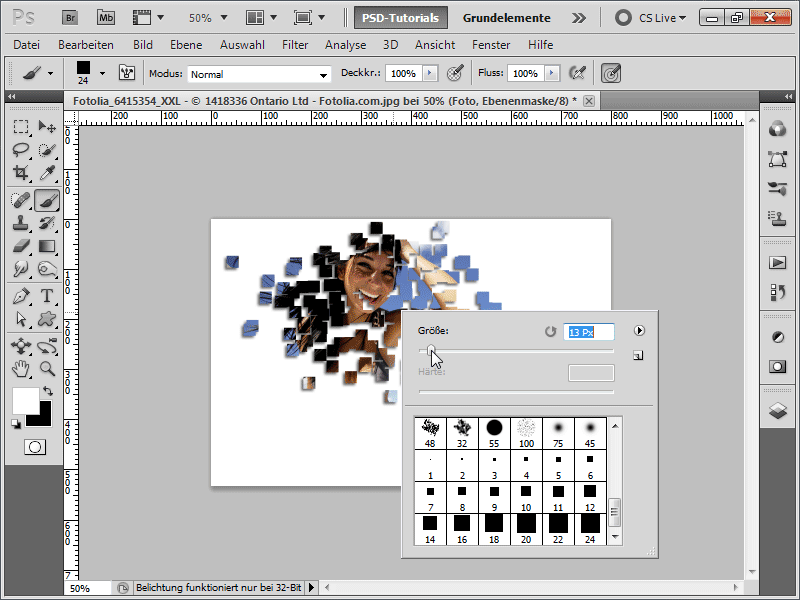
Step 9:
I switch between the foreground and background colors with the X key to remove individual pixels from the image. This makes the extruding pieces look even more shattered.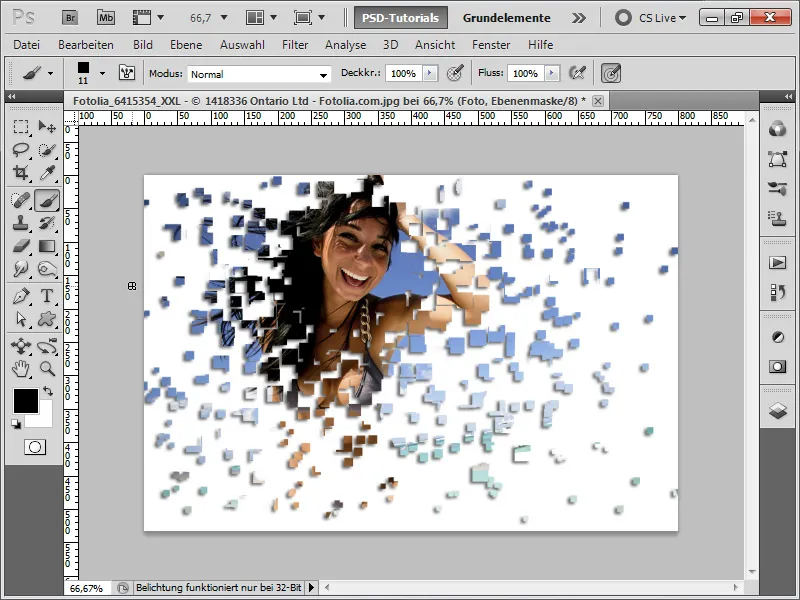
Step 10:
Now I duplicate my layer with Ctrl+J, turn off the drop shadow in it. Then I click on the layer mask and go to Menu>Filter>Blur Gallery>Spin Blur. Tip: I can move the center point. Best to move it exactly where the face is.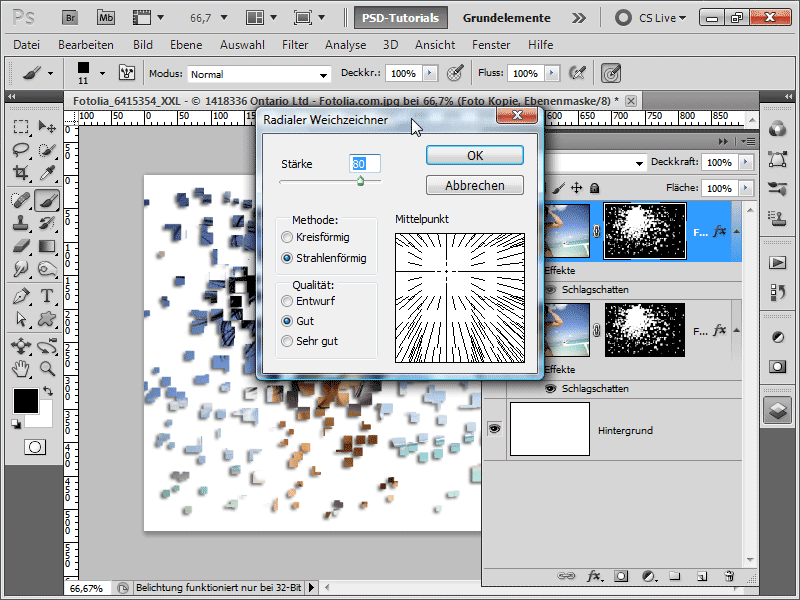
Step 11:
And this is what my photo looks like now: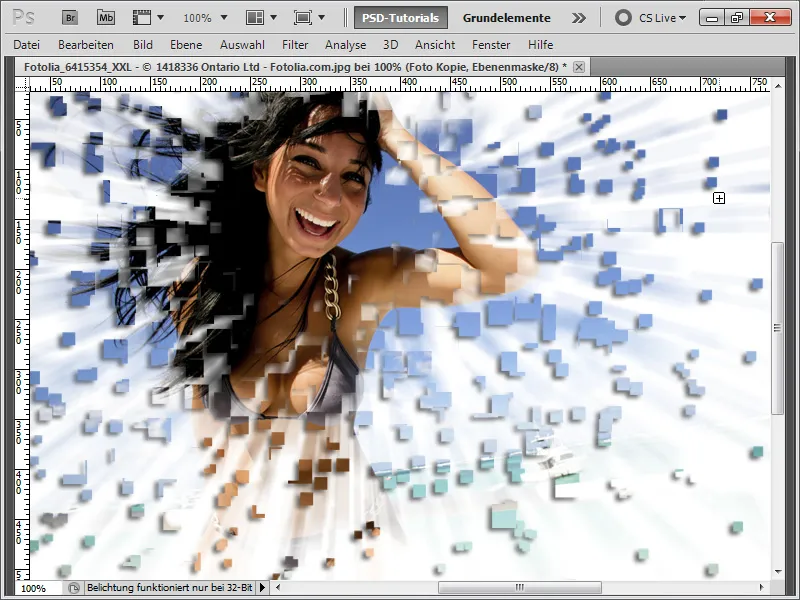
Step 12:
Now I can also create a Gradient Adjustment Layer and then set the fill method to Hue. This way, the radial stripes have a different color.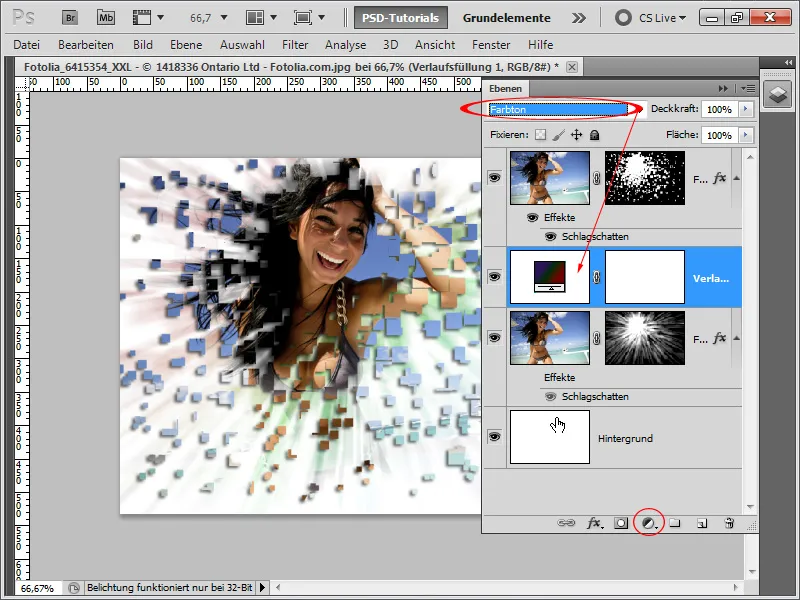
Step 13:
If I swap the layers, the fractal pieces will have a different color.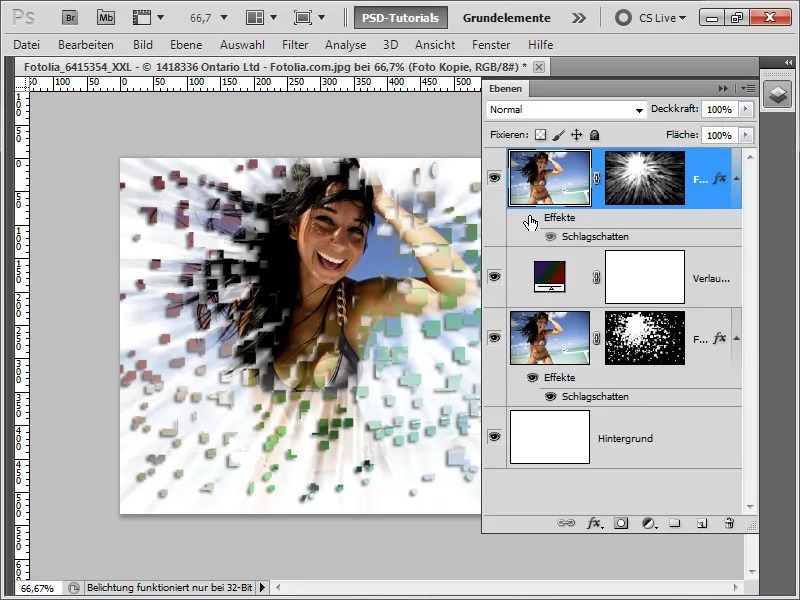
Step 14:
And this is what my 100% result looks like: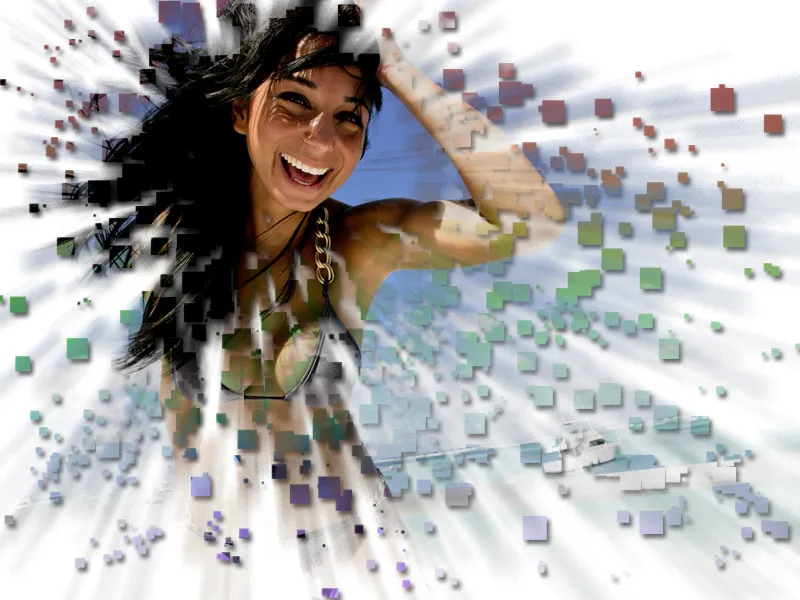
Step 15:
The great thing is that I can apply this effect to other photos immediately, because everything is based on layer masks. So I can simply copy the layer masks to the other pictures by holding down the Alt key.