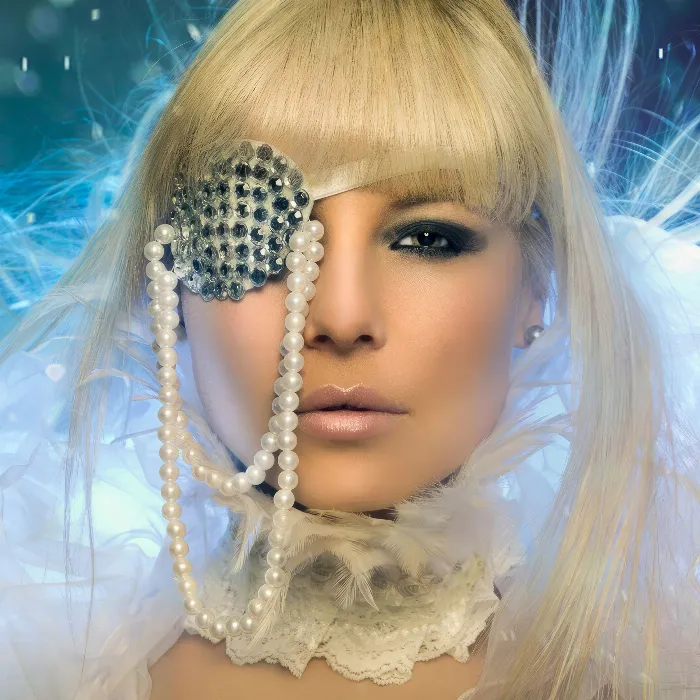
You've probably seen this fashion look consciously or unconsciously in various glossy magazines, perhaps in a perfume bottle production or something similar. The look is used very often because it is incredibly quick to create and also very striking.
By now, you've almost gotten used to it when these edges are blurred a bit with motion blur.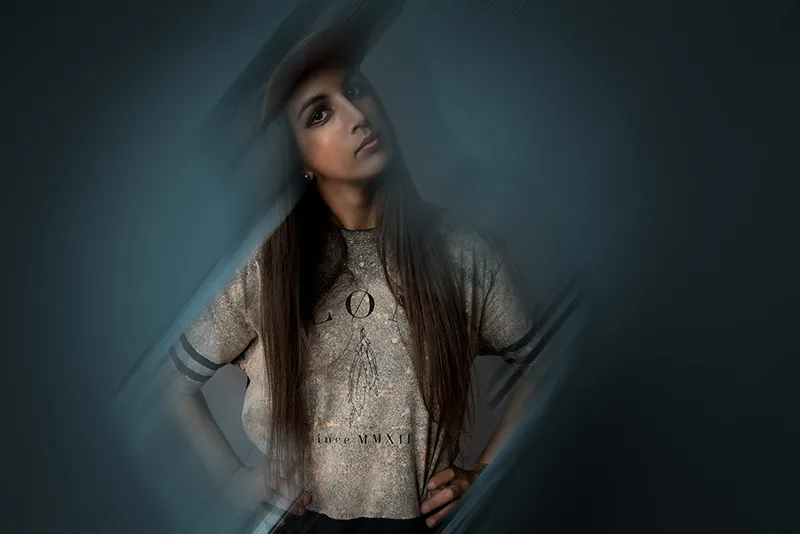
Step 1
How do you do the whole thing? I'll Blender it out and have my original file here. And all you have to do here is use the normal lasso with a hard edge - I've set it to 1 px - to move along the inside of the person. You're practically leaving a small border on the outside..webp?tutkfid=46641)
Step 2
Then invert the selection (Selection>Invert selection).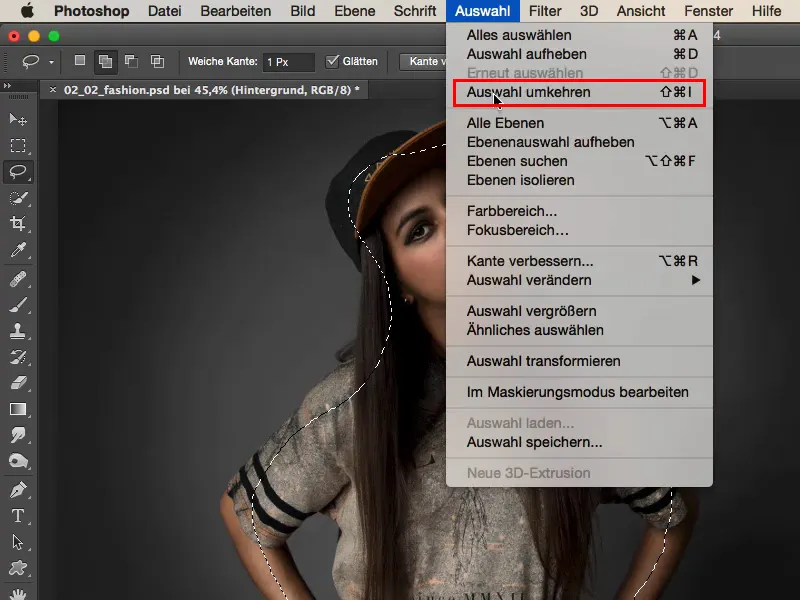
Step 3
Now you have selected around the outside, press Ctrl+J or Command+J and now you have it on a new, empty layer.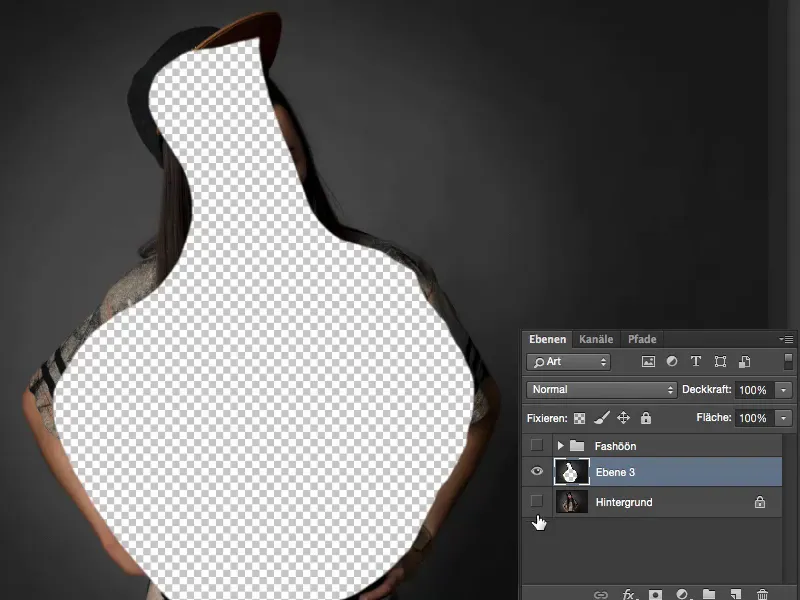
Looks ugly, but will be even more beautiful.
Step 4
You can convert the whole thing into a smart object by clicking the right mouse button; this has the advantage that you can access your filter settings at any time..webp?tutkfid=46644)
Step 5
Under Filter>Smooth filter you will find the motion blur,...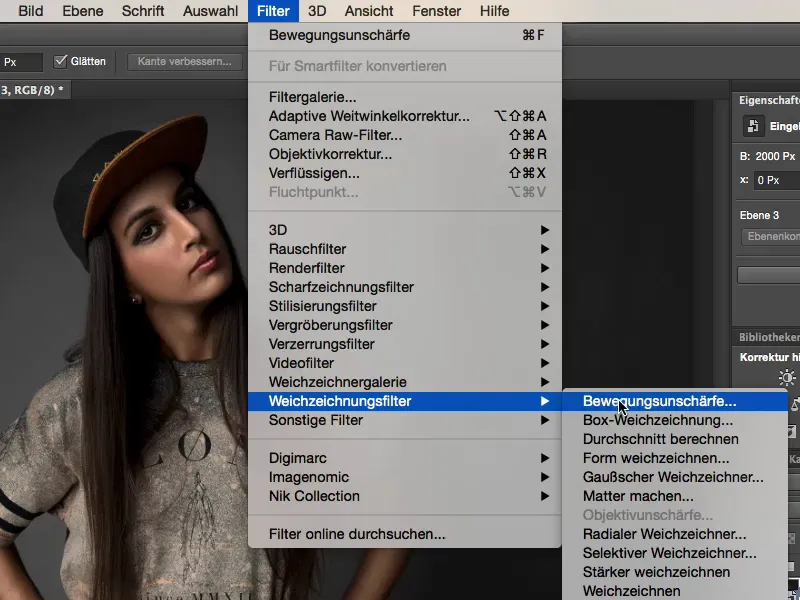
Step 6
... and you can already see that you can now adjust the effect in the image as you wish. The angle here and next to it you can already see the desired effect.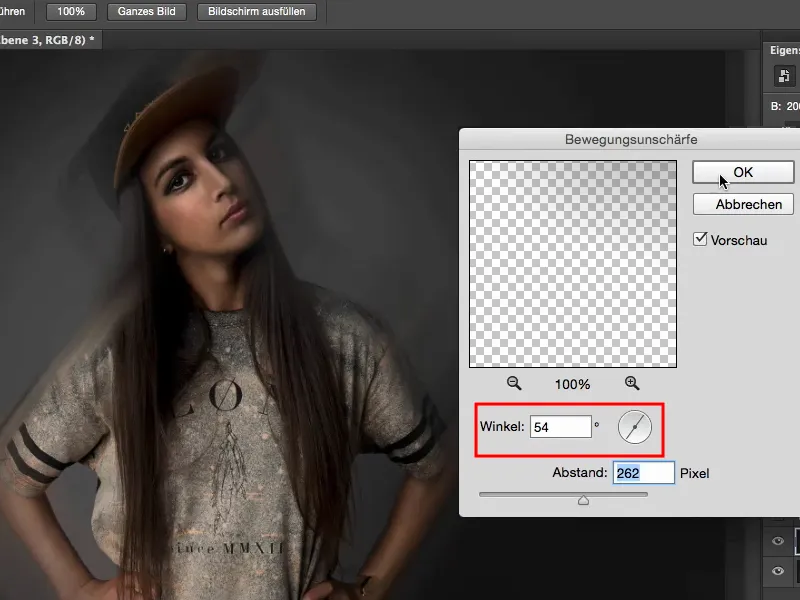
Step 7
The whole thing is usually a bit too weak for me - this is also due to the high resolution that cameras now have. This was taken with a D800, with 36 megapixels. Even if I pull the motion blur filterto the full stop here, I no longer get the desired effect that I might still have with 12 megapixels.
I solve this by simply duplicating the layer until the whole thing looks really washed out..webp?tutkfid=46647)
Step 8
Now the only problem I have here is that it's not quite so nice in the middle, so I just get the brush (1), make it a bit bigger, maybe go to 50, 60, 70 percent opacity (2), go to the mask here (3) and get the face back here at the edges, in every layer copy. Of course, I could also copy the mask, but with just a few brushstrokes it's actually quite quick to do..webp?tutkfid=46648)
Step 9
Yes, and once you've done that, you can think about what color look you want the whole thing to have. The easiest way to do this is with a color balance adjustment layer, and what I always like to do: I take a look at the whole thing - how warm does it look?.webp?tutkfid=46649)
Heyer, I like it, it matches the skin tone, bingo - fashion look done!
Step 10
And alternatively, I always look at it with cool tones: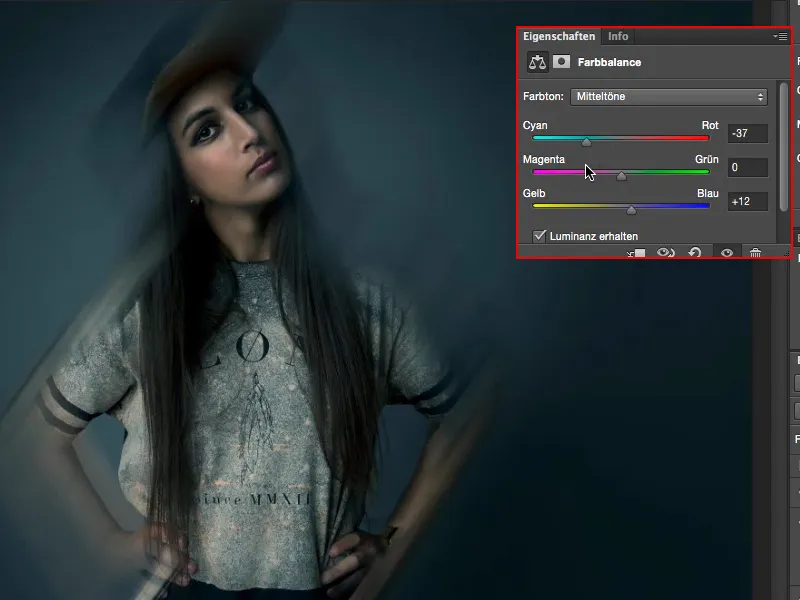
I actually quite like it too.
Step 11
Or I can make a mishmash out of it here and pull the whole thing a bit towards magenta - and that also has a cool effect.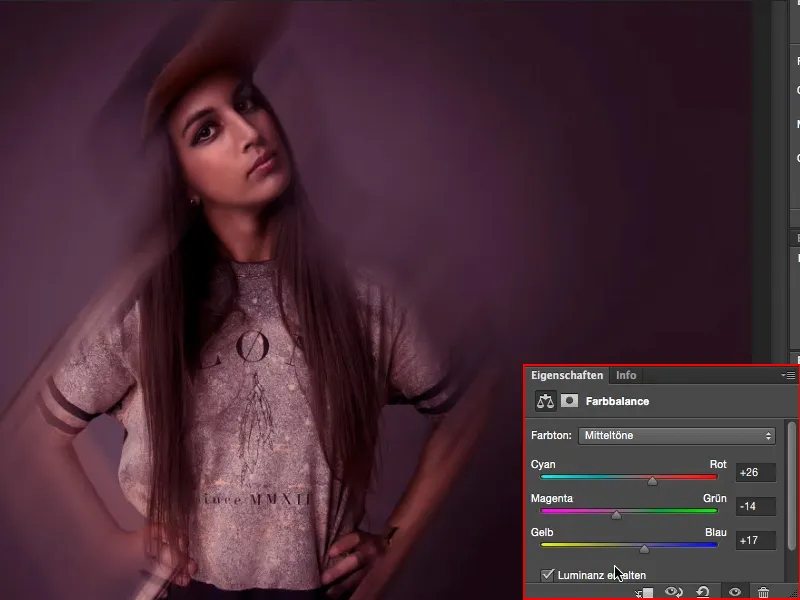
So, you see: with 2-3 layer copies, a selection, motion blur on it, once around it and a color over it, you have created a fashion look.
It couldn't be easier or quicker.
