Photo editing can often be a time-consuming and demanding task, especially in wedding photography, where emotions and ambiance must be captured perfectly. Selecting the best photos is just the first step; the subsequent editing is crucial to highlight the seriousness and beauty of these special moments. Here I show you how to efficiently edit your wedding photos.
Key Takeaways
You can efficiently edit your wedding photos by following these steps:
- Use a standard edit to quickly achieve a consistent look.
- Synchronize editing steps for multiple pictures to save time.
- Pay special attention to exposure and white balance to ensure natural coloration.
Step-by-Step Guide
1. Perform Basic Editing
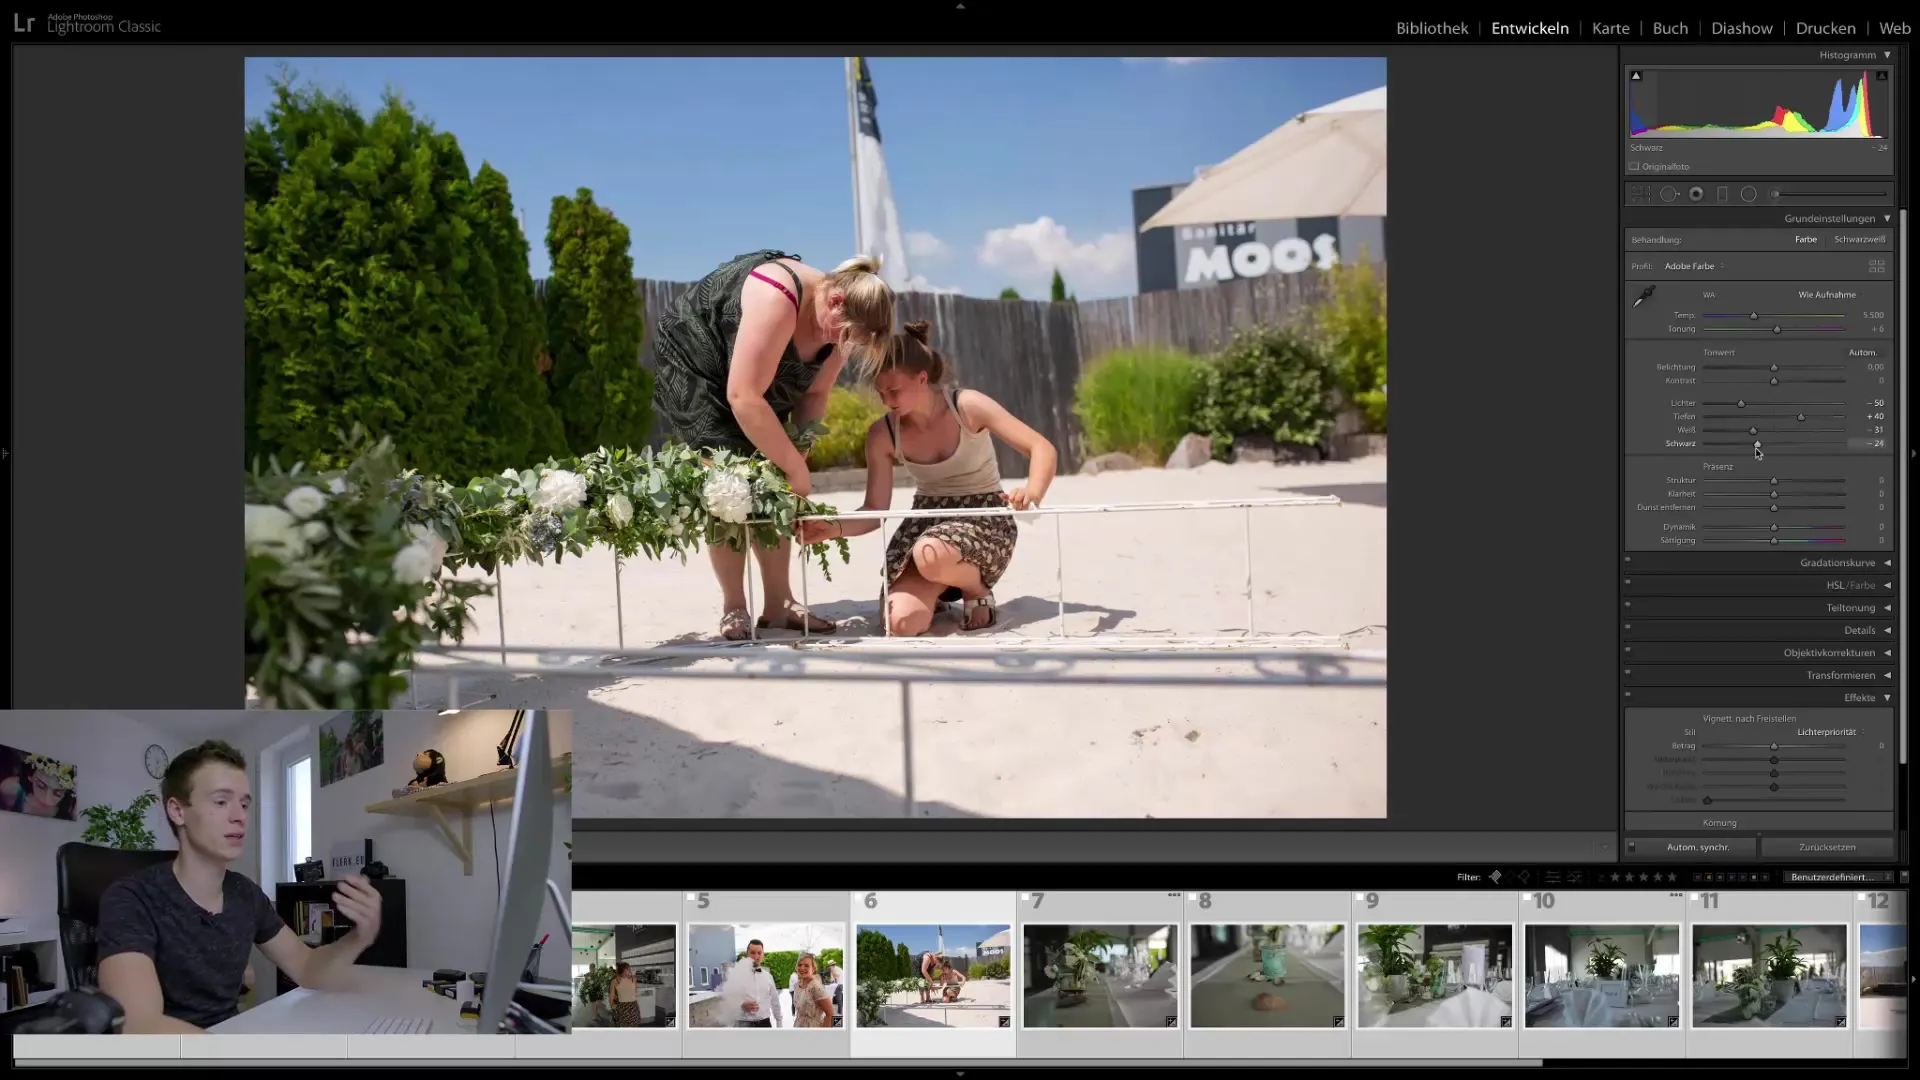
Before you edit your images in detail, it's important to do some basic editing. Start by lowering the highlights a bit; for example, you can set them to -50. At the same time, increase the shadows, aiming to work with +40. This ensures balanced-looking images.
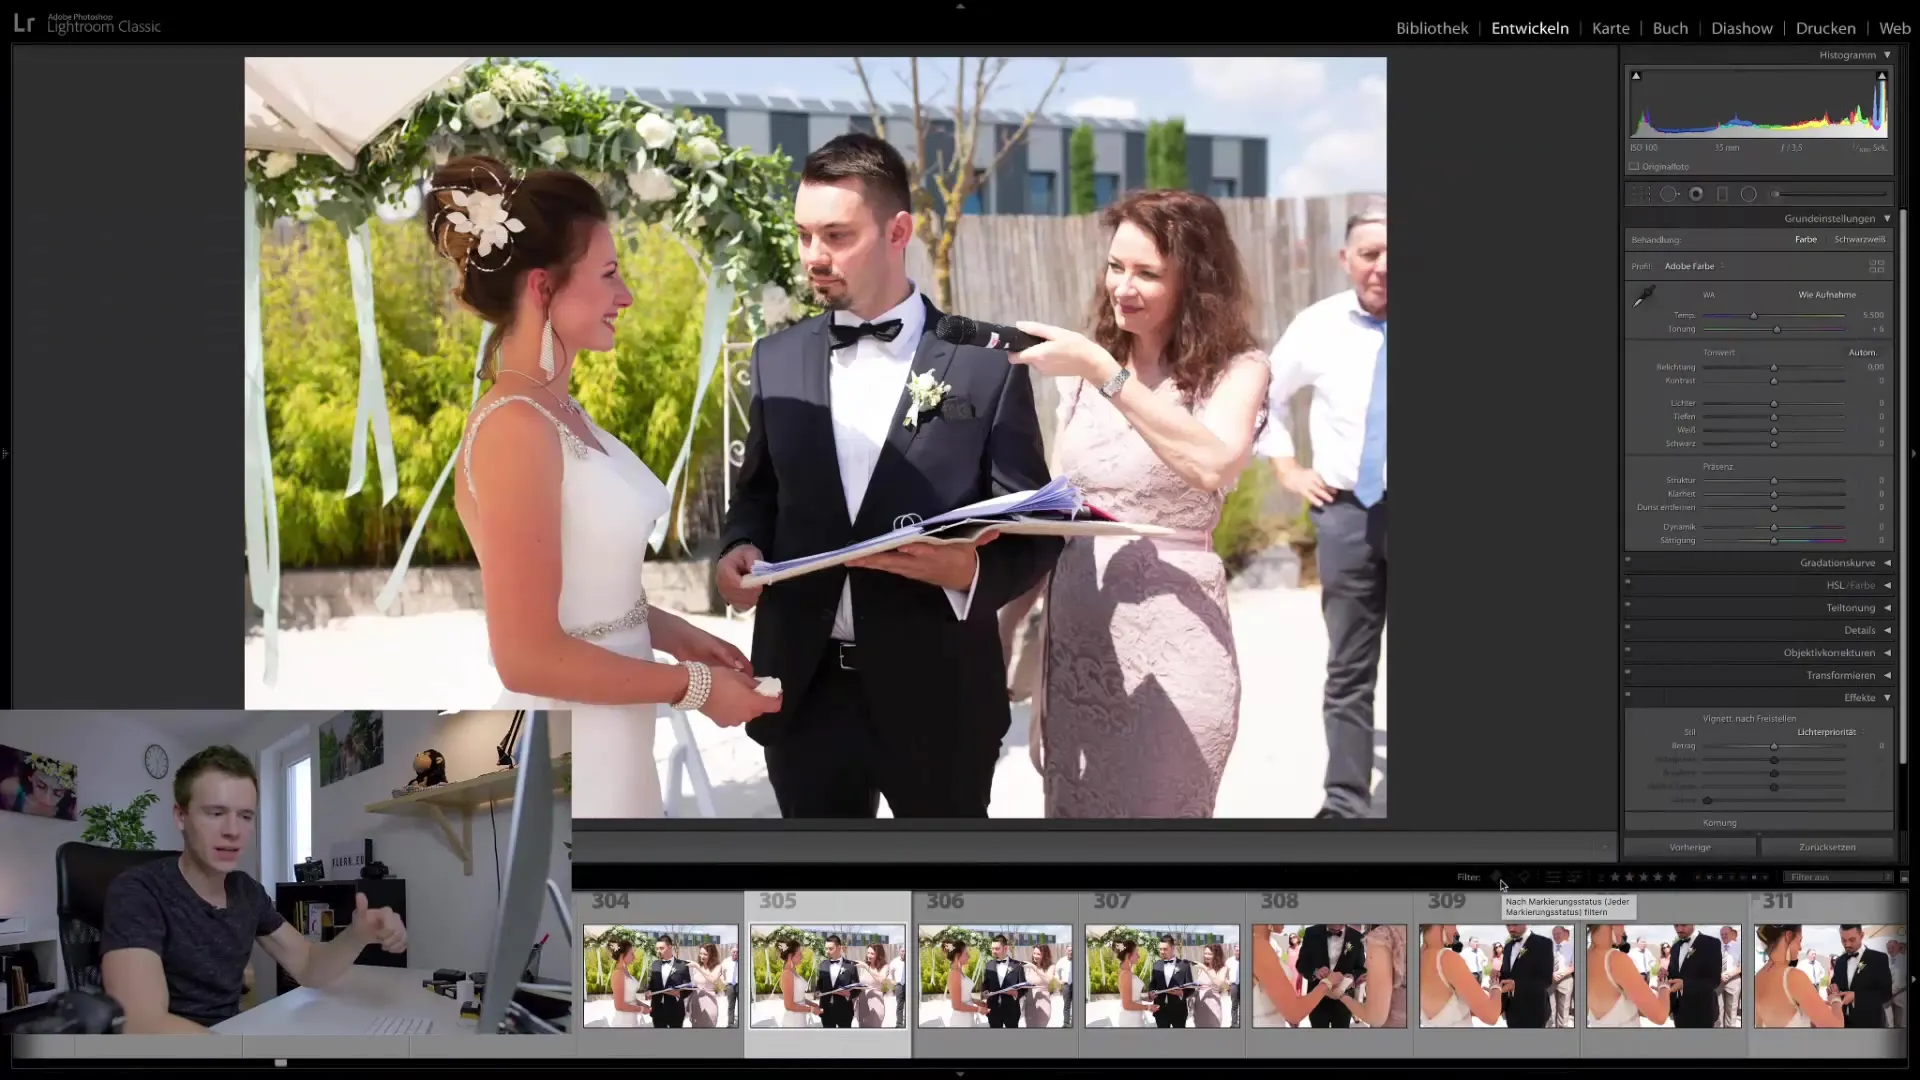
Adjust the white values slightly downward and tweak the black values. These steps form the basis of your photo editing.
2. Utilize the Synchronization Feature
One of the great advantages of Lightroom is the ability to synchronize editing steps. As you make the initial adjustments, select all the images you want to edit and enable automatic synchronization. The following example demonstrates how you can edit all the images simultaneously, saving time without sacrificing quality.
3. Sharpen Images
Another step in photo editing is sharpening. You should set the sharpening to about 80 to 90, with a masking of 0.7. These values help bring out the details in photos without making them look unnatural.
4. Lens Correction and Chromatic Aberration
Next, go to lens correction and enable chromatic aberration removal. This type of flaw often occurs in backlit shots and manifests as colored edges that can be distracting in images. Removing these aberrations results in clearer and more professional photos.
5. Adjust Exposure
Once you've made the basic adjustments, go through each image and adjust the exposure. You can easily do this by using the pound key and plus-minus key to make slight exposure changes.
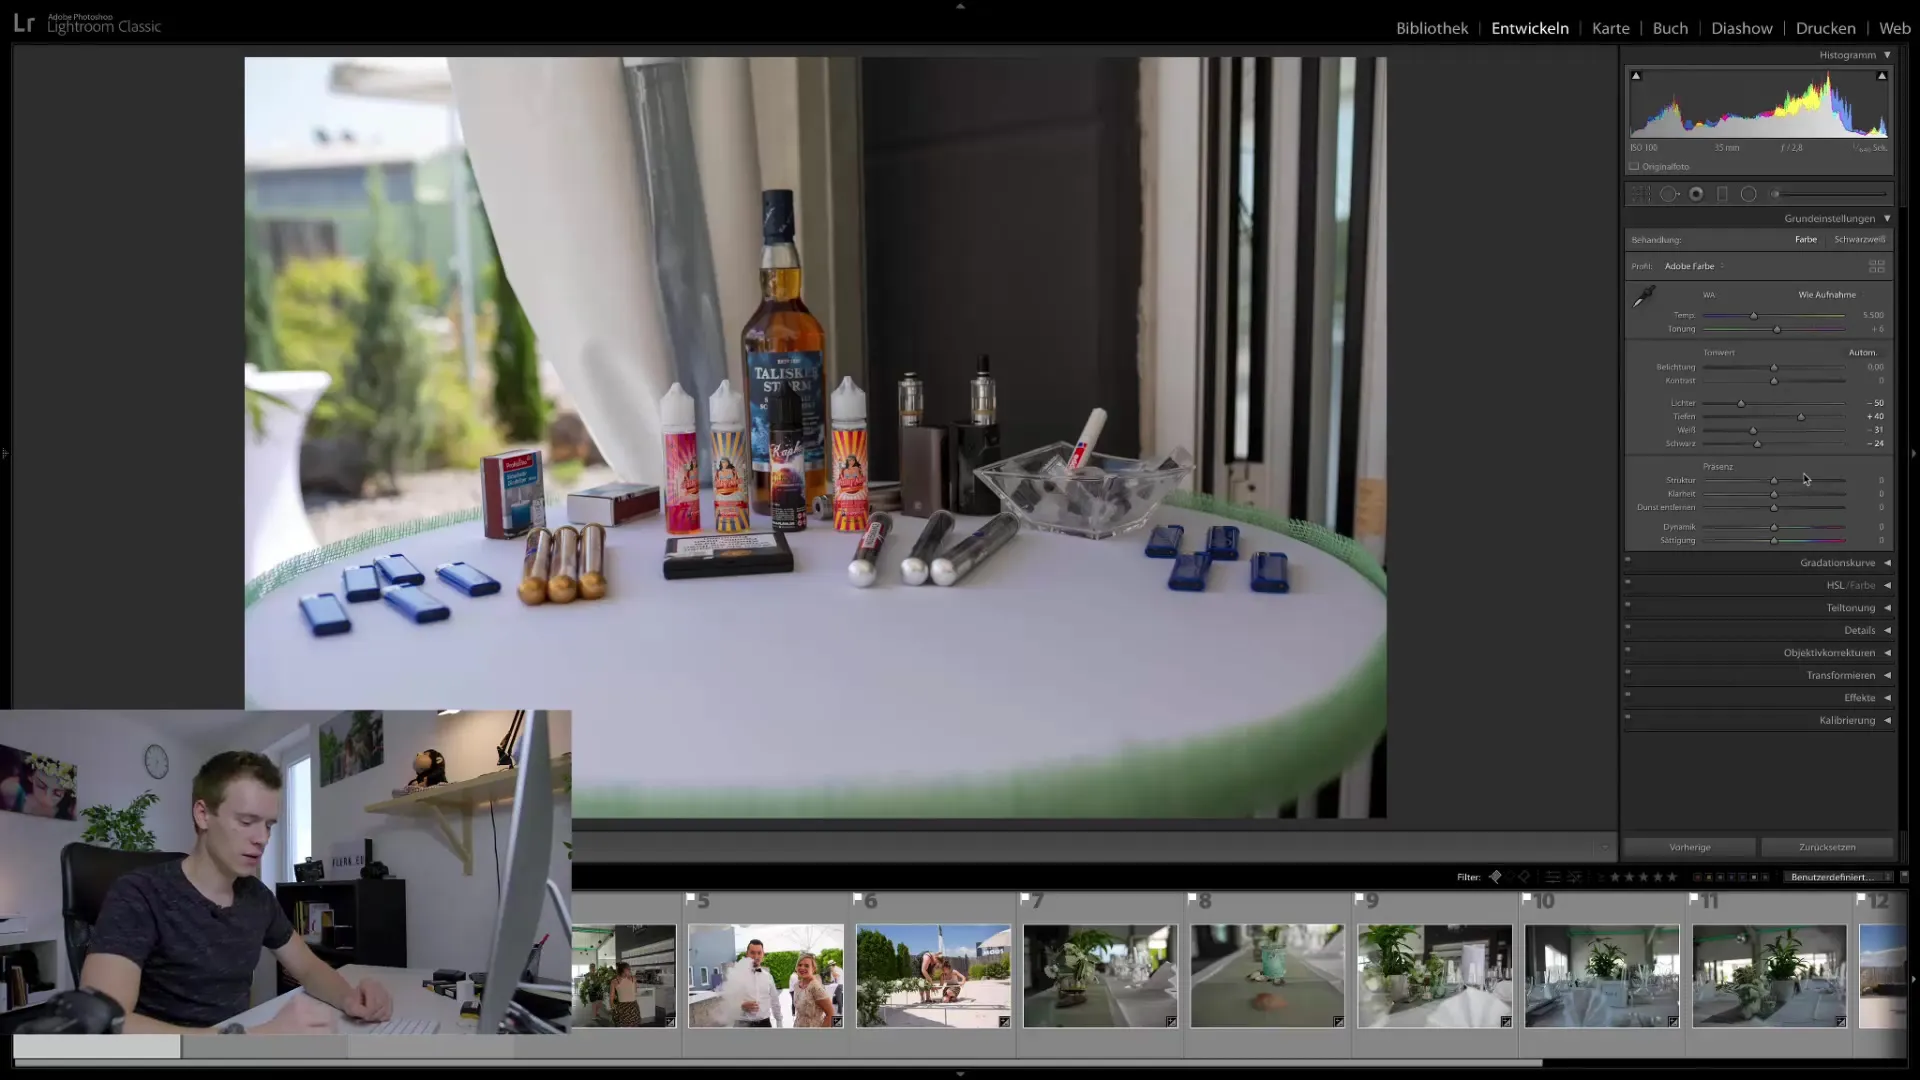
Over time, you'll develop a good sense of how much brightening is necessary to find the perfect balance.
6. Optimize White Balance
White balance adjustment is one of the most crucial steps in photo editing. It's often too green or has other color casts. To correct this, you can simply increase the magenta level using the arrow keys. This enhances the overall coloration and makes the images look more natural.
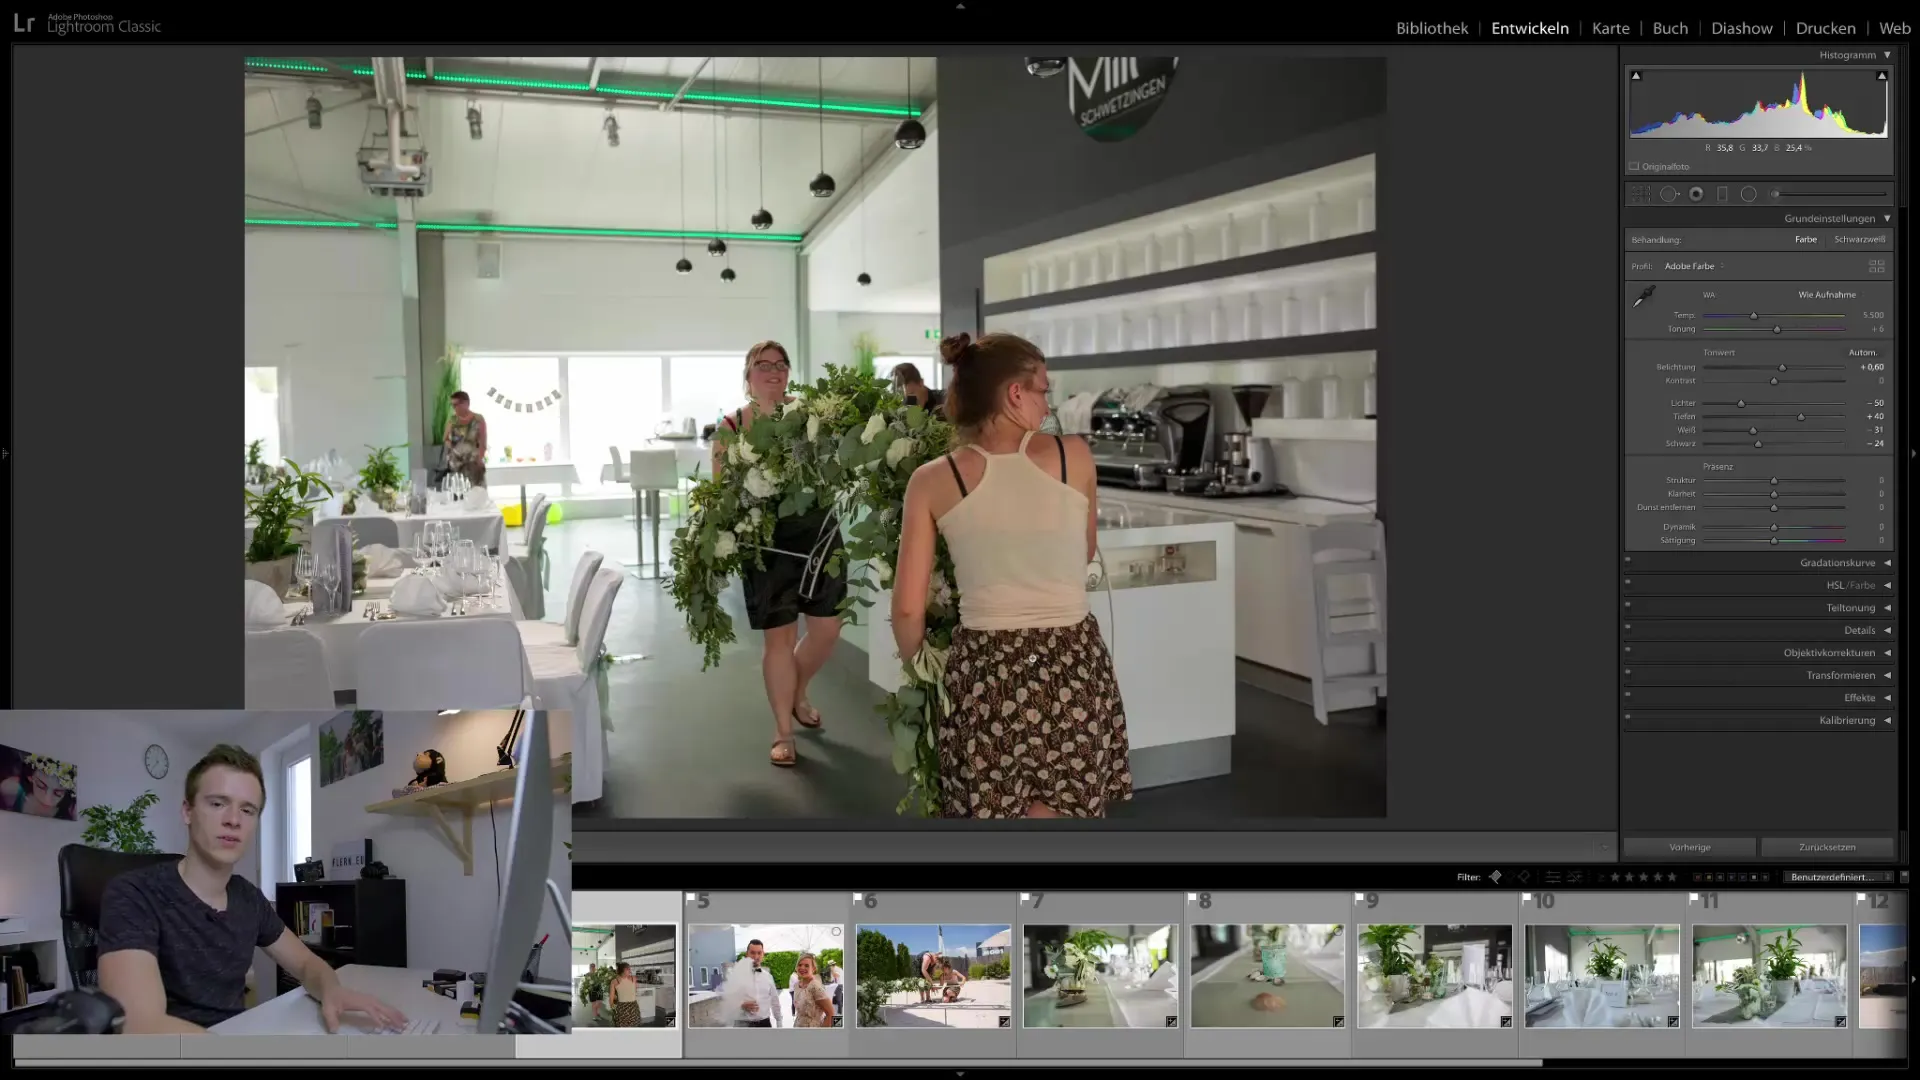
If you notice that certain images were taken in the same lighting situation, mark them and adjust the white balance simultaneously. This ensures that the images appear harmonious.
7. Transform and Crop
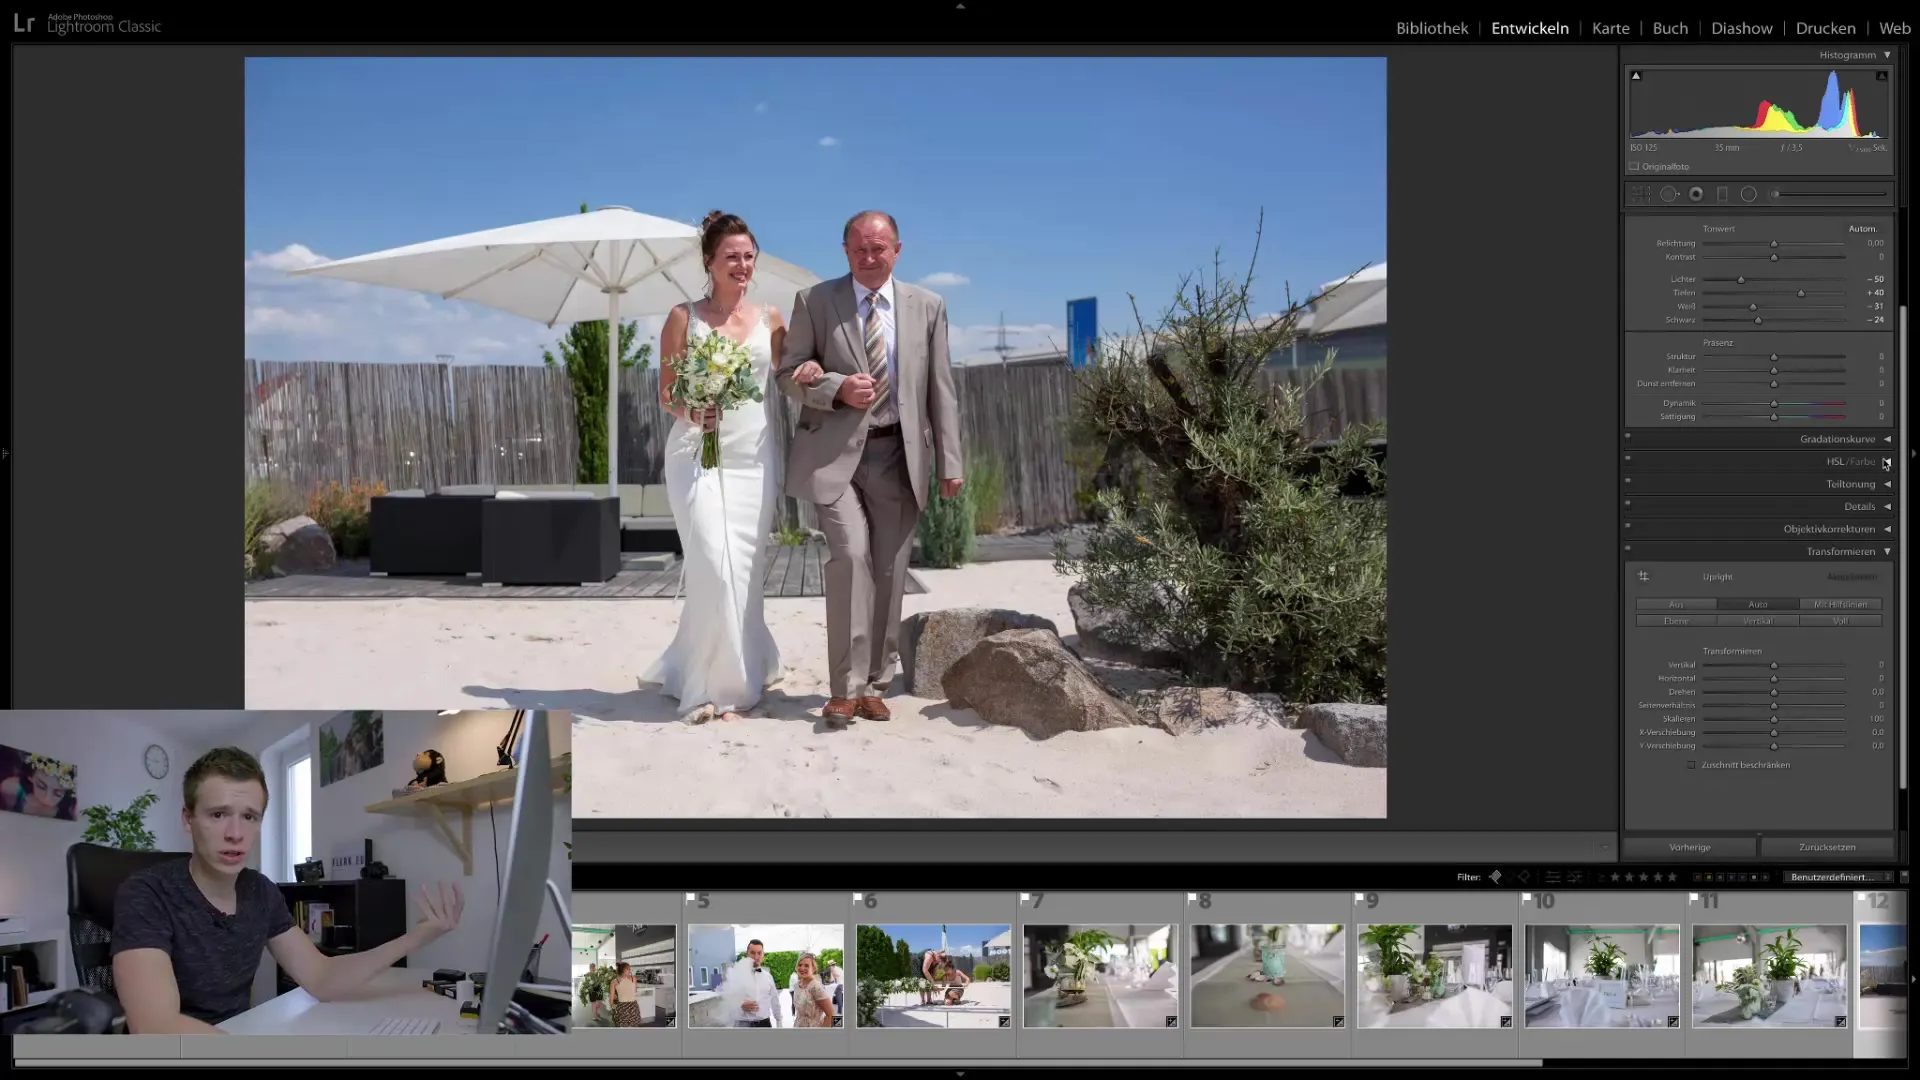
A common issue with photos is that they were not shot straight. Here, you can utilize the transform function. Automatic cropping ensures that the image is straight, which is crucial for a professional end result.
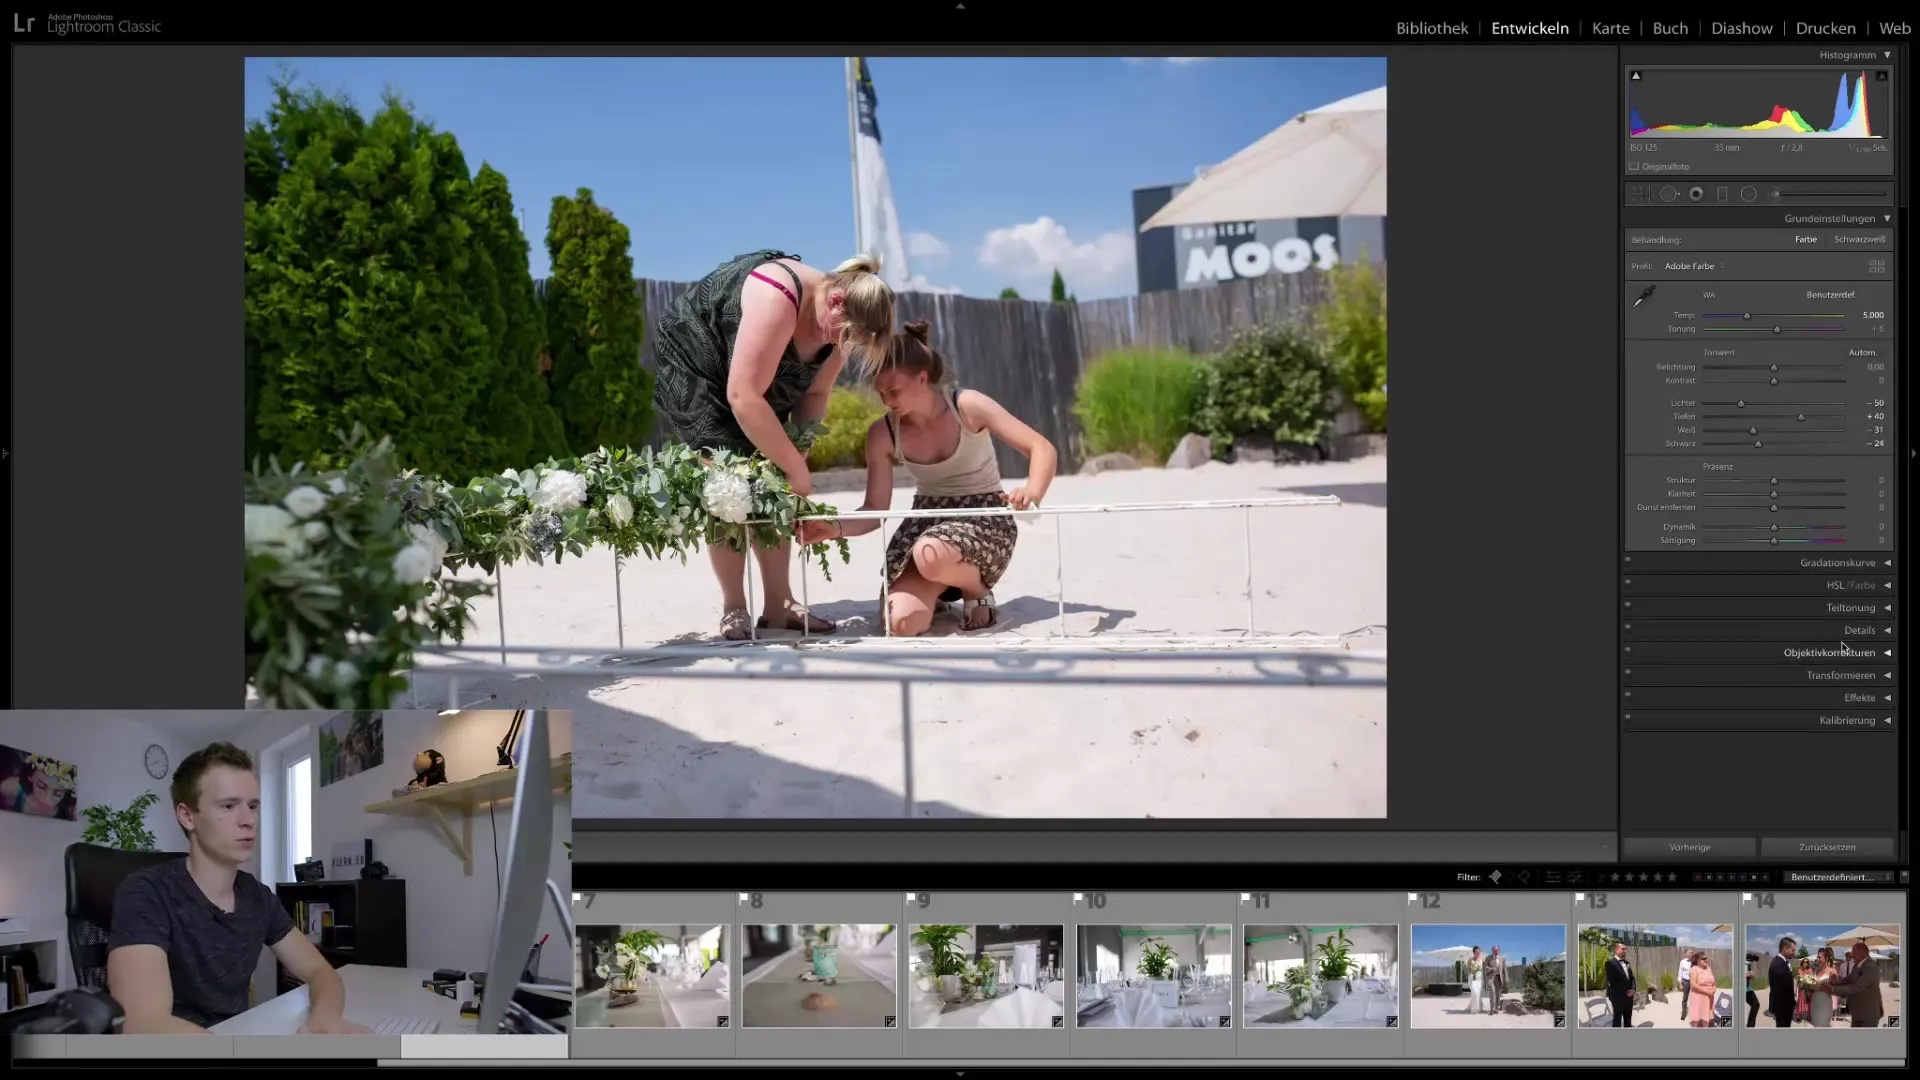
For minor adjustments, you can manually crop further to enhance the composition of the image.
8. Final Touches and Export
Before you start with the export, check each image for disturbing elements that can be edited afterwards if necessary. For major retouching or removing unwanted objects, you can use software like Photoshop. This way, the image remains authentic and unaltered.
Summary
To efficiently edit your wedding photos from selection to final editing, it is important to follow clear steps. Start with basic editing, use synchronization for multiple images, optimize sharpness, exposure, and white balance, take care of image corrections before finalizing everything and exporting the images.
Frequently Asked Questions
What is the most important setting in image editing?Exposure and white balance are crucial for successful image editing.
How can I synchronize editing for multiple images?Use Automatic Synchronization in other editing steps.
How do I optimize the sharpness of my images?Set the sharpness to around 80 to 90 with a masking of 0.7.
What can I do if an image has too dark areas?Brighten the exposure and adjust the shadows and highlights simultaneously.
Which program should I use for detailed image editing?Lightroom is ideal for basic editing, while Photoshop is recommended for more complex retouching.
