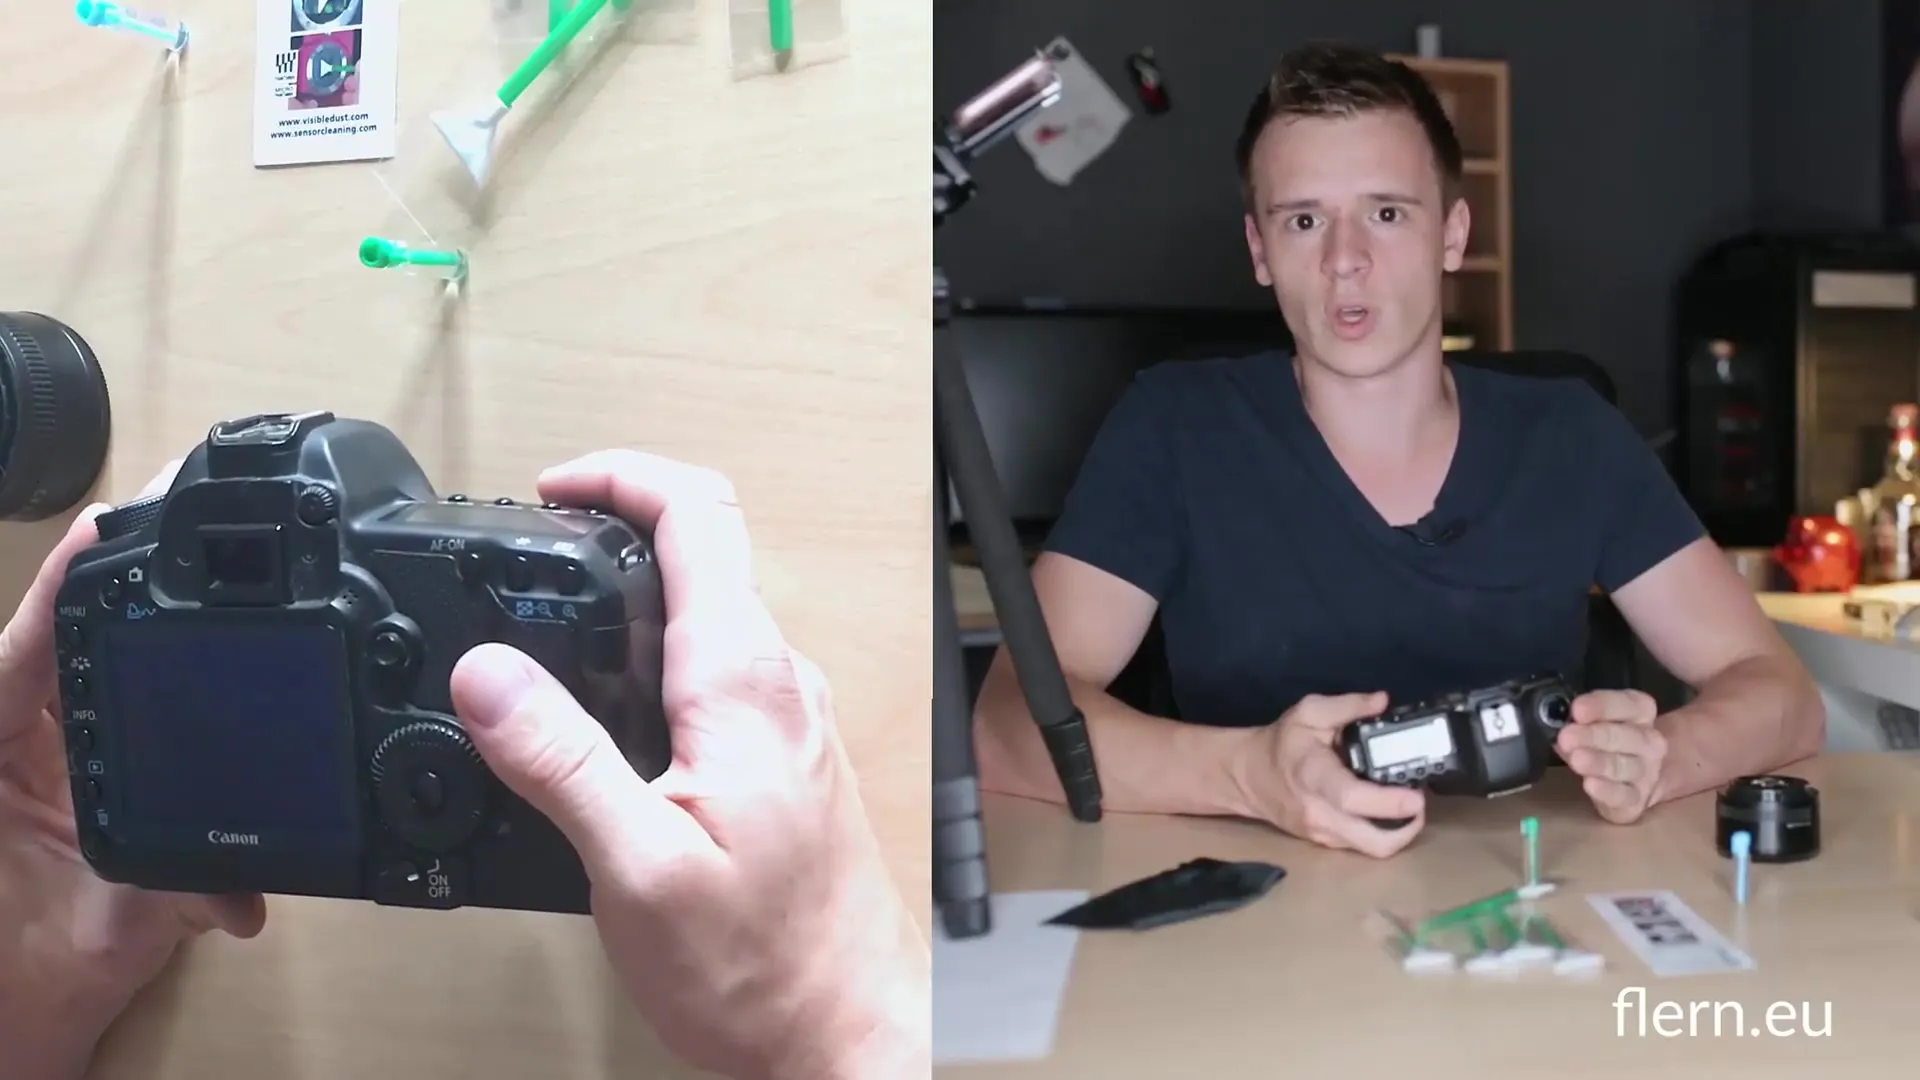
Caring for your camera is crucial for the quality of your photos. Dirt and dust inevitably accumulate on lenses and the image sensor and can compromise the image quality. If you want to achieve professional results, it is important to give your equipment the necessary attention. In this guide, you will learn how to clean your camera effectively to achieve optimal results.
Main Discoveries
- Lens cleaning should be done regularly with microfiber cloths.
- The image sensor can get dirty and should be treated with special swabs and cleaning fluids.
- If unsure about sensor cleaning, consider the option of professional service.
Step-by-Step Guide
1. Lens Cleaning
It is important to start by removing external dirt from the lens before tackling the image sensor. Often, the quickest way is to simply grab a microfiber cloth and gently wipe over the lens. If you don't have a microfiber cloth available, you can also use the sleeves of your shirt – though the cloth is preferred to avoid scratches.
2. Sensor Check
Before you start with the cleaning of the image sensor, you need to determine if there is dirt on the sensor. The best way to do this is to take a picture of a white piece of paper at a small aperture (e.g. aperture 22) with the lens cap on. This shot may reveal visible sensor spots – these black dots are what we want to clean.
3. Preparation for Cleaning
Return to the camera and check if your battery is fully charged. Before cleaning the sensor, you need to flip up the mirror. Use the camera menu to put the sensor into cleaning mode. This will expose the sensor – be careful not to turn off the camera during cleaning, as the mirror will fold back down.

4. Selection of Cleaning Materials
For sensor cleaning, I recommend using swabs specifically designed for this purpose. These come in various sizes to match your camera model. A leading provider that I recommend is Visible Dust from Canada. You can use different cleaning fluids – one for oily and one for other types of dirt.
5. Cleaning Process
Once you have everything prepared, apply the cleaning fluid to the swab. Only a few drops should be applied to avoid saturating the swab. Then gently swipe from left to right across the image sensor, being careful to avoid contact with your fingers. This will help you effectively remove the dirt.
6. Result Check
After cleaning, take another picture with a closed aperture to check if all sensor spots have been removed. There may still be some minor spots visible, but the major dirt should now be gone. If needed, you can perform another cleaning cycle.
7. Regular Maintenance
To prevent heavy dirt accumulation on the sensor and lenses, it is advisable to clean regularly. Once a year at a specialized store is usually sufficient. When you are at weddings or traveling, it is convenient to have the swabs and cleaning fluids on hand.
Summary
Cleaning your camera can be simple and effective when you master some basic techniques. Keep the lenses clean, regularly check the sensor, and do not hesitate to seek professional help if you are unsure. With these tips, you will remain flexible during important shootings.
Frequently Asked Questions
How often should I clean my camera?Ideally once a year at a specialized store, otherwise as needed.
What should I do if I am unsure about sensor cleaning?Have the camera cleaned by a professional.
What is the best way to clean the lens?Use a microfiber cloth to remove dust and dirt.
Which cleaning materials are optimal for the sensor?Use special swabs and cleaning fluids from reputable manufacturers like Visible Dust.
Can I use compressed air for cleaning?This should be avoided as compressed air only spreads the dirt.


