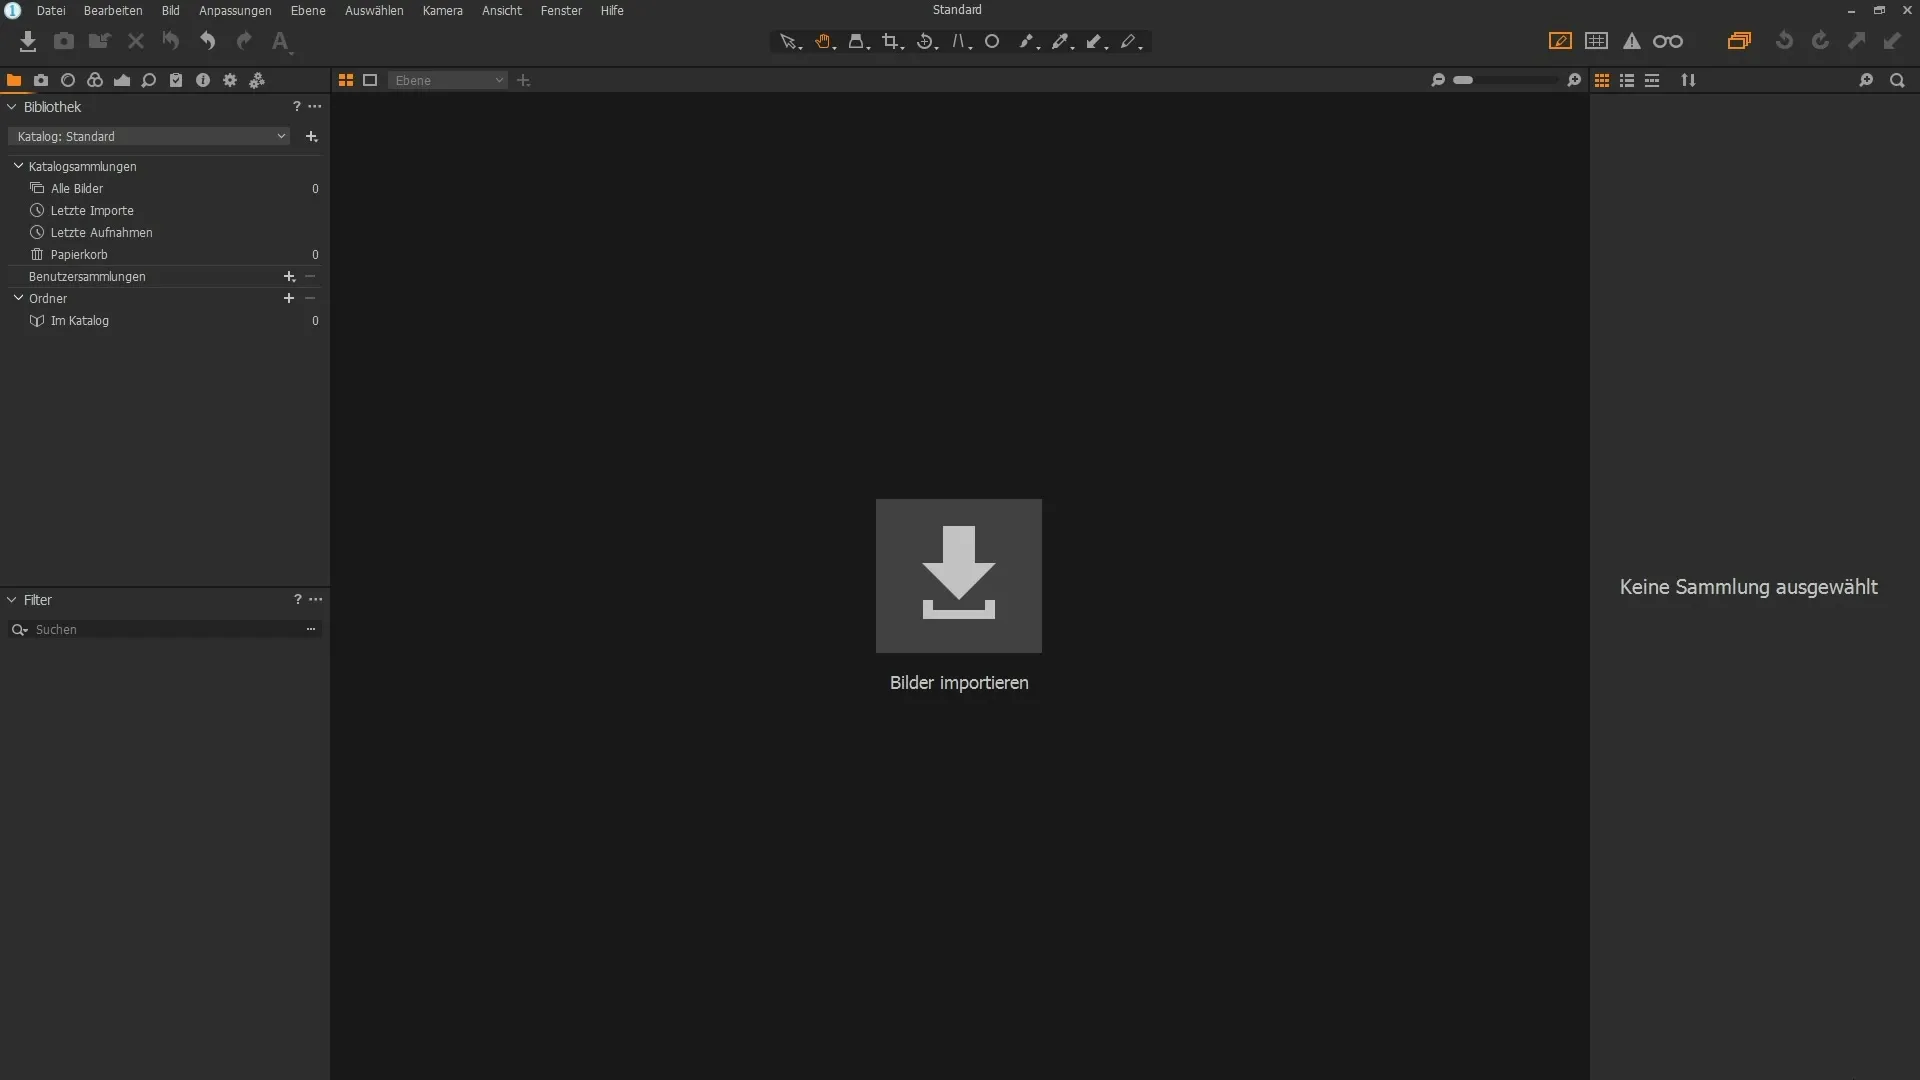
Preparing to master the user interface of Capture One Pro will enable you to optimize your workflow and work more efficiently. This powerful tool offers a variety of features that may seem overwhelming at first. With this tutorial, you will learn how to customize the user interface to suit your needs, creating a pleasant, productive working environment.
Key Insights
- The user interface of Capture One Pro is customizable to support your individual workflow.
- You can add or remove categories, palettes, and tools to optimize your workspace.
- The ability to use different workspaces facilitates the transition from other programs.
Step-by-Step Guide to Customizing the User Interface
1. Overview of the User Interface
When you start Capture One Pro, you will see the user interface with several icons and palettes. At first, this may seem overwhelming, but with practice, you will quickly become more familiar with it.

2. Using the Menu Bar and Toolbar
At the top, you will find the menu bar, divided into categories. Here, you can access various functions, while the toolbar below it provides quick access to commonly used tools. These icons are helpful shortcuts that make your work easier.
3. Working with the Left Tool Panel
On the left, you will find the tool panel, which is divided into different categories. You can customize this palette by adding or removing tools. By right-clicking on an empty space, you can open the dropdown menu and select tools.
4. Importing and Organizing Images
Since we have not imported any images yet, the library will be empty. However, once you import images, you can organize them using the filter options in the left tool panel, allowing you to, for example, only display images with a five-star rating.
5. Adding Tools
To add another tool such as metadata to your tool panel, right-click on an empty space and choose the desired tool. It will be added to the current category easily.
6. Removing Tools
If you no longer need a tool, you can remove it by right-clicking on it and selecting the "Remove Tool" option. This will keep your user interface clean and organized.
7. Customizing the Workspace
You can also show or hide different categories and palettes. To do this, right-click on an empty space and choose the appropriate options. Additionally, you can change the order of the palettes by clicking and dragging.
8. Hiding Columns
If you want to focus on an image, you can hide the left or right column. Simply press the Ctrl + T shortcut for the tool panel or Ctrl + B for the browser.
9. Customizing the Toolbar
To customize the toolbar at the top, right-click on an empty space and select "Customize." Here, you can add various tools that you frequently use. This makes it easier, for example, to directly access presets.
10. Saving Workspaces
If you have made significant changes to your user interface but want to return to the default view later, you can use workspaces. Click on "Window" in the menu bar and choose "Workspace." Here, you can select from different pre-configured workspaces that will restore the original structure.
11. Creating Custom Workspaces
You can also save your custom workspaces to preserve the most suitable arrangement for your workflow. This is particularly helpful when you switch between different tasks regularly and need a tailored user interface.
Summary
By properly customizing the user interface, you can significantly enhance your work experience in Capture One Pro. You have learned how to optimize tools, palettes, and categories for your individual workflow to work more efficiently and productively.
Frequently Asked Questions
How can I customize the toolbar?To customize the toolbar, right-click on an empty space and choose "Customize".
Can I remove tools that I do not need?Yes, you can remove tools by right-clicking on the tool and selecting "Remove Tool".
How do I hide the left tool column?Press the Ctrl + T key combination to hide the left column.
Can I save my own workspaces?Yes, you can save custom workspaces to quickly switch between different layouts.
Is there a way to return to the default view?Yes, go to "Window" and choose "Workspace" to restore the default view.


