Working with tables is fun in InDesign, isn't it?
Only when it comes to creating transparent contours in tables does it get a little more complicated: when only the areas need to be filled, but the contours in between need to remain transparent.
I saw the tip I'm presenting to you here at PUBKON and also picked it up in the PSD-Tutorials.de forum.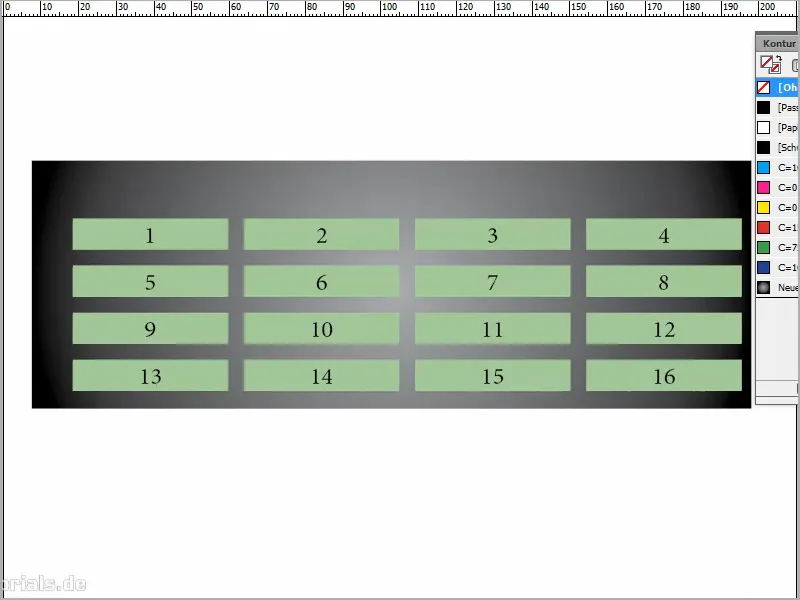
Step 1
I open a text field and say Table>Insert Table. I make four columns and simply enter any values.
To make it look a bit nicer, I highlight what I've written and click on Center. You can see it better with a font size of 18 pt.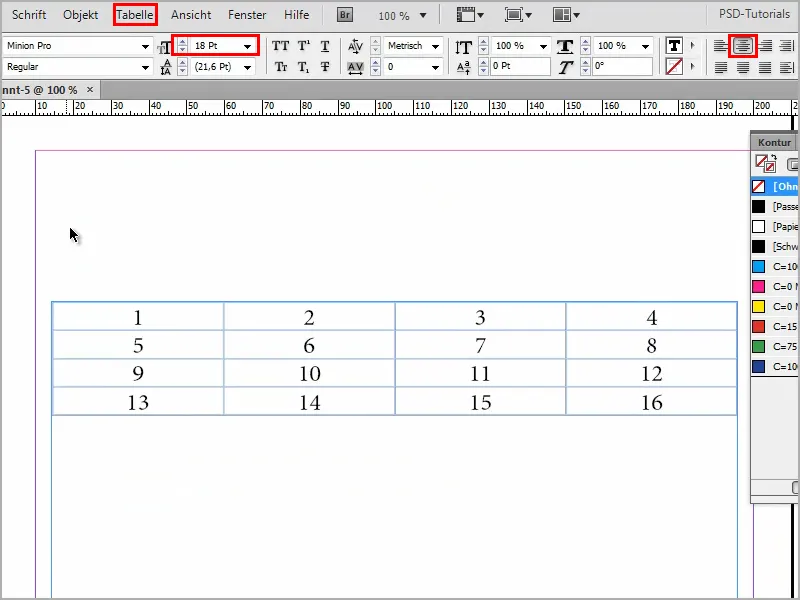
Step 2
I zoom in a little. Of course, it doesn't look that wild, it's just a very simple table.
I'm going to embellish it a bit by adding a rectangle and enhancing it with a nice gradient. I'll open a new gradient field.
I always like radial as a type.
Then double-click or click on the slider at the bottom and I can set the slider color. I move the slider from black to gray.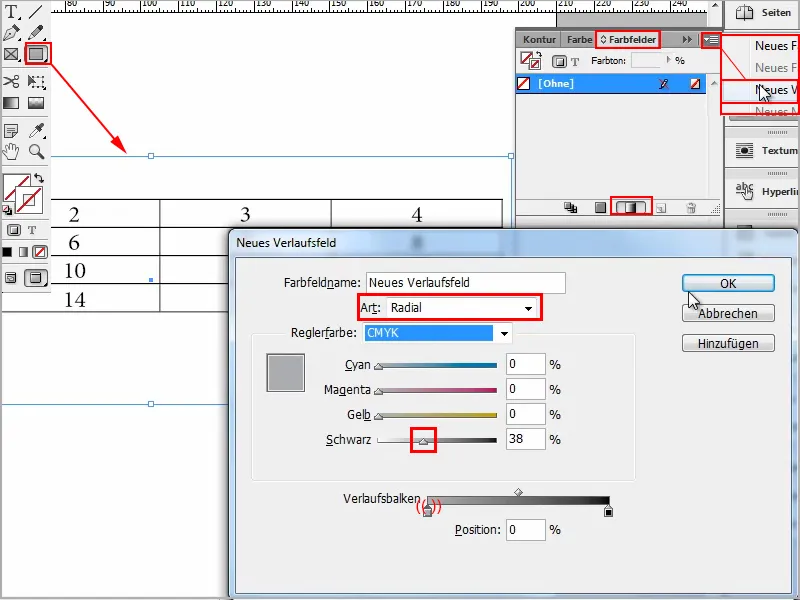
Step 3
And the whole thing is moved to the background with Ctrl+O.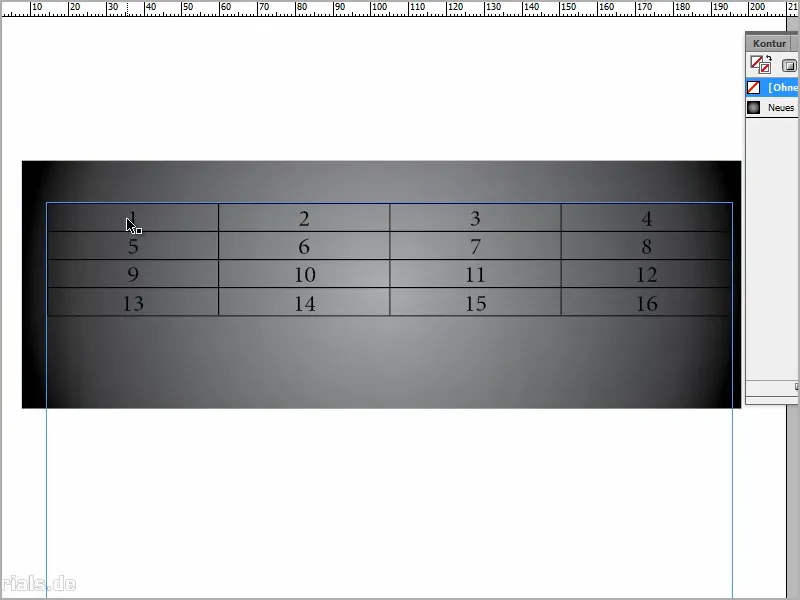
I would now like the outline, which is currently black, to be transparent and the rest to be white.
You would think that I would select everything in the table, simply choose white as the area color, and where the black outline is, I would click on Outline and say None. But that doesn't work.
Maybe go to Cell options>Contours and areas with the right mouse button and first set Color: Paper and Weight: 6 pt? And type: None? But that doesn't work either.
How does it work now?
Step 4
I mark the whole thing and will first remove the color. I don't need any color ...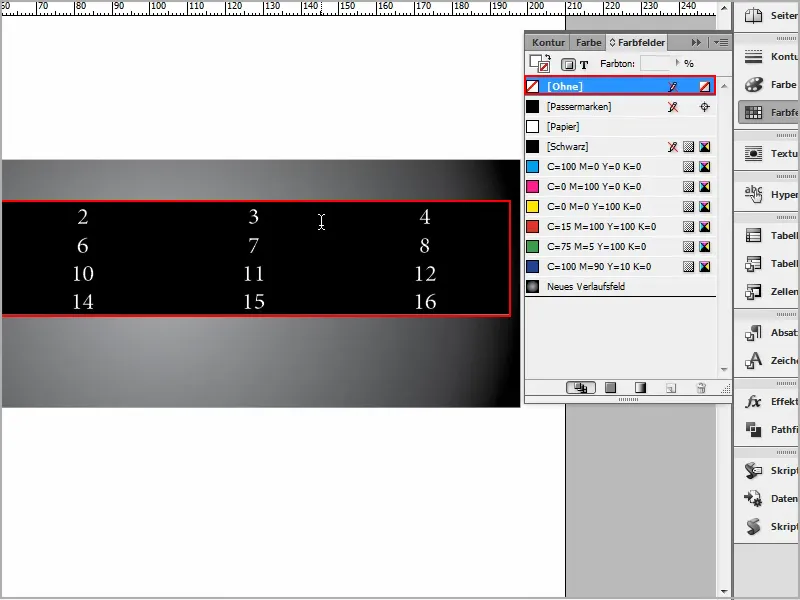
Step 5
... nor outline. A completely naked table.
And then I go with the right mouse button into the cell options>contours and areas...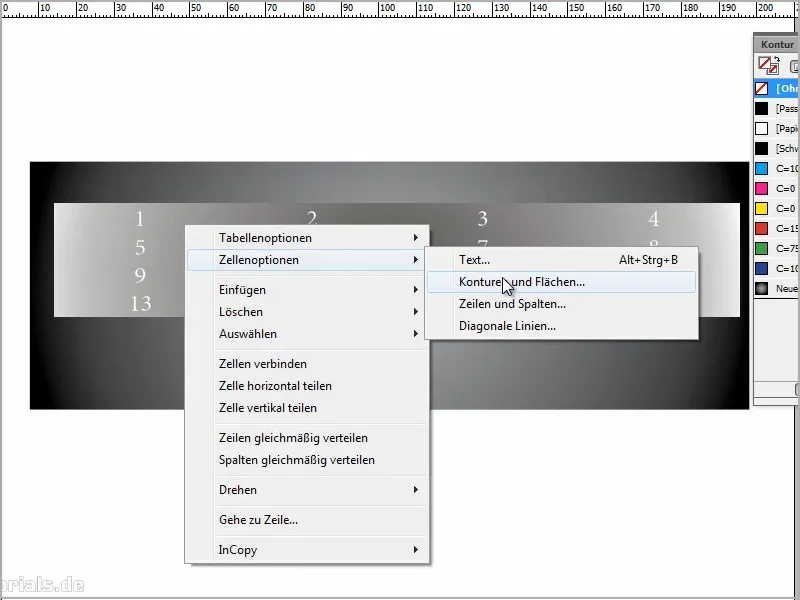
Step 6
... and set Type: Solid. This is the only way I can assign the color. I can choose green or anything else.
I set the thickness to 6 pt. You can vary this depending on how thick you want the outline to be later..webp?tutkfid=90818)
Step 7
And finally I go back to Type: None.
That's a bit crazy, but it's the only way I can enter the 6 pt.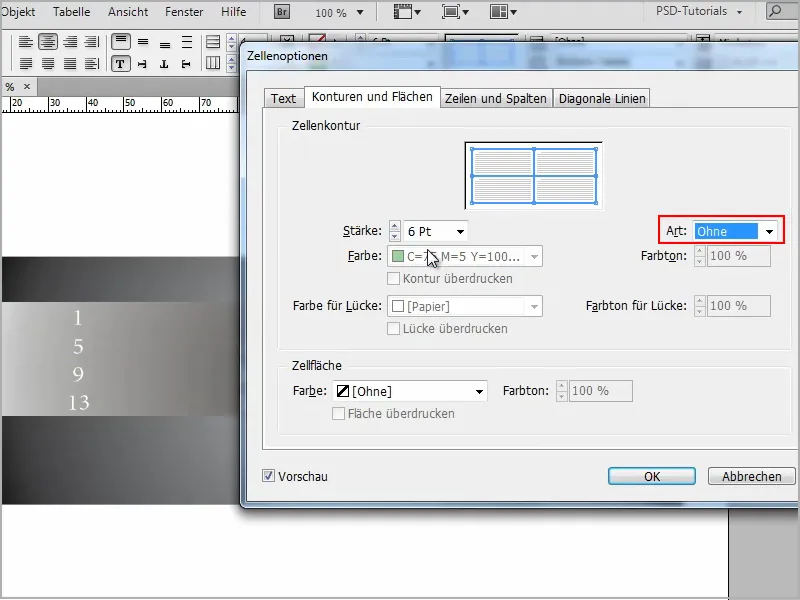
Step 8
And then I go to the Diagonal lines tab and select the second symbol from the left at the top. This gives me these diagonal lines in the cells.
And then I set a very large value for Thickness, for example 200. And now you can already see: that's what I wanted.
But not in black, but in white. I click on OK and I have a transparent outline and my area color is white. Isn't that great?
Very simple, isn't it?.webp?tutkfid=90820)
Step 9
You can now select the table at any time, right-click to open the settings window via Cell options>Contours and areas and set the thickness there, then you can see what effect this has..webp?tutkfid=90821)
And in the Diagonal lines tab you can select the color. If you don't want white, but green, for example, then that's OK.
Here you can also work with transparencies under Color tone.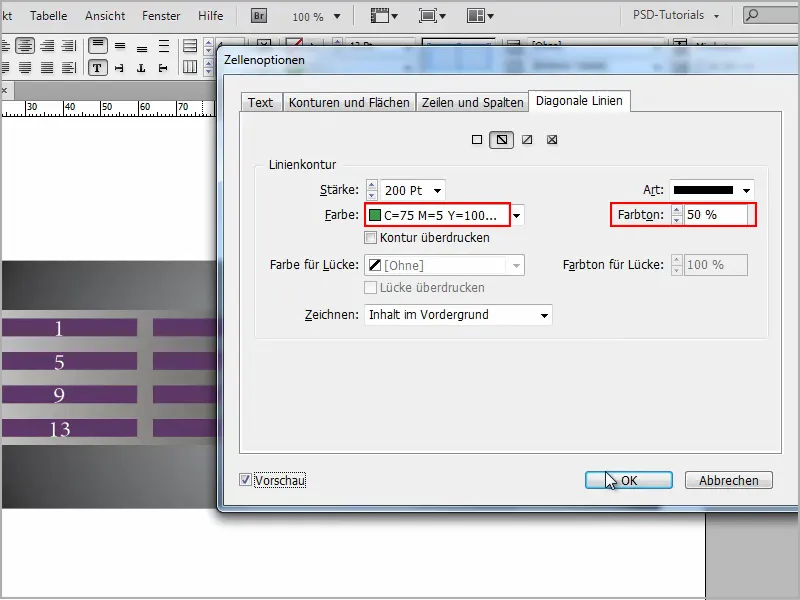
Then the surface color is only half transparent, but that is not so relevant now.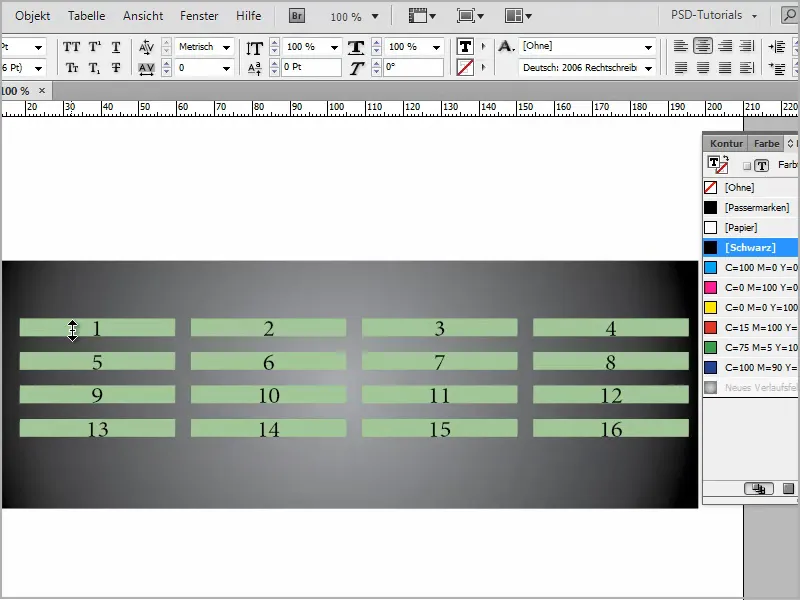
Step 10
I think this is a good result.
You can also enlarge the table - if I hold down the Shift key, it will be even.
And to make the whole thing look a bit nicer, I can center the text and I have a nice table with transparent outlines.
It's as simple as that..webp?tutkfid=90824)


