With Capture One Pro you have a powerful tool for image editing at your disposal. The software allows you to efficiently organize your images by projects, which is particularly useful when working on multiple projects simultaneously. In this guide, you will learn how to create a project and organize images in Capture One Pro to enable targeted editing.
Key Takeaways
- Projects help with the structured organization of images within a catalog.
- It is necessary to create albums within projects to effectively sort and select images.
- Ratings of images are global and affect the entire catalog, so it is advisable to create separate albums for projects.
Step-by-Step Guide
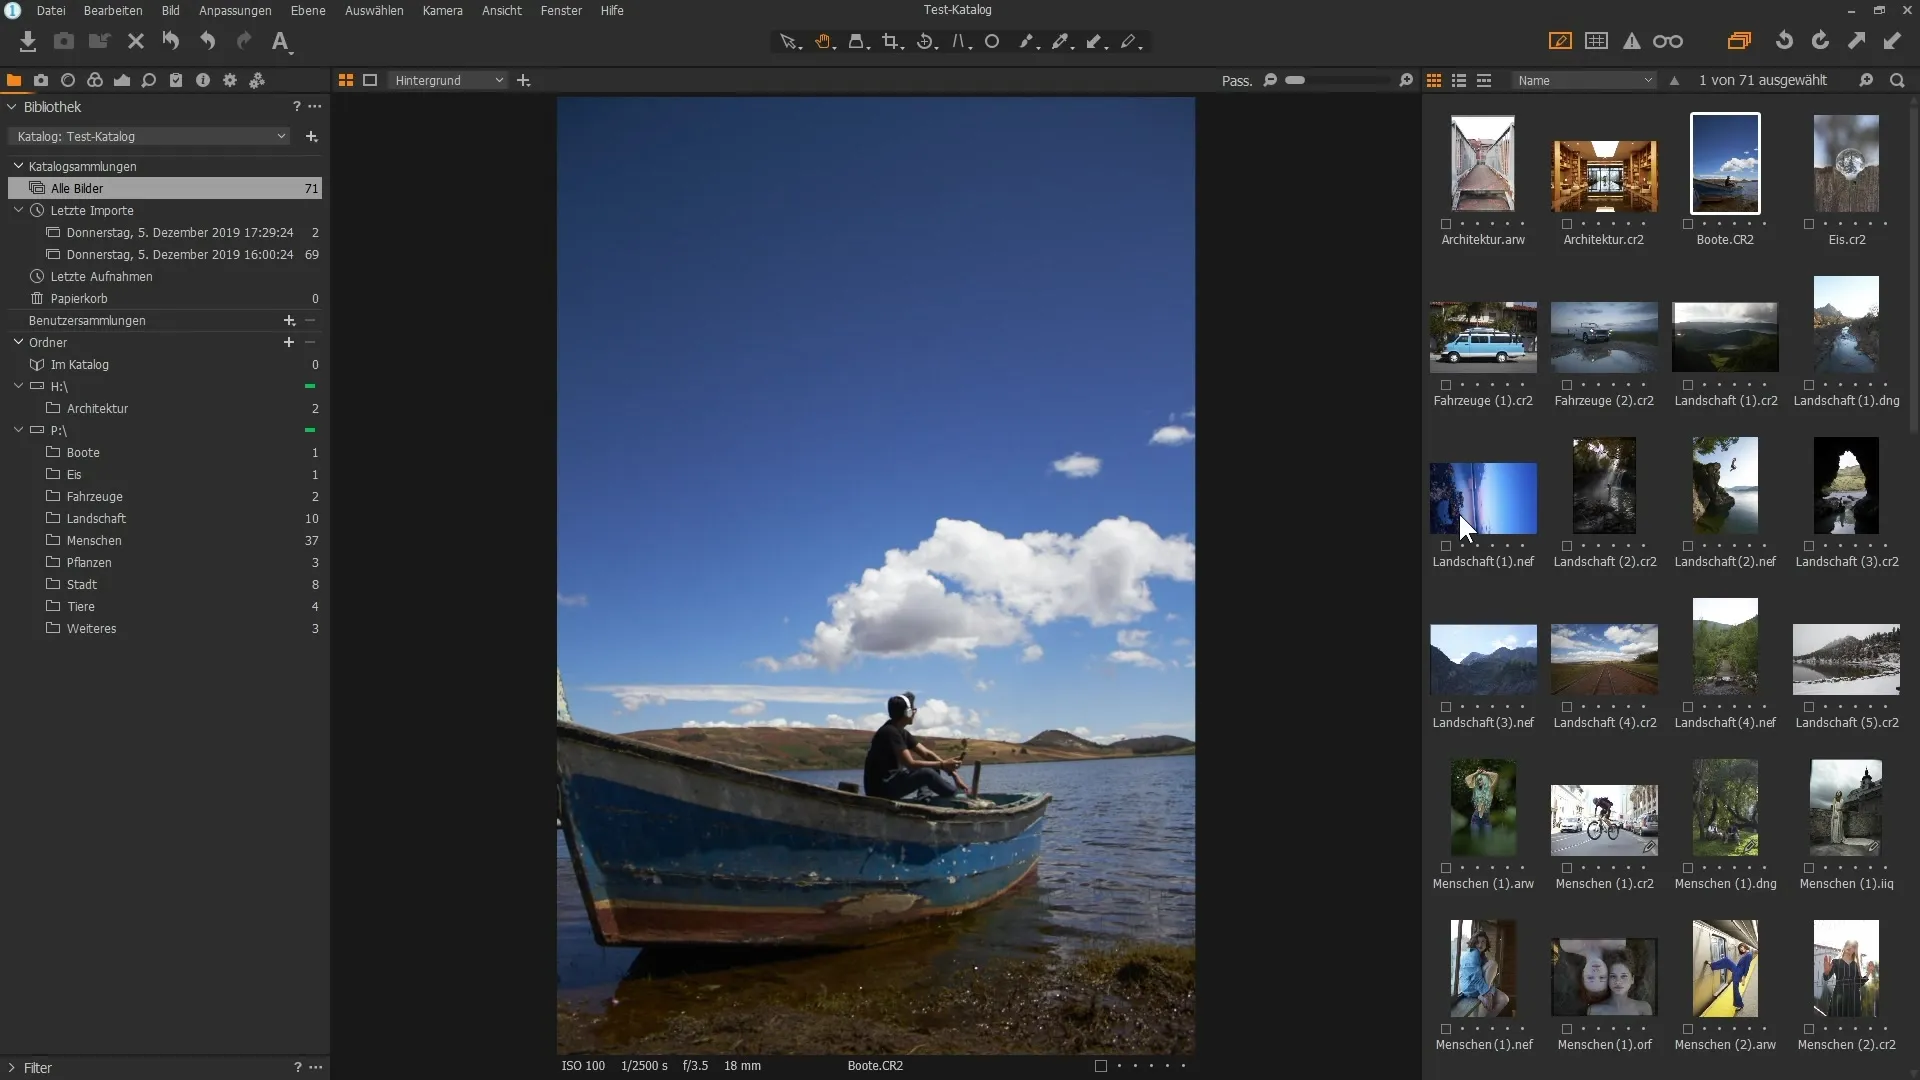
Start by opening Capture One Pro and navigating to the "All Images" section. There you will see all the images within your catalog on the right side. To create a project, click on the plus icon in the User Collections section.

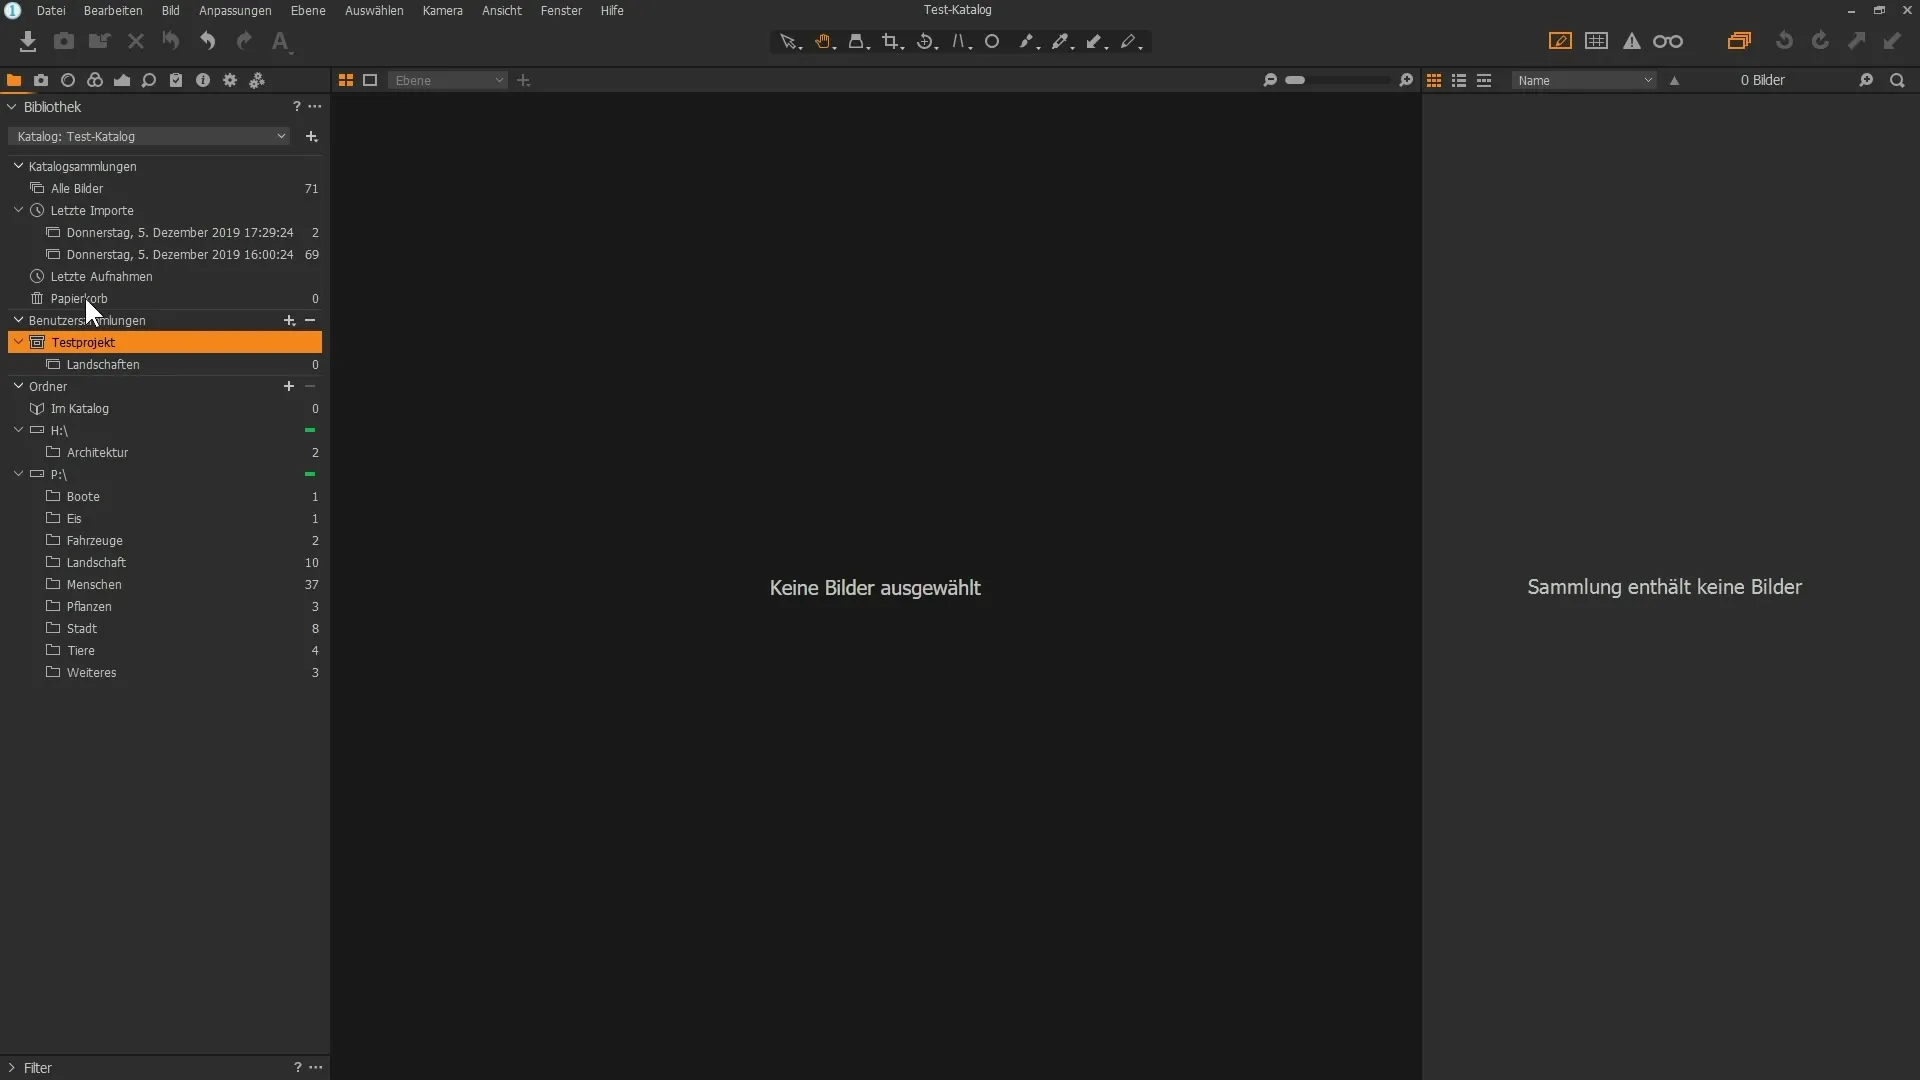
A window will open where you can name your project. For example, you could use "Test Project." Then click on "Create" or press the Enter key. Your project is now created, but in order to drag images into it, you first need an album.
You have two options to create an album. You can click on the plus icon without selecting the "Test Project" first. A new album will be created under the "All Images" section, which will be displayed below your project. Alternatively, you can directly click on the "Test Project," then again on the plus icon and select "Album."
For example, name your new album "Landscapes" and click on "Create." This album will then be created directly within the Test Project. Go back to "All Images" and select various landscape shots to place them in your album.

Hold down the control key while clicking on the desired images. Once you have made your selection, drag the images into the album. This way, you have initially inserted all relevant images, regardless of their quality, into your album.
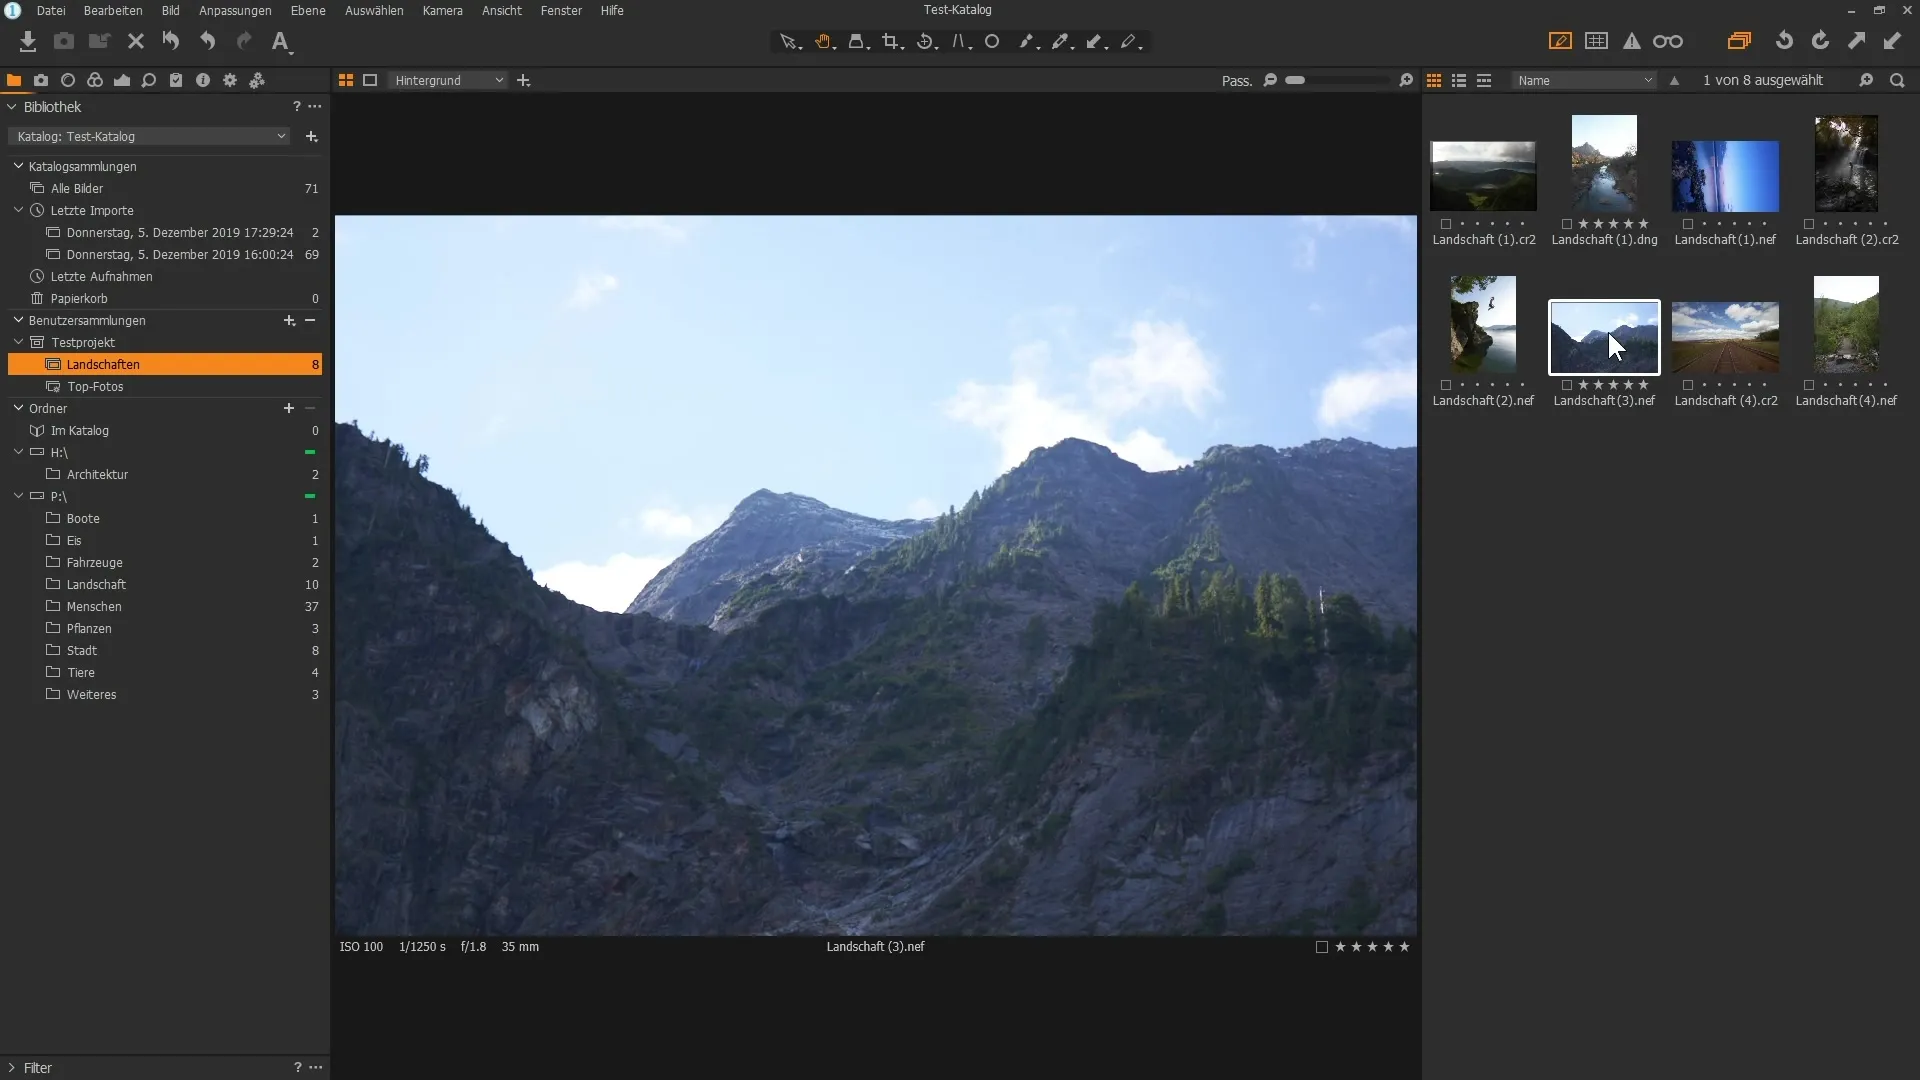
It is advisable to rate the selected images. Go to the "Landscapes" album and select some images that you consider most suitable for your project. Assign ratings to make it easier to find your favorite images later.
To categorize your best images, you can create a smart album. Click again on the plus icon, name it "Top Photos," and choose the criterion that only images with a five-star rating will be displayed.
You can also rate images in the "All Images" section, but be careful: These ratings are global and apply to the entire catalog. This means that an image you have rated highly in one project will also appear with the same rating in other projects.

If you find that you want to make different ratings for specific projects, it is recommended to create additional albums within your project. Create a new album, for instance, "Selection," and filter your best images in there to avoid confusion with global ratings.
Finally, look into your newly created album and enjoy the clear organization of your selected images. This way, you have the overview that allows you to work efficiently on your project without global ratings causing issues for you.
Summary
In this guide, you have learned how to create a project, organize images into albums, and assign ratings in Capture One Pro while keeping an eye on the global implications of such decisions. These steps will help you conduct your image editing in a structured and targeted manner.
Frequently Asked Questions
How do I create a new project in Capture One Pro?Click on the plus icon in the User Collections section and select "Project".
How do I create an album within a project?Select your project, click on the plus icon, and choose "Album".
What is the difference between a regular album and a smart album?A regular album is manual, while a smart album automatically sorts content based on criteria such as ratings.
Why are ratings global in Capture One Pro?Ratings affect the entire catalog, meaning they are the same across all projects.
How can I better select my images for a project?Create separate albums within the project to categorize your best images without influencing global ratings.


