If you want to take your photography to the next level, the right editing tools are essential. In Capture One Pro, you have access to a variety of tools that specifically deal with lens correction. This tutorial will guide you through the features and settings of the Lens tab and show you how to use this effective software to optimize your images.
Main Takeaways In this tutorial, you will learn how to effectively apply lens correction, chromatic aberration, and keystone corrections to enhance your photos. You will also become familiar with the rotation and cropping functions of images.
Step-by-Step Guide
1. Accessing the Lens Tab
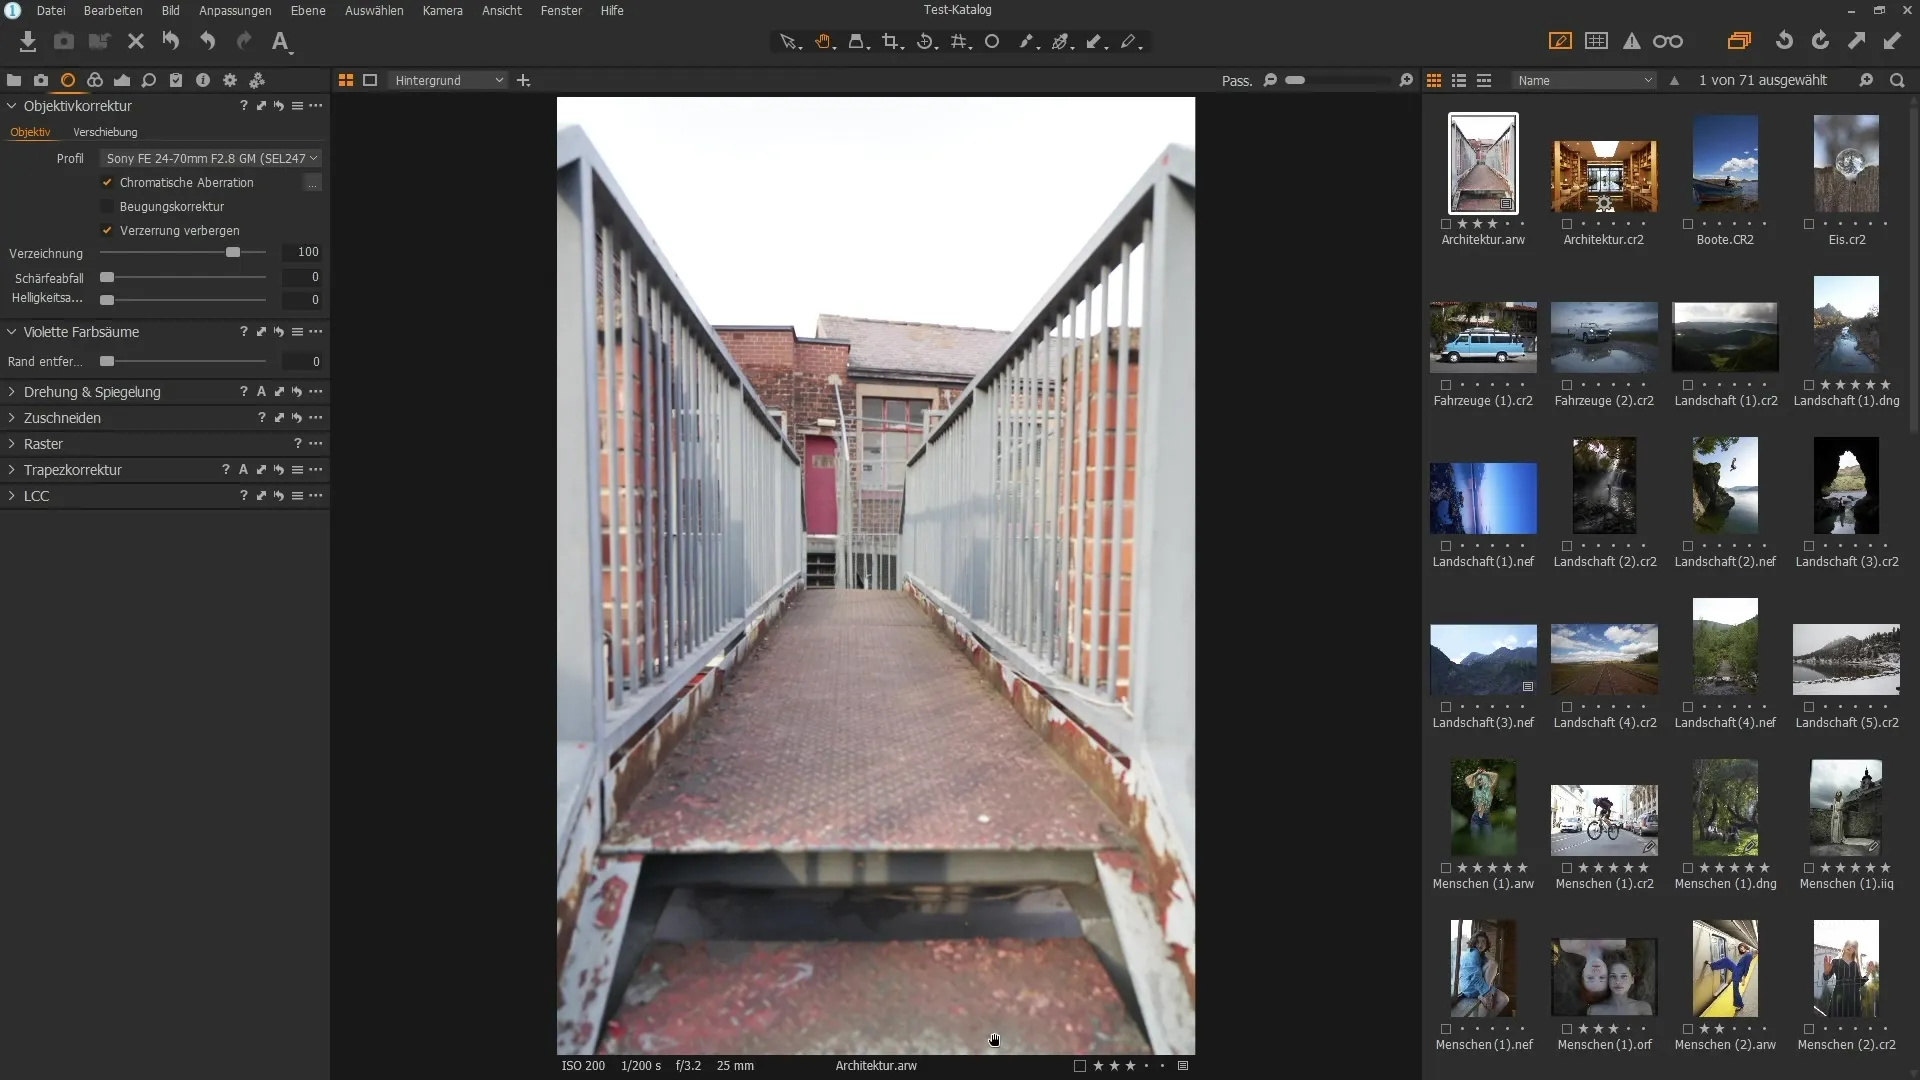
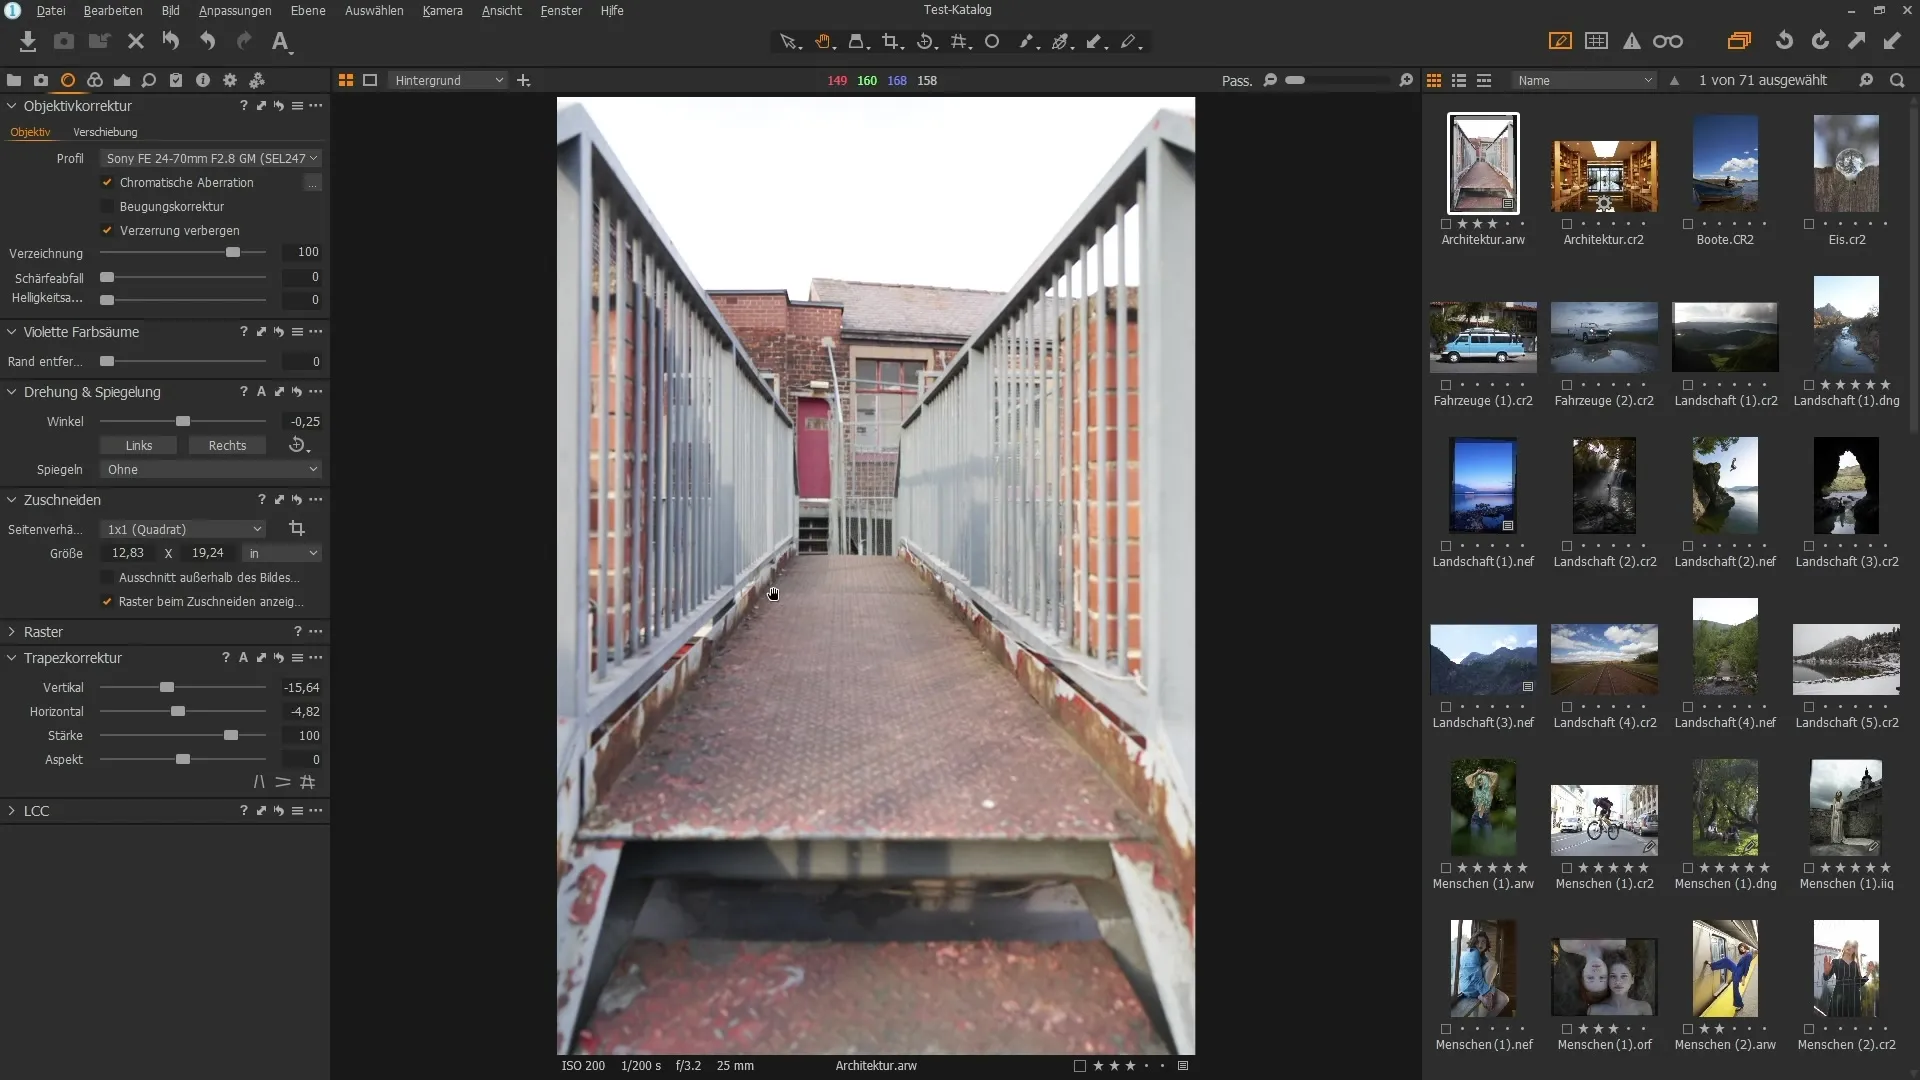
To use the lens tools, open Capture One Pro and load an image of your choice. Then switch to the "Lens" tab. Here you will find the various tools available to you.
2. Automatic Lens Correction
Capture One Pro often automatically detects which lens was used for your image. Make sure the profile is correctly selected. In many cases, the correct lens profile will be displayed directly.
3. Manual Lens Correction Adjustment
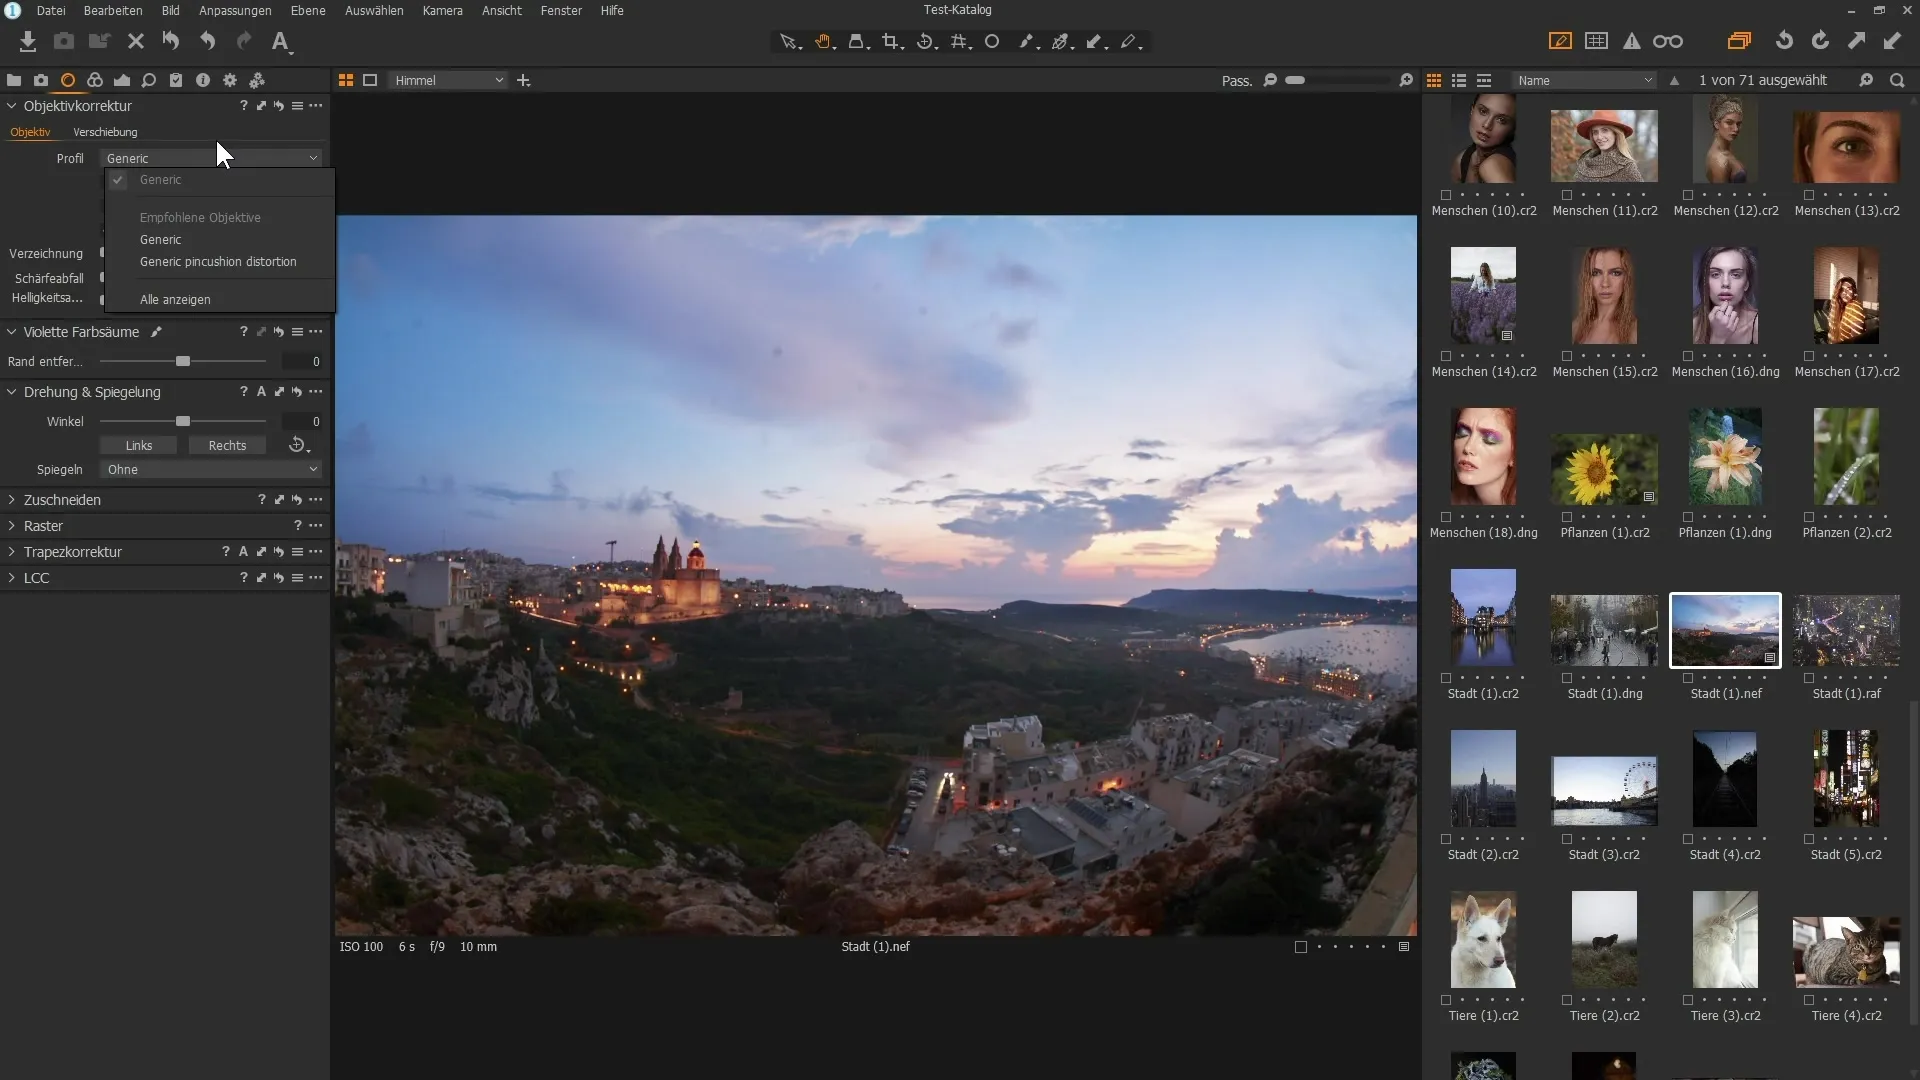
For photos where automatic detection did not work, you can make manual adjustments. Choose the corresponding lens profile from the list, or use the generic settings.
4. Removing Chromatic Aberrations
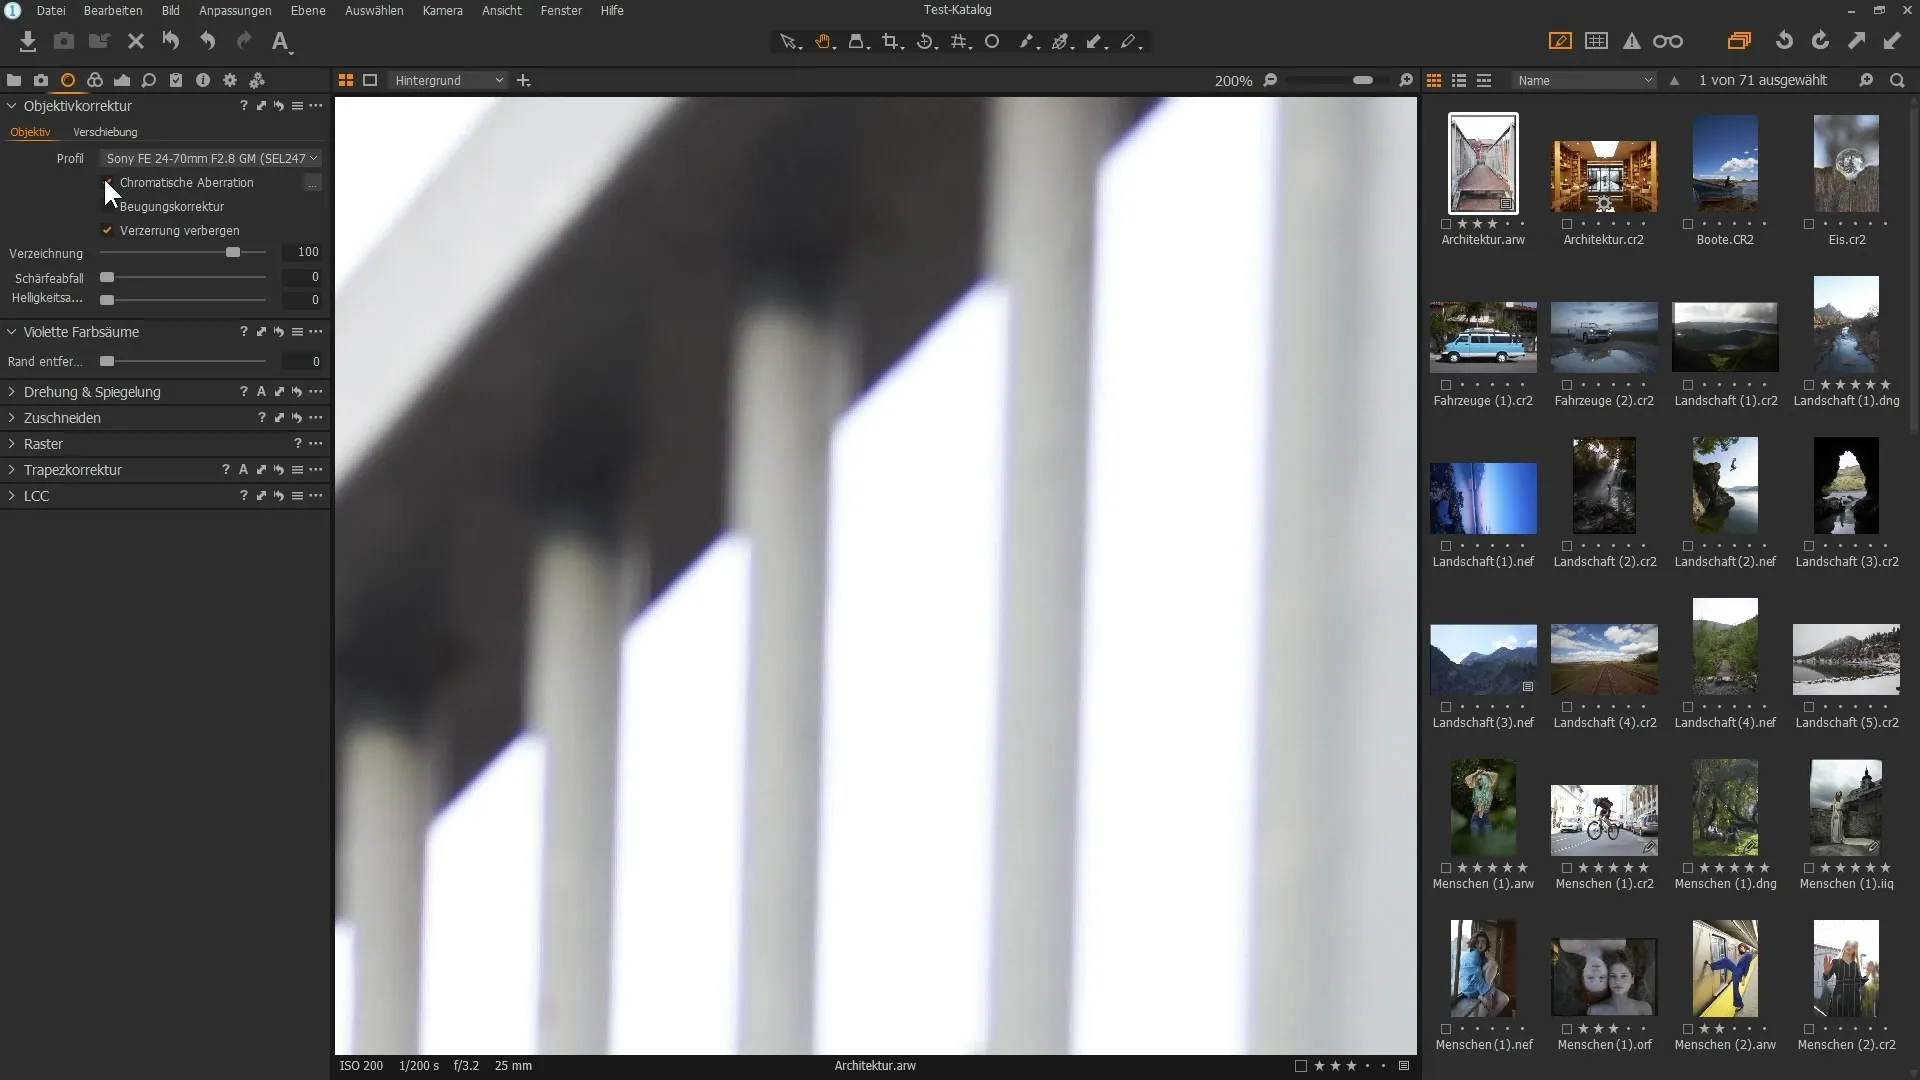
Select the "Chromatic Aberration" option to reduce color artifacts in your image. Move the slider to the right to minimize the appearance of these color fringes.
5. Adjusting Purple Color Fringes
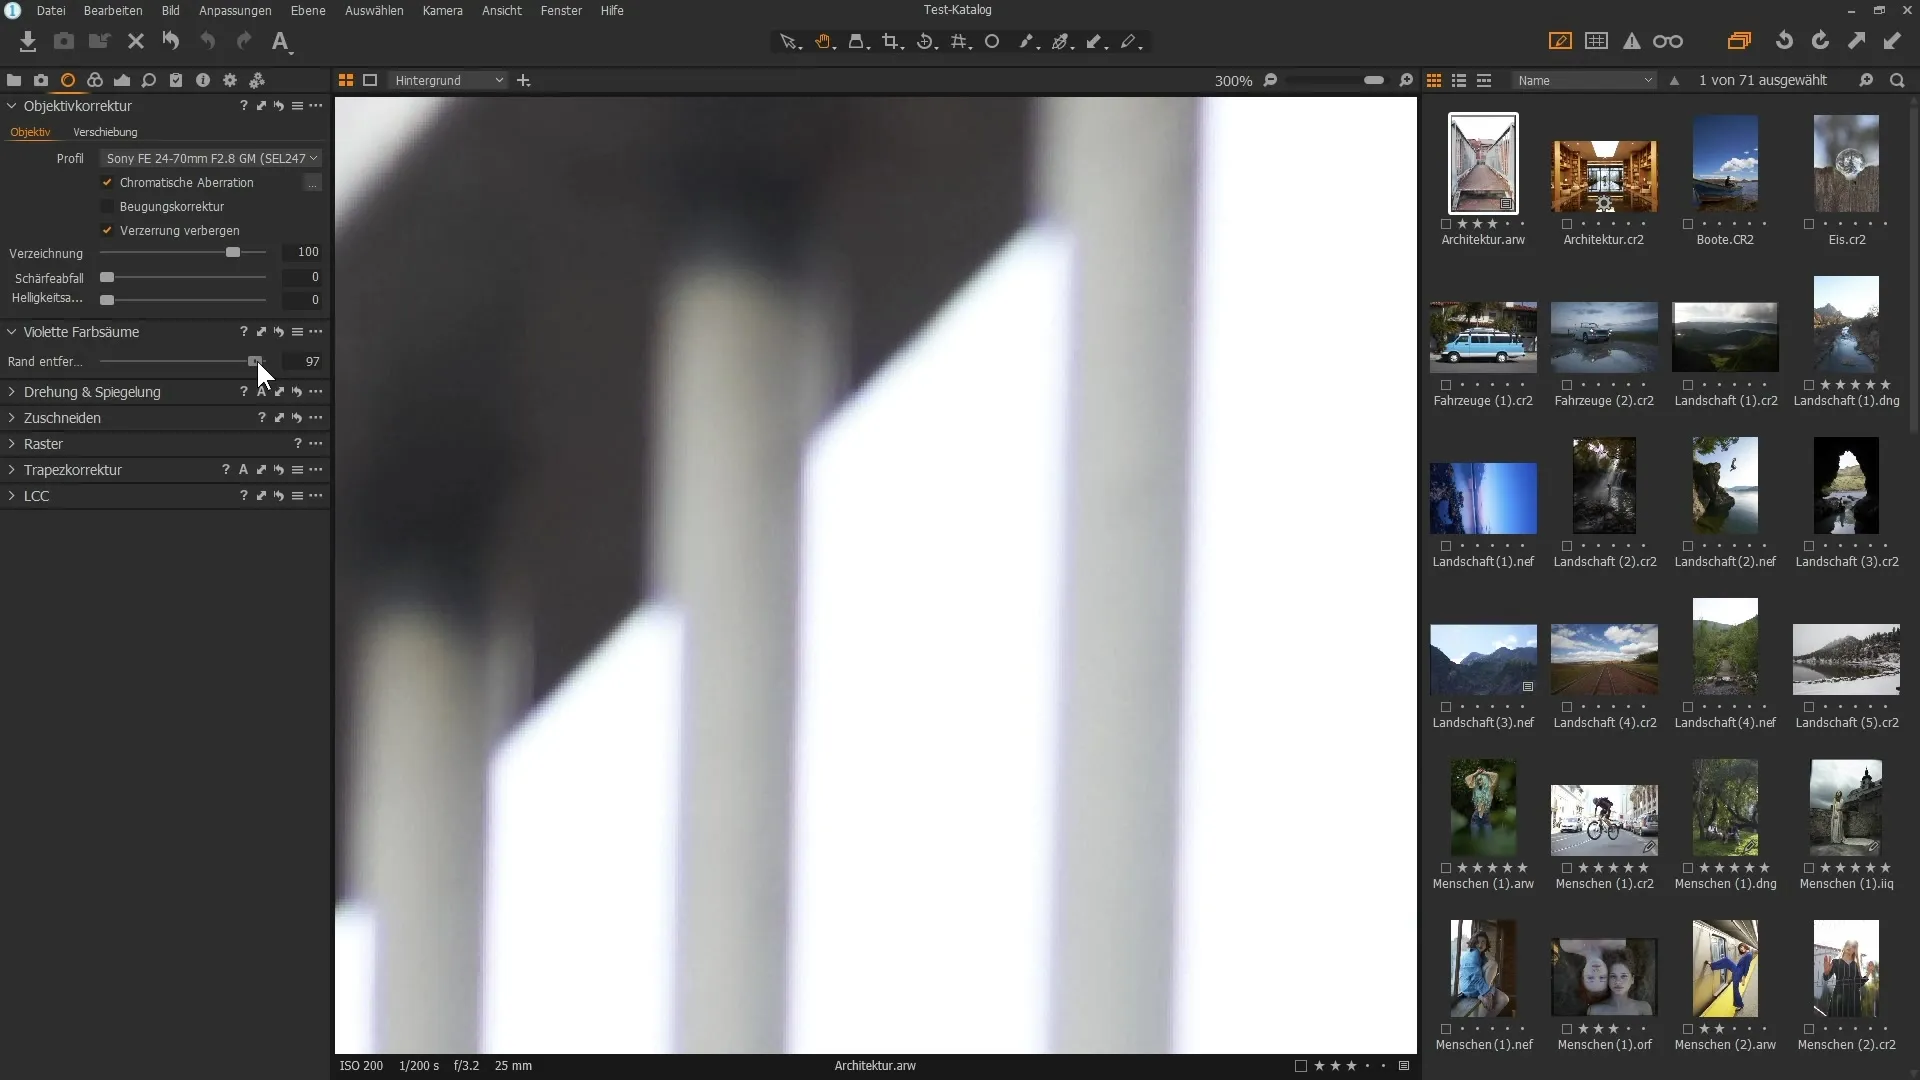
If you see purple color fringes in your image, you can use the tool with the same name. Slide the slider to the right to remove the unsightly color fringes and improve image quality.
6. Image Rotation and Mirroring
If your image is not correctly aligned, you can rotate it. Select the rotation and mirroring option and drag the image to the left or right to ensure the horizon is straight.
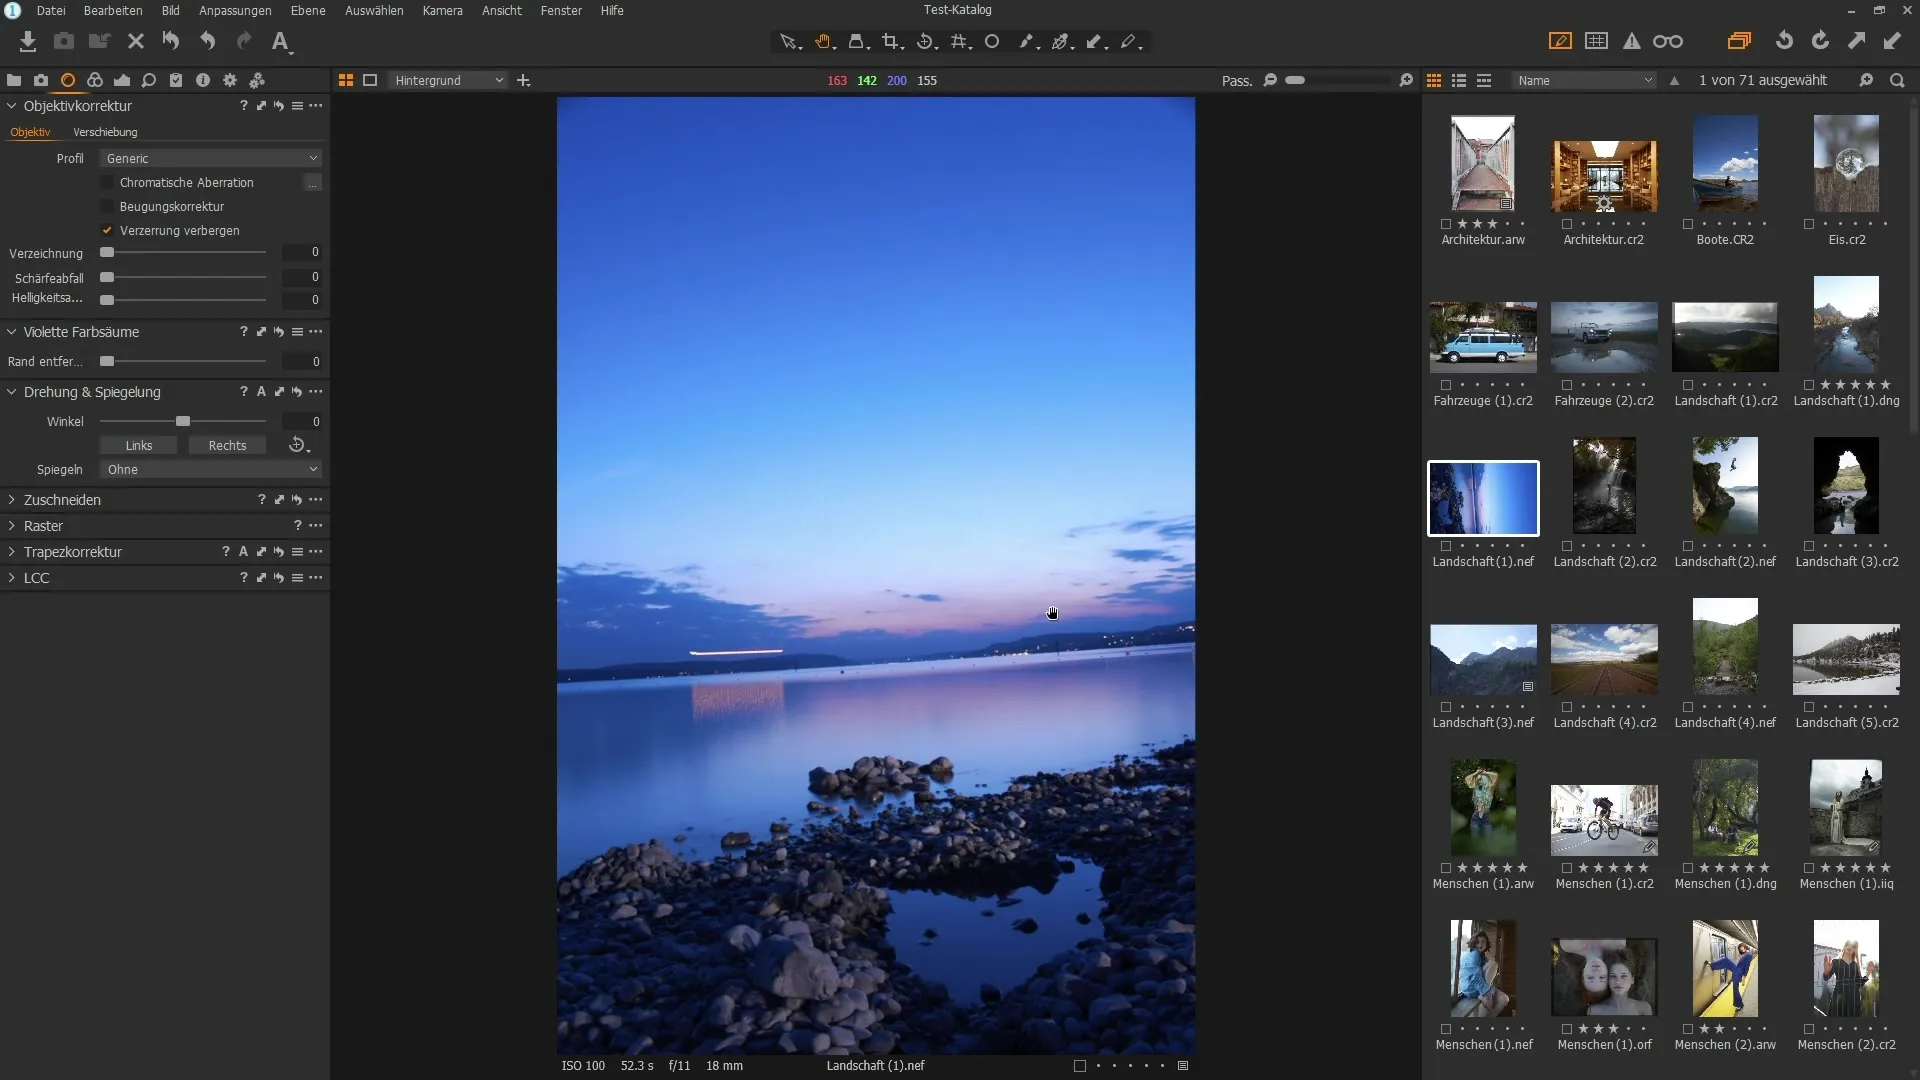
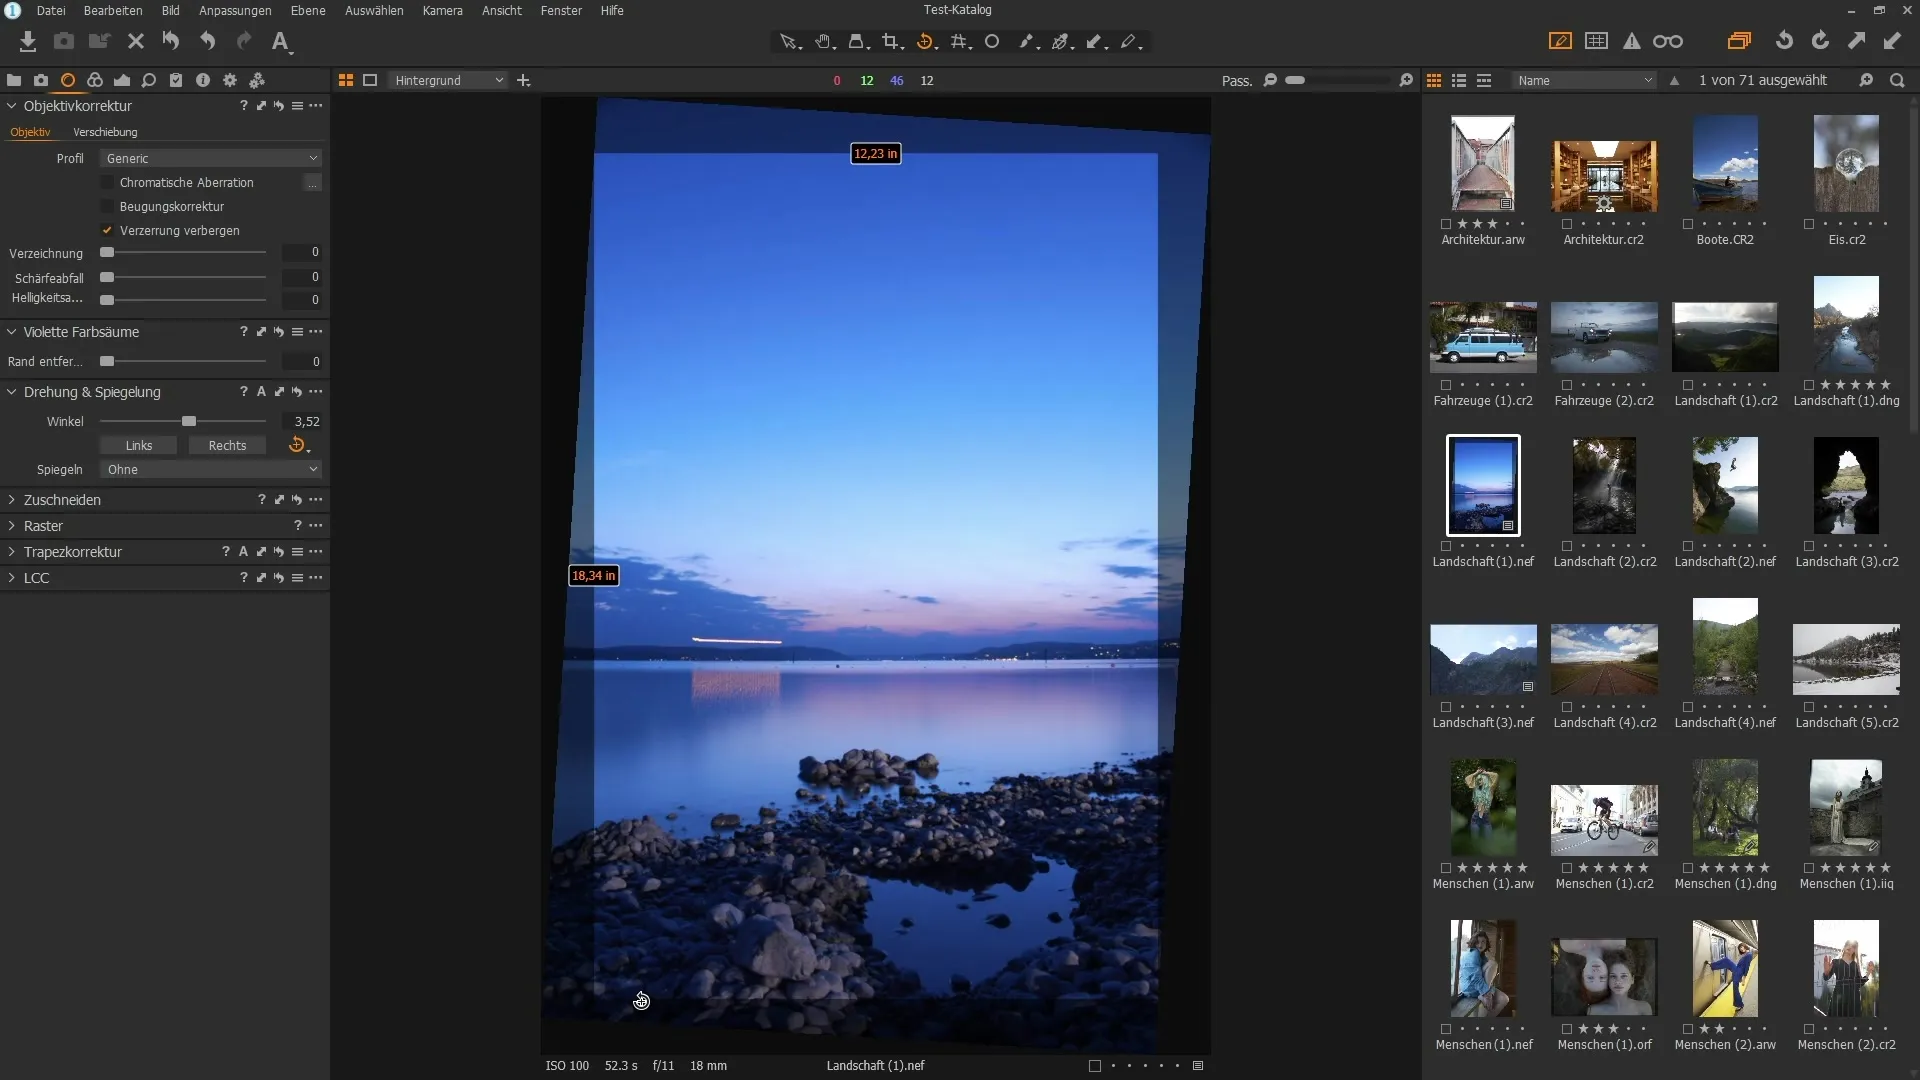
7. Adjusting the Horizon with the Straightening Tool
To straighten the horizon, click on the "Straightening" tool. You can draw a line along the horizon, and the image will be automatically rotated.
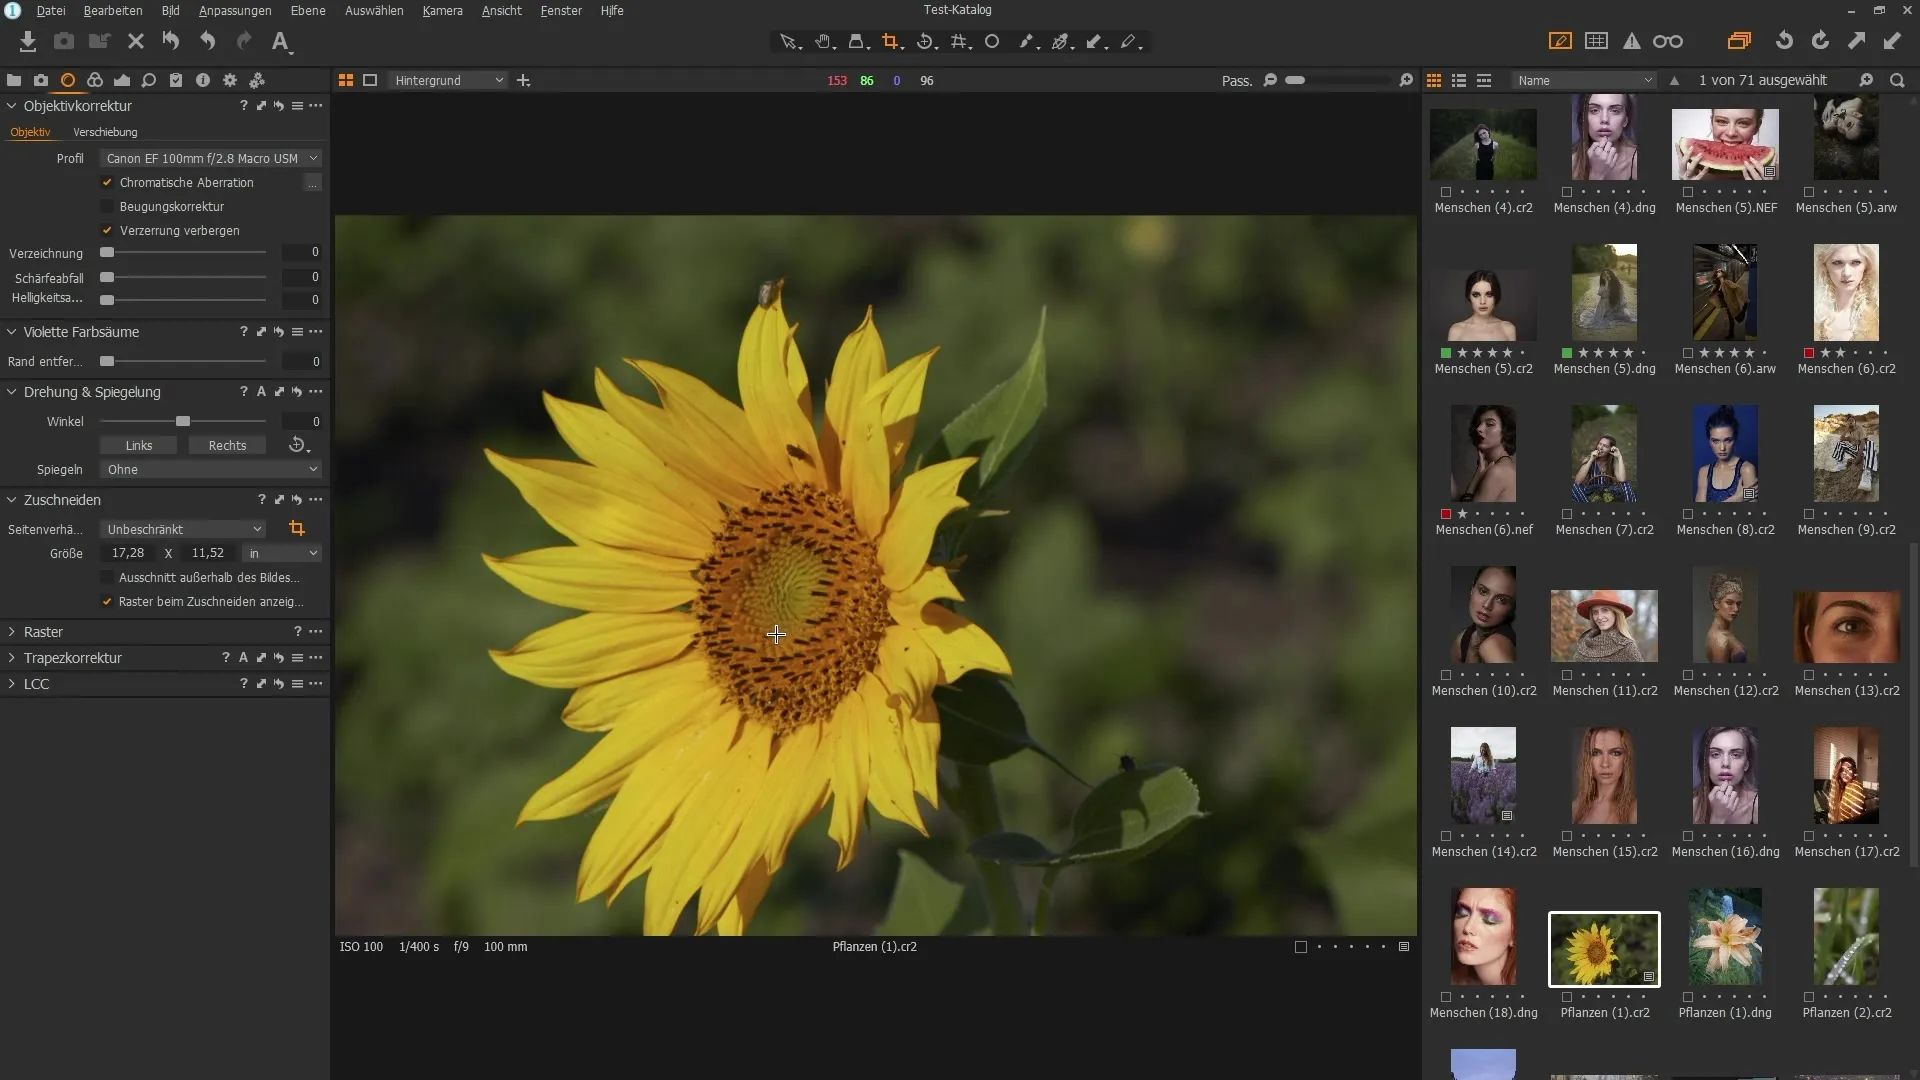
8. Cropping Images
Cropping is another important tool that helps you focus on the essentials. You can freely crop the image or maintain the original aspect ratio by selecting the appropriate settings.
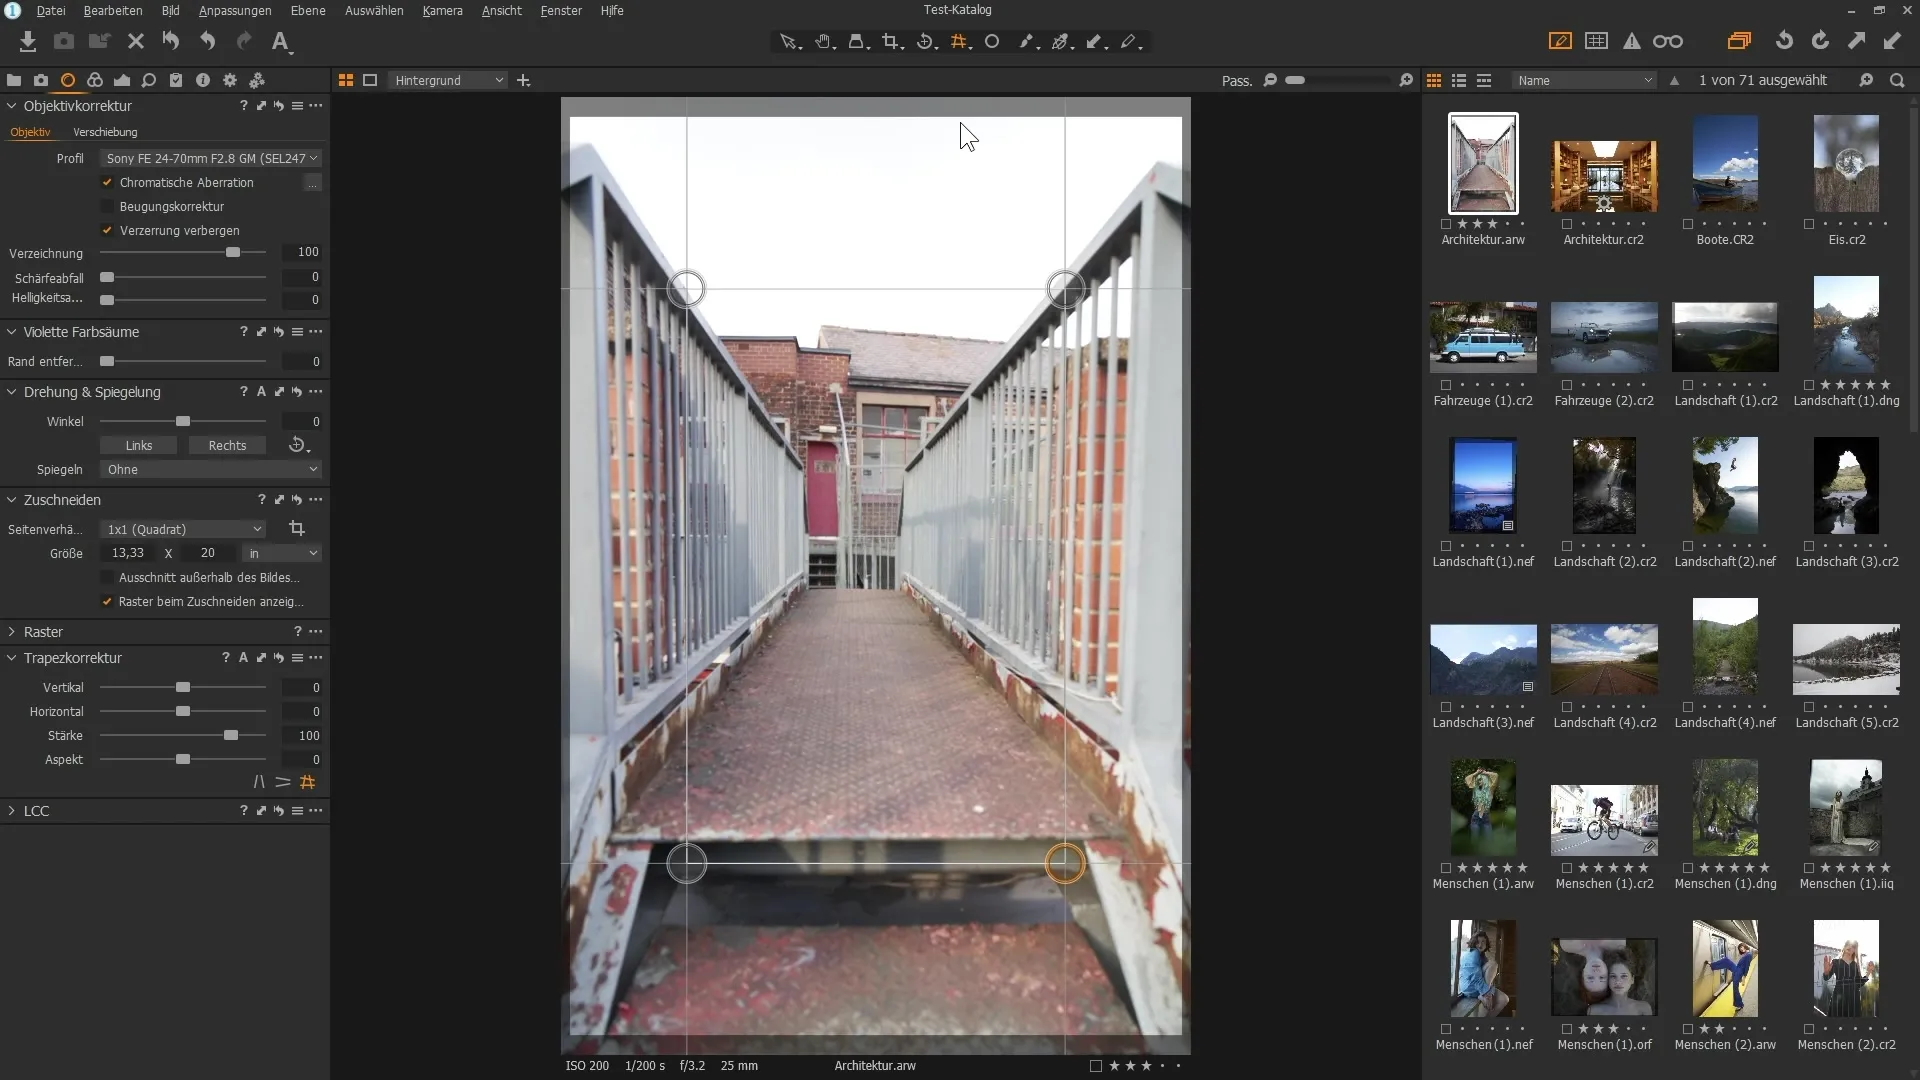
9. Applying Keystone Correction
If you have converging lines or other perspective errors in your image, you can use keystone correction. Drag the handles at the corners to correct the vertical and horizontal lines.
10. Fine-tuning and Final Adjustments
Now, review your image to ensure all adjustments look good. You can switch between tools at any time to achieve the best image quality.
Summary
In this tutorial, you have learned how to effectively use the lens tools in Capture One Pro. From automatic detection to manual adjustment to keystone correction – your image editing becomes more precise and professional.
Frequently Asked Questions
How can I activate automatic lens correction?The automatic lens correction will usually be activated as soon as an image is loaded into the software and the lens is recognized.
What are chromatic aberrations and how can I remove them?Chromatic aberrations are colored edges that appear in strong contrasts. You can remove them using the corresponding slider in the lens correction.
How can I ensure that my image is properly aligned?Use the "Straighten" tool to align lines in the image. Simply draw a line along the horizon and the image will be rotated accordingly.
What can I do if my lens is not recognized?If your lens is not automatically recognized, choose the generic lens profile from the list or look for the specific lens option in the settings.


