In this somewhat longer tutorial, I would like to show you how the Commag was created and laid out in Adobe InDesign. I also want to create individual sections completely, from the cover to the table of contents. Additionally, I want to show you through an example of an interview how I layout it completely from start to finish, to show you that it's not that difficult to layout a magazine. The tutorial is supposed to demonstrate in a practical way how we create the Commag.
Step 1
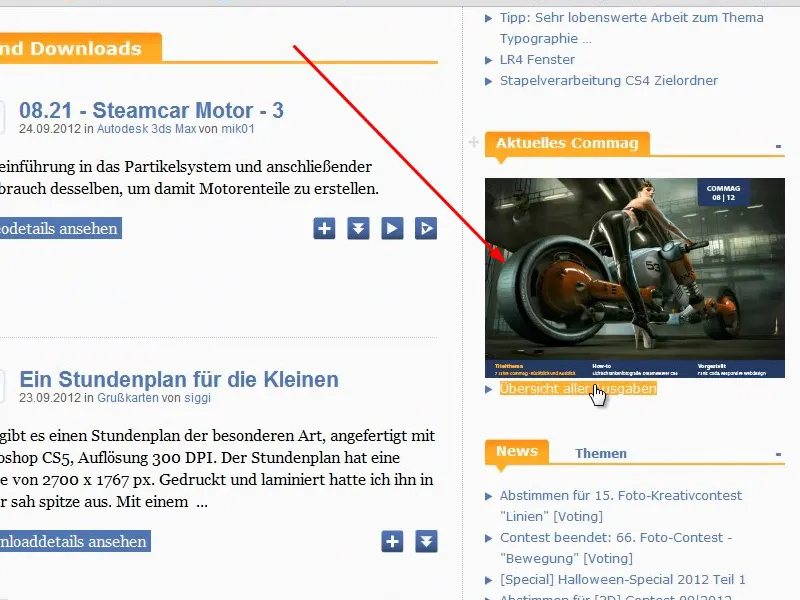
The Commag is the online magazine of PSD-Tutorials.de. You can find it in the bottom right in the side block and you can view all available issues there. The Commag has been around for 7 years now and if you compare the oldest issue, you can see that a lot has already changed.
Step 2
In the first issue in August 2005, the Commag was still created in a classic DIN A4 portrait format, as it could also be printed. The cover was created by MultimediaArts back then. We had 13,000 users at that time, and now there are over a quarter of a million; a quite remarkable increase.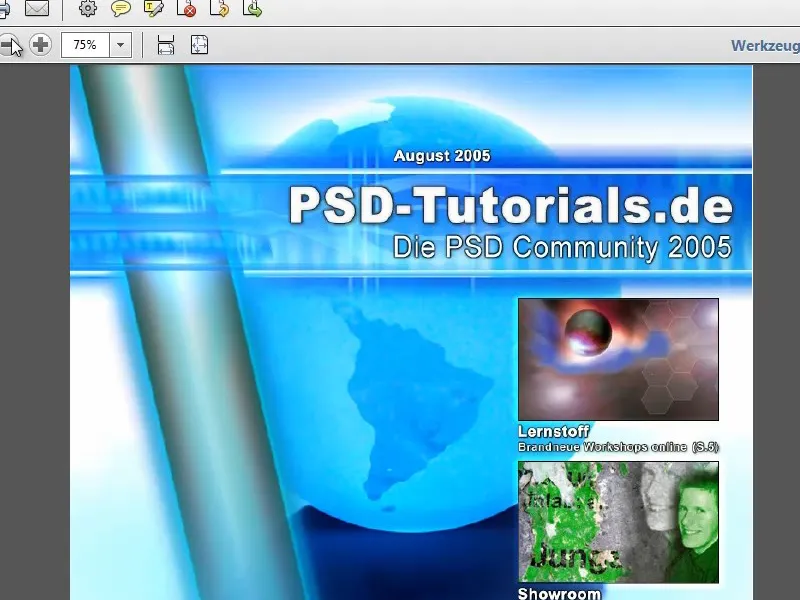
Step 3
As you can see from the logo, we were still a pure Photoshop community at that time. Nowadays, there are tutorials and video trainings for many other programs and areas such as Adobe InDesign, CINEMA 4D, photography, etc.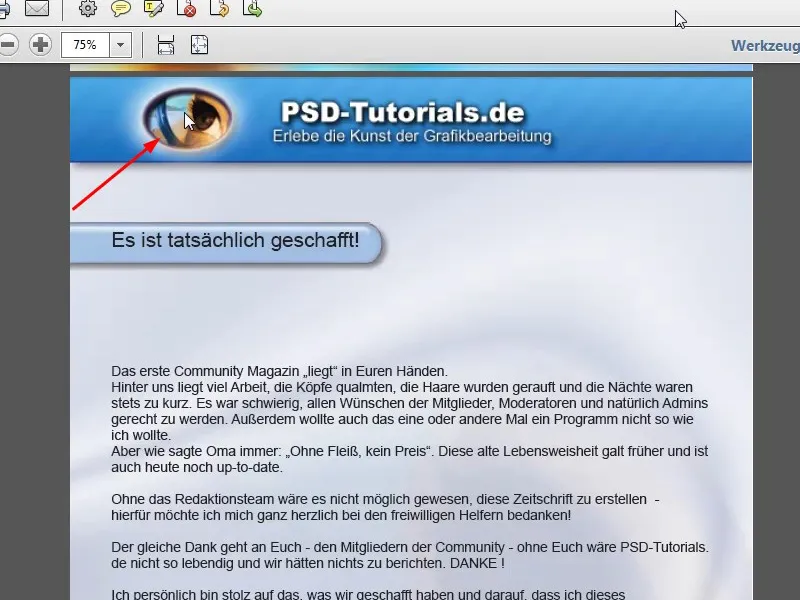
Step 4
The table of contents was already nicely linked, so you can jump directly to the corresponding page. I will also show you in a small workshop how to do this most easily in Adobe InDesign.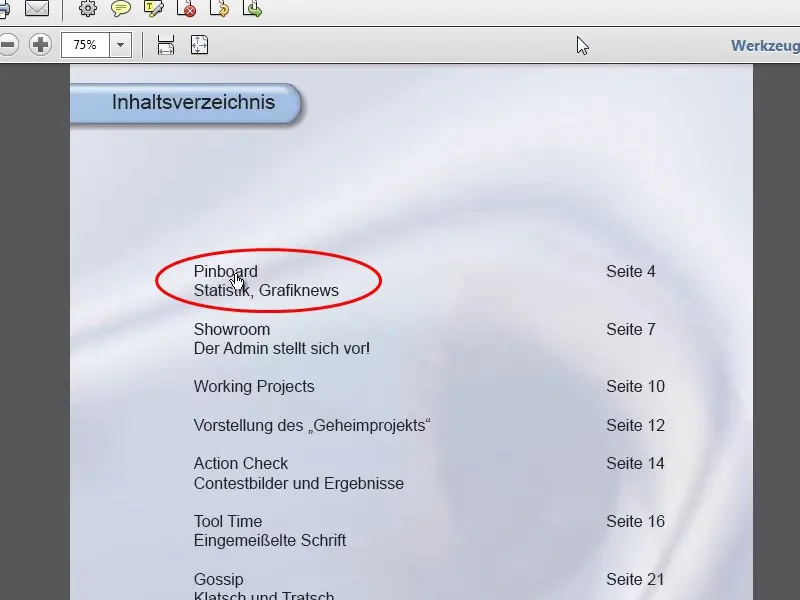
Step 5
Also, the current page number at the end of the page is easy to insert in Adobe InDesign. I will show you how to do this exactly later in this tutorial series.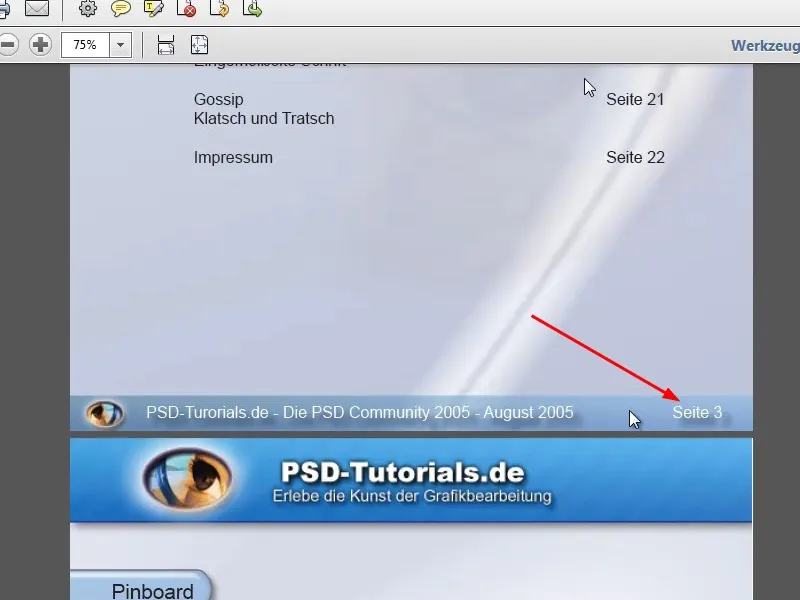
Step 6
The Commag also included a list of all new downloads and tutorials as well as news and an interview.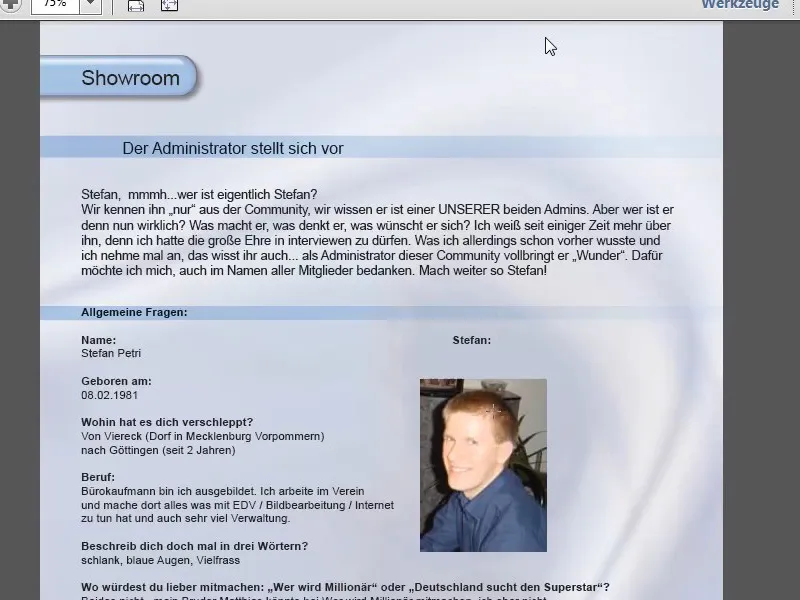
Step 7
The layout wasn't that great, but it often happens that what you once did doesn't please you later on. In the end, there's the imprint.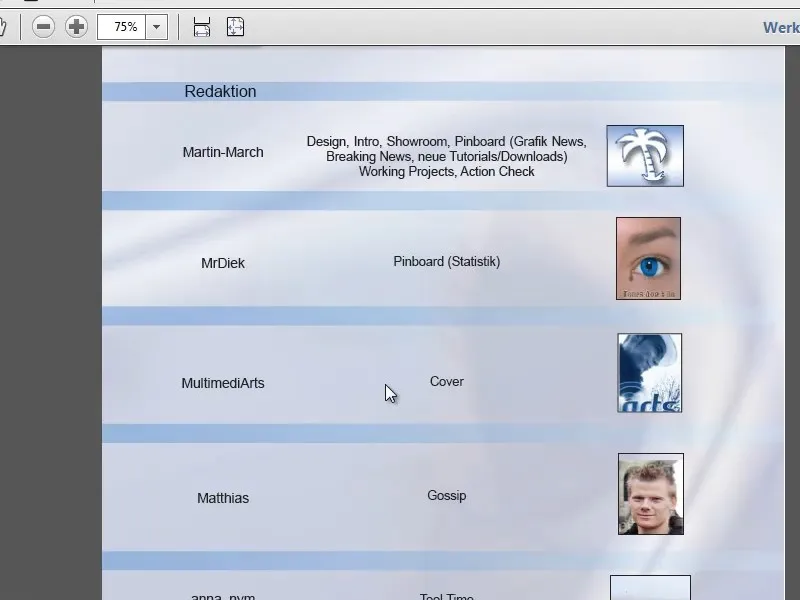
Step 8
Next, let's take a look at a comparison of Commag 08/12, which is available as a PDF and in a Flash version. For the tutorial, we will use the PDF version. The first thing that stands out: The magazine is now created in landscape format.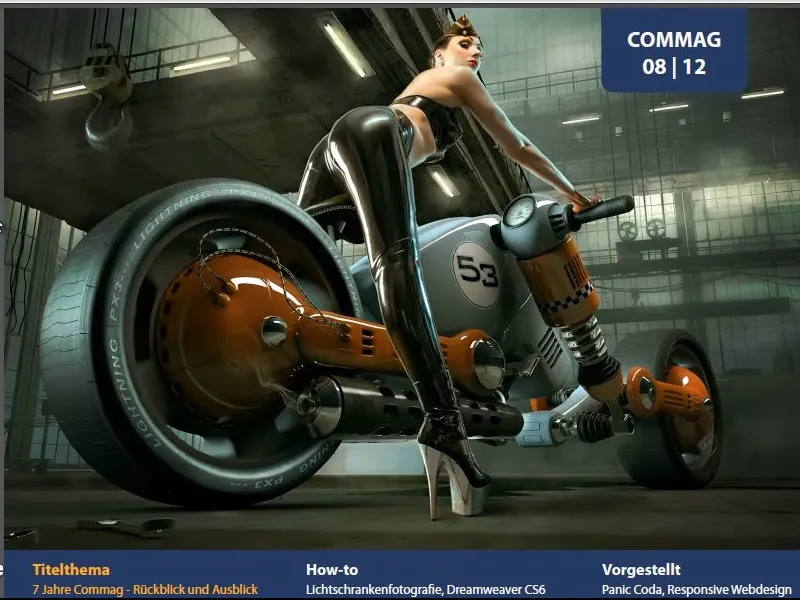
Step 9
The text layout within the magazine is also significantly different. We work with different column layouts. For the editorial, it is a four-column layout, and Myriad Pro Light font is used, which is included with Adobe Photoshop or CorelDRAW.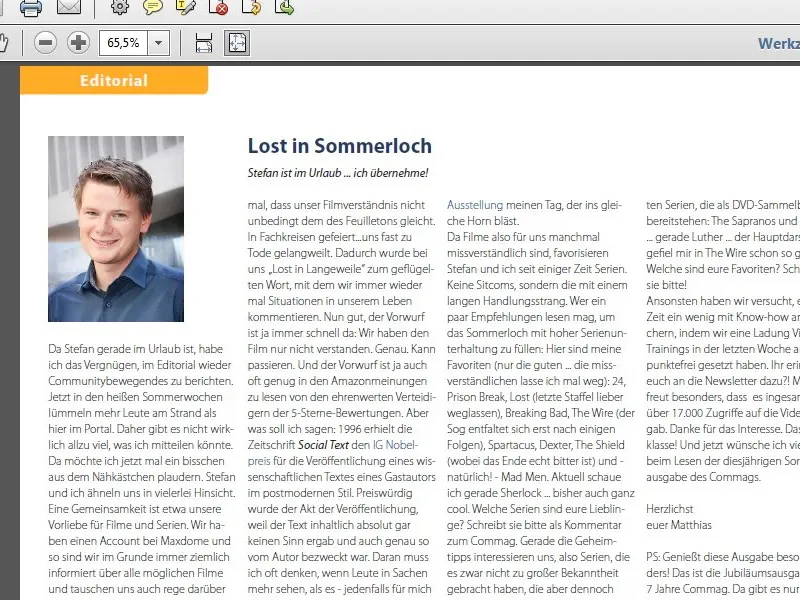
Step 10
The linked table of contents has remained, but is visually more modern, in two columns. Later, as already mentioned, I will show you how you can create these links directly in InDesign. Of course, you can also do this in Adobe Acrobat.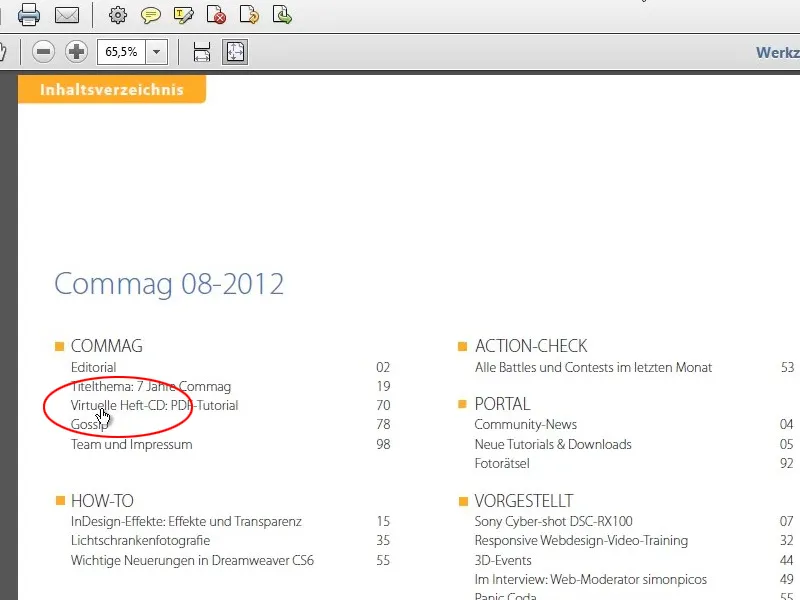
Step 11
Additionally, there are news featuring the latest DVD release with highlighted links, the four newest tutorials from the past month, and the four highest-rated downloads.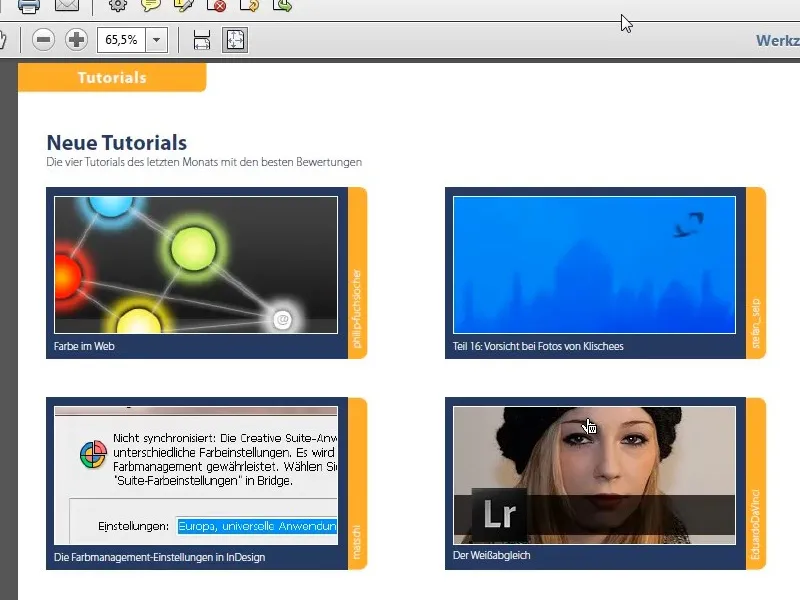
Step 12
Next is a product review, set in a three-column format, followed by a basic overview - in this case, about Adobe InDesign - which is set more fluidly with text on the left and images on the right.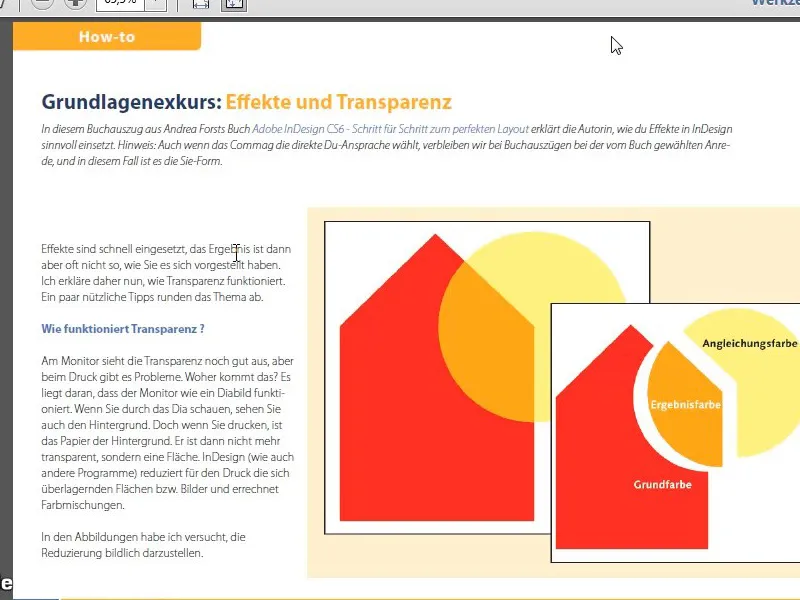
Step 13
To mark the anniversary, there is an overview of the previous Commag issues. Then there is a mention of a new training for web developers and the two PSD DVDs.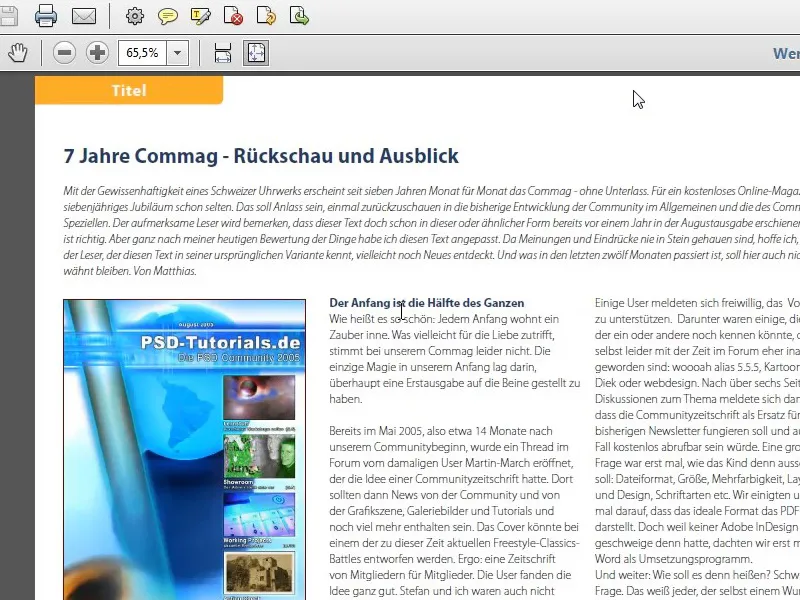
Step 14
On the next page, there will be a full-page image as the lead-in for the following article. For this, we simply took a suitable photo with a line of text overlaid on it.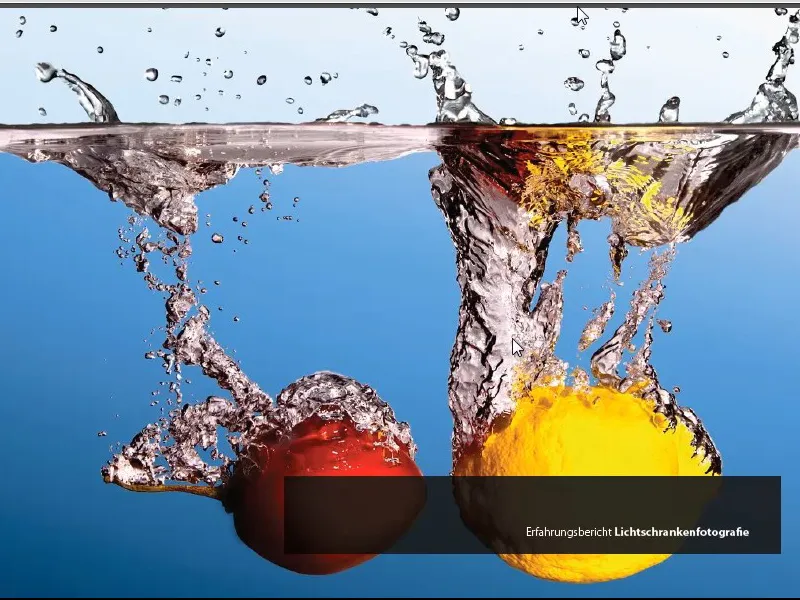
Step 15
Next comes the corresponding article as a three-column layout, which should definitely be broken up with large images. Images can span multiple columns.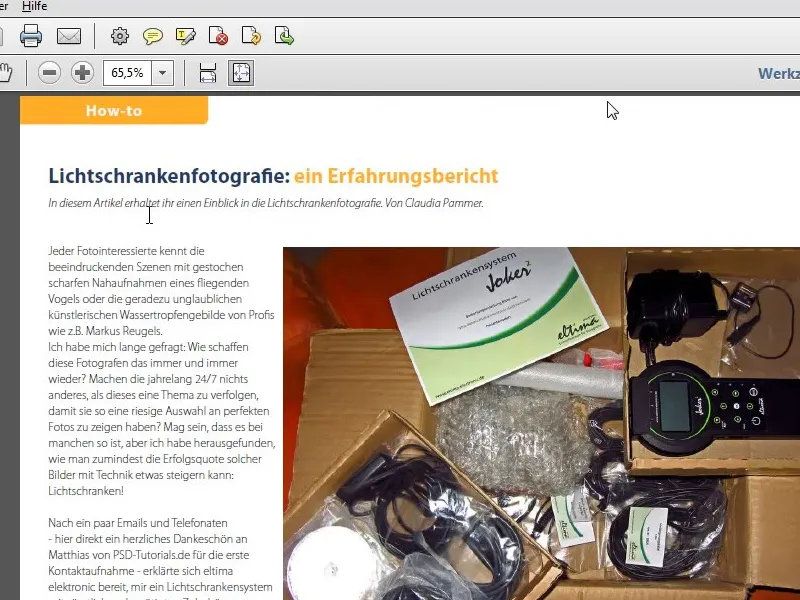
Step 16
Following some intermediate advertising, there will be an event tip for an event, followed by an interview with a new moderator. I will show you in the second part of the workshop how this interview was laid out, what things need to be considered, and how, for example, the square points were created before each question. It's not that difficult, it's mainly about the topic of paragraph formats.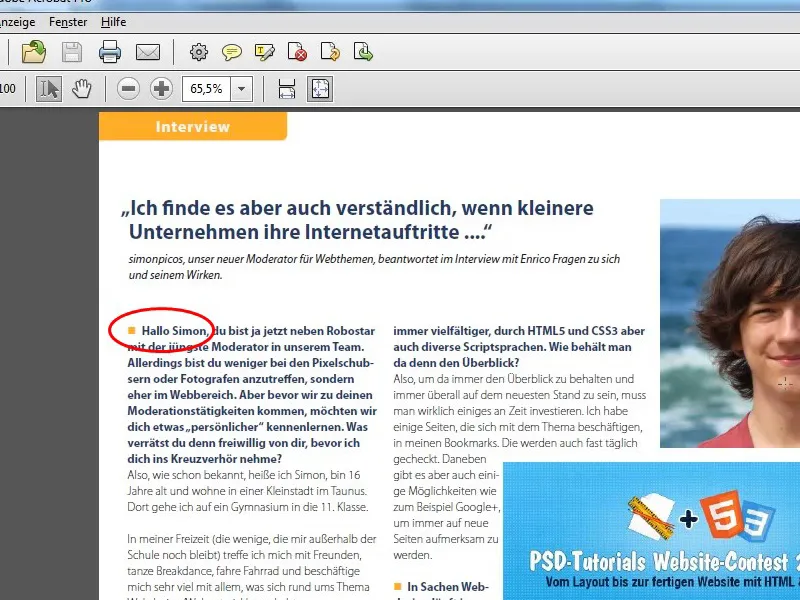
Step 17
There will be a program presentation as well as an overview of the latest features in Dreamweaver 6. In the Actioncheck, we make full use of the landscape format and show the latest winning images from the contests as well as pages with comments, puzzles, and the like. At the end of the Commag, there will be the imprint, a statistics page, and finally advertising.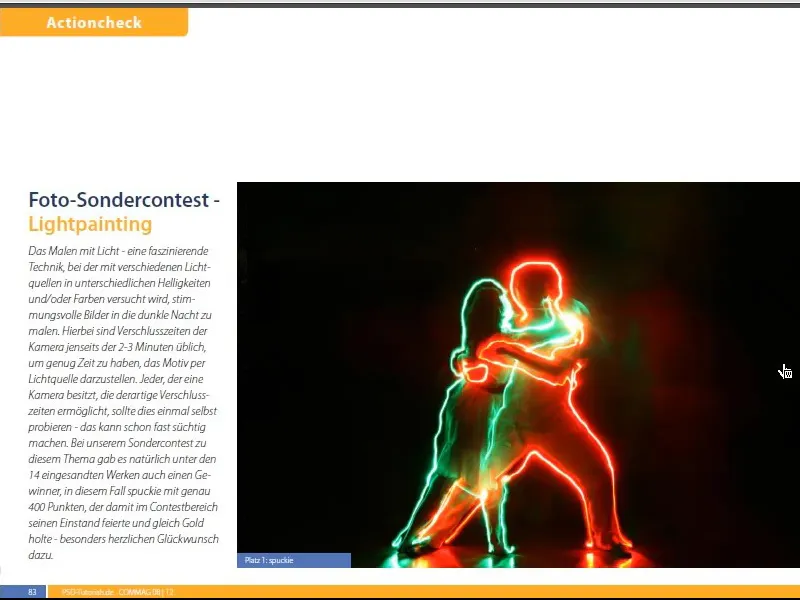
Step 18
After the lengthy preamble, let's take a look at how the Commag is structured. First, we look at the files that make up the Commag. As you can see, there is a separate file for each topic, which can be exported as a book in the end. The most important file is the one with the extension indb. That is the InDesign book file.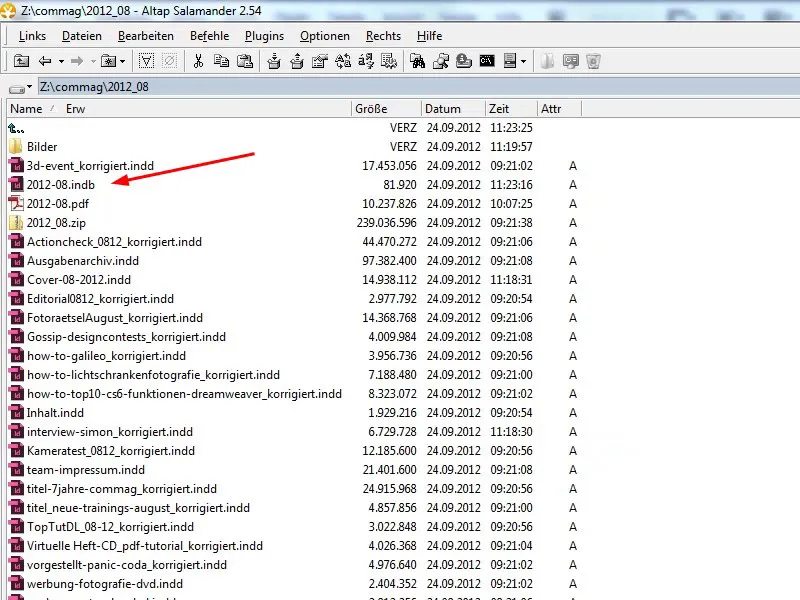
Step 19
When you open the book file, you will see the complete book with all the included files. You can easily create this file by going to File>New>Book and then either using the plus symbol or dragging and dropping to insert the individual files.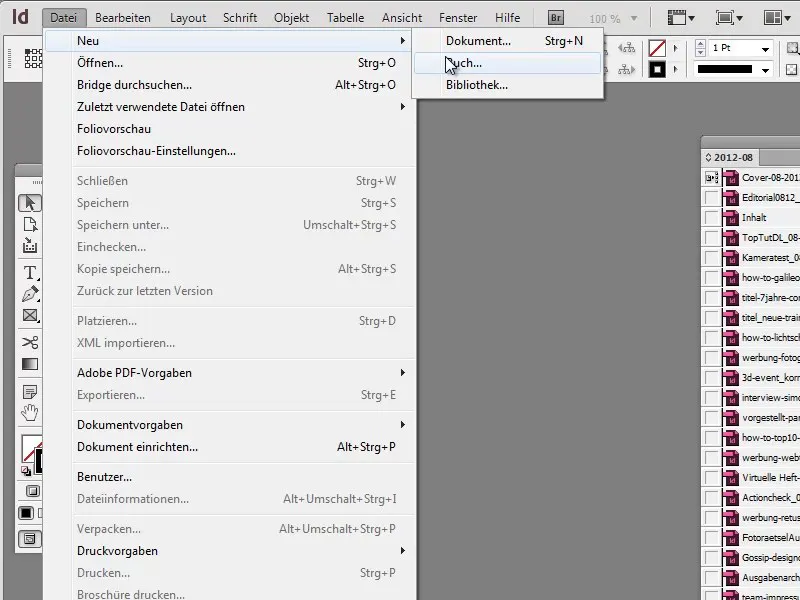
Step 20
To finally export the complete book, select all parts of the book and choose Export Book to PDF from the menu.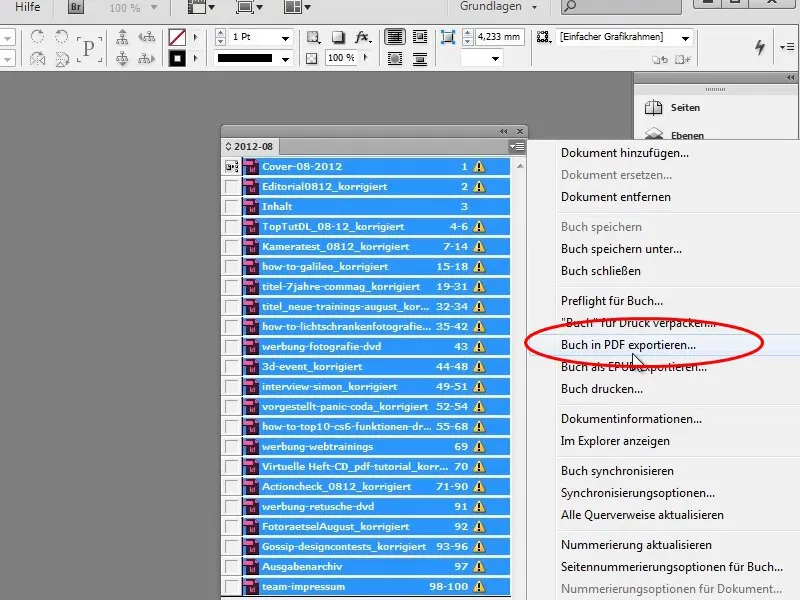
Step 21
In this view, you can also rearrange the order by moving individual chapters, and Adobe InDesign will automatically correct the page numbers.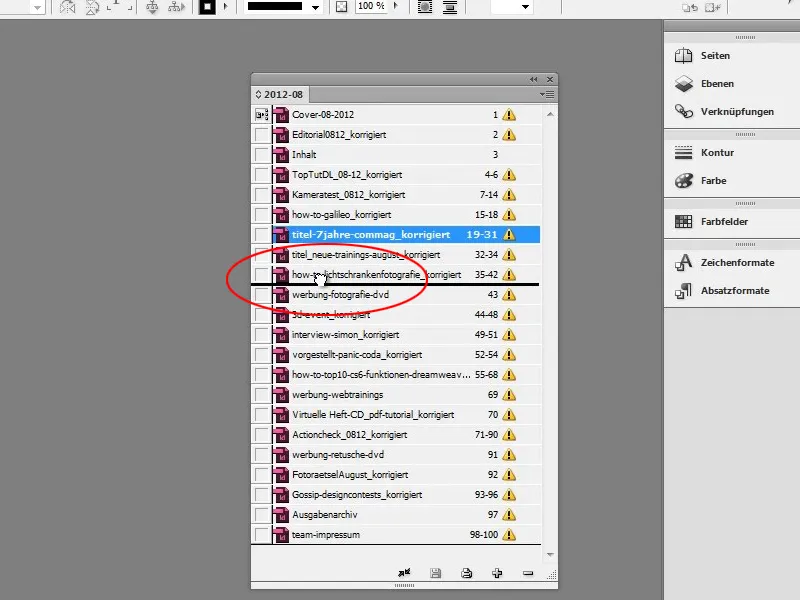
Step 22
Now, let's go to the cover file and immediately receive an error message that linked files are no longer available. I will show you shortly how this can be corrected.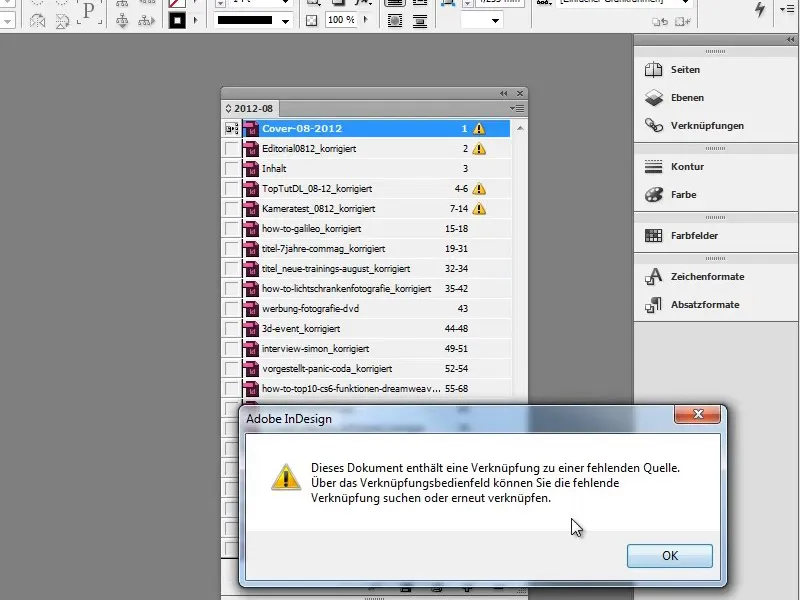
Step 23
Using the View-button, you can switch between Normal-view and Preview. In the cover, you will see a question mark indicating that there is a link error, meaning that the image file could not be found.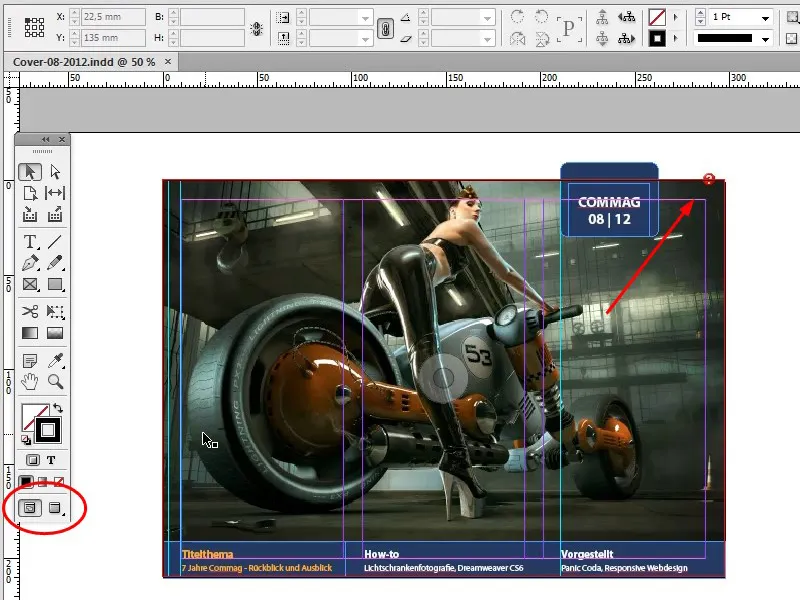
Step 24
When you hover the mouse directly over the question mark, you will get a small info text that tells you what the error is and explains how you can fix it.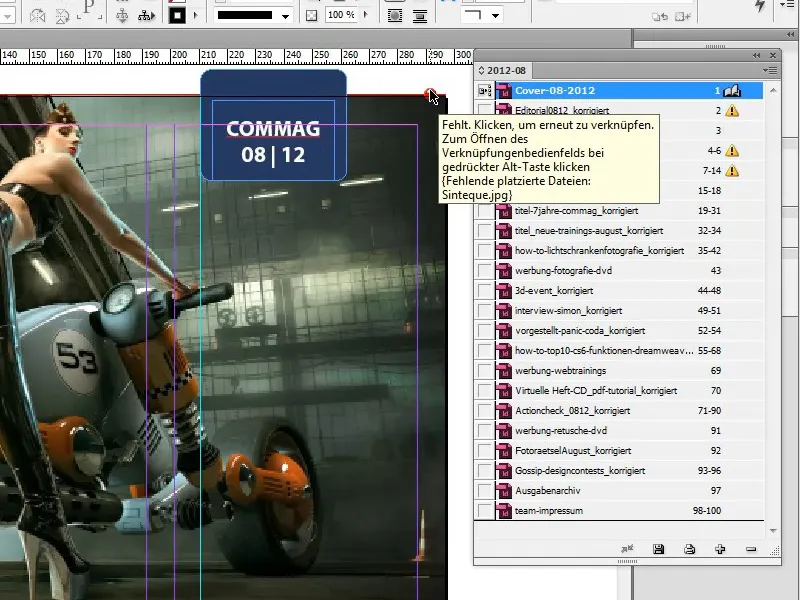
Step 25
With Alt-Click, you can open the Links-dialog box and correct the path to the file there.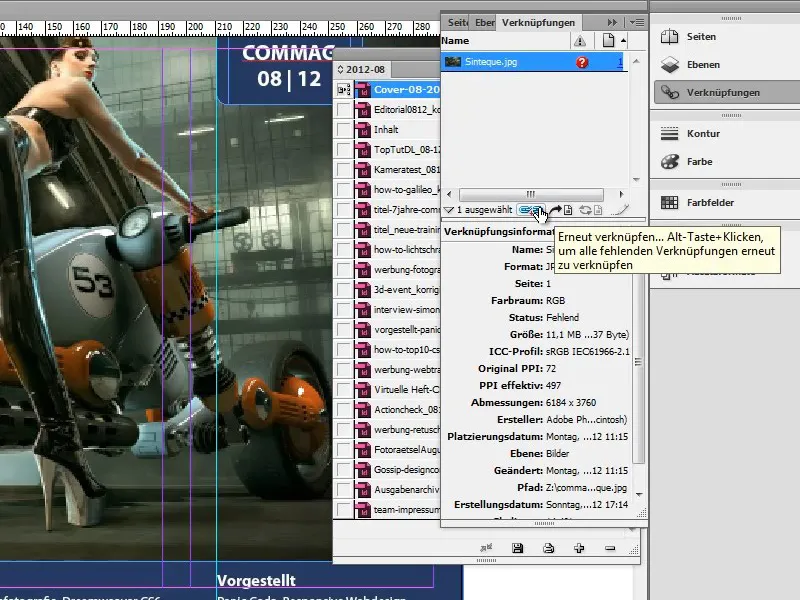
Step 26
In the lower left corner of the InDesign workspace, you will see a green dot, the symbol for Preflight, indicating that there are no errors.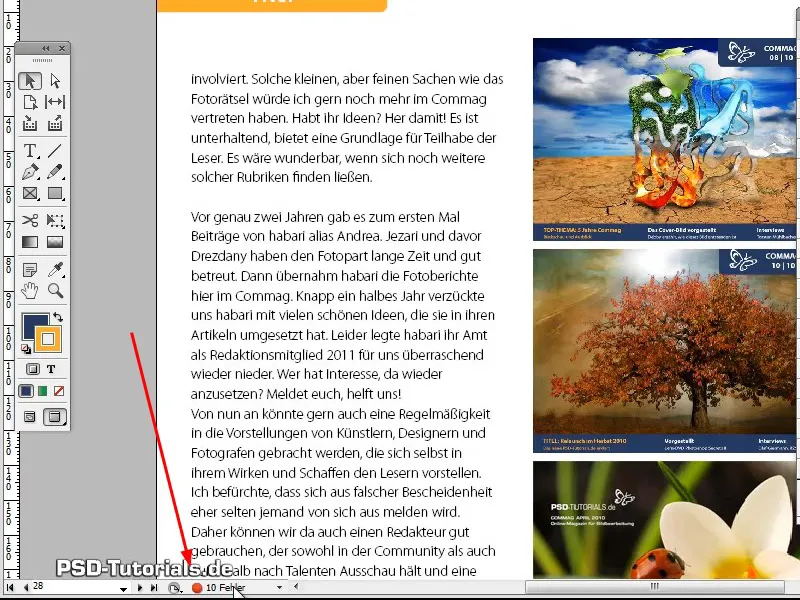
Step 27
If the dot is green, everything is fine; if it is red, InDesign has found a number of errors in the document, which you can view simply by Double-clicking on the dot.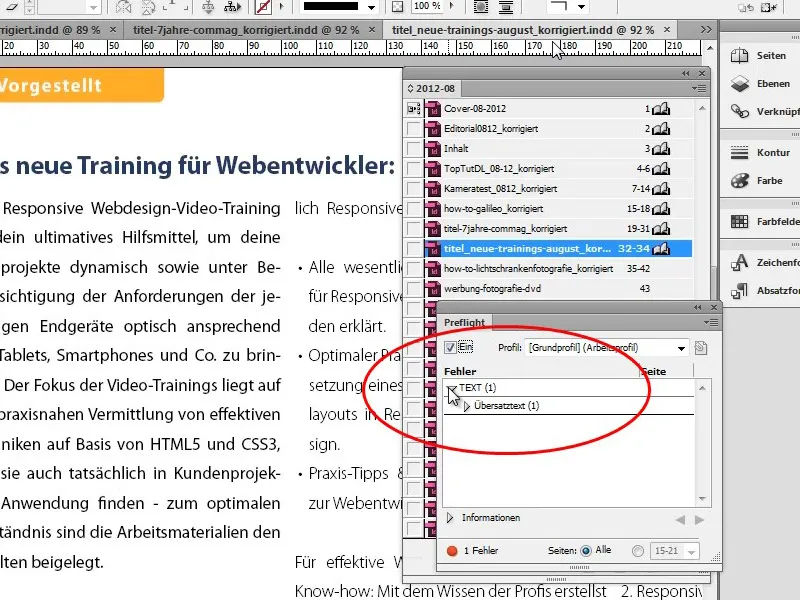
Step 28
A Double-click on the error will take you directly to the problematic area. If, as in the news for the new training, an overset is detected, you can jump directly to the text frame by Double-clicking on the error and correct the overset by either expanding the text frame or shortening the text accordingly.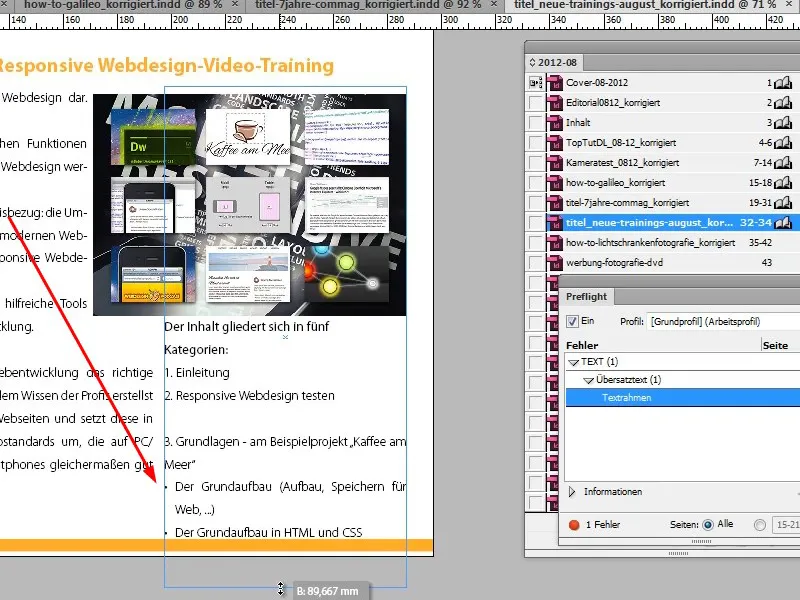
Step 29
Adobe InDesign is so intelligent that it detects when multiple images have been moved to the same folder. When you correct the first link, Adobe InDesign automatically adjusts all other links.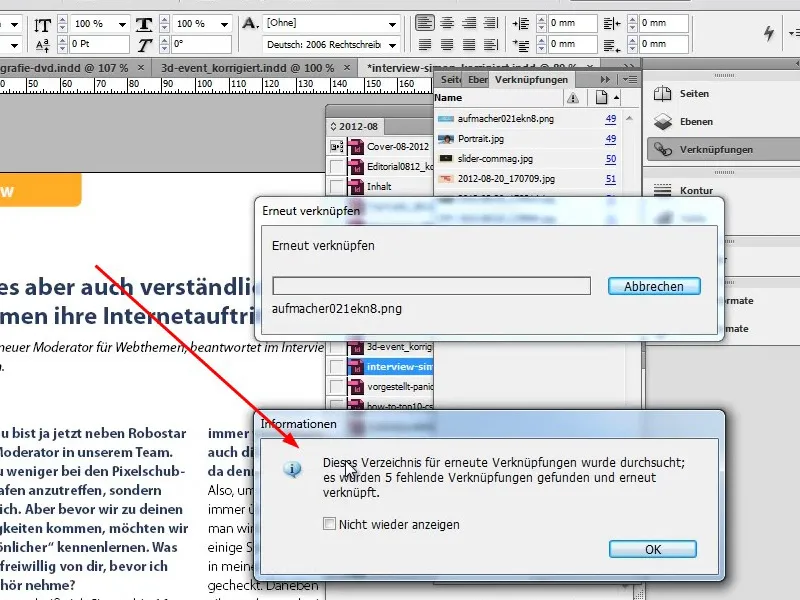
Step 30
Missing fonts are also displayed, and you can see where these fonts are used in the document by using Start Search or Continue Searching and replace them directly with Replace All.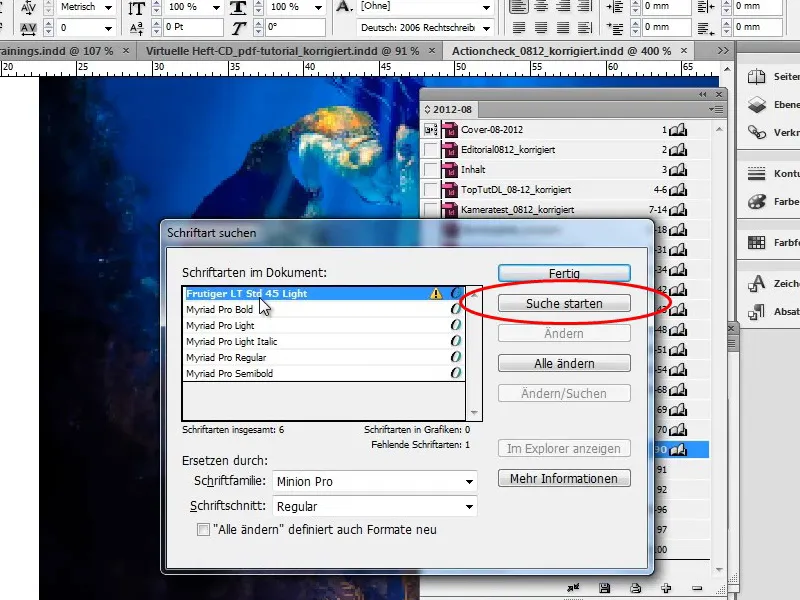
Step 31
Especially with images, it is important that the original image is available, as only then will the images flow into the PDF export in original quality. Otherwise, only the lower resolution of the preview will be exported. So, you must ensure that all images are available.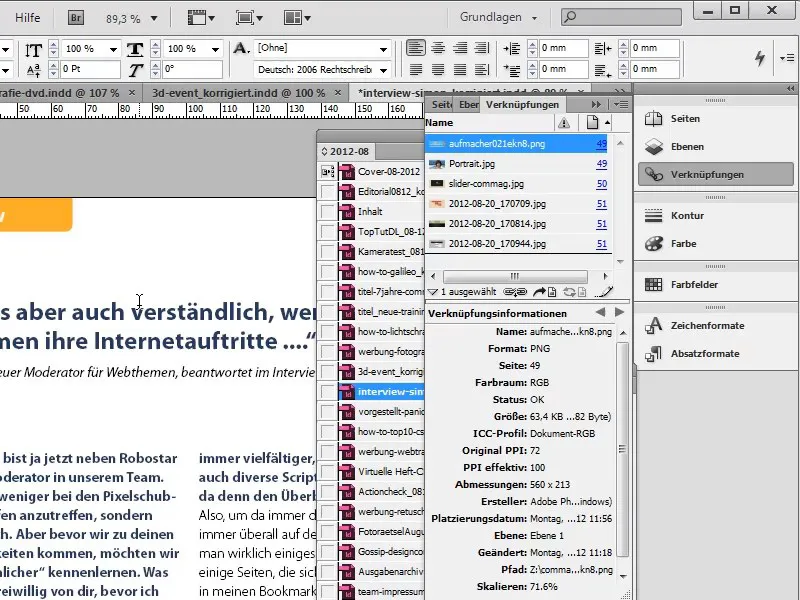
Step 32
Alternatively, you can also embed the images in the document. To do this, go to Links and through the Context menu (right mouse button) you can embed the links, meaning the linked images, into the document. However, the total file will become significantly larger as a result.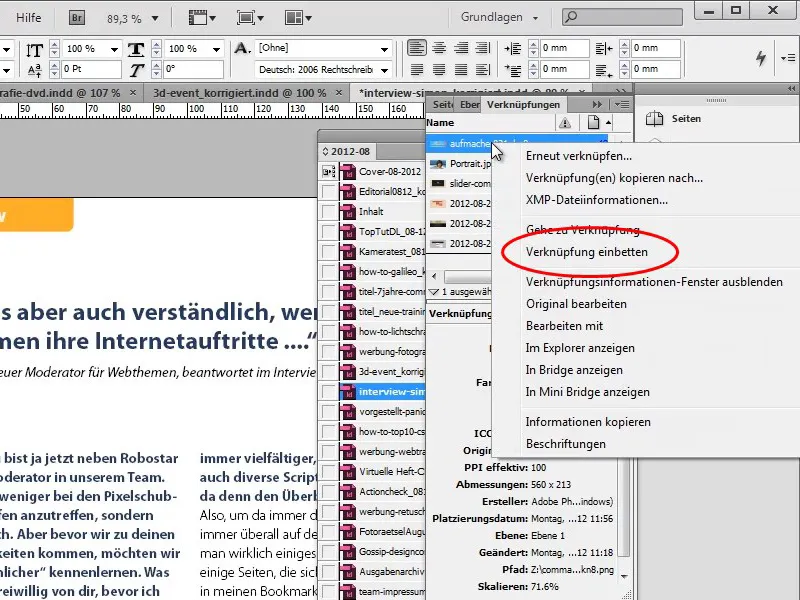
Step 33
You can always reverse the process by Links <Revert Embedding of Links if, for example, you want to edit an image again.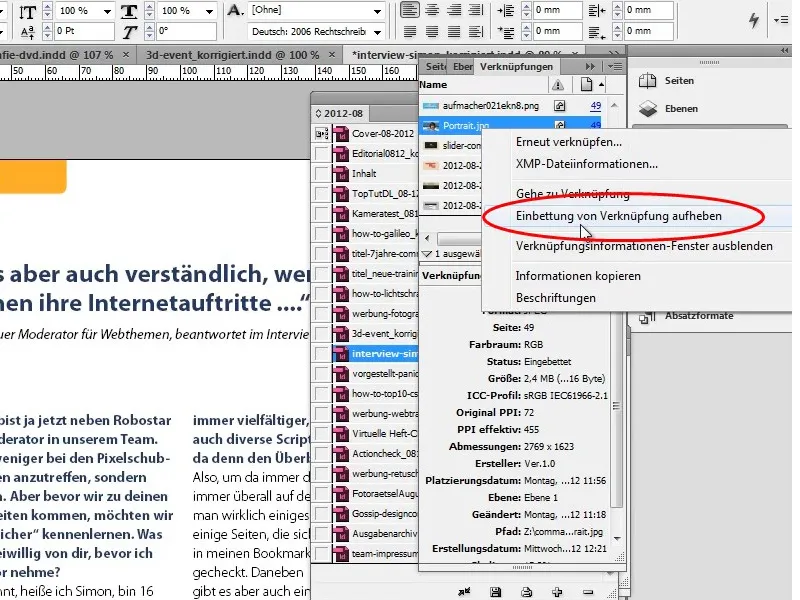
In the second part of the tutorial series, we will get to the heart of the matter. We will completely recreate the cover, recreate the table of contents, and redesign the interview.


