You've just edited an image and are thrilled with the result you achieved? Why should the beautiful look be limited to just this one image? In Capture One Pro, you have the option to save your edits as a style to apply them to other images with just one click. In this guide, I'll show you step by step how to save your own styles, import predefined styles, and customize them to your liking.
Key Takeaways
- You can save your image edits in Capture One as a style.
- Styles save you time when editing similar images.
- You can import and share styles with others.
Steps for Creating and Using Styles
1. Edit Image
To create a style, you first need to edit an image. This means coordinating your adjustments to achieve the desired look. Select the image from your catalog that you want to edit.
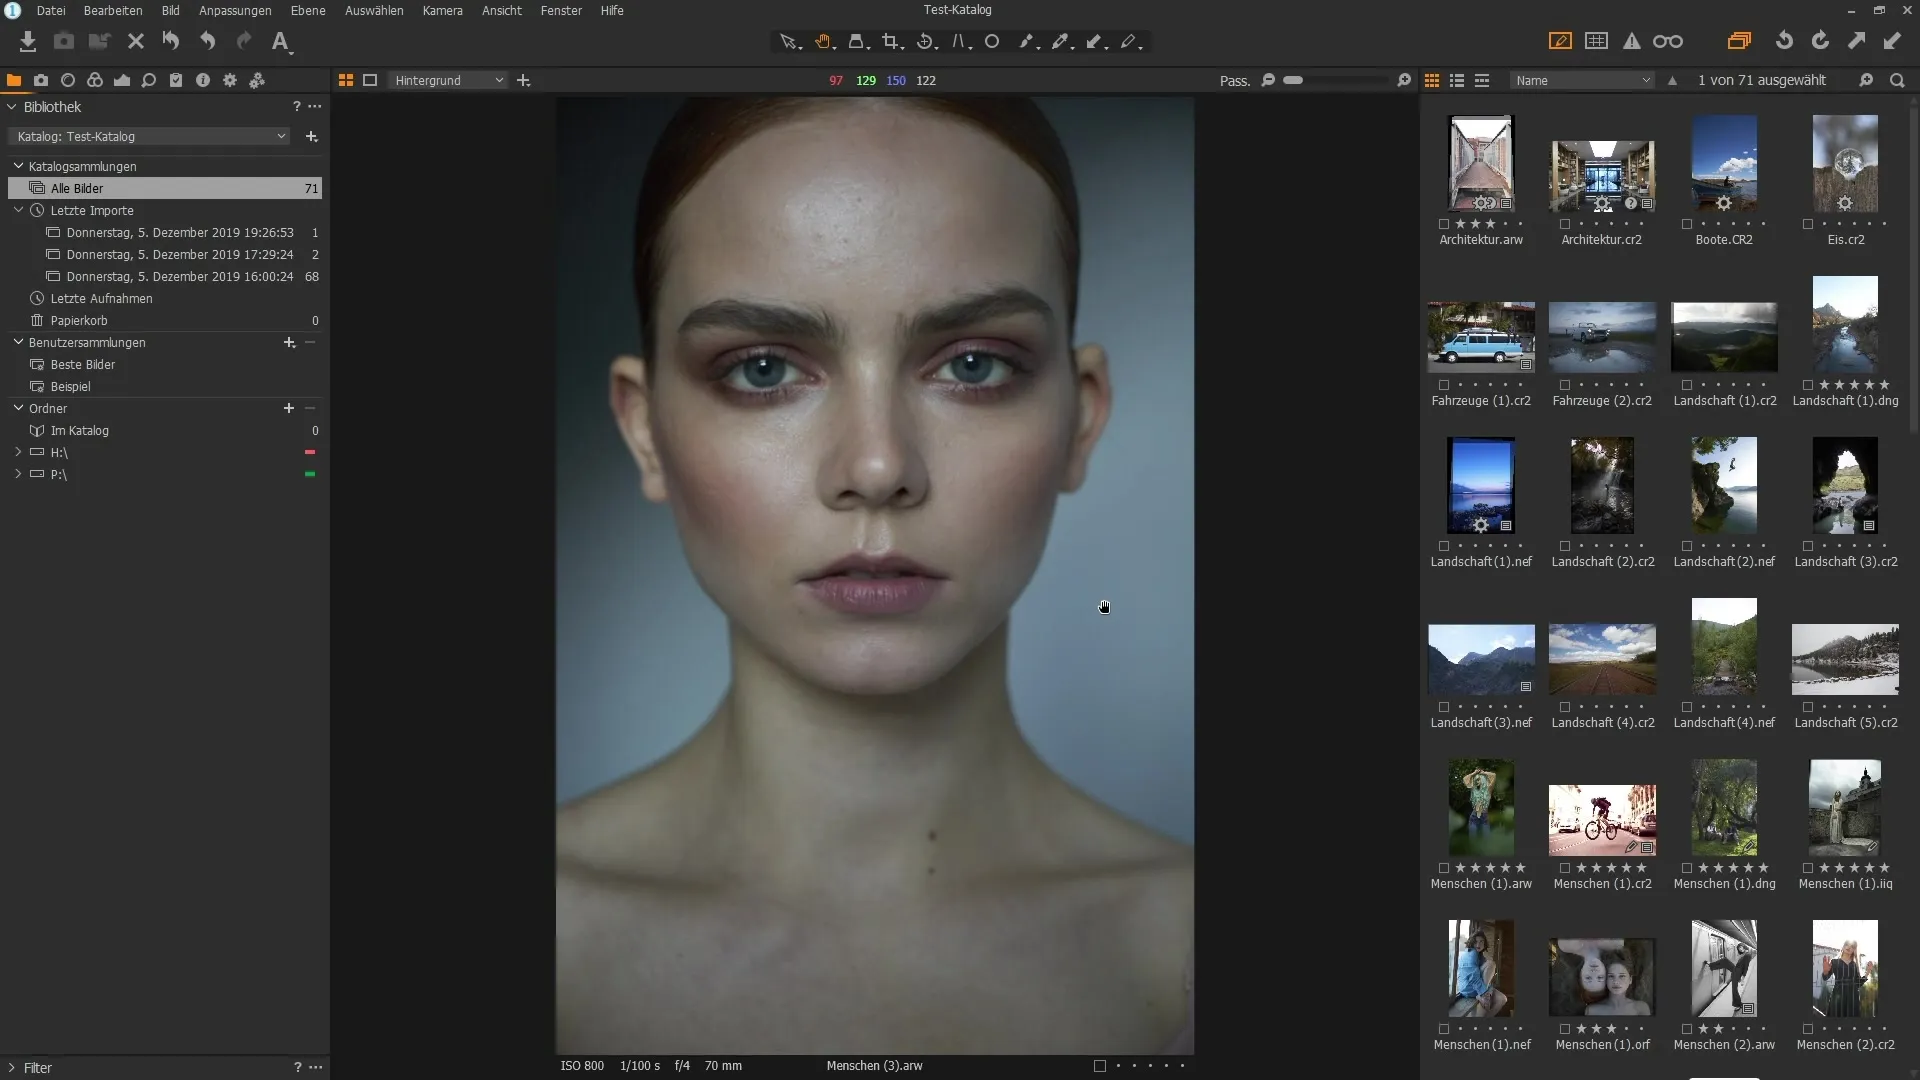
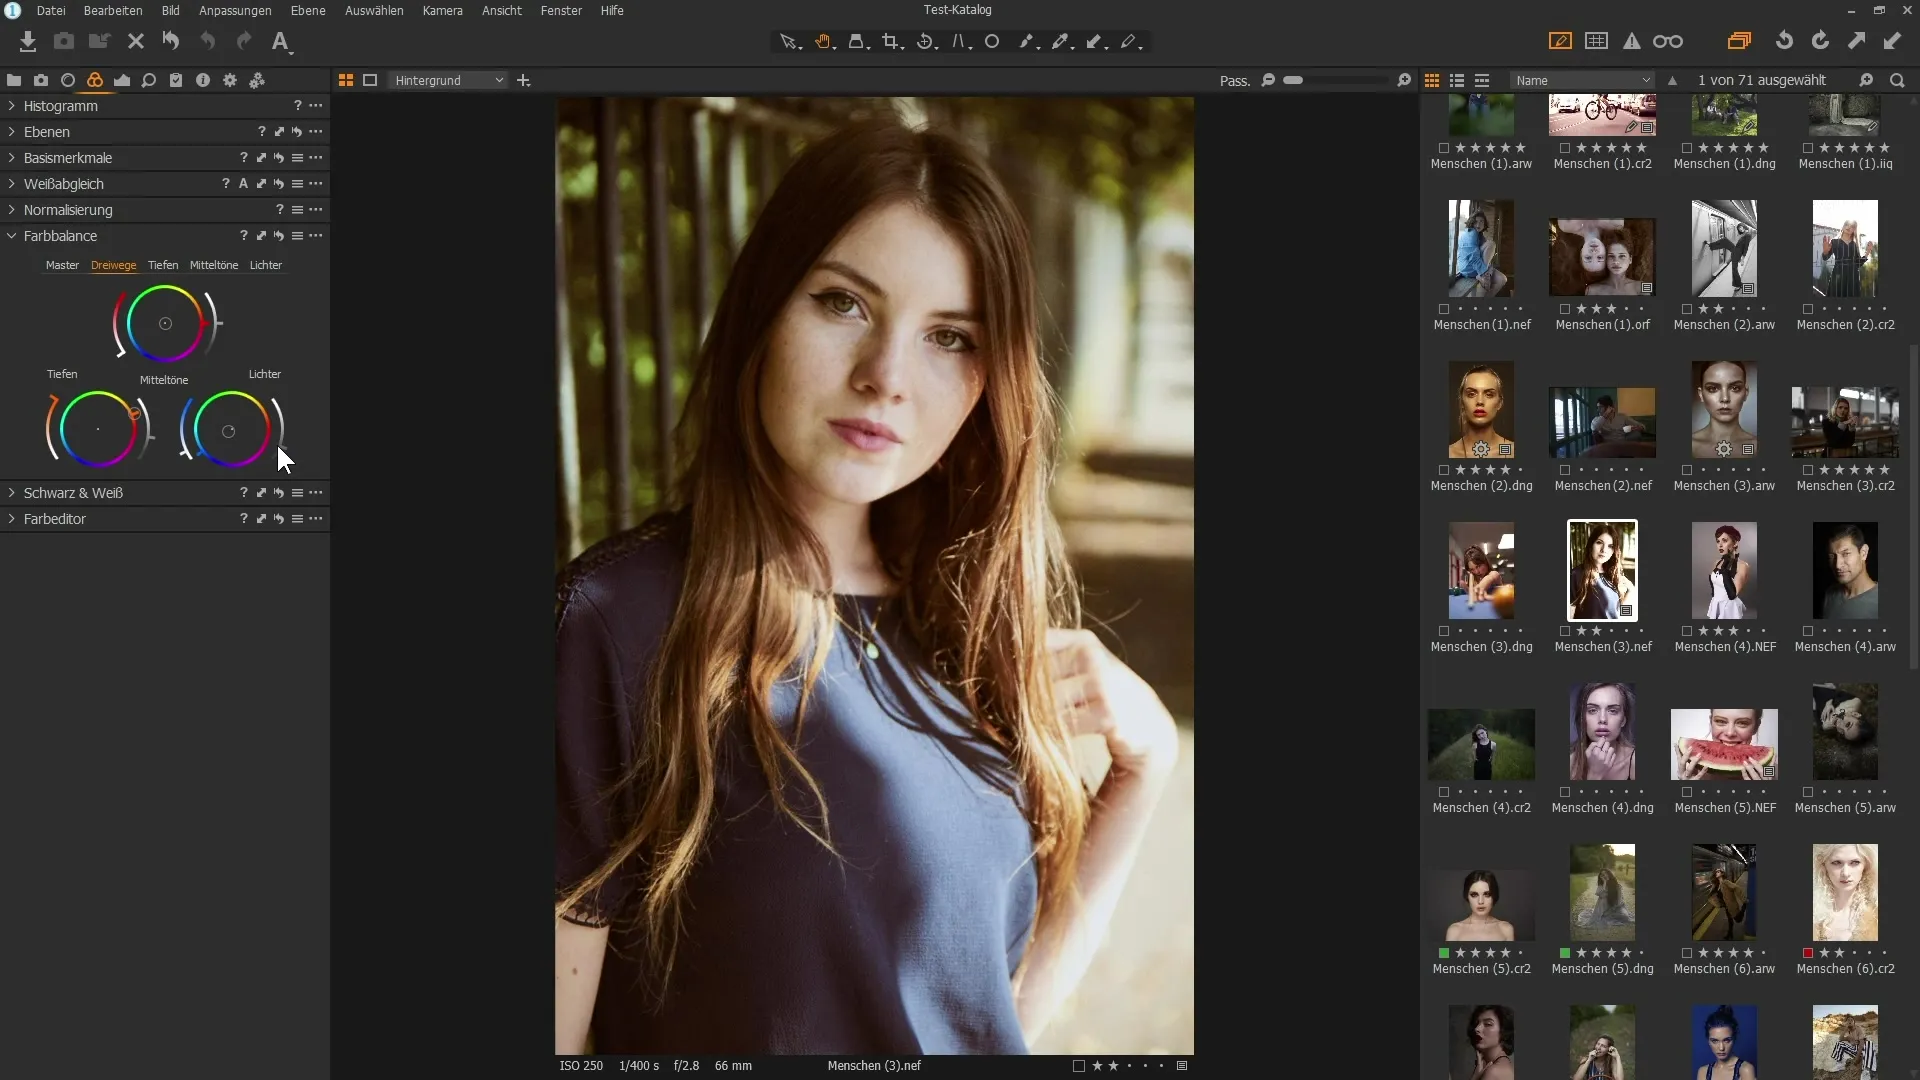
Editing the image by going to the "Color" section. Here, you can adjust the color balance to tweak the warm and cool tones of the image. Make sure to experiment with the shadows, mid-tones, and highlights to achieve an attractive result.
2. Make Adjustments
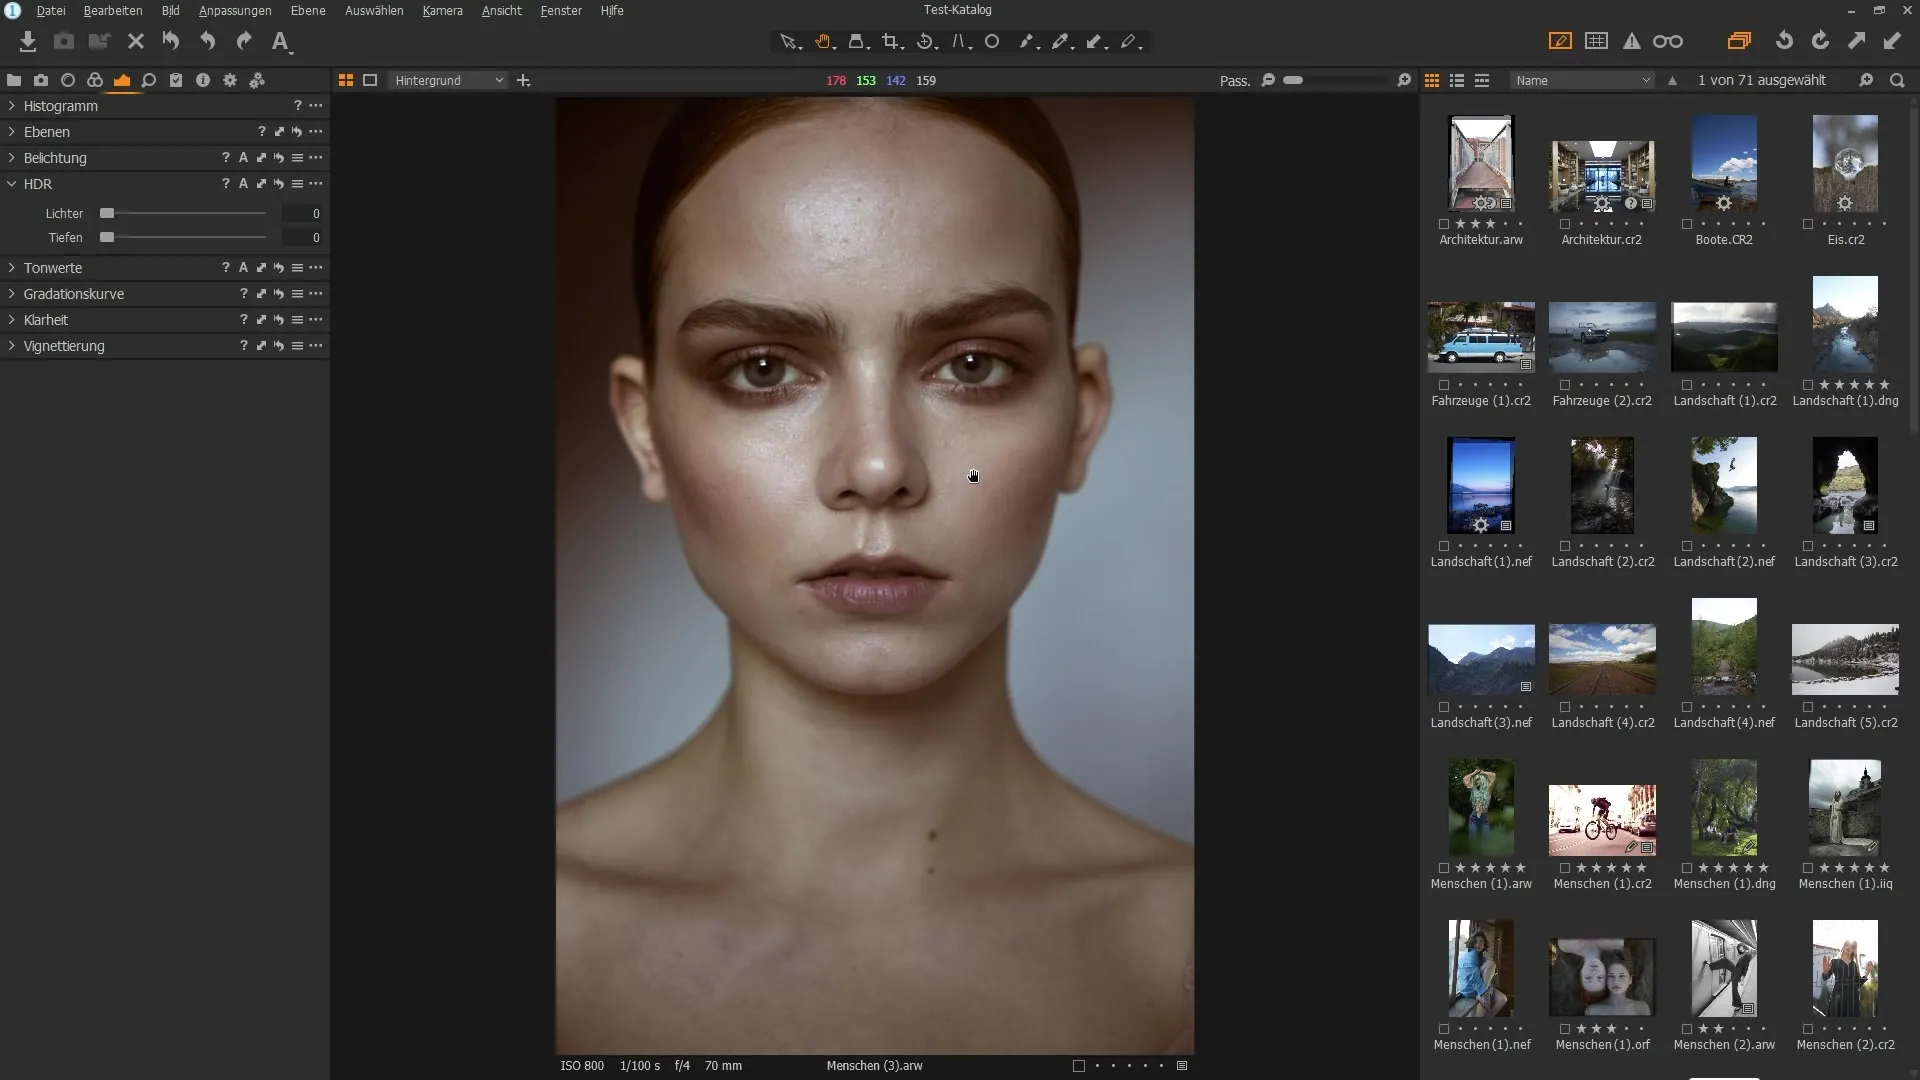
Change the colors of your image to customize it. Use the various sliders to adjust saturation and contrast. Make sure to play with the settings: slide the color balance sliders and check the results through before-and-after comparisons.
Also experiment with exposures and contrast to bring out details in the bright and dark areas. The goal is to determine your preferred style.
3. Save Style
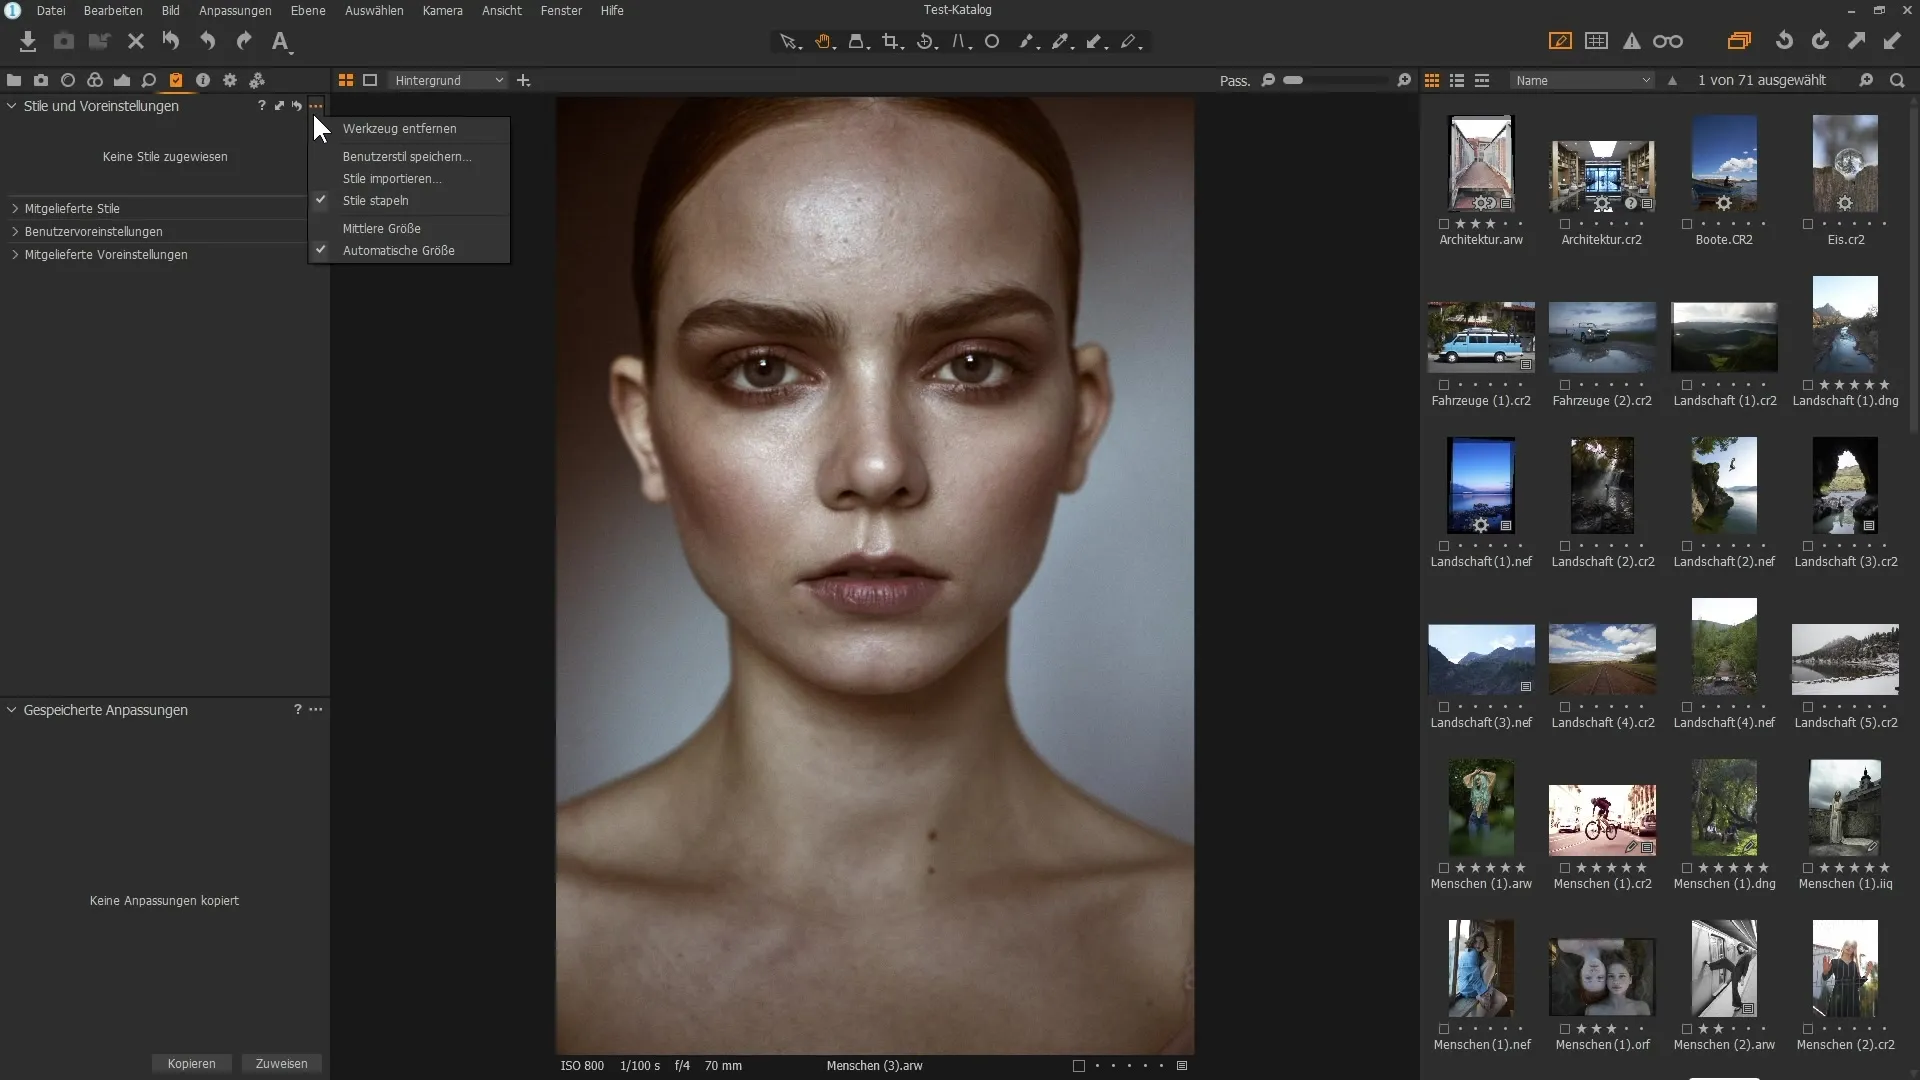
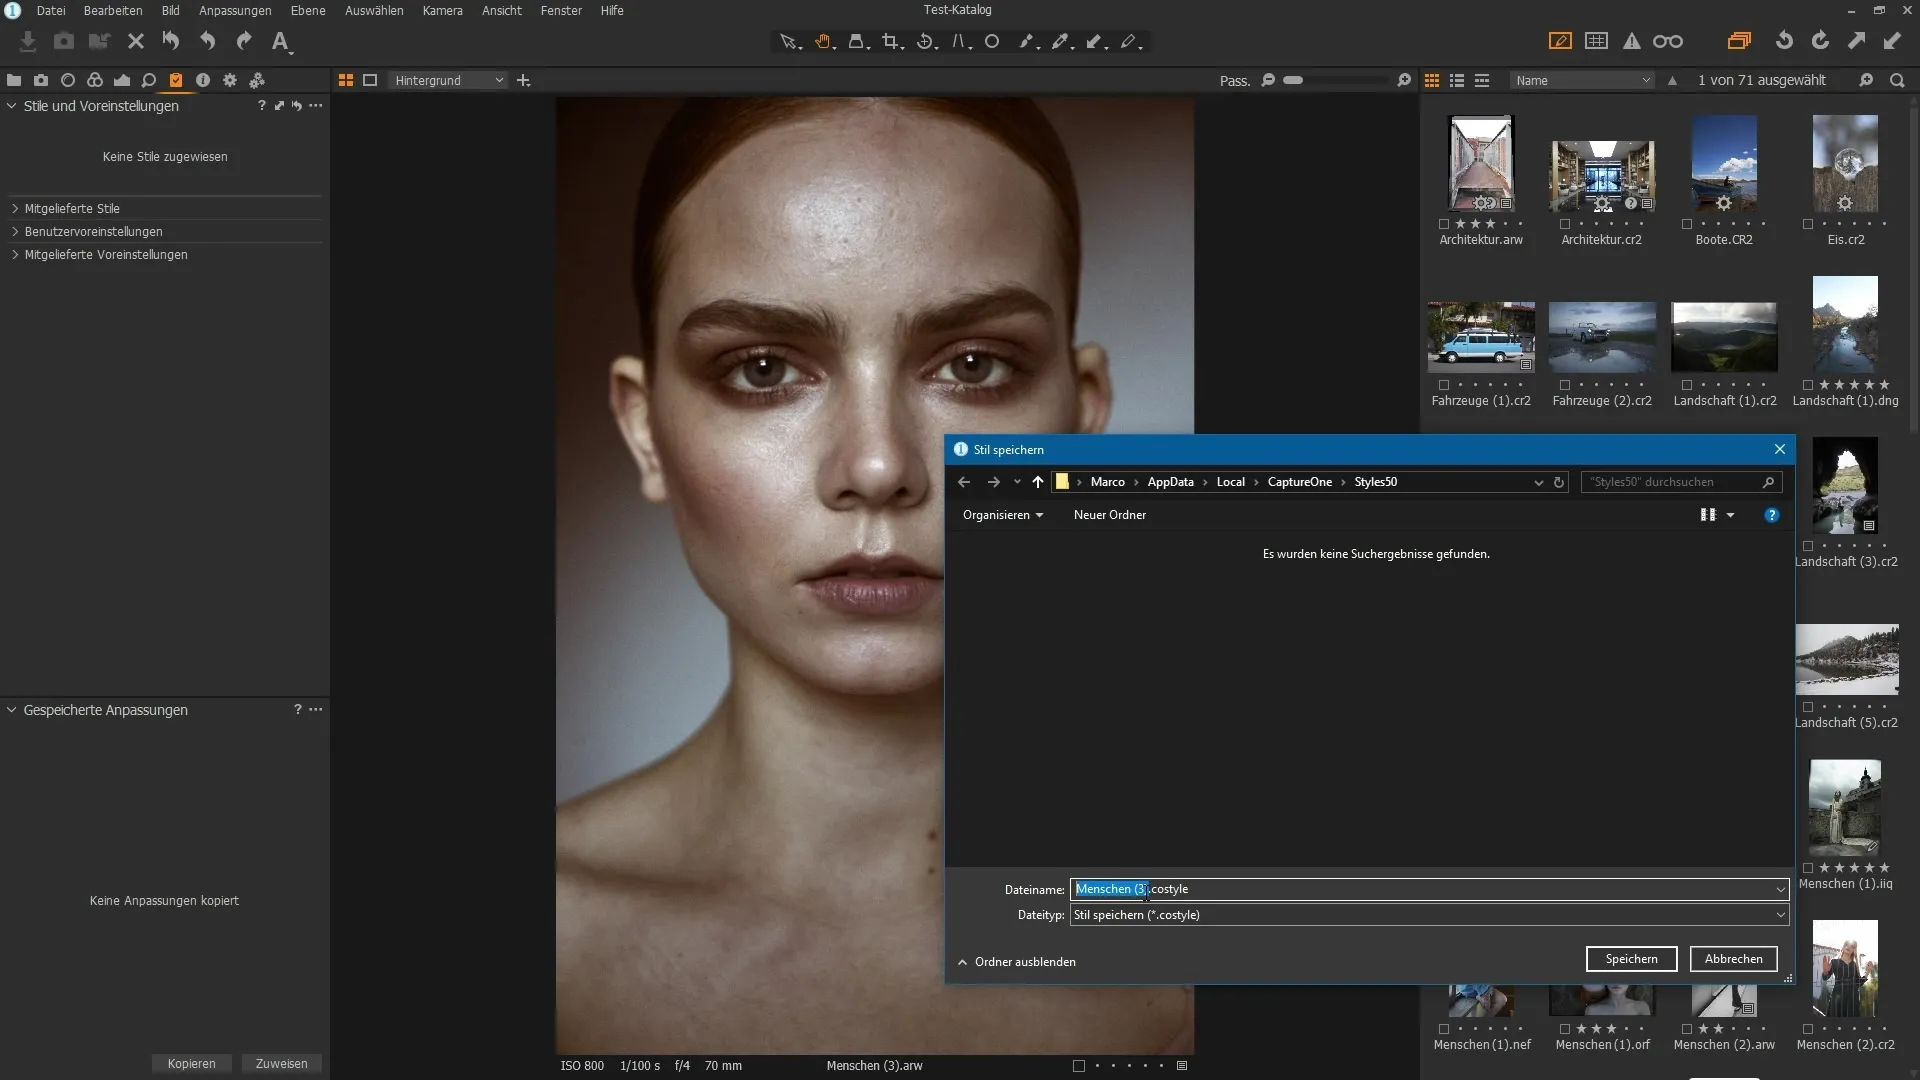
Once you are satisfied with the edits, it's time to save your style. Go to the adjustments and look for the "Styles and Presets" section. Click on the three dots to select the option "Save User Style."
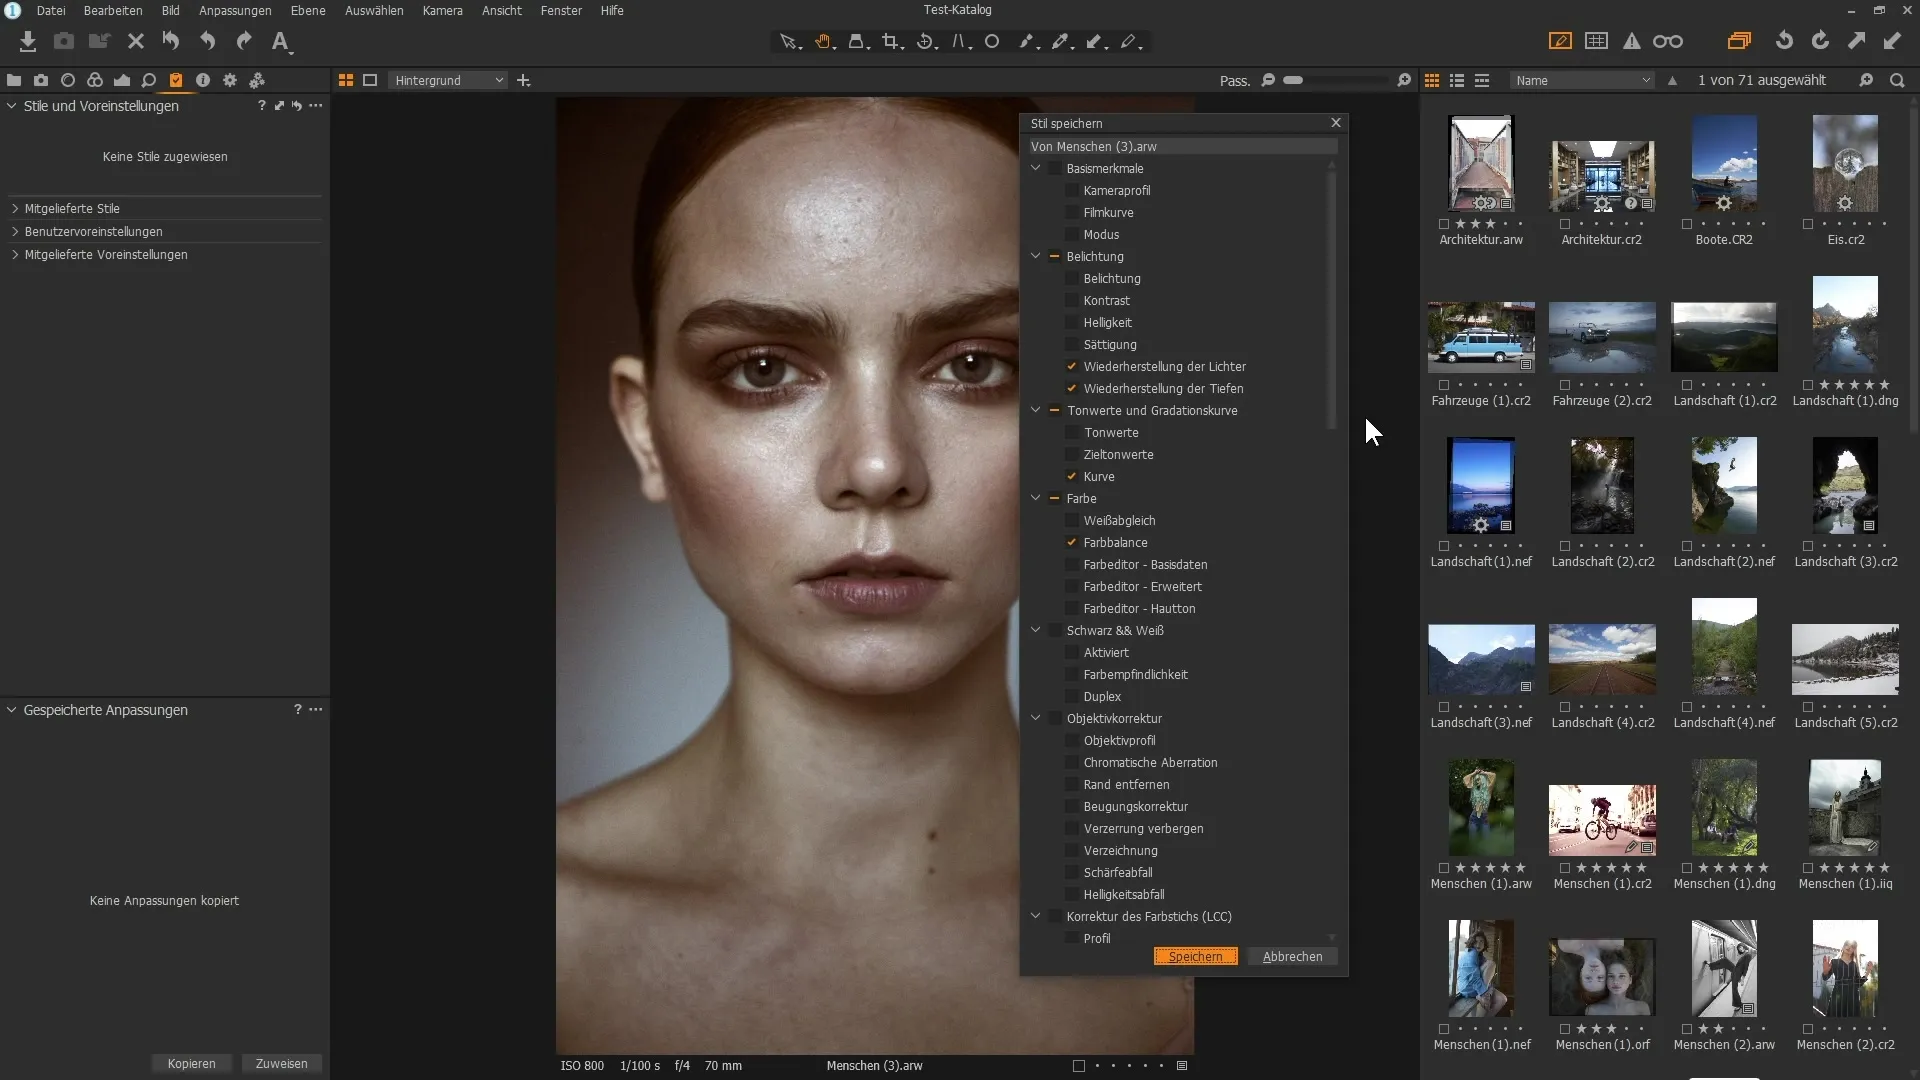
In the dialog box that opens, you will see an overview of your changes. Here, you can choose which adjustments should be included in your style. Disable settings you do not wish to apply before saving the style.
4. Name and Save Style
Give a name to your style that describes the edited image, such as "Brown Tone" or "Brown and Noise." Choose the storage location on your hard drive where you want to save the style and click Save.
5. Apply Style
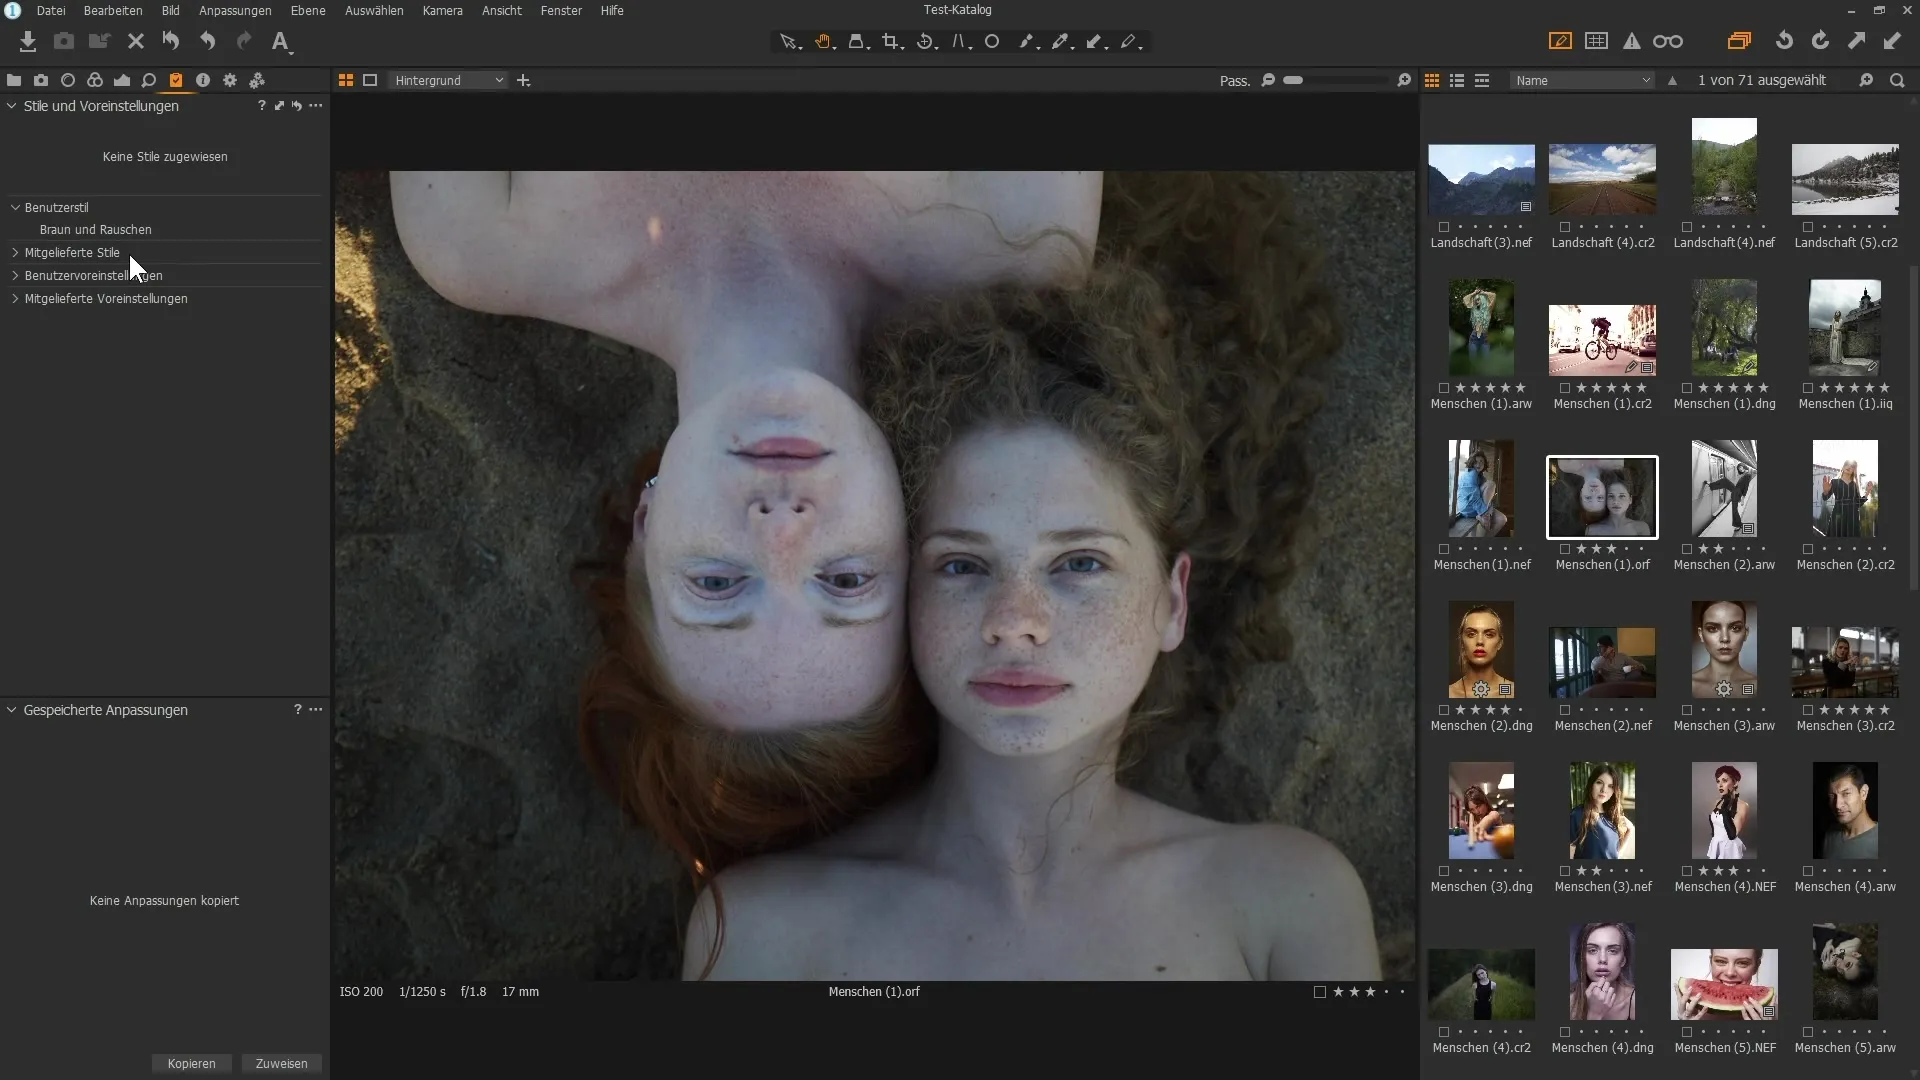
To apply your newly created style to other images, select the desired image and go back to the "Styles and Presets" section. You will see a preview of your style and can decide whether to apply it. One click is enough to apply the entire edit to your new image.
6. Adjust Style
Sometimes the style may not fit perfectly with every image. Therefore, it is important to know that you can still adjust it afterwards. Check the color balance and exposure settings to make the necessary adjustments.
7. Import Styles
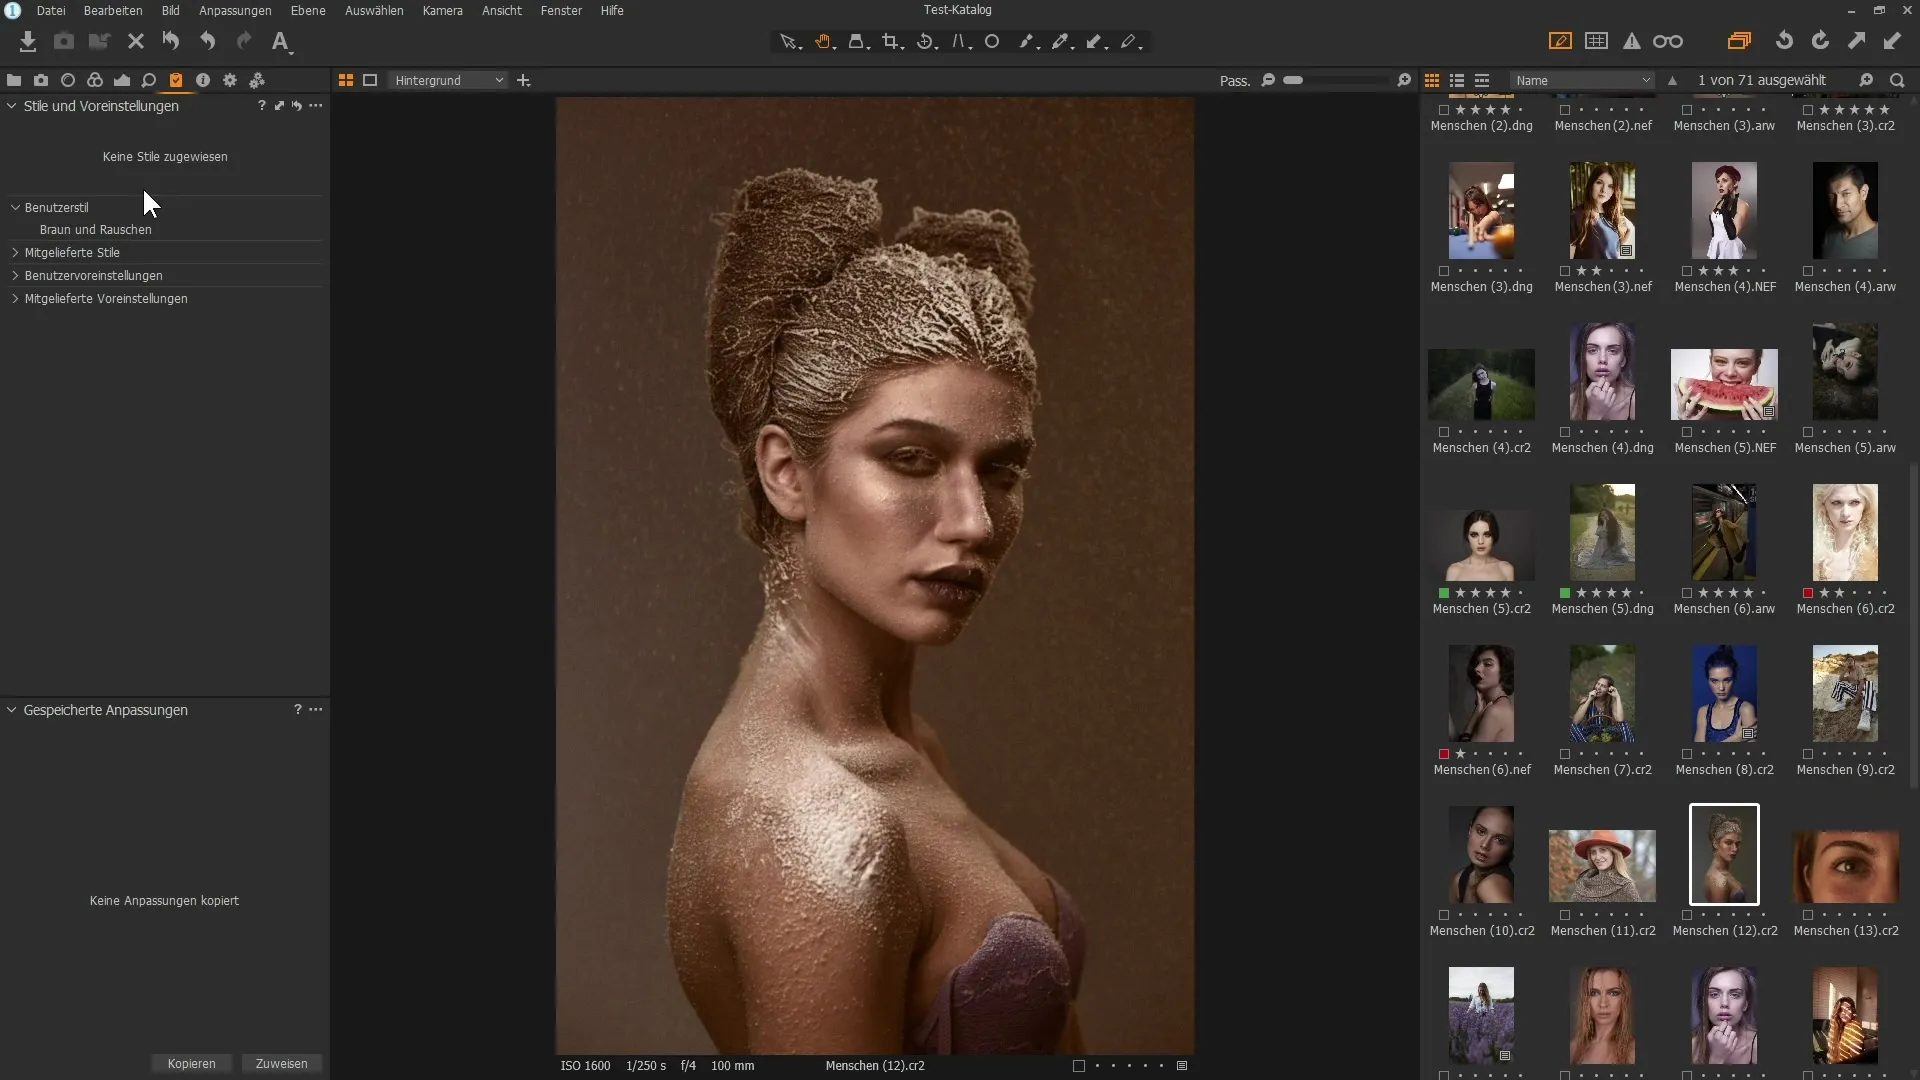
Do you want to receive styles from other users or download them from the internet? Importing styles is easy. Click on the three dots in the Styles section and select "Import Styles." Then search for the corresponding style file on your hard drive and click Open.
8. Using predefined styles
Capture One Pro also offers a selection of predefined styles that you can use. Go to the relevant section, browse through the categories offered, and find a style that you like.
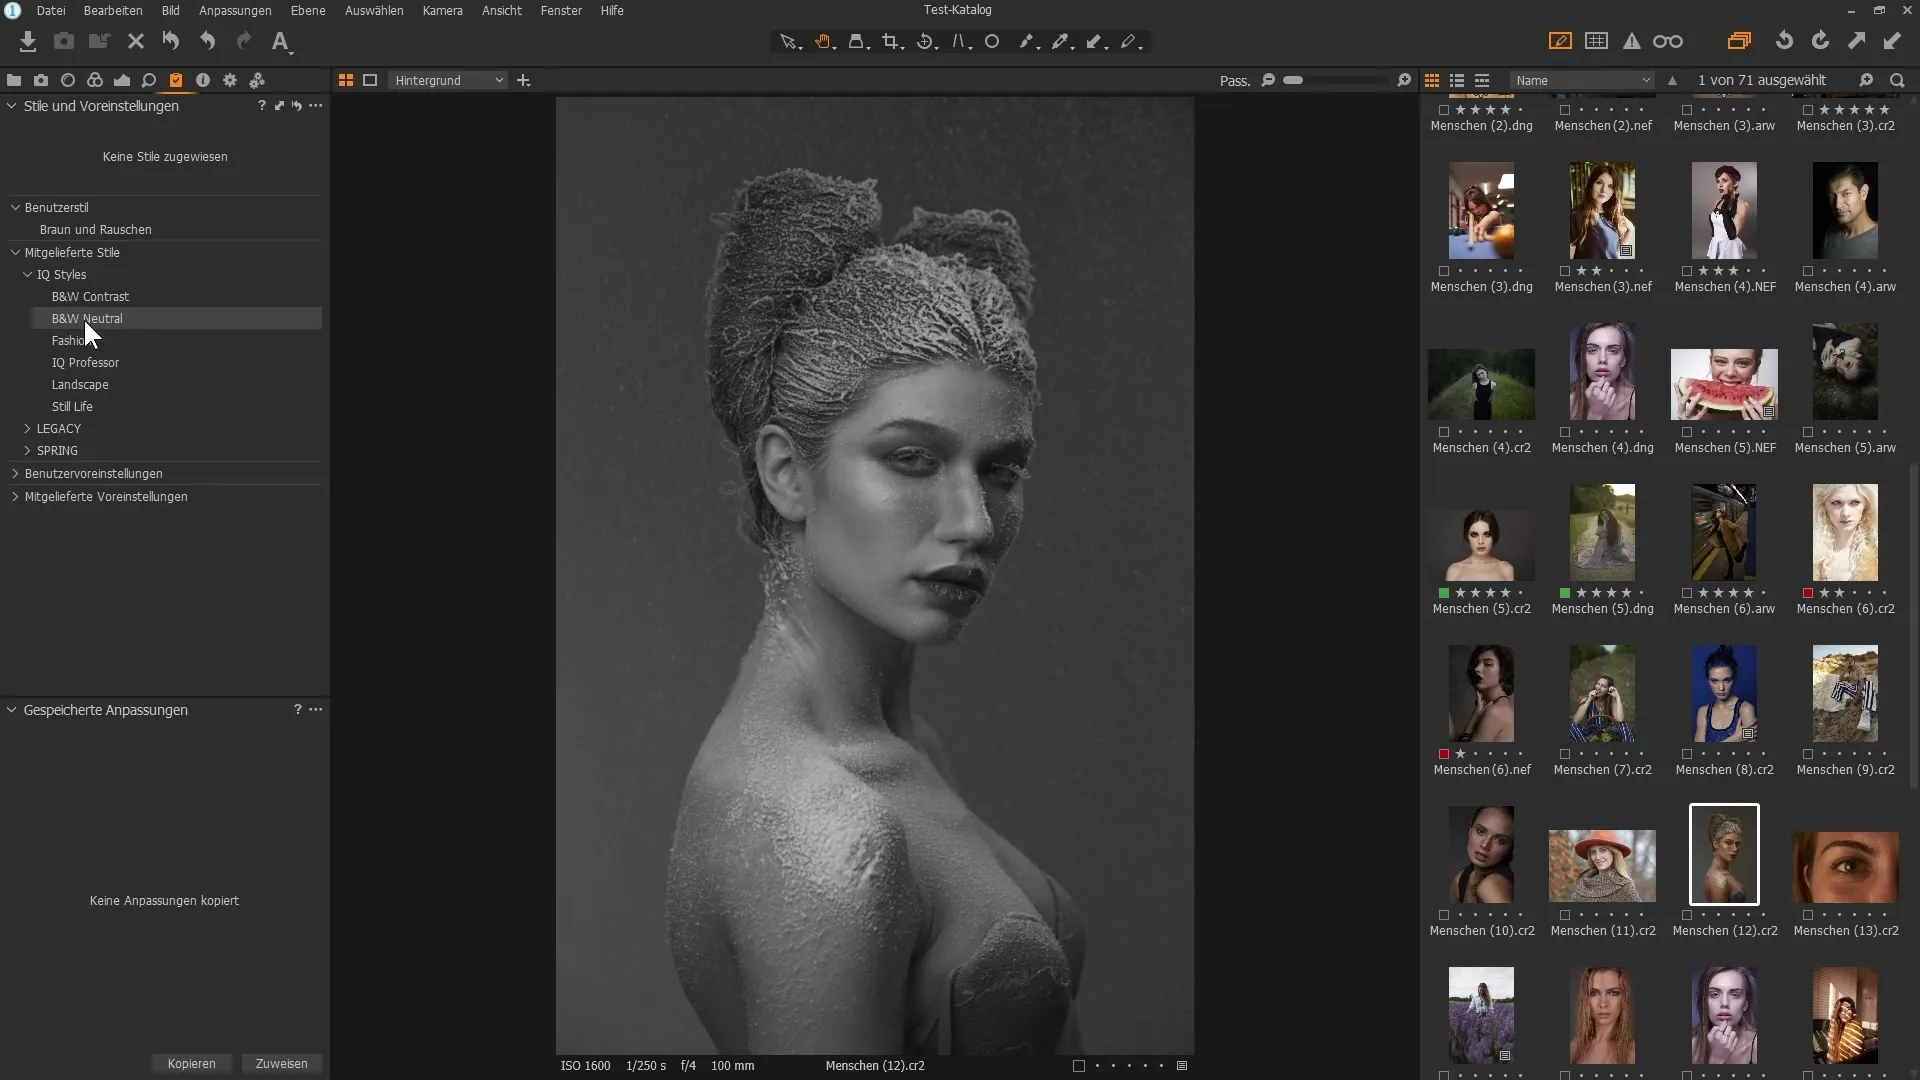
9. Deleting a style
If you no longer need a style, you can delete it at any time. Simply right-click on the style and choose "Delete."
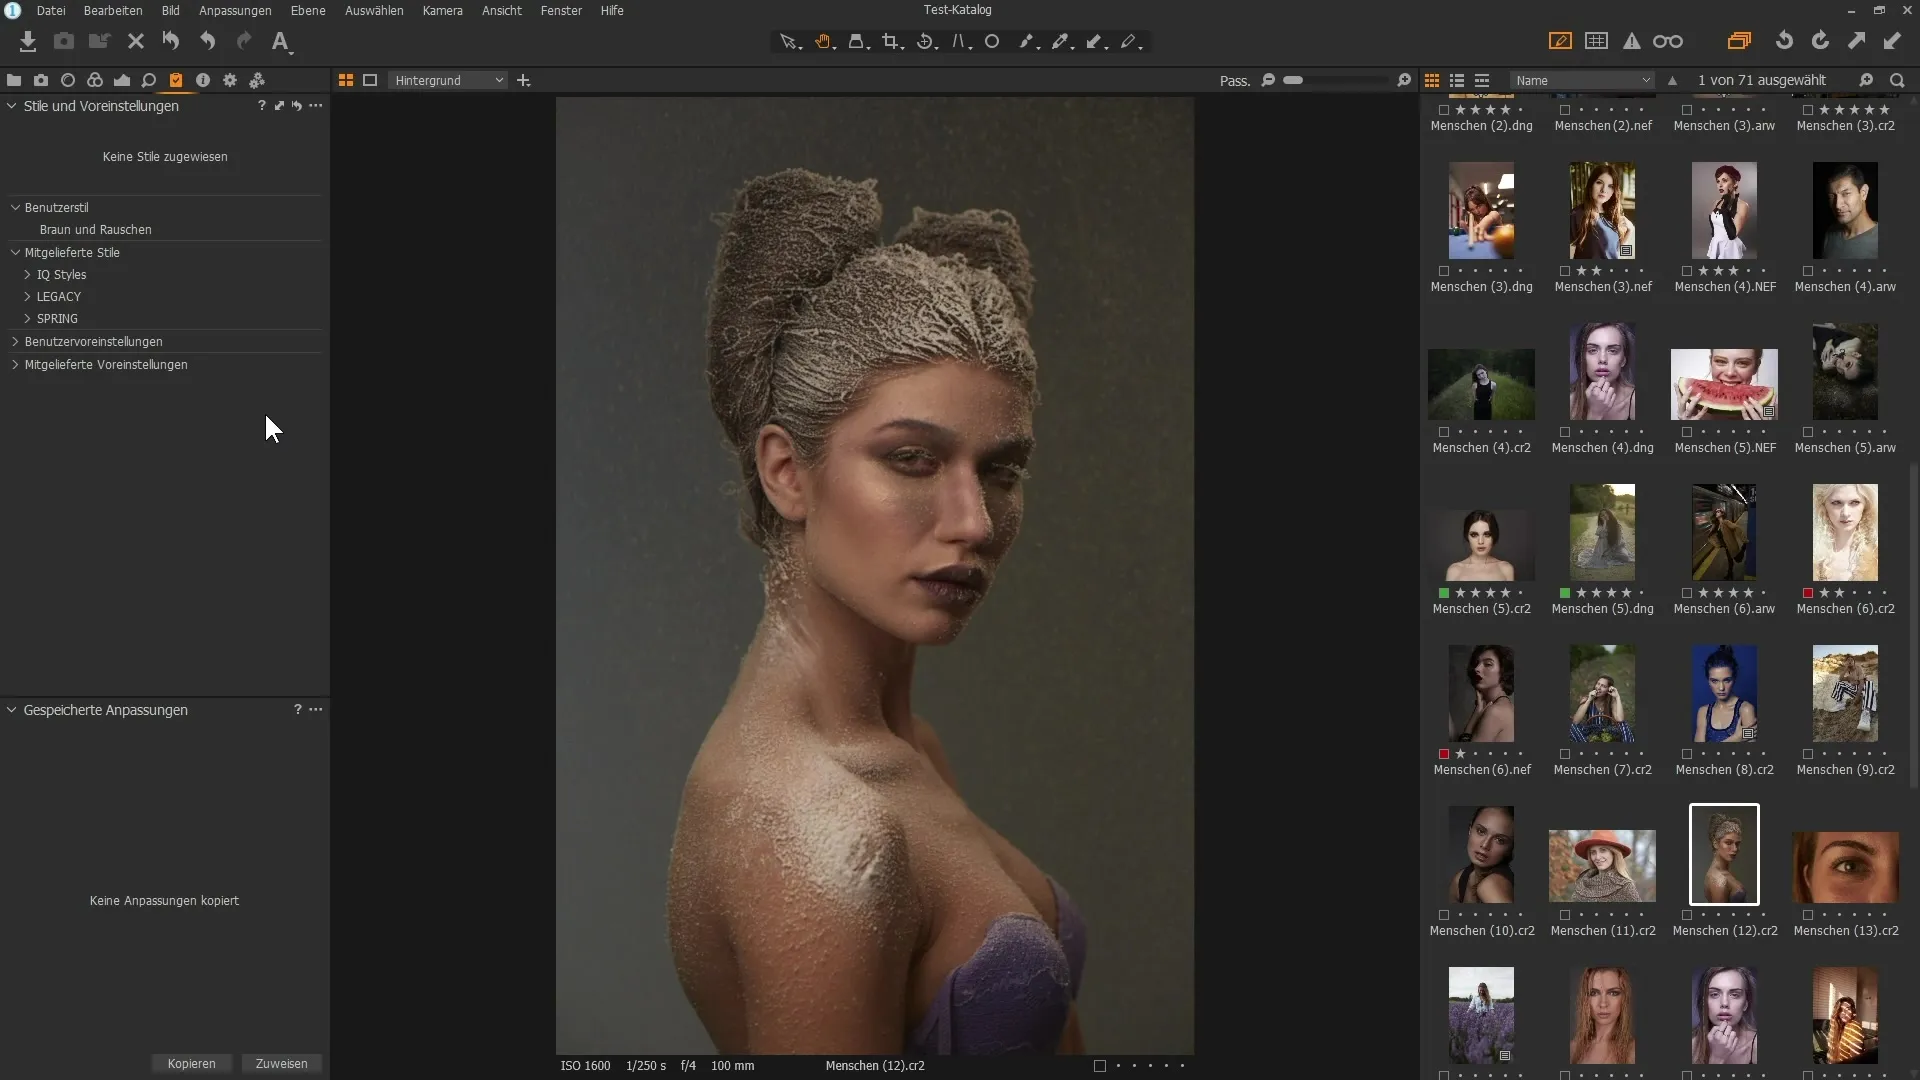
Summary
Creating and using styles in Capture One Pro is an excellent way to optimize your edits. By saving and importing your styles, you can save a lot of time while still achieving a consistent look in your images.
Frequently Asked Questions
How do I save a style in Capture One Pro?Select the image, go to "Adjustments," click on the three dots, and choose "Save User Style."
Can I use predefined styles?Yes, Capture One Pro offers a selection of predefined styles that you can apply anytime.
How do I import styles into Capture One Pro?Go to "Styles and Presets," click on the three dots, and choose "Import Styles" to select your file.
Can I customize styles after applying them?Yes, you can adjust all settings of your applied styles at any time.
How do I delete a custom style?Right-click on the style and choose "Delete."


