Editing images can often be tedious, especially when it comes to making precise cuts. With the new revision of the Cropping Tool in Capture One Pro 20, this process is significantly simplified and made more comfortable. In this guide, I'll show you how to make the best use of the revised Cropping Tool and how to benefit from the new features. Whether you are a beginner or an experienced user, these steps will help you crop your images efficiently.
Key Takeaways
- The Cropping Tool in Capture One Pro 20 has been made more user-friendly.
- Handling the handles at the corners and sides is now clearer and easier.
- You can crop the image directly without having to switch to another tool.
Step-by-Step Guide
1. Selecting the Cropping Tool
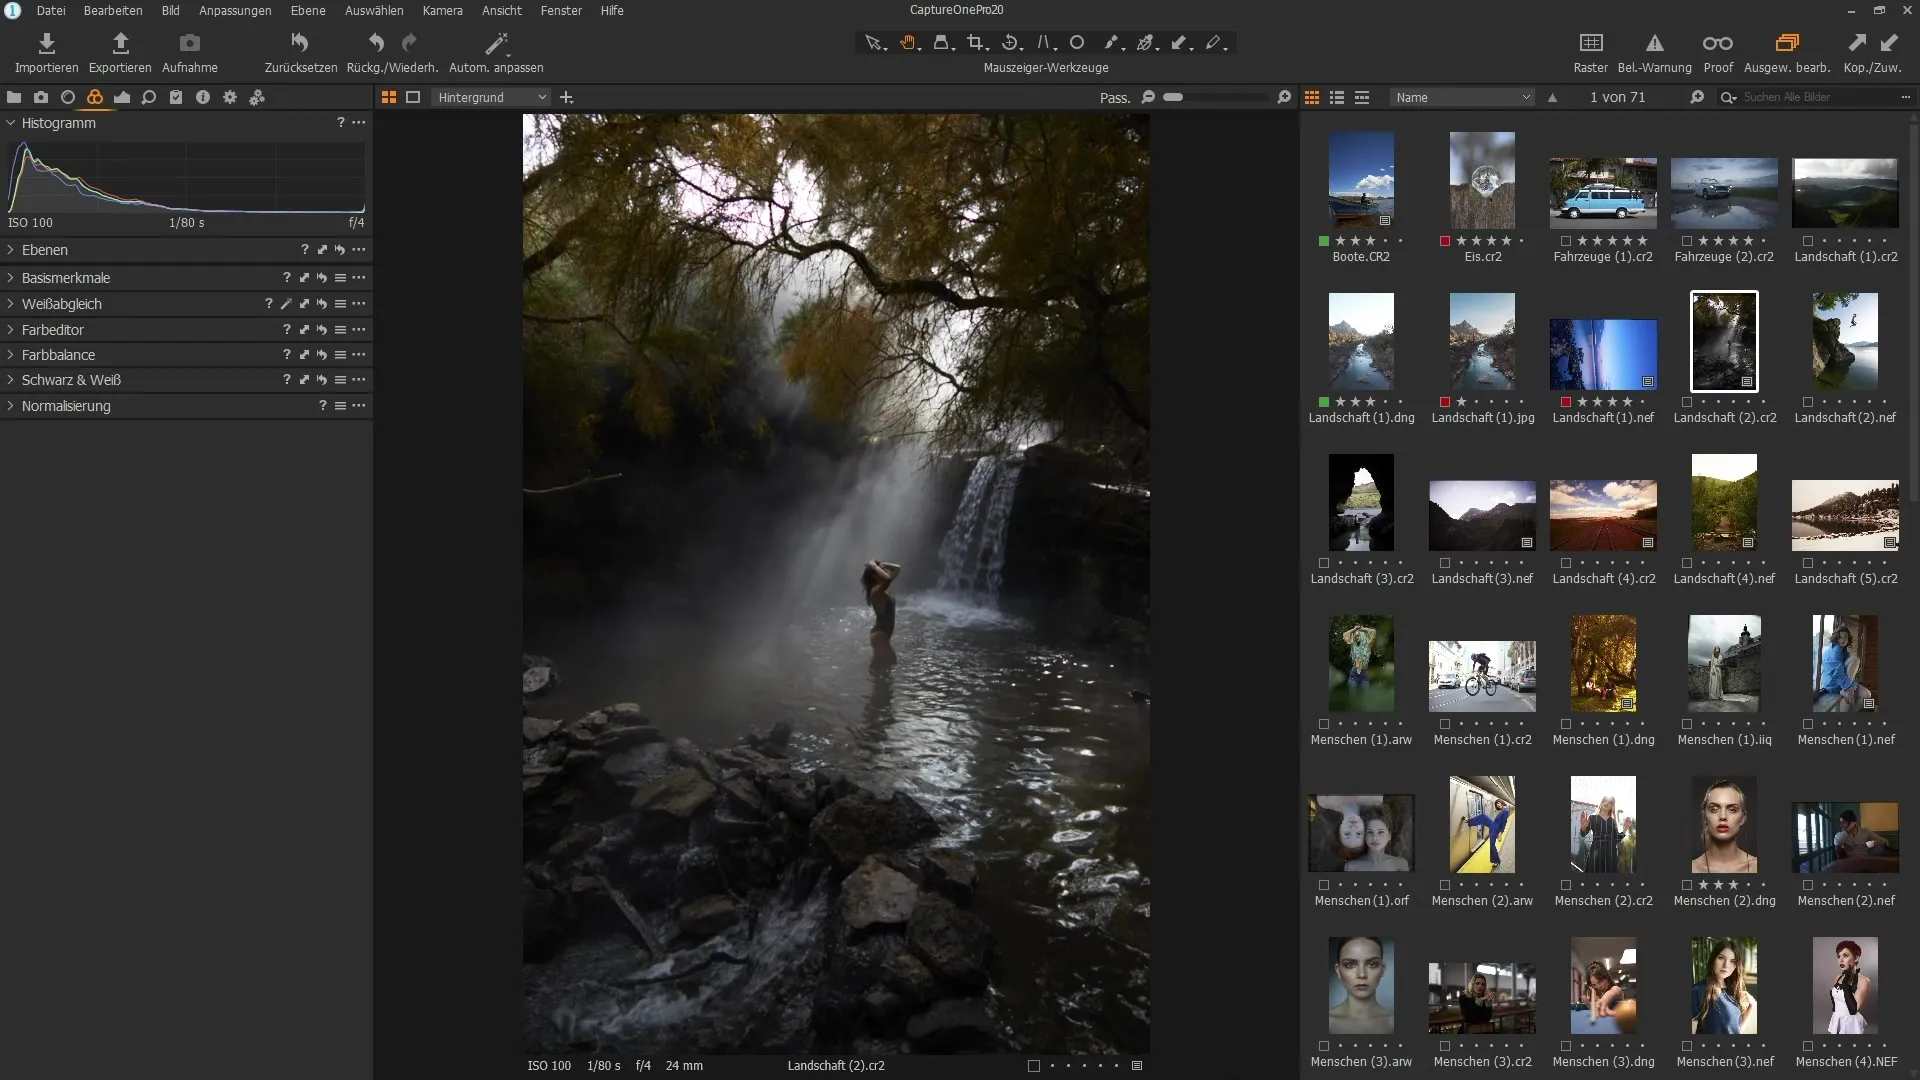
First, open Capture One Pro 20 and select an image you want to edit. Look for the Cropping Tool in the toolbar, now referred to as "Cursor Tools." Once you've selected the tool, you'll immediately see the improvements.

2. Recognizing Corners and Handles
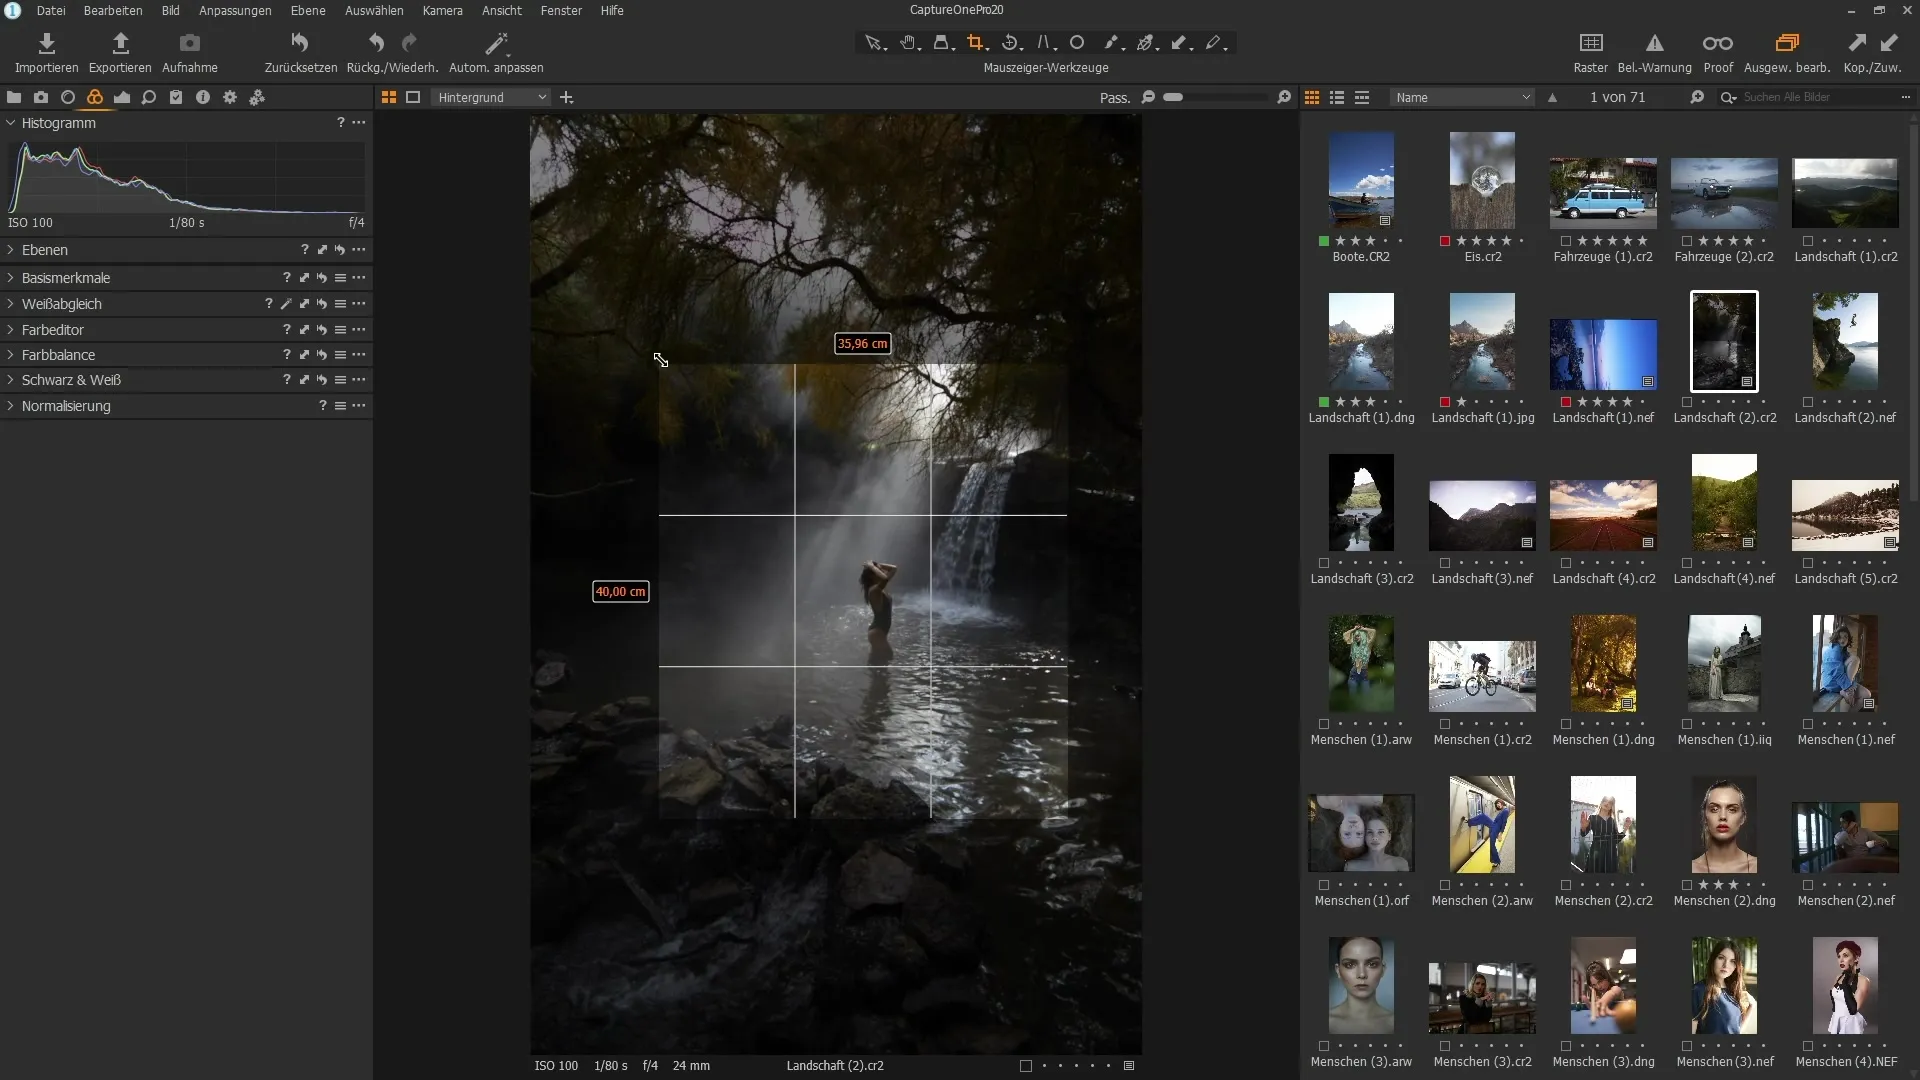
After activating the Cropping Tool, you can see that the handles at the corners and sides are now clearly displayed. This makes it much easier to grab and drag for cropping, as you can see exactly where to start.
3. Free Cropping of the Image
To crop the image, simply click and drag one of the handles. You can move and crop the image in any direction without having to consider the aspect ratio. Release the mouse button to set the new crop.
4. Moving the Image
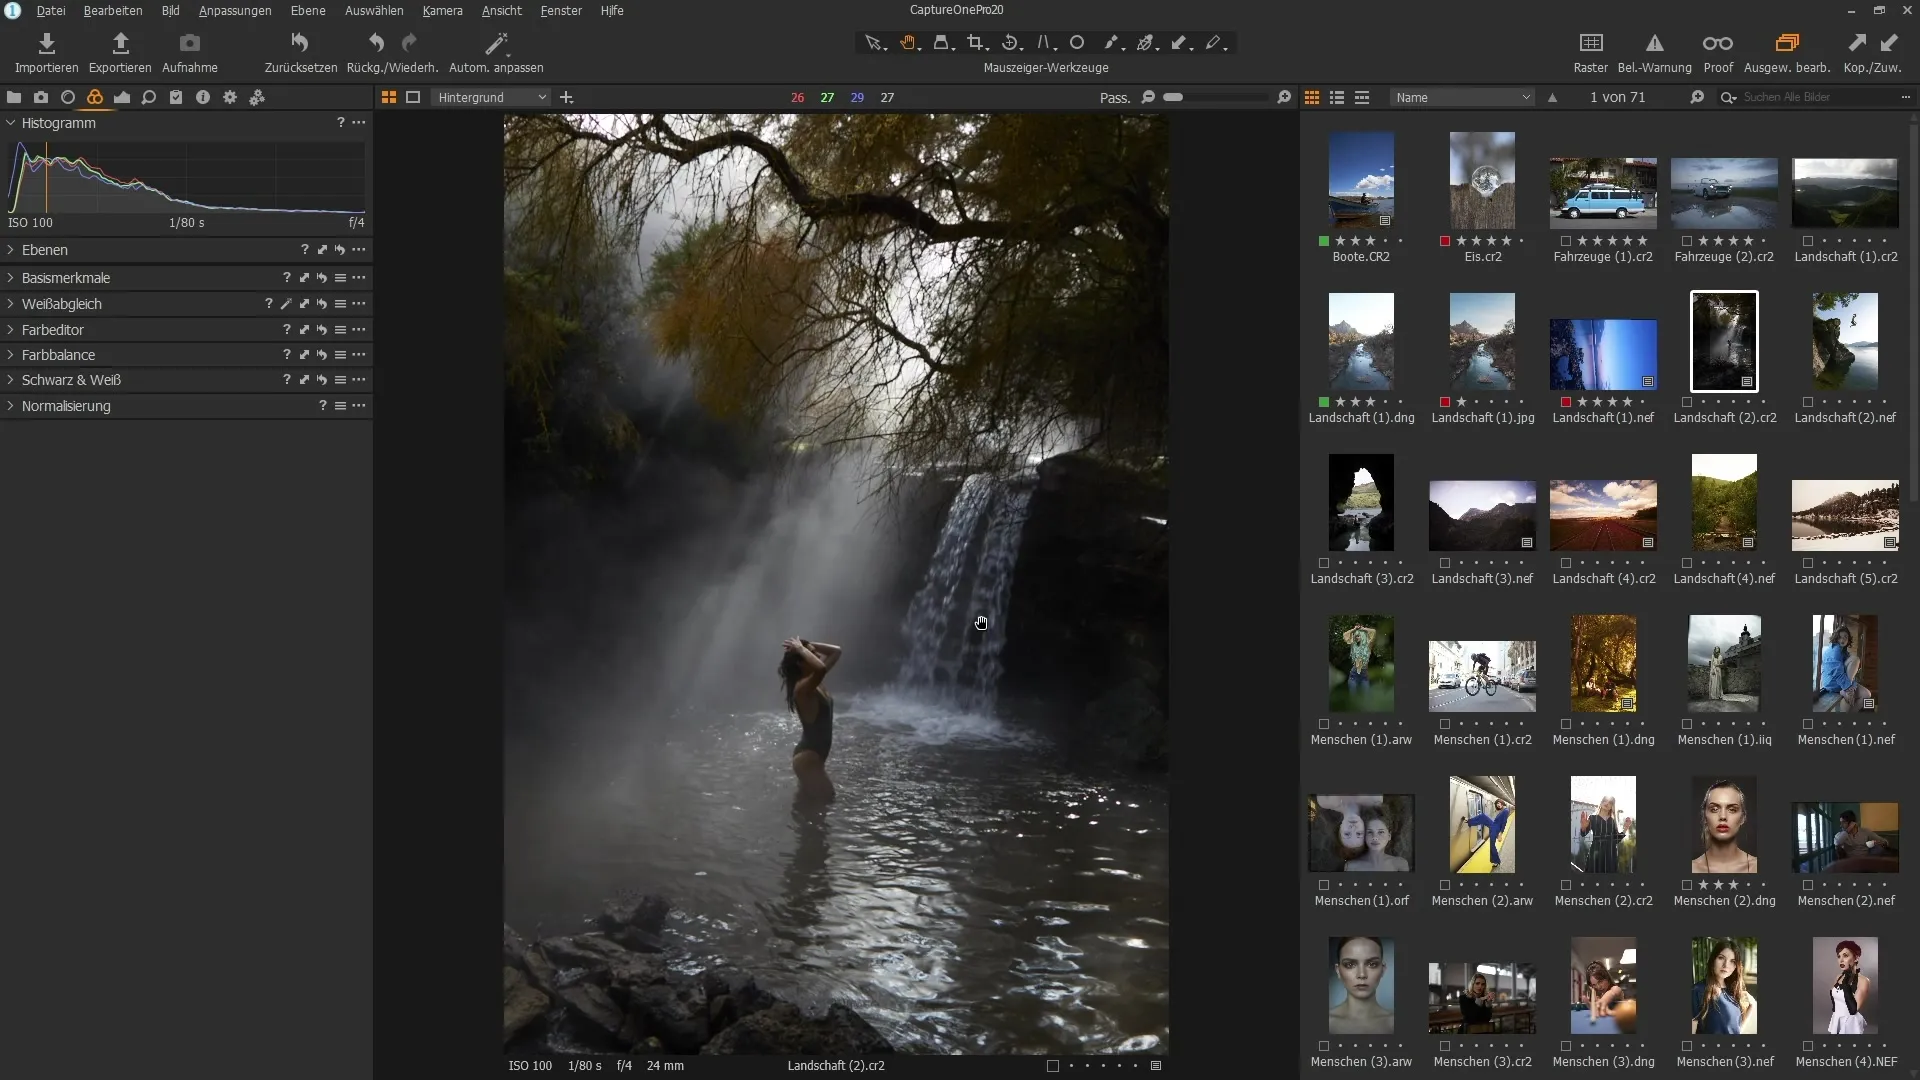
If you want to reposition the image within the crop area, move the cursor into the image area. A crosshair will appear, allowing you to drag the image to the desired position. This way, you can adjust the focus of your crop precisely.

5. Cropping with Aspect Ratio
If you want to maintain the aspect ratio of the image, hold down the Shift key while dragging. Cropping will now be proportional, meaning that the dimensions of the original image will be respected.
6. Cropping from the Center
If you want to control the crop from the center of the image, also hold down the ALT key. This will move the handle from the center of the image, allowing you to adjust the crop without deviating from the original image center.
7. Final Confirmation of the Crop
To finalize the crop, simply press the Enter key. Previously, it was necessary to switch tools to confirm the crop, but now this can be done with a simple key press.

8. Rotating the Image
Another useful improvement is the ability to rotate the image directly after cropping. Move the cursor outside the selection, and the cursor will change. Click and drag to rotate the content of the crop to the desired position.
9. Final Image Cropping
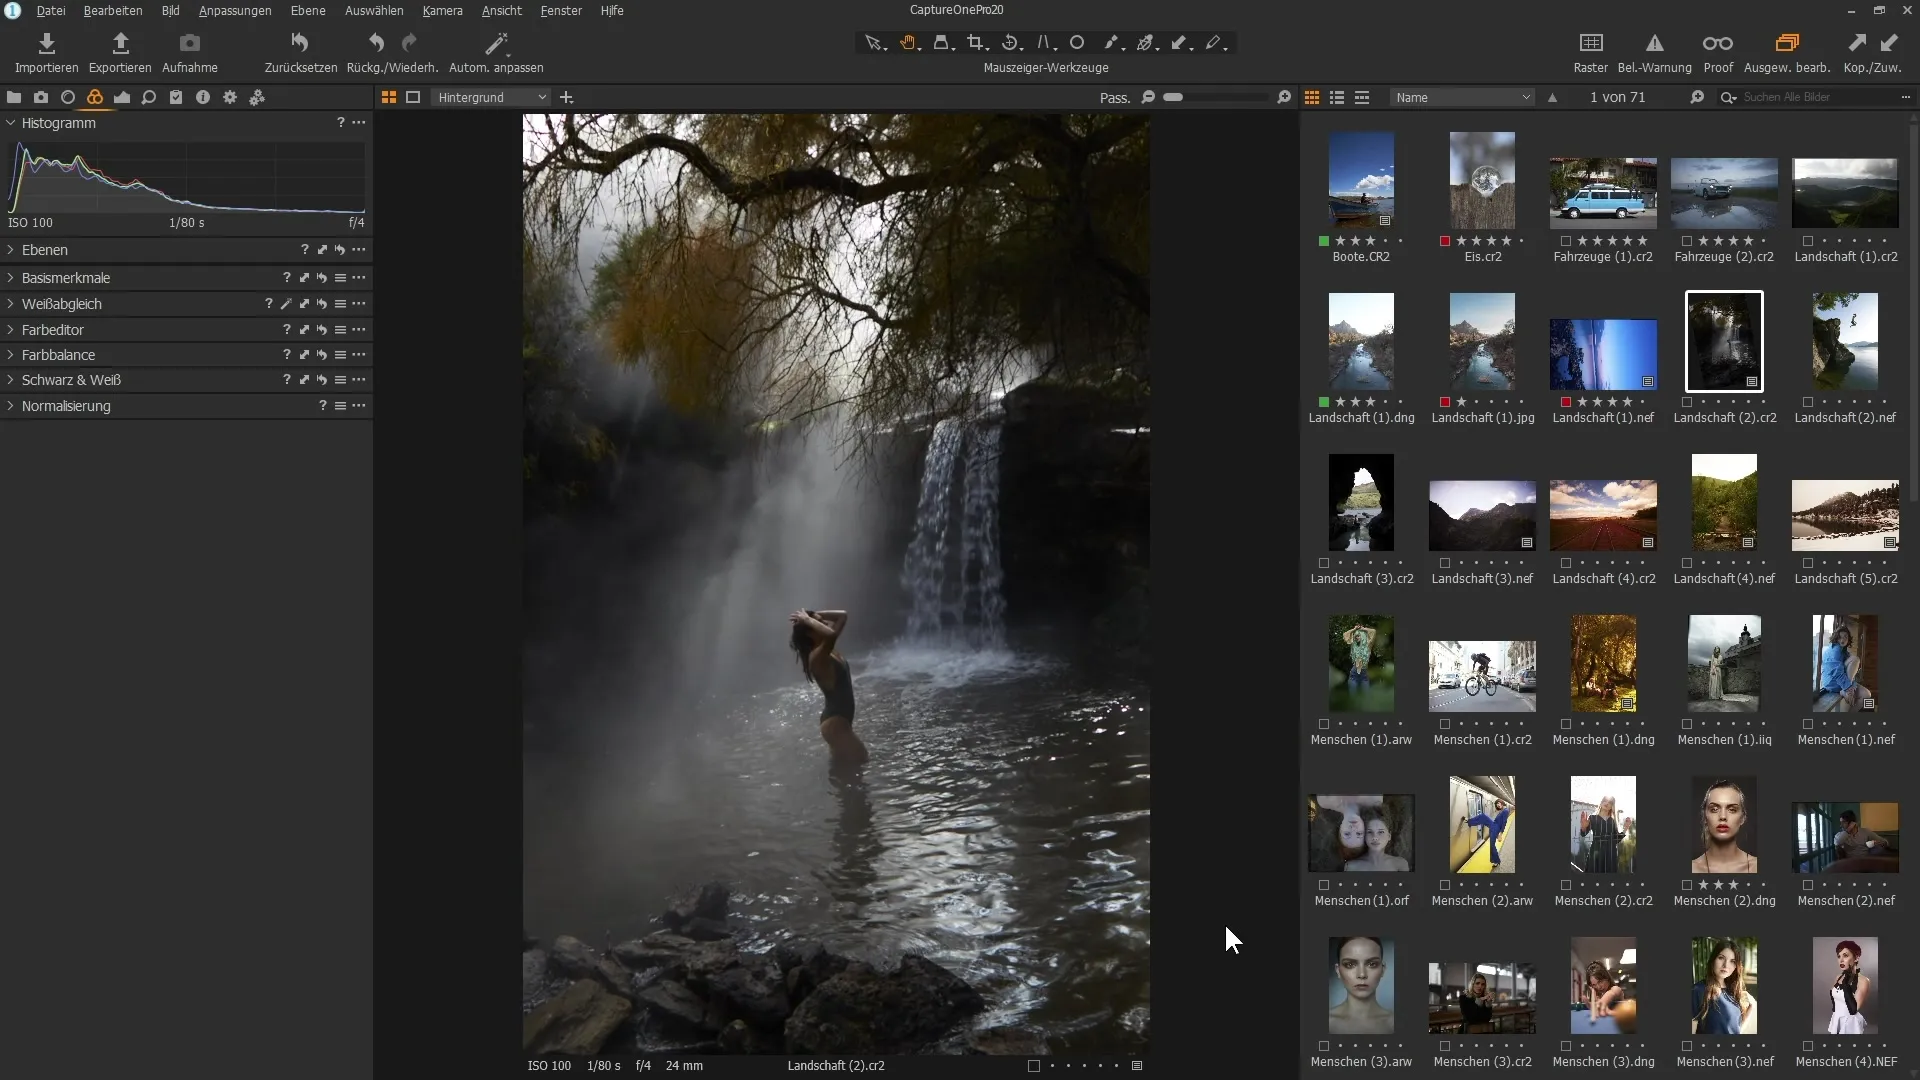
Once you have made your crop and image rotation, confirm again with the Enter key. Your image is now edited and cropped.

Summary
The improvements made to the Cropping Tool in Capture One Pro 20 make image editing more efficient and intuitive. You can use the tool more freely without having to switch between different functions. The pleasant handling of the handles, the ability to crop directly from the center, and rotate the image give you more control over your image composition.
Frequently Asked Questions
How do I activate the Cropping Tool in Capture One Pro 20?You can find it in the toolbar, now referred to as "Cursor Tools."
Can I maintain the aspect ratio while cropping?Yes, hold down the Shift key while dragging the handle to maintain the aspect ratio.
How can I move the image within the crop?Move the cursor into the image area until the crosshair appears, and drag the image to the desired position.
Do I need to switch tools to confirm the crop after cropping?No, you can simply press the Enter key to confirm the crop.
Can I also rotate the image crop?Yes, once you have made the crop, you can rotate the image by clicking and dragging outside the selection.

