The vignetting is a versatile technique that directs focus to the essential elements and gives depth and mood to your images. With Photoshop, there are numerous ways to create a vignette – from classic, subtle effects to dramatic and creative variations. In this tutorial, I will show you six different approaches to find the perfect vignette look for your photos or designs. Let's get started and add more atmosphere to your images!
Variant 1 - Vignetting using a fill method
Step 1:
First, I open my photo and create a radial gradient from white to black on a new layer. I draw it from the center of the image. Then I change the fill method in the Layers panel to Multiply.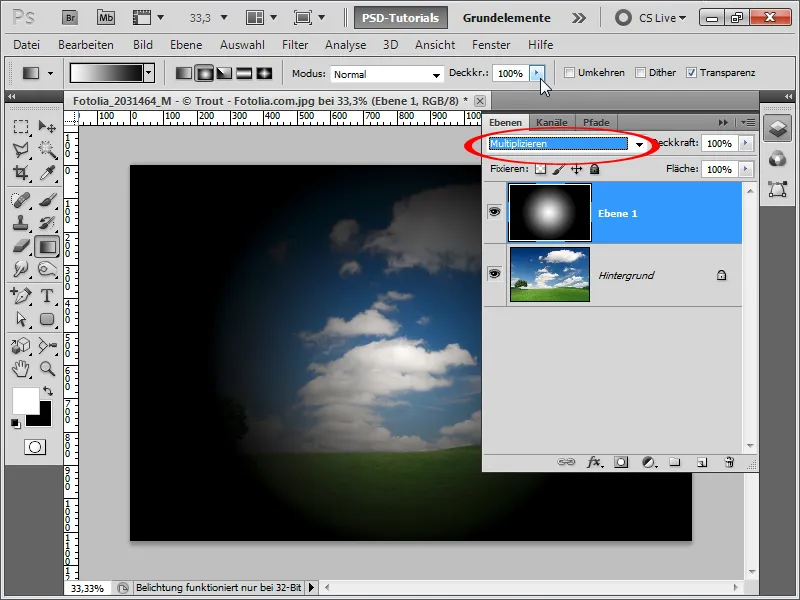
Step 2:
If I extend the gradient beyond the image, the vignette is not as pronounced.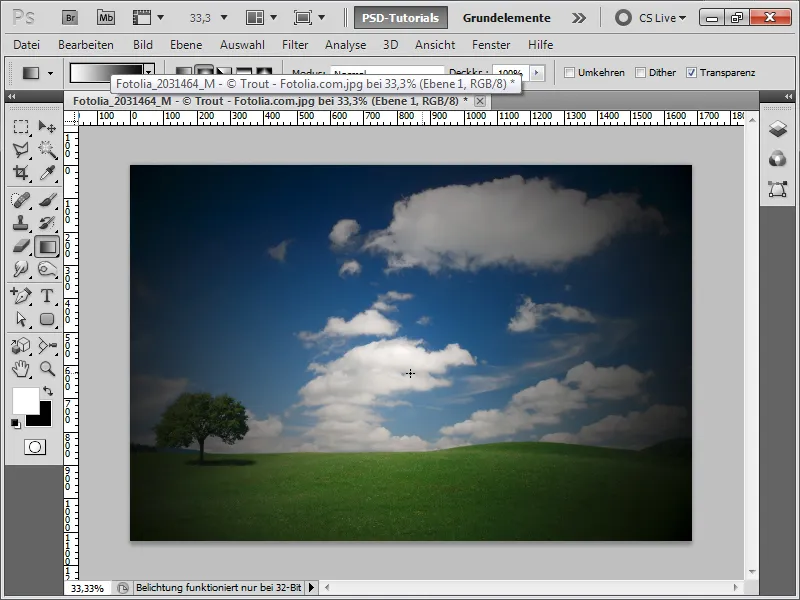
Step 3:
By adding more white to the gradient, the vignette becomes even better. Tip: The opacity of the layer can also be reduced so that the edges are not so dark, or instead of a white-black gradient, a white-gray gradient can be used.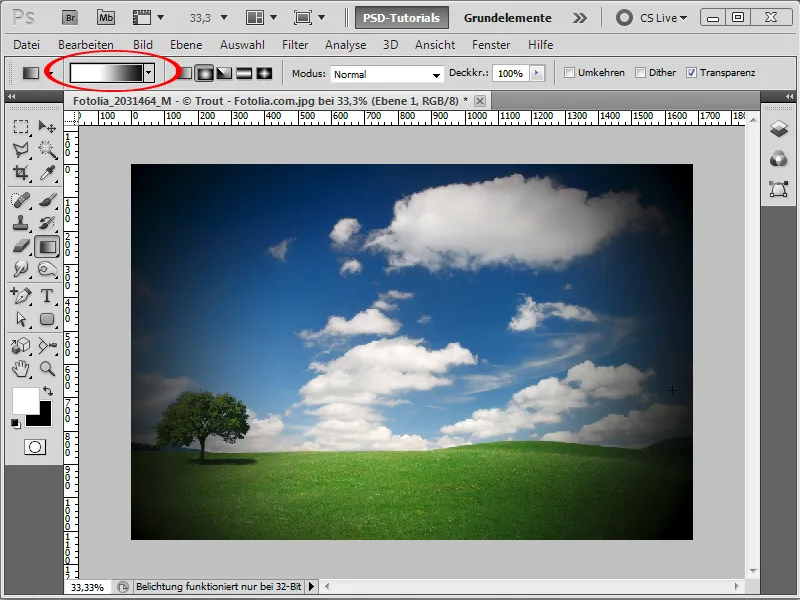
Step 4:
Here is the result with 80% opacity.
Variant 2 - Vignetting using lens correction
Step 1:
First, I open my photo and convert my layer to a Smart Object by right-clicking on the background layer in the Layers panel. Then I click on Menu>Filter>Lens Correction.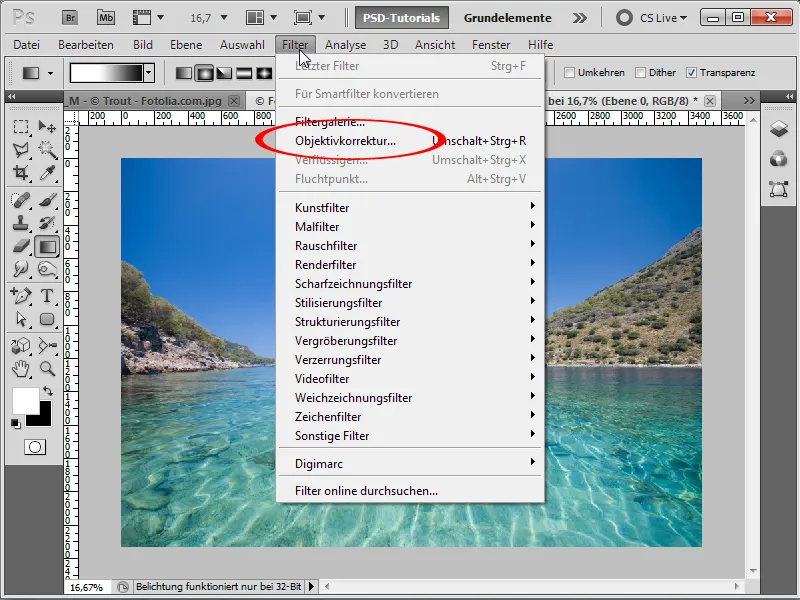
Step 2:
Now, I click on the tab called Custom and can adjust the vignette strength and midpoint in the center to the left to increase the visible vignette.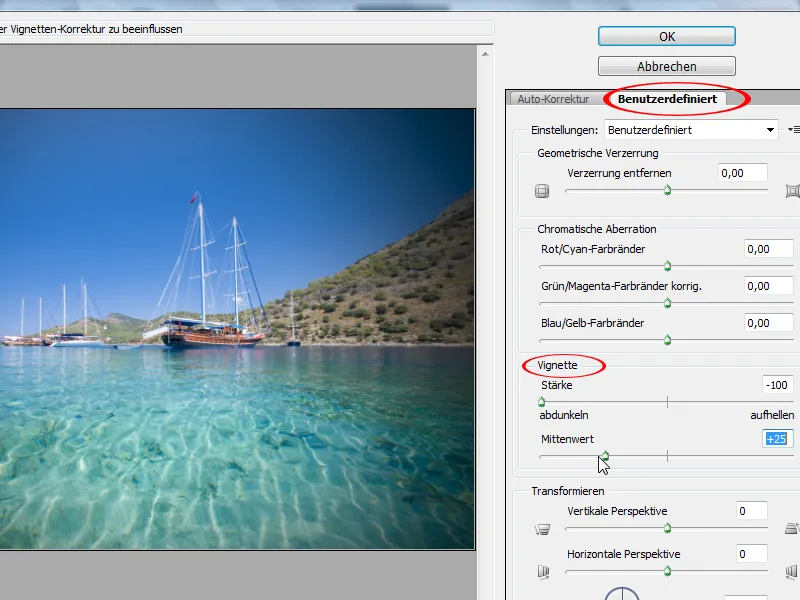
Step 3:
The result looks like this (the advantage of using a Smart Object is that I can change the settings at any time):
Variant 3 - Vignetting using Camera Raw
Step 1:
First, I open my photo from Bridge and right-click to select Open in Camera Raw.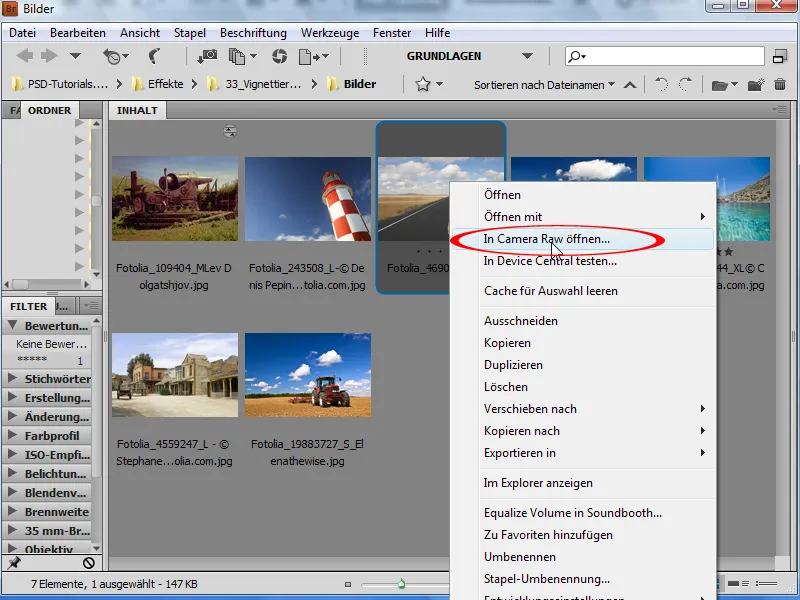
Step 2:
Now, in the Lens Corrections tab, at the bottom, I can adjust the vignette under Lens Vignetting. The further both sliders are dragged to the left, the stronger the vignette effect.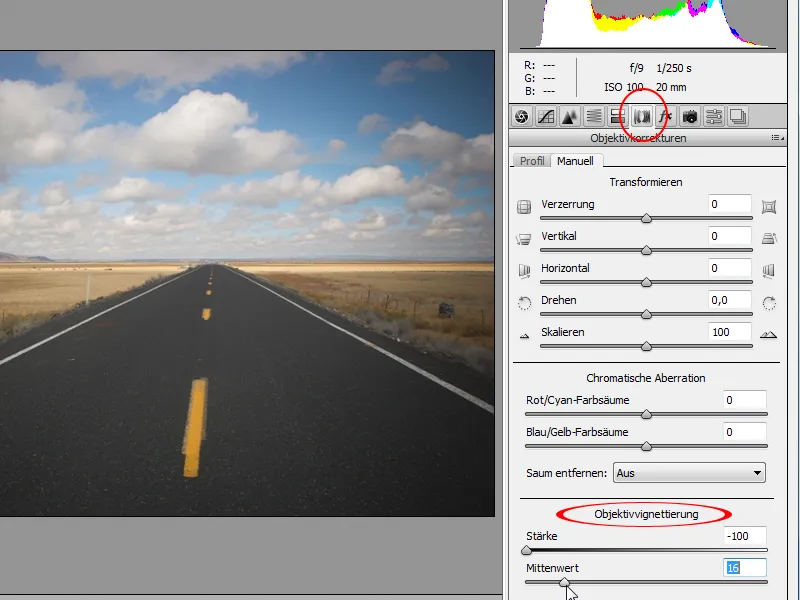
Step 3:
If I want to open the image as a Smart Object now, I hold the Shift key and Open Image changes to Open Object.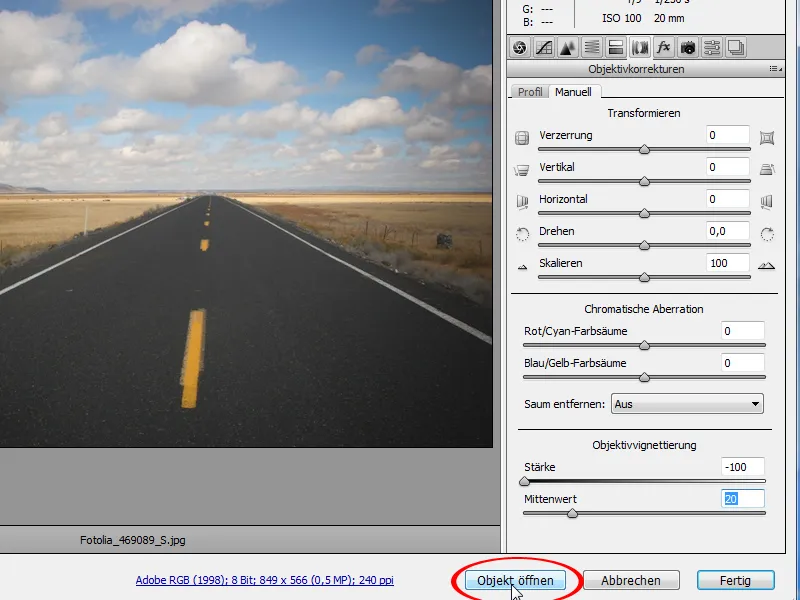
Step 4:
The final image looks like this:
Variant 4 - Vignetting using the Lighting Effects filter
Step 1:
First, I open my photo and convert it to a Smart Object.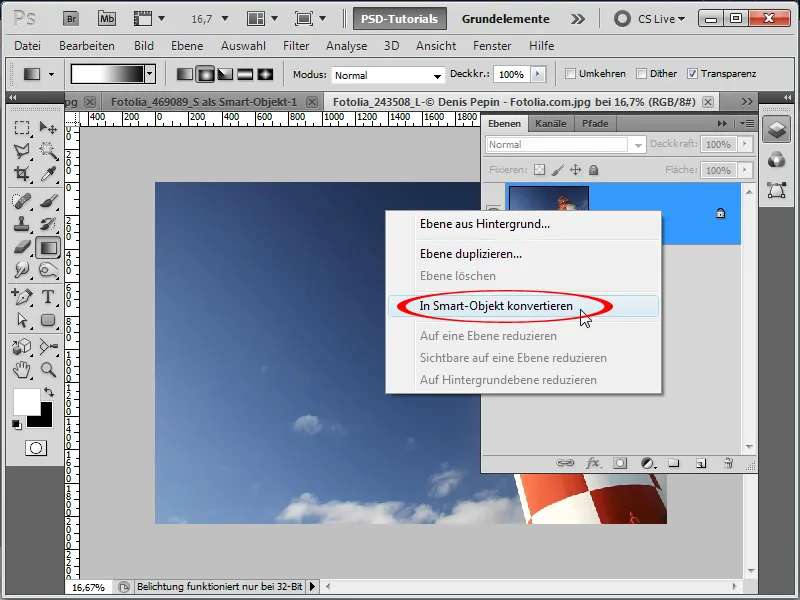
Step 2:
Here I can, for example, adjust the Spotlight like this: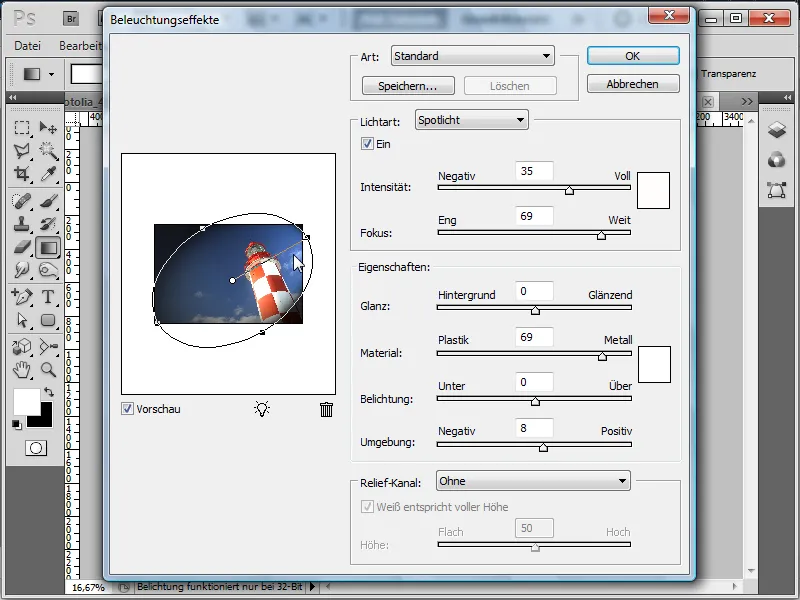
Step 3:
The result looks like this: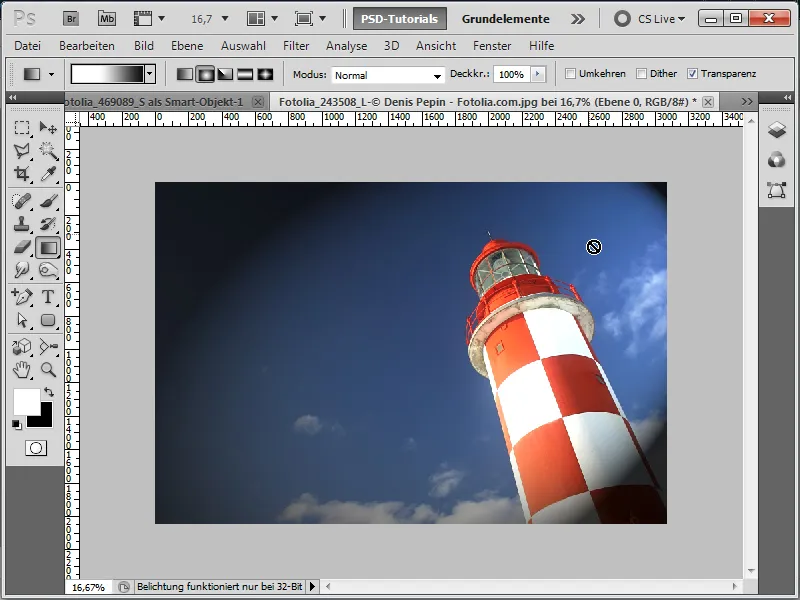
Step 4:
If I only want vignetting at the edge, then I adjust my light as follows: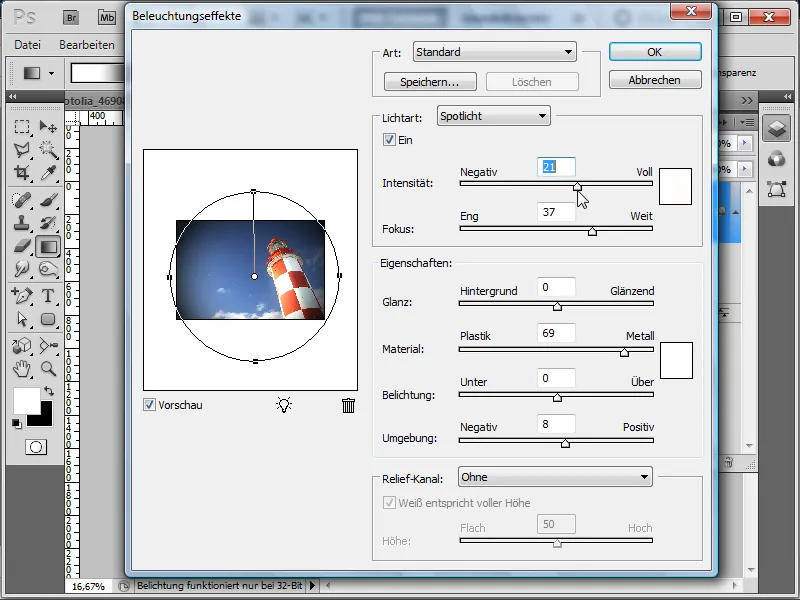
Step 5:
The result looks like this for me:
Variant 5 - Vignetting using fill options
Step 1:
First, I open my photo and convert the background layer to a normal layer by double-clicking in the Layers panel. Then, I right-click on the Fill options with the right mouse button. Here, I activate the Inner Glow and choose 250 px. Unfortunately, this value cannot be increased further. The Opacity can also be reduced at any time. I leave it at 75%.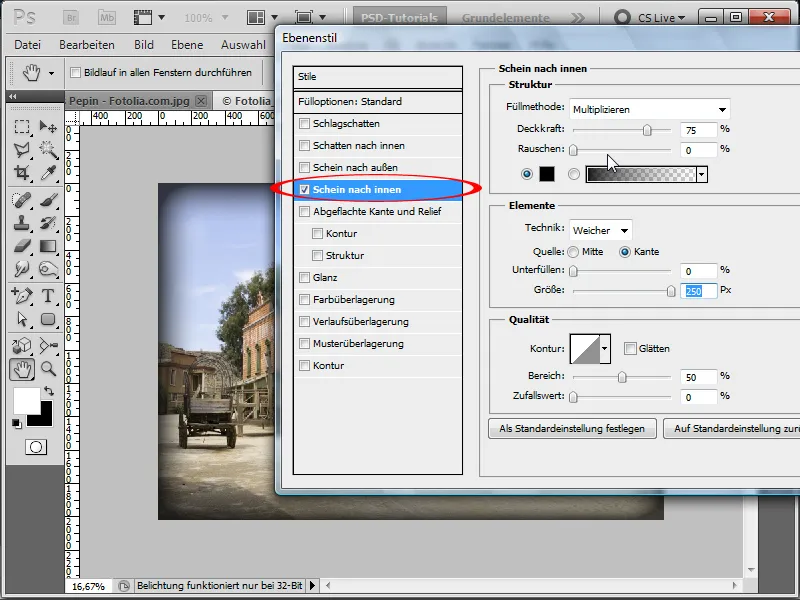
Step 2:
For a photo of 800x600 pixels, the result looks really good; unfortunately, for higher resolution photos, it does not look as good anymore.
Variant 6 - Vignetting using adjustment layers
Step 1:
First, I open my photo and add a Levels Adjustment as an Adjustment Layer.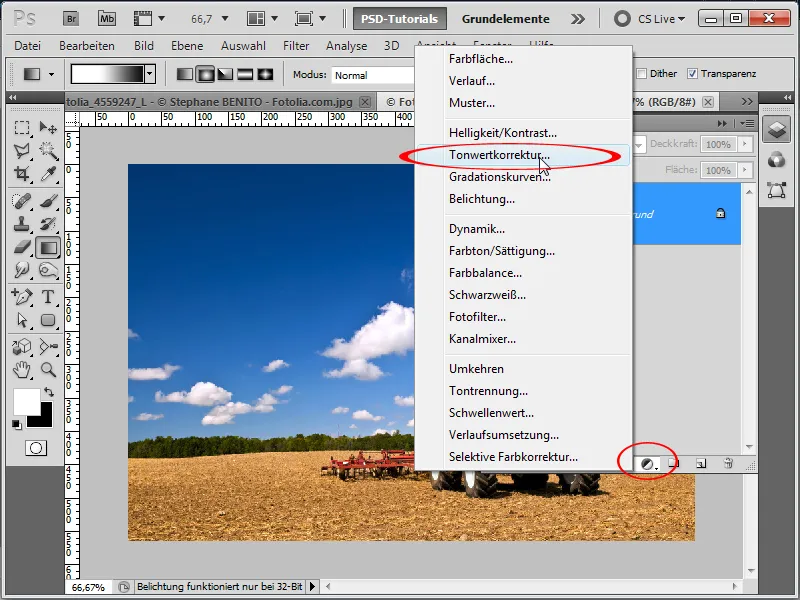
Step 2:
With these two sliders, I can darken the image.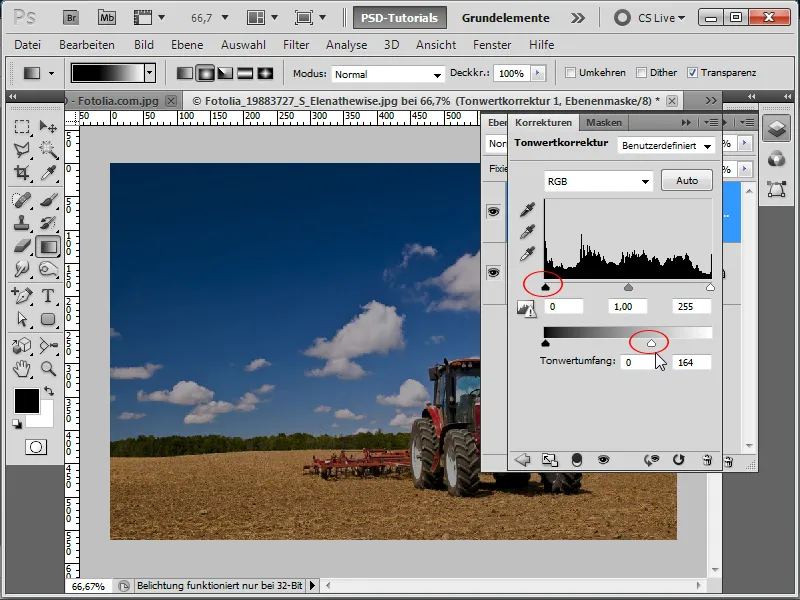
Step 3:
In the mask of the Levels Adjustment, I paint once with a black brush that is very soft and large. Then, I can transform this point with Ctrl+T and create the light in a size that I find suitable.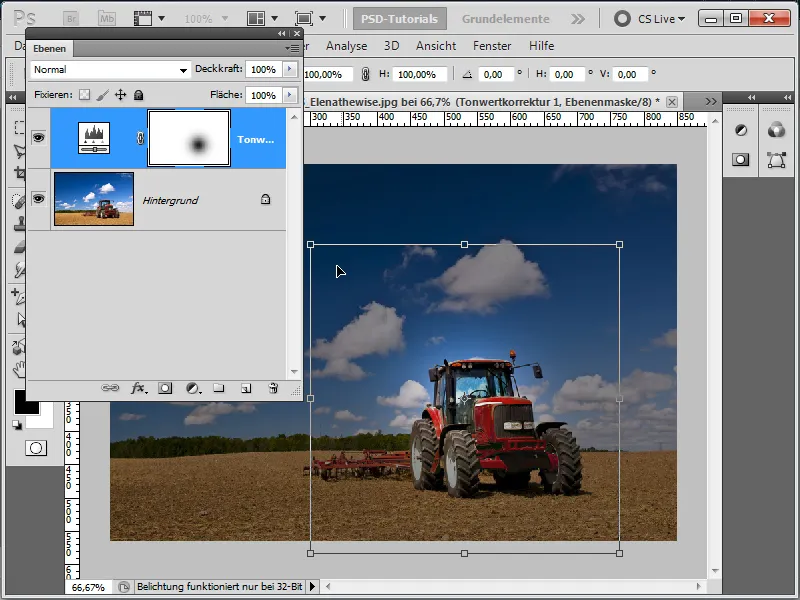
Step 4:
For example, I can set the colors in the Levels Adjustment very dark and only make my tractor appear bright.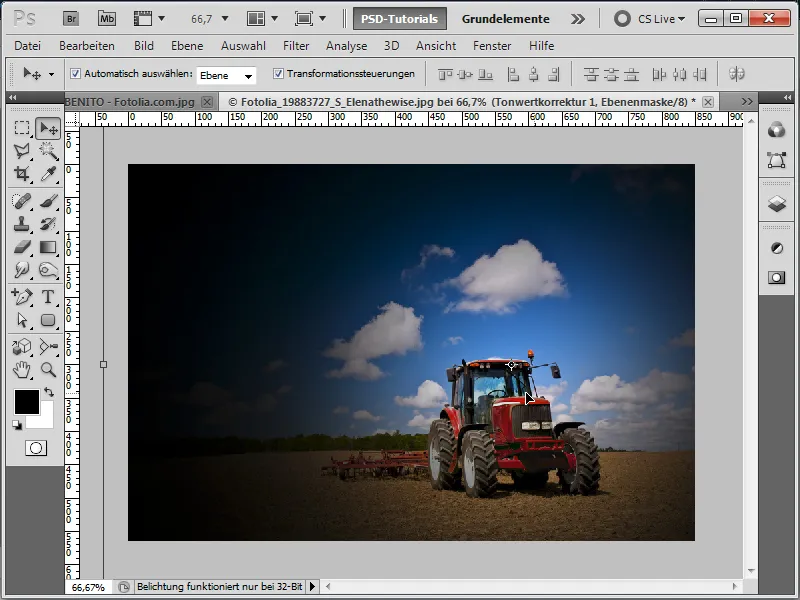
Step 5:
To better move the light spot, I release the connection with the Layer Mask by clicking once on the chain icon to hide it.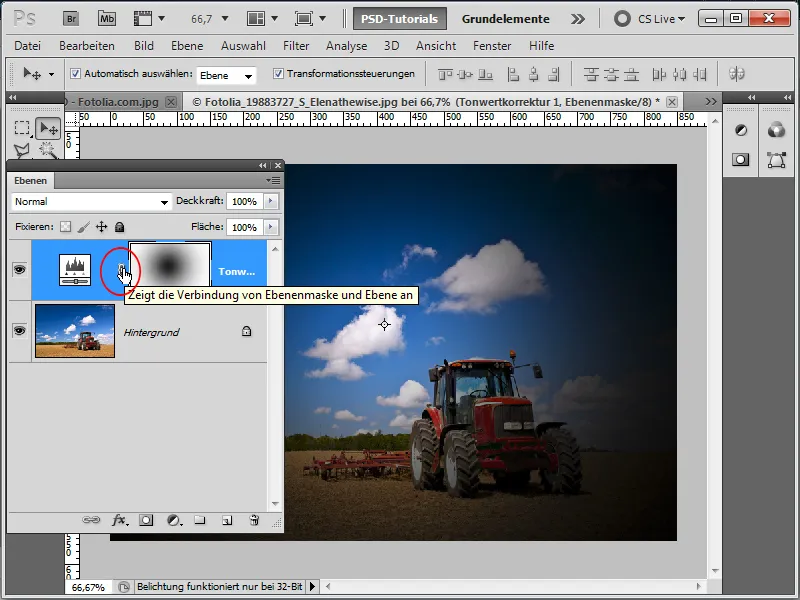
Step 6:
My result looks like this if I don't darken the levels too much:
Step 7:
If I don't want the corners of the shadow to be so rounded, I can also use a square brush (if it is not available, simply load the square brushes in the small arrow of the Brush dialog).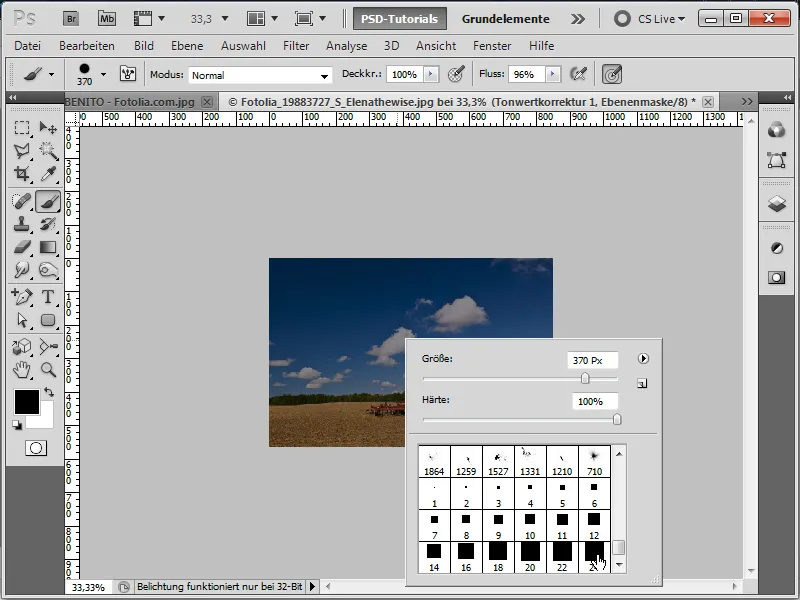
Step 8:
Now, I paint once with white color and a very large tip into the mask, then bring up the Masks panel and slide the Feather slider pretty far to the right until I like the softness.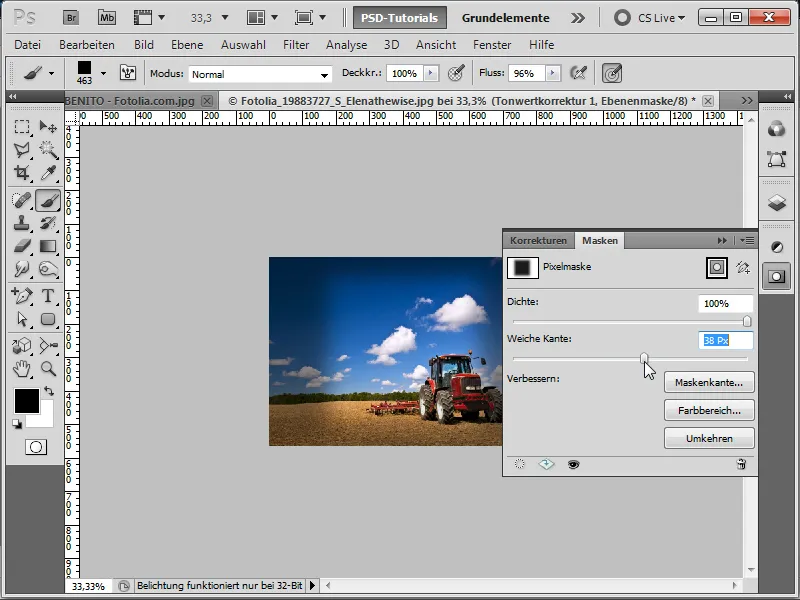
Step 9:
Here too, I can transform the light with Ctrl+T as I wish.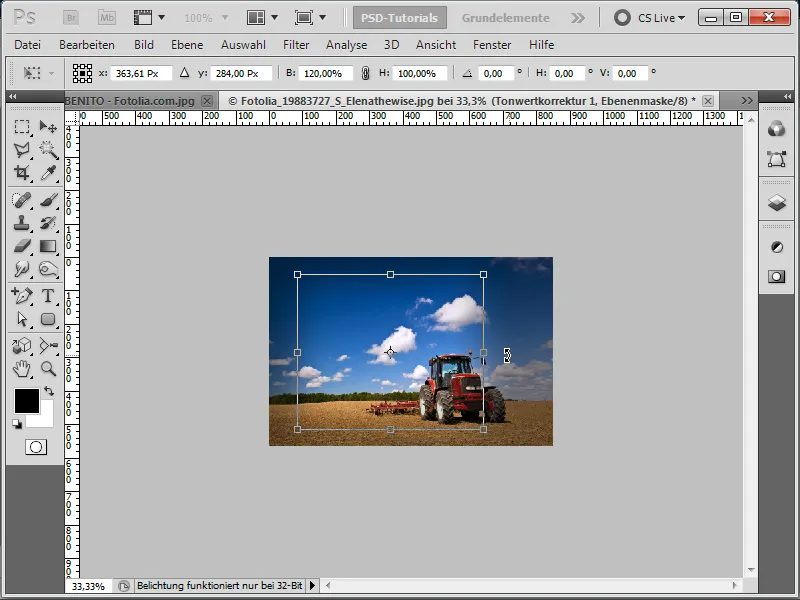
Step 10:
The result looks like this:


