Dear all, in my tutorial on initials I have already shown that there is a way to create your own character as an initial.
In that tutorial, I said that I would show you how to create the logo as a character in a separate tutorial. And this is it: this time I'm using a different example.
I have a continuous text with 4 lines that are to be listed with a bullet point. And I simply select that ...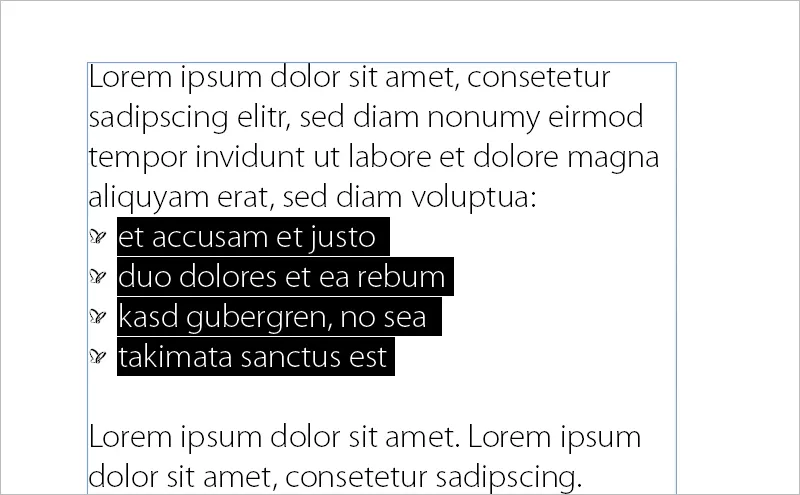
... and I already have a bullet point in the form of our PSD logo! And how is this implemented?
I use a script for this. The script is called IndyFont. I'm using the demo version here:
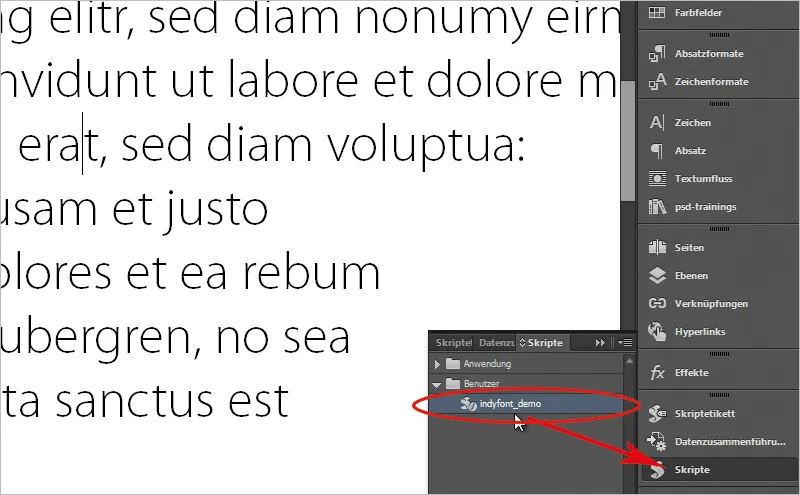
I'll go into my browser now and show you where you can get it. It's here from indiscripts.com. There's a demo version there and I'll show you how to use it. You can easily download it at the bottom of the page via this link.
In the meantime, there is also a Pro version, you can take a look at "Public PRO Release and User's Guide", i.e. there is even a 33-page manual for you, which shows in great detail how you can even create entire fonts with small caps and different styles.
So it's a pretty cool story and you can also find a trial version here.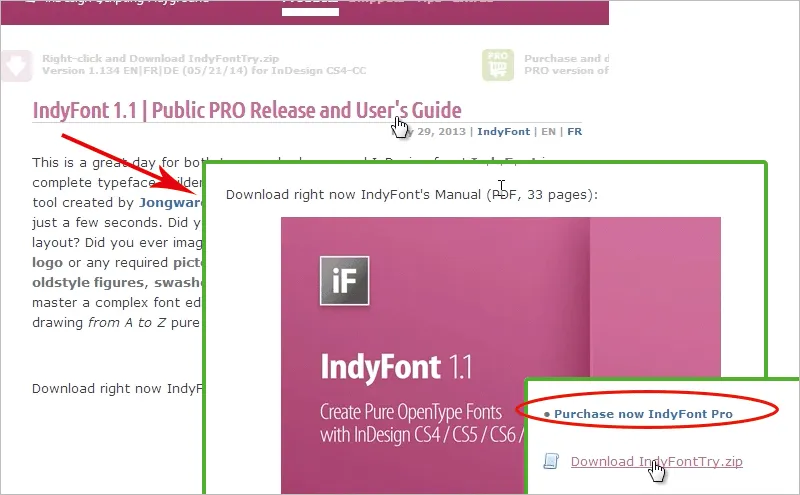
If you want to buy IndyFont as a finished script (link in the red circle), you will have to pay 59 euros.
If you don't quite get along with this tutorial or want more information, have a look at the previously mentioned manual. I would also like to recommend Ralf Herrmann's typografie.info "Create fonts in InDesign with IndyFont"; he has described in great detail how this works.
Or absatzsetzer.de, which uses a cutlery illustration to show how easy it is to create fonts with IndyFont.
OK. I have already downloaded IndyFont and in my scripts panelI also find indyfont_demo and I would now like to create a script. Previously I dragged the text into a new document, and when I apply the enumeration now, I have these typical bullets here. I don't want them, I want to replace them with our logo. So the first thing I do is run indyfont_demo by clicking on the script in the scripts panel.
This opens a dialog box with My Own Character.
I say here that the whole thing should be called "PSD Logo - Tutorial" because it is being created here as part of my tutorial.
Character should be the bullet. OK.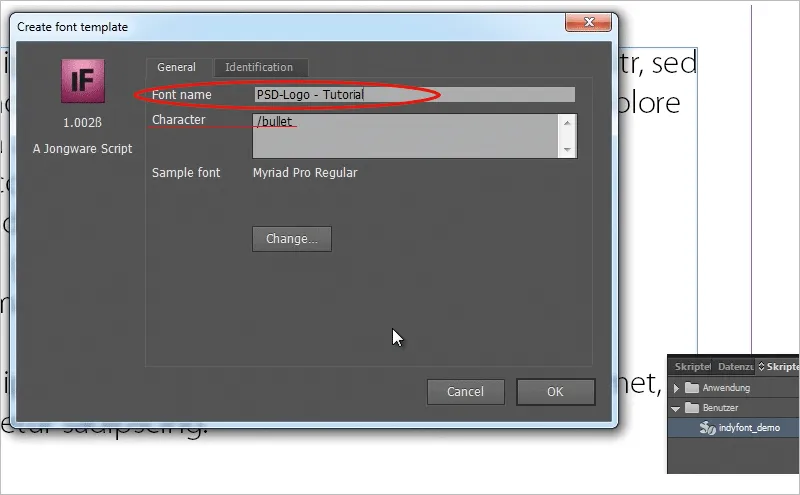
A new file now opens, I scroll down there and can set my bullet here.
I have noticed: If I now simply go to File>Place, drag the logo here onto the gray bullet and click on indyfont_demo in the scripts panel to execute the script, then I get an error message, it just doesn't work that way. It does not recognize any artwork in the lines. Even if I make the logo a little smaller so that it is exactly in the lines, it still doesn't recognize it.
I will remove the logo again. Because it has been shown that another way works quite well in the demo version.
I open the logo in Illustrator, select the entire logo there, drag and drop it into InDesign and reduce the size of my logo until it is inside the lines. But even if I drag and drop it in and run the script again, it still doesn't recognize it. Because I have to do something else. I select my logo with the direct selection tool to activate the paths, and now I'm going to assign black as the color - and that's the trick.
Once I've done that, it works. I go to indyfont_demo and am asked where the OpenType font file should be stored, under the InDesign fonts or in the folder.
I choose the second option, the folder, and place the file in the desired folder.
A message appears stating that my font has been created. Now I can open my font (an *.otf file) in the folder I have specified by double-clicking on it. Of course, I only see standard fonts, but my bullet is provided with the logo (but is not displayed like this!)
So, let's just try this out.
I go to my document with the bullet list, select the bullet list, open a new paragraph format, go to the bullets and numbering. I click on Add and select the font I have created in the font family; you can then see my character there.
I click on OK, select my character in the paragraph format under Bullets and confirm with OK.
You can then see my logo as a bullet point in InDesign.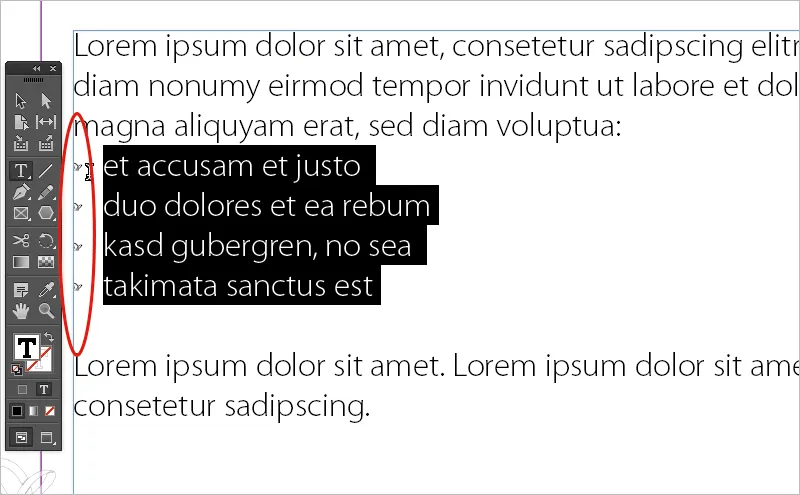
But now it is very small. Perhaps I can give you another tip with this tutorial: How can I make my bullet points a little bigger?
I will simply nest the bullets with a character format. You may have seen that I can also specify a character format for the bullets in the paragraph format control panel.
I haven't specified one here yet. I'll click on New character format...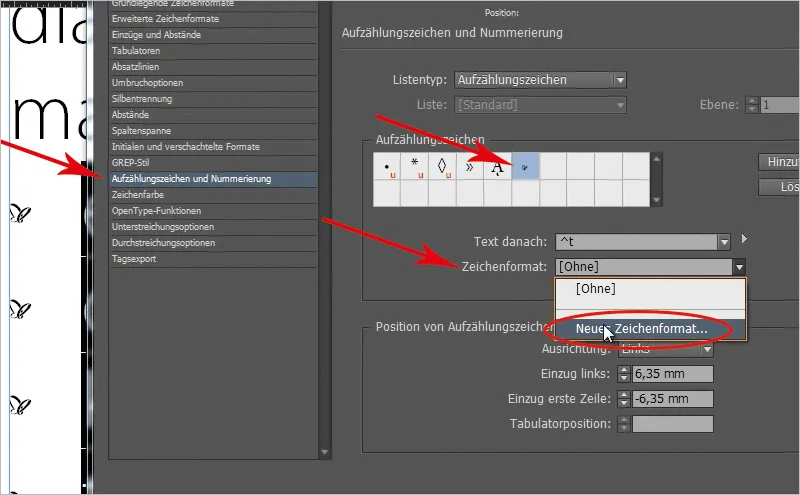
... and can nest them at the same time. I could now select a higher font size, but that's not quite as smooth. It's better if I simply select a scaling, and I'll use 200% for both Horizontal and Vertical scaling.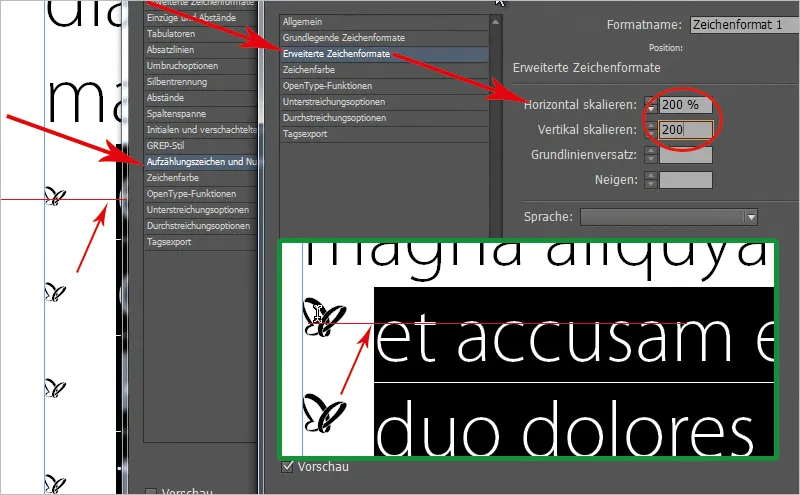
If I do this now, the bullets move upwards, but are no longer centered to the font. I can now go back into my character format that I have just created. But first I have to remove the font marker!
And I say: I want to keep the baseline offset a little lower. Pay attention to the bullets while you're editing the baseline offset (preview must be activated). I start at minus 2 and click on the down arrow until the logo is centered at minus 4.
This way I can also easily change the size of my bullet points. You may be familiar with this if you have squares or these small bullets: sometimes they are so big, sometimes they are so small and don't really fit, then nest the whole thing here with a character format and you can easily control the size of your bullet via the character format.
I think IndyFont is a cool thing, because you can use initials, bullets or other things directly in your layout in the body text, and I think the Pro version is even much, much cooler, because you can set up entire fonts very easily, but I think you can also use it to set very nice accents in your layout.
I hope you enjoyed the tutorial; until the next tutorial on PSD-Tutorials.de.


