Step 1
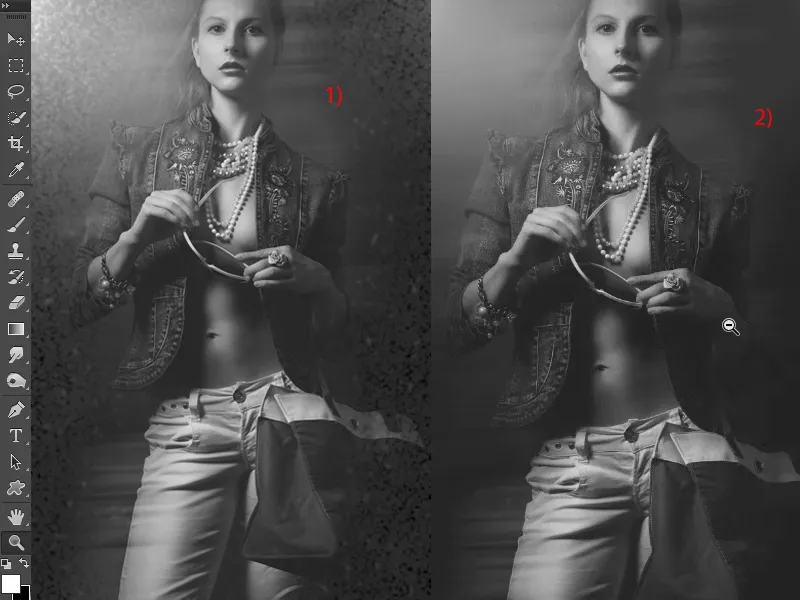
This fashion look here (1) is based on the fashion look with the blurred edges (2). You can prepare it for this, but you don't have to.
Step 2
But so that the whole thing isn't quite so dull, let's add a few artifacts here. This is how it should look in the end - just a few crumbs here ... you can of course adjust the opacity, but it gives the fashion image a bit of a kick, and the typography will also have a bit more grip at these corners.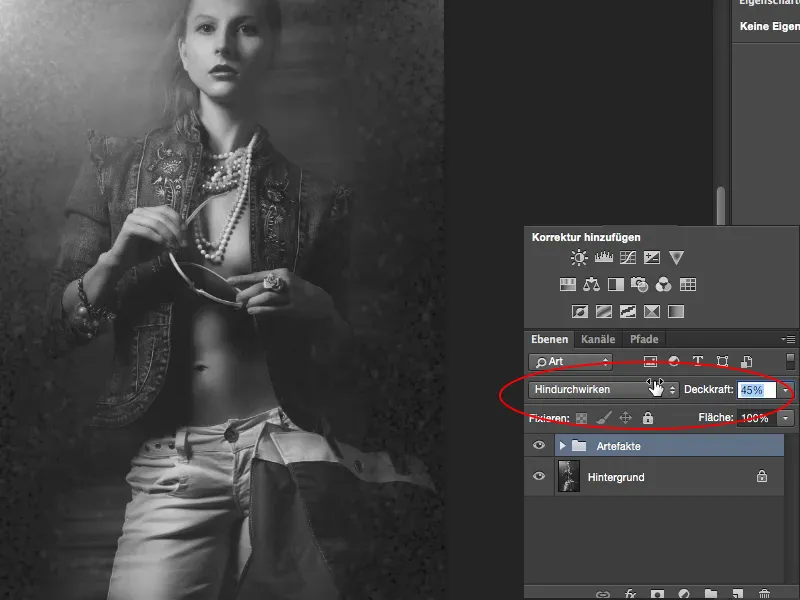
Step 3
I'll pull this back to 100% and Blender it out. All you have to do is: You create a new layer, then you fill the whole thing here with 50% gray; you can press the Shift keyand the F5 keyor you can go to the menu: Edit> Fill area, then you will also come to this dialog (2), and there you can now select colors, foreground/background color, or this 50% gray.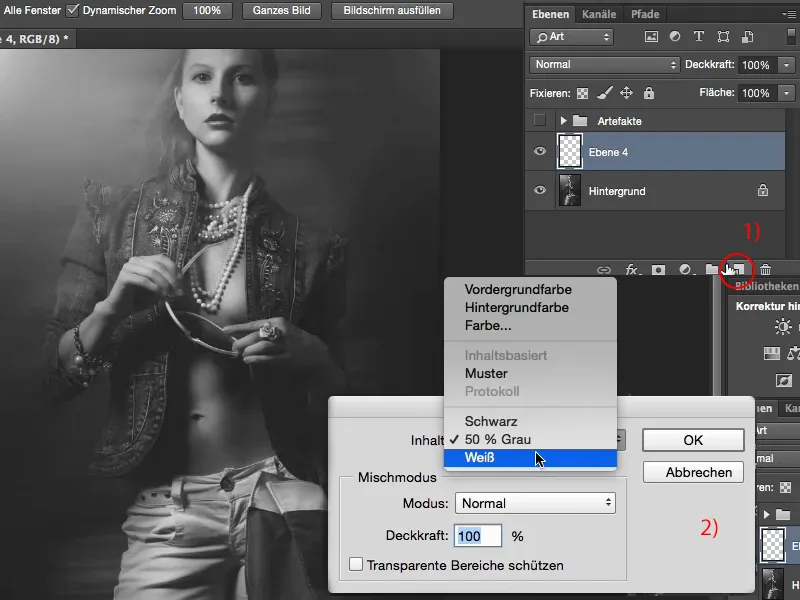
Step 4
This gray corresponds to the RGB value 128 and in the calculation mode the whole thing is then invisible for Photoshop. This layer is of course also used for the Dodge & Burn technique. If I now set the whole thing to Overlay or Soft Light or Radiant Light, it will be invisible here.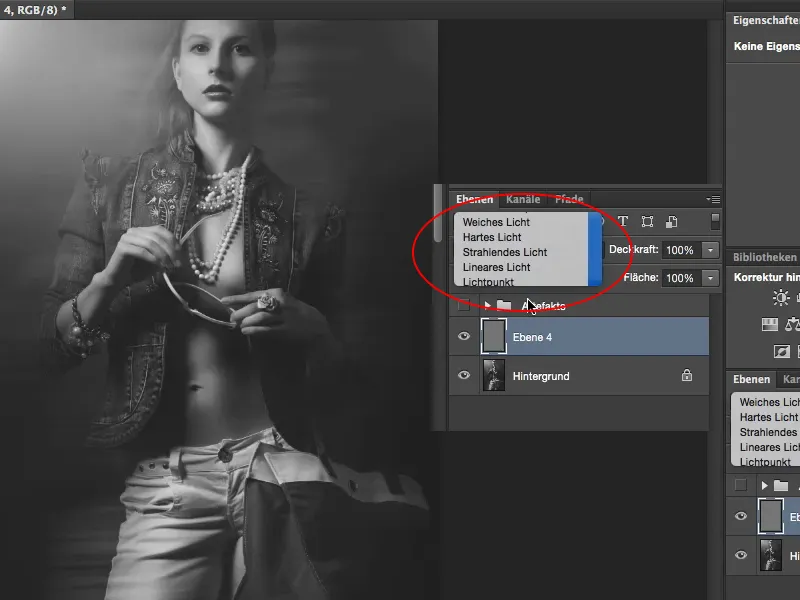
Step 5
And now I want to apply noise to this layer - in Normal, 1) mode. I now want to create crumbs here, go to Filter>Noise filter>Add noise (2) ...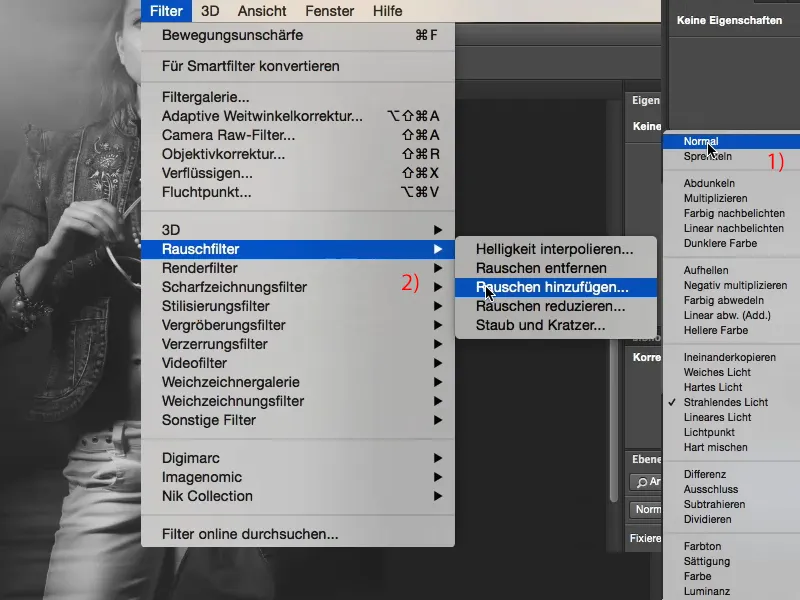
Step 6
... and now set a grain that is reasonably well visible, about 16% strength fits quite well here with the image, Gaussian normal distribution is important so that you don't create a repeating pattern, and then click on Monochromatic at the bottom here, because otherwise you would create colored noise here (see arrow), and of course that doesn't look quite so good with my black and white image here in the template.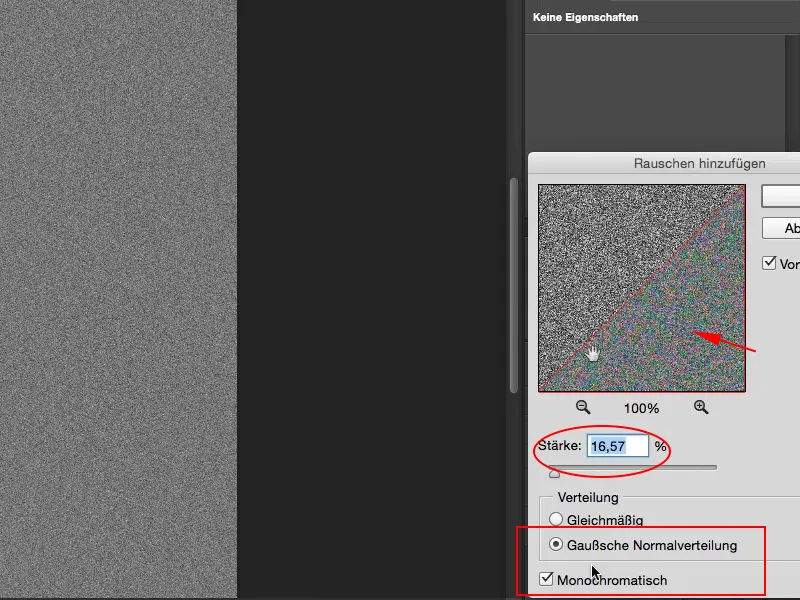
So: activate Monochromatic and then confirm the whole thing with OK.
Step 7
If you now set this to Radiant Light mode (1), it almost looks like a newspaper look, a bit strange, that's too much of a good thing, and everything is also far too small, so if I zoom in a bit here (2) ... I can see that the image is ultimately broken, and of course I don't want that.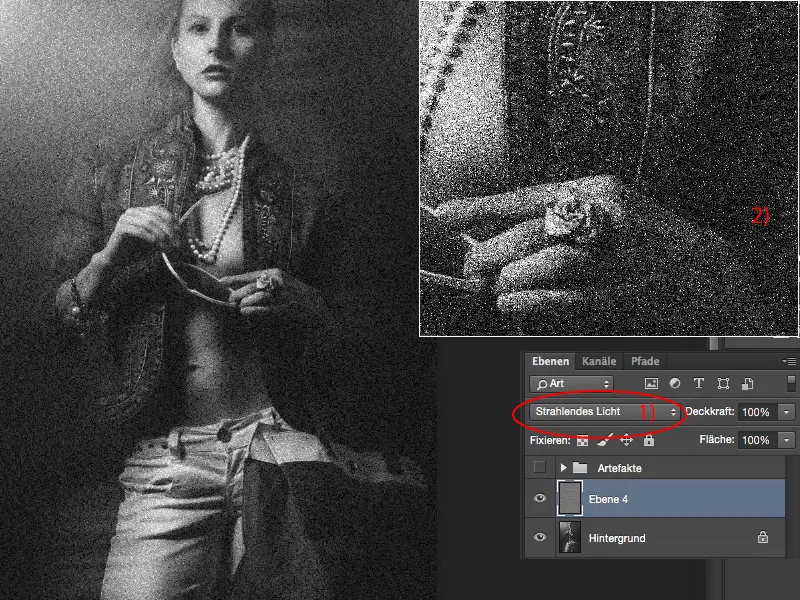
Step 8
But what I'm going to do now is I grab the selection rectangle tool, pixel edge 0 Px, I could also soften it a bit, and just cut out a little corner like this here, copy it to a new, empty layer with Ctrl+J or Command+J and Blender the noise layer out again. Then the whole thing looks like this: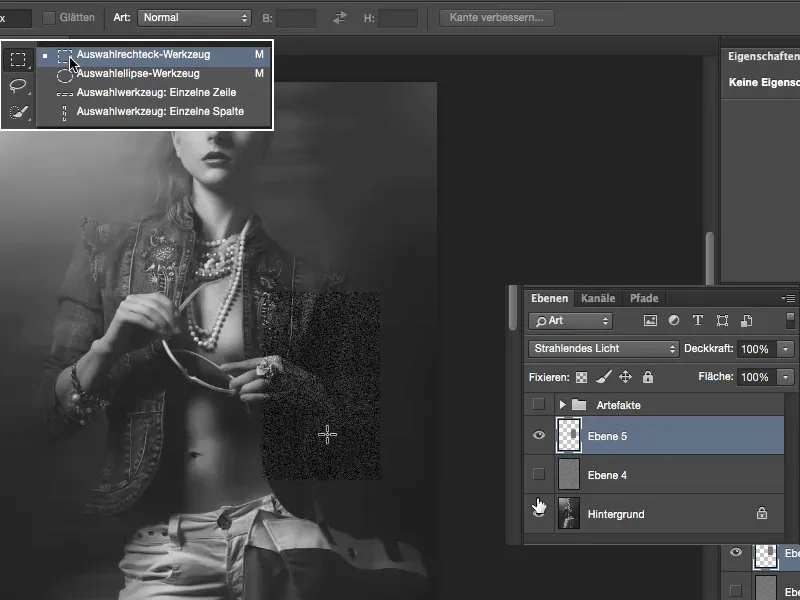
Step 9
Use Ctrl/Command+T to scale the whole thing to the image.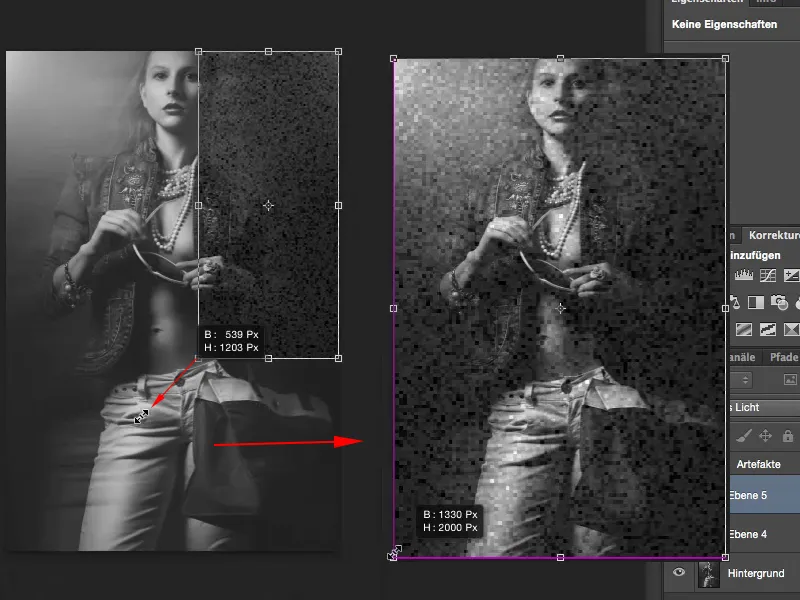
Step 10
I'll confirm this with the Enter key, and that's more like what I wanted.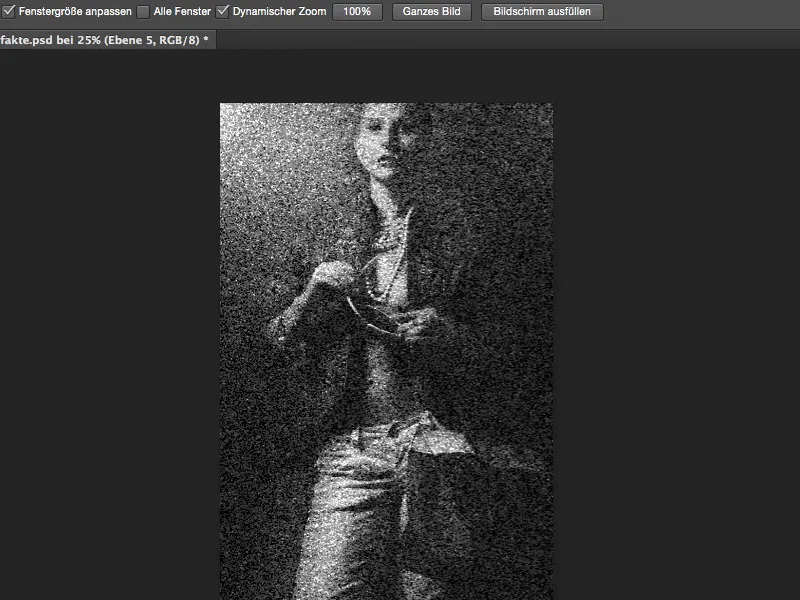
Step 11
What I can still do here is of course to limit the whole thing using a mask (symbol at 1). I'm going to go to 100% in my brush and get my girl back here, and also so that I can still see these blurred edges here (then the mask looks like this: 2) ...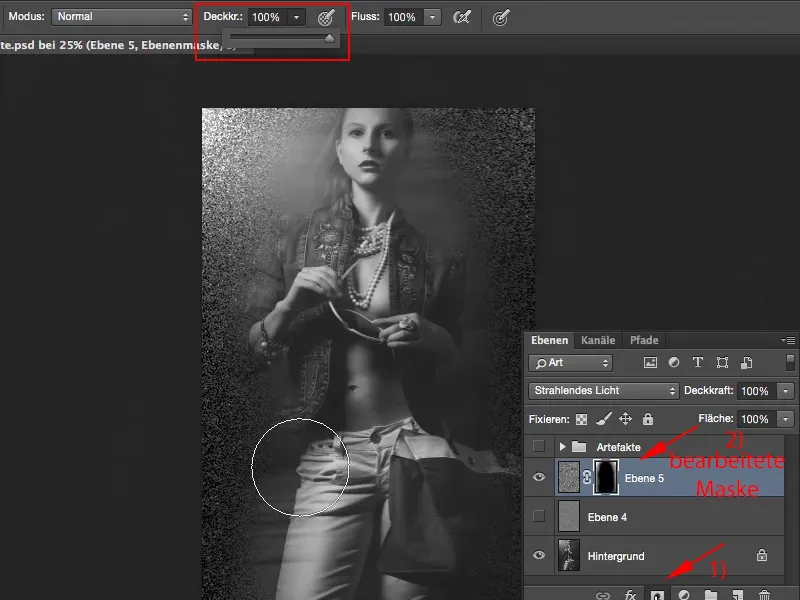
Step 12
... and then I go to approx. 50% and soften the whole thing a little on the outside.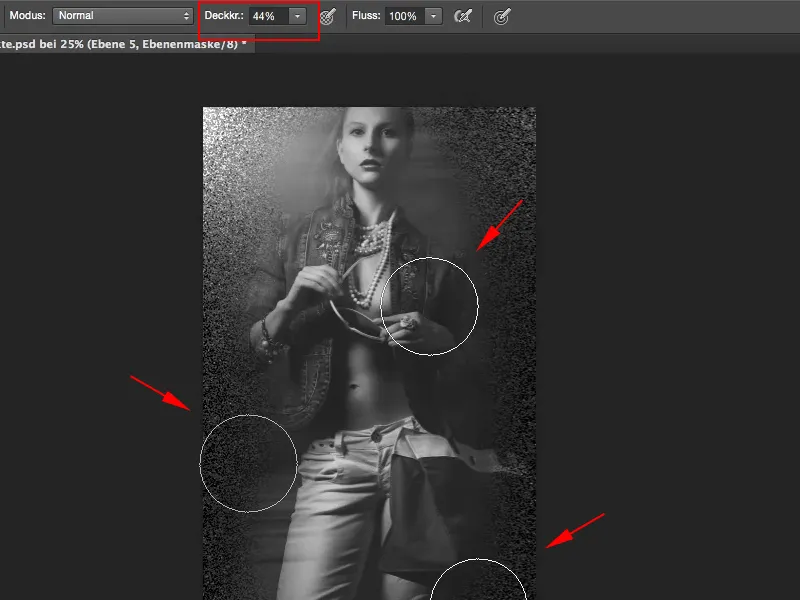
Step 13
The effect doesn't look good, so I reduce the opacity to 50%. That's always my rule of thumb: if I don't like something, I look at it at 50% and if it's still too much, I can always go back a bit.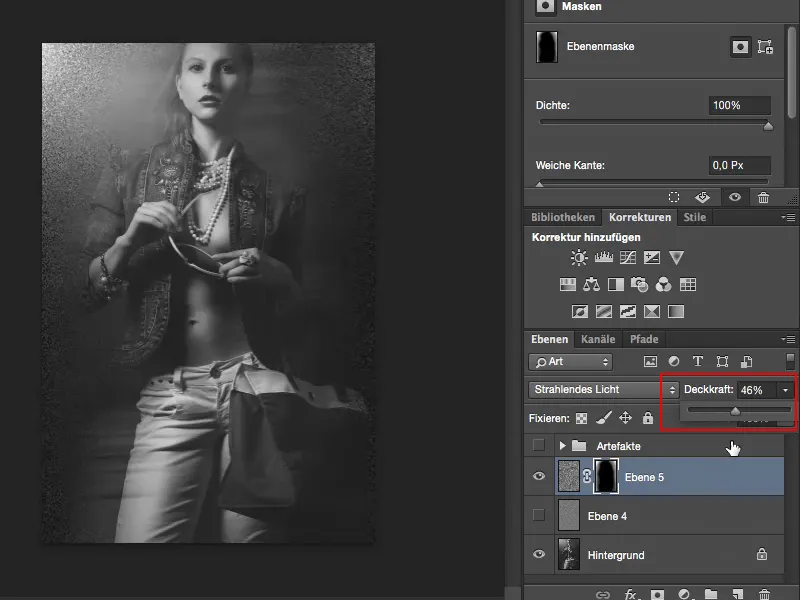
Step 14
So that would be the Radiant Light mode. Then I usually duplicate the layer and set the mode to Multiply Negative, which brings a bit of light from the side.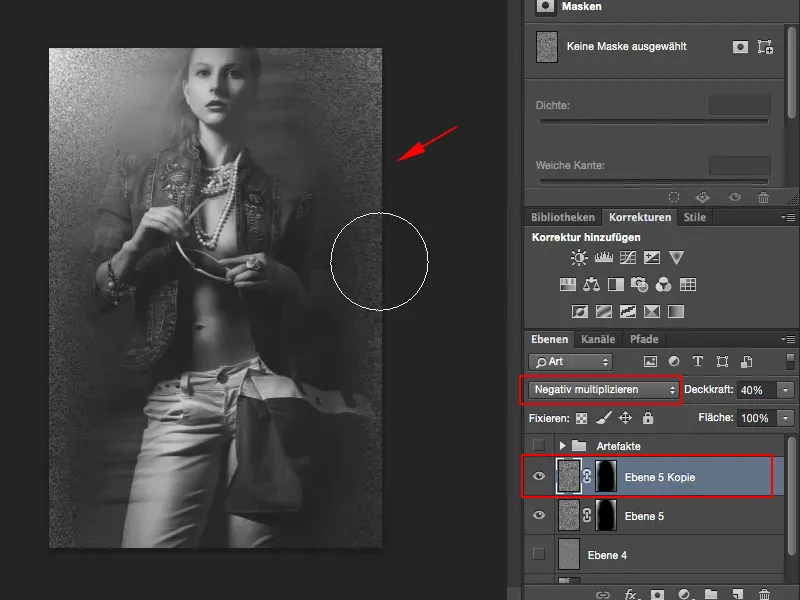
I can also invert the layer using Command+I, but that doesn't help so much in this case, because I only have white and black dots here, so the noise is nothing other than light and dark pixels, and whether I multiply them negatively or set them to Radiant Light (or also to Multiply) doesn't make much difference in this case.
Step 15
Yes, and now I can play a bit with the opacity of the two layers. It's now set to 40%; if I want it a little brighter, I can simply go a little higher here on the second copy of the layer so that I can draw the artifacts into the image.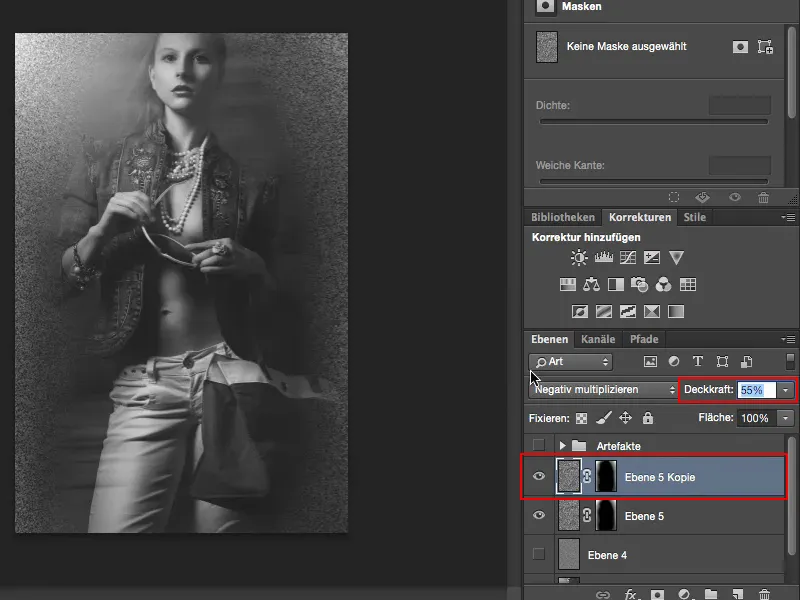
Step 16
A funny side effect: I have these blurred edges here, so theoretically I can also try again to see what it looks like with motion blur on these particles (Filter>Smooth filter>Motion blur), and lo and behold: You can also change the angle a bit, then I have this motion blur here on one particle layer (1) and on the other I have the hand-drawn particles or the artifacts (2), and then it actually looks quite cool.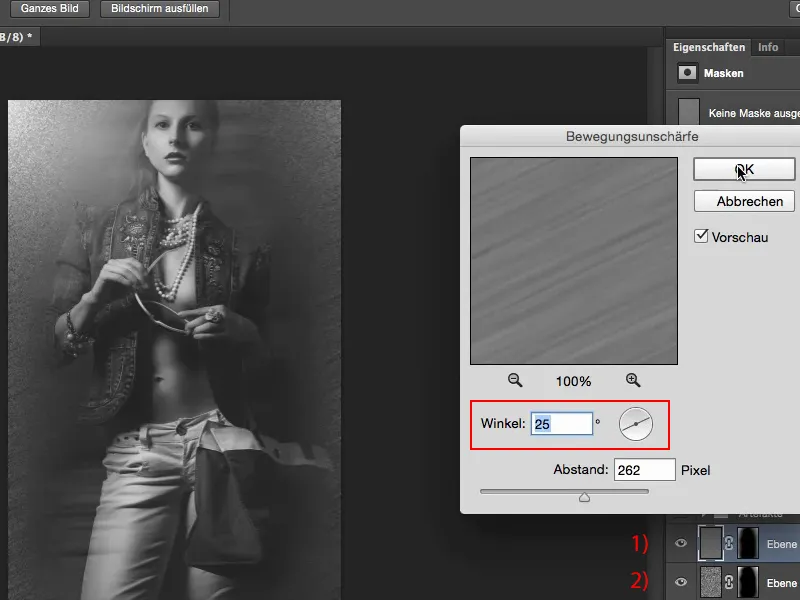
You can also apply this to all other images - wherever I want to put something in the center of attention and distract from it a little on the outside, I can use this fashion look quite well.


