Step 1
In this tutorial, I'll show you how to add artificial bokeh to a beautiful, warm, soft summer shot.
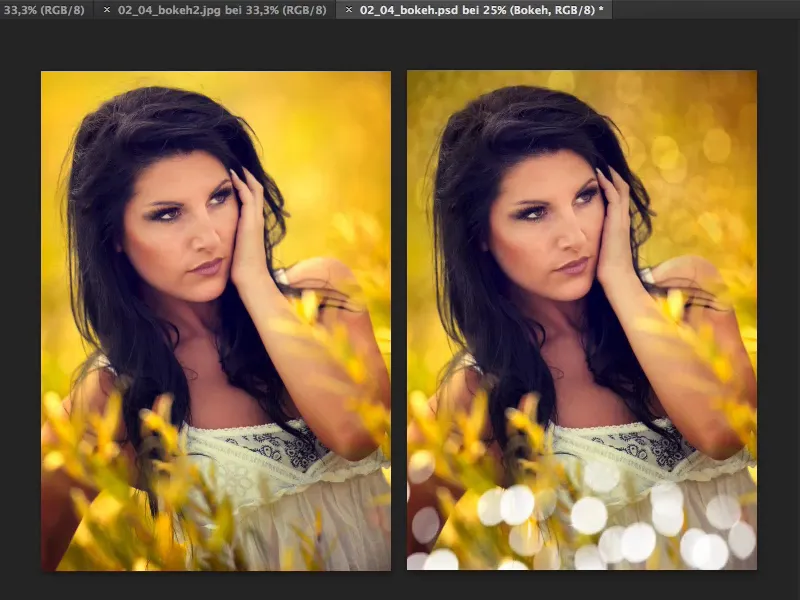
Step 2
All you need are original bokeh images. Of course, you could create these curls yourself in Photoshop, but with the typical chromatic aberrations at the edges here and all the colors, it would take a lot of time.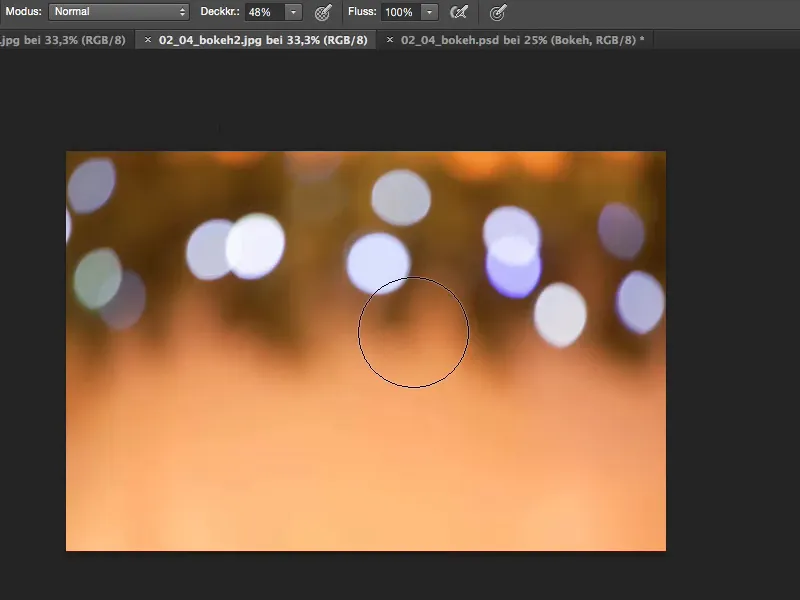
Step 3
So the best thing to do is to go outside, set your Blender to open aperture, focus manually and blur the whole image so that only the highlights remain. Then you have these bokeh images.
Another example would look like this: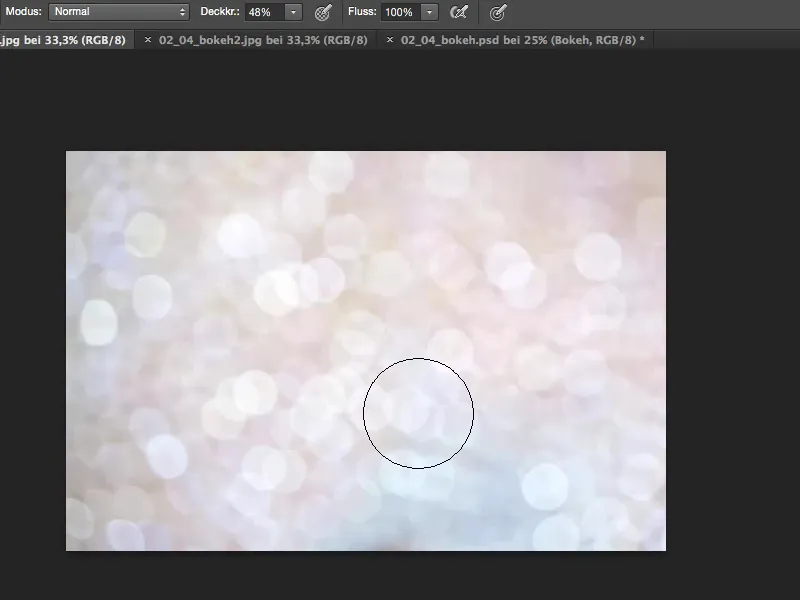
It also looks quite good if you photograph splashes of water out of focus. Or maybe Christmas trees or fairy lights at Christmas time - you can use all of these for artificial bokeh.
Step 4
Yes, and now let's drag this file over here. I'll mark this and close the file ...
Step 5
... and paste this over the background.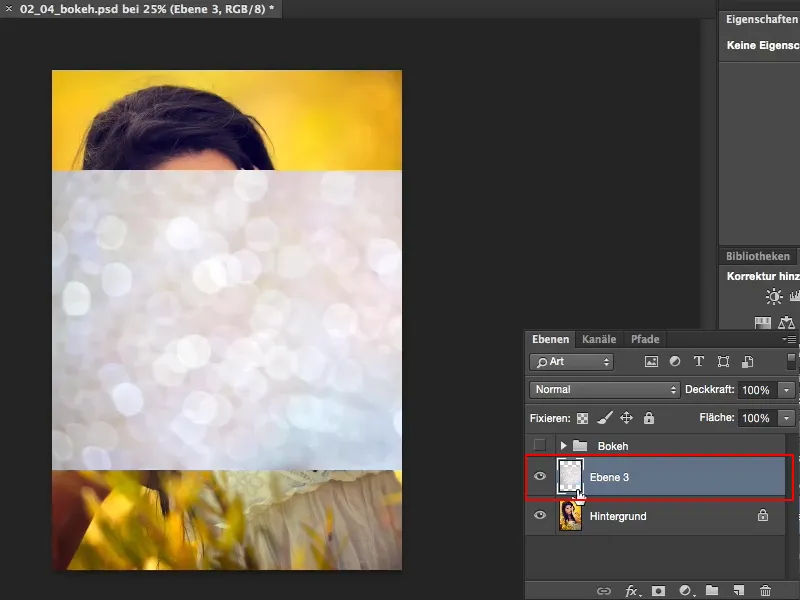
Step 6
Now I have two options: Crop, which would take a bit long for the tutorial here, but I can always do two or three things: I usually look at the Multiply Negative layer mode. Of course, it doesn't help here because the file is already very light anyway.
I take a look at the Inlay mode, which looks quite nice, but with light-colored files, Multiply is usually the layer mode that works best.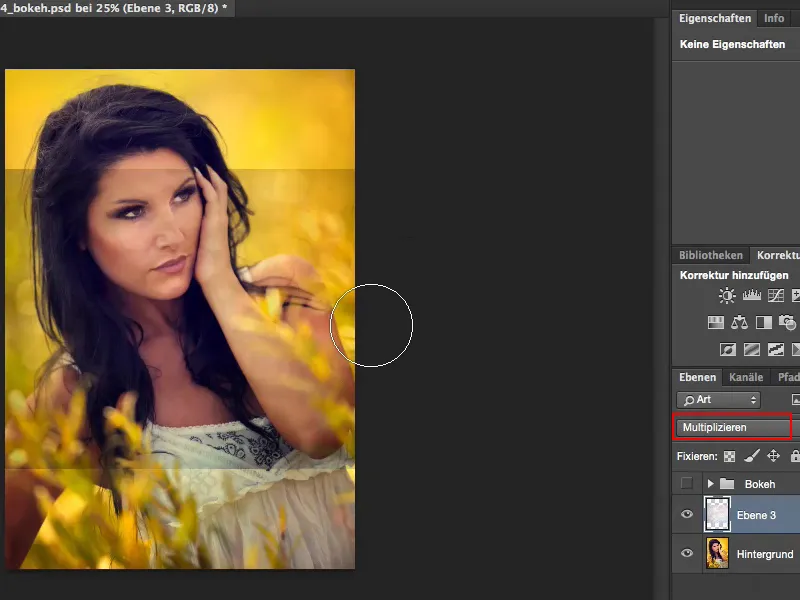
Step 7
I now use Move to bring the whole thing into the picture the way I like it. Yes, and now I can apply a tone value correction (Image>Corrections>Tone value correction) and try to bring out the darks a little ...
... and just go a little brighter here (1), make the highlights (2) a little brighter ...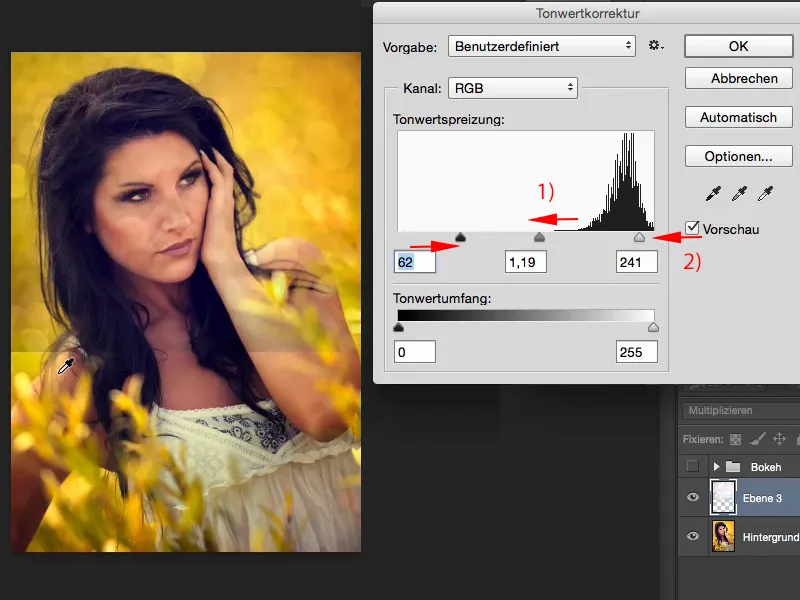
Step 8
I now need to correct the edge at the bottom here. To do this, I create a mask, switch to the brush tool, opacity not at 100%, otherwise it looks a bit strange if you erase this completely, I would of course only do 100% on the model now, because it doesn't need bokeh, ...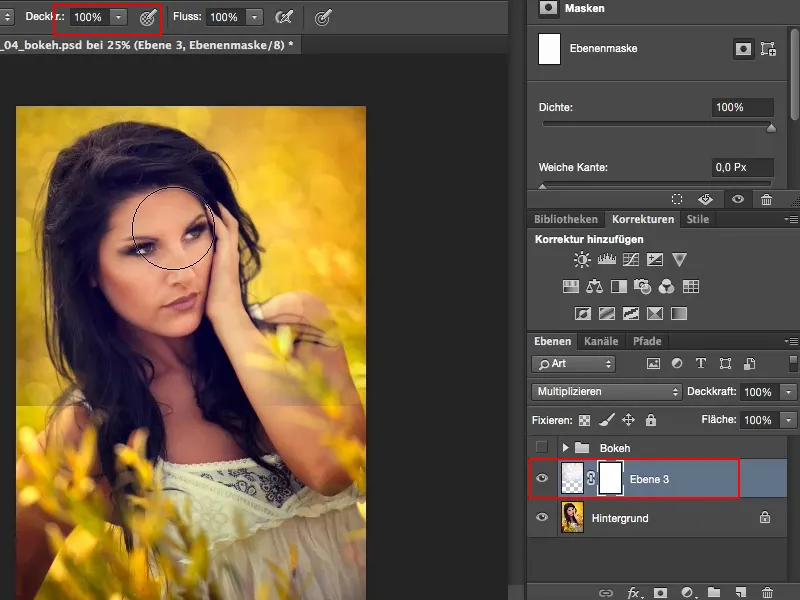
Step 9
... and around it, so that there is a soft transition, I simply Blender it out slowly, at 50%, and paint over it again and again until it fits harmoniously into the picture.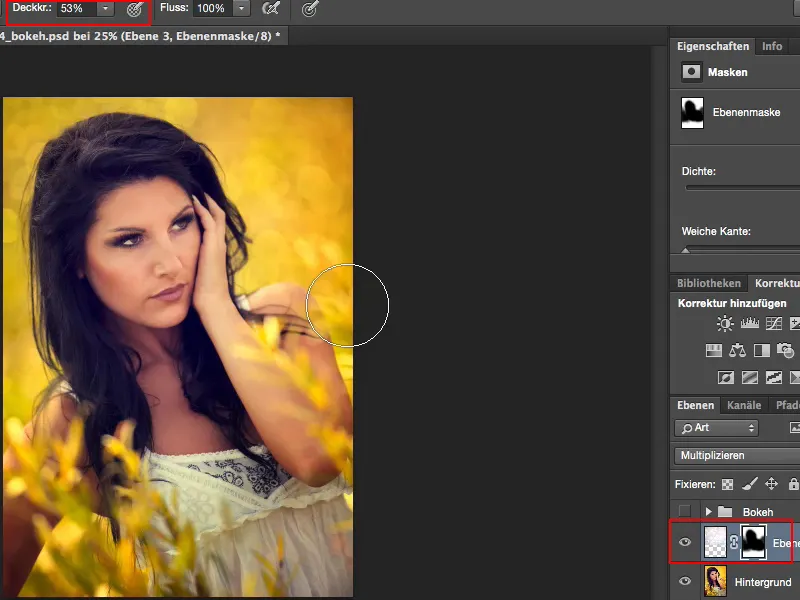
Step 10
If the effect is a little too weak for you, you can simply duplicate the layer and then adjust the opacity. I'm going to set the second layer to 50%, which I think looks quite ok.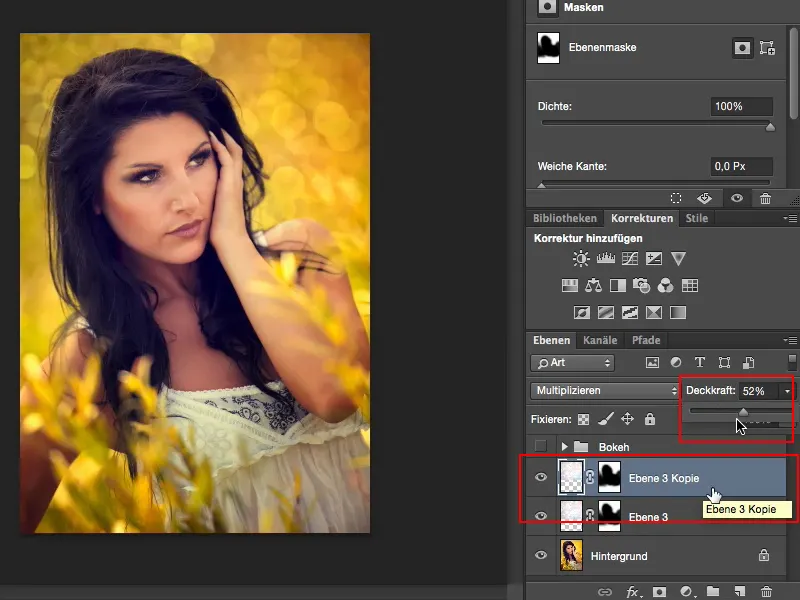
Step 11
And now I want to add a bit of foreground bokeh. I'll get the next file here and insert it again.
I now have to adjust the size a little using Free Transform (1) ...
It looks good like this. I don't need the color range down here (2), the brown-beige; I'd actually like it like this (3) ...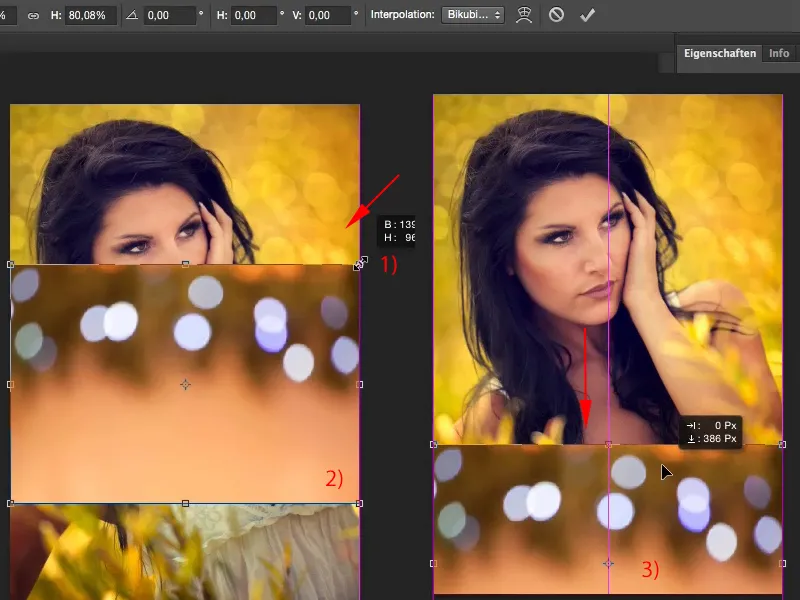
Step 12
Now I just want to keep the lights here. And if I only want to show highlights, then I always need the Multiply Negative layer mode (1).
And of course I also need a tone value correction again (2), in which I adjust the whole thing a little here, ...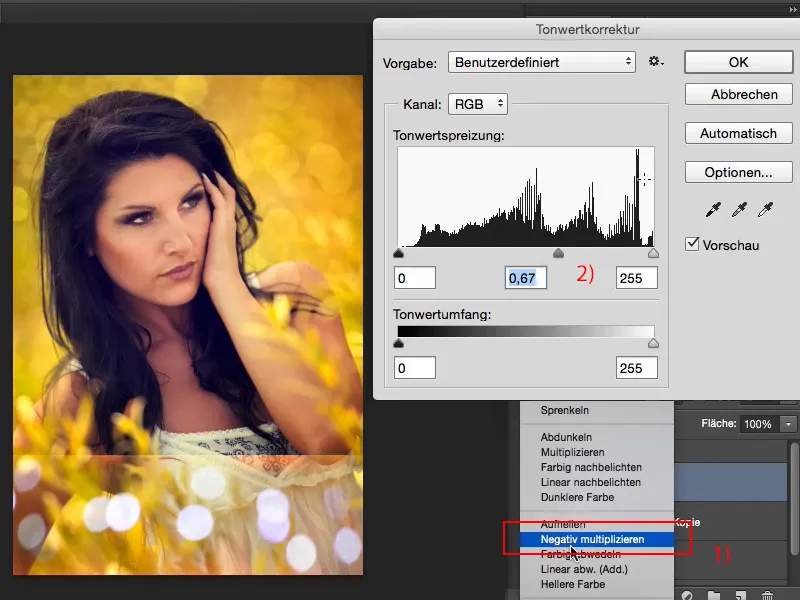
Step 13
As you can see, the highlights remain except for the top edge and I'll get my mask again and brush this away (1).
It doesn't matter if you accidentally get a bit of bokeh (2), it actually looks quite natural.
I can also remove a little from the bottom, because no one you show this shot to will be able to understand what was actually done here.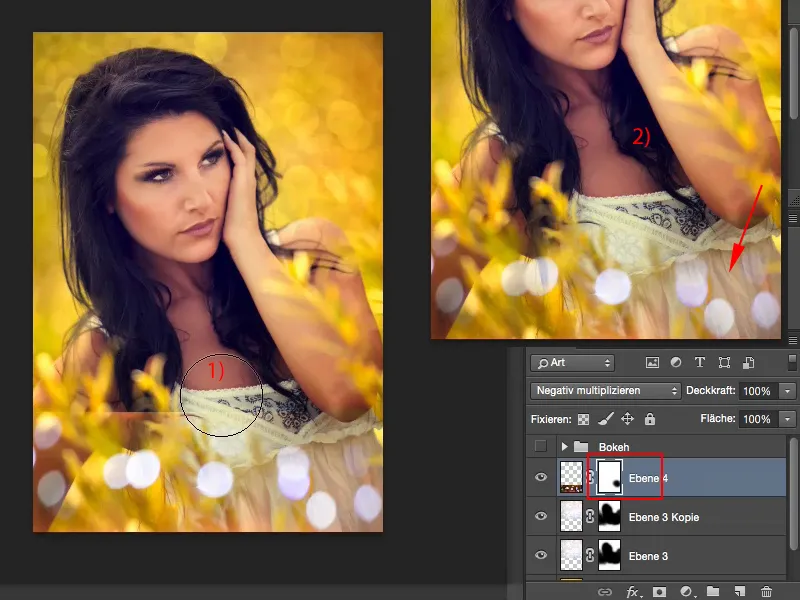
Step 14
Now it's a bit small here, so I duplicate the layer again with Command/Ctrl+J and can use Transform or Move to virtually double the whole thing again (1), and because it's so nice, once more (2) ...
... maybe a little more above ...
Of course, I can also rotate ... that also fits nicely into the picture if there's still a bit flying around up here ...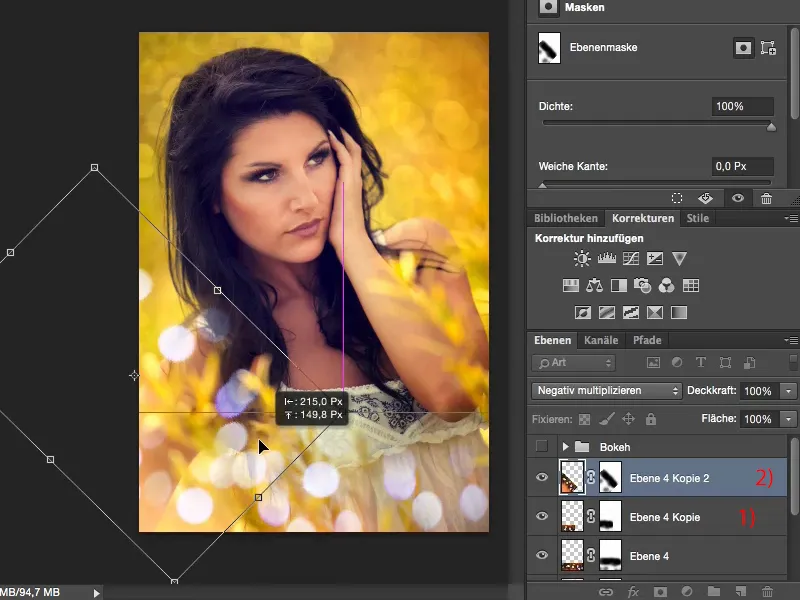
Step 15
... that looks quite nice.
The transitions are already smooth anyway, because the mask is naturally also transformed. Everything rotates.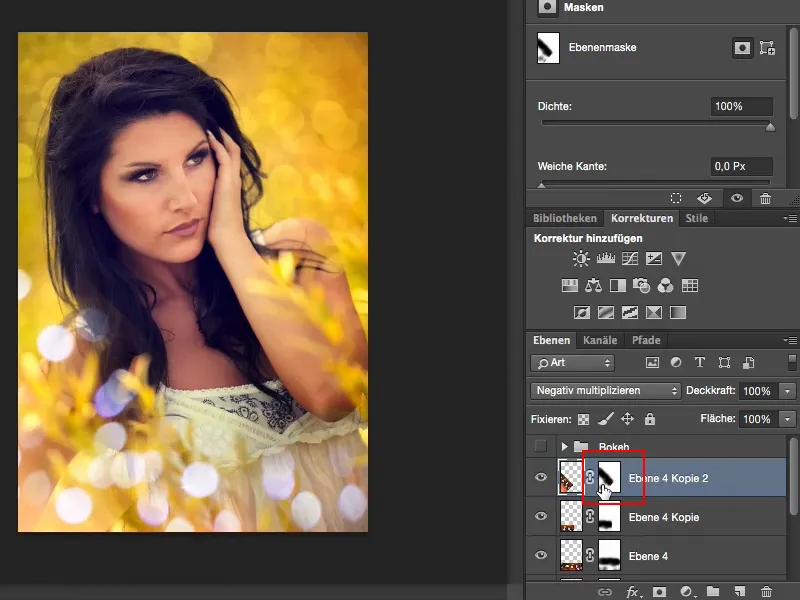
Yes, and in this simple way you can enhance such a beautiful summer look and create a wow effect.


