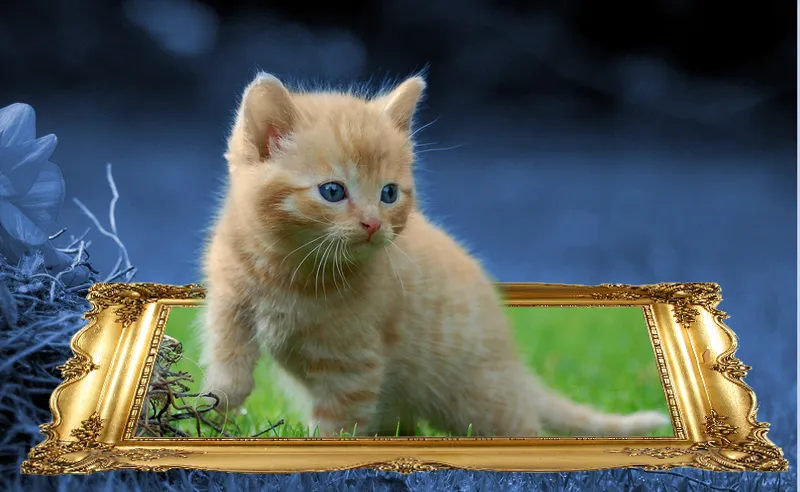
The Out-of-Border-Effect is an impressive technique to make images appear lively and dynamic. The subject seems to jump out of a frame and creates an exciting 3D look. With Photoshop, you can easily achieve this effect by combining layer masks, selections, and shading. In this tutorial, I'll show you step by step how to make an image jump out of the frame and create an extraordinary eye-catcher. Let's get started!
Step 1:
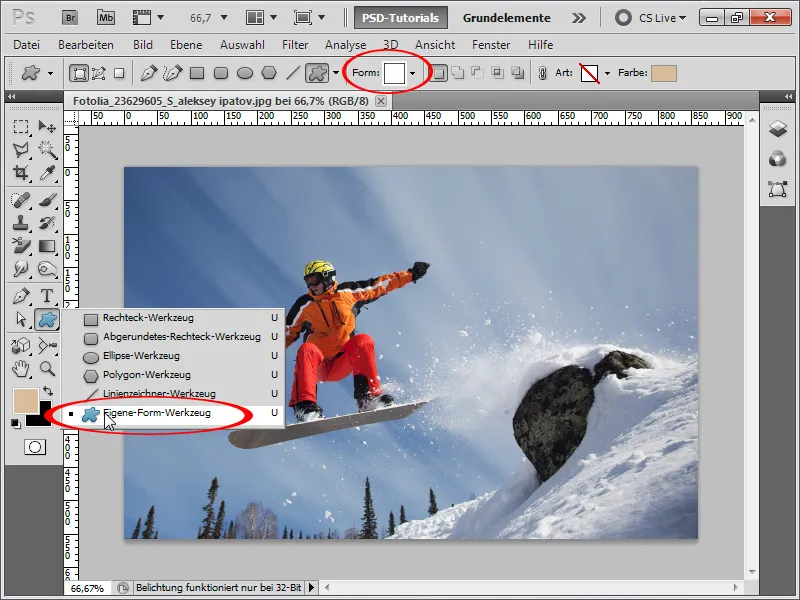
First, I open a photo of my choice and create a frame. The easiest way to do this is with the Custom Shape Tool. You can access ready-made shapes at the top center of the Control Panel.
Step 2:
Among other shapes, you will find the Rectangle - Thin Border shape there. If it's not included in the list, you can load it from the Arrow at the top right.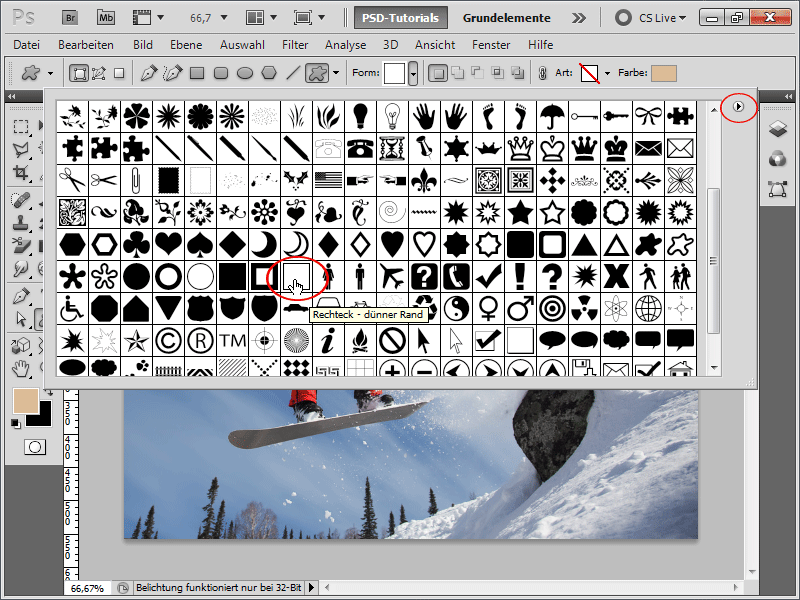
Step 3:
Next, I draw the frame in white and then press Ctrl+T to transform my frame. At the corners, I distort the corners perspectively with the Ctrl key pressed.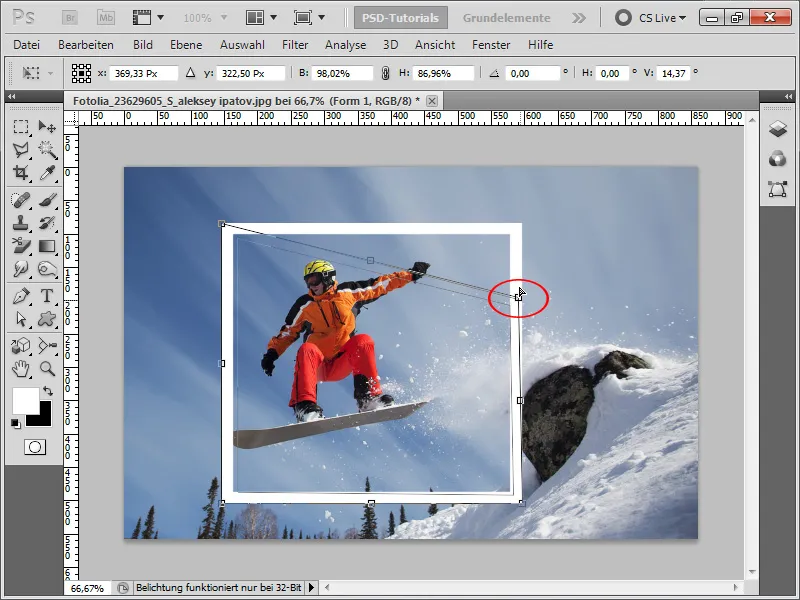
Step 4:
After about 30 seconds of distortion work, my frame now looks like this: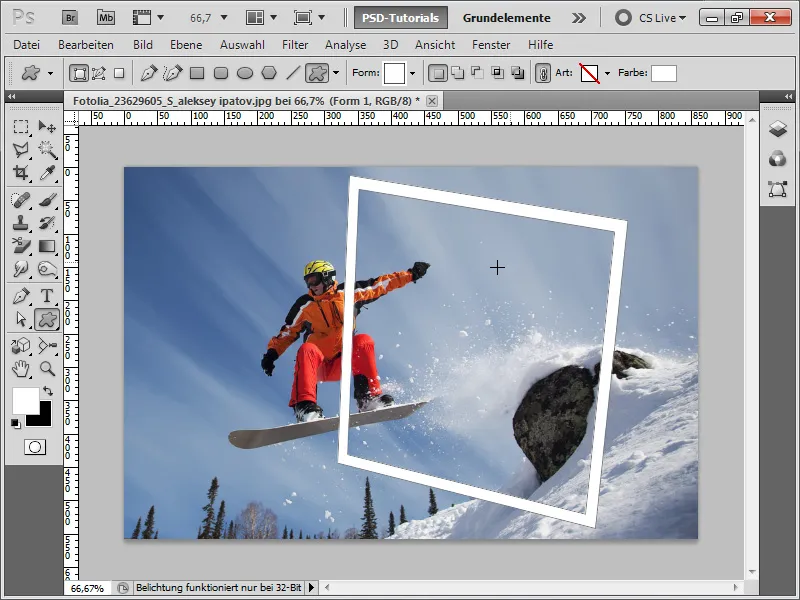
Step 5:
Next, I hide the frame and convert the background layer to a normal layer by double-clicking on it.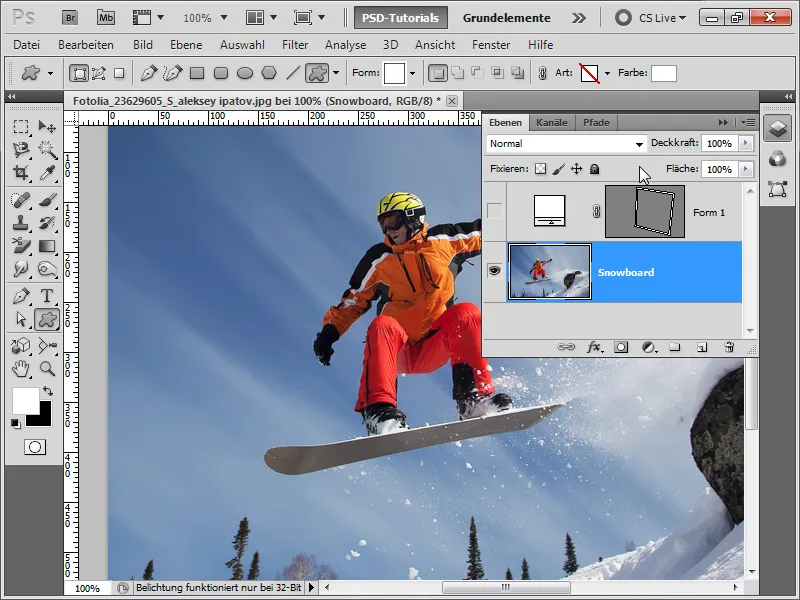
Step 6:
Now I need to make a selection of the snowboarder. There are of course several methods to do this. I'll make it quite simple and use the Quick Selection Tool.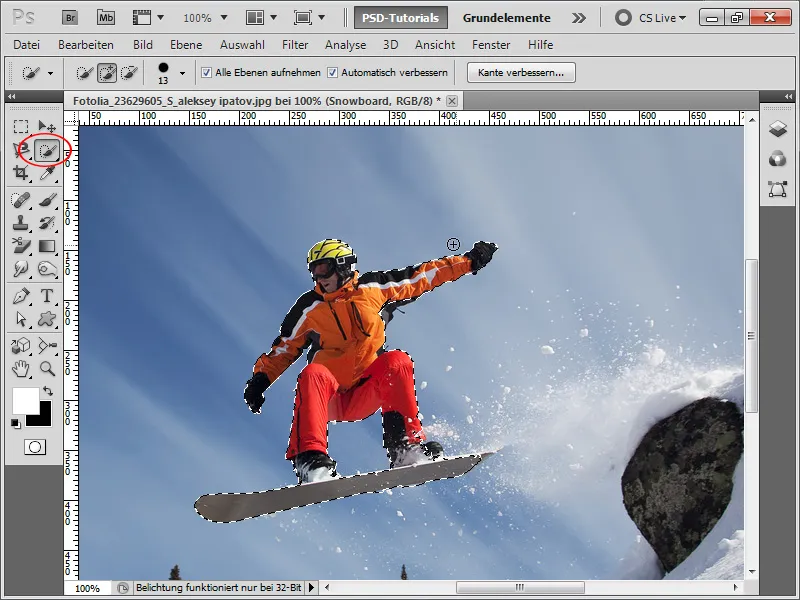
Step 7:
Next, I click on Refine Edge at the top of the Control Panel and change the display to On Black to quickly identify any selection errors.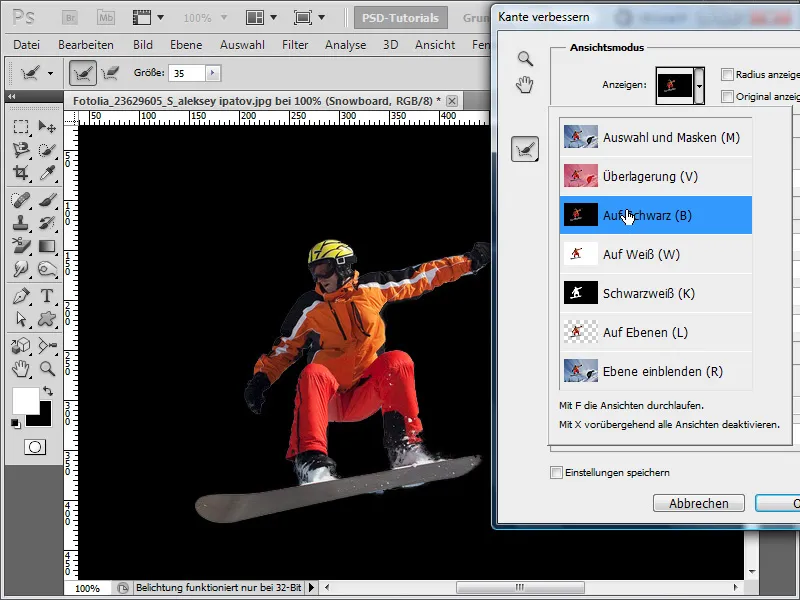
Step 8:
With the Refine Radius Tool, I paint over the areas that were poorly selected. This way they are perfectly selected. What more could you ask for!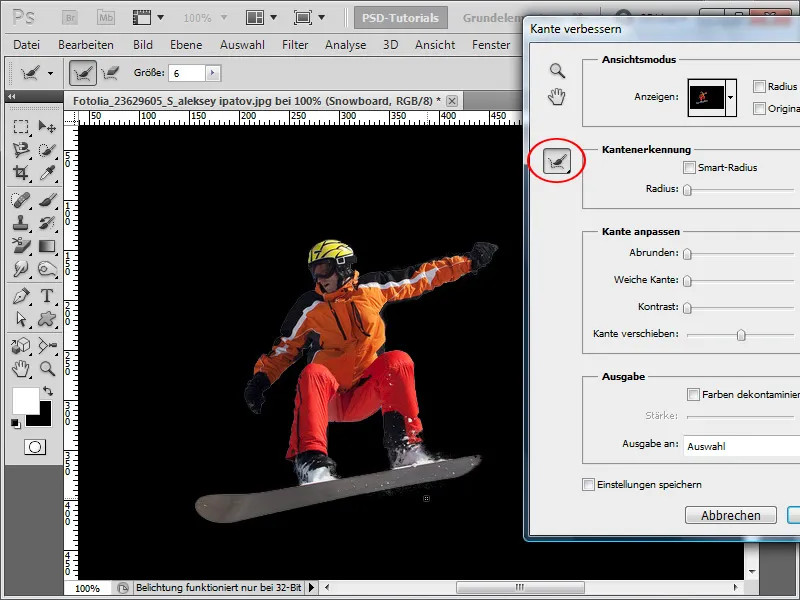
Step 9:
Next, I hide the snowboard layer, show only my frame, and create a selection using the Magic Wand.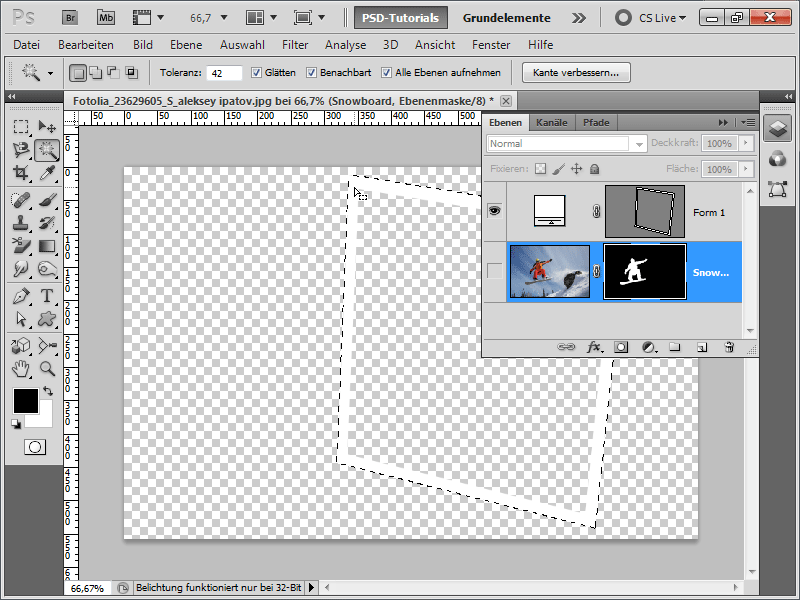
Step 10:
Now I show the snowboard layer again and click on the Layer Mask. Then I press Ctrl+Backspace (the background color must be white). This will make the snowboard layer reappear in the picture frame area.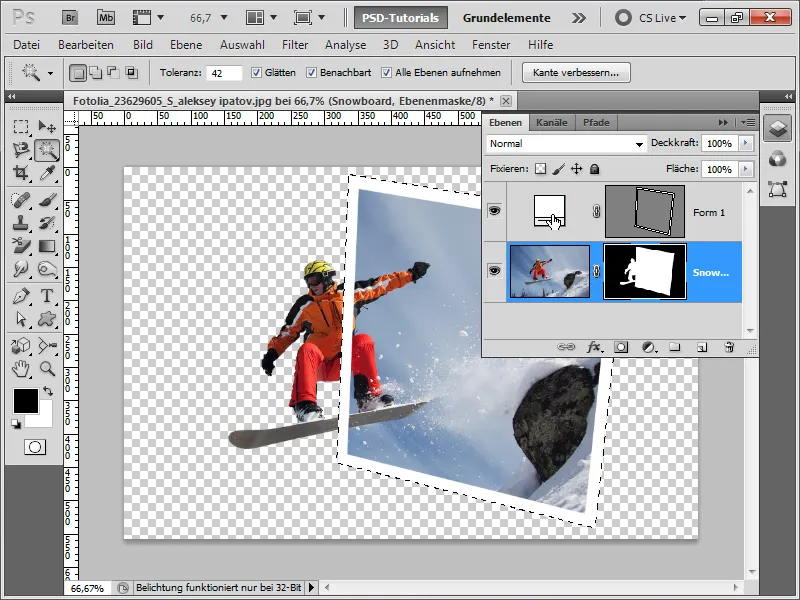
Step 11:
Next, I add a Layer Mask to my frame and use a black brush to remove the areas around the snowboarder.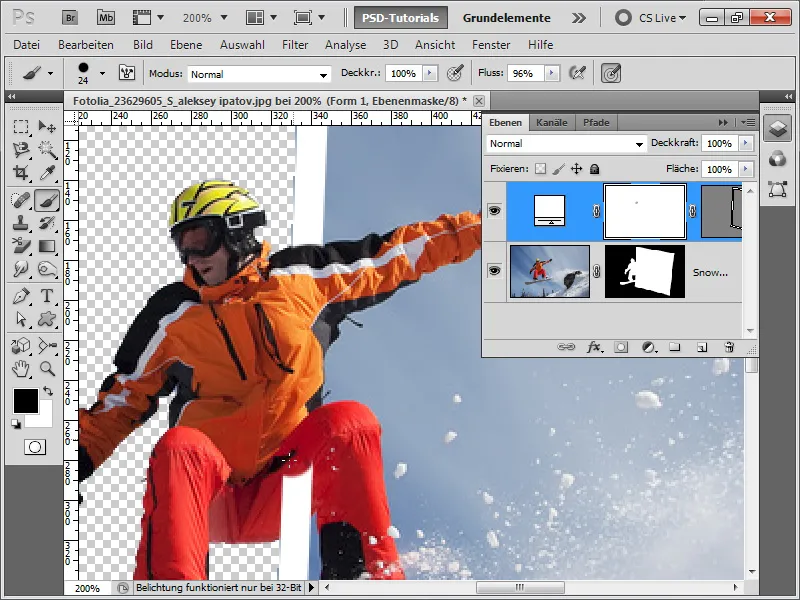
Step 12:
It's time for a new beautiful background. I use the Gradient Tool and create a radial gradient from blue to dark blue.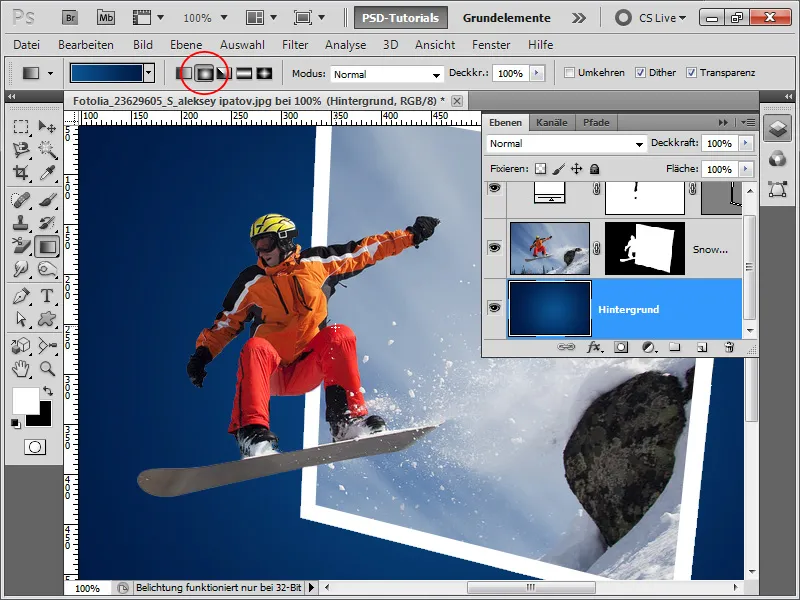
Step 13:
Since a few image pixels protrude beyond the image, I quickly remove them with a soft brush in the Layer Mask of the snowboarder. Tip: Click once and then click again at the other end of the line with the Shift key pressed; this will draw a straight line in the Layer Mask.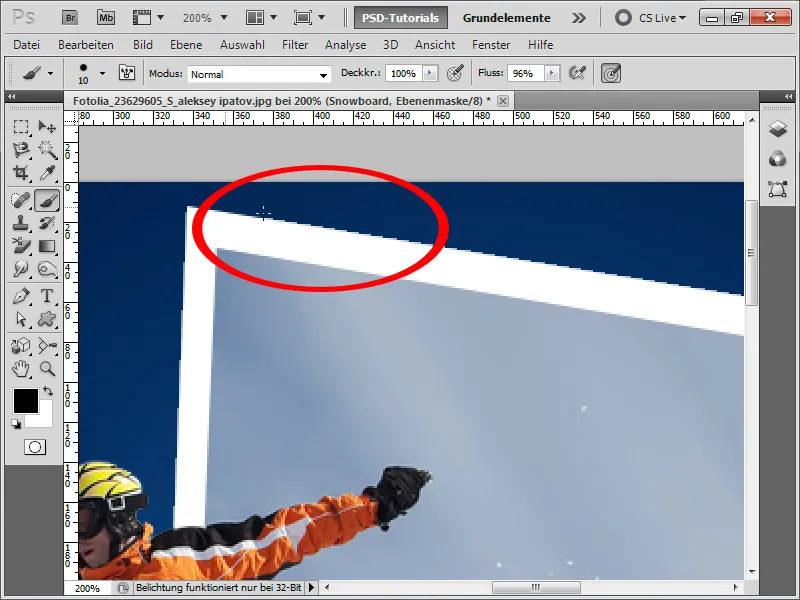
Step 14:
By holding down the Alt key, I copy my frame layer, move it under the snowboard layer, and then add a Drop Shadow. This way, I avoid the shadow being displayed inside the frame when the layer is below the snowboard layer.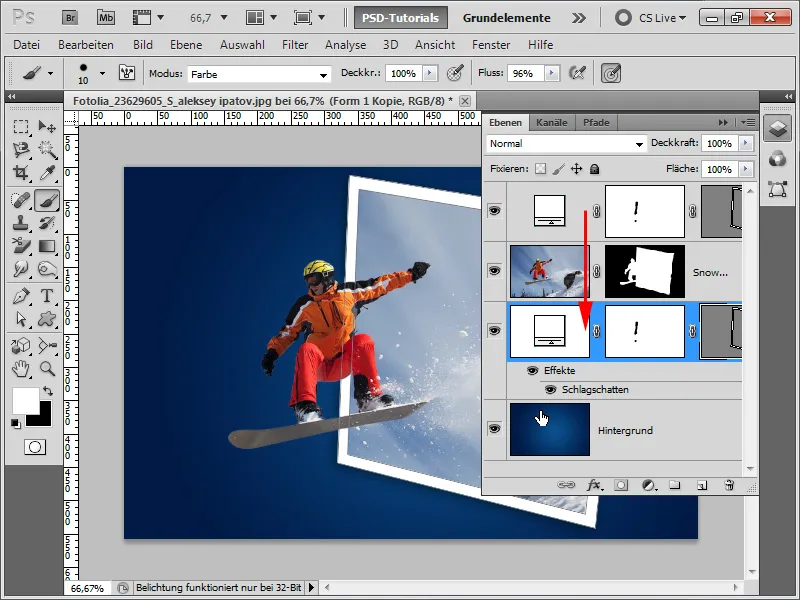
Step 15:
In order for the snow to appear outside the frame as well, I add a new layer and grab a splatter brush that Photoshop provides by default. Then I click F5 to bring up the Brush panel and increase the spacing.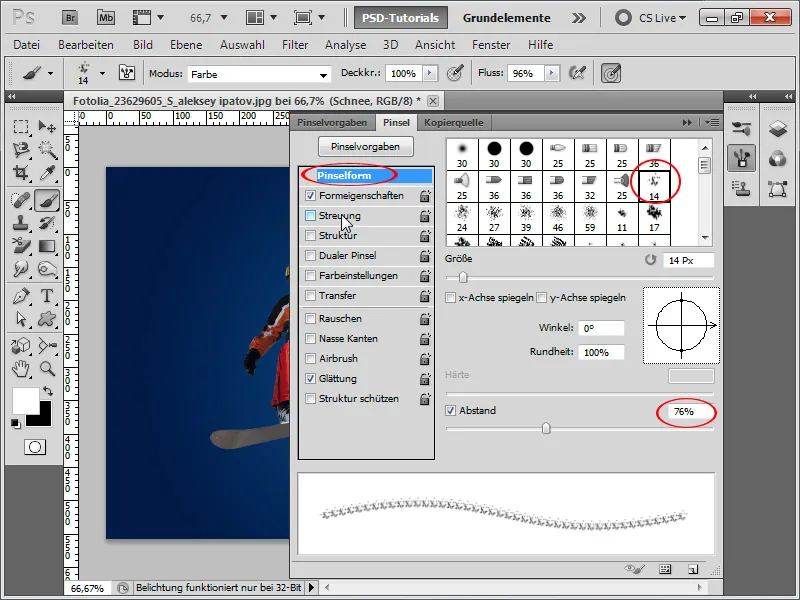
Step 16:
I adjust the shape dynamics so that the size jitter is set to 100% to ensure not all snowflakes are the same size.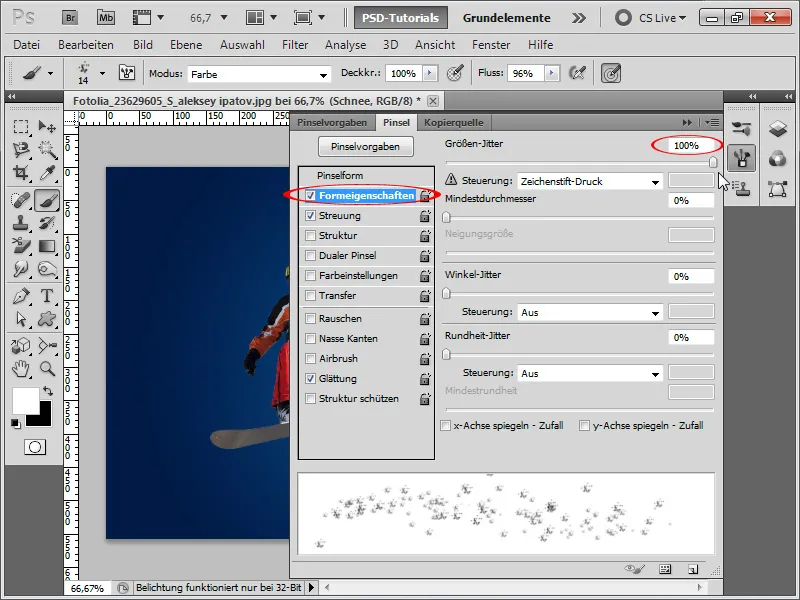
Step 17:
I also increase the scatter.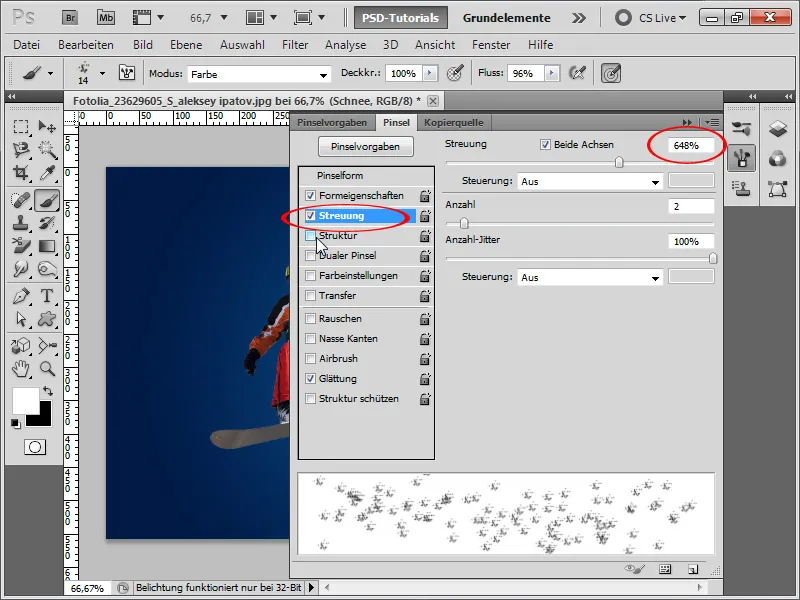
Step 18:
I need to increase the opacity jitter under Transfer as well, so that some snowflakes have less opacity.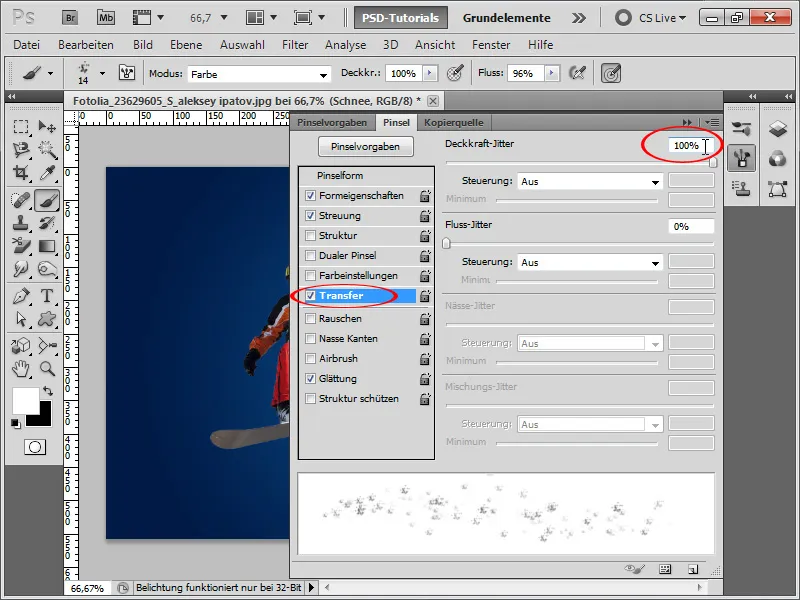
Step 19:
And now I can create my snow, occasionally changing the brush size as well.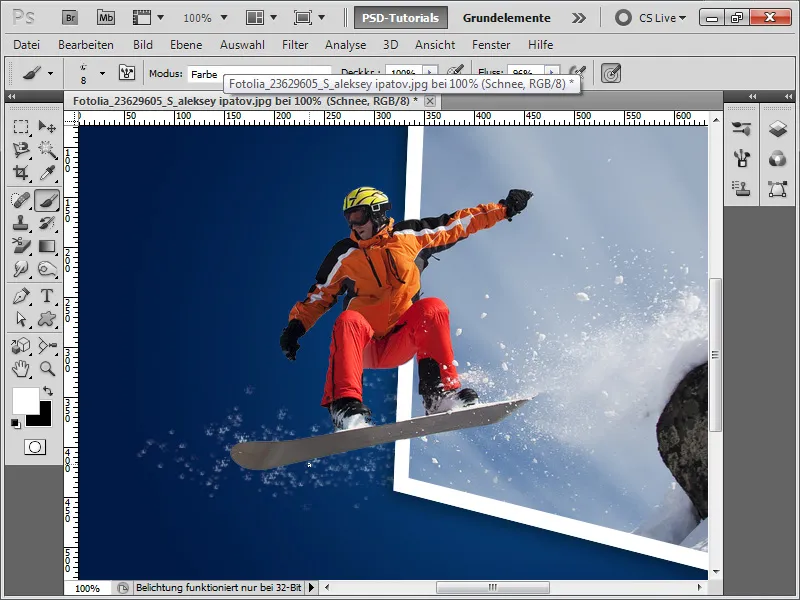
Step 20:
However, there is also a second option to extract the existing snow spray from the original photo. To do this, I simply duplicate the snowboard layer and reveal the area from the layer mask again.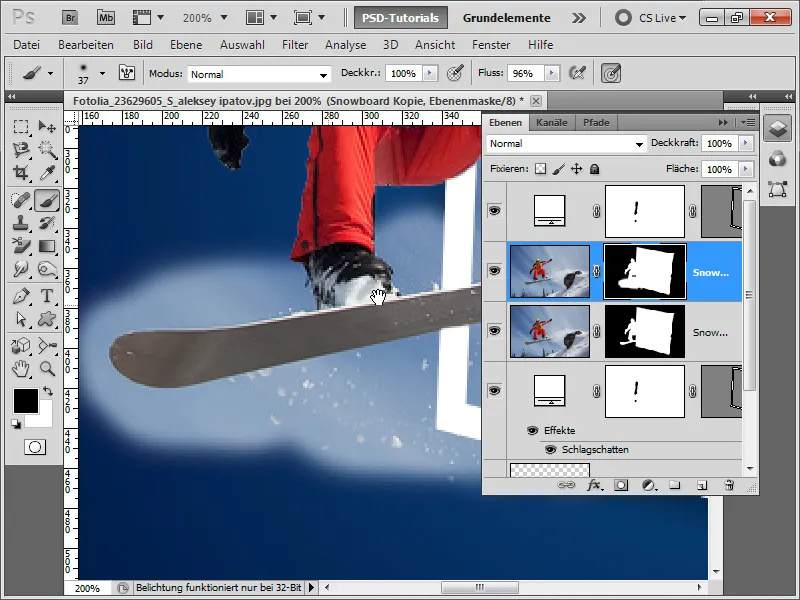
Step 21:
With the background eraser tool, I can, for example, protect the foreground color (white in my case) and only remove the annoying light blue.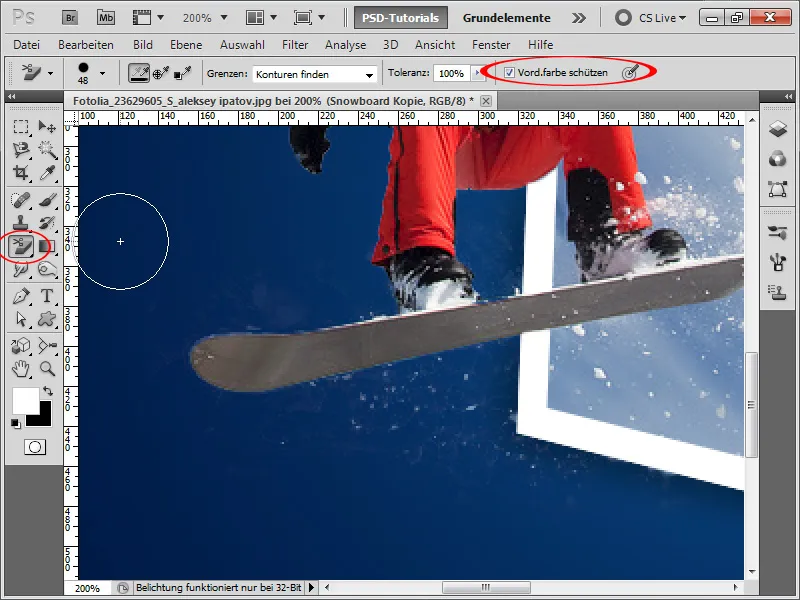
Step 22:
The result looks very good. In this final image, I have displayed both snow layers so that I can see more snow outside the frame. I also added a flattened edge as a layer style to the image frame (where I softened the effect by reducing the opacity in the settings).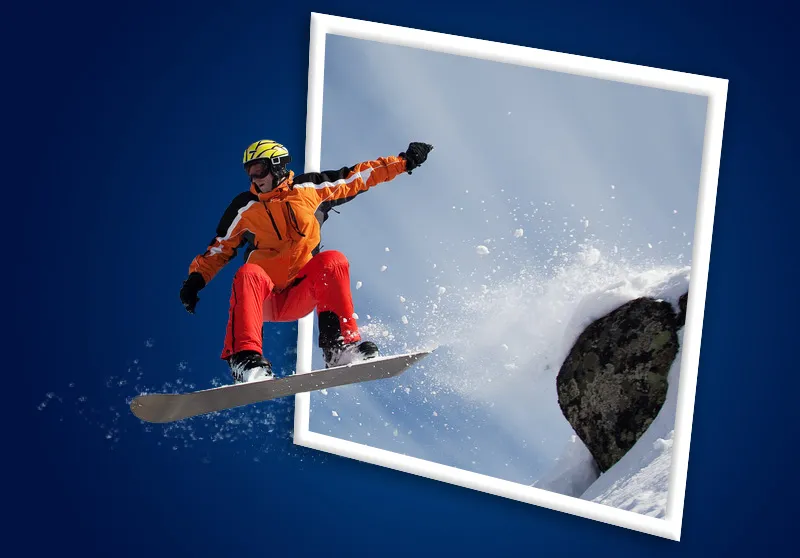
Step 23:
In a second example, I would like to show a slightly different approach. This cute cat serves as the starting image.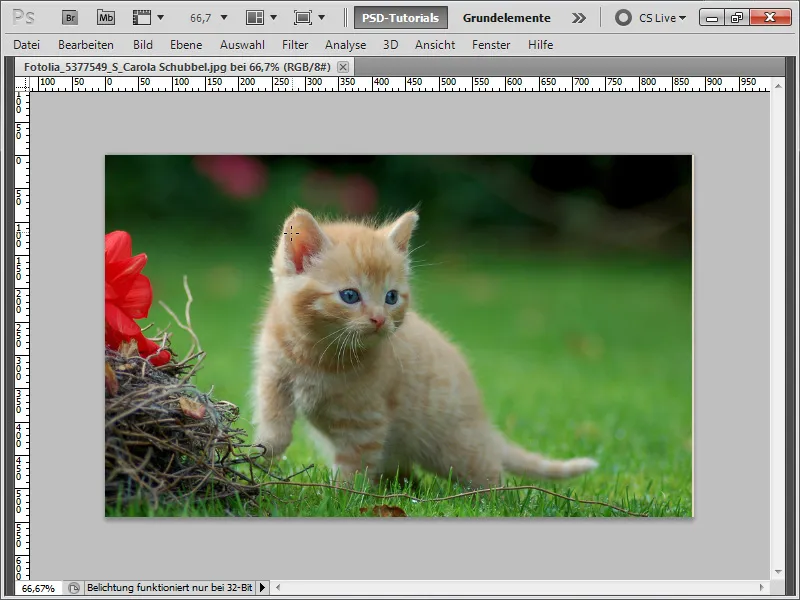
Step 24:
This time, instead of creating a frame, I take this one. I quickly extract it with the magic wand tool (first convert the background layer into a normal layer).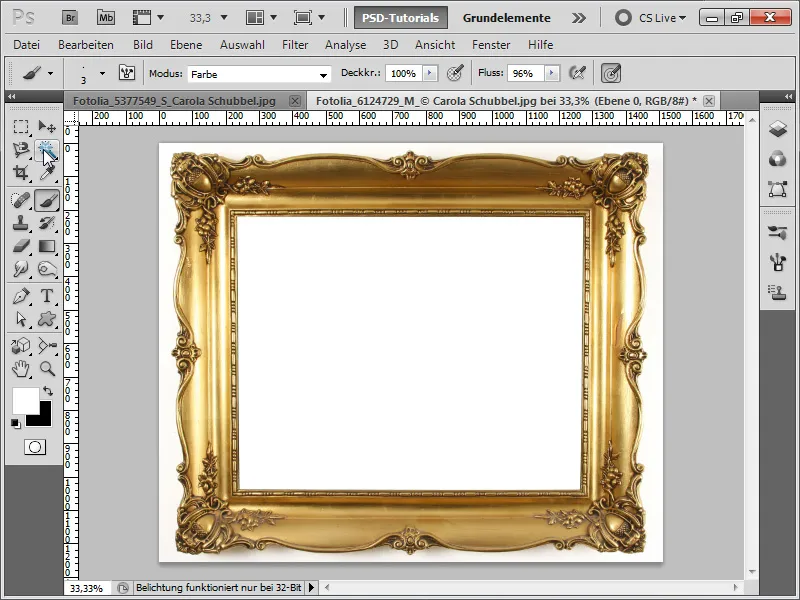
Step 25:
Next, I insert the frame and convert it into a Smart Object so that I can later resize it without any guilt, as the pixels will always remain from the original image. Then I transform the frame with Ctrl+T and then at the top corners with the Ctrl key held down to distort the object perspectively. A guideline assists me with this.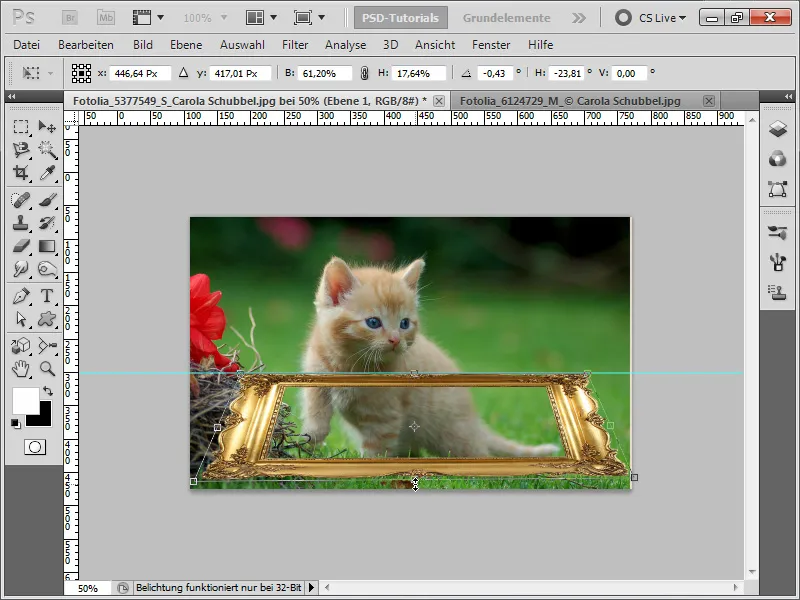
Step 26:
Now I convert the cat's background layer into a normal layer by double-clicking and use the quick selection tool to select the cat.
Then, I click on Refine Edge in the control panel and change the view mode to see my selection. I set the brush size of my refine radius tool to about 30 pixels and now paint the fur.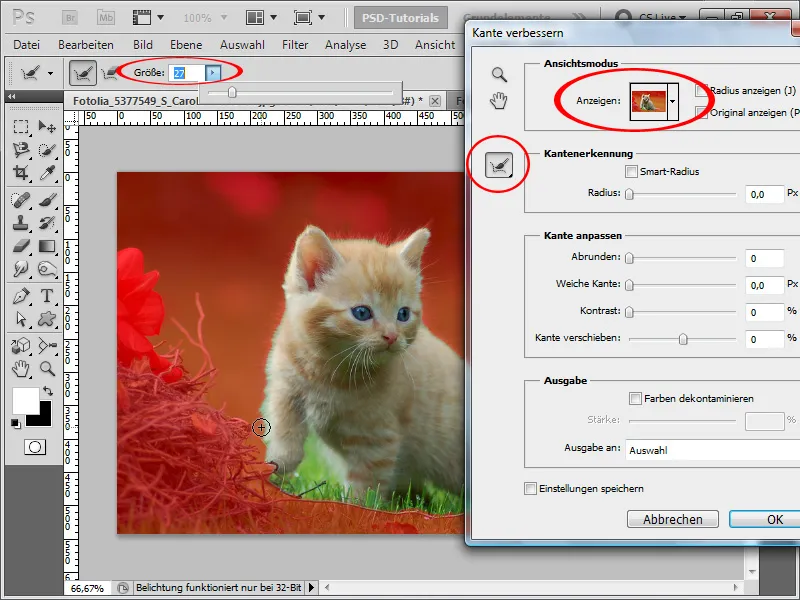
Step 27:
The fur is now perfectly captured by the selection and I choose Layer Mask for output.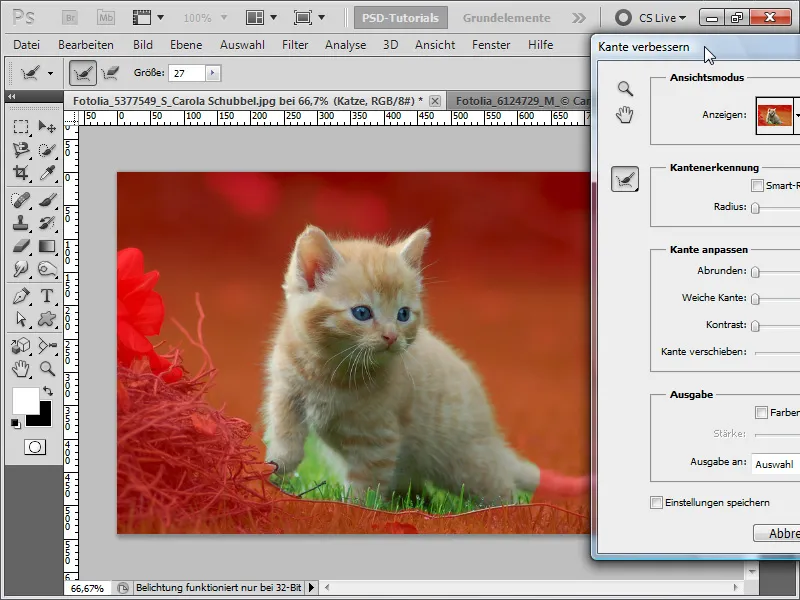
Step 28:
Now I just need to select the inside part of the frame and press Ctrl+Backspace on the cat mask to remove the mask specifically for this part with a white background.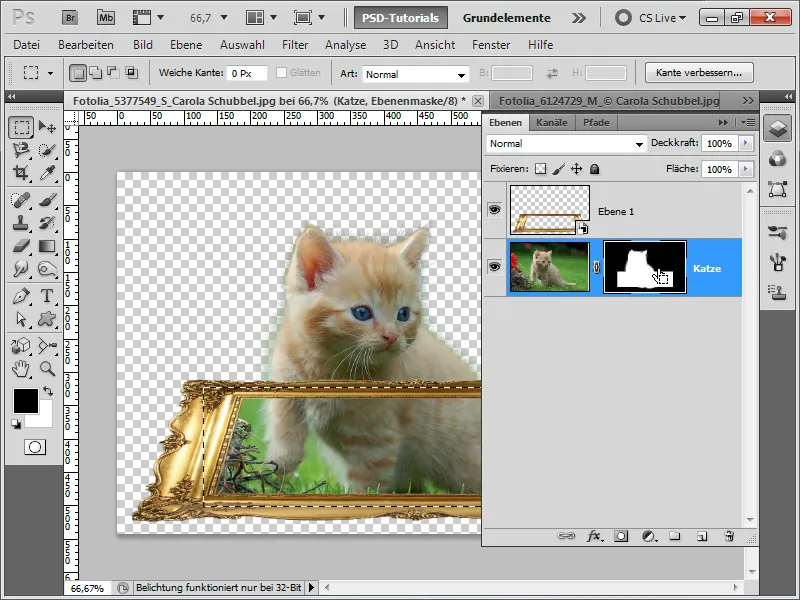
Step 29:
I equip the frame with a layer mask to hide the area where the cat is located. In the background, I add a beautiful radial gradient in a new layer.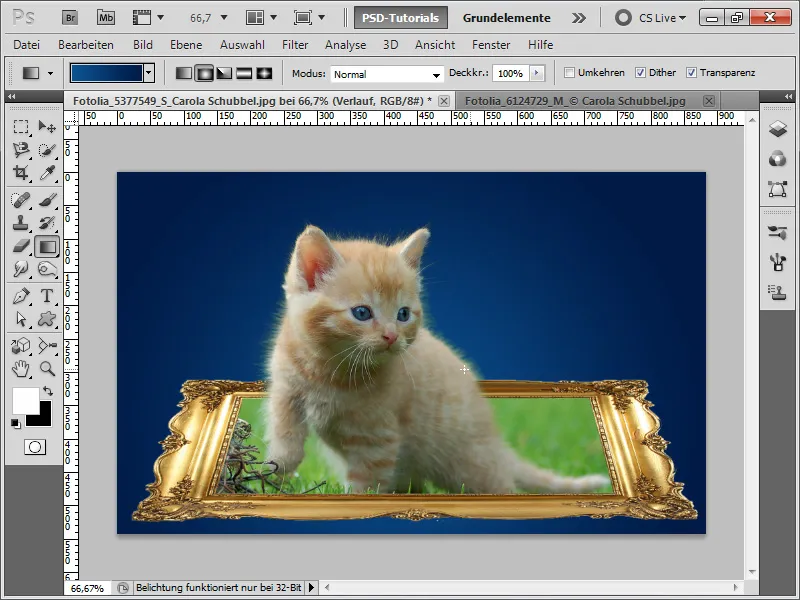
Step 30:
To make the greenish tone in the fur disappear, there are several ways. I take this one: First, I duplicate the cat layer and paint the area with a color from the background using a soft brush in Color mode.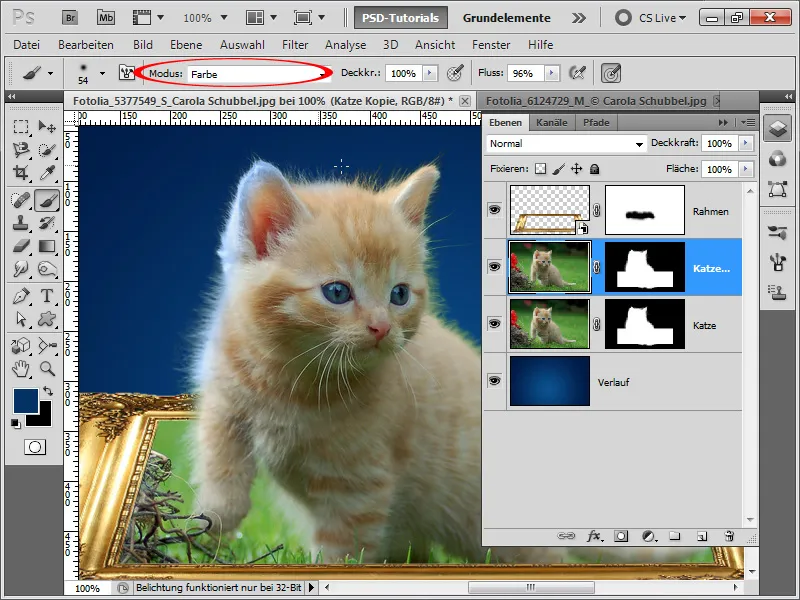
Step 31:
I correct the inner part with the color of the cat again. And already the greenish tone is gone. In the image you can now see the left area, which is already finished. The right one will follow in the next image.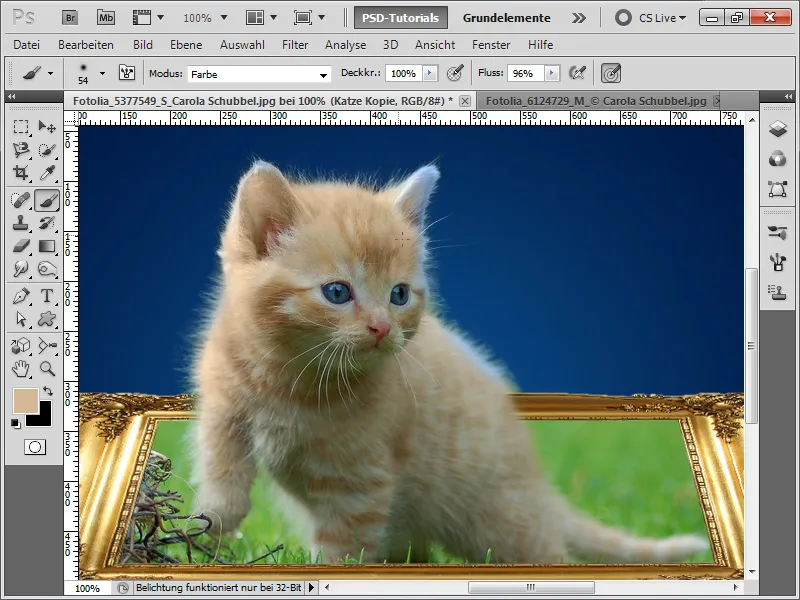
Step 32:
So that the frame only receives a shadow on the outside, I duplicate the frame layer and add a drop shadow there.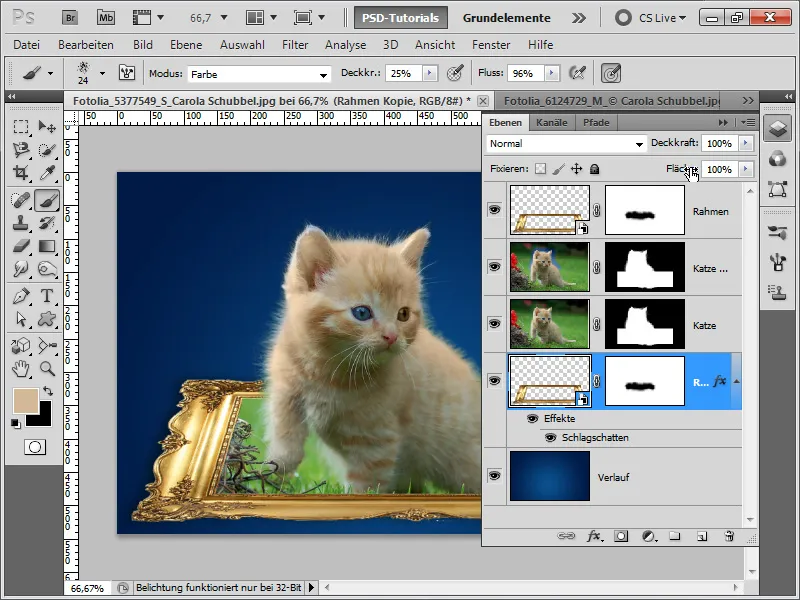
Step 33:
The result will then look like this: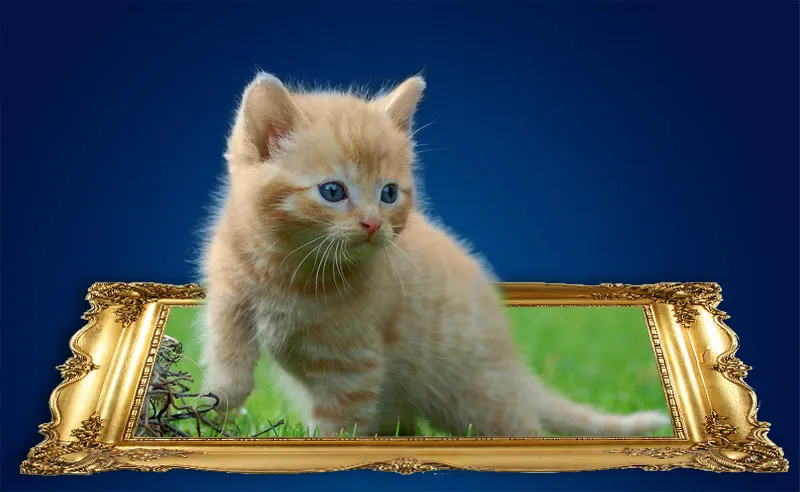
Step 34:
If I want to have a completely different image result, I can e.g. duplicate the cat layer again, color it blue, and then activate the layer mask and invert it with Ctrl+I.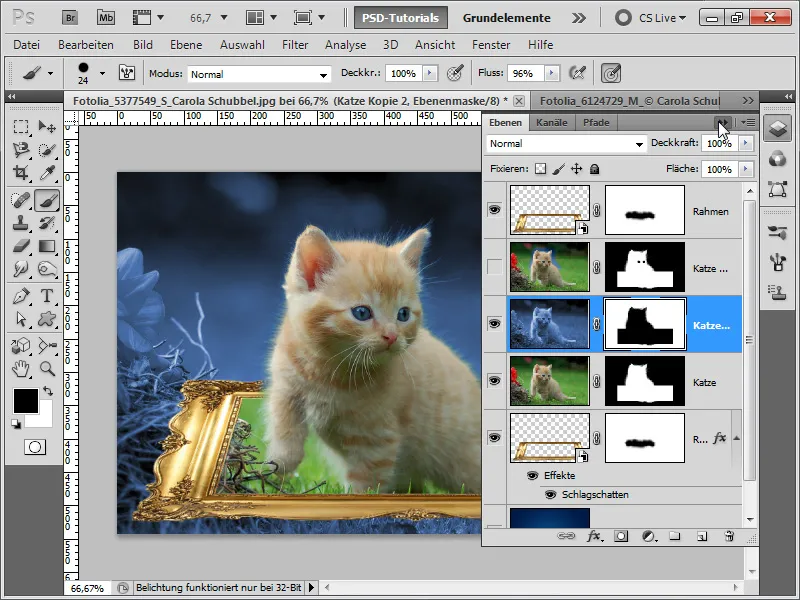
Step 35:
The result would then look like this: