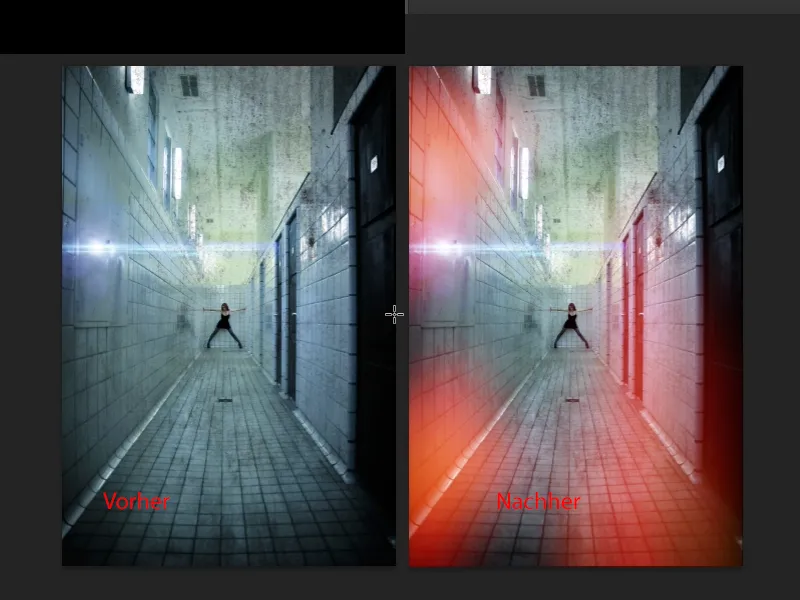
In this tutorial, I would like to show you how to create an ancient analog look. It's actually an image error, and this tutorial is about the so-called leaks, the light leaks, the light holes. This is what it would look like, for example: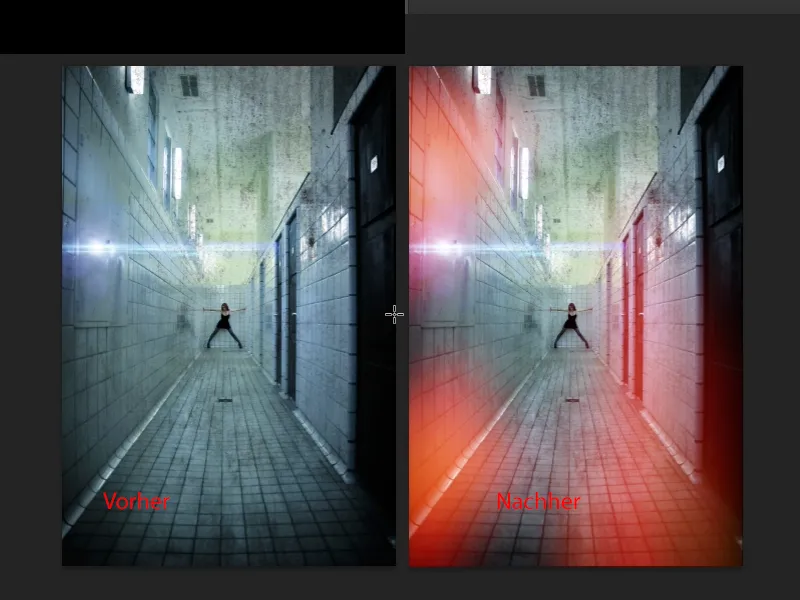
Well, where does the term actually come from? It goes back to the analog era, and when you used to develop pictures properly in the darkroom and you saw this effect on the pictures, there were tiny little holes or slits somewhere in the camera, some gap dimensions were not right and somewhere, not just through the lens, but perhaps somewhere from the side, light hit. Very minimal, and that led to certain areas being either red, blue or greenish, somehow differently exposed and very dull. The picture was then broken and today, crazy world, we artificially build that into our pictures to achieve that look again. I think it's also a bit of this Web 2.0 generation that just loves all these Instagram looks, this faded look and these artificial effects so much, and as a result we've gotten used to it again and say: light leaks are cool. If you think about how it used to be hated and photographers were annoyed because they could usually throw away the lens or the camera, it was a really, really bad thing back then.
Now: How do you create these light leaks? You see, I've prepared this here, it's a layer that's in Multiply Negative mode. And whenever you see something like this, blobs of color on Multiply Negative, it's either painted or created with selections, with shapes.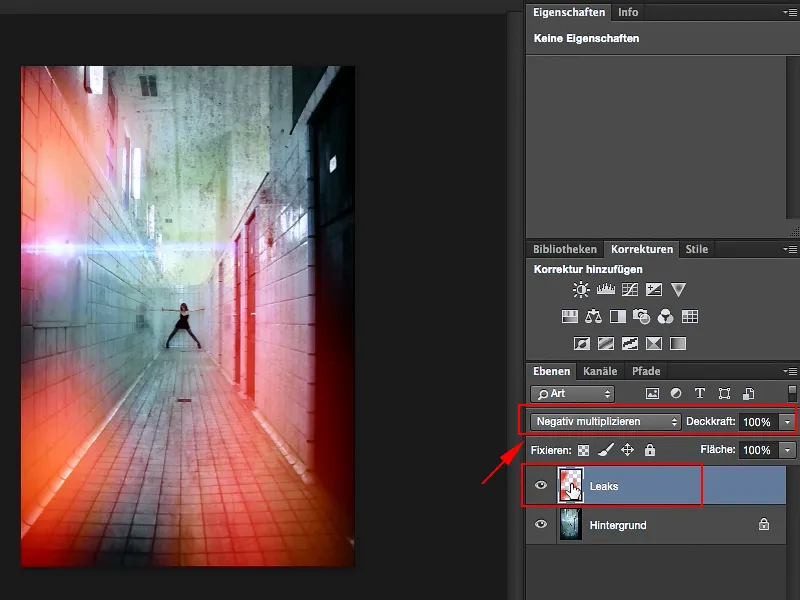
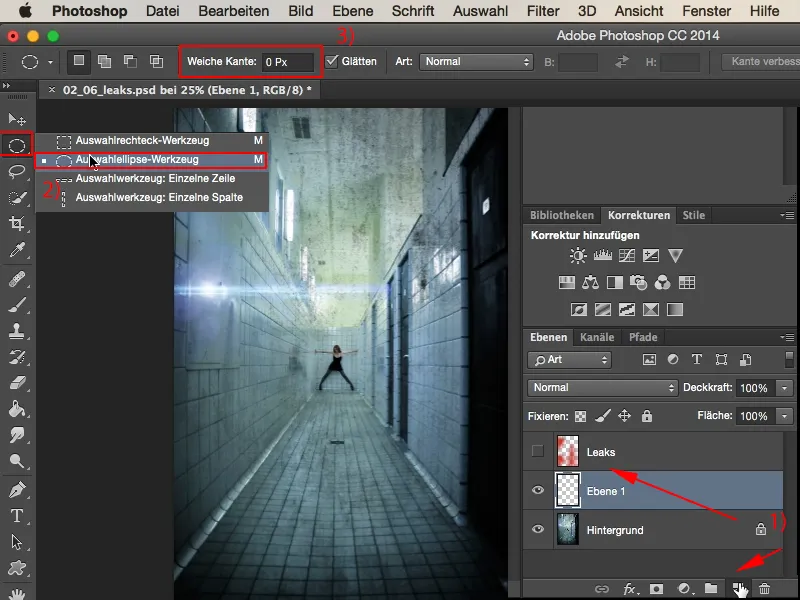
Let me show you how: you create a new, empty layer here (1), and I'll go to the elliptical selection tool (2) at the top. The soft edge up here (3) doesn't really matter, because I'm going to use blurs later. But to see the effect better, it's a good idea to set this to zero.
That would be a first selection. If I want to add more selections, then this variant (1) will not work. In this case, I would always draw a new selection, always a new circle, always a new ellipse, so I have to change the tool here, namely to Add (2).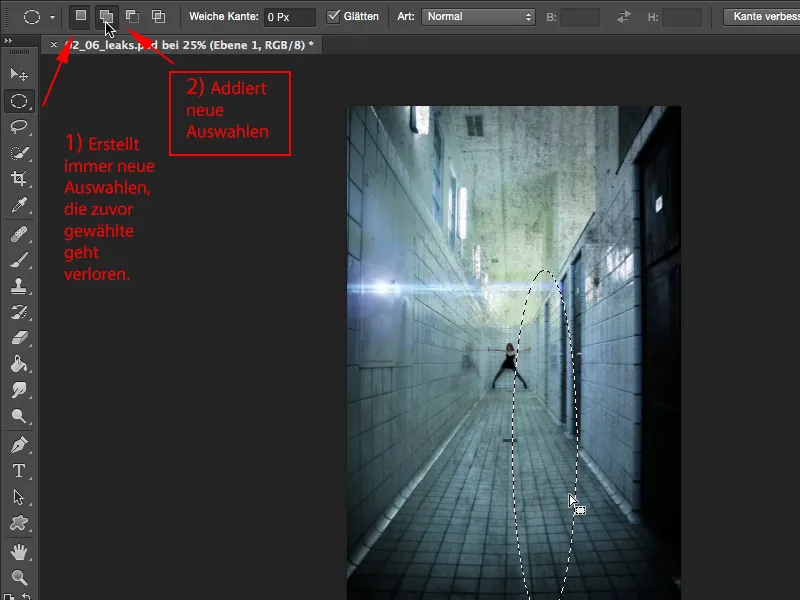
And now I can create a thin ellipse like this and another one there, and maybe a slightly thicker, bulbous, higher one, and another small one on the right at the edge, and we'll also let a little something run in here on the left, and there and maybe up here like this (1). These are the selections that have been added together, and I'll now simply fill them using the Shift key and F5 and fill them with color here (2).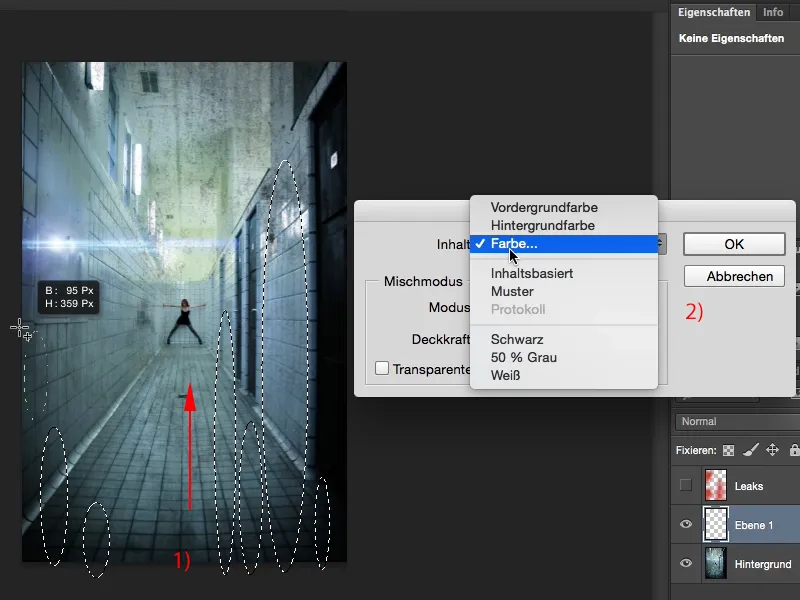
I would now like to have the whole thing in these dark shades of red. I think that looks quite good. And then I'll confirm this with OK.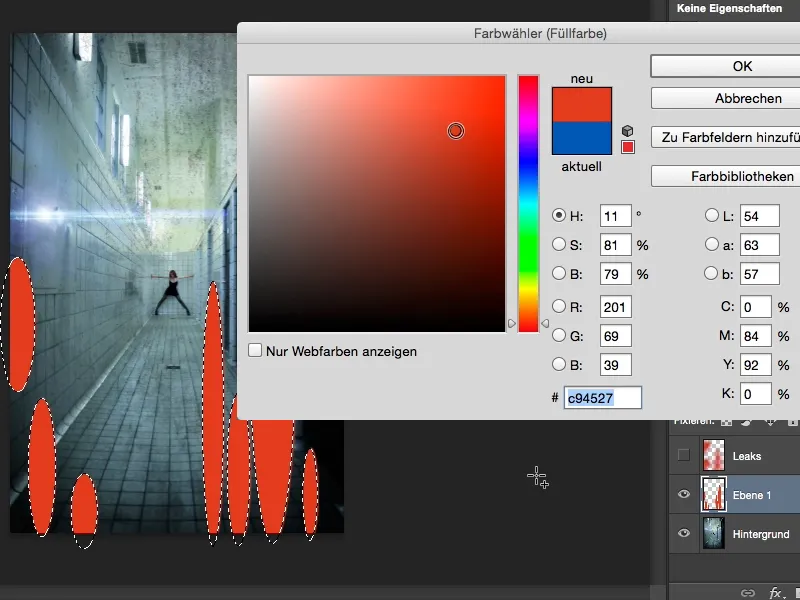
Then I deselect it with Ctrl or Cmd+D, set the whole thing to the aforementioned Multiply Negative mode (1), and before I blur it, I convert this into a smart object via the right mouse button menu (2) so that I can work non-destructively and come back to it at any time.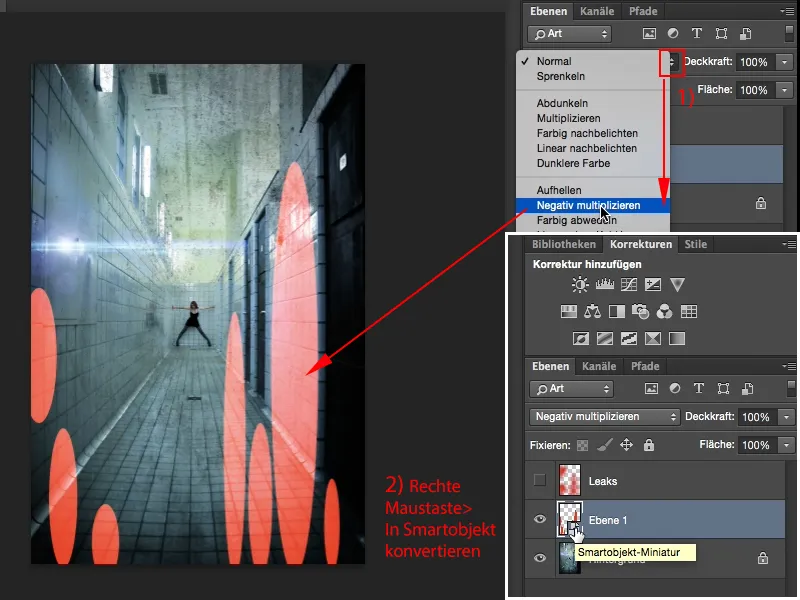
Then I can call up Filter>Blur Filter>Gaussian Blur (1) and drag it a bit in width. That looks quite nice (2).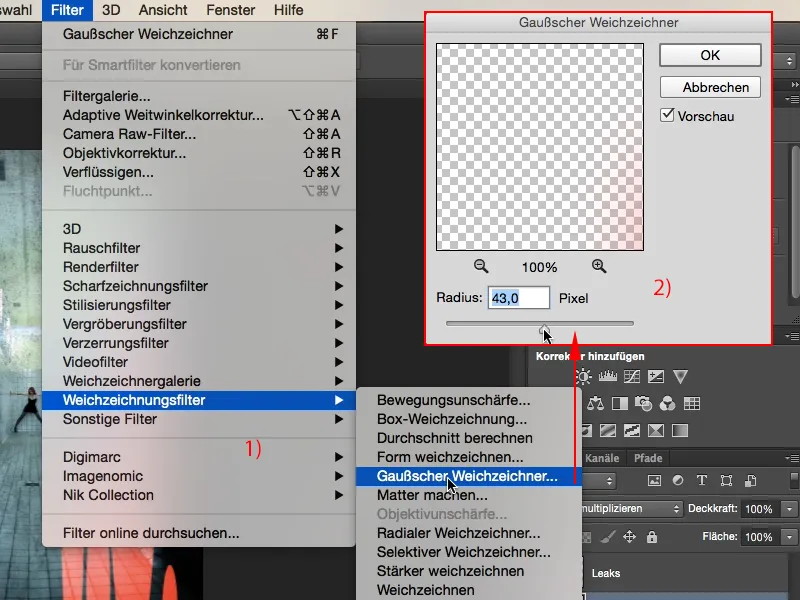
And then I add the motion blur (1) here and enter it like this: At an angle of 90° upwards, and I give the distance a bit of a boost here ,...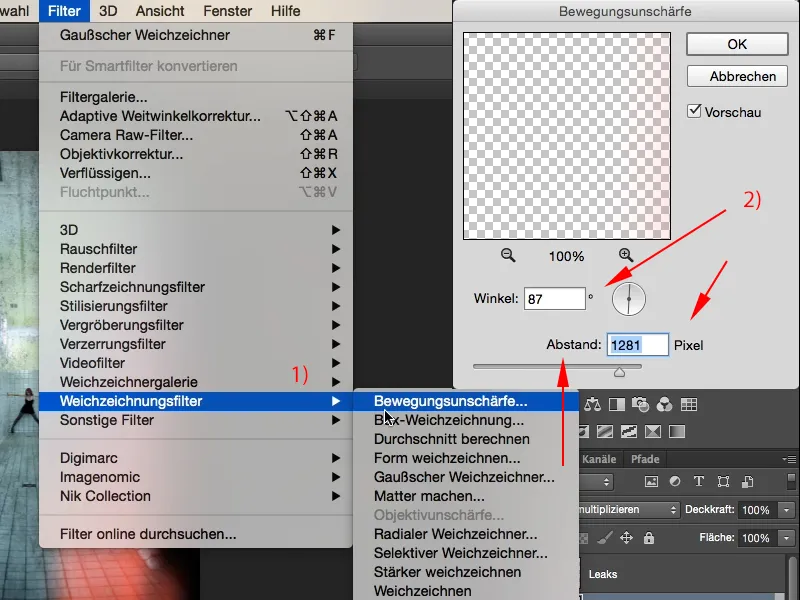
... yes, then it looks as if the light has really broken in down here. That's actually quite cool, that's exactly the effect I want here.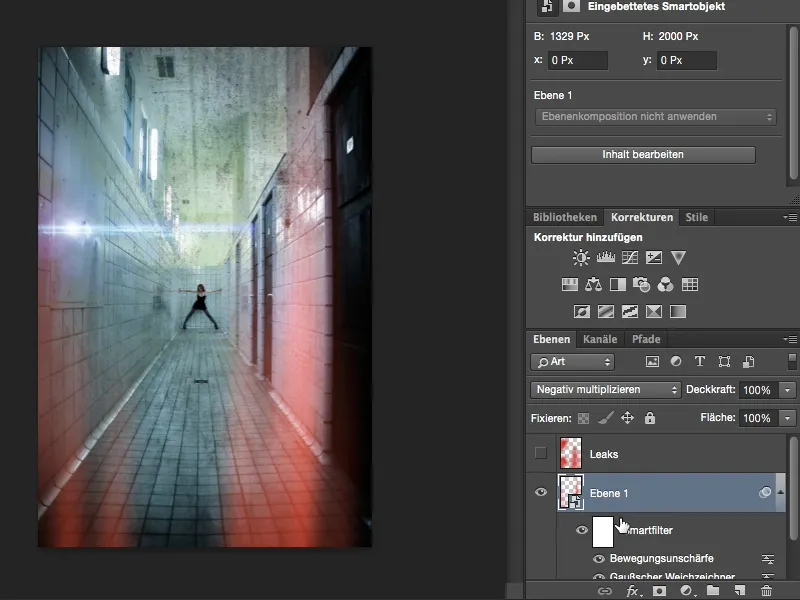
Of course, we can do the same thing with other colors: Just create a new layer, take the elliptical tool- or you can also choose any shape yourself here with the lasso tool (1). You can also paint in zigzag patterns or anything else you like. You also need to switch the tool to Add mode (2) ...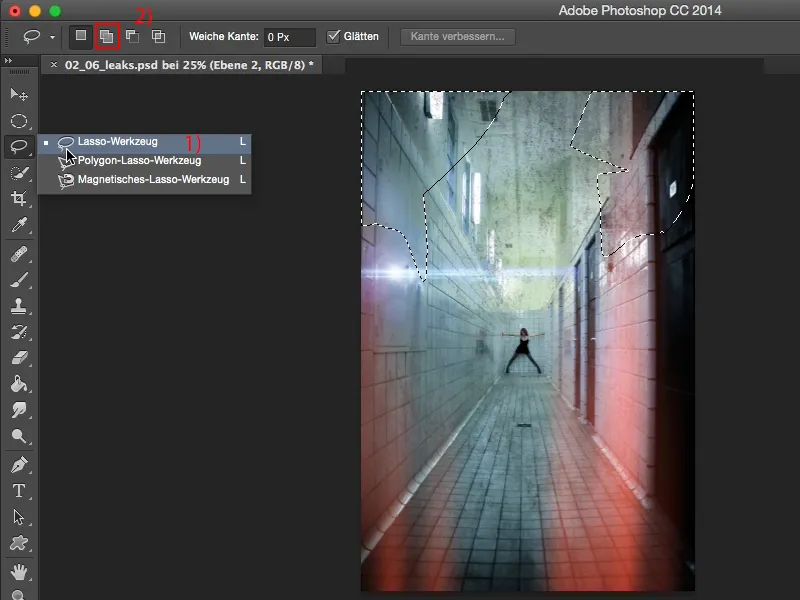
... and then we fill it with a color again; this time I might choose a blue color, that fits quite well, OK.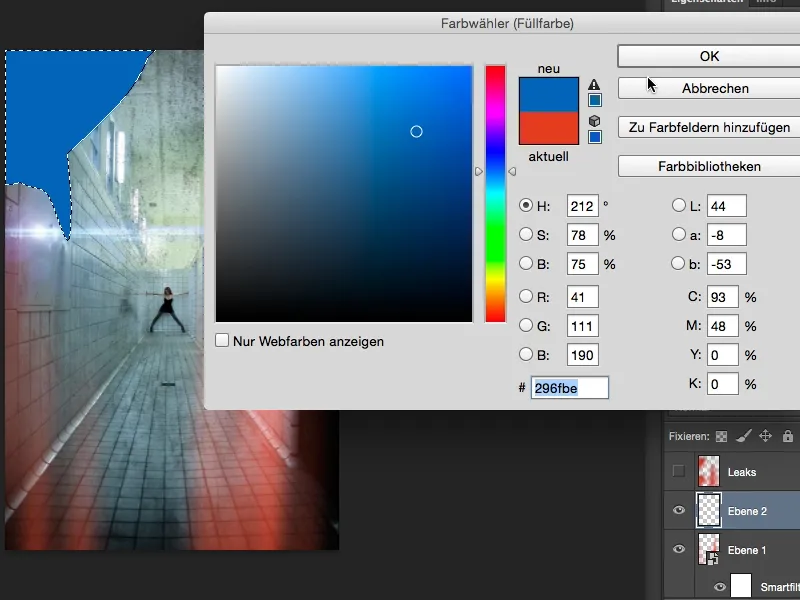
Ctrl+D or Cmd+D, multiply layer mode to negative, convert the whole thing into a smart object, and then I can blur it again. This time we'll use a slightly stronger value.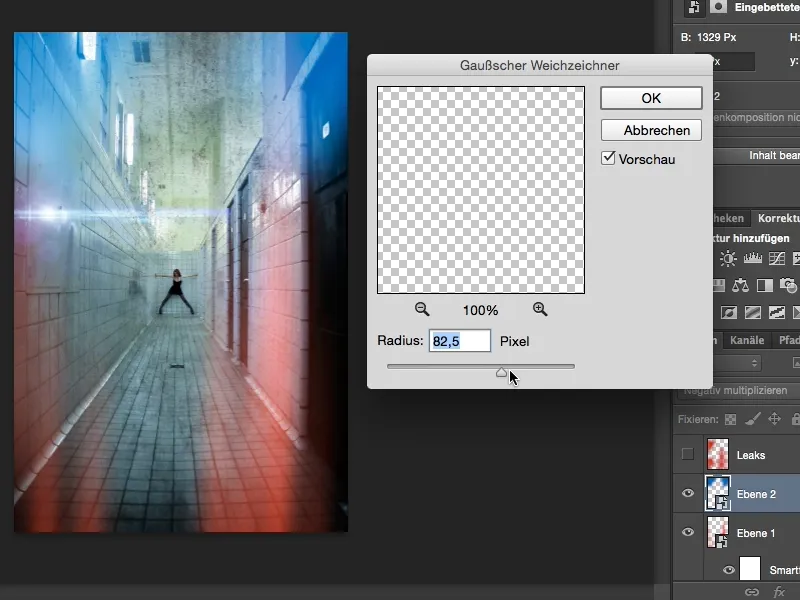
And the motion blur can also be included again. It's really cool like this.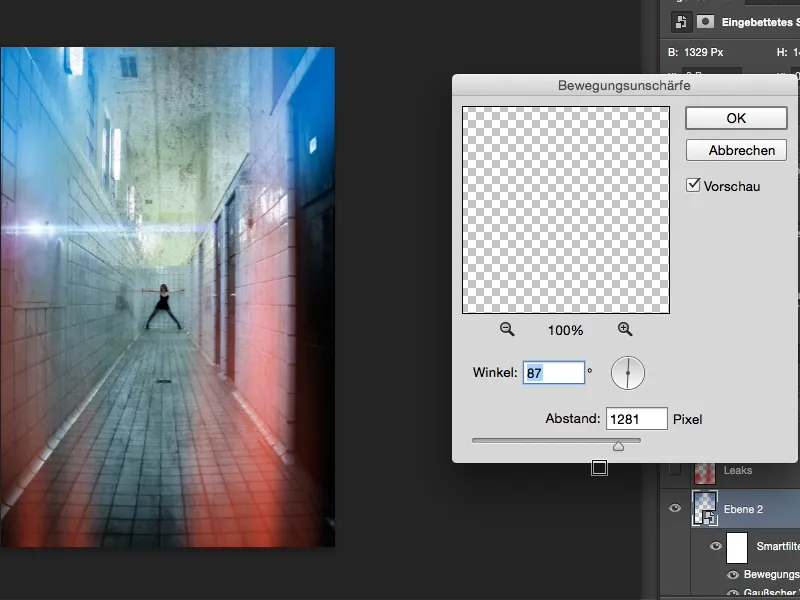
I've just noticed that you can actually use it to create a bicolor effect. But that's just as an aside. I don't want quite so much blue up there, I'd like it to be a bit darker here, I just want a hint of it (1). Yes, and the red leaks down here, I'm just going to take them back a little (2), ...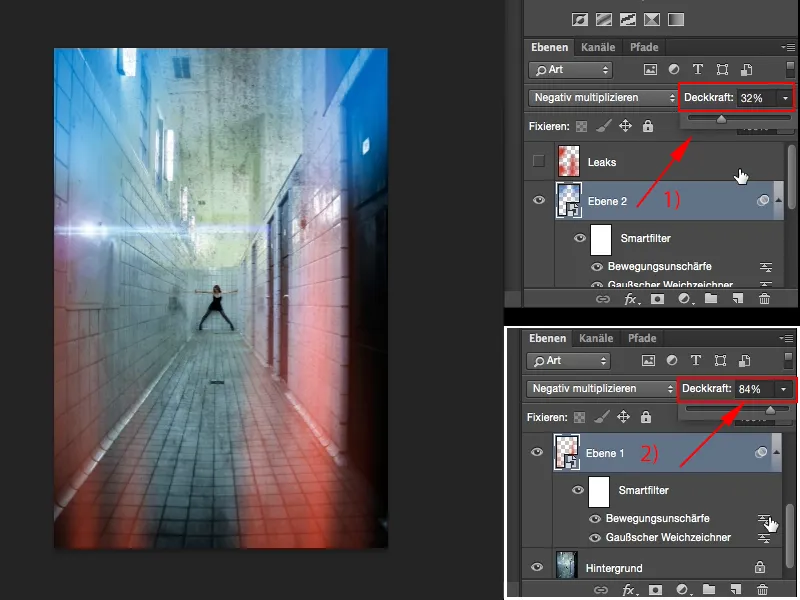
... and now I've created this grungy analog look atmosphere that I'm sure many of you already know, and now you know how you can easily create these leaks yourself in Photoshop.