A puzzle effect is a creative way to present photos in a special manner. With Photoshop, you can create a realistic puzzle from an image and integrate removed pieces to add dynamism to your designs. In this tutorial, I'll show you two variations on how to achieve this effect: a classic puzzle look and a modern, abstracted version. Let's get started and transform your photo into an interactive artwork!
Step 1:
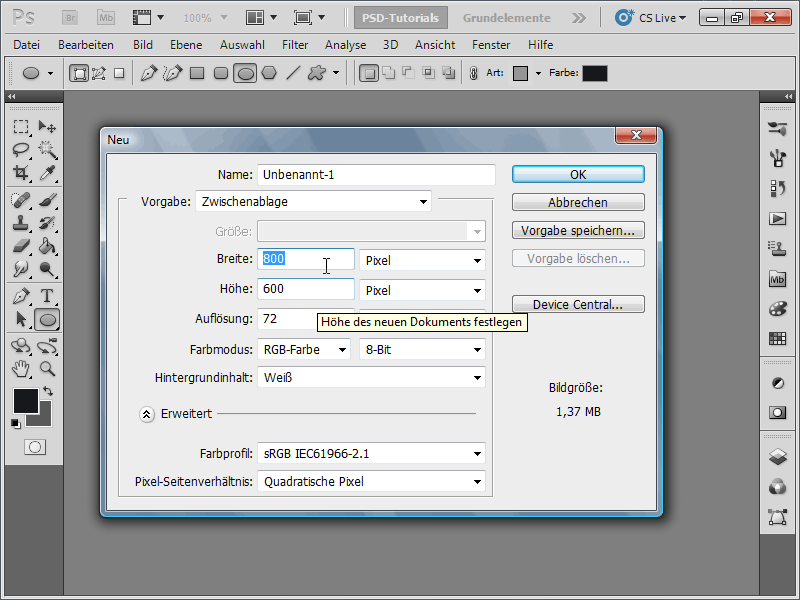
First, I create a new document; the size doesn't matter. I choose a very small size of 800x600 pixels. If you intend to print this effect, the unit should be changed from pixels to cm, and the resolution from 72 to 300 pixels/inch.
Step 2:
Now, I drag and drop a photo of my choice from the file manager into my document.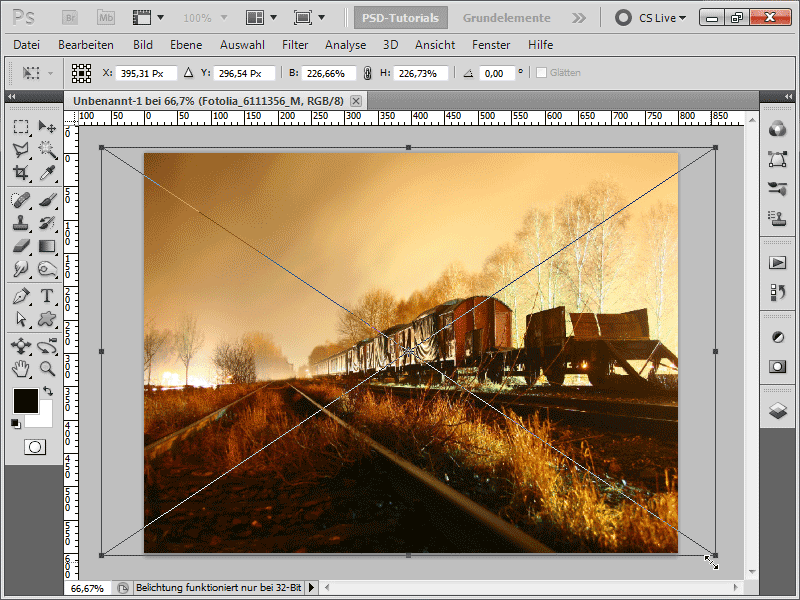
Step 3:
In order to correctly load the Texturize filter with a puzzle texture, I need a puzzle texture as a base, which is included in the Structures directory up to Photoshop CS3.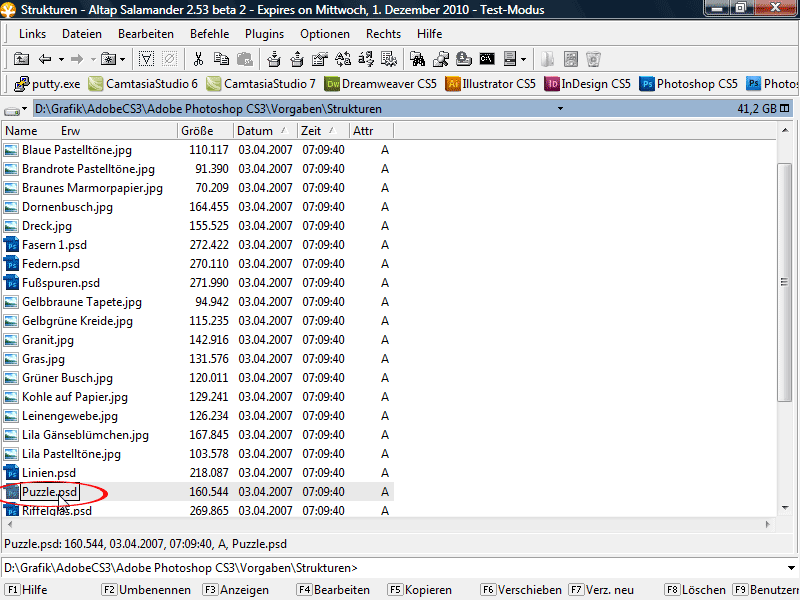
Step 4:
All Photoshop owners with a higher version can visit the link Adobe Photoshop CS5 - Optional Add-Ons+Opt.Optional Reading.pdf - German. (Available at www.adobe.de, then under Downloads>Updates and there under Photoshop).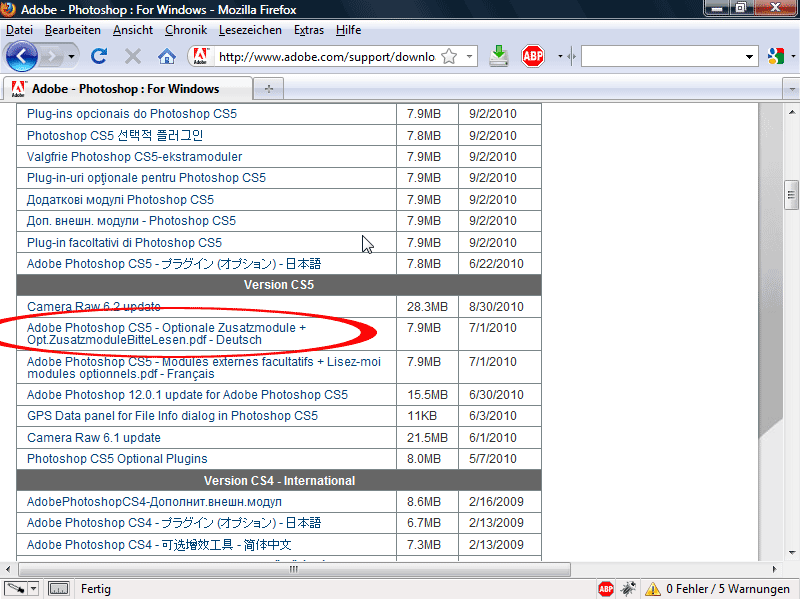
Step 5:
In the compressed file, in the Textures directory, you will find the puzzle file. I will now unpack this.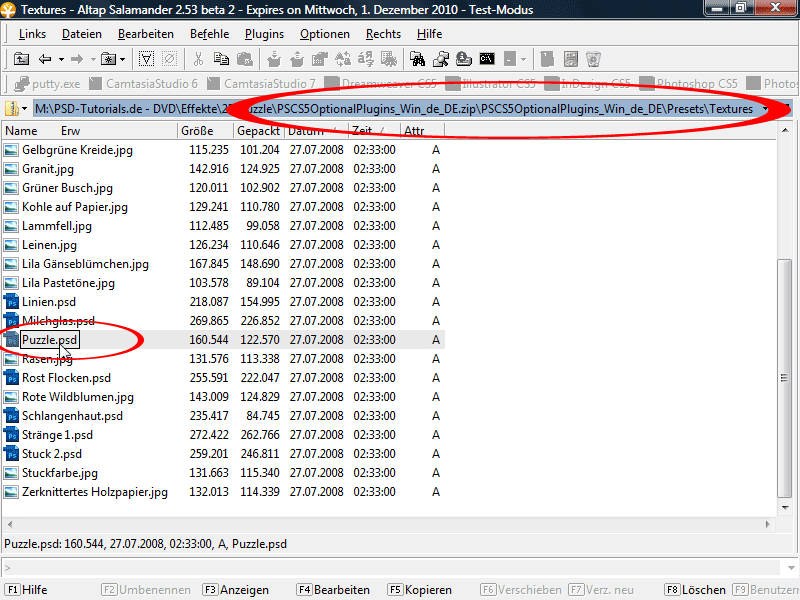
Step 6:
For safety, I duplicate my photo layer with Ctrl+J and hide the original. I now activate my duplicated photo layer, go to the Filter menu, and select the Texturize filter.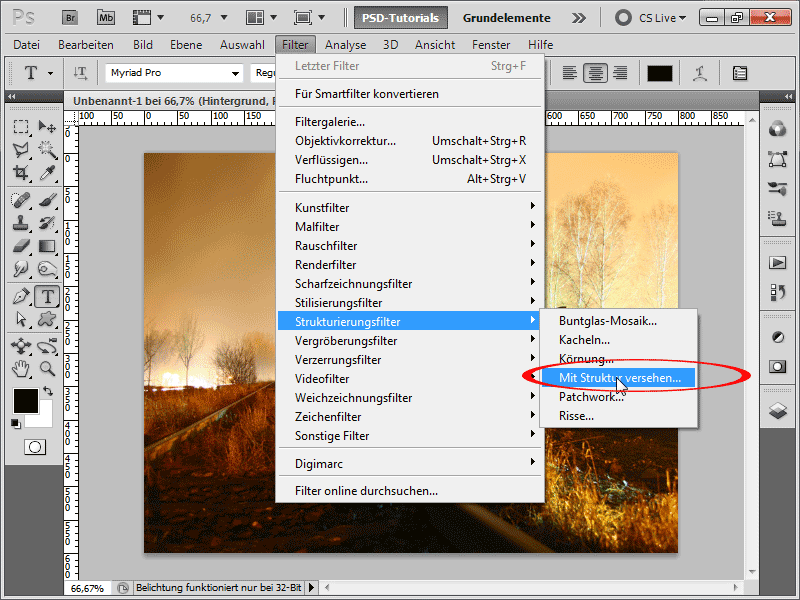
Step 7:
Now I click on the Options menu to load my Puzzle.psd file.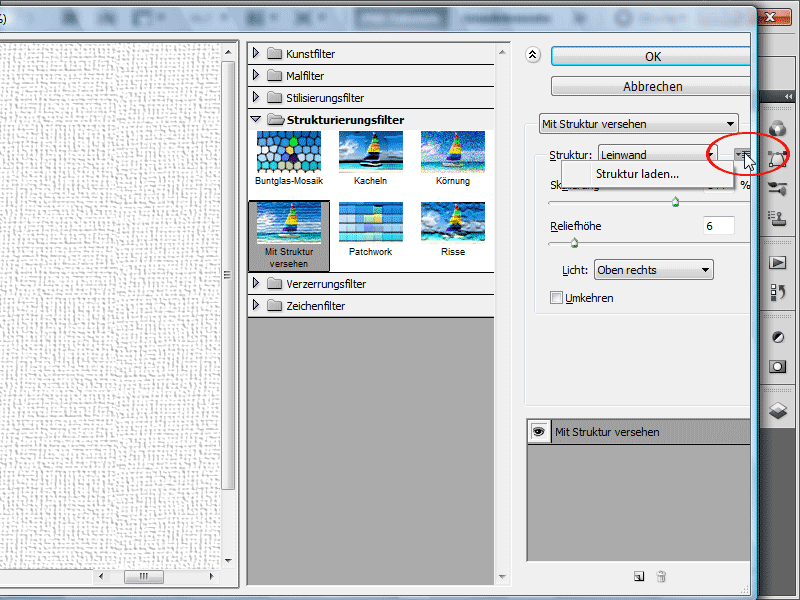
Step 8:
During the scaling, I can also adjust the size. But be careful: The larger the scaling, the more blurry the puzzle effect becomes. I set the Relief height to 6 and the Light to Top right.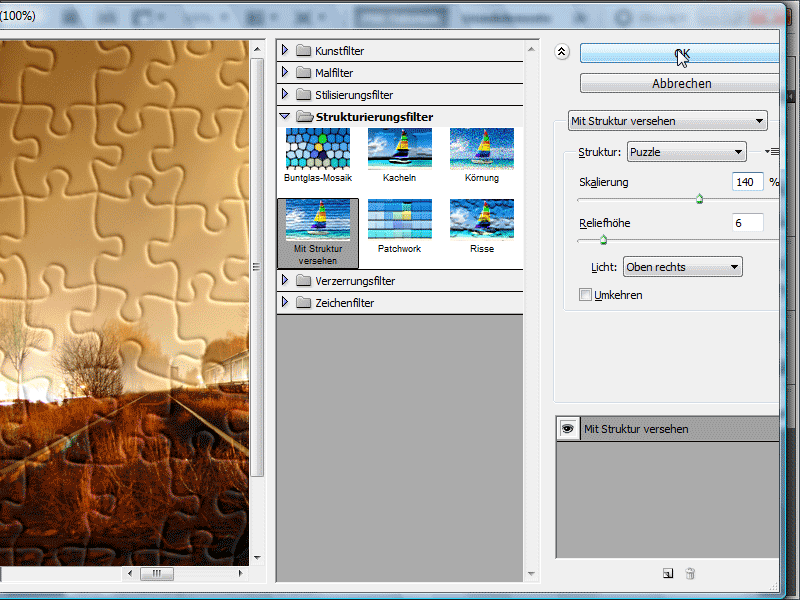
Step 9:
At 100% Scaling, my puzzle now looks like this: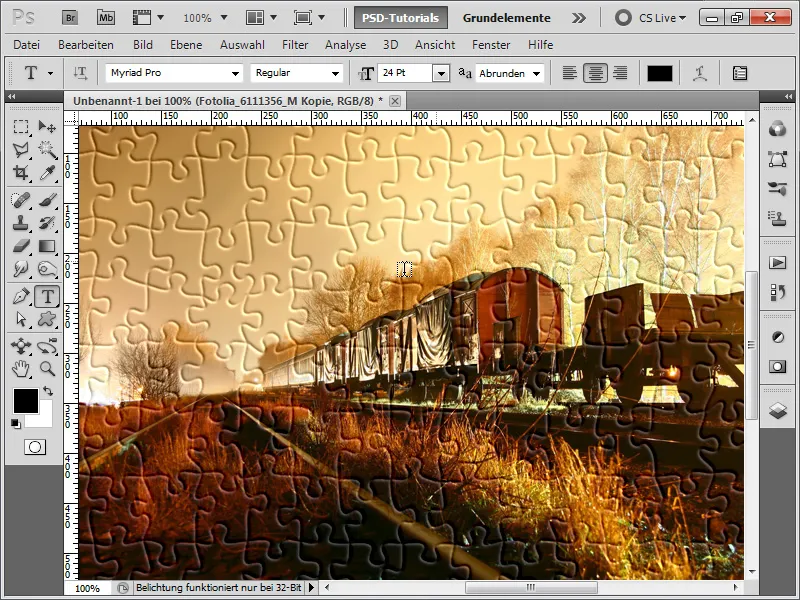
Step 10:
Now, I want to remove a few puzzle pieces. There are various good methods for this. I choose the Pen tool solution: I create a Work path with the Pen tool for this purpose.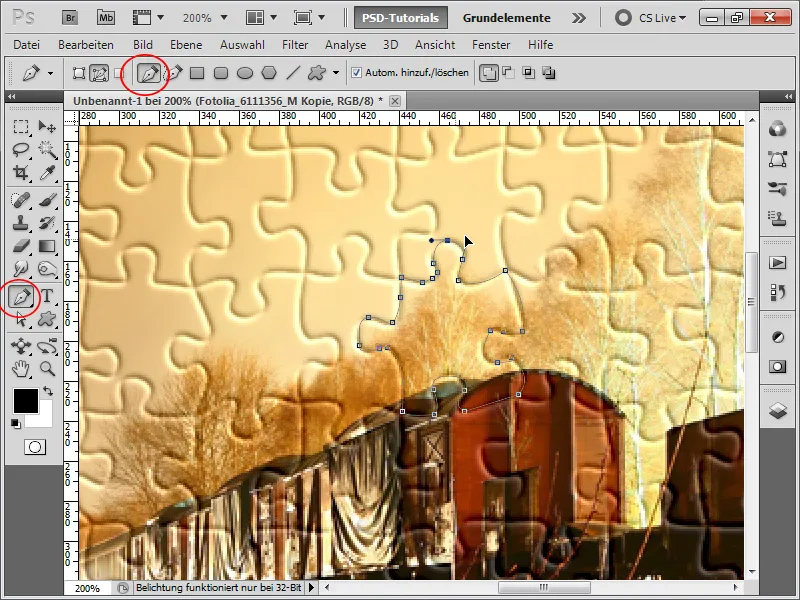
Step 11:
Next, in the Paths panel, I right-click on my work path and then choose Make selection. A Radius of 1 pixel can be set to create a soft selection. However, I leave it at 0 pixel Radius. I leave the Feather option as it is.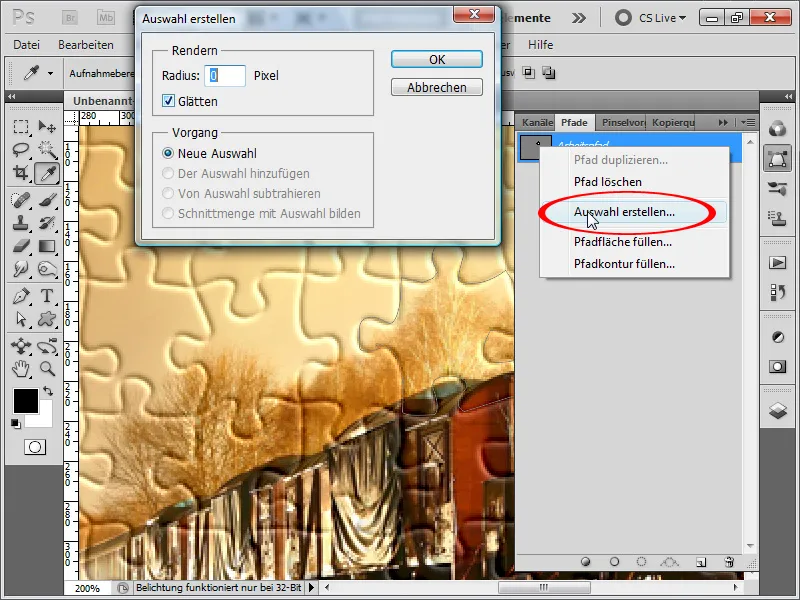
Step 12:
Now, I simply press Ctrl+X to cut out the image and Ctrl+V to paste it as a new layer. Then, I rotate my puzzle piece and add a drop shadow to both layers.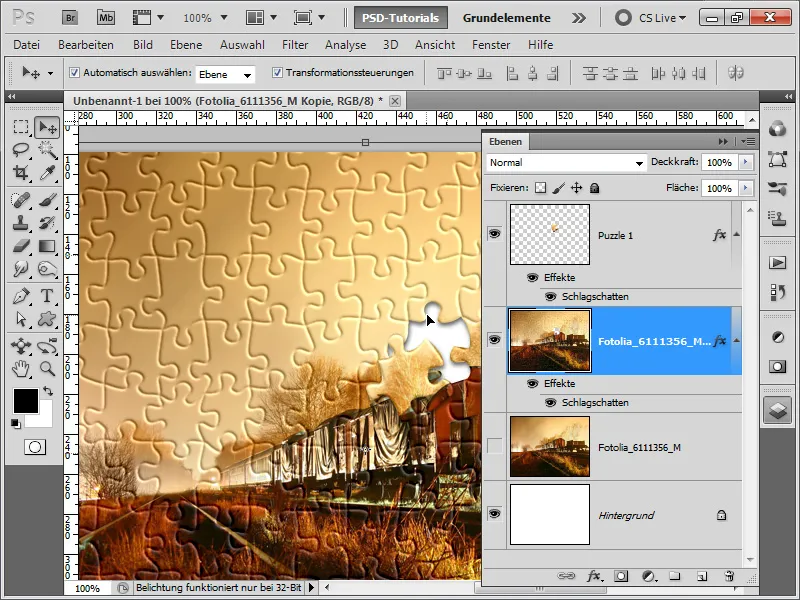
Step 13:
For the next puzzle piece, I use the Lasso tool. This works well if you have a graphics tablet or a very good mouse. With the Alt- or Shift key, I can add or subtract areas from the selection.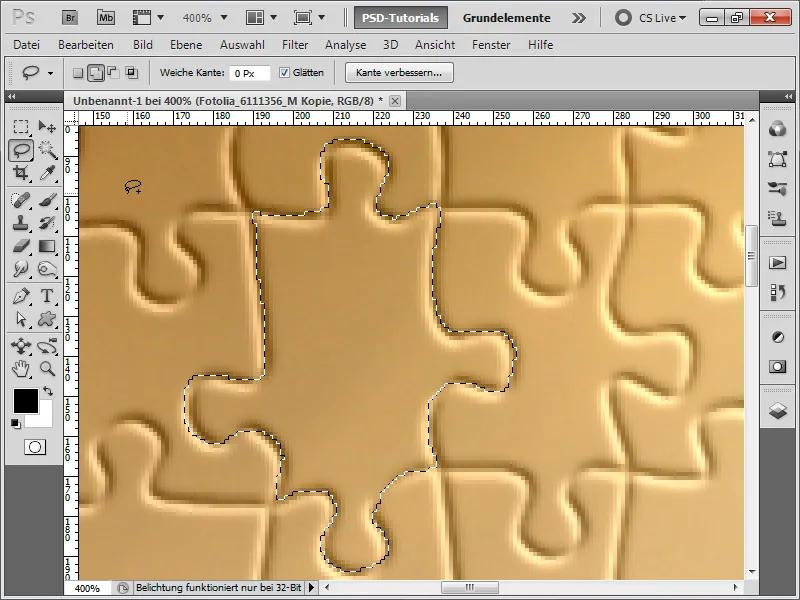
Step 14:
If I still have my selection and my selection tool active, I can call Refine Edge at the top of the control panel. I choose to Round a little and possibly also a minimal Feather Edge value.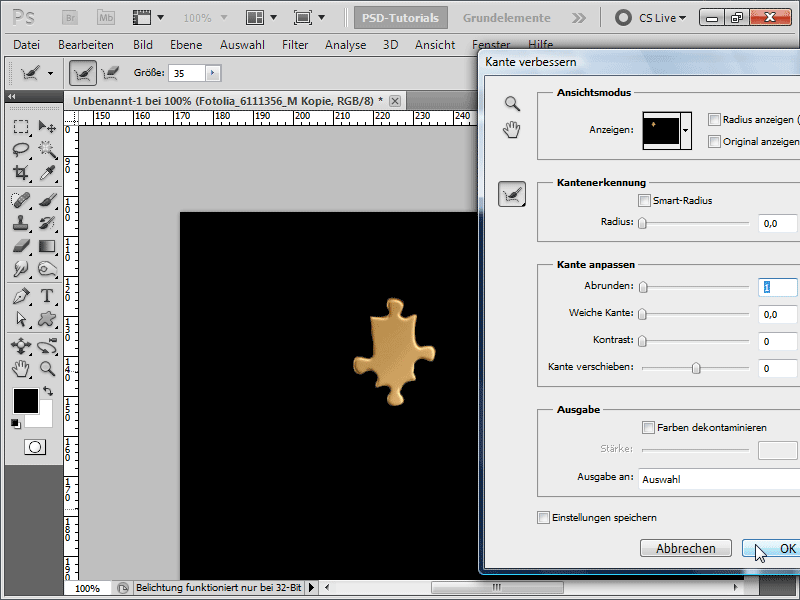
Step 15:
Next, I press Ctrl+X again to cut out the image and Ctrl+V to paste it as a new layer. Then I rotate my puzzle piece and add a Drop Shadow to my layer.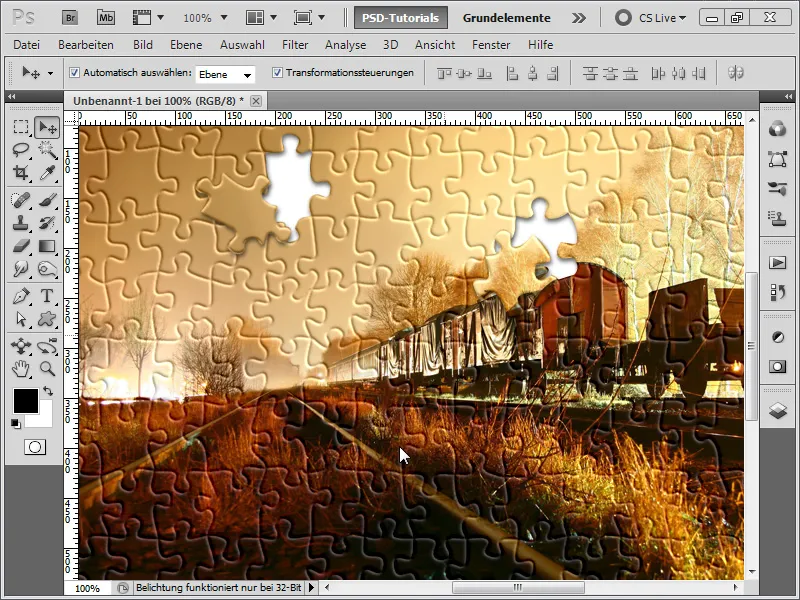
Step 16:
I select the next two puzzle pieces with the Polygon Lasso Tool and optimize them with Refine Edge. To create an additional optional effect, I first add a Layer Mask to my photo.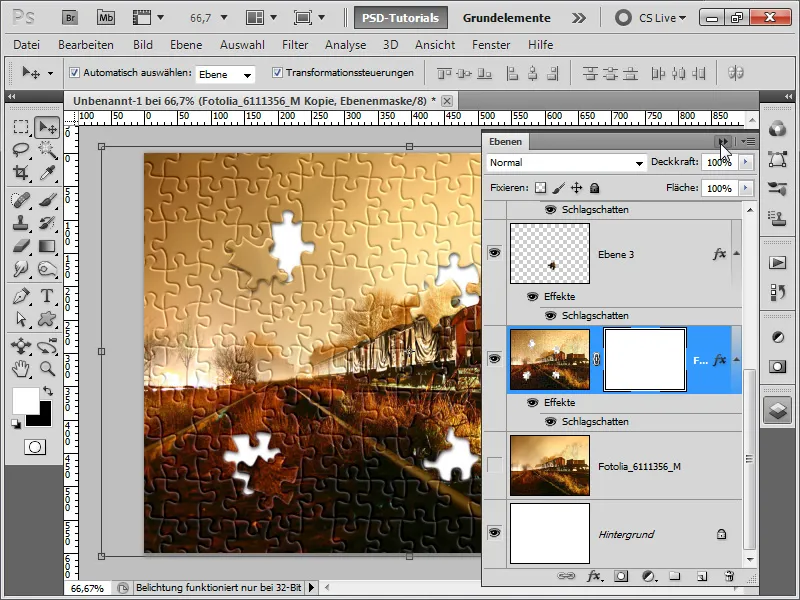
Step 17:
Then I use the Lasso Tool to select the puzzle pieces from the top to the bottom along the edge.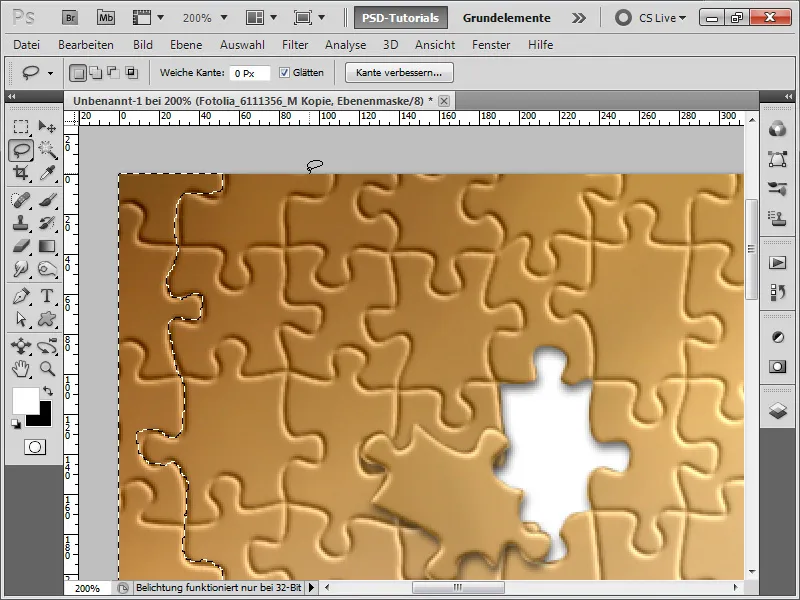
Step 18:
Now I fill my selection with black to hide this part. And it already looks as if there are missing puzzle pieces at the edge.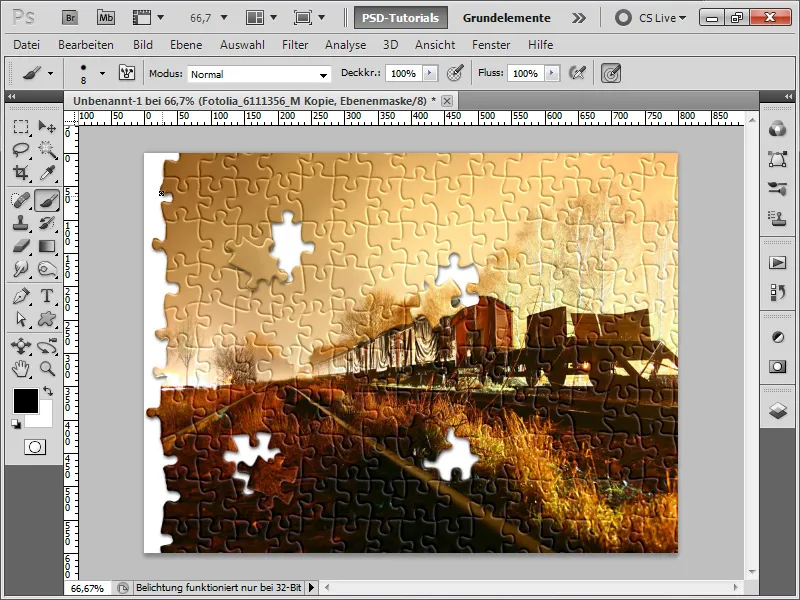
Step 19:
At the edge, I remove another puzzle piece using the mask. I can fine-tune poorly selected areas within the mask with a brush. Additionally, I add an Inner Shadow to the top left puzzle piece using the Fill Option.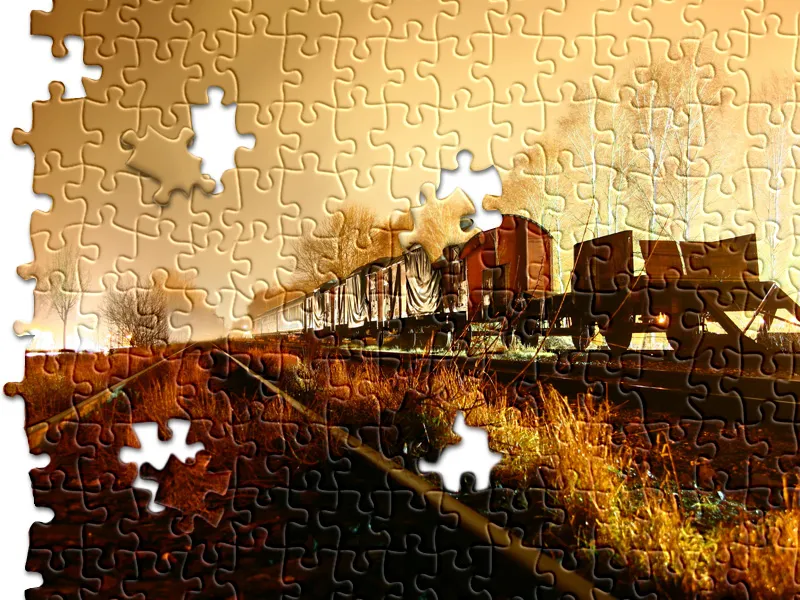
Step 20:
In the second method of creating a puzzle, I assume that the puzzle.psd file is not available and one has to come up with something else. I get a puzzle photo on www.sxc.hu. Unfortunately, there is no puzzle without distracting image contents. I chose this photo because only the middle part needs to be removed.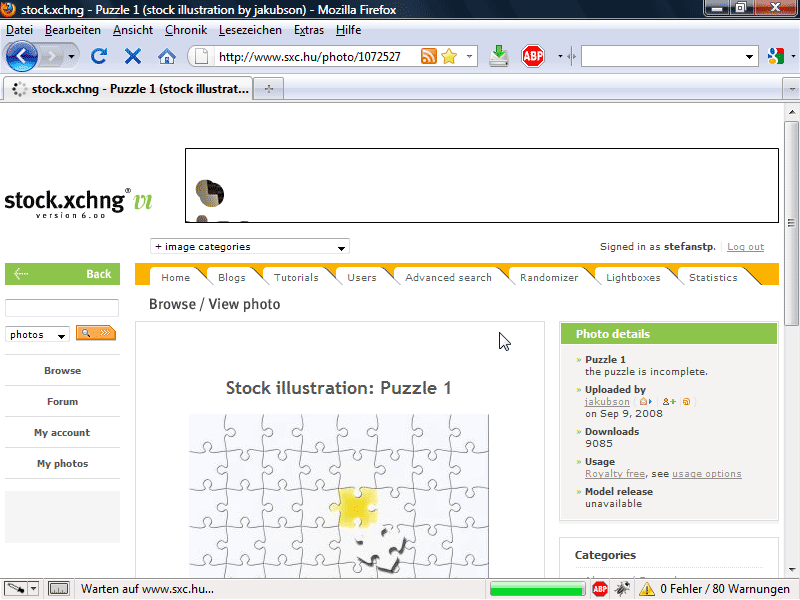
Step 21:
I then load this photo in full resolution (for this, you need to be registered for free at sxc.hu) into Photoshop and select half of it.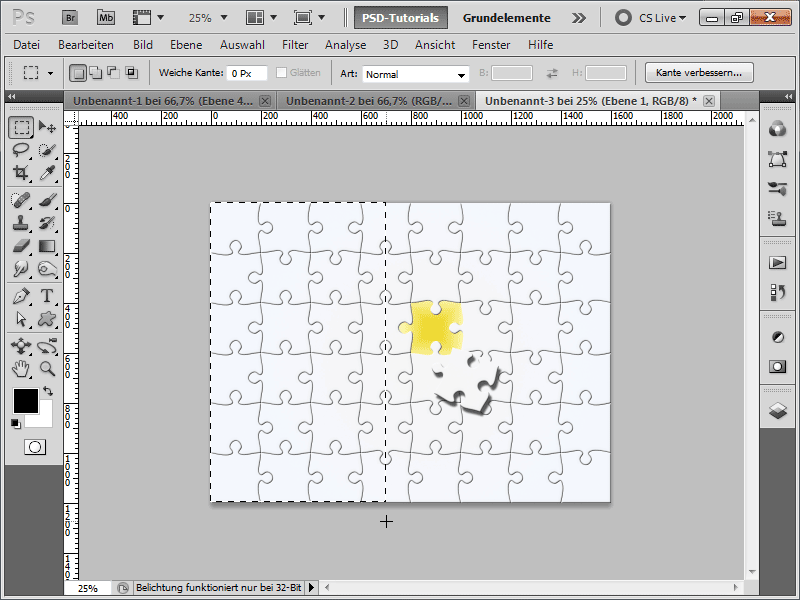
Step 22:
Now copy the contents of the selection and paste it using Ctrl+V. Then press Ctrl+T to transform the layer, then right-click and then Flip Horizontal.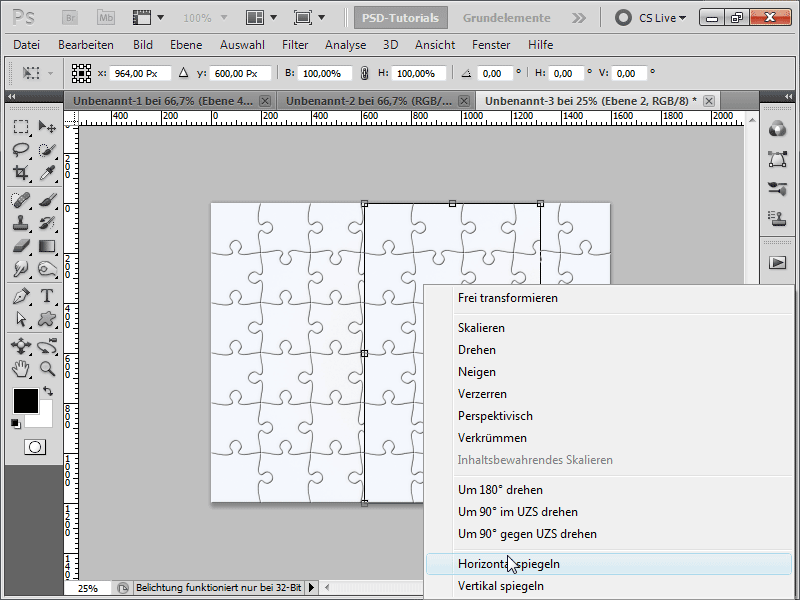
Step 23:
Next, extend the workspace further and merge my layers together (select layers in the Layers Panel with the Shift key and press Ctrl+E). Then duplicate them with Ctrl+J, mirror them again with Ctrl+T, and piece together the empty spaces until a large puzzle texture is formed (more details are available in the video).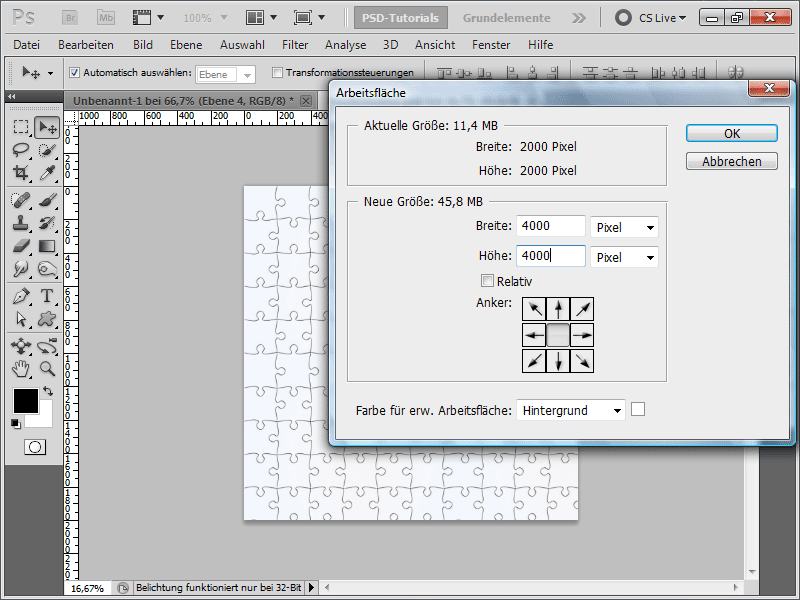
Step 24:
I save the large puzzle texture as a PSD file (the view is currently only at 8.33%, so as you can see, this texture is really very large).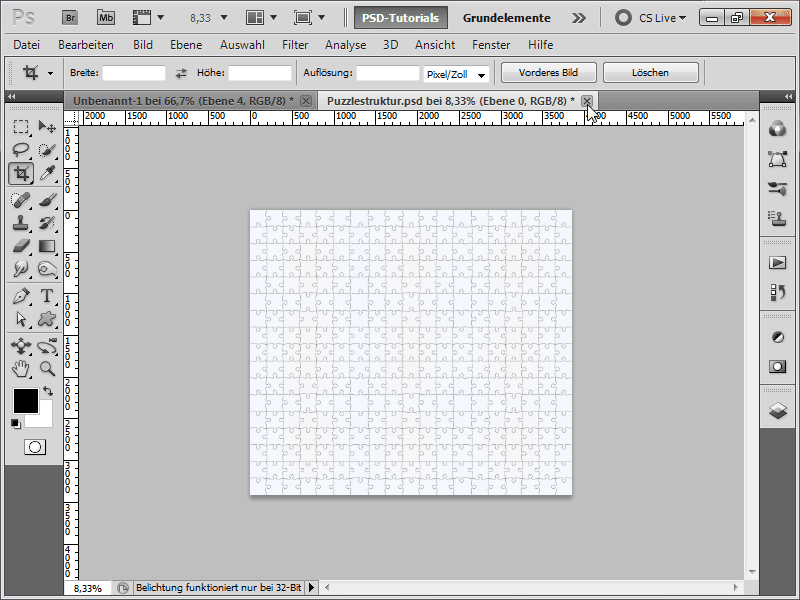
Step 25:
Now I open a photo of my choice, then go to the Filter menu and click on Add Texture again. Then in the Options menu, I load my new puzzle PSD file, and the result looks like this with a photo over 4000 pixels wide.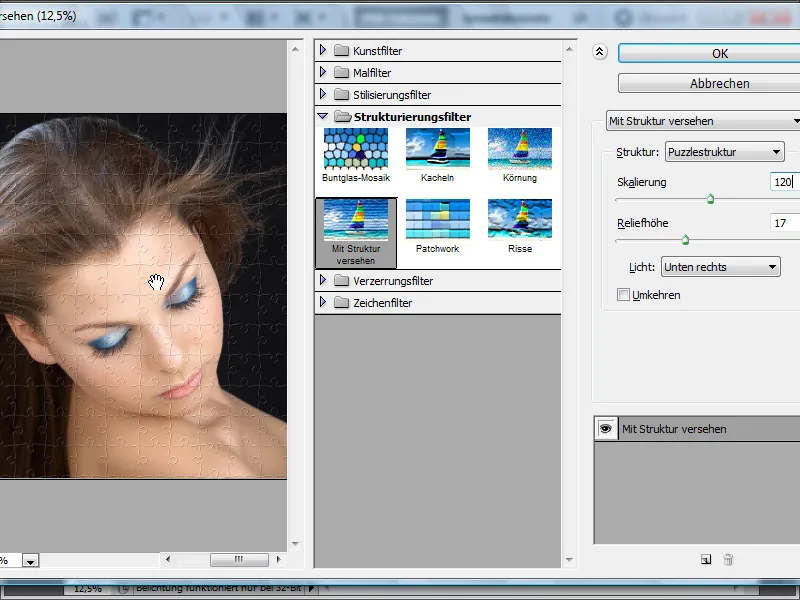
Step 26:
Next, I convert the background layer to a normal layer by double-clicking and create a layer with white color underneath it.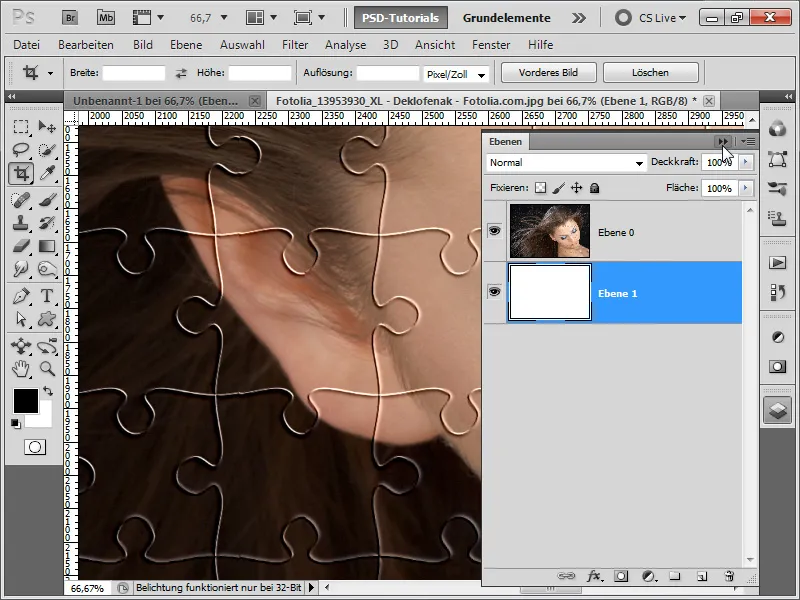
Step 27:
Here I can again extract a puzzle piece using the Lasso tool and add a drop shadow to both layers.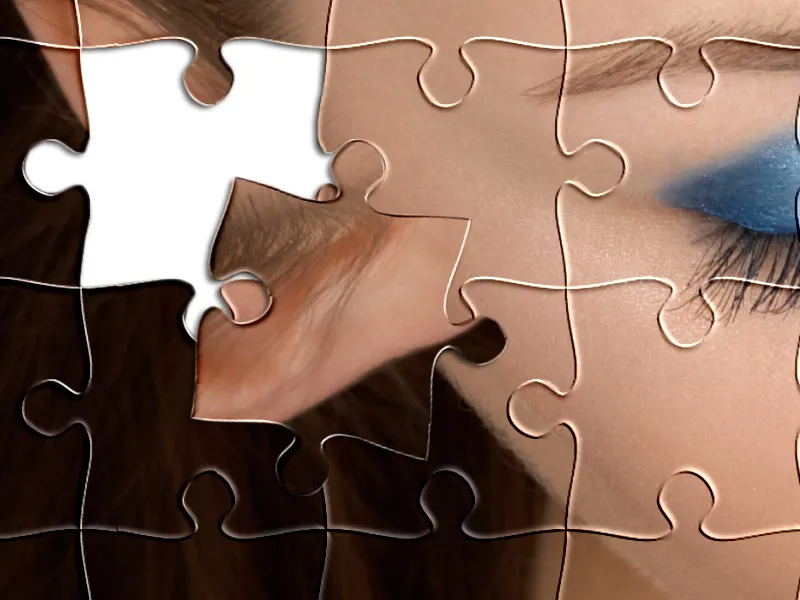
Step 28:
At 25% zoom, the image looks like this: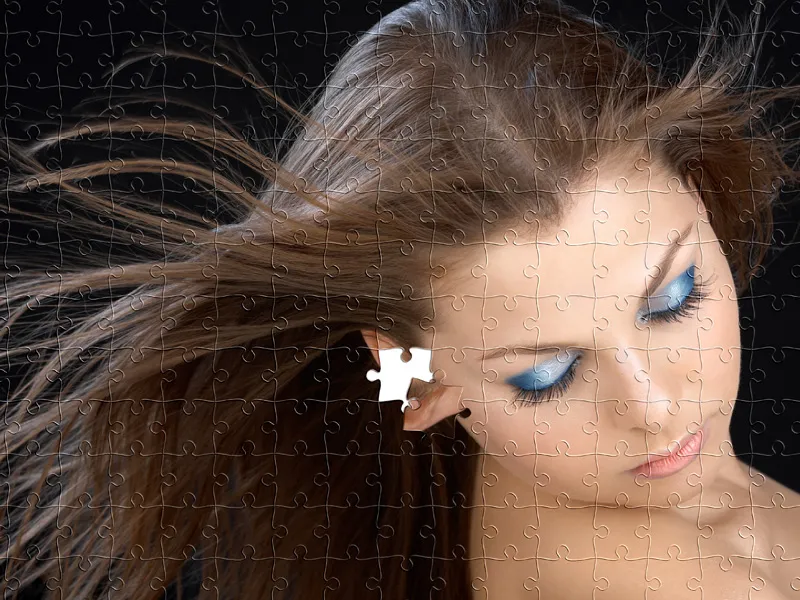
I hope I could show with these two variants that it's not that difficult to create a puzzle from a photo.


