Actions in Photoshop are basically not complex and difficult myths, but simply a sequence of commands executed in Photoshop. So if a filter has been recorded in an action, it will be applied to every image to which you apply it. You can find the actions palette under "Window > Actions" or by pressing F9.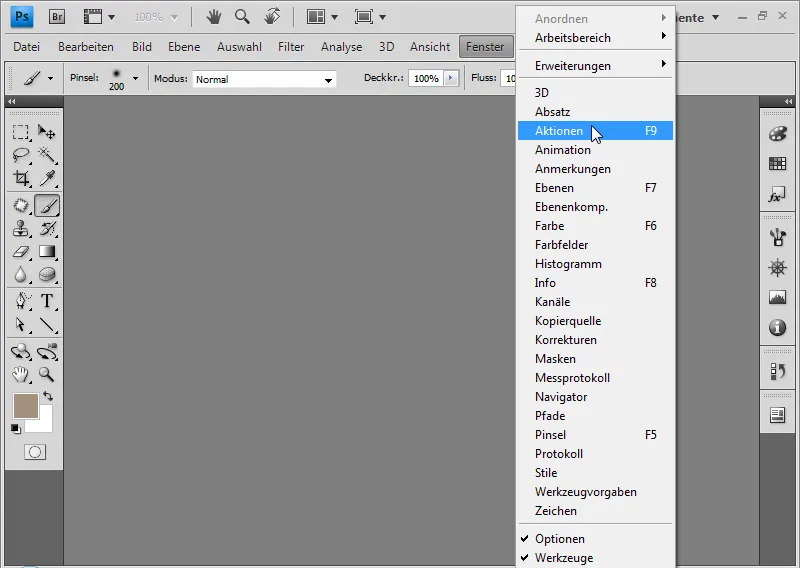
There you will see all the standard actions pre-installed with Photoshop.
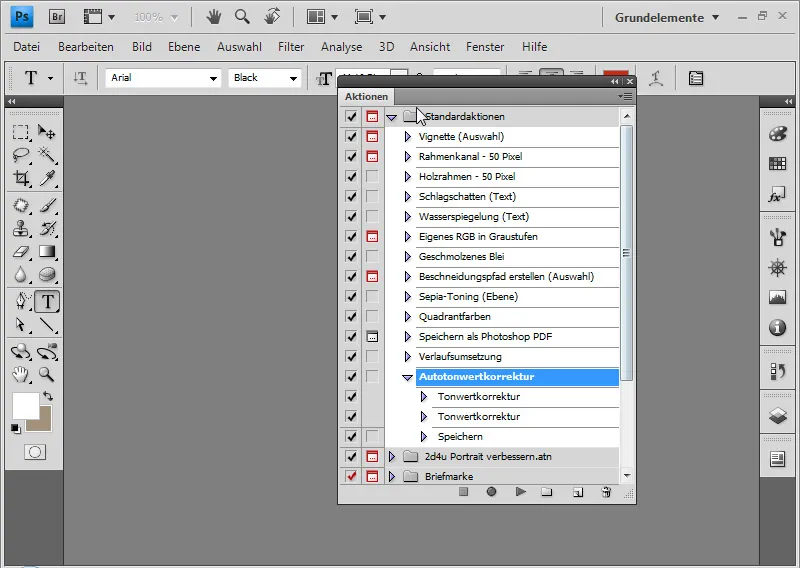
Now you can actually try them all out. In this tutorial, I would like to start with the "Wood frame - 50px" action. Before you execute it, you can first see what is behind it, i.e. which recorded effects are applied to the image. To do this, simply click on the arrow next to the name of the action.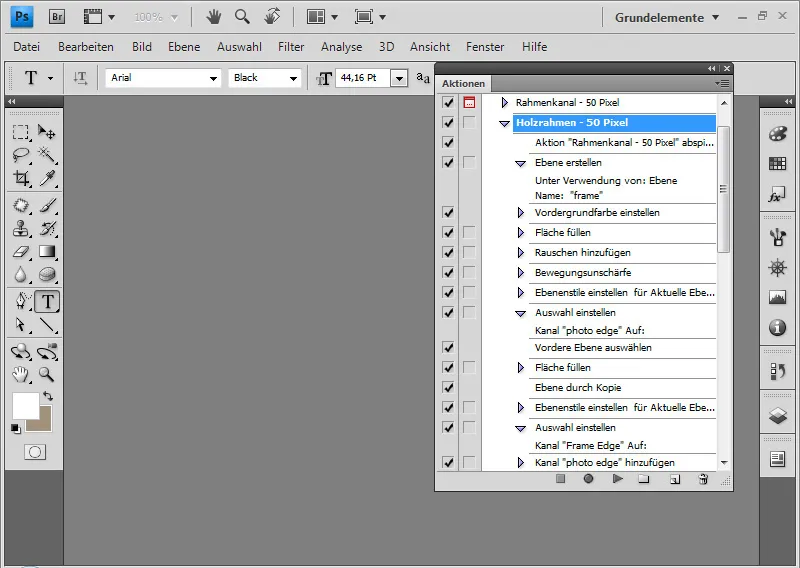
These are all the saved effects. To see them in action, it is best to first open a picture around which you would like to have the wooden frame. Once the image is open, simply click on Play, i.e. the small green button at the bottom.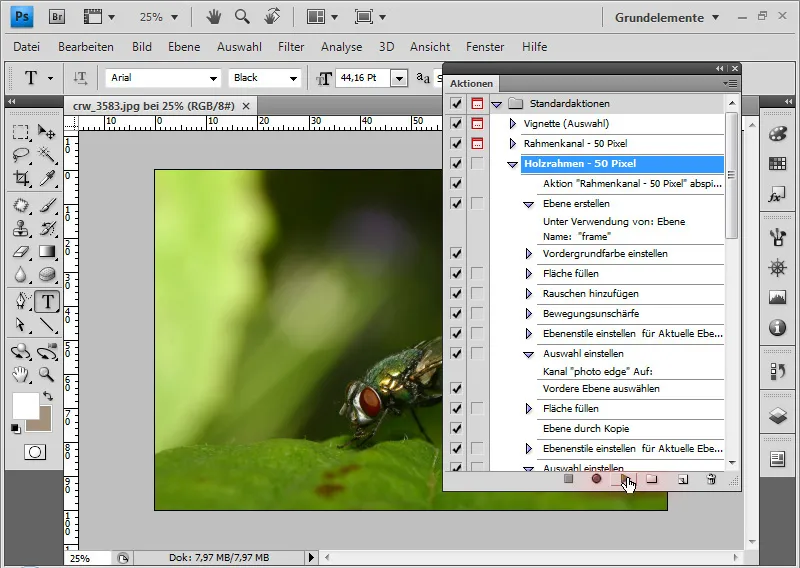
The first thing you will see is a message. Don't worry, this is not an error message! This is a note inserted by the creator of the action that the image to which the action is applied must not be smaller than 100px. Therefore, click on "Continue" if this is the case and on "Stop" if not. When the action is finished, you can see what a beautiful picture frame Photoshop has created for us: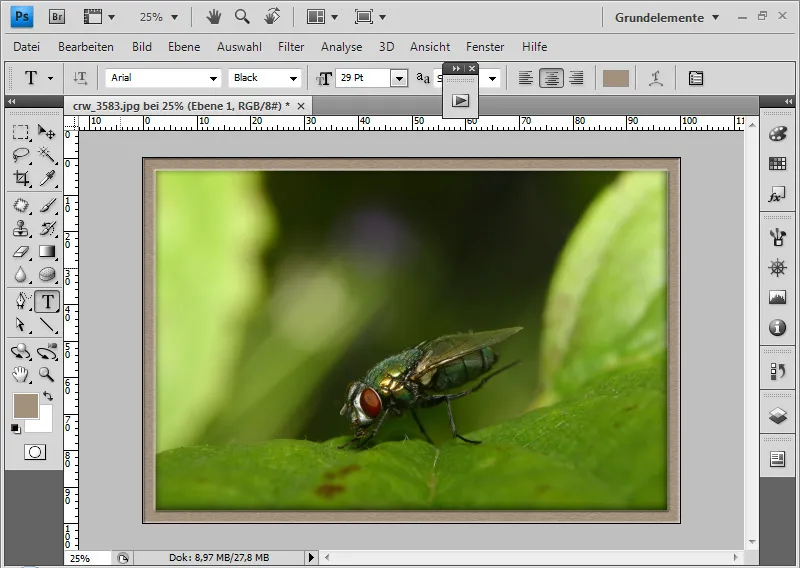
If you don't necessarily have the very latest version of Photoshop now and some functions are not available to you, or you just don't want to have an inward shadow in the action, for example, you can deactivate individual steps by unchecking the boxes next to them. However, you should pay attention to which functions you deactivate, because if you deactivate the creation of a new layer for the wooden frame at the very beginning, for example, this will certainly lead to errors in the action. Another interesting and useful function is the activation of dialog boxes for the individual steps of the action. This allows you to call up the dialog box for some steps while the action is running and then change values that you may not like while the action is running. In this case, for example, I want a blue wooden frame instead of a brown one. To do this, I simply activate the dialog box for the "Fill area" step.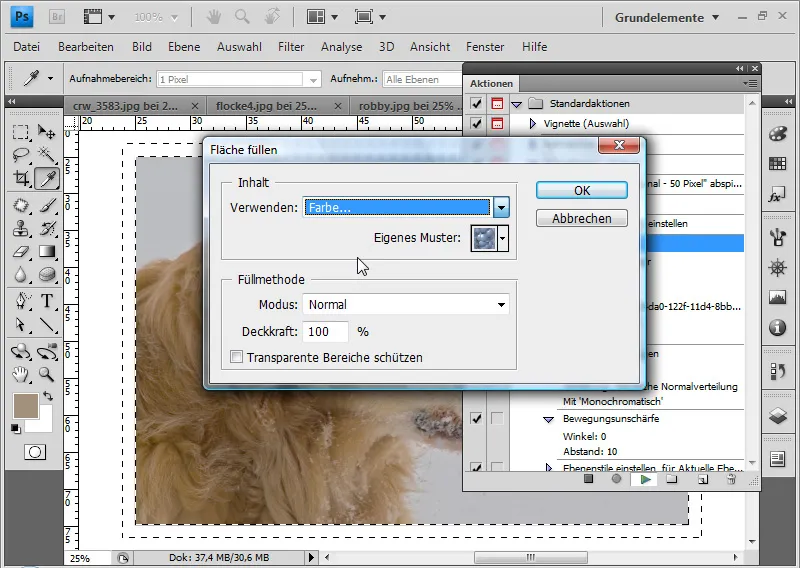
Then simply select "Color" instead of "Pattern", then choose a nice blue and voilà: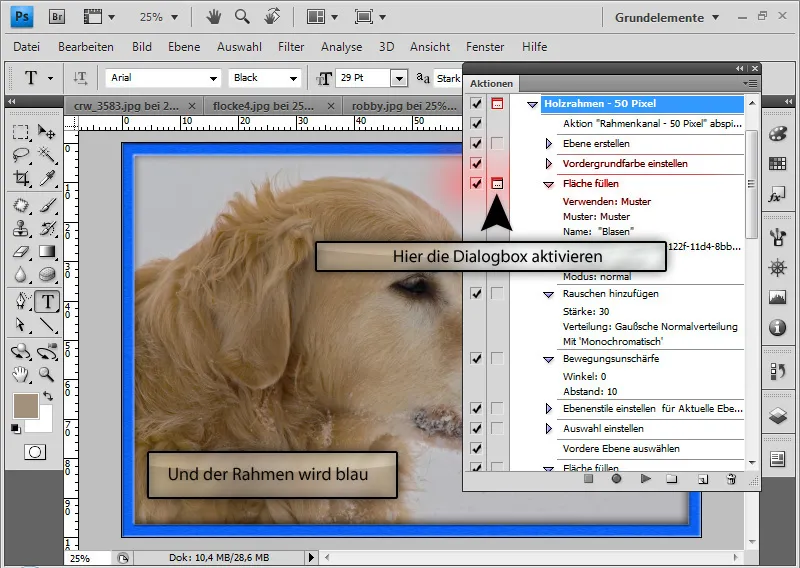
Of course, at a certain point, the standard actions will no longer be enough. Then you can either create some yourself or download some from the Internet. For example from PSD-Tutorials.de. You can find them under "Downloads > 2D Downloads > Photoshop > Photoshop Extensions > Photoshop - Actions", and of course you will find lots of different actions there. Here are 3 examples: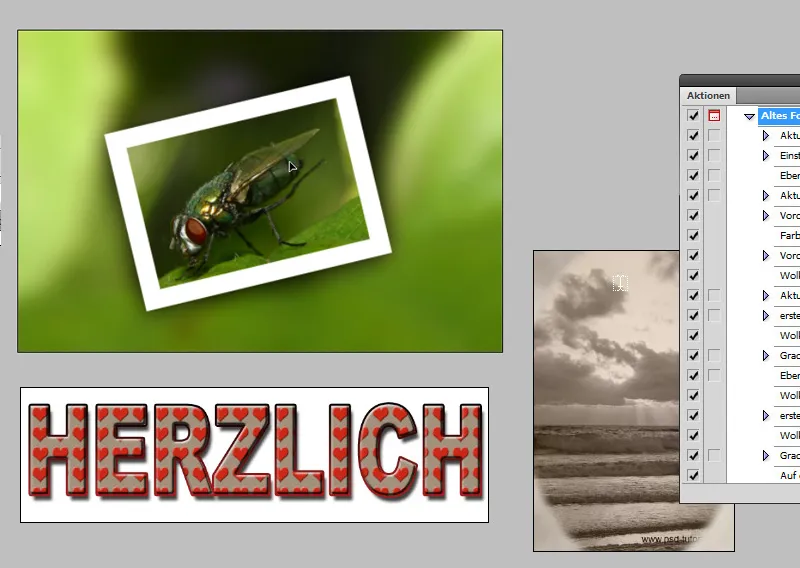
But if the frame in the top left image is too thick for me and I would prefer 40px instead of 80px, I take a closer look at the action and look for the place where exactly that is entered...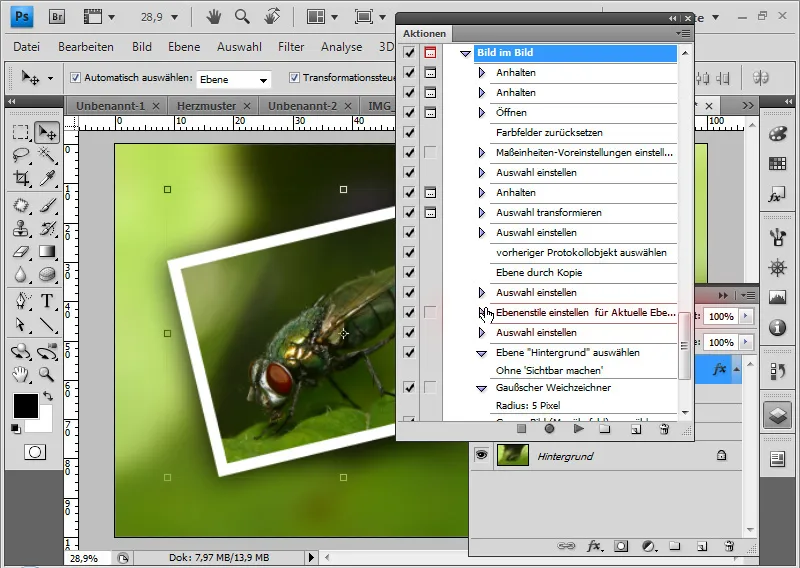
As soon as you suspect the setting for an entry (like the ones marked in red above), unfold the one with the arrow next to it and see if you were right.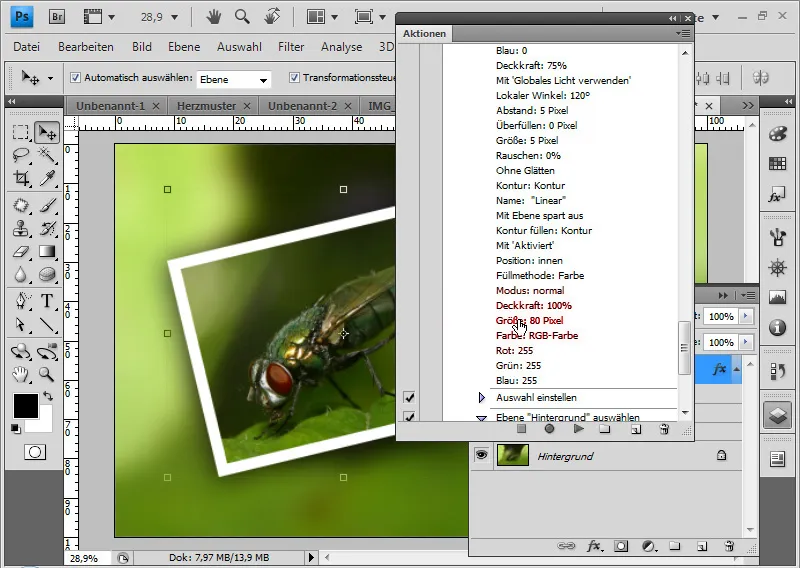
Bull's eye! The frame size is set to 80px. To change this in the action so that it is taken into account every time you run it, simply double-click on it to open the dialog. Then simply change the size of the outline to 40px, confirm with OK and the action is updated.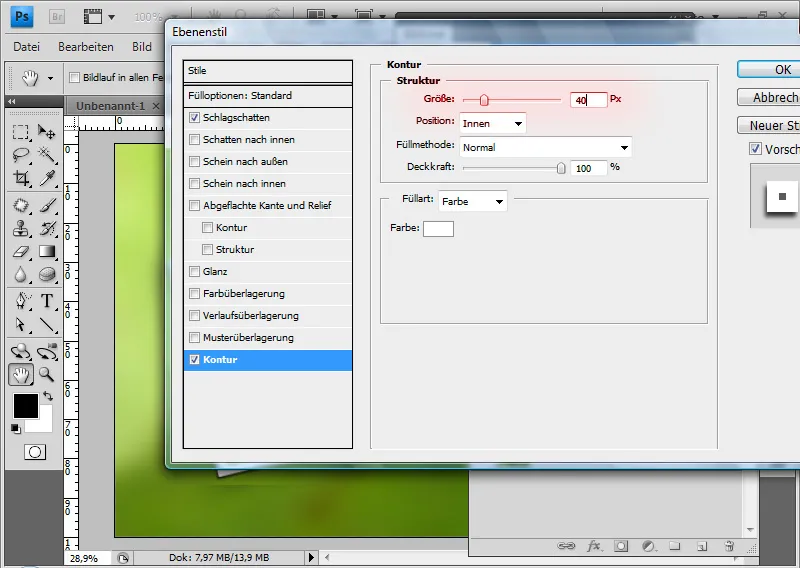
So much for actions in general and their application to individual images. Now let's look at what actions are really useful for, for example, adding a wooden frame from the wooden frame action to all files in a folder with a single click. The whole thing works via "File > Automate > Batch processing"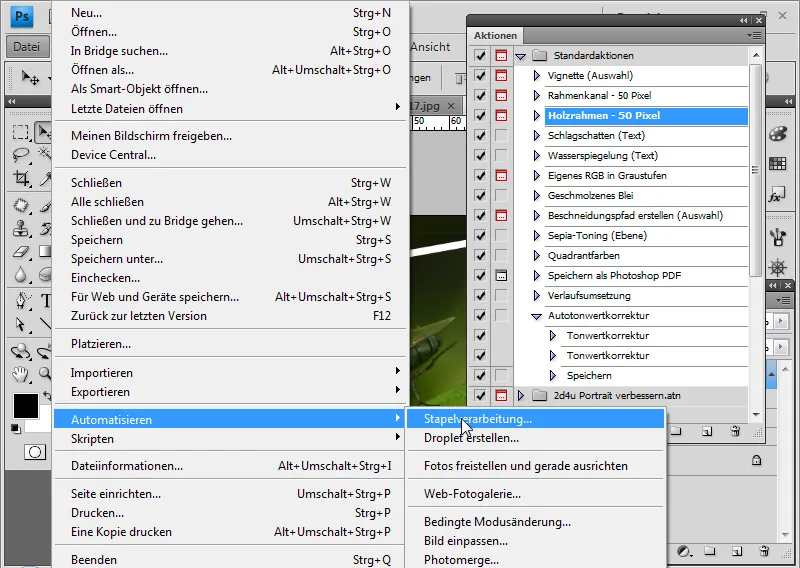
Now you can set everything you need in the following box: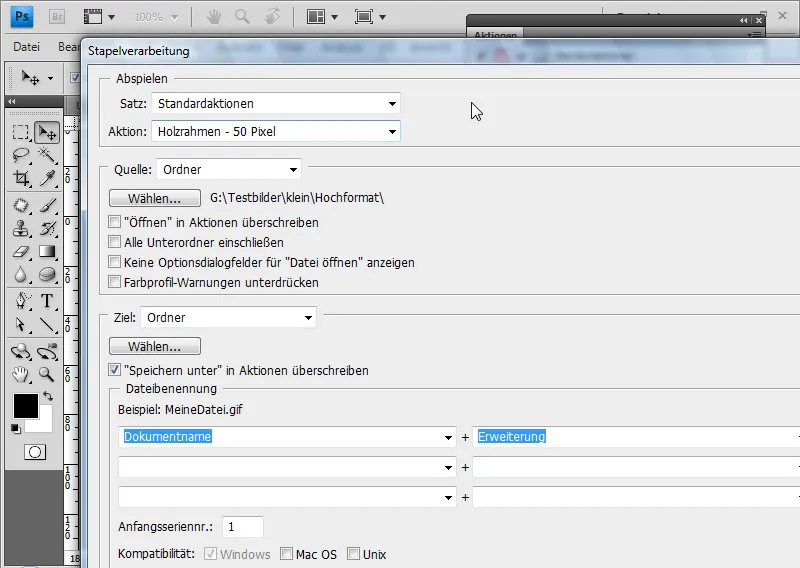
Firstly, the set in which the desired action is located and then, of course, the action itself. Below this is the source for the images. In this case, a specific folder from which all the files contained are now used for processing with the action. However, the action could also be applied to all open images, for example. This is followed by setting options that are mainly of interest if you have created or customized the action yourself. If, for example, the action states that Photoshop should open an image, you can overwrite this and Photoshop will skip this step and start with the images from the batch processing. Then you can include the subfolders and suppress option dialogs for opening the files and color warnings.
The next area is interesting again, as you can choose whether Photoshop saves and closes the images, simply leaves them open or outputs them to another folder. In this case, the latter is what I want. The checkbox with "Save as..." is very similar to the one with "Open" and is only interesting if you have already saved the images directly from the action. If you now press OK, Photoshop starts immediately and processes all the images. However, this process is constantly interrupted by dialog boxes and the "Save as" dialog. However, if I want the whole process to run in one go, I must first ensure that all active dialog boxes are deactivated. To get rid of the "Save as" dialog, you have to add the Save command to the action with which you want to perform the batch processing. You can do this simply by clicking on the small red capture button while you have selected the last point of an action and saving any image with the desired settings in the desired folder.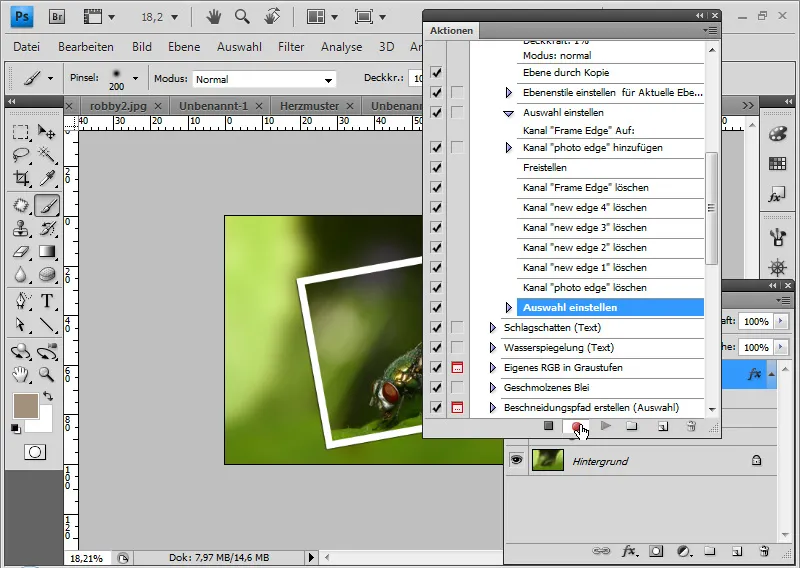
Now that the save command has been written directly into the action, we must of course also activate the "Overwrite save as in action" function in batch processing. If you now let the batch processing run, nothing is interrupted and Photoshop processes and saves all files in one go without requiring a single input. Very useful in situations with over 100 images, so that you can then just let Photoshop do its thing and come back to the computer half an hour later and Photoshop has done everything.
As a final tip in this tutorial, I would like to show you how to turn this action into a small executable .exe file. Select your action and then go to "File > Automate > Create Droplet".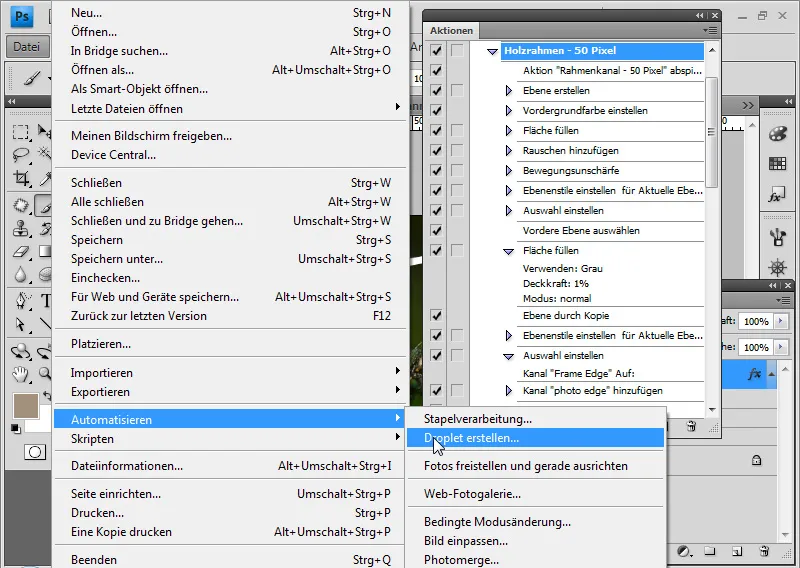
The window that appears is amazingly similar to the batch processing window, only the source is missing, but this will be explained in a moment. Simply enter a location for the .exe file and, after making all the settings as for batch processing, give Photoshop the OK to create the droplet.
An .exe with a small Photoshop icon will then appear in the specified folder.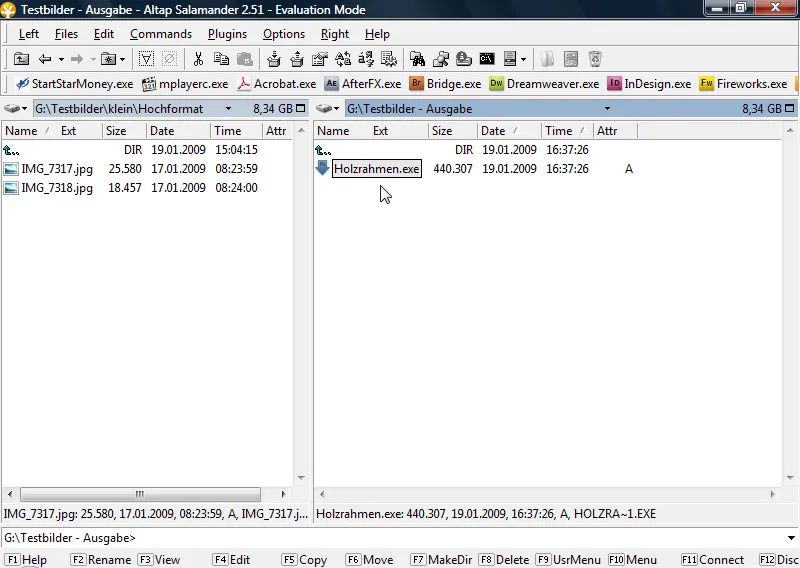
To work with this droplet, simply drag the desired files, in this case the two .jpg files on the left onto the .exe file on the right, and Photoshop will start processing and saving exactly these two images, or the images dragged onto the droplet. However, Photoshop is required to run this droplet and is opened immediately if it is not already open. Still very useful!

