In this tutorial, I'll show you how to create a beautiful map with Illustrator.
Every website uses a map for directions. Google Maps is usually used for this. However, if you want to provide a map on a flyer, you can't simply use a screenshot from Google Maps. You would have to draw the map yourself. I'll show you how to do this now:
1. take the template
First of all, we need a map template from which we can draw the map. Here you are on the safe side if you use OpenStreetMap instead of Google Maps. OpenStreetMap is a free project that collects free geodata for everyone to use. It is therefore safe to use this as a template for our individual color map. First, we go to openstreetmap.de and find our destination. We press the print buttononce to create a screenshot ...
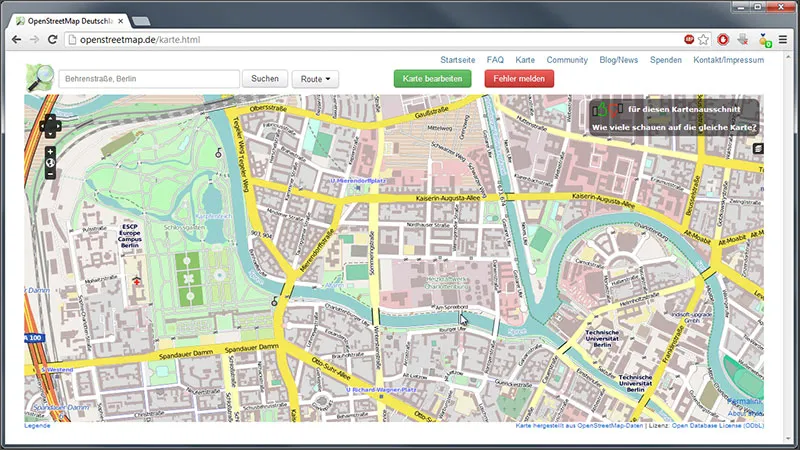
... and then switch to Illustrator.
2. create a new document
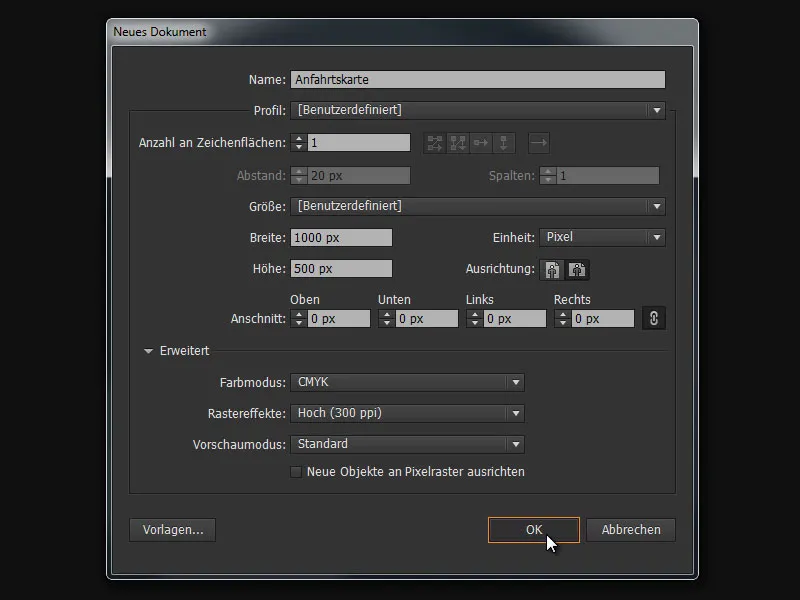
Here we create a new document with the name "Directions map", a width of 1000 px and a height of 500 px.
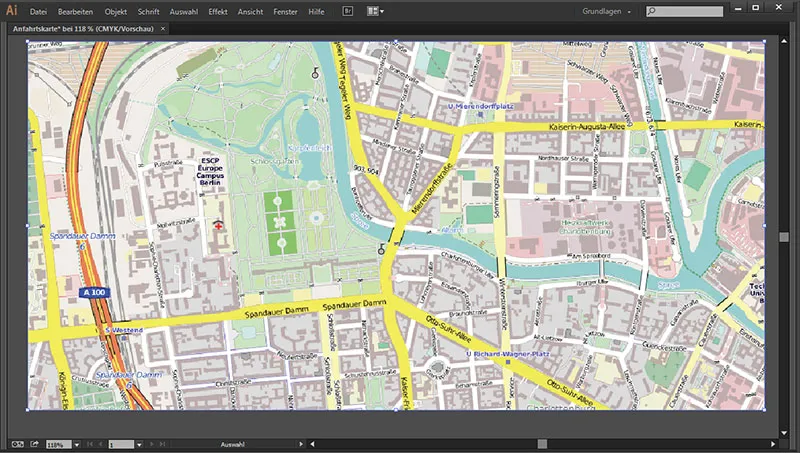
... and press Ctrl+V to paste our map from the clipboard.
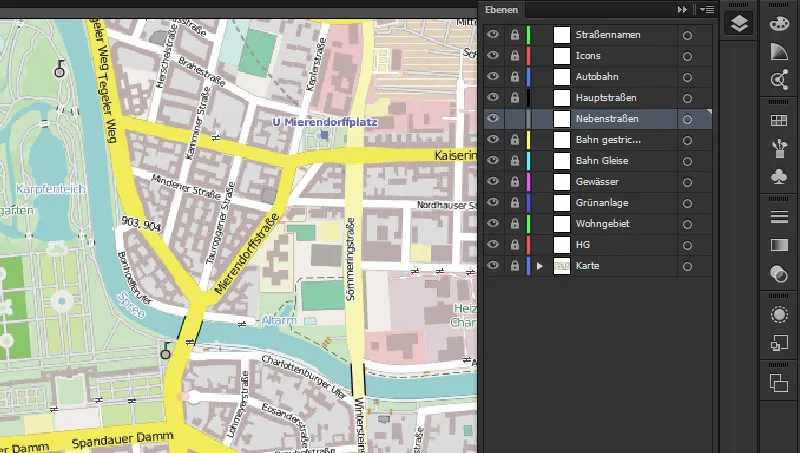
The first thing we start with is to create the appropriate layers in the Layers panel (please go through the list from bottom to top):
- Street names
- Icons
- highway
- Main roads
- Side streets
- Railroad dashed
- Railroad tracks
- Waters
- Green area
- Residential area
- HG
- Map
To make it easier to work, we lock all layers - except the one with the side streets.
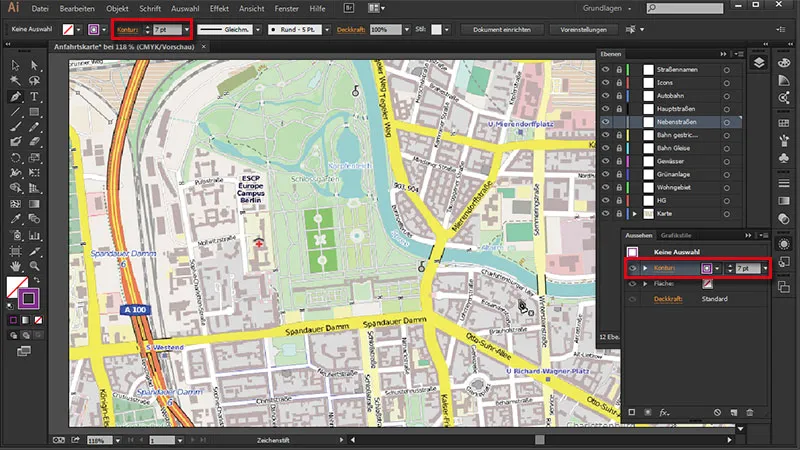
We take the path tool (P key), select a path for the street and ...
- Contour color: #593156
- Outline weight: 7 pt
... and deactivate the area. We can enter the outline thickness in the Appearance panel and in the status bar at the top.
We create another outline in the Appearance panel...
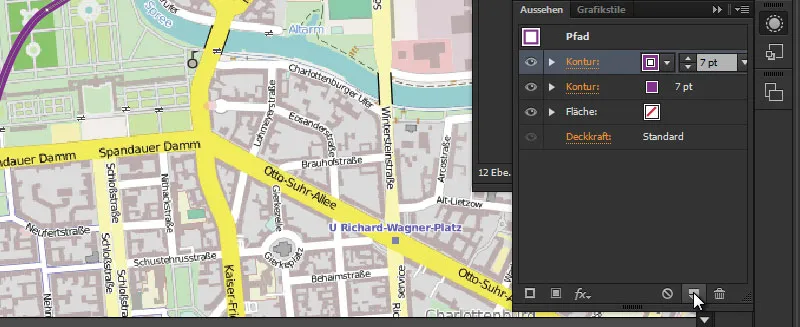
... and give it the following values:
- Outline color: #ffffff
- Outline weight: 5 Pt
For rounded ends, we press the Outline entry in the Appearance panel for the following values:
- End: Rounded
- Corner: Rounded corners
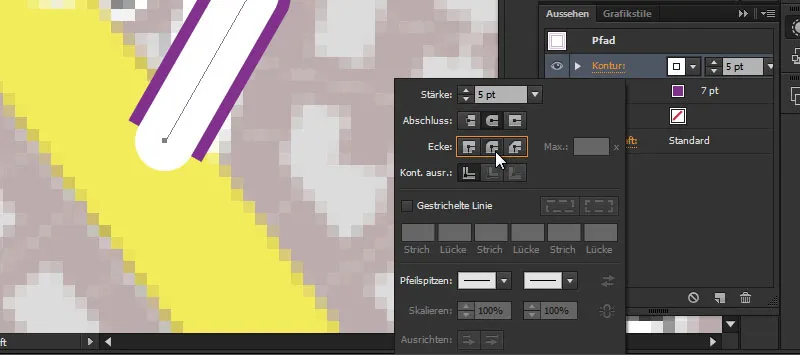
We repeat the same with the purple-colored outline so that it is also closed.
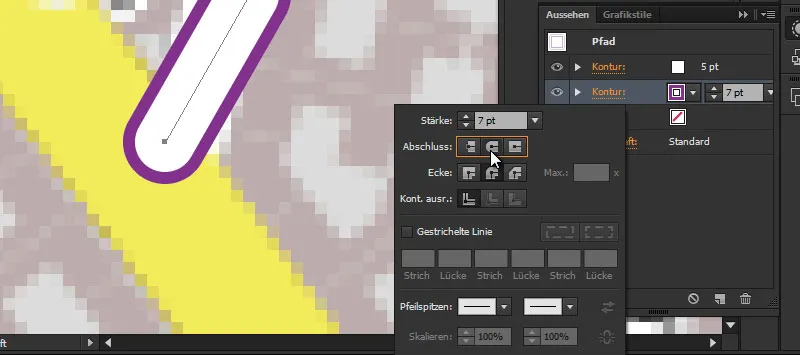
3. create graphic styles
And so that I don't have to create this look every time, we go to the Graphic styles window and click once on the New graphic style icon.
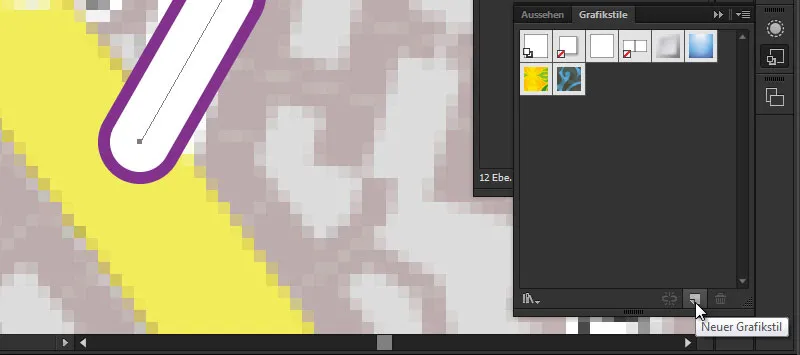
Now I can simply click on this style at any time - as soon as I have drawn another path - and have immediately given it the correct appearance that I have defined for the side roads.
Then we can start tracing the roads on the map. Here are a few helpful tips on how to do this more easily:
| Ctrl | after finishing a path, hold down and click into the image to start a new path |
| Alt | to quickly zoom in and out with the mouse wheel |
| Hold down the space bar | hold down to temporarily switch to the hand tool to move the view |
| Tab | hides all control panels > allows a better view for working |
Intermediate status:
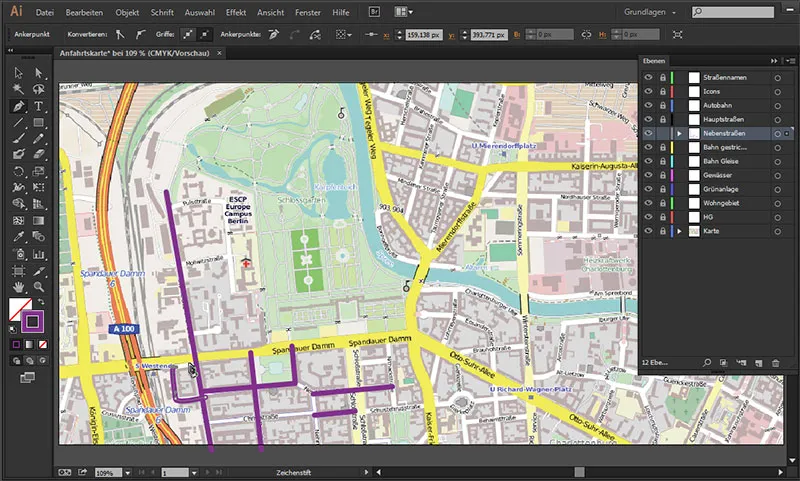
4th traffic circle
Here we have a small difficulty in the form of a traffic circle. We can overcome this by selecting the ellipse tool and drawing an ellipse in the size of the traffic circle. By holding down the space bar, we can also move the position of our circle before releasing the mouse button.
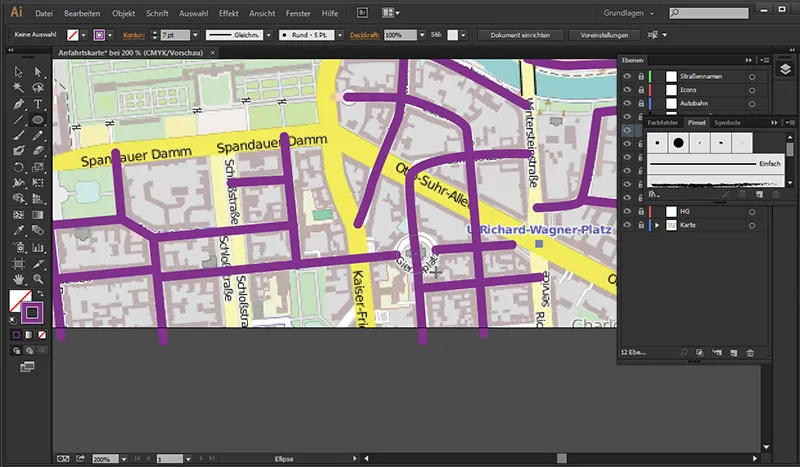
As a road runs through there, we simply delete the protruding contour with the anchor point delete tool, ...
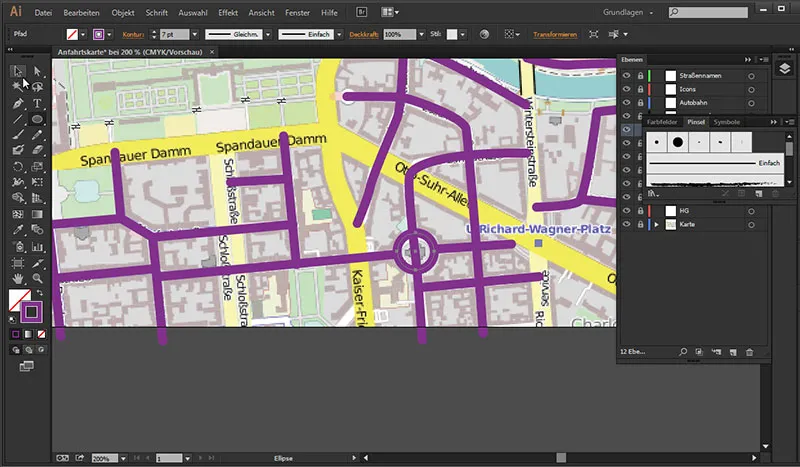
... by placing the mouse at the bottom point of the circle and clicking to remove the anchor point.
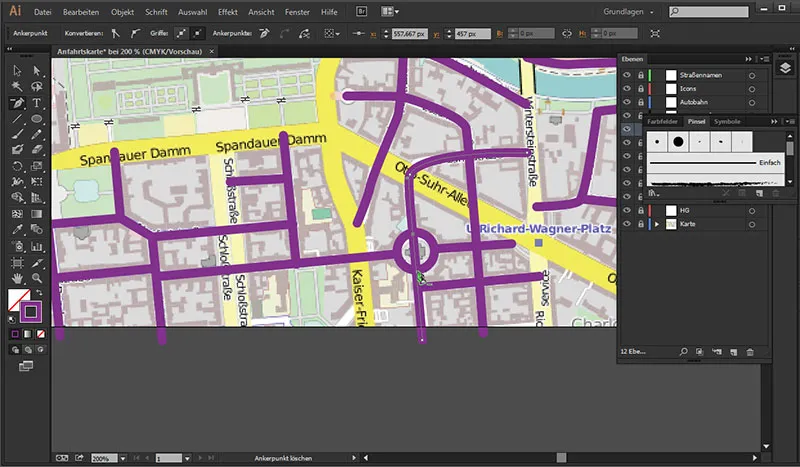
We also click on the lowest point of the road so that the protruding road is completely removed.
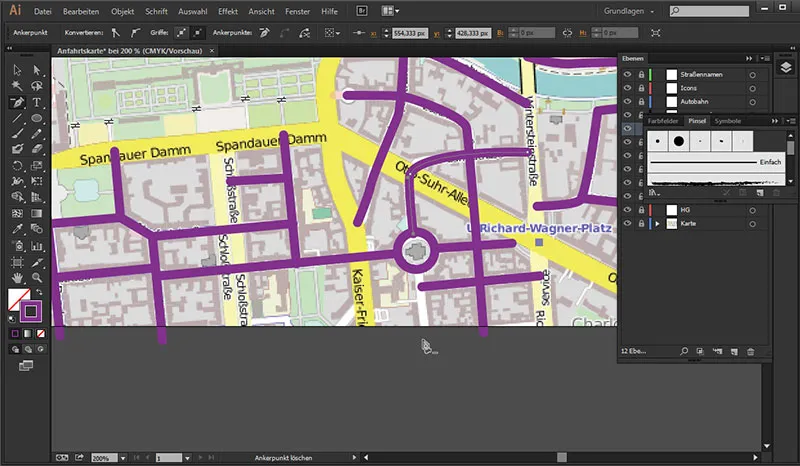
We then use the path tool to place an anchor point at the bottom point of the traffic circle and can thus continue the road.
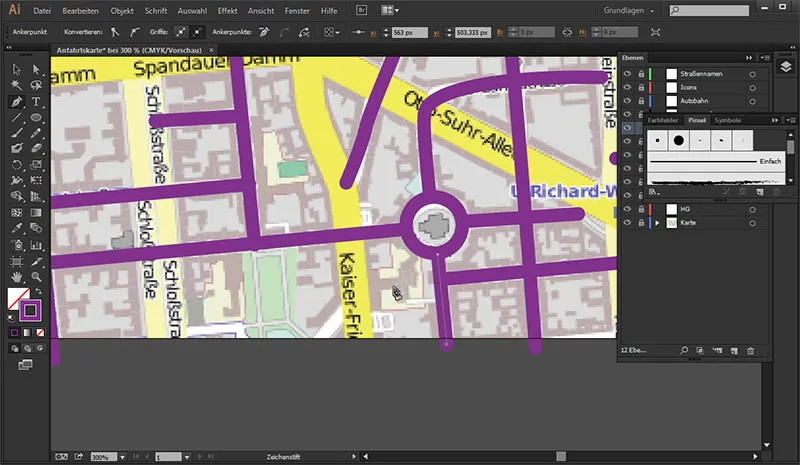
Once we have finished drawing all the side roads, we only need to mark all the layer roads by clicking to the right of the "Side roads" layer ...
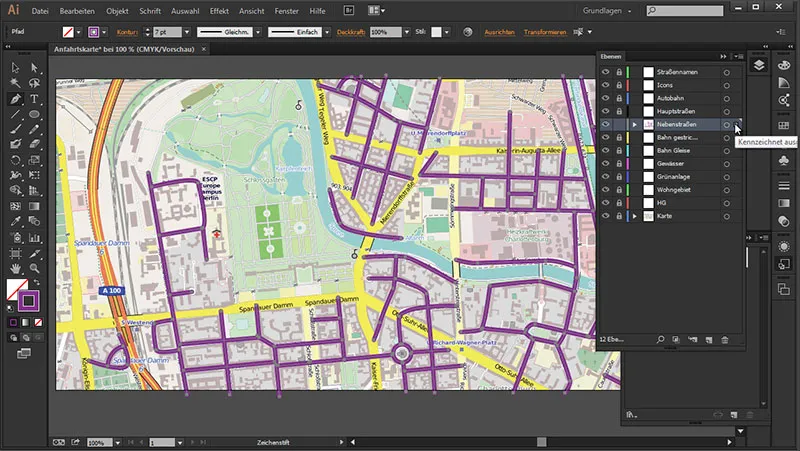
Then we apply our predefined style from the graphic styles panel.
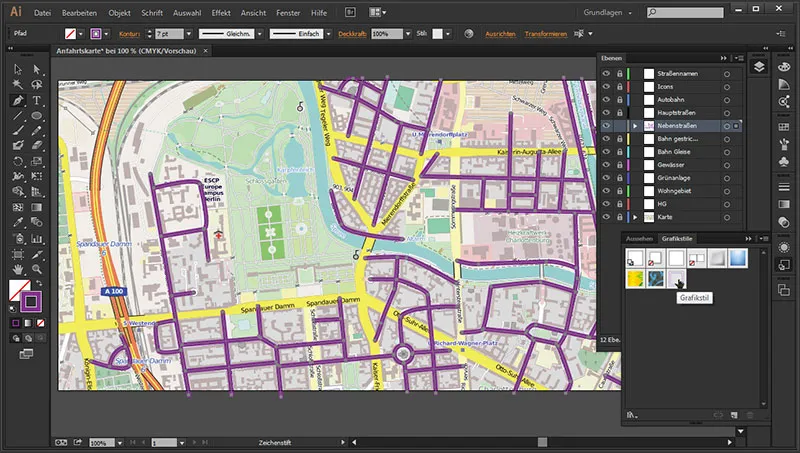
And with just one click, we have converted all the streets into our desired style.
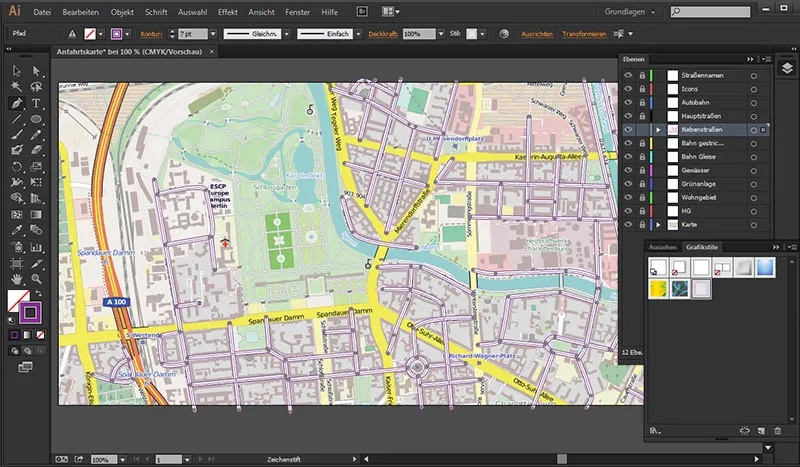
What is still annoying, however, is that the streets do not merge into one another, but overlap.
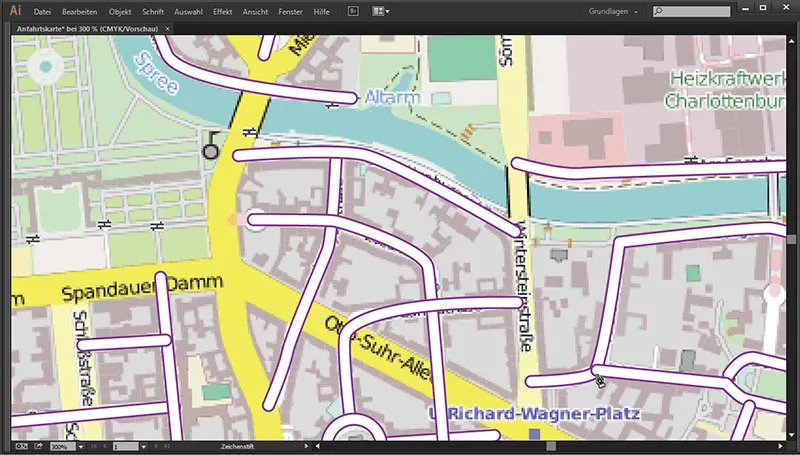
But we counter this as follows: We simply mark all the side streets again, ...
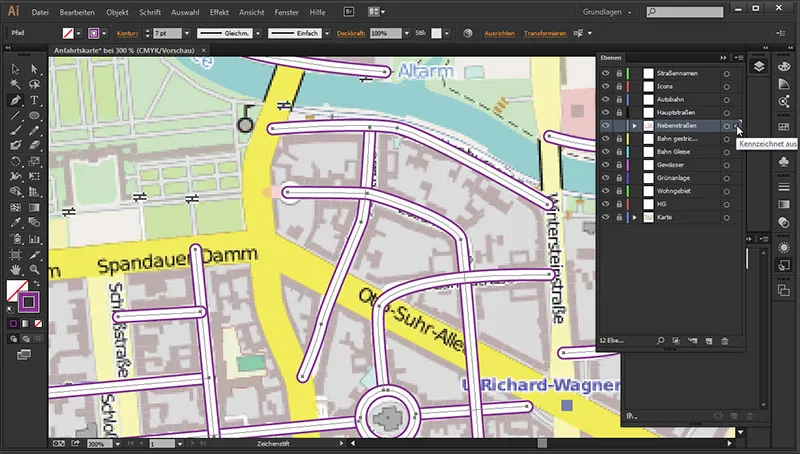
... go to the selection tool, right-click on the road paths and go to Create composite path.
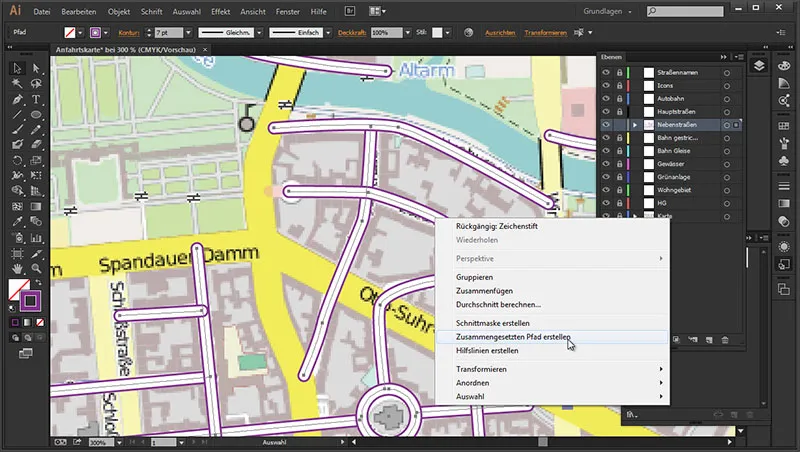
And now all the roads merge together:
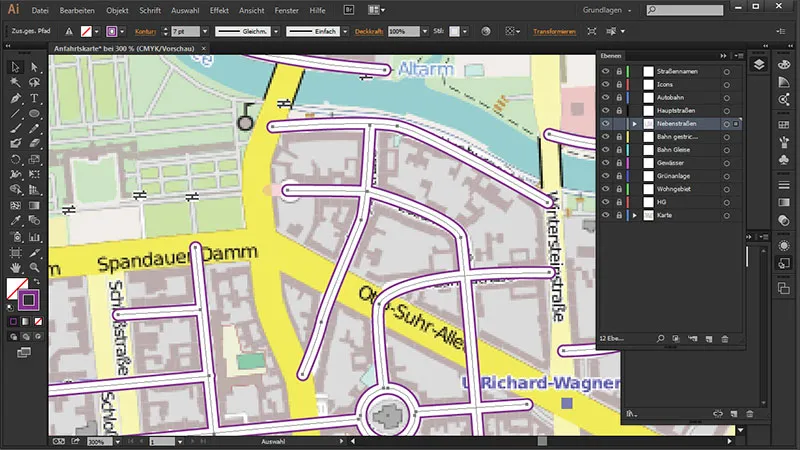
This is our interim result:
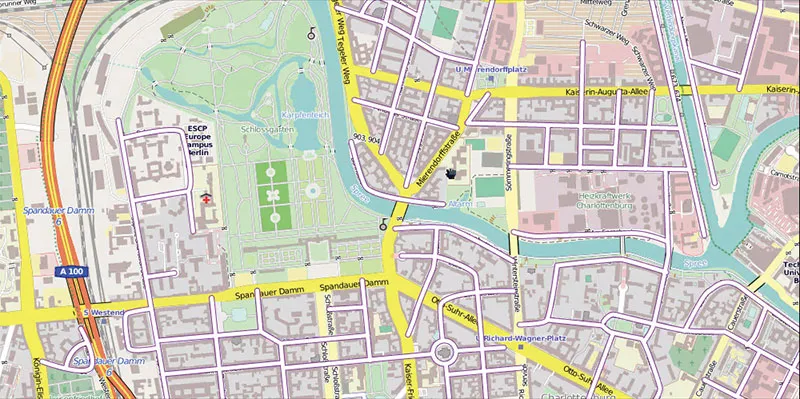
And in the next part we will deal with the main roads, the highway and the railroad.
