In the second part, I would like to show you how to draw the main roads, the highway and a railroad crossing.
1. create main roads
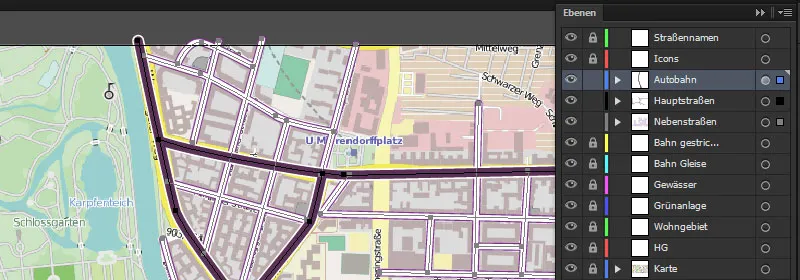
We start with main roads by blocking the side roads and unblocking the main roads. Then mark the layer once.
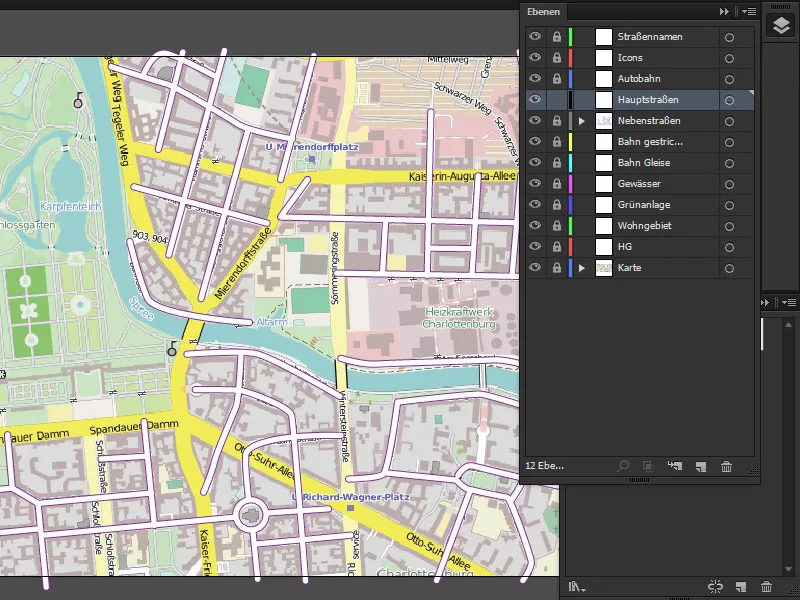
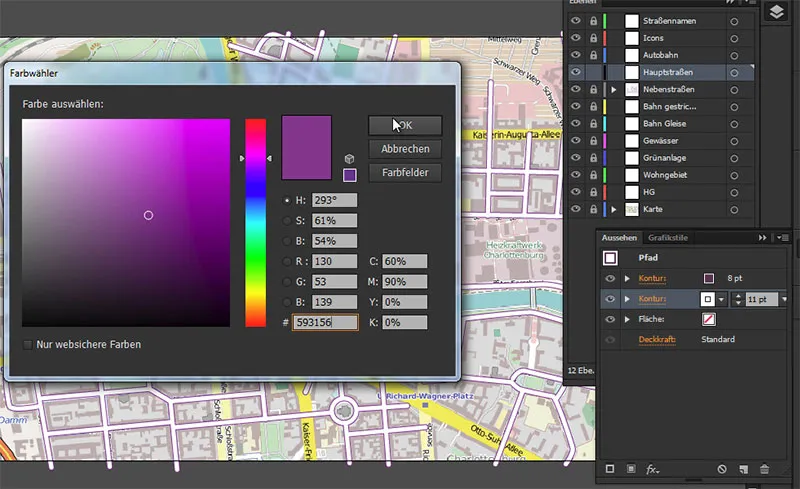
We take the path tool and go to the appearance panel. There we immediately select an outline of 8 pt and add another outline with a thickness of 11 pt. This one is white and the upper one has the color #593156.
- Top outline: 8 pt #593156
- bottom: 11 pt white
Then we go to OK.
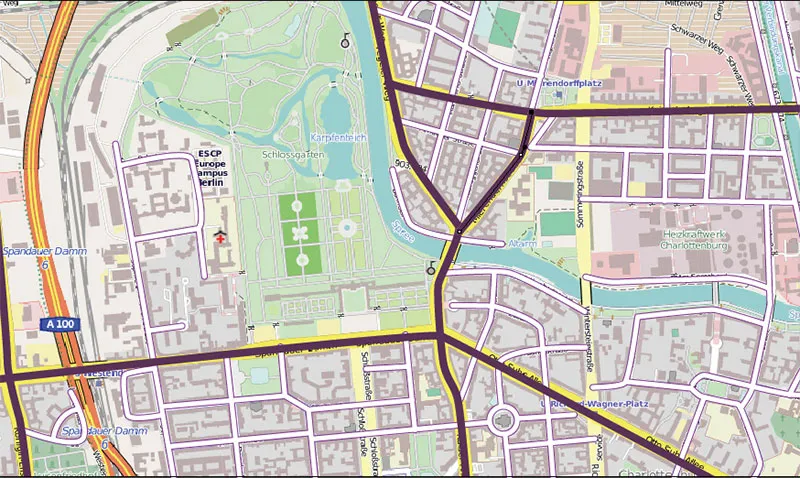
And now we can start drawing the roads here. As we can easily see here, the main roads are all marked in yellow. We can move the view by holding down the space bar.
2. create graphic style
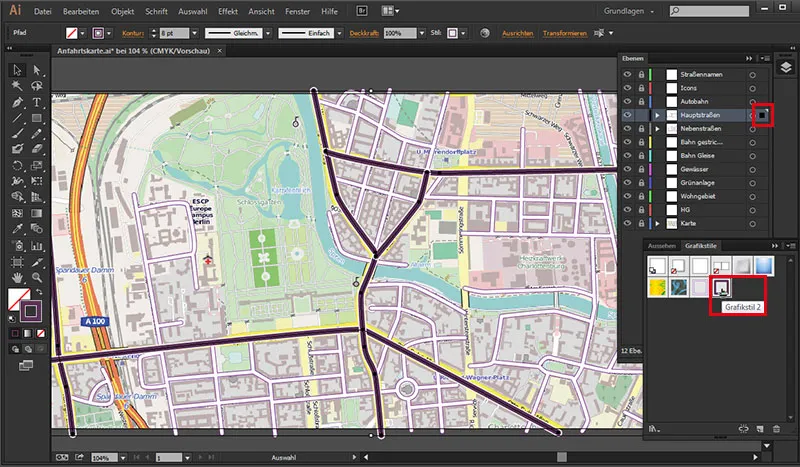
We can now save the settings previously made in the Appearance paletteas a graphic style. To do this, we go to the graphic styles palette, click on the icon: New graphic style and we have saved our main road style.
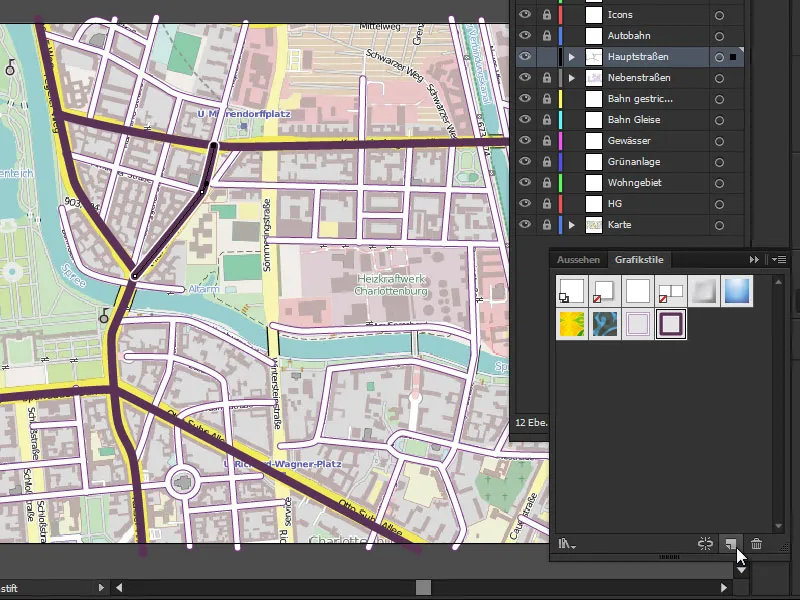
Then we only need to select the main roads and click once on the style in the graphic styles palette...
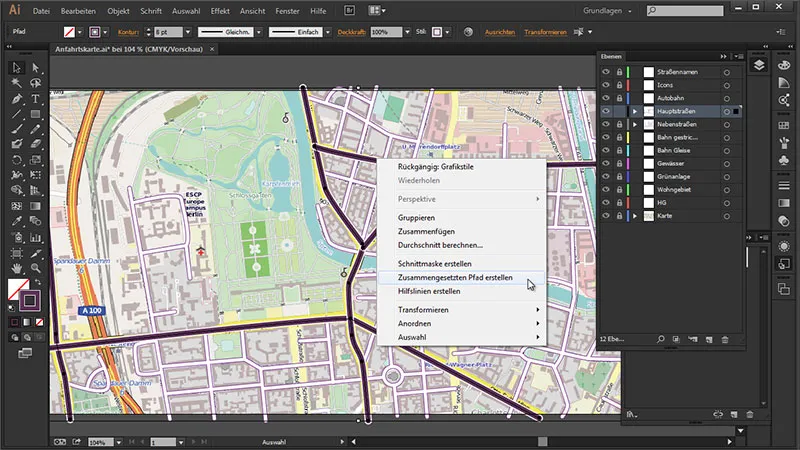
Now that the roads overlap again, we need another compound path to connect them. We first make sure that the paths are all selected and go to:
Right-click>Create compound path.
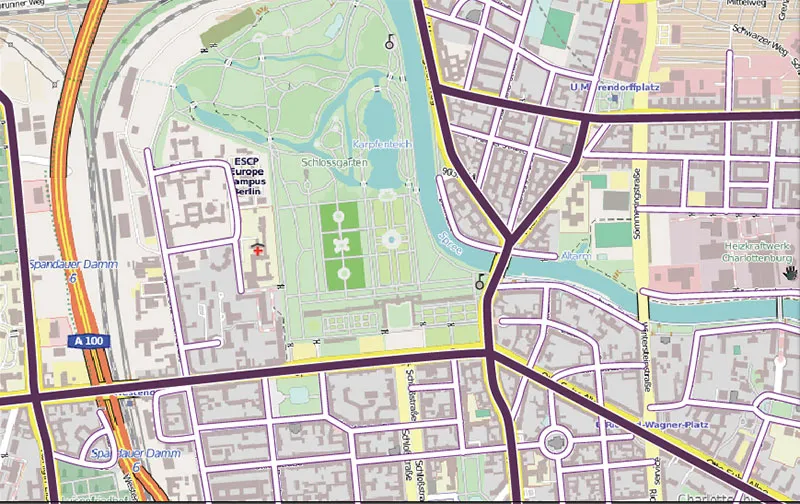
Now all paths are united again.
3. create highway
For the highway, we go back to our layers panel, block off the main road and unblock the highway.
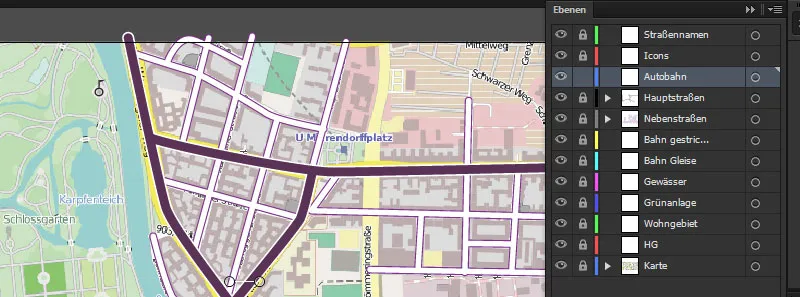
With the path tool activated, we go to our appearance paneland set the outline here. We set this to 11 pt and the lower one to 14 pt. The upper one is then white and the lower one is given the color #593156.
- Top outline: 11 pt white
- bottom: 14 Pt #593156
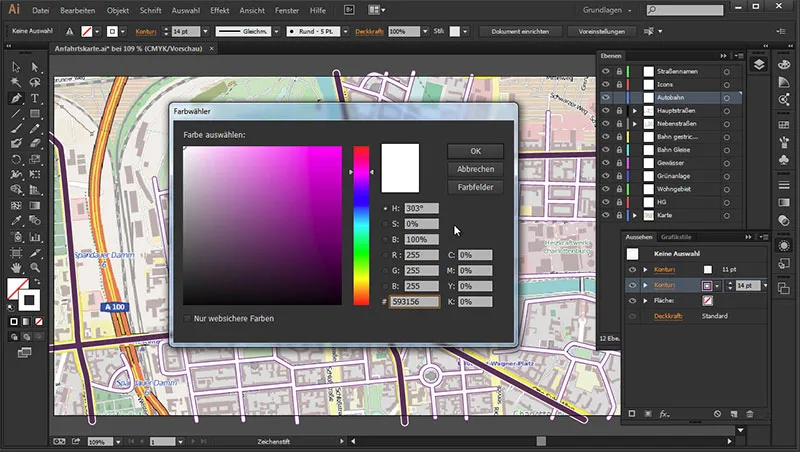
We save these settings again in the graphic styles panelas a new graphic style...
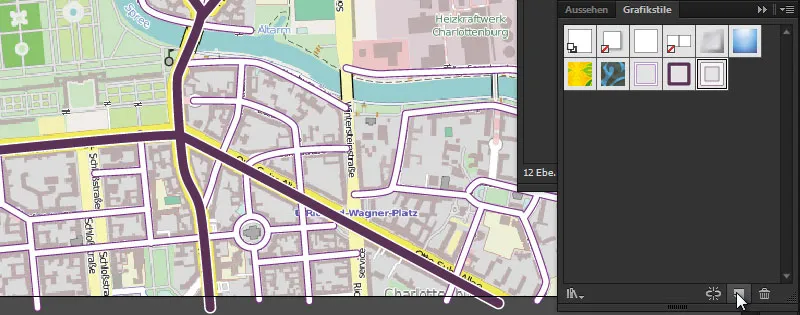
Now we can start drawing the highway.
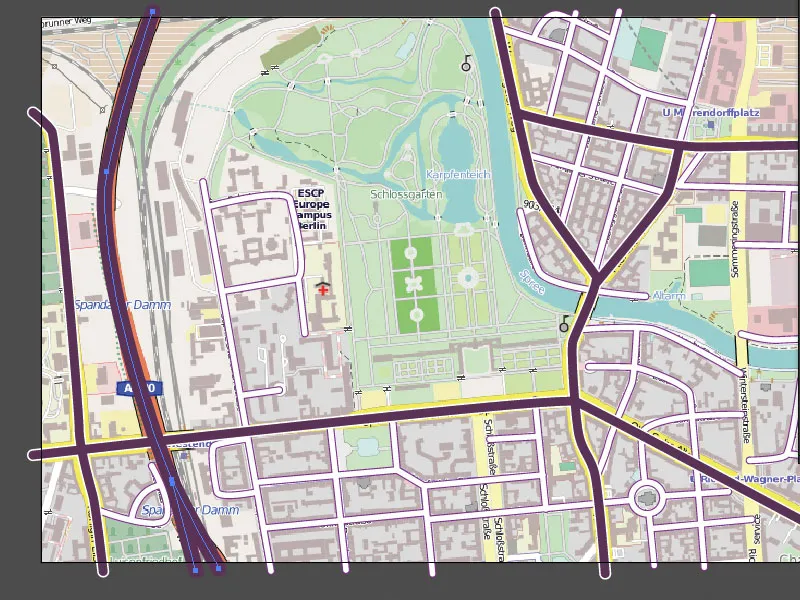
By clicking on the graphic style, we have given the highway the right color.
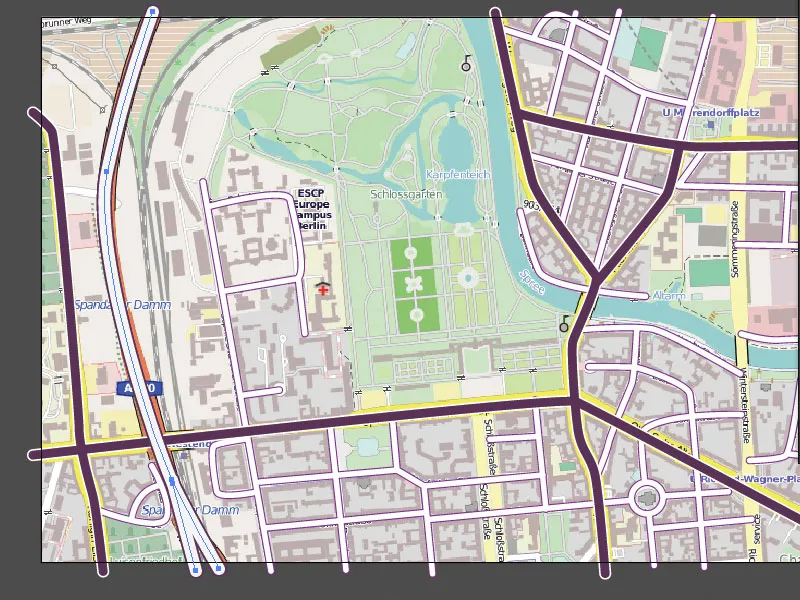
4. drop shadows for the roads
And now we want to add a little more three-dimensionality here by giving all the roads a little drop shadow. To do this, we now unlock all the roads and select them all by holding down the Shift key.
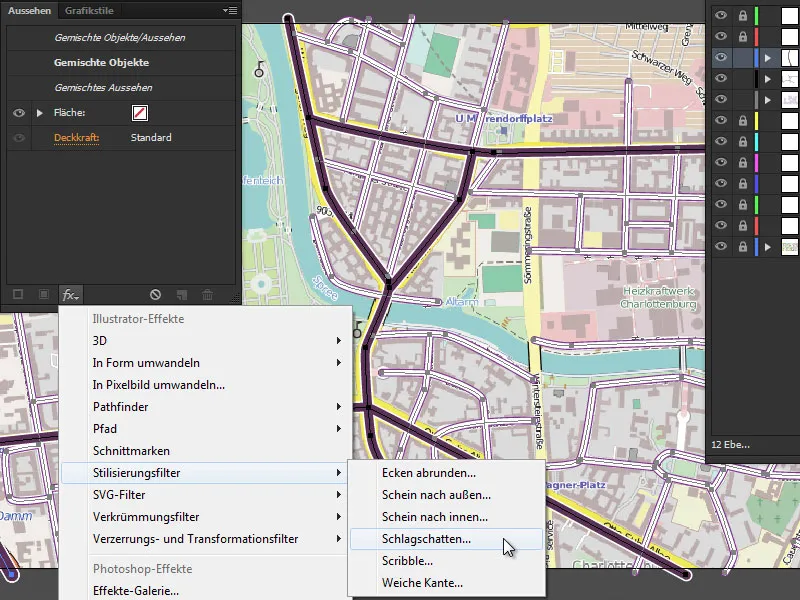
Then we go to the Appearance paneland click on the small fx symbolat the bottom: Illustrator Effects: Stylization Filter> Drop Shadow.
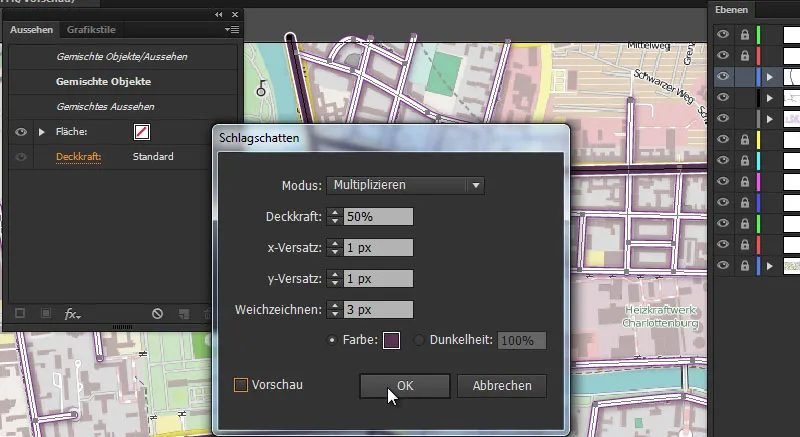
Here we select the following settings:
- Mode: Multiply
- Opacity: 50%
- x-offset: 1 px
- y-offset: 1 px
- Blur: 3 px
- Color: #593156
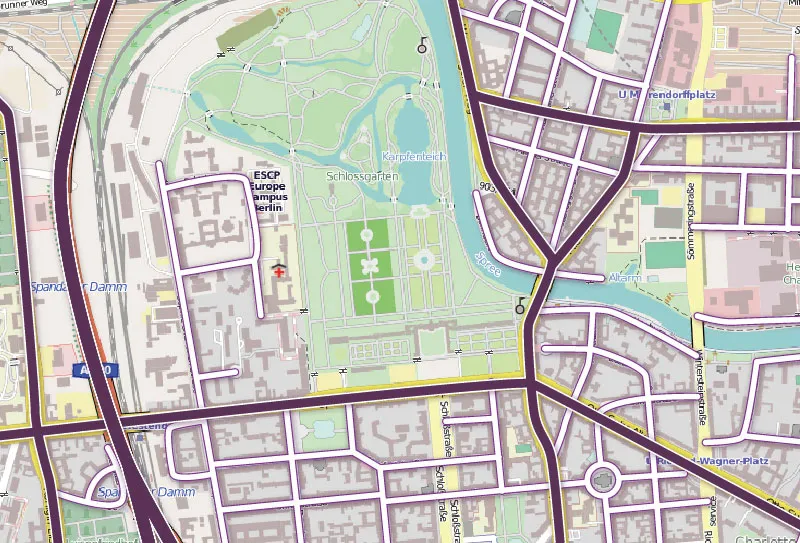
Intermediate result:
5. create level crossing
Variant 1
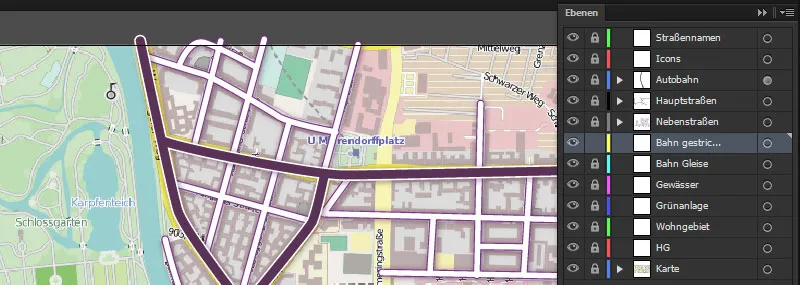
Next, we'll draw the level crossing. I would like to show you two possibilities of how this could look. We'll block our roads again and unblock the "dashed line" once.
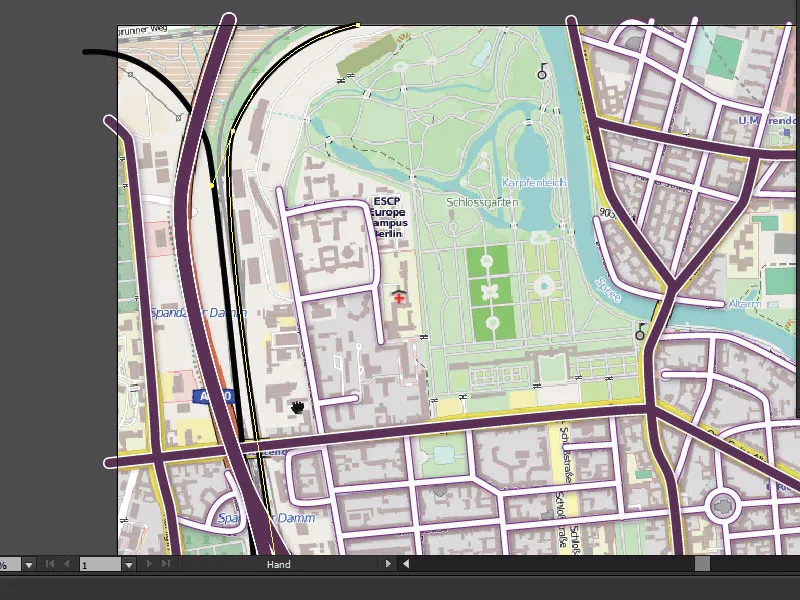
Using the drawing pen, we take a black outline with an outline thickness of 5 pt and draw our railroad line along the tracks.
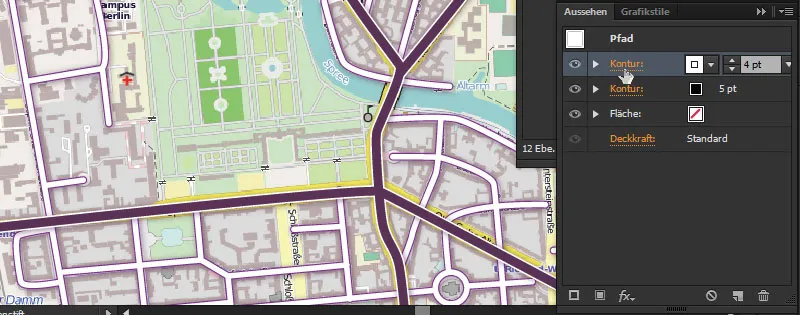
We need a rounded corner outline for the track. I'll show you exactly why in a moment. First, we'll give it the texture it needs. We mark our track in the Layers panel and create another contour. It should be white and 4 pt thick.
Then we click once on the word "Contour" ...
... and make sure that the corners are not rounded. First we click on Dashed line.
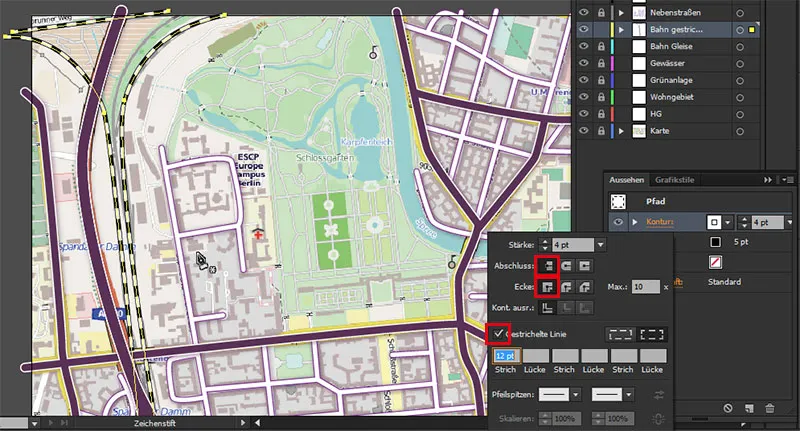
And we can now follow this exactly, because if these were round (second symbol of end and corner selected instead of the first in each case), then we would have a somewhat strange level crossing.
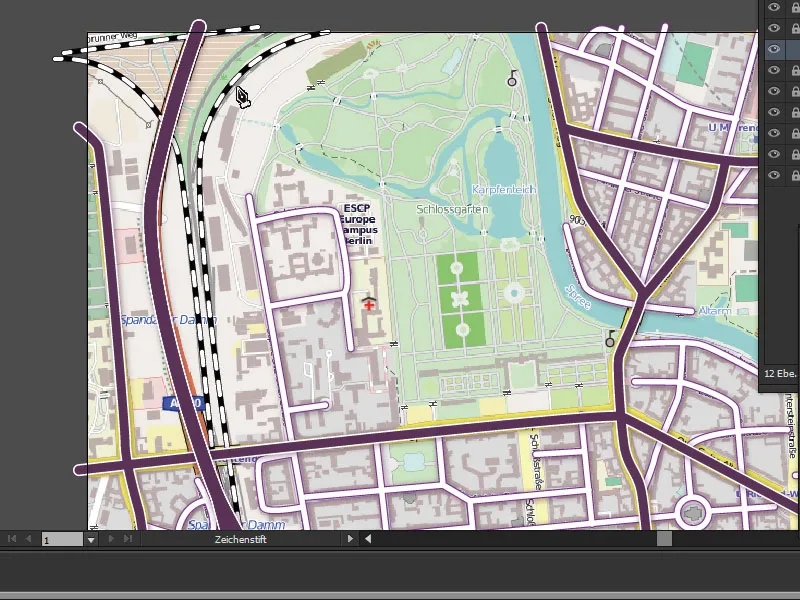
Therefore, we go back to Contour to cover the corners (as shown in the penultimate image) ...
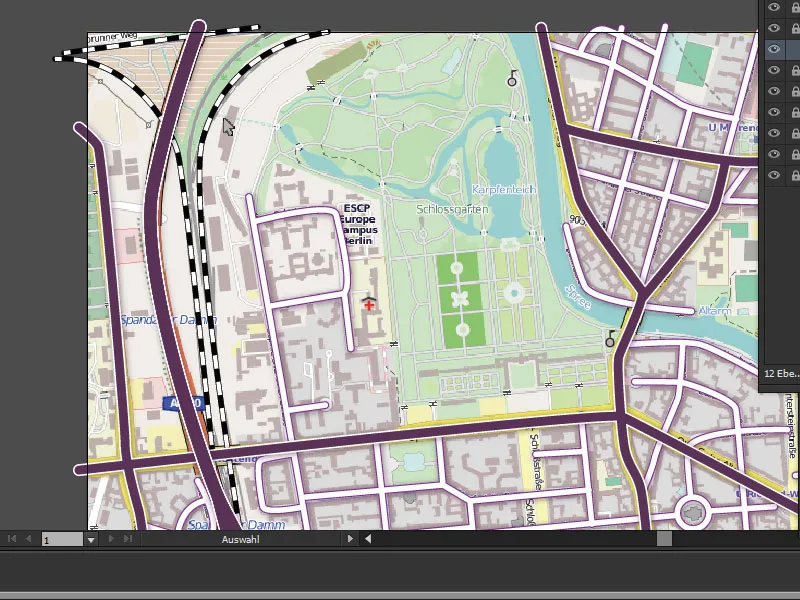
Variant 2
Now I'll show you another way to represent the railroad tracks. To do this, we will simply duplicate our "dashed track" layer and can delete the tracks first ...
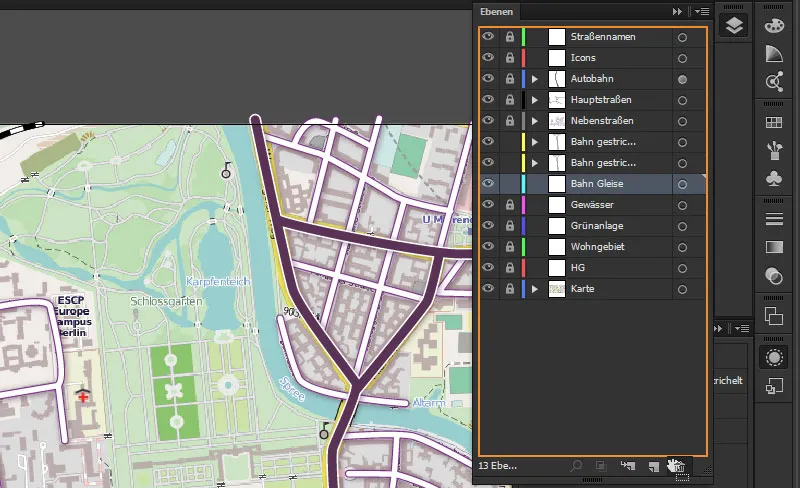
This way, we have copied the paths so that we don't have to draw them again. We'll hide our dashed track for now and delete the contour settings on the "Railroad tracks" layer. And if we continue looking around here, we can see that we have more options in the status bar if we click once on the triangle symbol for the starting point for brushes...
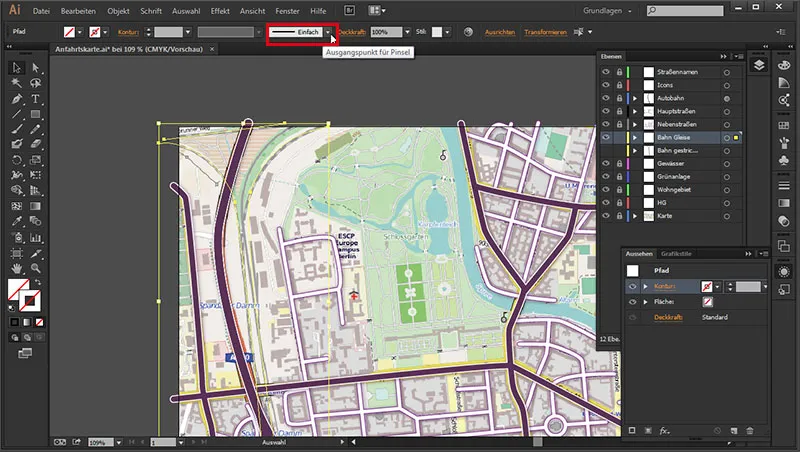
..., and we can open a brush library here by clicking on the small triangle symbol ...

Triangle symbol>Open brush library>Borders>Borders_This and that.
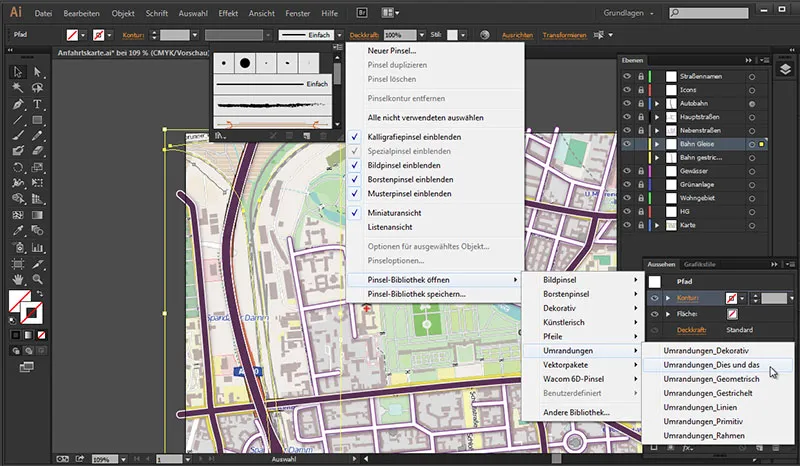
The control panel will then open. And let's just take a look at what we have here. We find a "Railroad tracks" there and simply click on it (the Railroad tracks layer must be selected first). And this style has already been applied to the outline. Now we just need to adjust the paths correctly so that the tracks do not overlap and still have enough space.
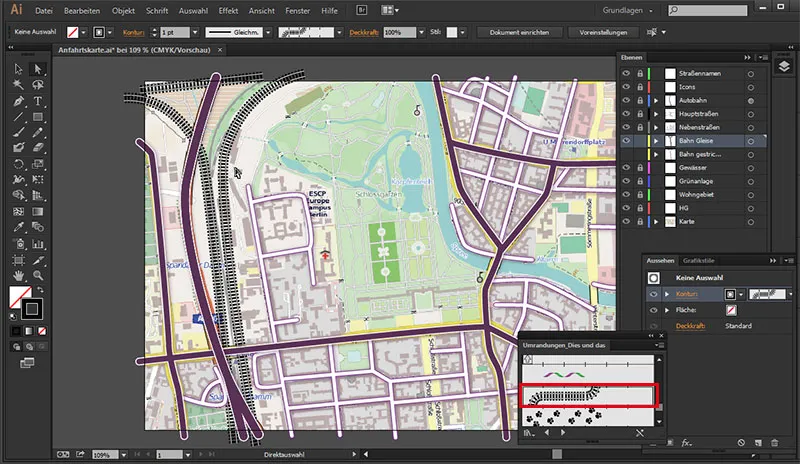
This is another way of displaying railroad tracks, and now that we have created both variants in different layers, we can choose which one we like best and leave it displayed.
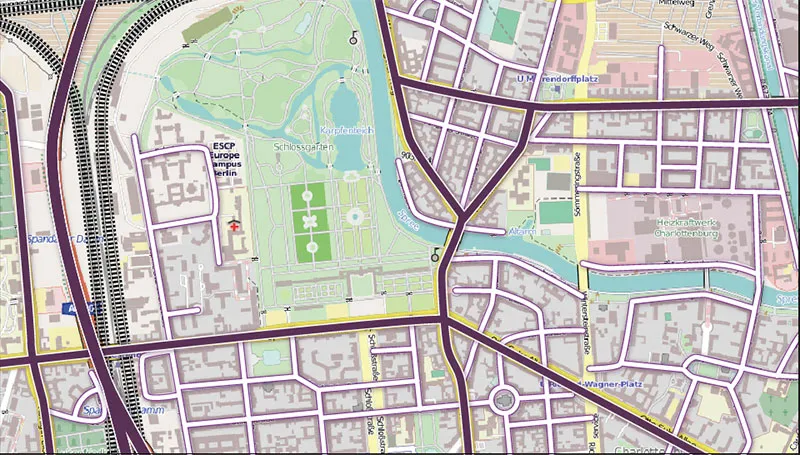
This is our interim result for this part:
In the next part, I'll show you how we draw the residential areas.
