In this part, I'll show you how we can draw the residential areas.
Drawing residential areas
The residential areas are the areas where you can see small houses everywhere on the screenshot. At first glance, this looks pretty detailed. But we will first draw it so that we have a rough outline, simply to know which areas are residential areas.
First, we go to the layers paletteand lock everything that we don't need at the moment. We unlock the residential area.
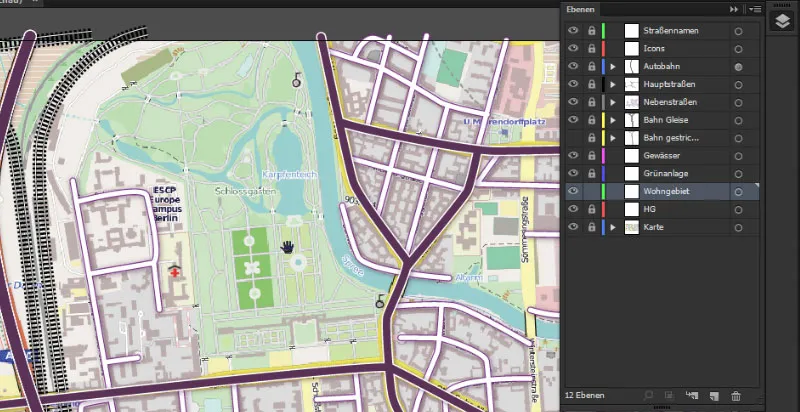
Then we take the path tool by pressing P once and will not assign an area to the colored area for the time being. We only need an outline at first.
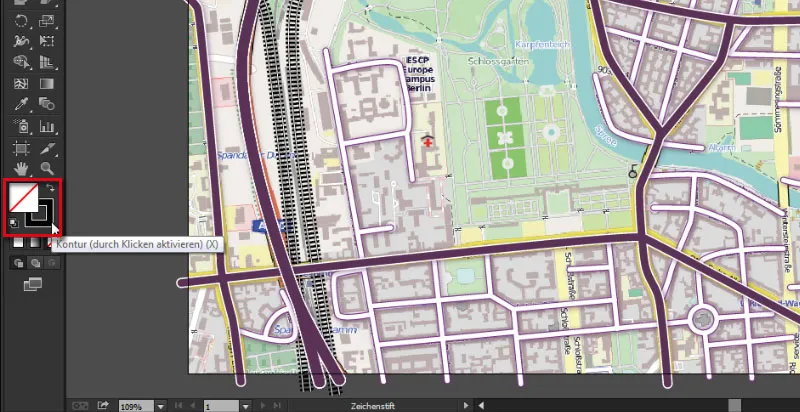
We will use the 3 Pt contour here. This is sufficient for drawing. We start at the bottom, place the first click at the bottom left corner and work our way through the first residential area ...
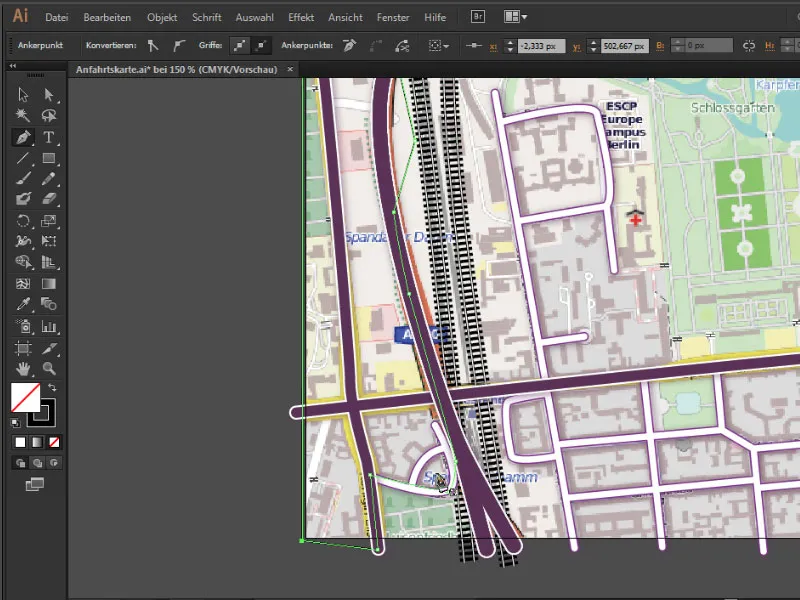
To make it easier to distinguish the outline from the map, we give it a clearly visible color (e.g. a light pink) and increase the outline to about 3 pt.
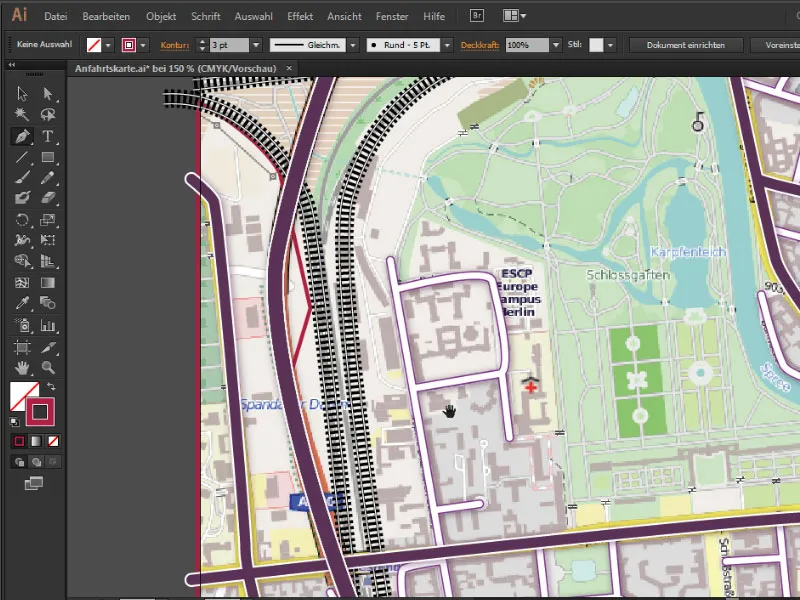
Omit the traffic circle
In order to exclude the traffic circle from our residential area, we first need to define the residential area there. This is the only way to cut out the desired area afterwards. To do this, we use the ellipse tool and draw a circle by holding down the Shift key...
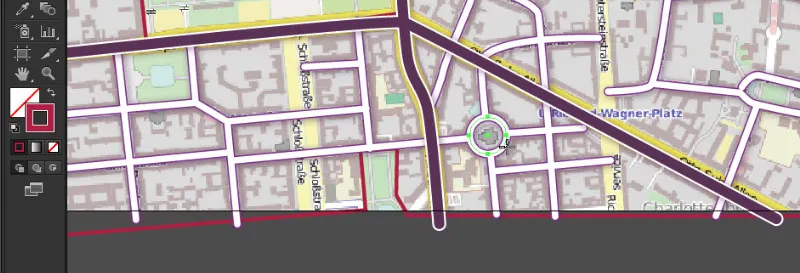
If we now roughly color the entire residential area in any color by selecting all the residential area levels and choosing a color in the color area, we have a better overview of the residential area areas on the one hand and on the other hand we can proceed better with the traffic circle. At the same time, we can remove the outline so that we only display the residential area in surface color:
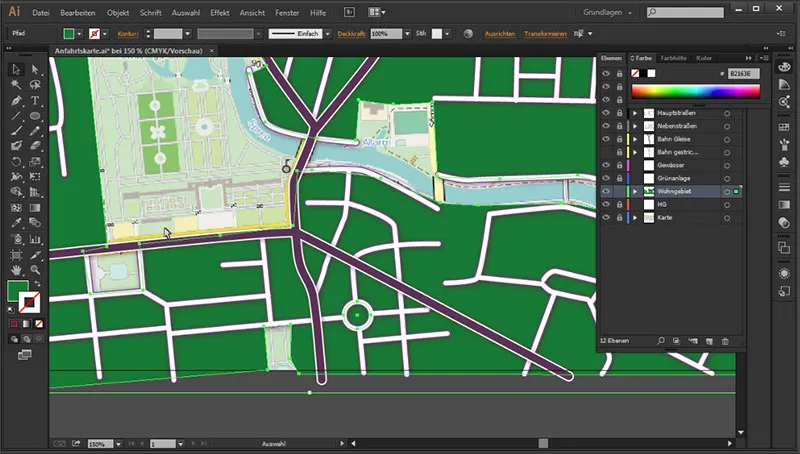
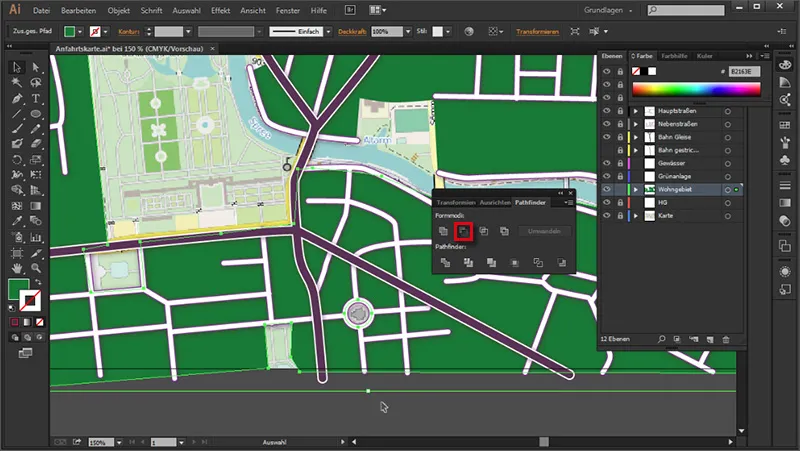
To now leave out the circle in the traffic circle, we go to Window>Pathfinder...
... and select the residential area and the traffic circle area with the selection tool. As soon as both are selected, we go to the Pathfinder and click on the second symbol Subtract front object in the shape modes - the area is now cut out:
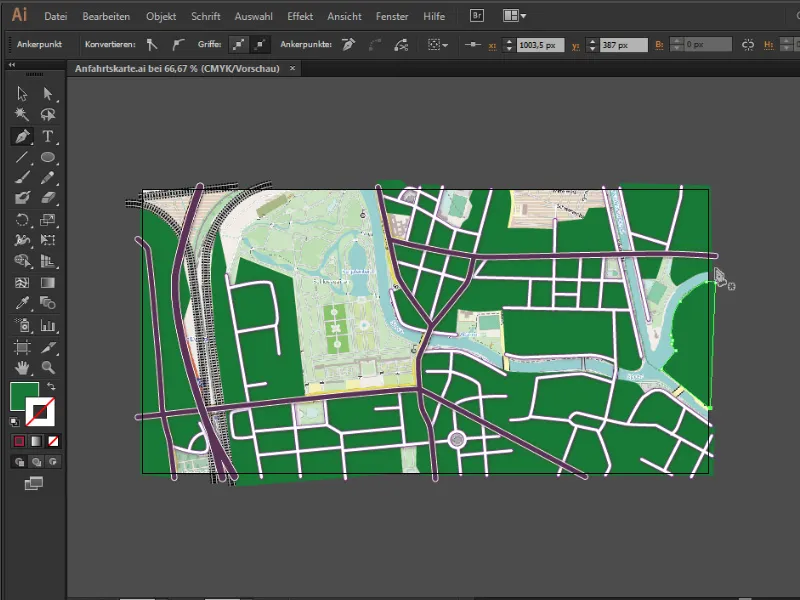
Intermediate result:
Coloring the residential area
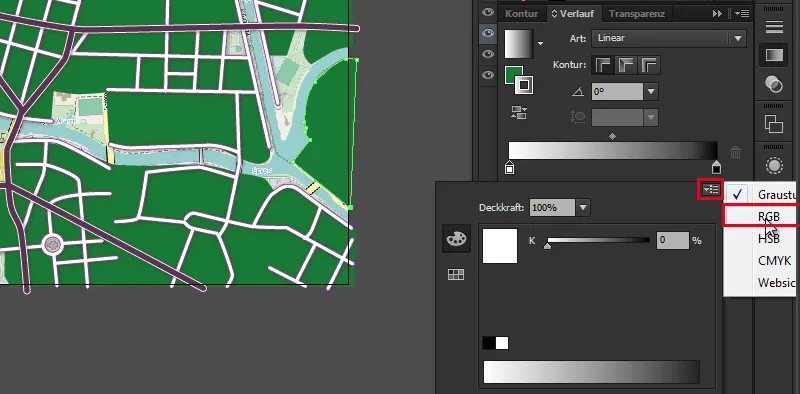
To color the residential area properly, we first select the entire residential area, call up our gradient control panelunder Window>Gradient and set a linear grad ient there. To do this, we go to the first gradient slider ...

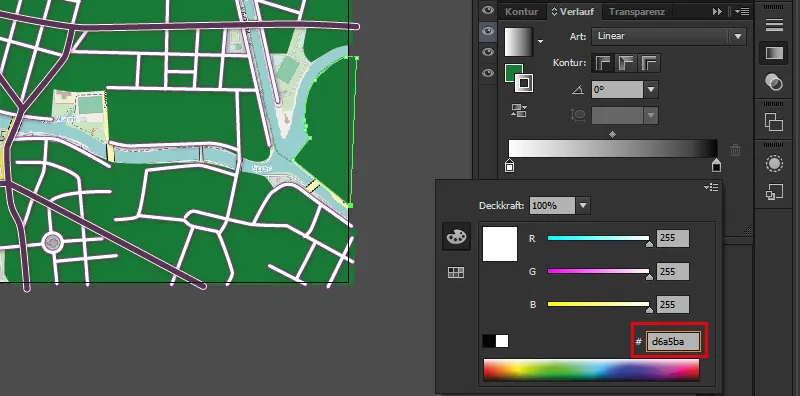
... which brings up a menu. Here we first switch from "Black and white" to RGB so that we can select bright colors in the gradient slider, which is currently in grayscale... and select the following hexadecimal code for the first gradient slider: #d6a5ba - we do the same with the right gradient slider.
This also receives the hexadecimal code: #d6a5ba:
- 1st gradient controller: #d6a5ba
- 2nd gradient slider: #ae8596
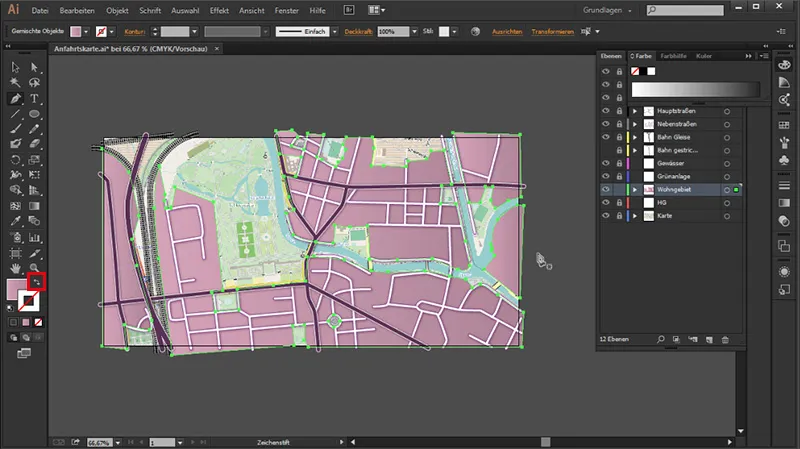
If our gradient has only affected the contour, we click on the double arrow in the color selector fieldand change the contour color to the surface color. We deactivate the contour color itself.
Add structure
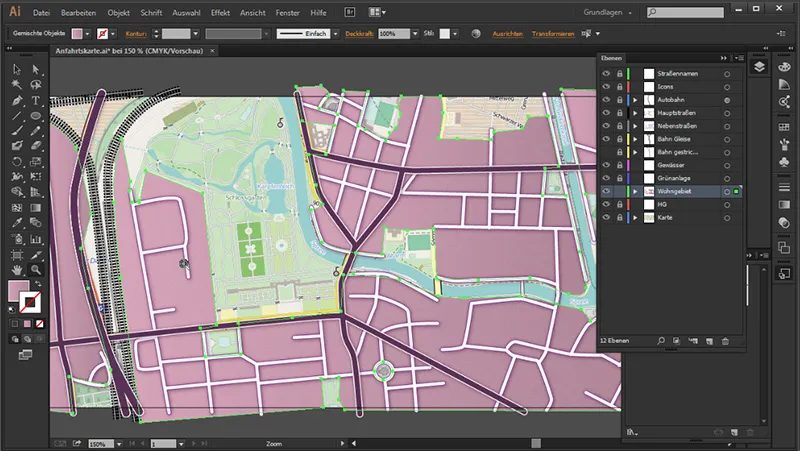
This now looks ok for a residential area, but still quite smooth. We will therefore add a texture to this area. We select the residential areas completely again, go to the Appearance panel, click on the small fx symbolcalled:
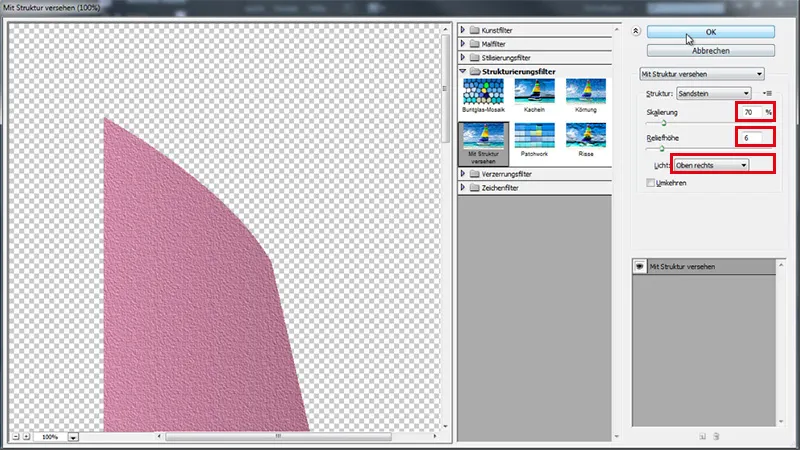
Add New Effect>(Photoshop Effects) Texturing Filter>Add Text ure ...
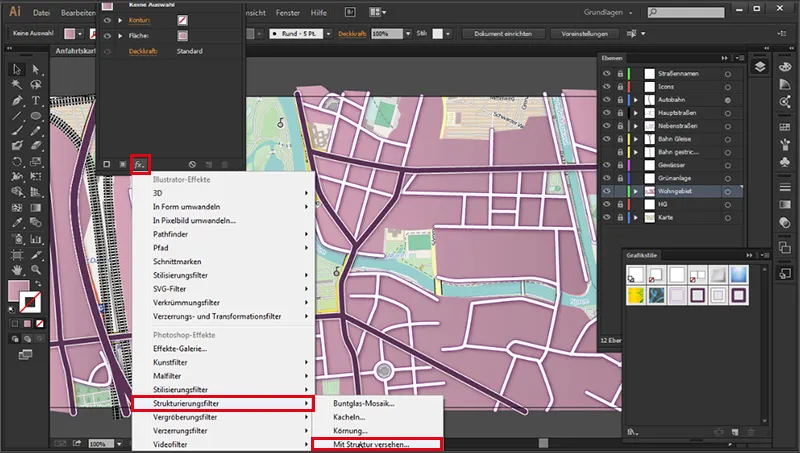
... and enter the following values:
- Scaling: 200 %
- Relief height: 6
- Light: Top right
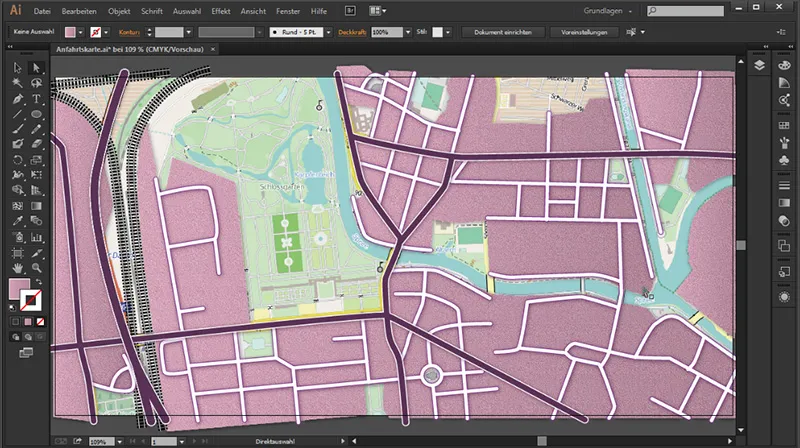
Intermediate result:
Add shadow
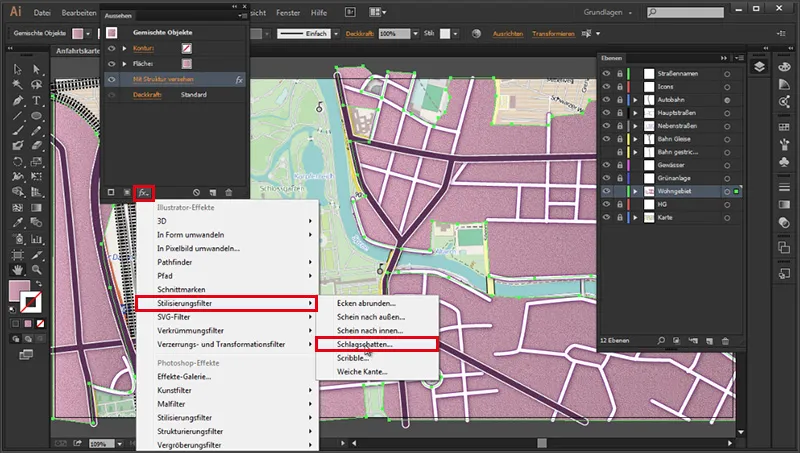
Then we want to give the whole thing a drop shadow to make it look a little more three-dimensional. We can find the same thing again in the Appearance panel. Under:
fx>(Illustrator Effects) Stylization Filter> Drop Shadow.
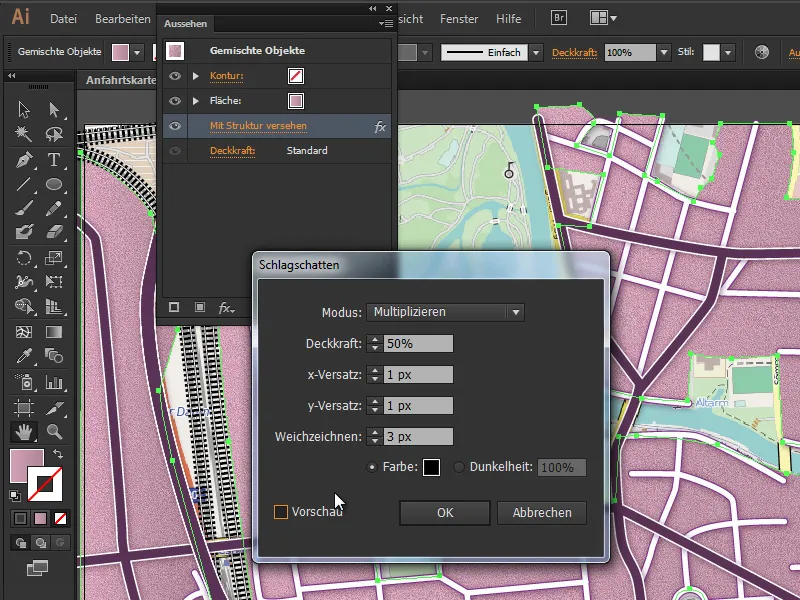
- Mode: Multiply
- Opacity: 50 %
- x-offset: 1 px
- y-offset: 1 px
- Blur: 3 px
- Color: Black
It looks much better like this:
That's it for this part. In the next one, we'll draw the green area and the body of water.


