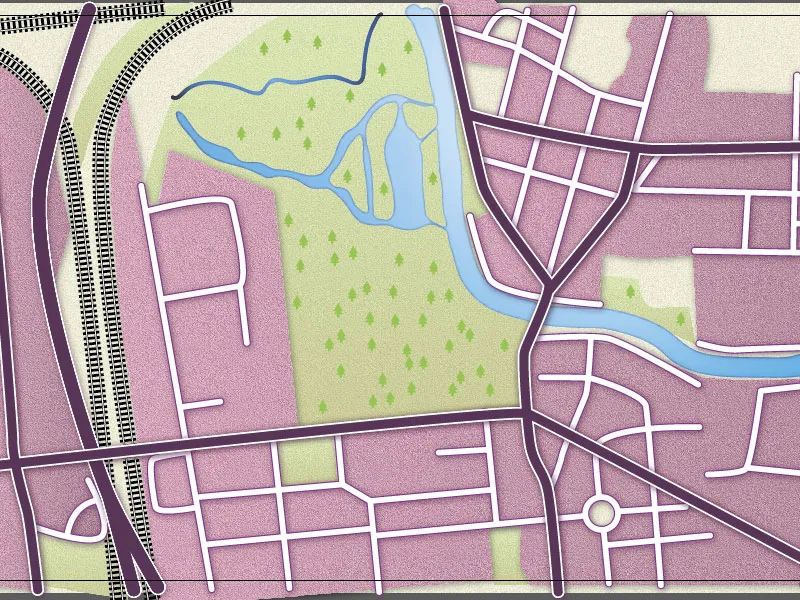
As announced in the last part, we will color the water here. Then we'll create a few trees and label the roads.
Coloring the water
To color the water, we first want to mark it.
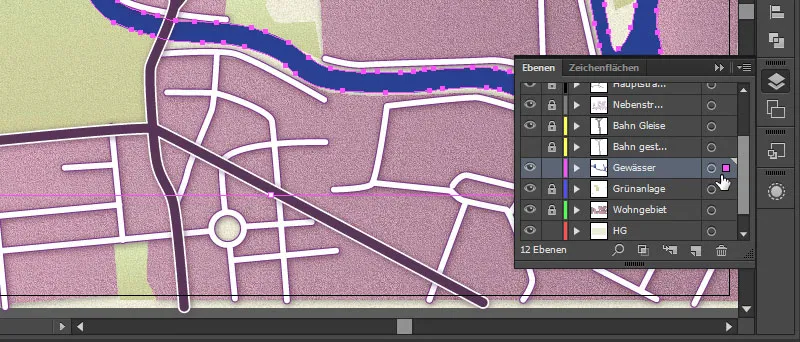
Then we go to the graphic styles paneland here we have an icon called "Dusk".
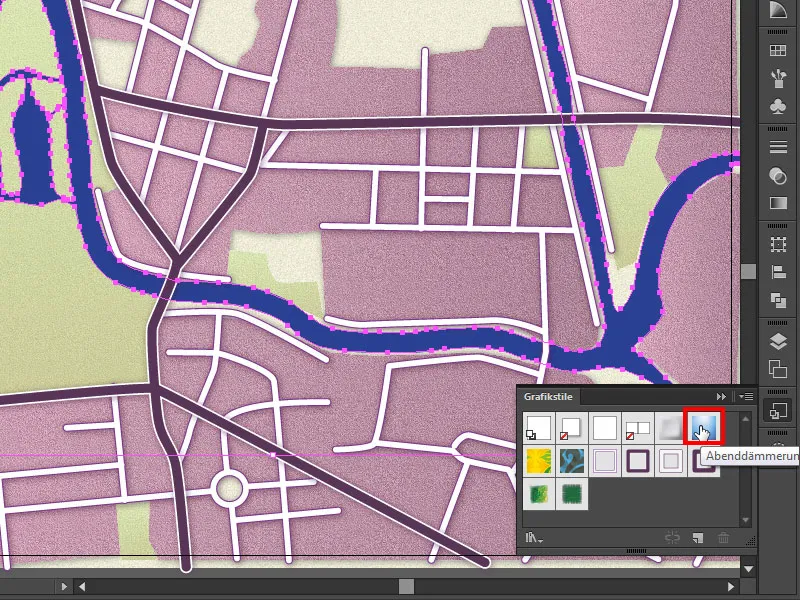
Let's go up there once. And with one click, we really have a nice matching watercourse here.
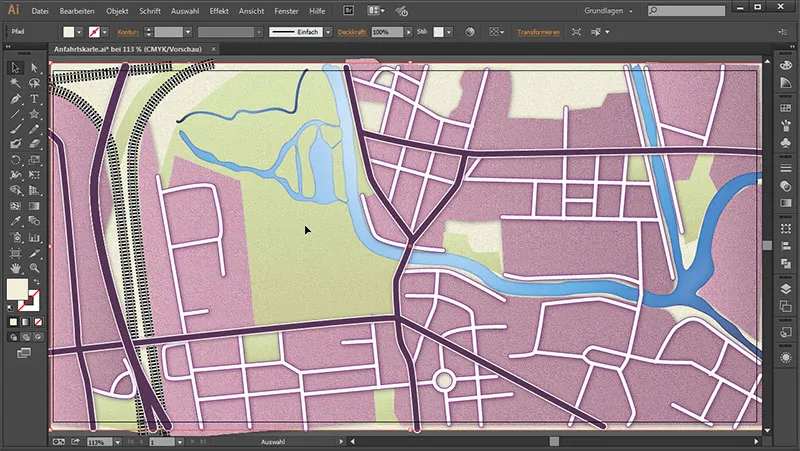
Unfortunately, the spatial effect of our residential area doesn't really come into its own here, even though we've already given it a drop shadow. This is because we have placed the green area layer below the residential area. We therefore move the residential area level upwards once.
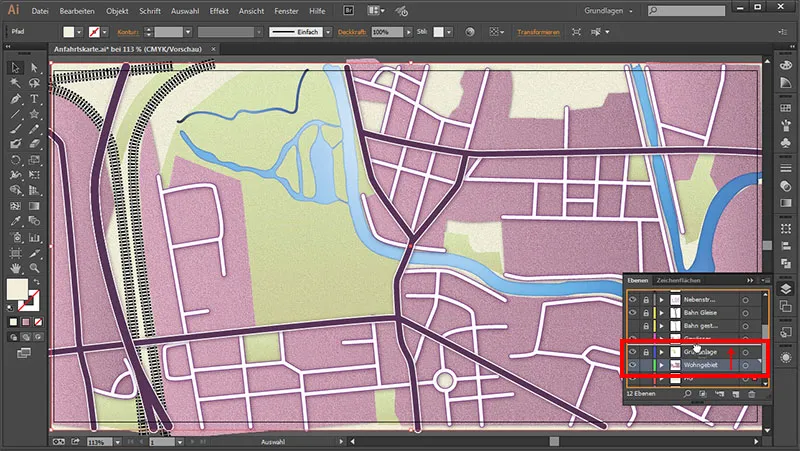
And the problem is solved.
Draw tree
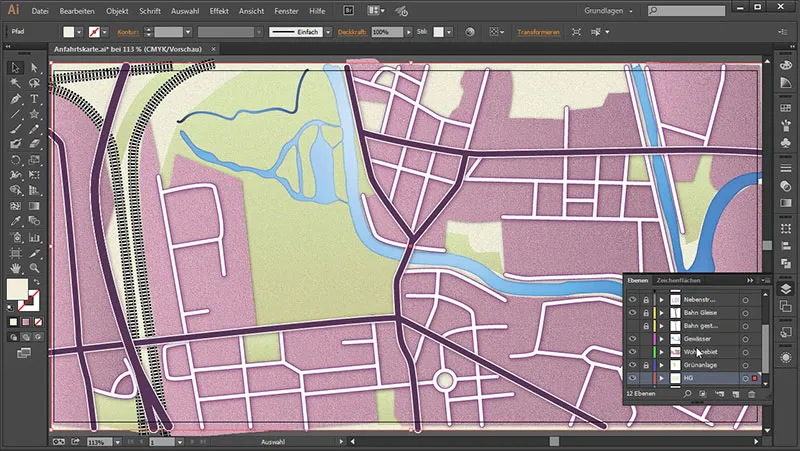
Next, we want to draw a small tree. To do this, we first zoom in and use the star tool.
We use it to draw a star and then press the down arrow key until we have a triangle. Then we hold down the Shift key so that the tip is pointing upwards and let go once.
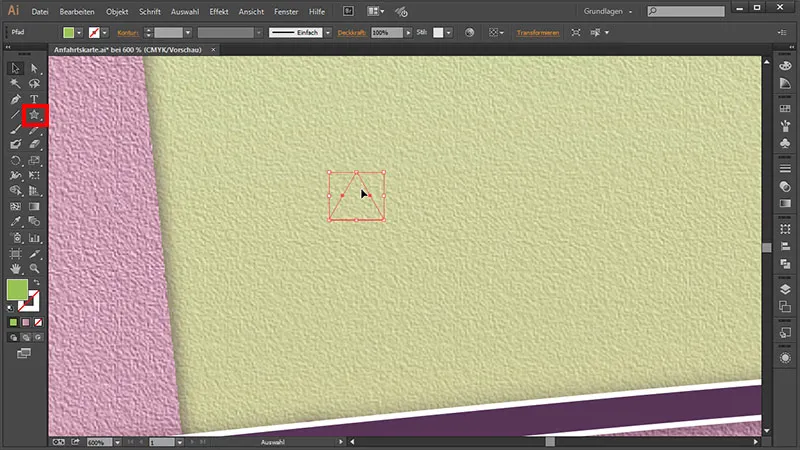
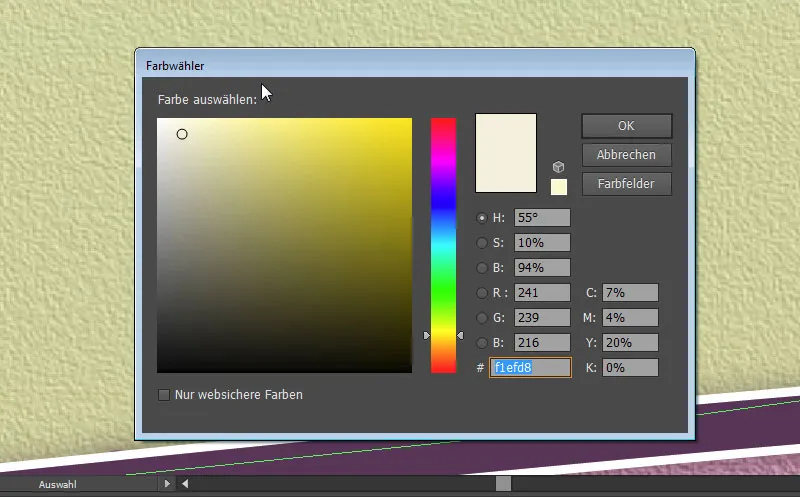
We can color the triangle right away. To do this, we go to this field and give it the color: 9ac551.
Correct incorrect layers
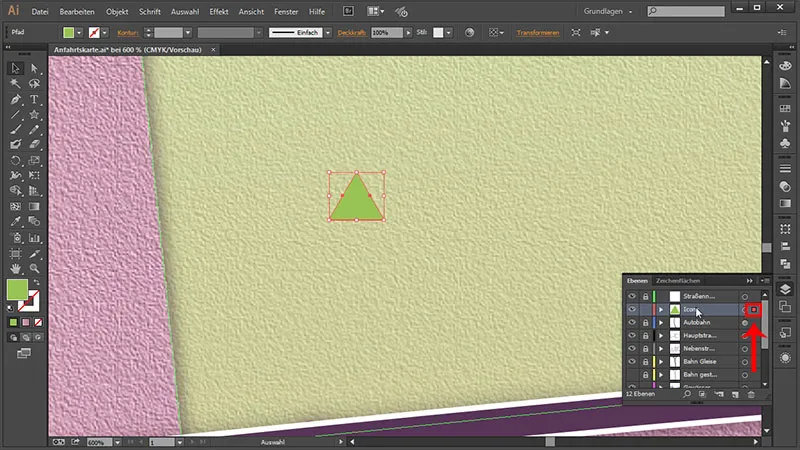
Then we have a nice green. And if we can't see this green on our workspace, we can look at our layers panelto see where we have drawn this triangle. This will show us that we have drawn it on the background layer. We actually wanted to place it on the "Icons" layer. We unlock it once. And to assign this layer to the "Icons" layer, I simply go to the square of the background layer, hold down the mouse button ...
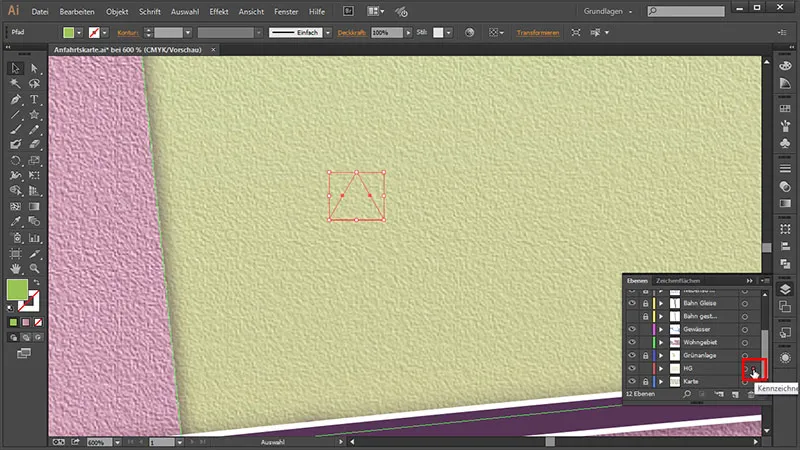
... and drag the whole thing to the "Icons" layer. And now we have added the triangle to the "Icons" layer.
Continue painting the tree
Then we simply duplicate this triangle by holding down the Alt key, clicking up again while holding Shift, so that we really get exactly straight down, and letting go.
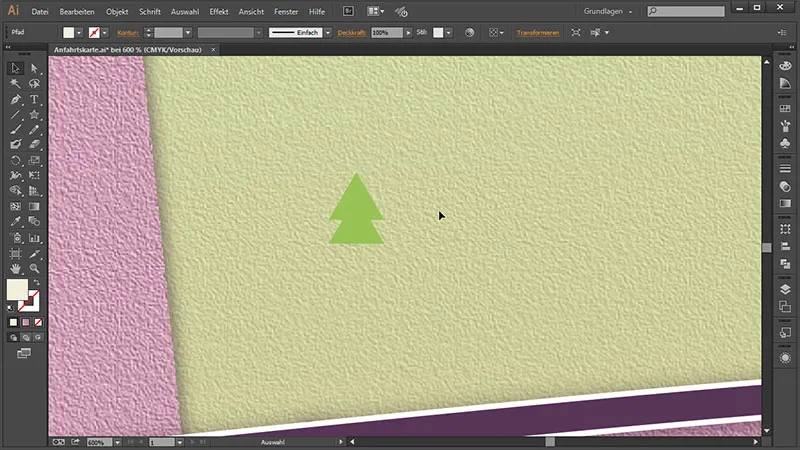
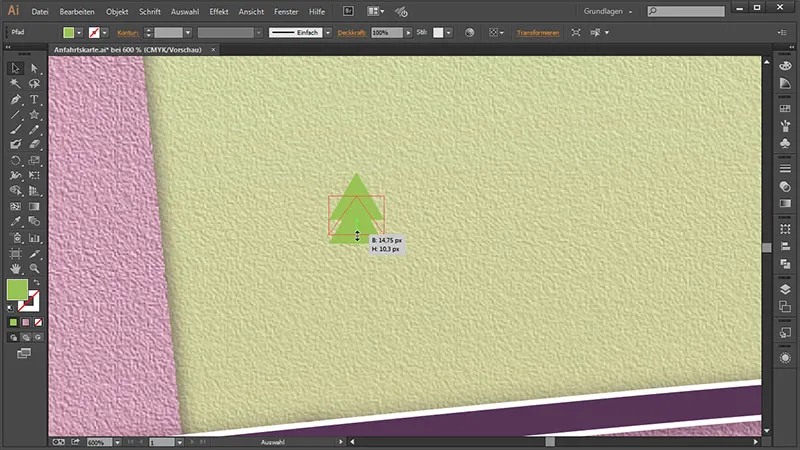
We can compress the triangle a little and pull it down a little.
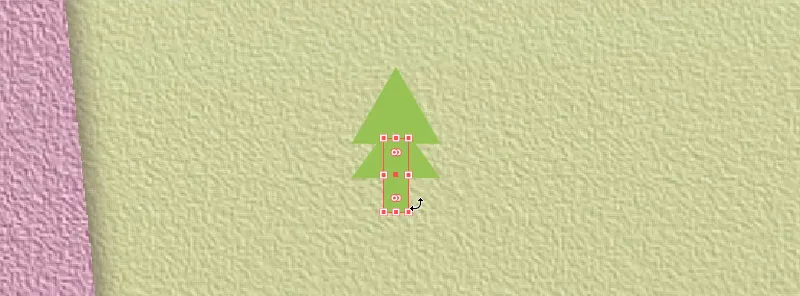
And then we want to give it a little stem. To do this, we go to the rectangle tool and, holding down the Shift and Alt keys, draw a rectangle from the center. Then we compress it again by holding down the Alt key. We have now aligned this trunk exactly in the middle. And it is now only missing one color: 9ac551.
Now we want to join the tree together. To do this, we select it completely once and go to Window>Pathfinder.
Then we select the first symbol ...,
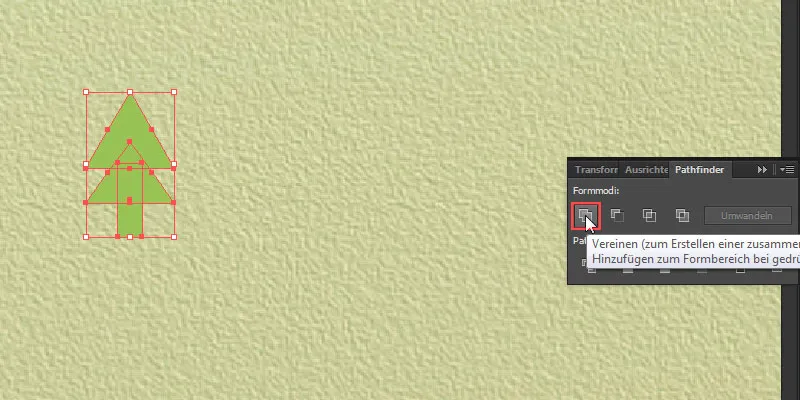
... which merges our shape into a complete shape.
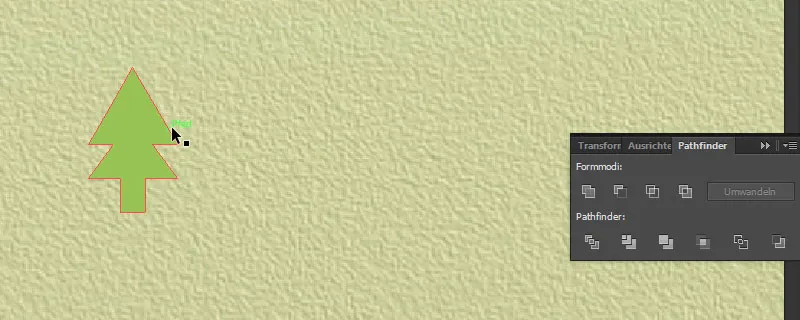
Now we have a tree here. But we want to have several trees. So we select it once and go to Window>Symbols. And to convert this tree into a symbol or create a symbol from it, we simply drag and drop it into the Symbols panel.
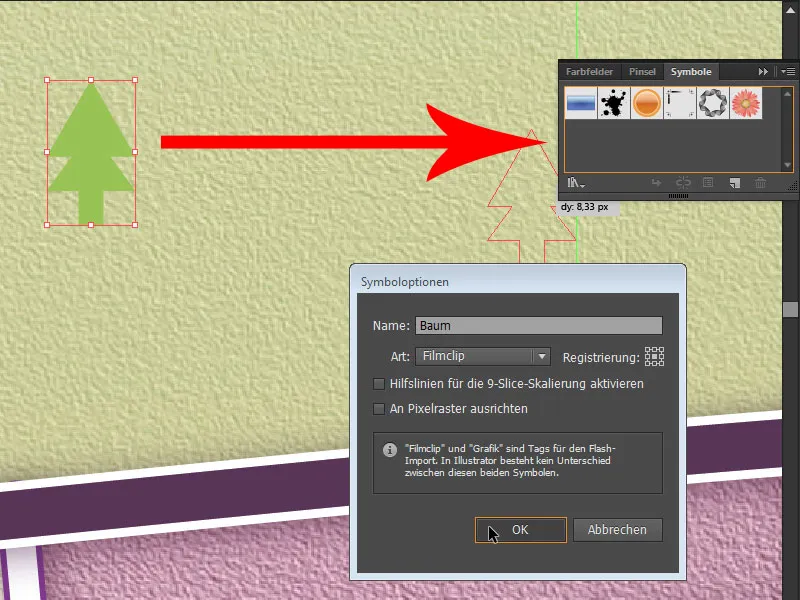
We give it a name and click on OK. And now we have the great opportunity to select an ingenious tool. We find this in the toolbar as the spray-on symbol tool.
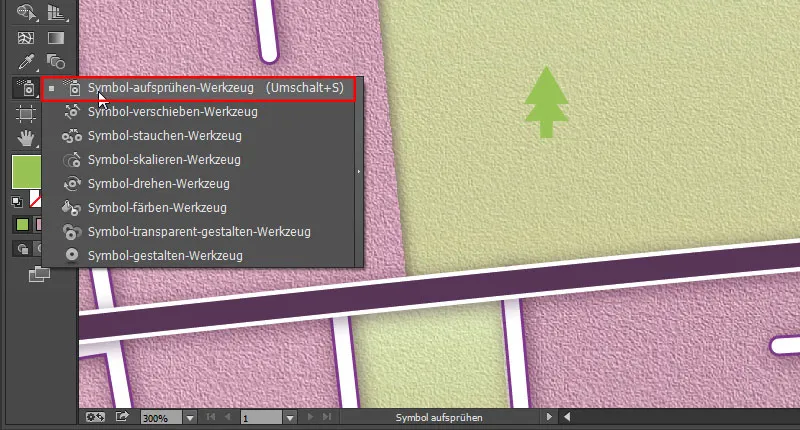
This gives us a spray can, and if we now click on our workspace with the left mouse button and hold it down, we can paint on countless trees.
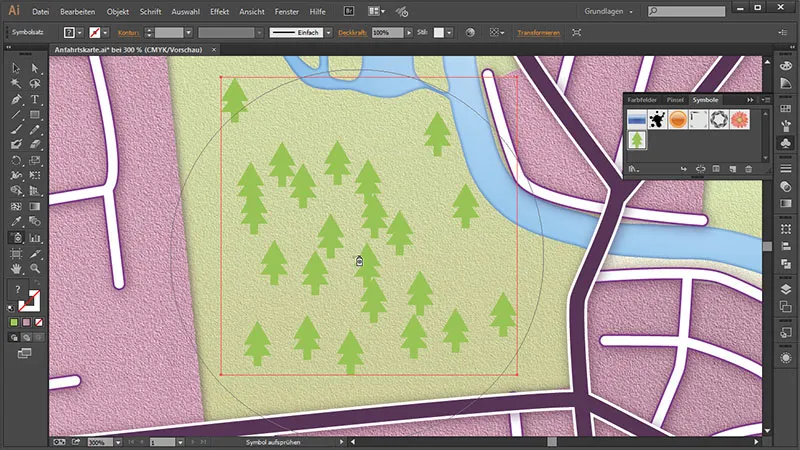
However, these are now placed randomly and to adjust the placement a little, we have the option of selecting the move symbol tool.
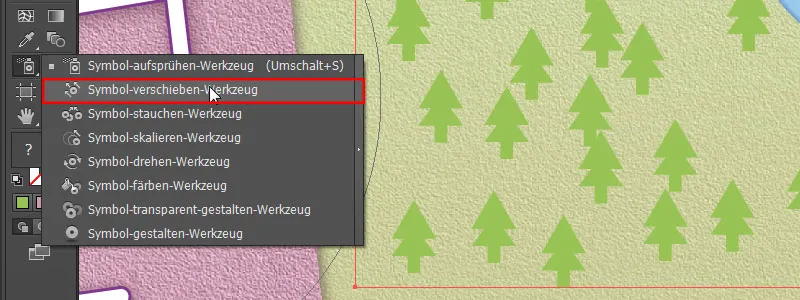
This allows us to move the trees around a bit.
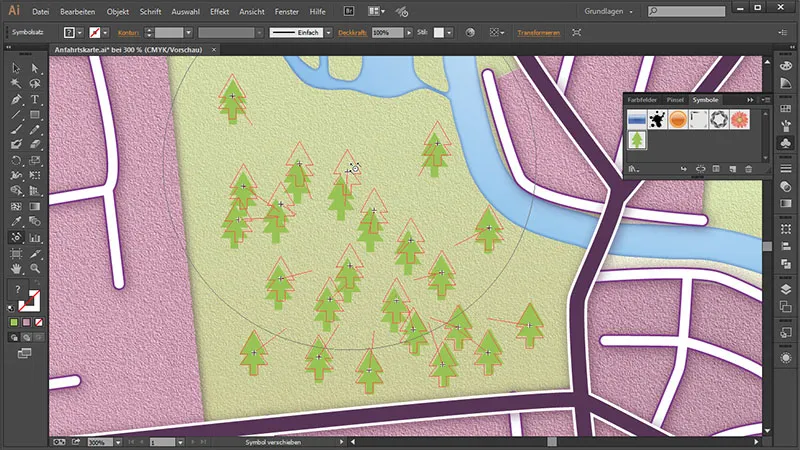
We also want to spray some at the top of the rivers. If we press the button just once, we can control relatively well where the trees end up and move them a little with the move tool. If we have a few too many symbols - for example, if there are too many in an even row - we simply press the Alt key and click on the symbols. This way we can remove some trees.
Adjusting the symbol size afterwards
And since the trees are a bit chunky in size, we'll make them a little smaller. We can easily do this without having to create and spray the symbols again. In the symbols palette, simply double-click on the symbol you want to change. Our tree appears. We select it once completely and simply drag it a little larger. Then go back again by clicking on the back buttonat the top left.
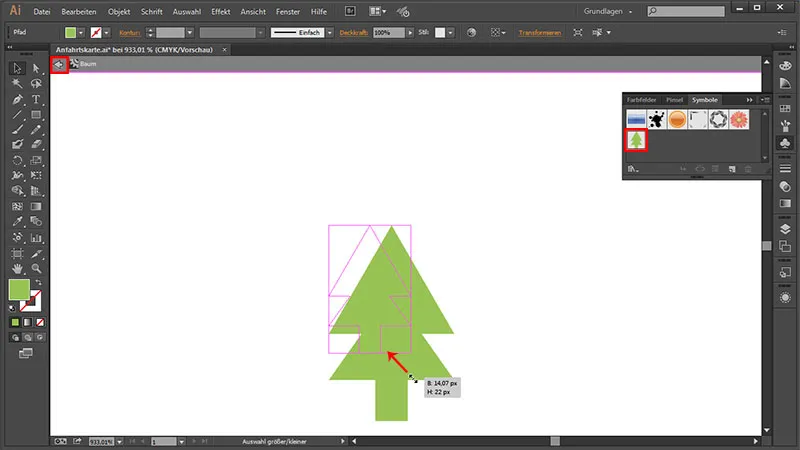
And we can immediately admire the result: all trees have been adjusted. Now you know how to resize symbols afterwards.
Street labeling
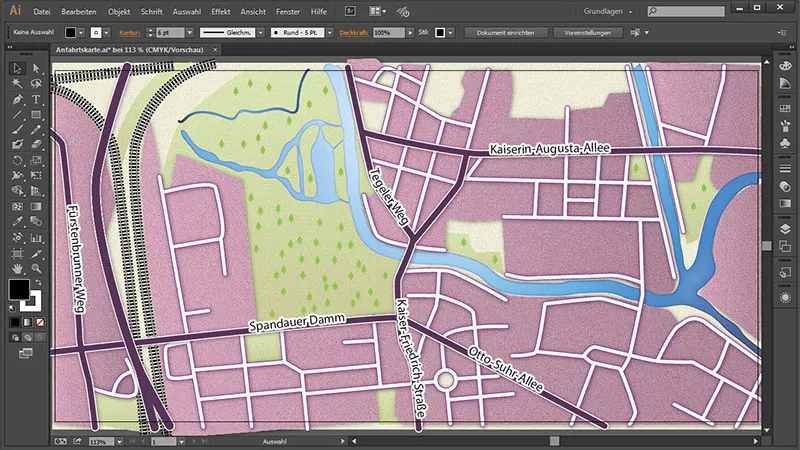
Next, we want to label the streets. To do this, we go to the Layers paneland duplicate our main road layer. As we want our text to run exactly along the street, we move the duplicated layer to the top because we already have our previously created street name layer there. We can actually delete this now, because our main street duplicate is used for this.
And to be able to see exactly which streets are underneath, we simply move the map in the layers panelall the way to the top. Then we open the transparency panelunder Window>Transparency.
Once we have selected and unlocked the layer, we can lower the transparency a little and see the street names shining through.
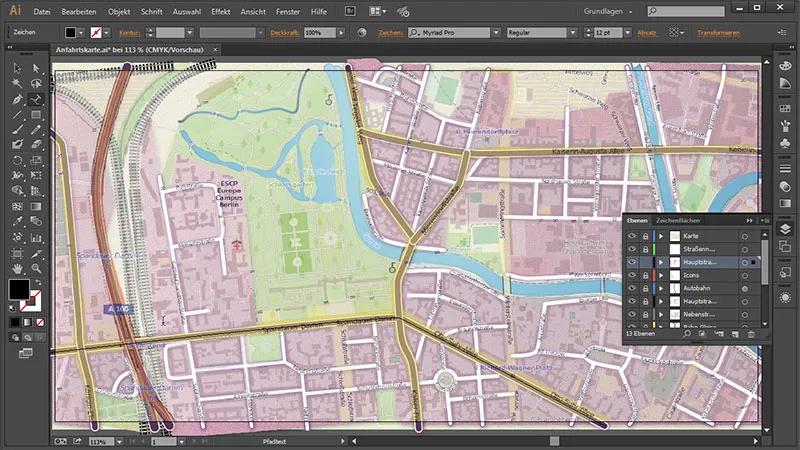
Then we go back to our main street duplicate, unlock it and lock the others so that we don't accidentally change anything here. And to create the text along the path, we select the path text tool...
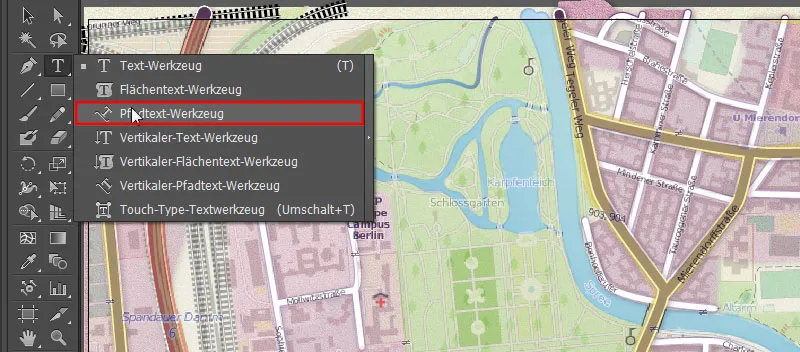
... and click once on one of the roads. If we get the message: "You must click on a non-compound, non-masked path to create text along a path" ...,
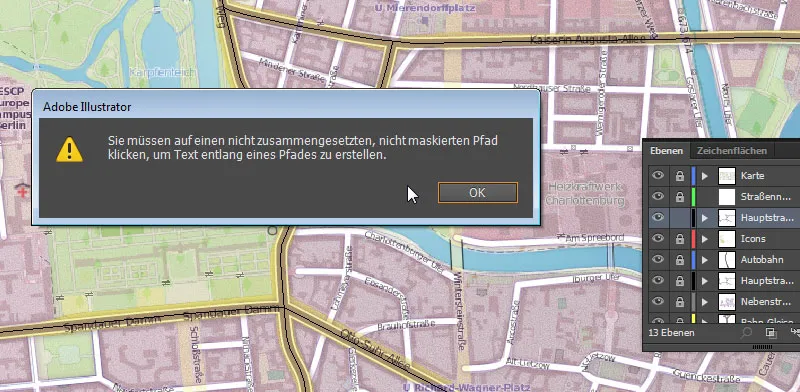
... we must first select the text path in the Layers panel, take the arrow tool, right-click on the text path on our workspace and go to Reverse Compound Path.
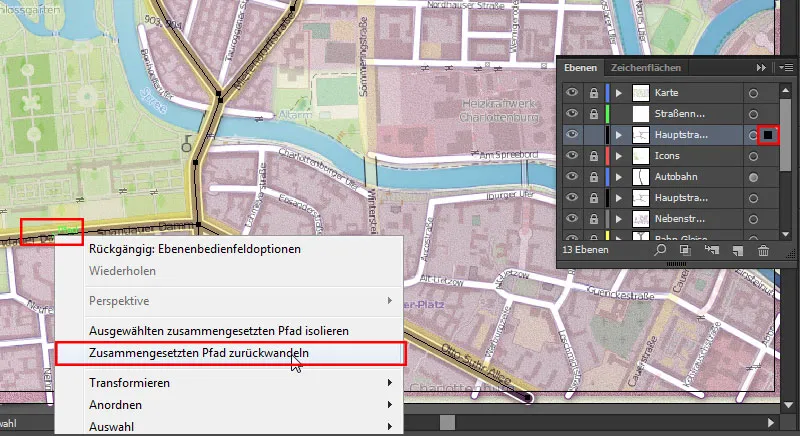
And now I can use the path text tool to click on the path for the "Spandauer Damm" ...
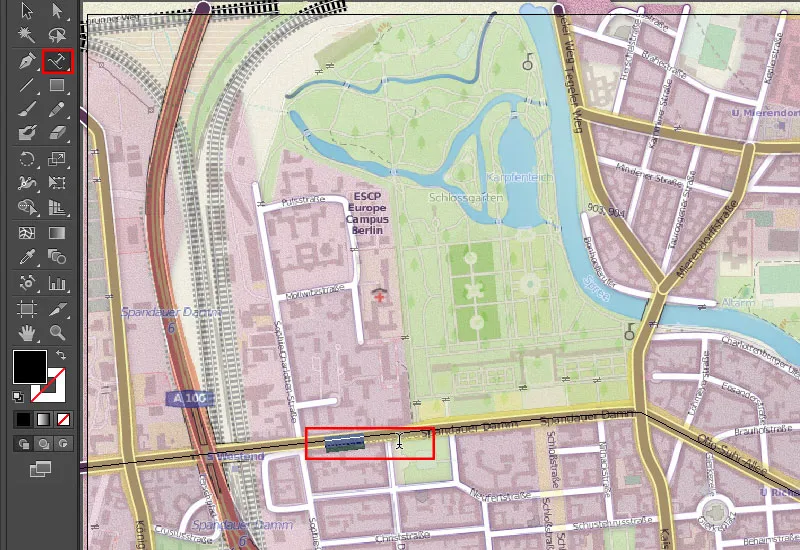
... and enter the "Spandauer Damm". This now appears nicely here at the bottom. And to be able to read it the right way round, we use the selection tool and have a nice handle on the right-hand side with which we can move the text to the right position.
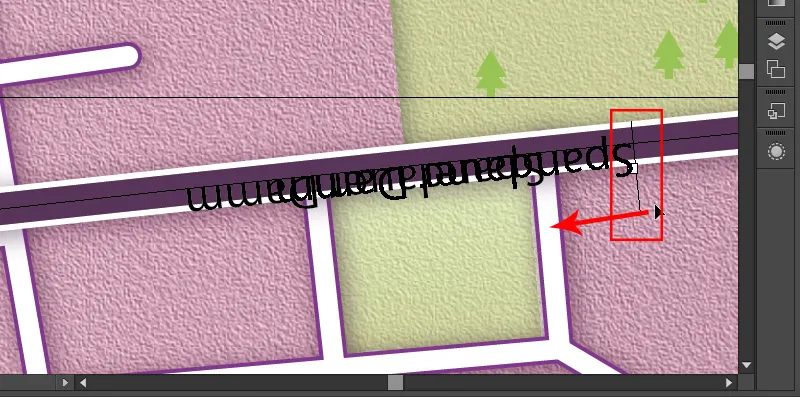
On the left-hand side we have another handle. We can use this to drag the text to the top edge of the path so that we can read it the right way round.
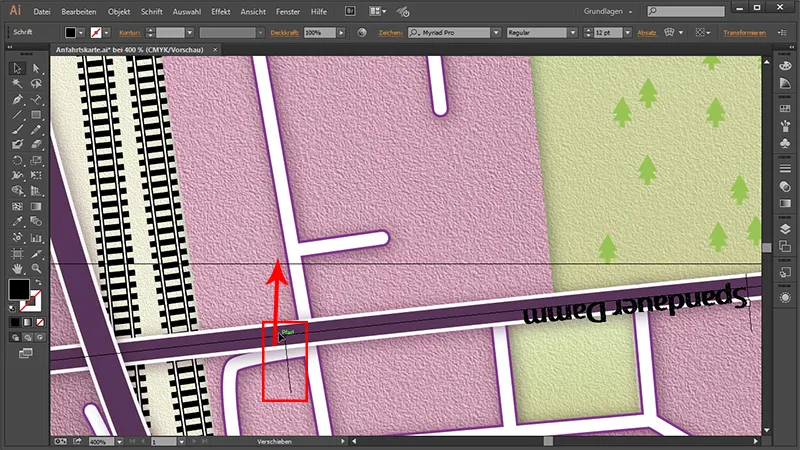
We can give our text a font size of 18 pt so that we can read it easily. And since the text is black, it still has too little contrast to the dark road. This means that we will make it more legible by adding another outline in the Appearance panel. We will then do this ...
- Outline color: White
- Outline weight: 6 pt
So that we can see the text through it again, we will move the area in the Appearance panelupwards and make it black again.
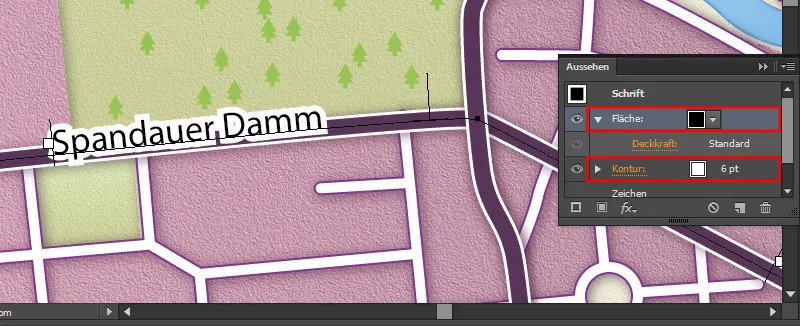
Now we can see that our outline is quite angular ...
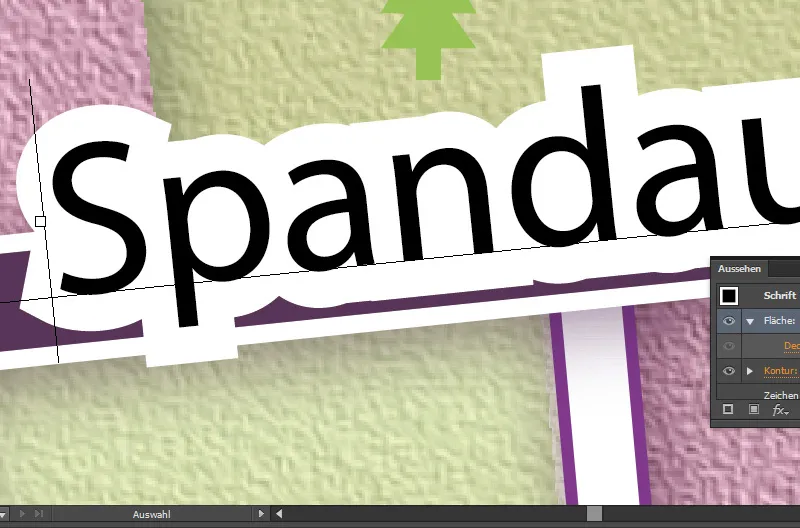
If we don't like this, we can go to the Outline item in the Appearance paneland simply round it off ...
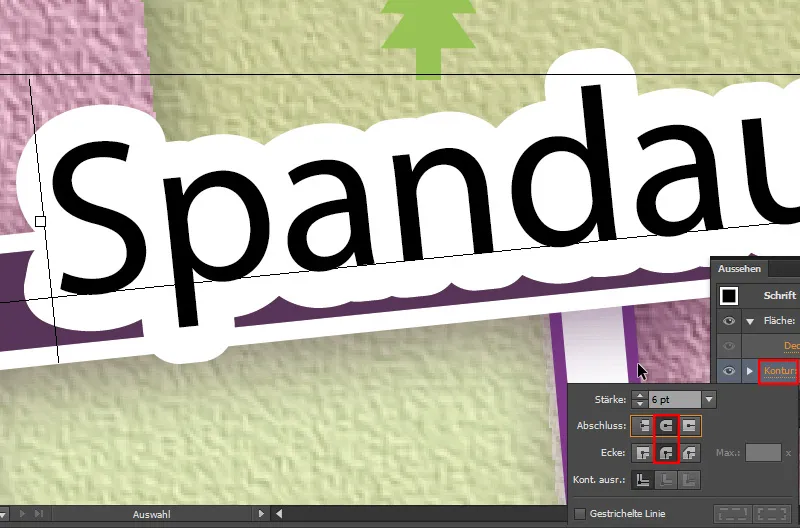
Now we can read it perfectly. And so that we can continue this with the other roads, we will click on New graphic style in the Graphic styles panel. This will create a new graphic style and allow us to create the other street names in the same style with a single click.
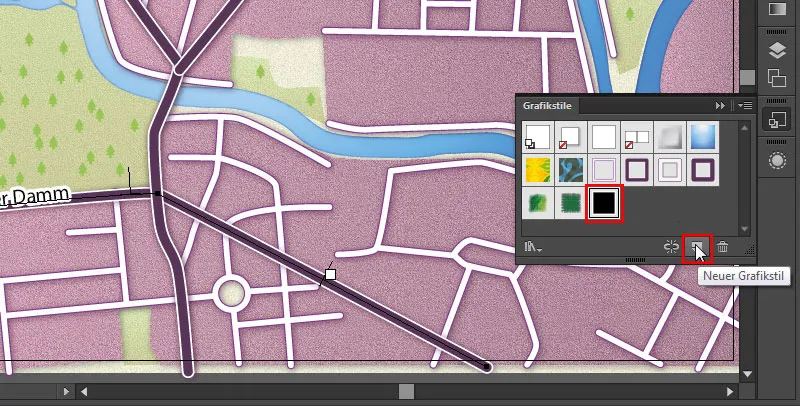
Next, we enter the "Tegeler Weg".
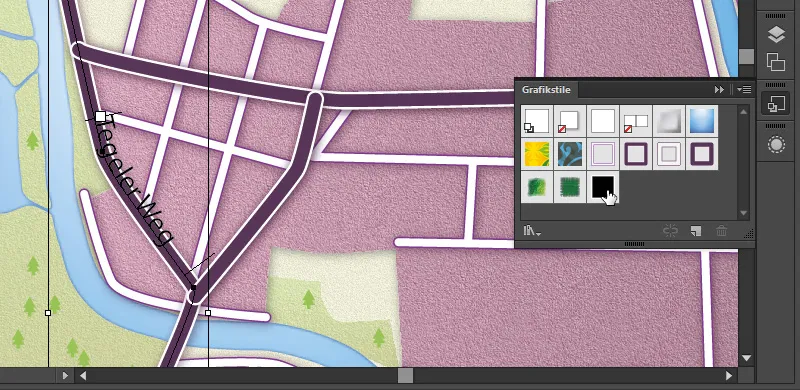
Then just click once on the icon in the graphic styles panel- and our street appearance has been transferred.
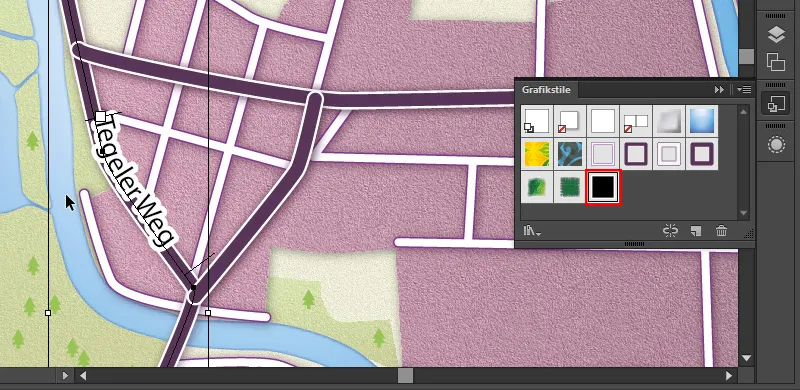
We then do the same with the remaining main roads.
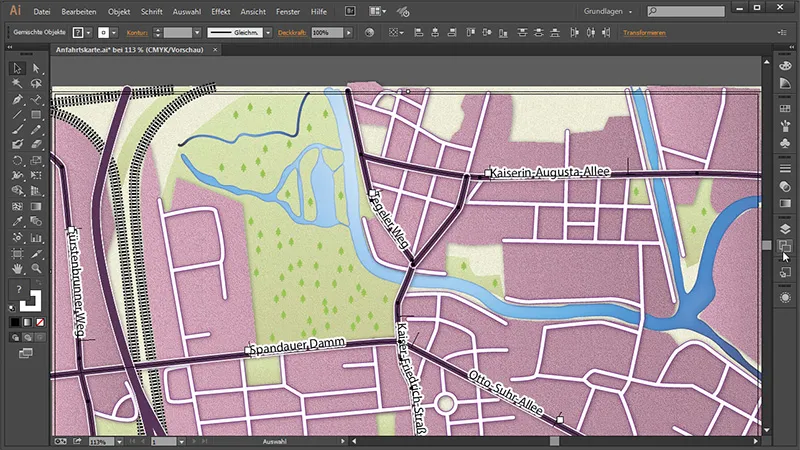
We can simply delete the remaining paths. And to be able to identify them all, we go to the layers panel, open the "Main roads" layer and see which of our path layers is still displayed as a path instead of the street name. We can then simply delete these layers. We can then delete the old "Street name" layer.
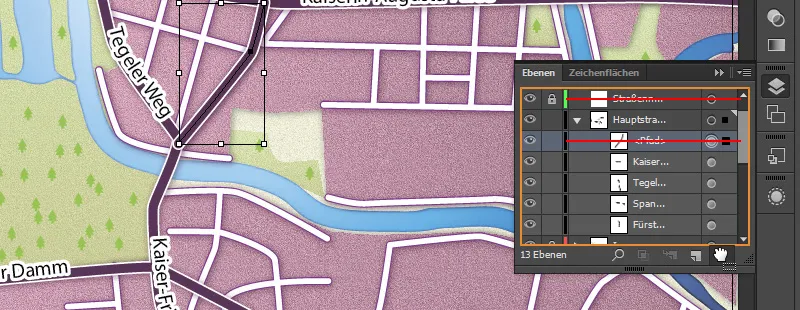
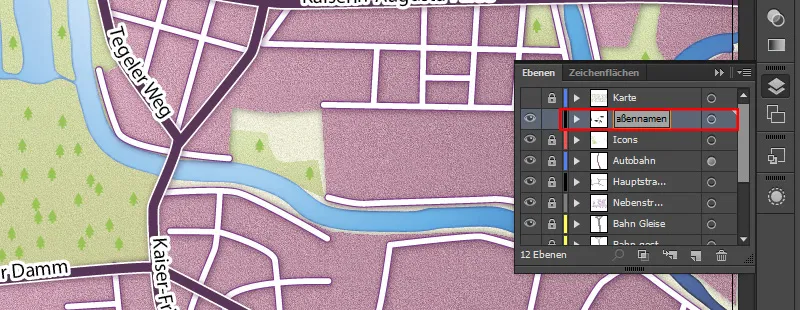
And we rename the "Main streets" to "Street names".
And that's it for this part.
In the next and last part, we will create icons for the subway and the suburban train to indicate where they are located. After that, we will create a corresponding sign for the highway to indicate which highway it is. And we will define our location.


