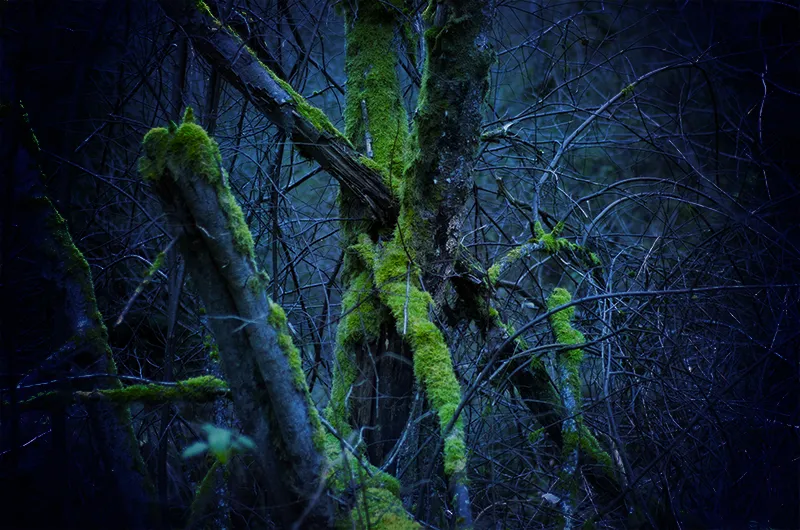
With this so-called gradient look, I want to show you how you can turn a normal snapshot taken outside somewhere here on the moor ...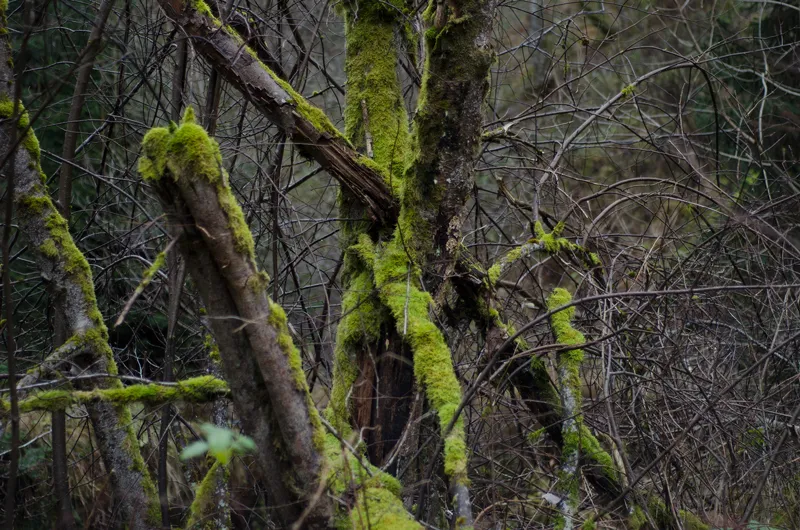
... into a moody atmosphere with just a few clicks. The whole thing looks gloomy and morbid, the green glows wonderfully, and that's roughly how I imagined it when I photographed it. This is a picture that anyone can actually take, but perhaps not everyone can do it like this: a dark vignette on the outside, then the blue tones, some of the original color still shines through, yes, maybe you're thinking: RAW development, Camera Raw, darkened here, who knows what, but it's very, very easy, this gradient look, and I'll show you that now.
Step 1
All you need first is an empty layer, click on the little icon below (1), then you get an empty layer and then go to this group (2) with the shortcut G, as you can see here. There is the gradient tool, the fill tool and the 3D material fill. The gradient tool is what you need now. The toolbar changes at the top here when you select it. You have various gradient types here, for example a linear gradient, a radial gradient, a reflected gradient, etc. You can now freely choose one. I'll just take the normal gradient (3), zoom out of the image a little, then I have it nice and clear here, and in the gradient tool I have this color box (4) at the top.
Step 2
If it doesn't look like this for you, it's because I've already added many, many gradients, and you can do that too by clicking on this gear icon (1). For example, you go to Pastel shades(2), then say: Add (3) and this pastel serieswill be added here, for example.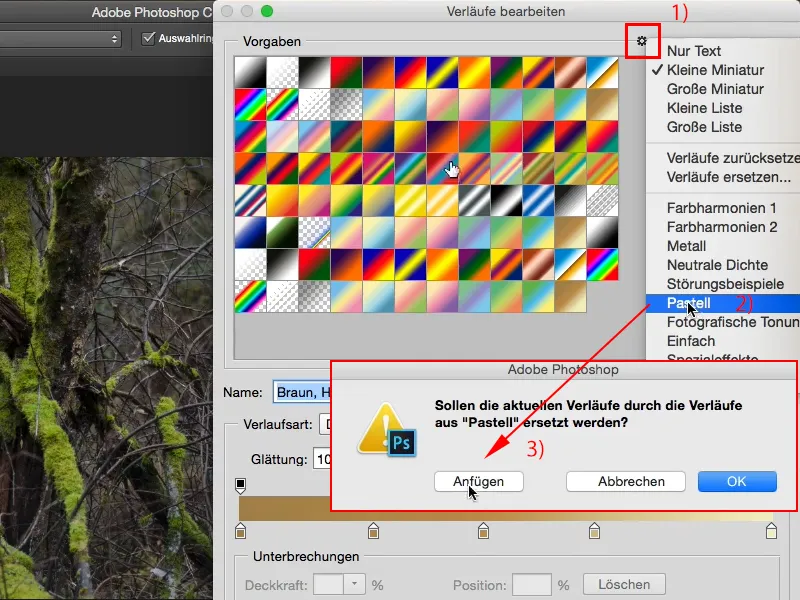
Step 3
Or all the others from the list. (1) Next, choose a gradient here (2). Try them all.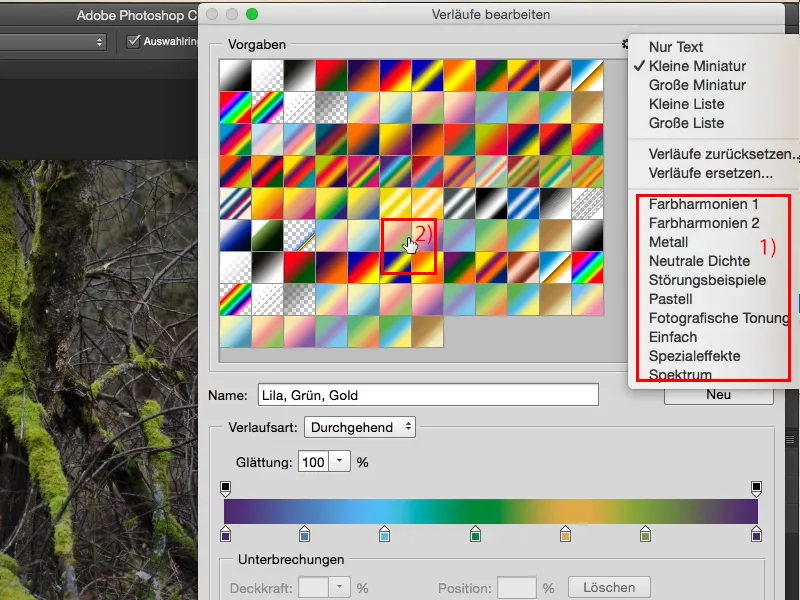
Step 4
You can also click on these little markers, these stoppers here (1) at any time and change the color. I'm going to drag this to black (2), then you'll see that the gradient has now been changed to black (3).
Step 5
I'll go back to the original color. You confirm the whole thing with OK and can now drag from the inside of the image to the outside, but you can also drag from the outside to the inside, because if you now apply a gradient here like this (1), for example, you will see that you get a very, very hard edge (2).
Step 6
Let me take another step back. I always like to draw such gradients from the outside of the image and draw them relatively far into the middle (1). Then the whole thing becomes softer (2). So: the longer you draw here, the softer the gradient becomes. If you only draw a short line, you will get a very hard gradient .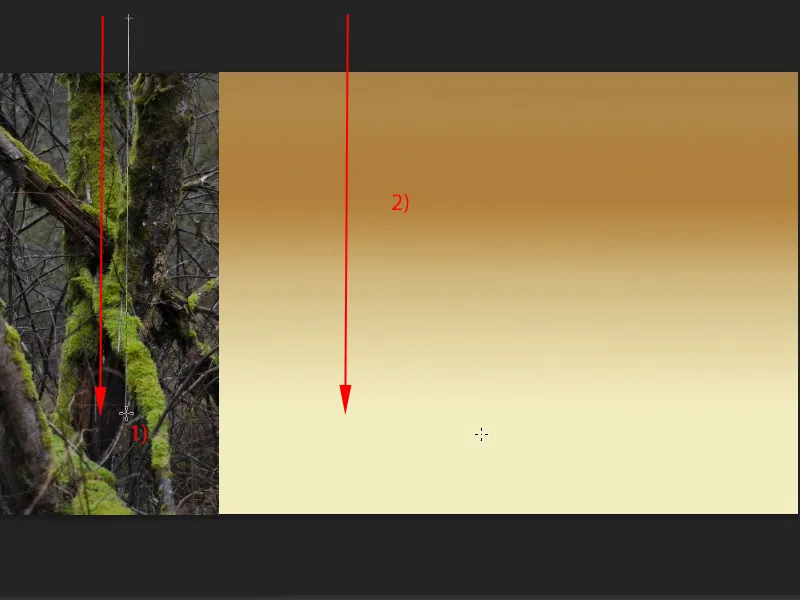
Step 7
What you can do now is to change the layer mode (1), for example. I'll go to Copy one into the other (2). And now I've created a completely different image.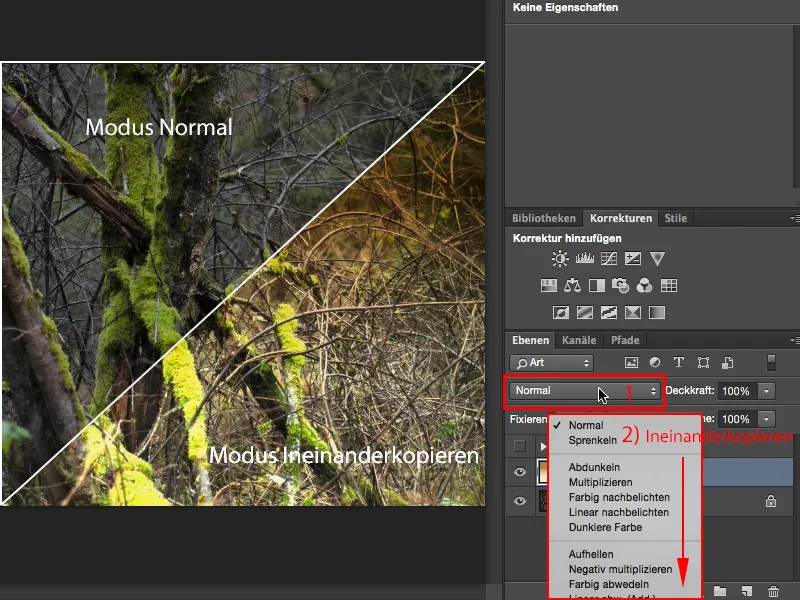
Step 8
Or go to Soft light. This is a bit more diffuse.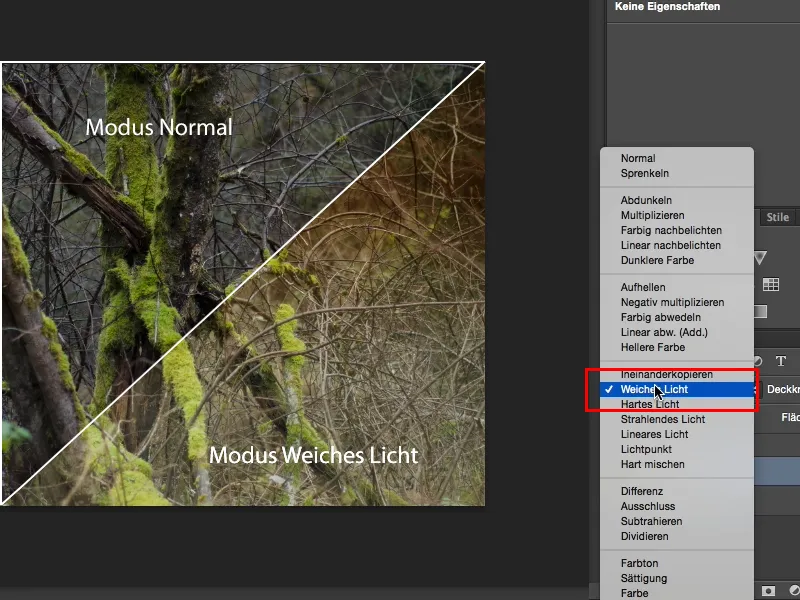
Step 9
I can also select Multiply here, then I get something gloomy and it's very, very brown at the top.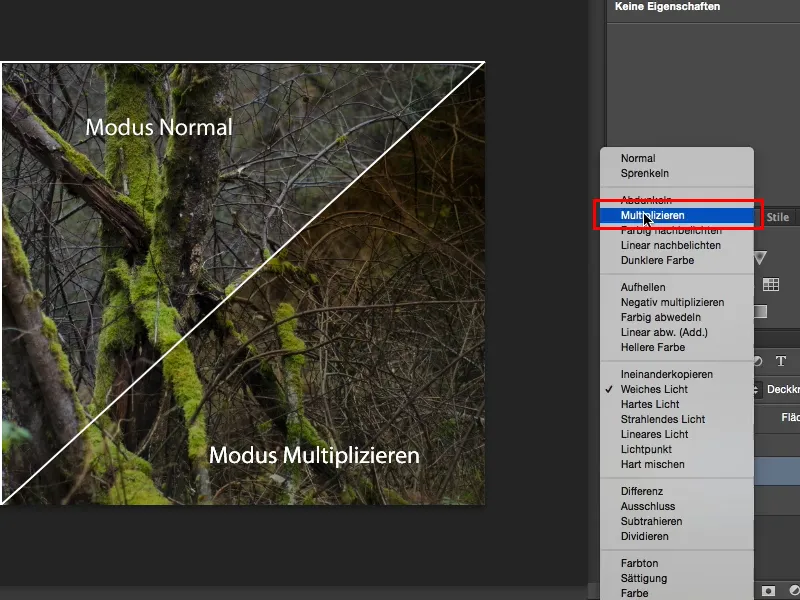
Step 10
I'll leave this on soft light. This creates a mood as if it were slightly overlit. That looks really cool. I'll take out the layer here again, make a new one (1) and show you another gradient, for example this radial gradient (2).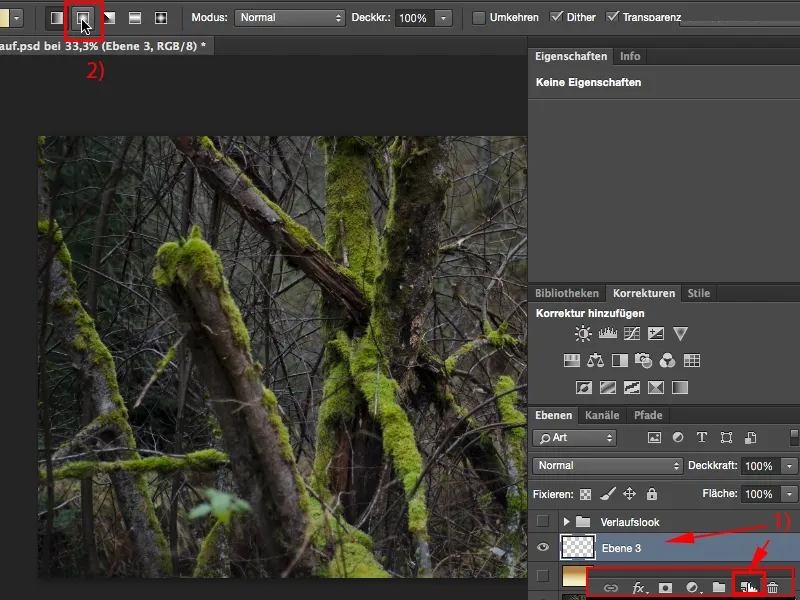
Step 11
I can now draw it from light to dark or, in this case, from dark to light. It always depends on what you have set here.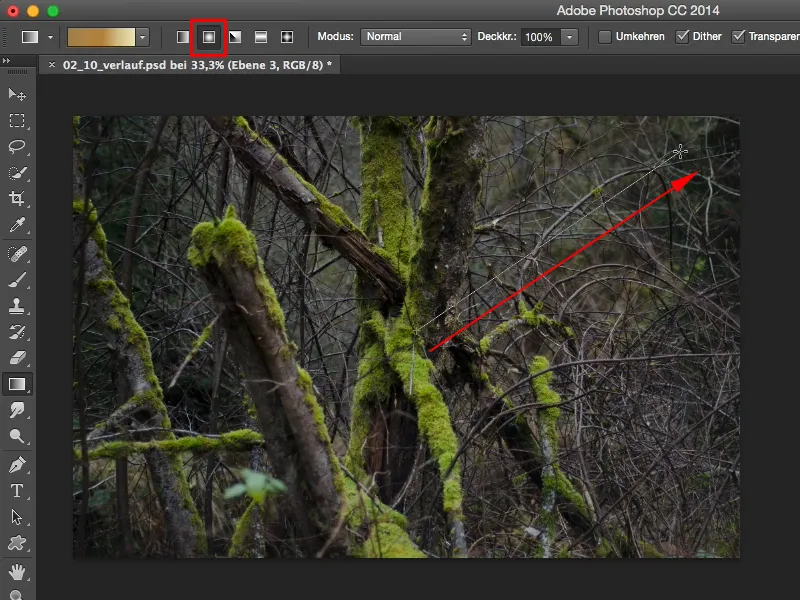
Step 12
I'm now going to make it from dark to light, so it will be dark in the middle and lighter towards the outside.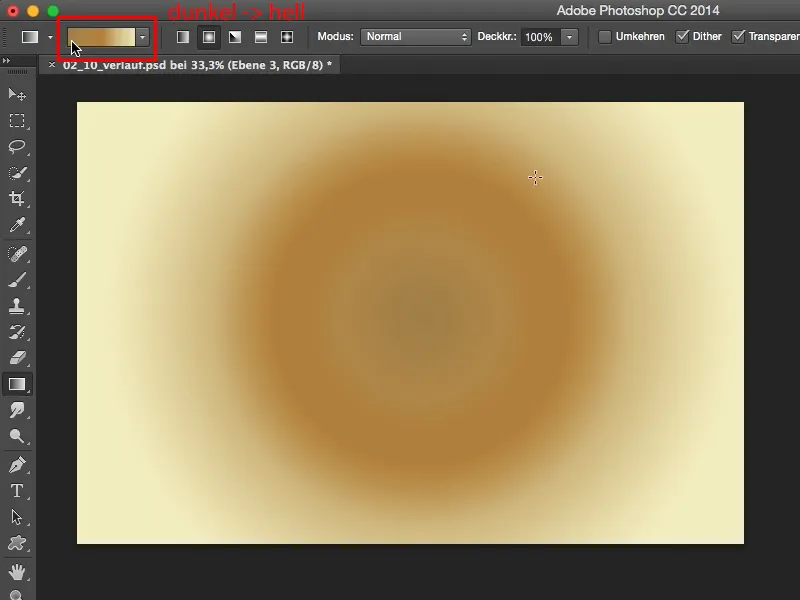
Step 13
And I can also set this gradient to copy into each other, for example. I think it looks really bad here, I've got a saturated brown blob in the middle and it's light on the outside.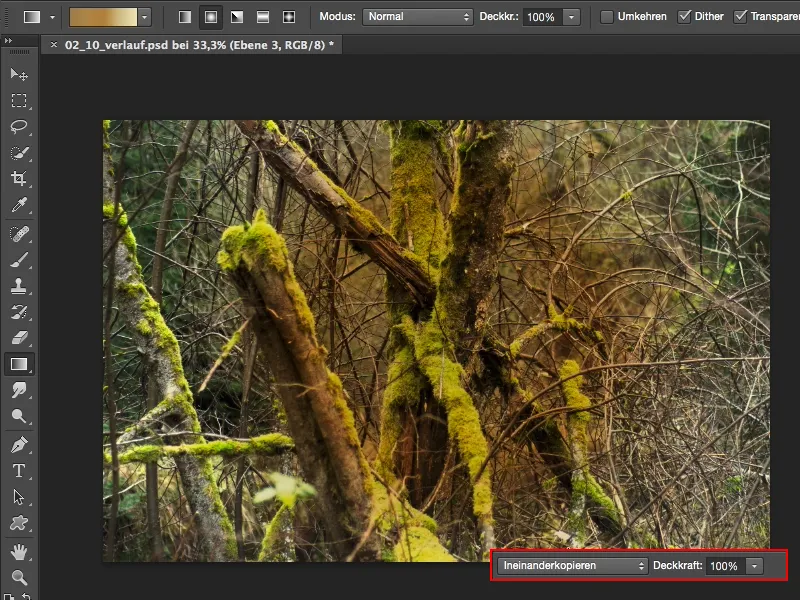
Step 14
But take a look at what happens if you invert the gradient, for example. I can use the shortcut Command/Ctrl+I and I've already created a gigantic image here. It can be that simple. You just draw the gradient, invert it if you don't like it. If you like it, leave it, and now you have many more options.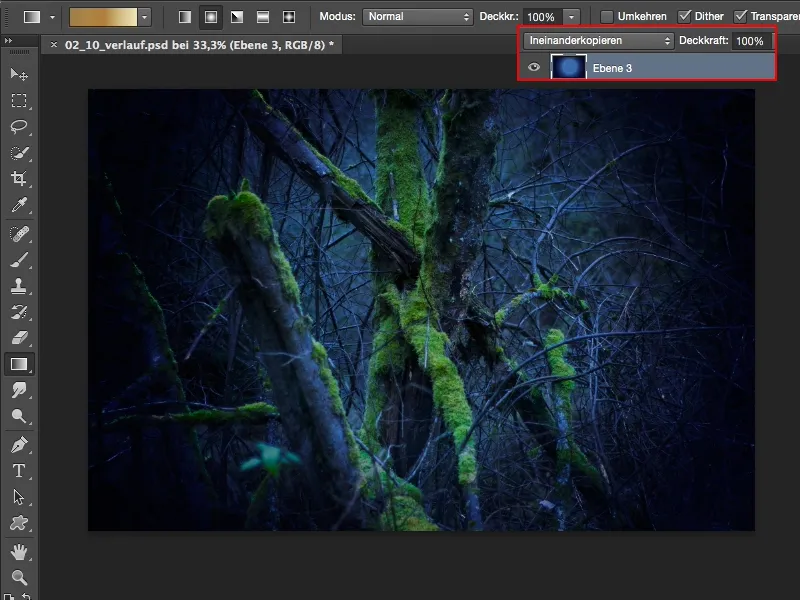
Step 15
You can also go to a Hue/Saturation adjustment layer, for example. All you have to do is move the color slider here. I always recommend that you do this with a clipping mask so that it really only affects the gradient and not the entire layer stack. Who knows what you've already retouched underneath.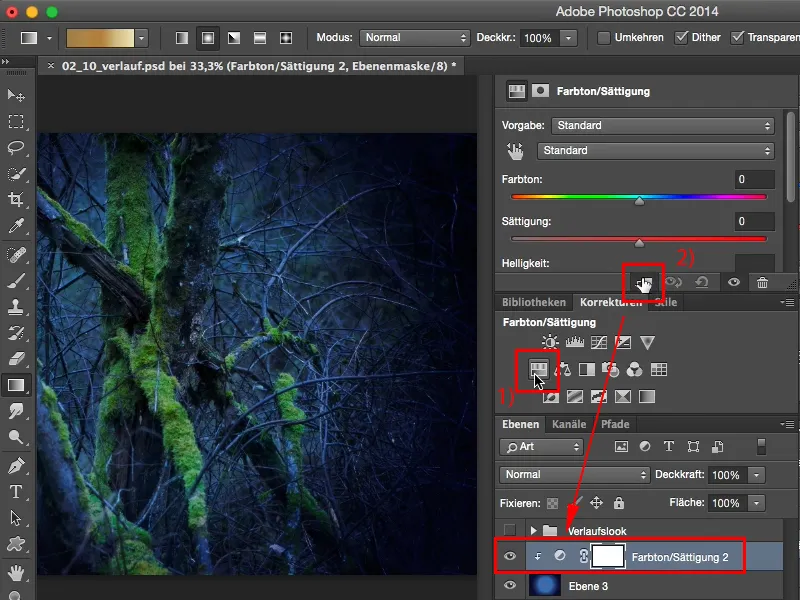
Step 16
And instead of repeatedly applying gradients and trying things out, I recommend that you make a gradient, no matter what it looks like, because you can now push it with this Hue/Saturation adjustment layer. If you want a cyan look, drag a little to the left here (1).
You can also color it all green like Hulk; superhero color (2). Also looks cool, has something.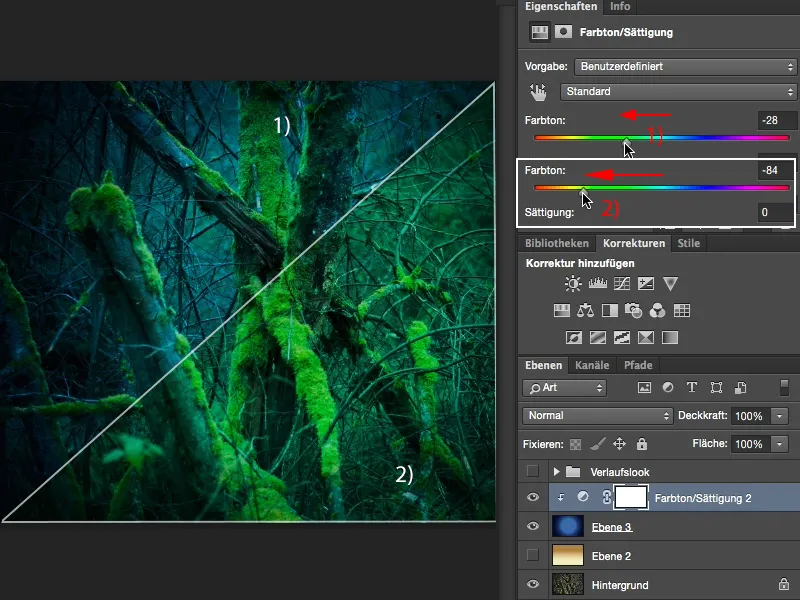
Step 17
Or you can go for the warm shades here to give it a nice, warm, soft glow (1). I like that very much. Or you could go in the other direction and make it purple (2).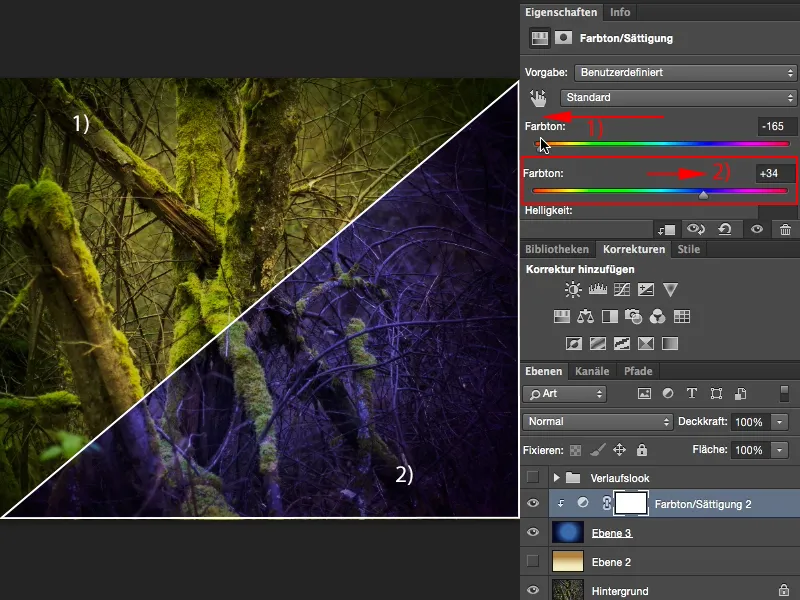
You're currently seeing a lot of this purple mood in landscape shots by the sea. There's a sunset, it's red, it's orange, and what are the people doing? No, it has to be purple! It's super popular at the moment and it's so easy to do. Make a radial gradient, go to a hue/saturation adjustment layer and pull the whole thing a bit purple. The yellow and green tones are colored very gently, but everything else, the dominant color in the image, really lets it rip. Yes, and you can now play around freely and create a color look with this gradient that stays in your head. That's also the goal of looks and styles: if I generate a certain look, a certain style, then I want people to recognize it, and if I take ten outdoor pictures, landscape pictures, whatever, in this exact colour mood - I can make a note of my settings - then I have a recognition value and then this look has achieved its goal for me.


