Do you know that feeling too? You receive a comprehensive table in which all the data is in a single column. The challenge is to extract this information cleanly and neatly into multiple columns. This is often a time-consuming task that can be quite nerve-wracking. But don't worry, with a simple trick you can solve this problem in less than 10 seconds! In this tutorial, I'll show you how you can efficiently use the "Text to Columns" feature in Excel to easily master this challenge.
Main Insights
- The "Text to Columns" feature allows you to quickly and accurately split data in a single column into multiple columns.
- You can use separators such as spaces, commas, or tabs to segment the data accordingly.
- After splitting, it's possible to visually style and sort the new table.
- This method saves you a lot of time and effort, especially with large amounts of data.
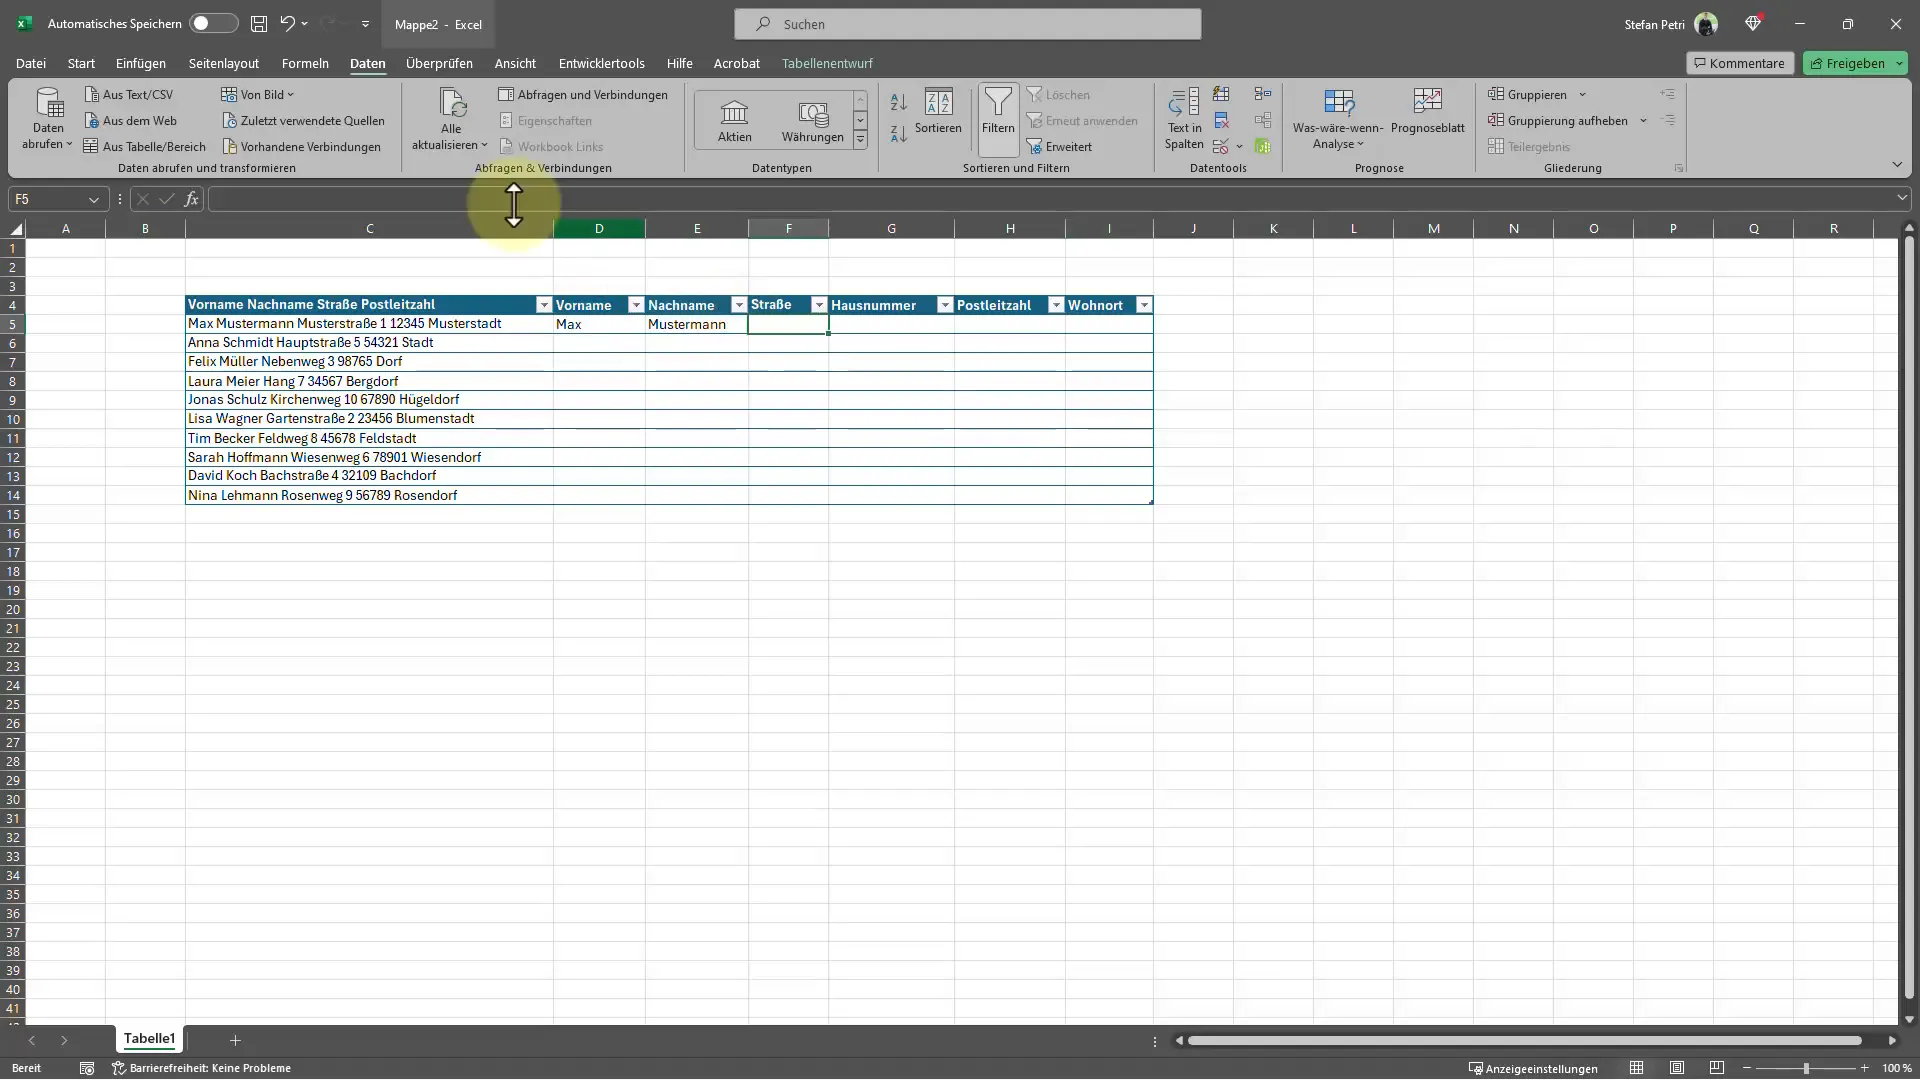
Step 1: Marking the Data
To start processing your data, you need to first select the entire column you want to split. Open your Excel file and locate the column with the consolidated data. Click on the cell in the first row and hold down the Shift key while scrolling down to select all relevant cells. Make sure you mark all the cells that need to be processed.
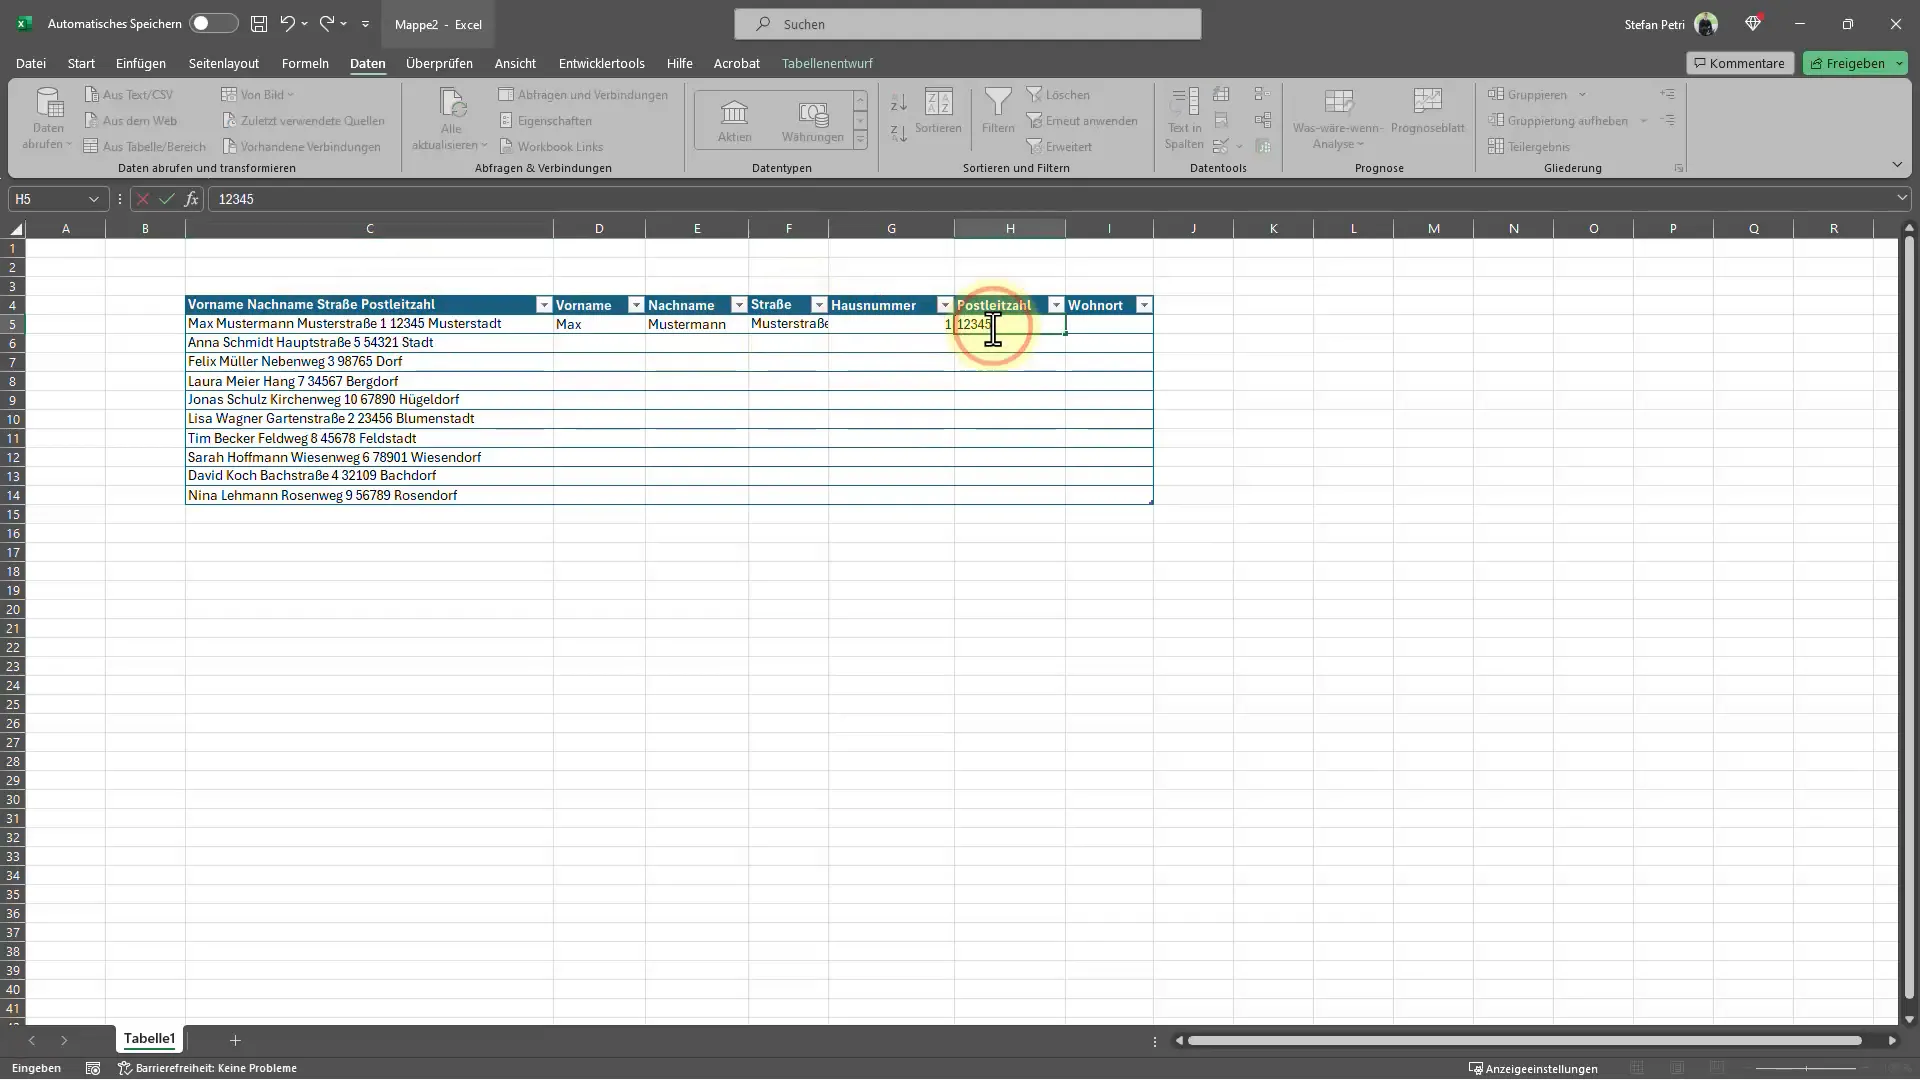
Step 2: Opening Text to Columns
After marking the data, navigate to the top menu and click on the "Data" tab. Here you will find the "Text to Columns" option. Click on this option to open the text separation wizard.
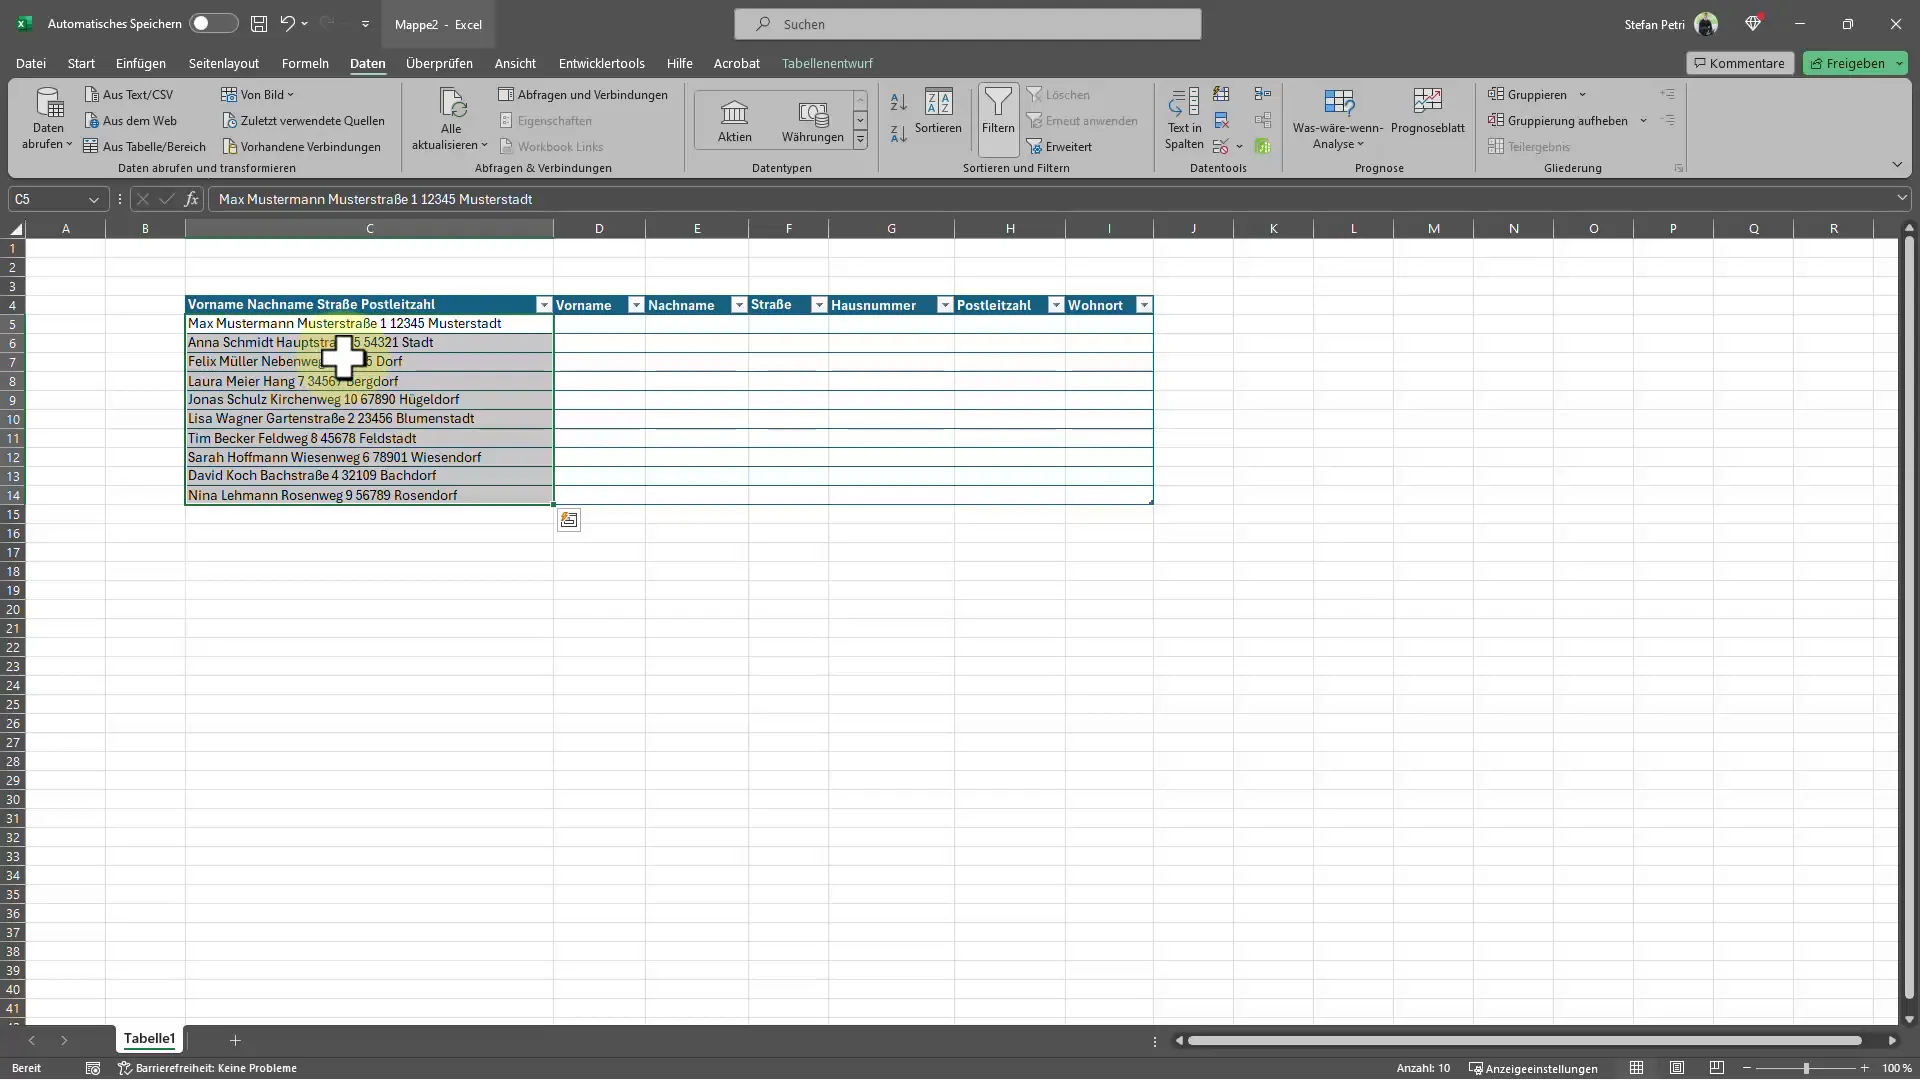
Step 3: Selecting Data Format
In the first step of the wizard, you will be asked whether your data is separated by fixed widths or by separators such as commas or spaces. Choose the "Delimited" option and click "Next" to proceed. This selection is important to ensure that Excel recognizes how the individual values are separated from each other.
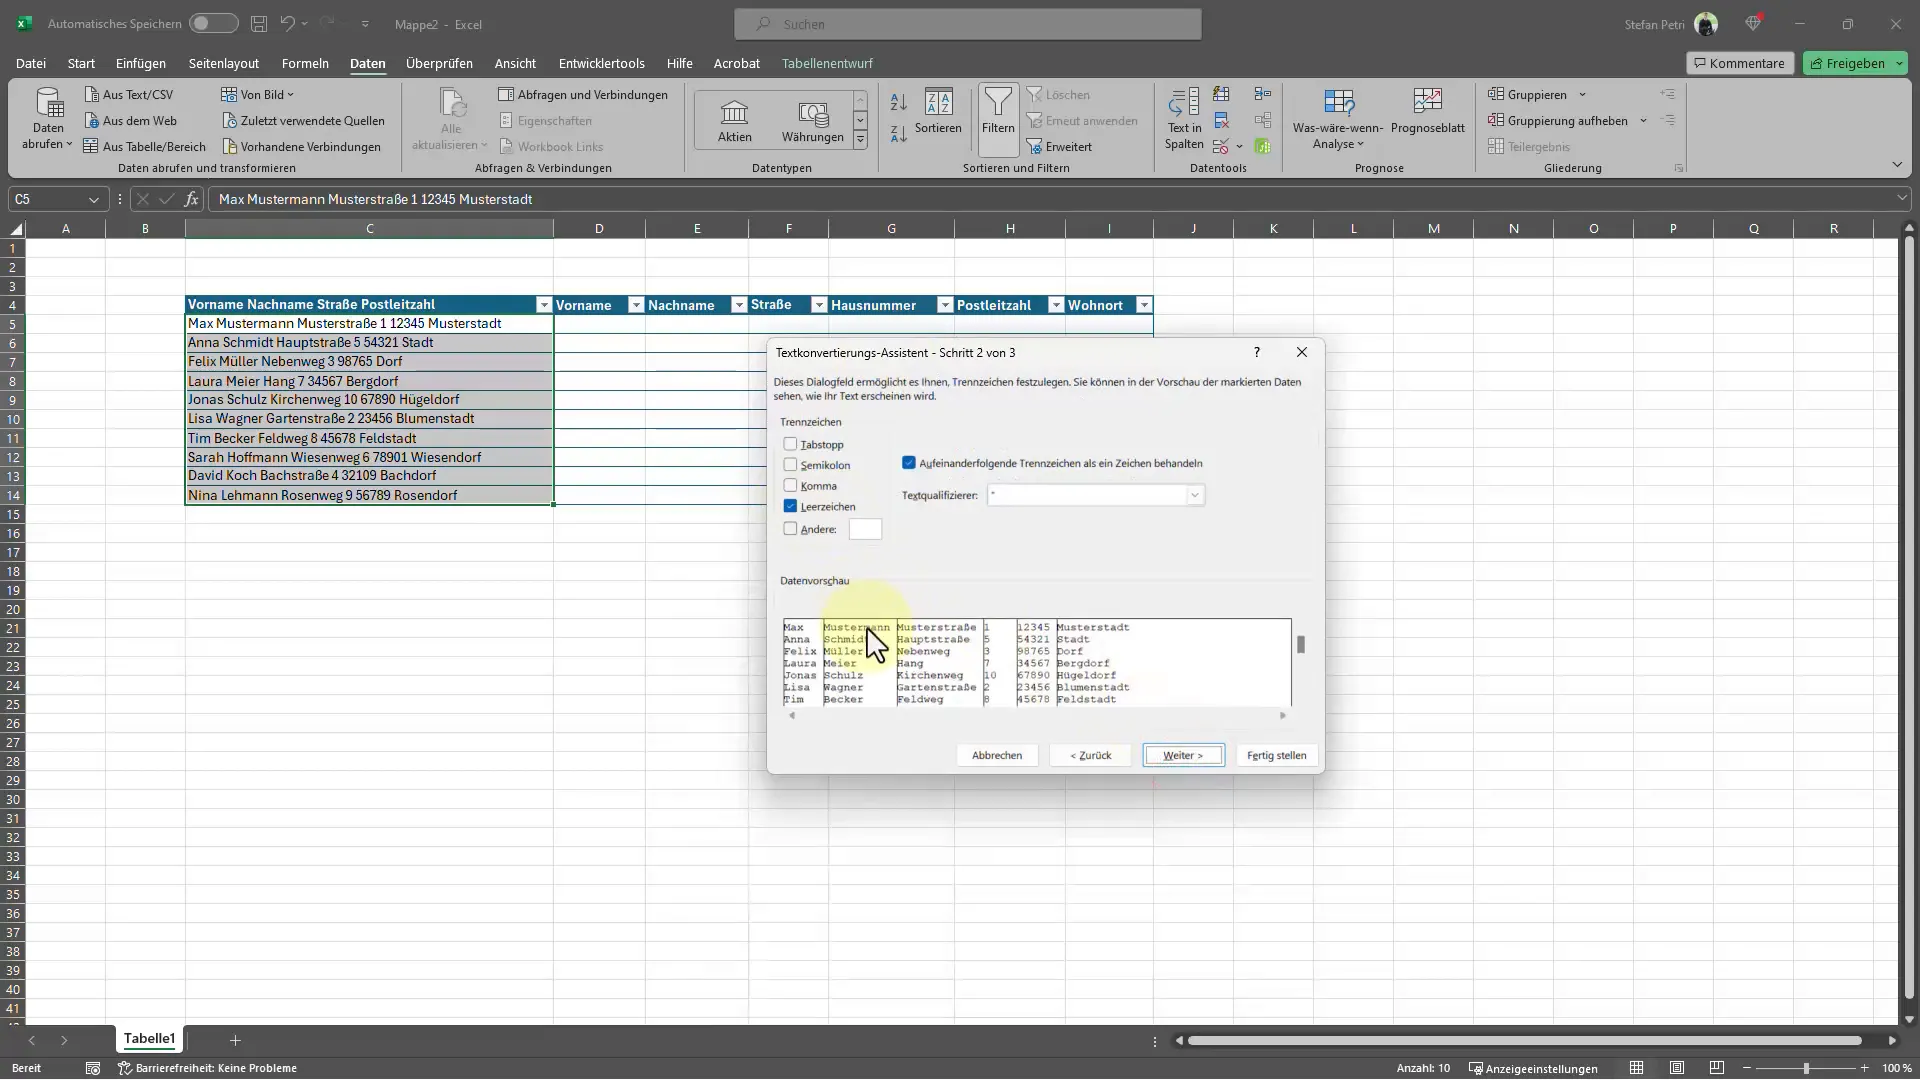
Step 4: Defining Separators
Now you need to specify the character by which the data in the column is separated. If the information is separated by spaces, choose this as the separator. You can also choose other options like commas, semicolons, or tabs, depending on your data structure. Once you have selected the desired option, click "Next".
Step 5: Defining Target Range
At this point, you need to define the target range where the separated data should be placed. Click on the "Destination" field and choose the cell where the first separated data should appear. It is recommended to choose a range that provides enough space for all new columns. Then click "Finish" to complete the process.
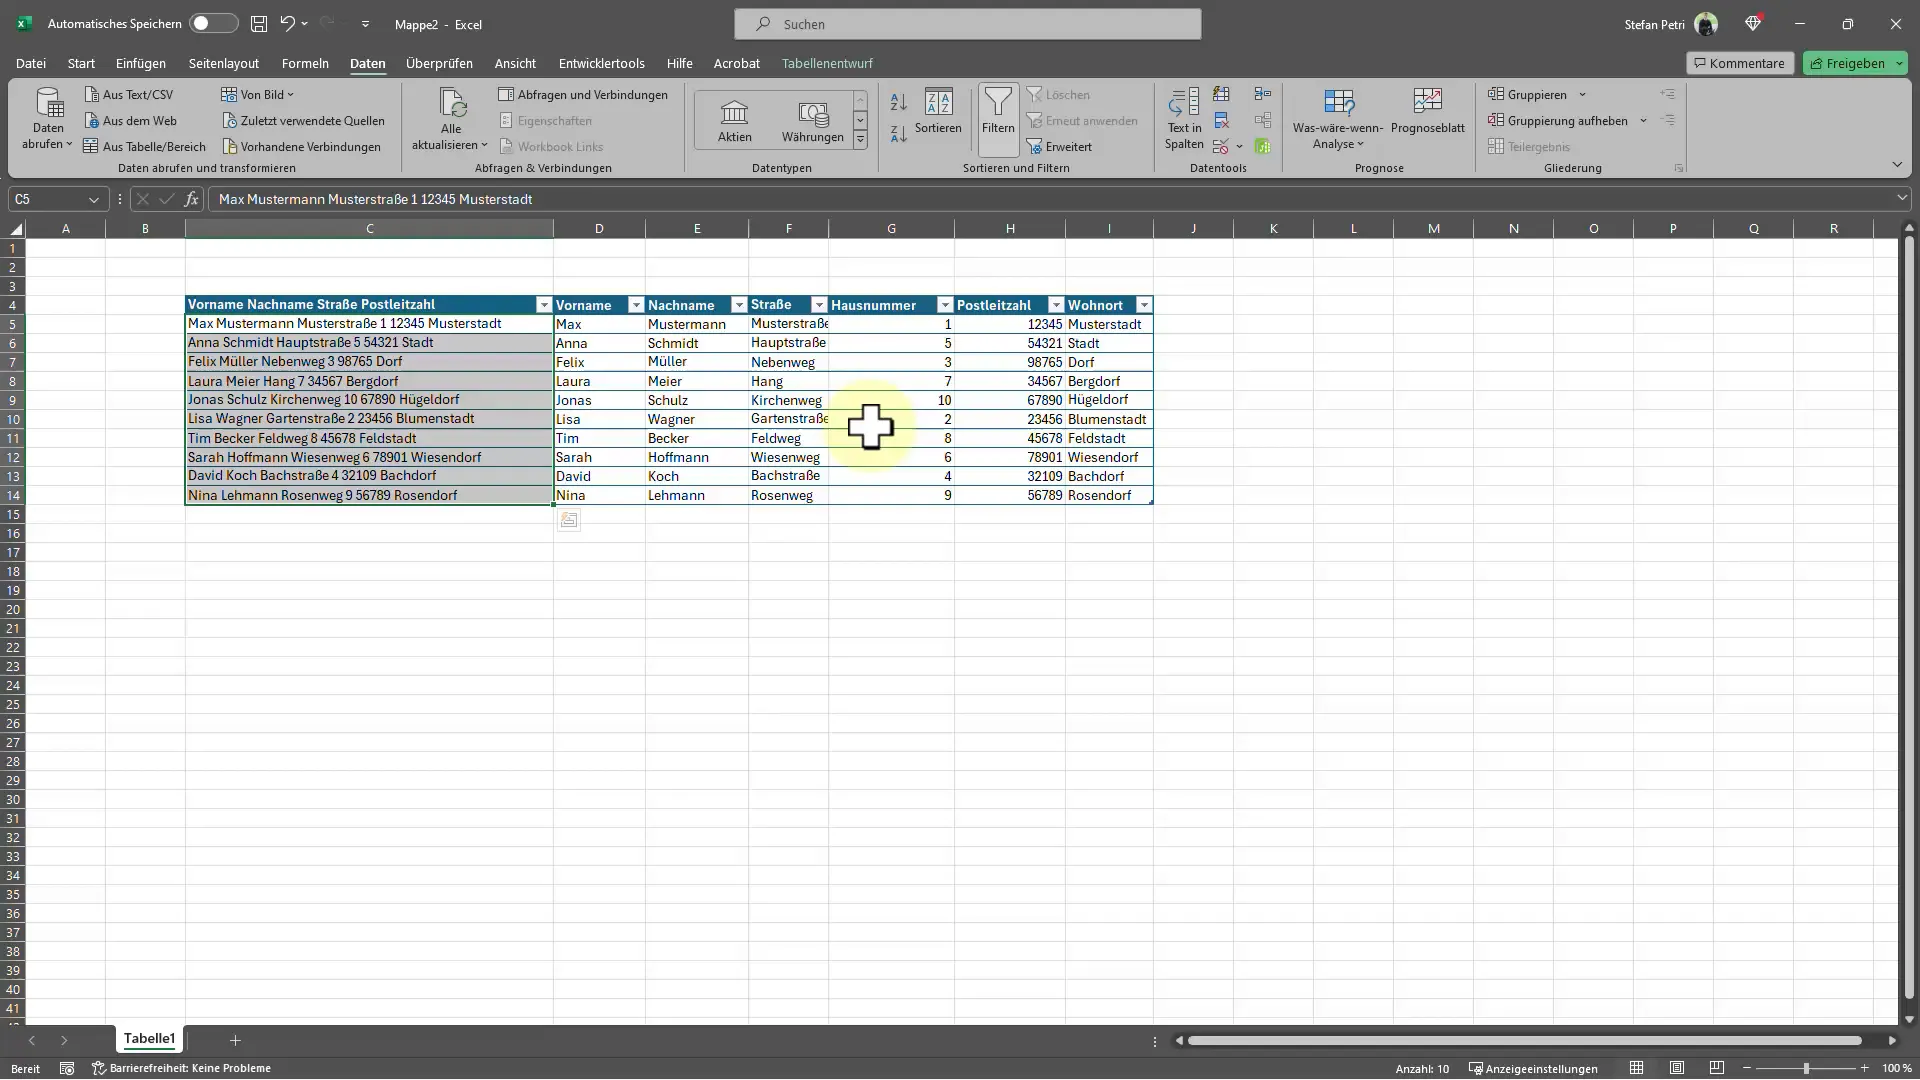
Step 6: Checking the Data
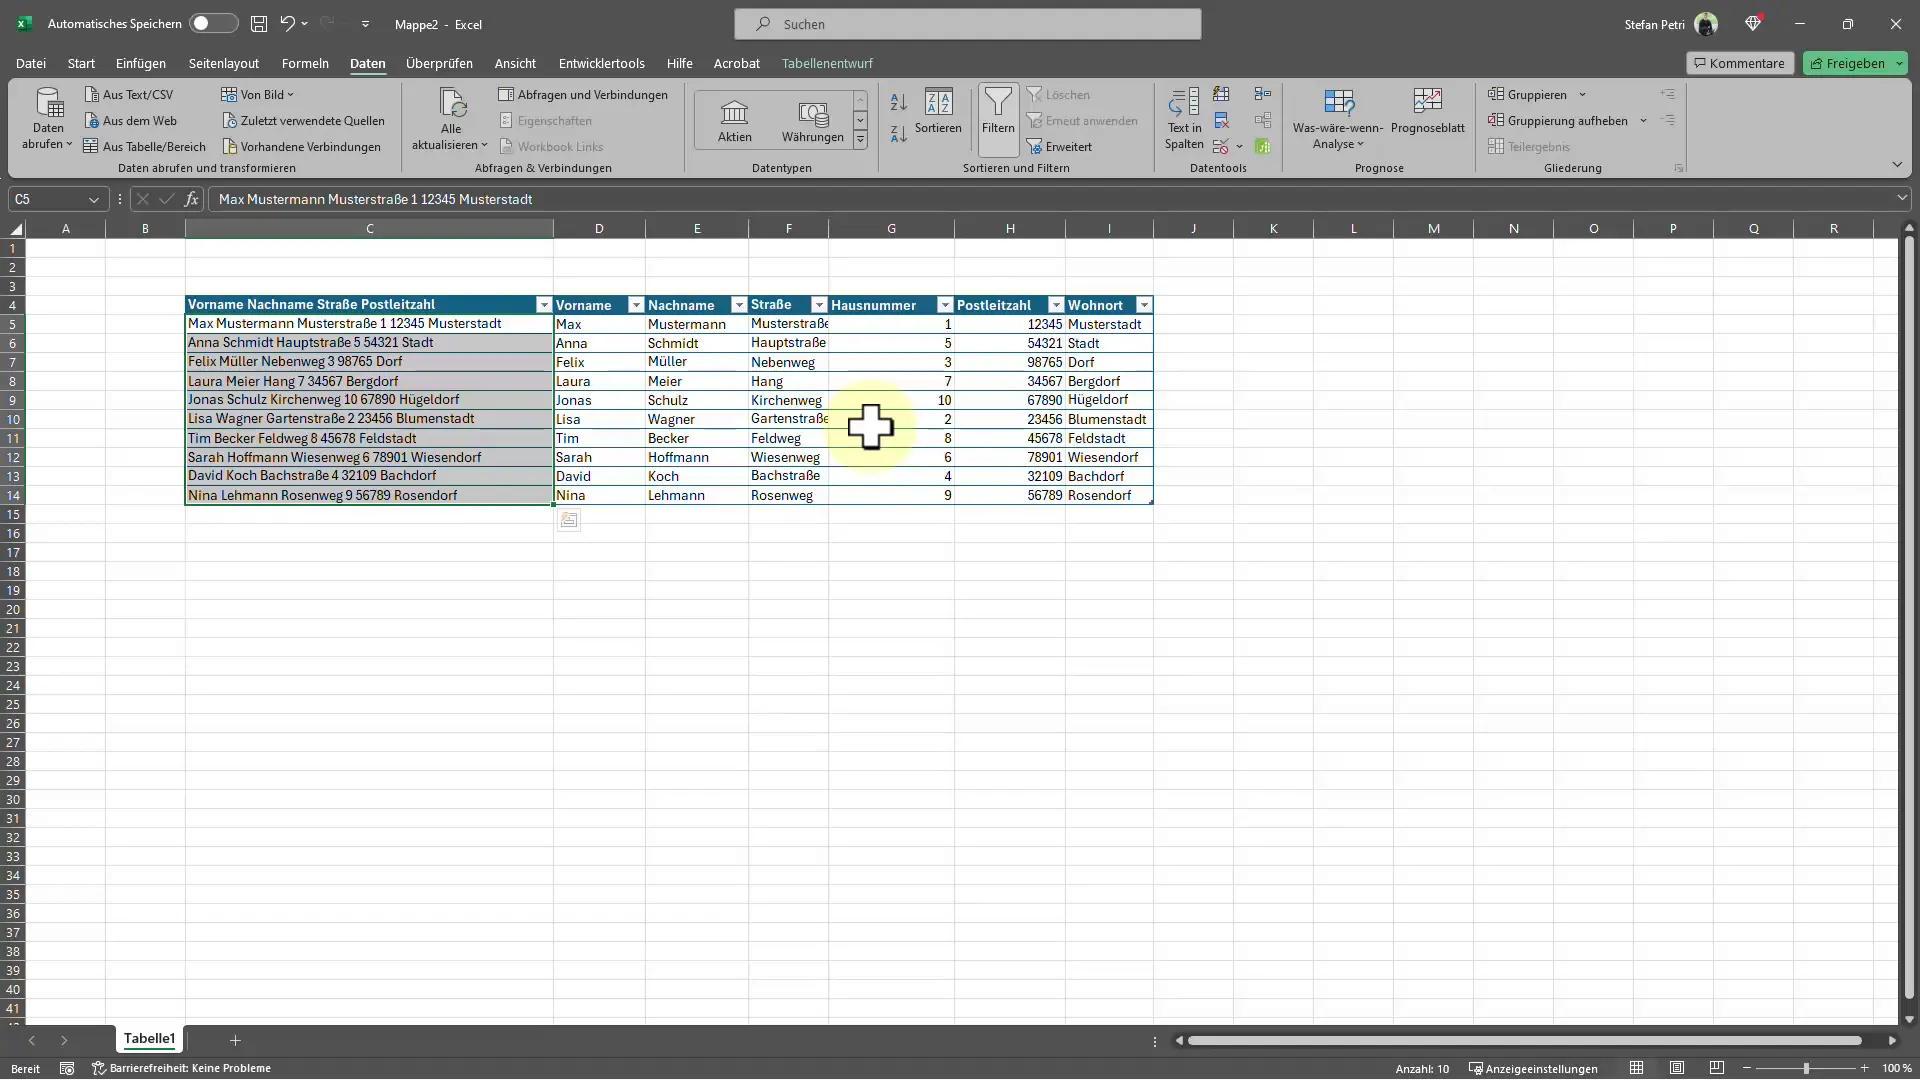
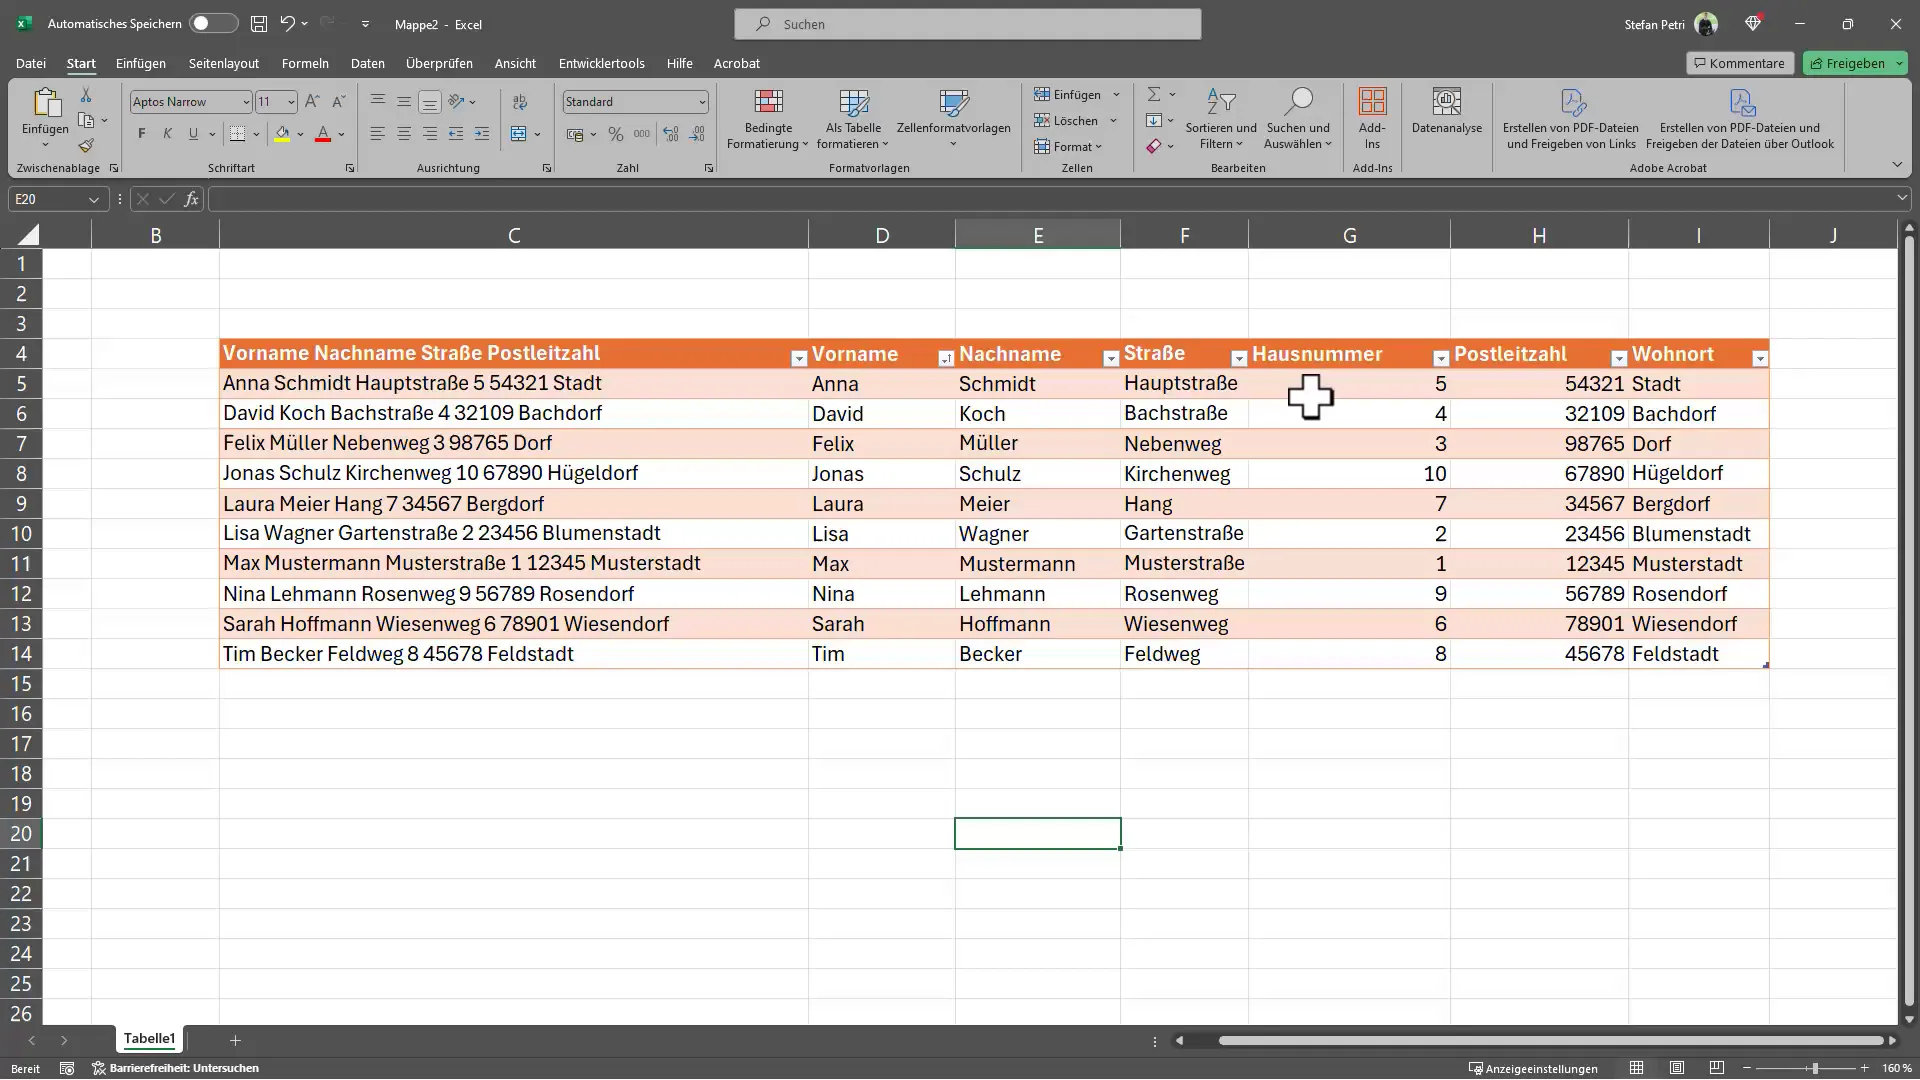
Once you click "Finish", the data will immediately be transferred into the new columns. Review the results to ensure that everything has been divided correctly. You can adjust or correct the data if needed.
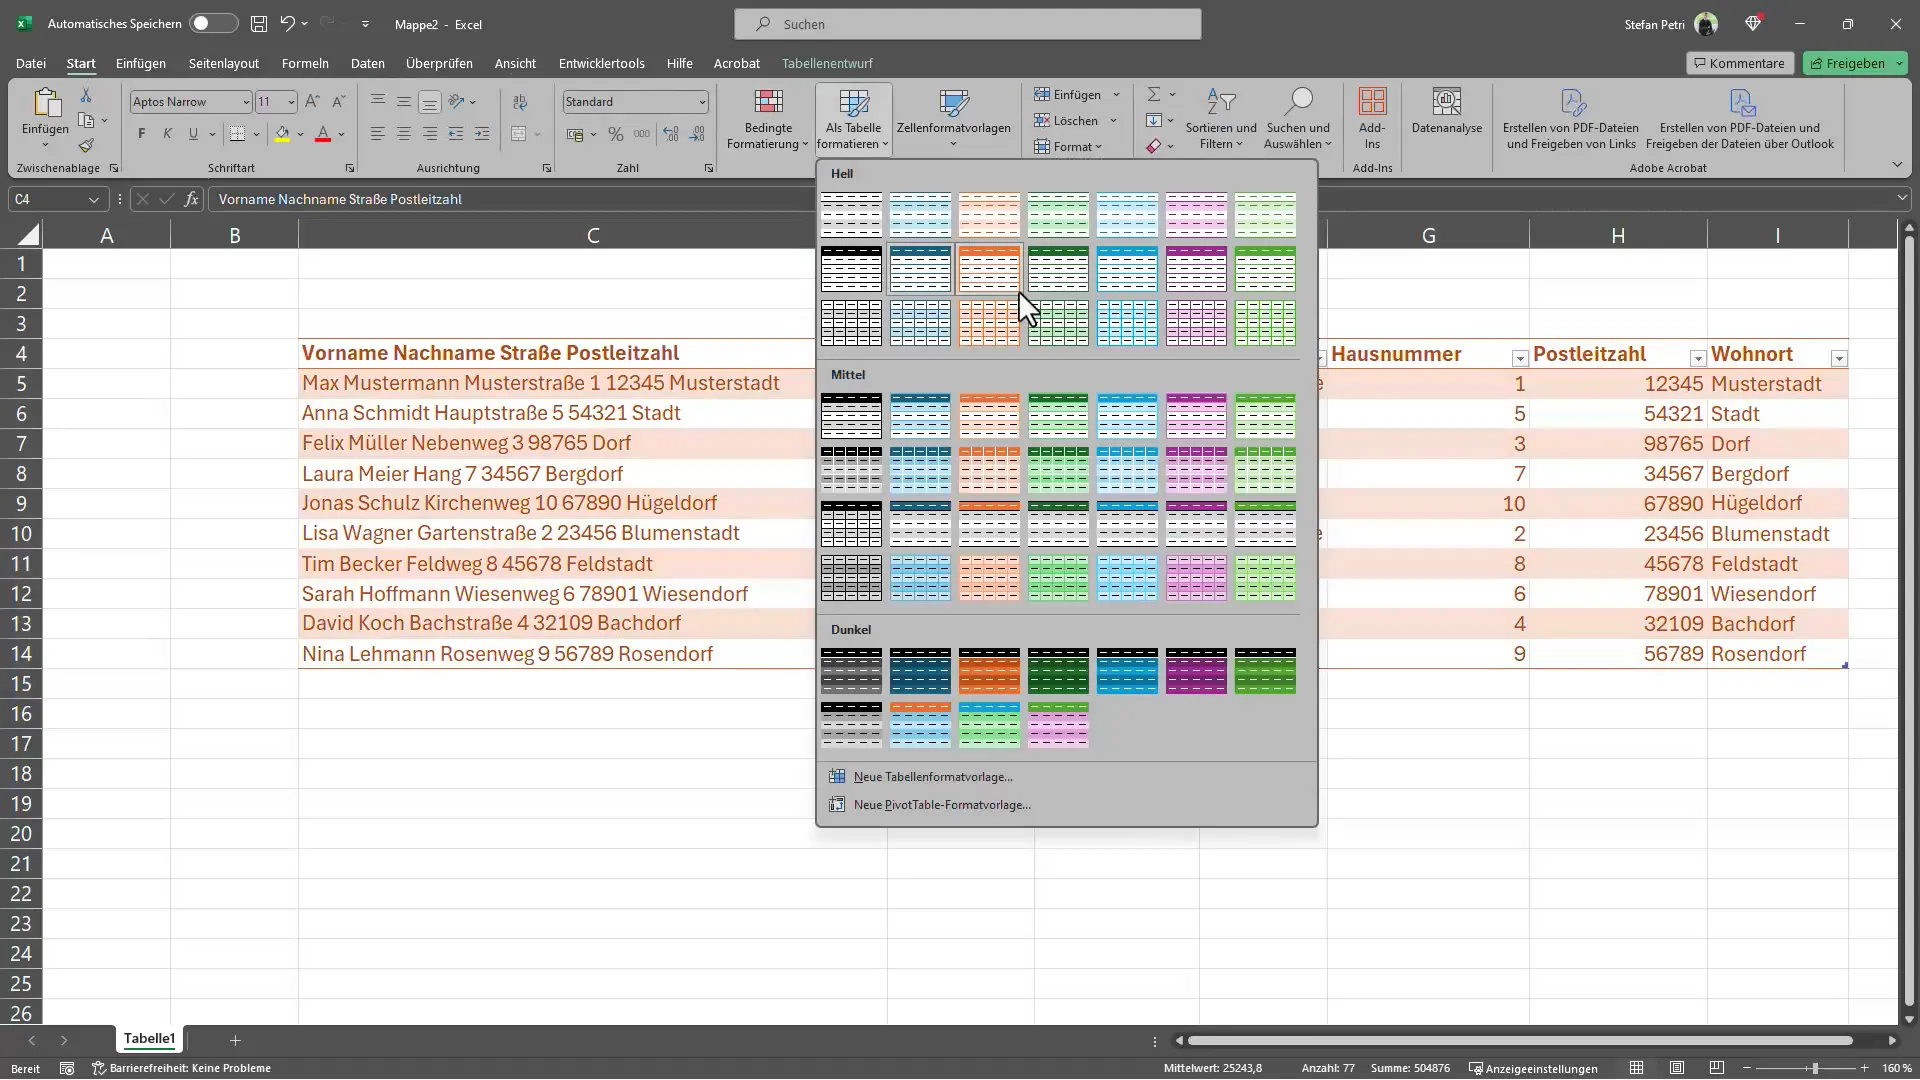
Step 7: Formatting and Sorting Data
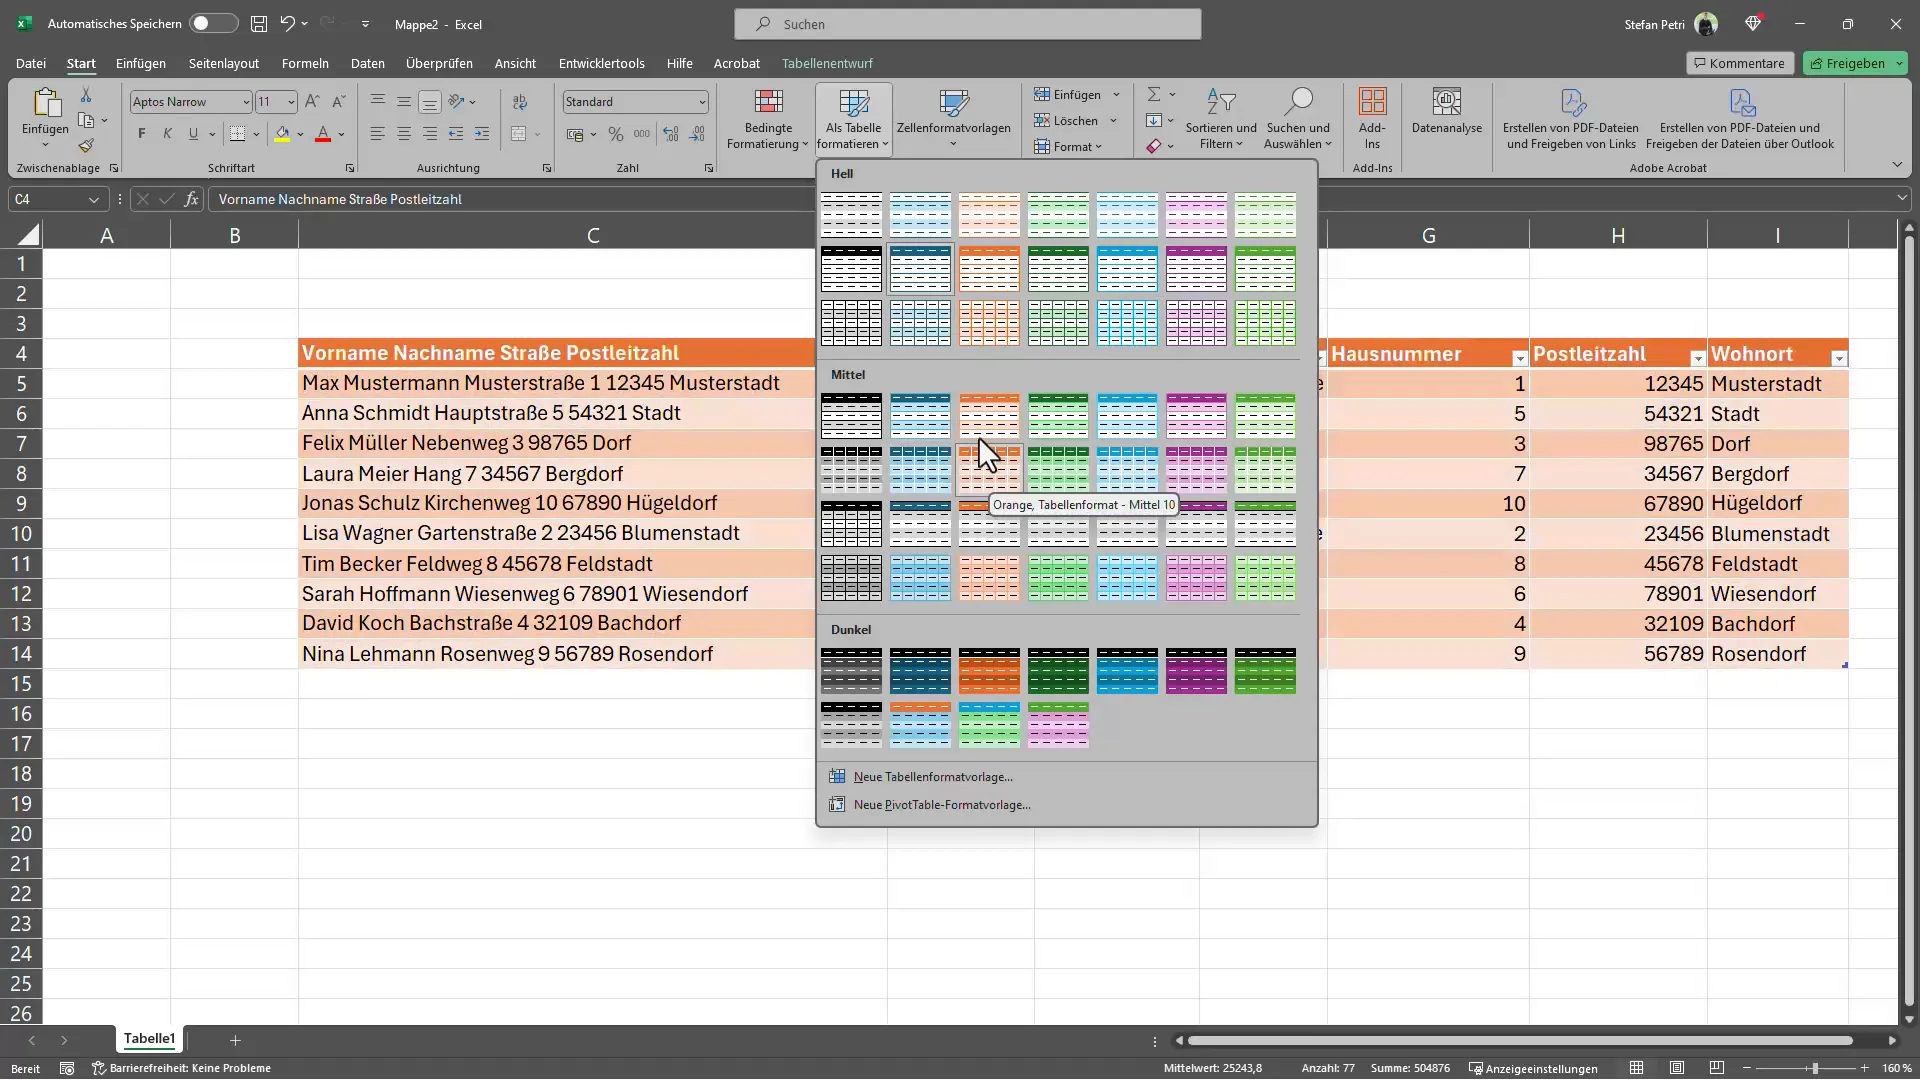
Once the data has been successfully extracted, you can format it to improve readability. Select the new table and go to the "Home" tab. Here, you can try out various formatting options, including adding an alternating color layout for rows or creating a table. These visual adjustments help present the data more clearly.
Step 8: Sorting Data
In addition to formatting, you can sort the columns to better organize the information. Select the desired column, then click on "Sort" and choose the sorting order you prefer, such as ascending or descending. This will give you an overview of your data that will benefit you.
Step 9: Hide Columns
If you are satisfied with your table and no longer need the original column, you can easily hide it. Right-click on the column you want to hide and select "Hide" from the context menu. This way, you can maintain an overview without displaying unnecessary data.
Summary: Excel Tips: Text in Columns
With the "Text to Columns" function in Excel, you have learned a quick and effective method to split data in a single column into multiple columns. This method not only saves you time but also makes working with extensive data much easier and more organized. By using the various formatting and sorting options, you can personalize and customize your table to meet your needs. Use these tips to enhance your Excel skills and take full advantage of the numerous opportunities that Excel offers you.
Frequently Asked Questions
1. What is the 'Text to Columns' function?The 'Text to Columns' function separates data in a column into multiple columns based on specified delimiters.
2. How can I select the delimiters?In the wizard, you can choose whether the separation should be done by spaces, commas, or other characters.
3. Can I sort the columns?Yes, you can sort the columns based on different criteria to organize the data.
4. How do I hide a column?Right-click on the column and select 'Hide' from the menu.


