Would you like to learn how to always add a colon at the end of your column in Excel? In this tutorial, I will explain two effective methods to achieve this. Whether it's for a table or a specific data presentation, you will see that it's easy and quick to meet your requirements. Let's get started!
Main Insights
In this tutorial, you will learn how to automatically insert colons at the end of a column in Excel. Firstly, there is a manual approach where you directly edit the cells. Then I will show you a custom formatting option that can save you a lot of time. Both methods are straightforward and suitable for beginners as well as advanced users.
Manual Method
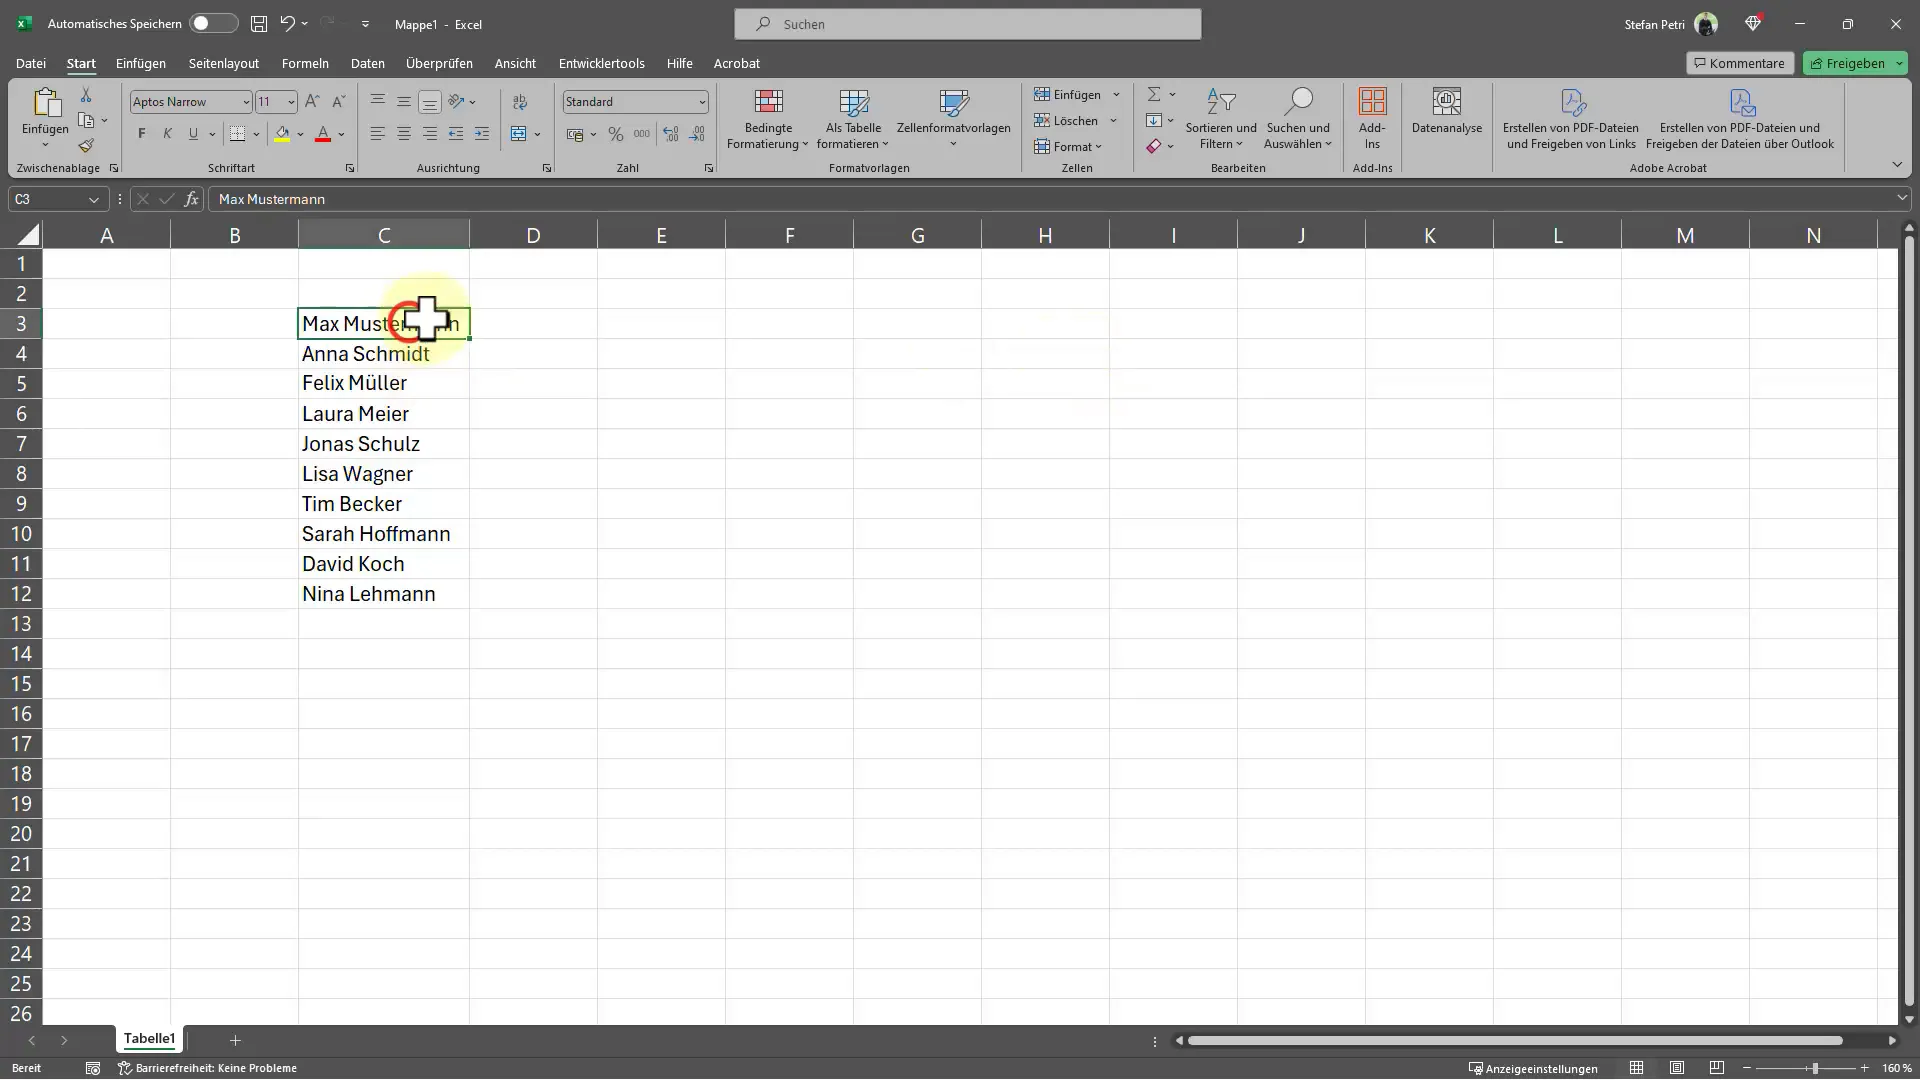
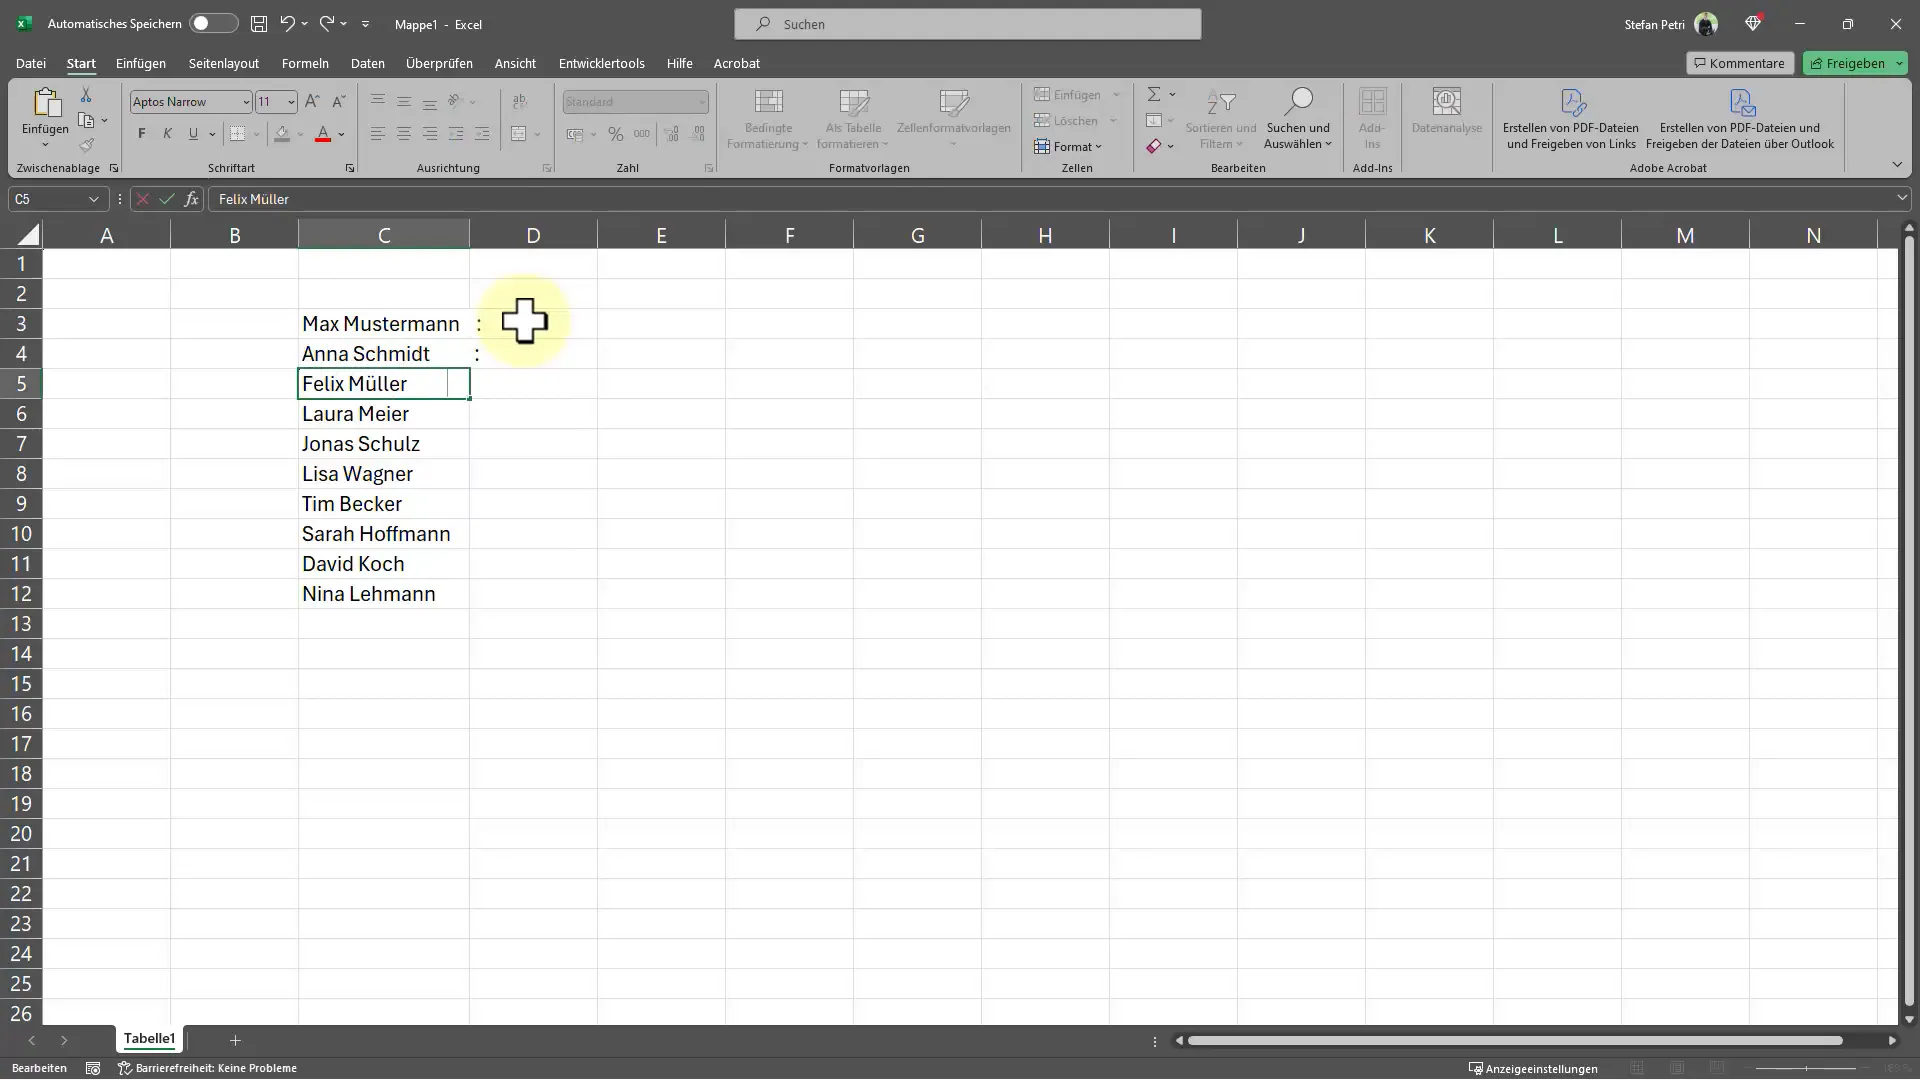
Start by opening your Excel table where you want to insert the colons. Perhaps you already have a list of names or other data, and the boss has asked you to add colons to them. Navigate to the cell where you want to add the colon. You can enter one by simply leaving spaces after the respective input and then typing the colon. It may seem simple, but it could result in a messy appearance if you have to edit many cells.

To achieve a consistent appearance, you may be tempted to enlarge the column or edit each cell individually. However, that can be tedious, especially when working with a lot of data. There are better ways to do this.
Using Double-Click to Adjust Column Width
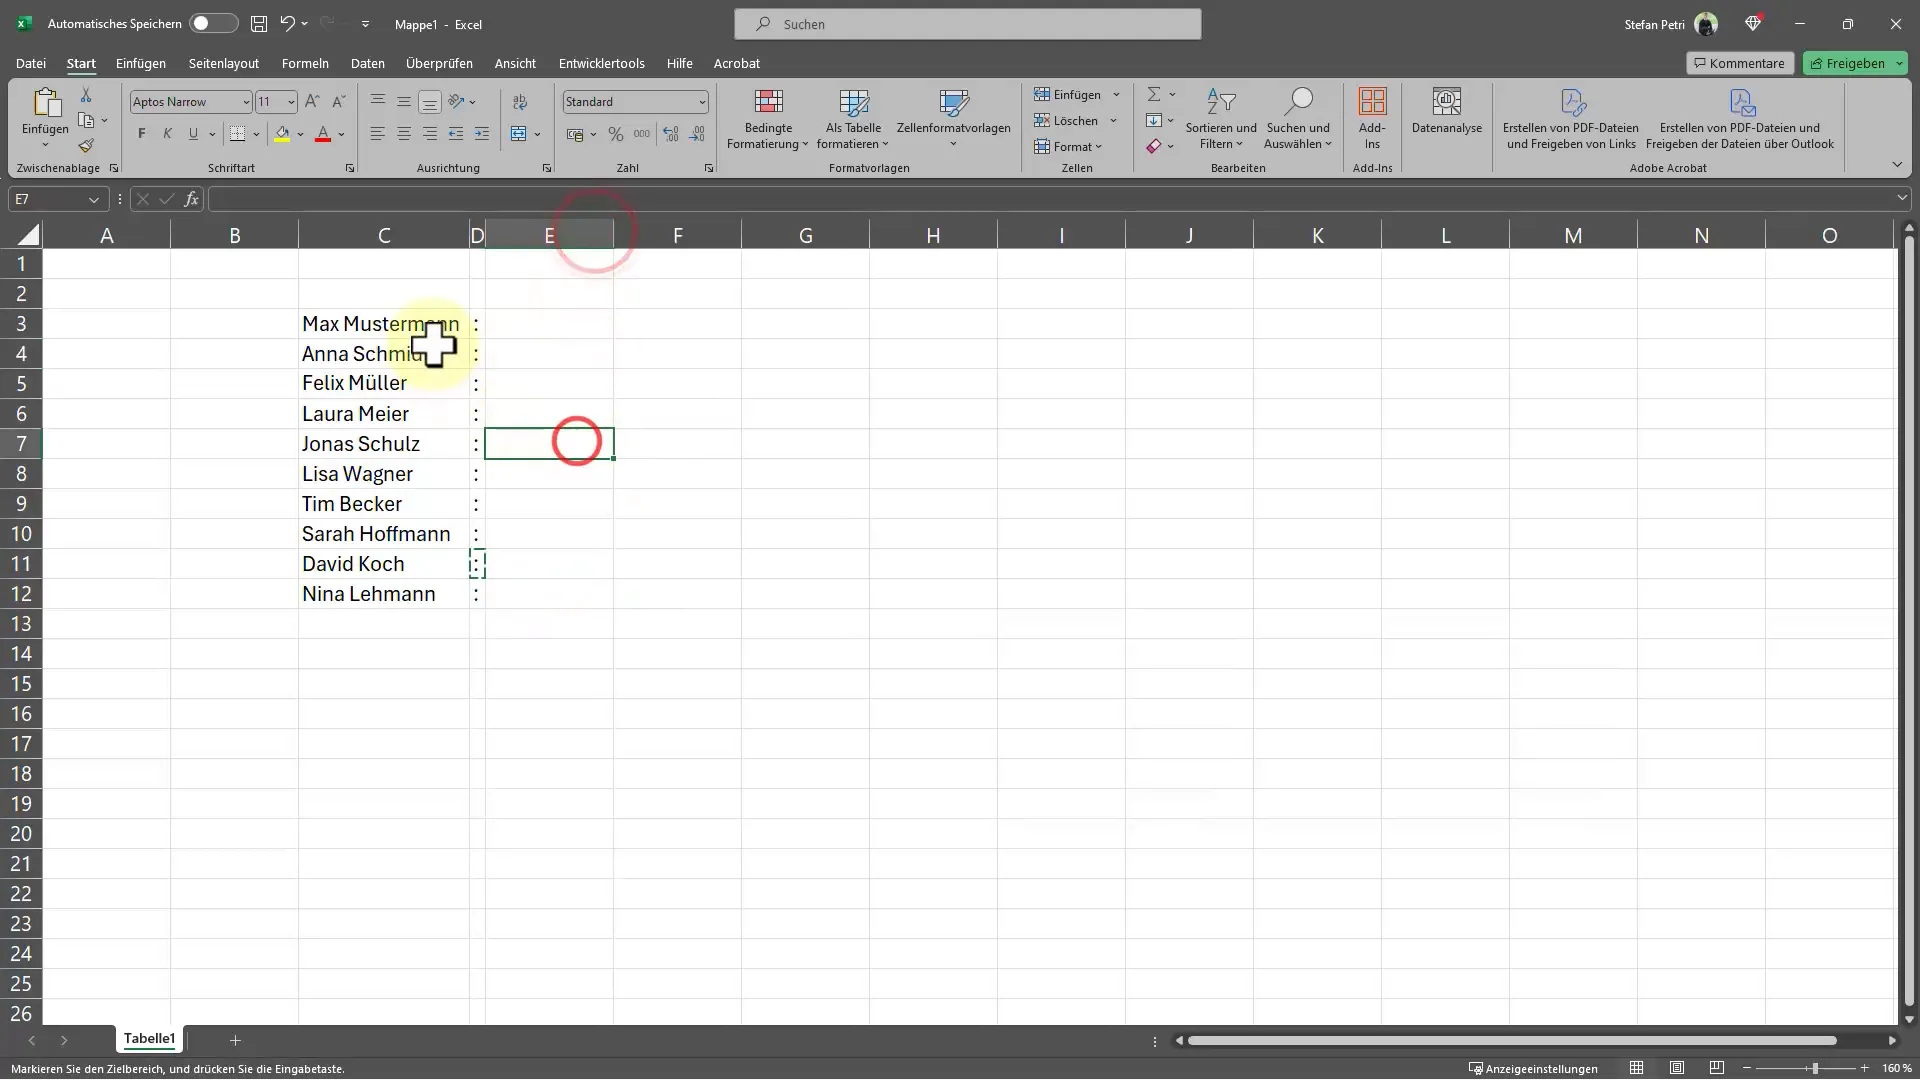
Another approach is to adjust the column width by double-clicking on the divider line between the columns. This way, Excel automatically adjusts the width to the longest entry in the column. This helps ensure that the colon is visible for all entries. It's a great option to improve your table layout and enhance readability.

However, if you're looking for an even more efficient method that requires less manual intervention, then you should use Custom Formatting.
Custom Formatting
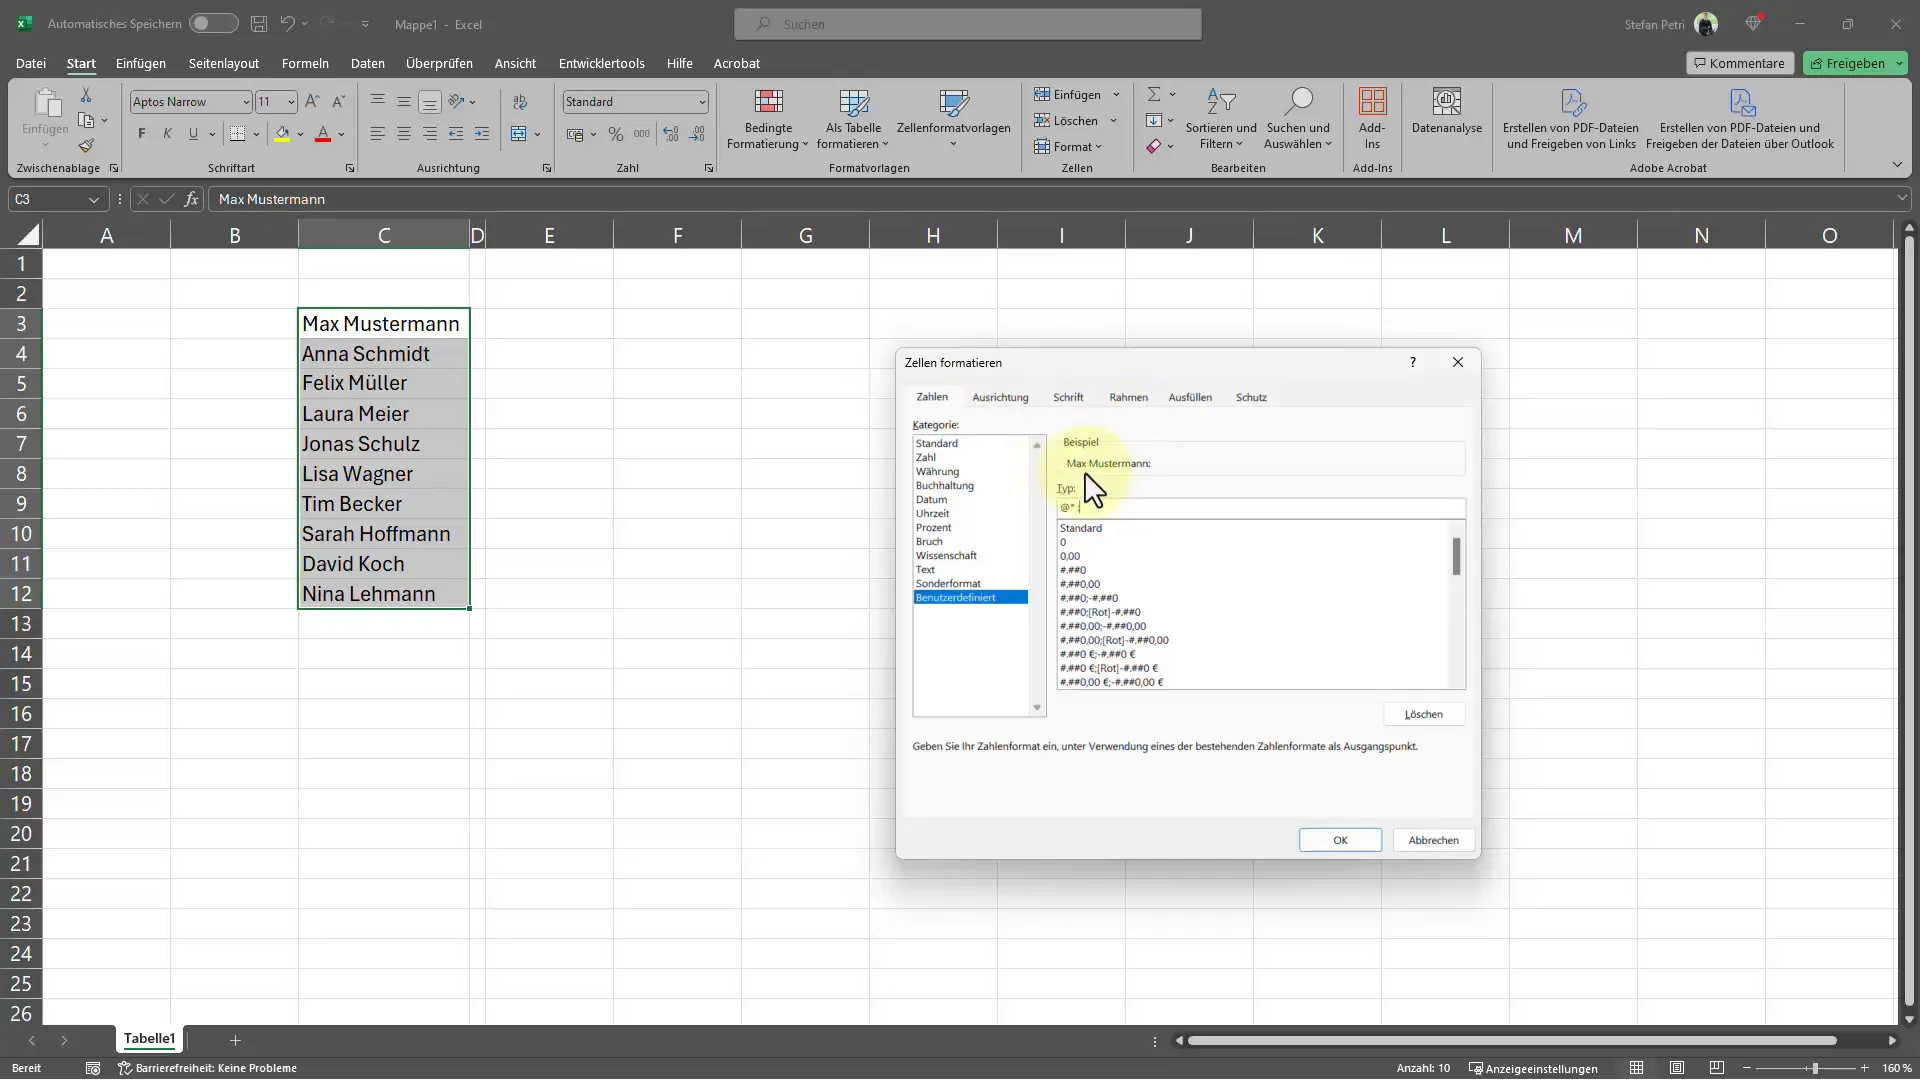
To use the custom formatting option, go to your table and select the affected cells. Right-click on them and choose the "Format Cells" option. A new window will open. Here, select the "Custom" option.

In the input field for custom formatting, delete the default value and replace it with a character like an asterisk, followed by a space and the colon. This way, Excel will show you in the preview how the result will look. If you have entered everything correctly, the colon will now be automatically displayed at the end of each cell without having to manually insert it.

This technique is not only efficient but also offers the flexibility to format your table according to your needs. You can even add other characters or formats to ensure that your table looks exactly the way you want it to.
Summary - Skillfully Using Colons in Excel
In this guide, you have learned how to insert colons at the end of your column in Excel. Firstly, you manually added colons and then used the double-click option to optimize the column width. Finally, you utilized the custom formatting option to ensure that the colons are consistently displayed at the end of your data. With these methods, you can professionally and attractively design your data.
Frequently Asked Questions
How do I manually insert a colon in Excel?You can simply enter a colon after the desired data and leave spaces in between.
Can I automatically adjust column width?Yes, by double-clicking on the column divider line, Excel automatically adjusts the width to the longest entry.
What is custom formatting in Excel?This allows you to adjust the format of cells by specifying specific characters and layouts.
Can I use other characters instead of colons?Yes, you can enter any type of character in the custom format to customize it to your needs.
Can I use these methods in older versions of Excel?Yes, the described methods are available in most current and older versions of Excel.


