Did you know that Excel can do more than just numbers and tables? It also offers functions for graphic editing, allowing you to creatively place images and even adjust their perspective. In this guide, you will learn how to insert images in Excel in a way that they appear perspective correct. This is especially useful when designing presentations or reports that should be visually appealing.
Main Findings
Excel offers ways to edit images that go beyond simple insertion. Proper placement and adjustment of images can significantly enhance the visual quality of your documents. To insert images with the correct perspective, you take a shape, adjust the size and position, and insert the image into that shape. Editing the shape allows you to optimize the perspective of the image.
Create the Shape
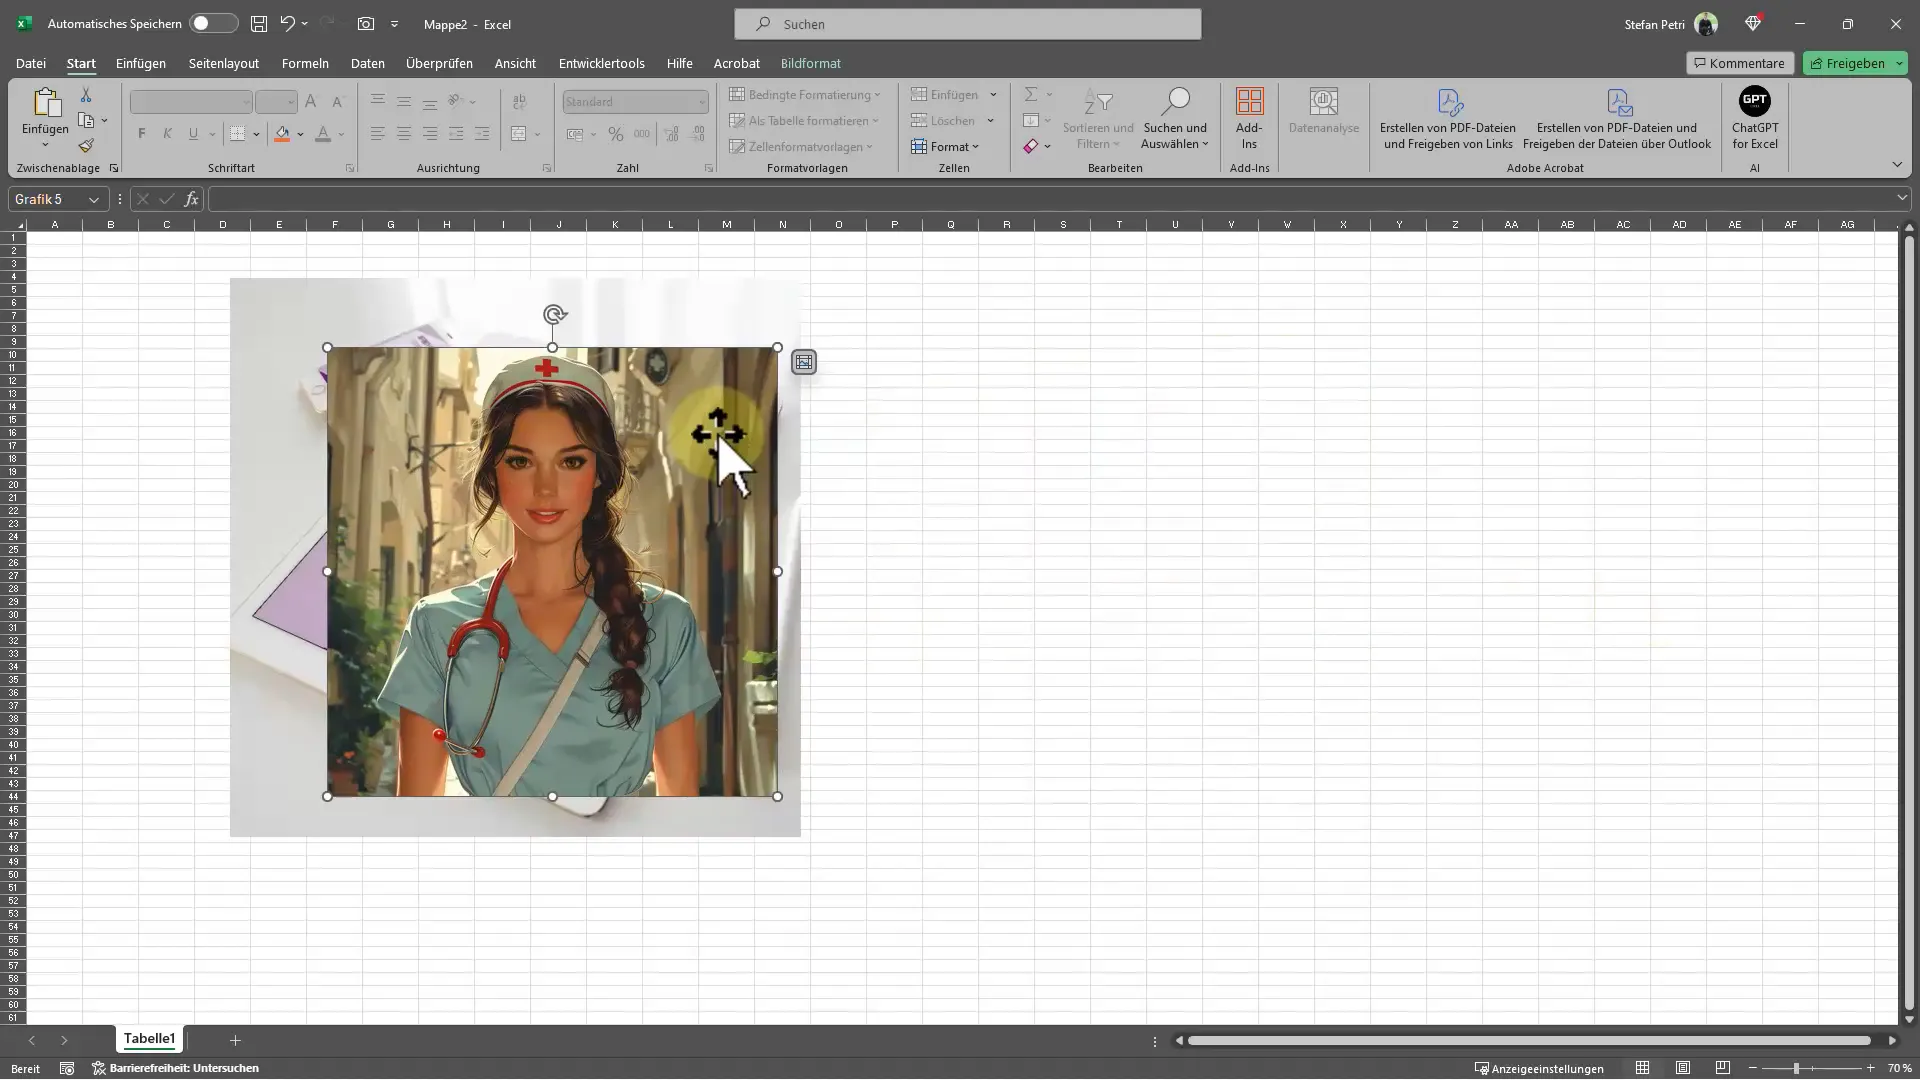
To insert an image with a correct perspective in Excel, start by creating a shape that serves as a placeholder. Click on the "Insert" tab and then choose "Shapes." There, opt for a rectangle or another shape that should cover the area of your desired image. Drag the shape onto the Excel document workspace. Adjust the size so that it roughly matches the screen content where you want to place the image. It's not necessary for the dimensions to be exact, as long as the shape fulfills the visual impression.
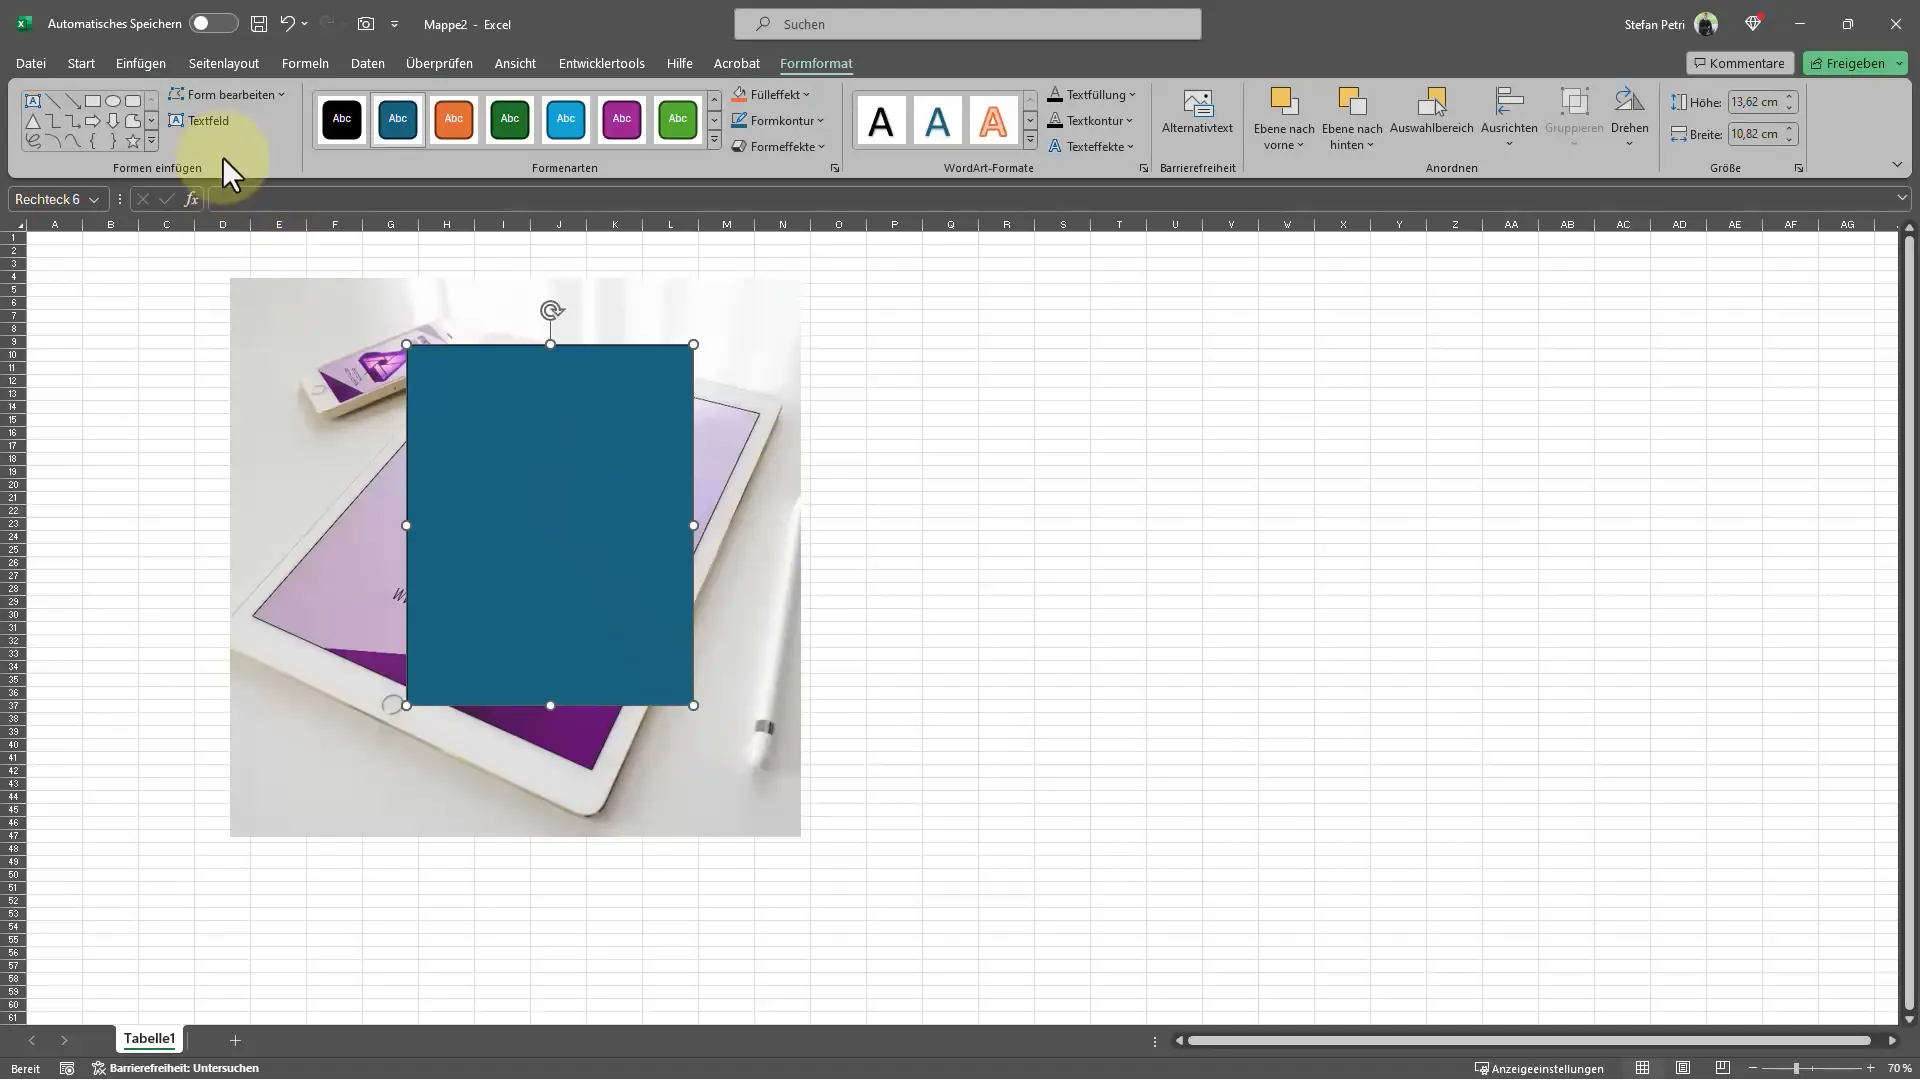
Adjust the Shape
Once you have inserted your shape, you have the option to further adjust it. Select the shape and go to "Format Shape." Here, you can choose "Edit Points" in the options to more precisely adjust the corners and sides of the shape. It's important for the shape to cover the space where you want to present the image in order to make the perspective appear realistic.
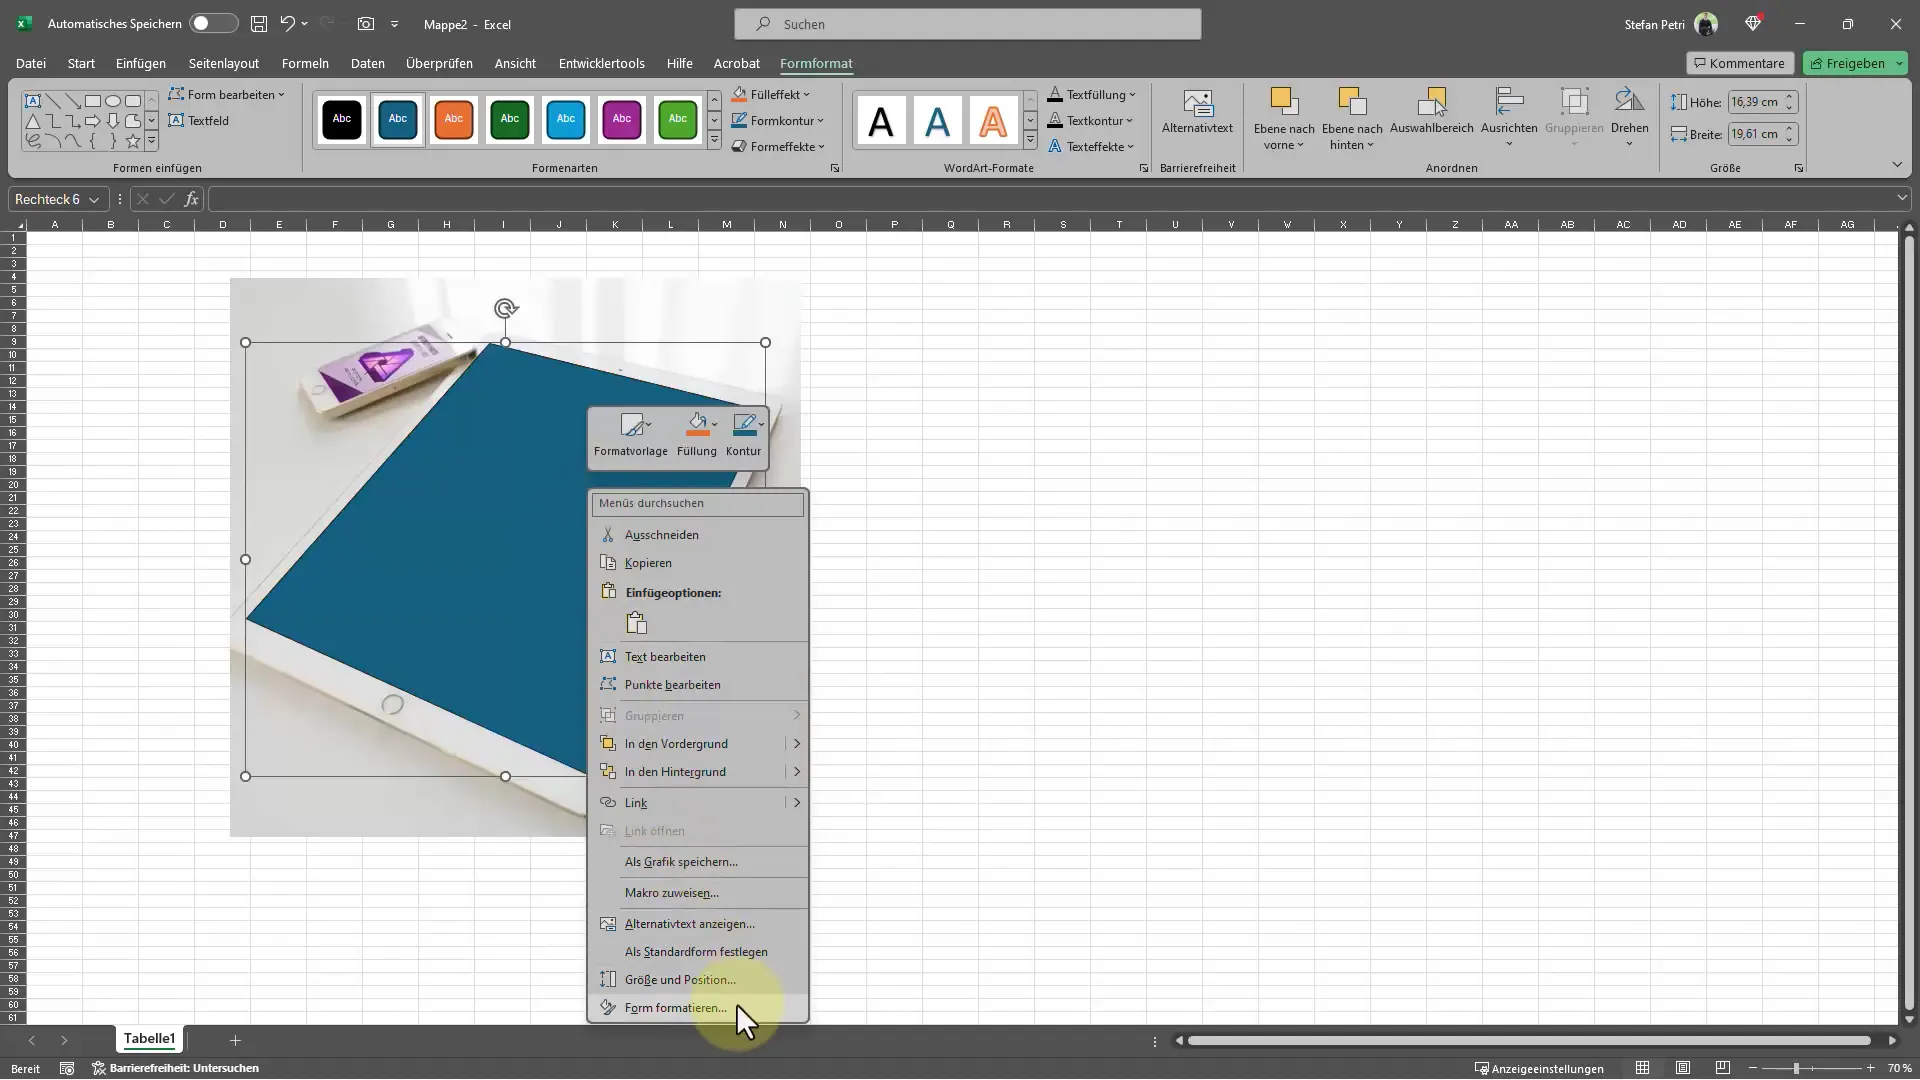
Insert the Image
Once the shape is correctly positioned, you can start adding the image. Right-click on the shape and choose "Format." Then look for the option "Insert Image." You will then have the opportunity to select an image from a file that you have prepared beforehand. Excel will display the image within the selected shape, giving you the impression of a correctly inserted image.
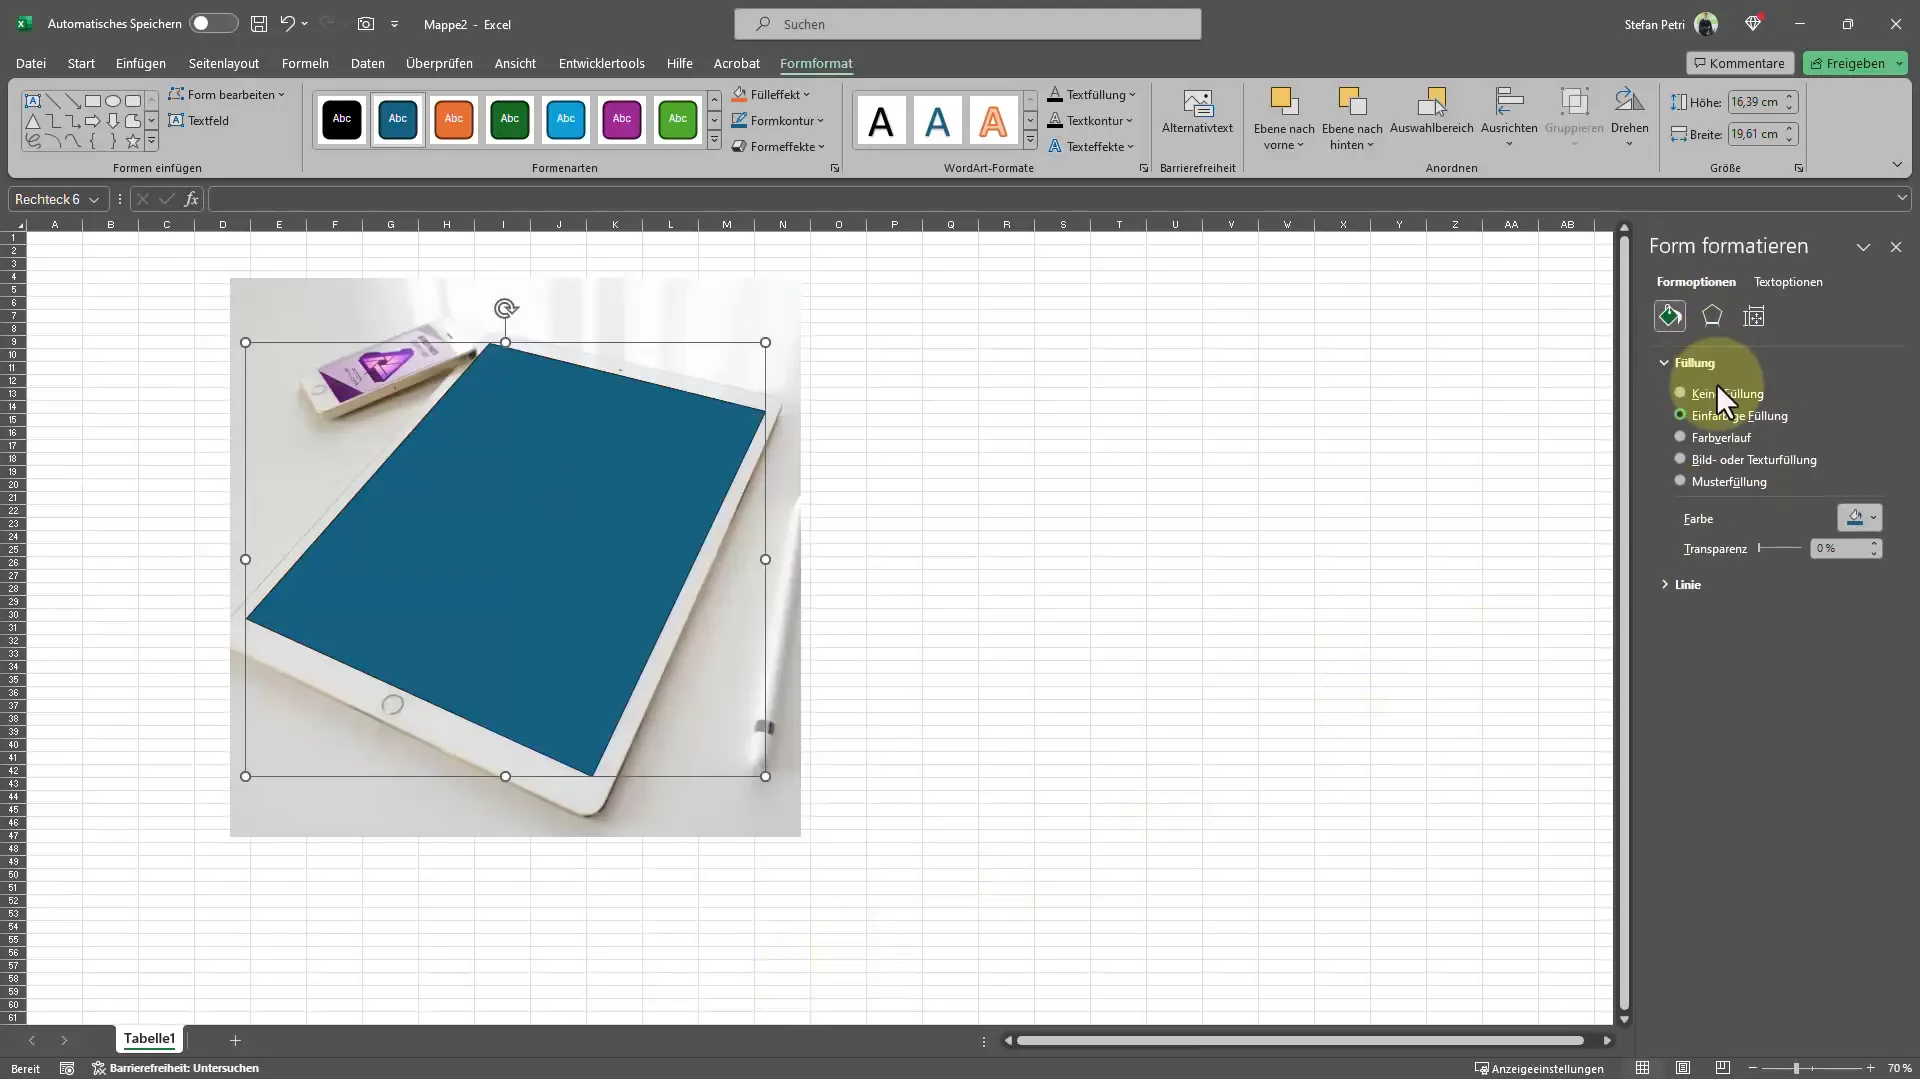
Adjust and Rotate the Image
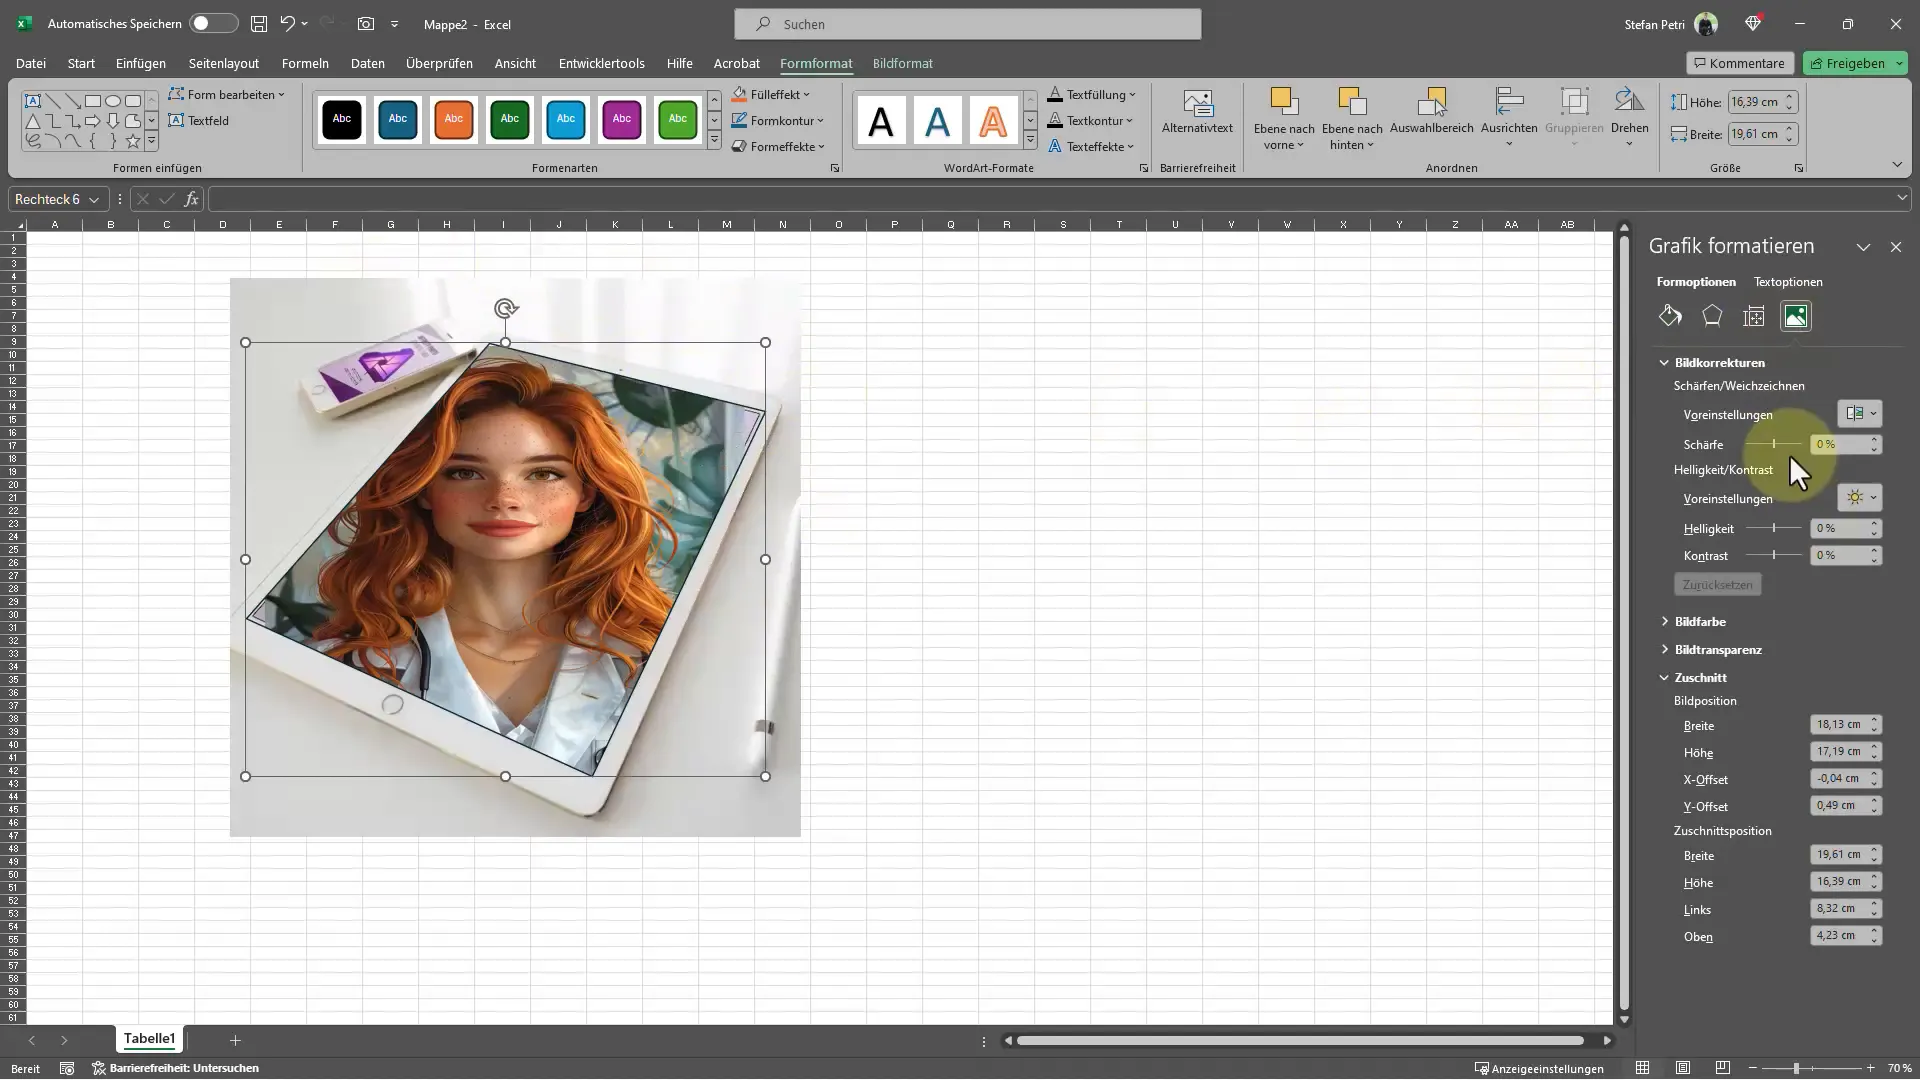
Now that you have the image inside your shape, it's important to further adjust the size and position of the image. You can rotate the image within the shape or change its size to optimize the perspective. In the formatting options, you can adjust not only rotation but also the width and height of the image. Ensure that the image looks as if it fits correctly within the shape and blends well into the overall design. Consider how the image is best presented and adjust it accordingly.
Make Final Adjustments
Finally, you can make fine-tuning adjustments to your image. Perhaps you want to increase the sharpness or adjust the width and height to better match the rest of the design. Among the image formatting options, you will find various settings to help optimize the image, such as adjusting x and y offsets to position the image precisely where desired. These final adjustments are crucial to ensure that the image looks right from the viewer's perspective.
Conclusion - How to Correctly Insert Images from a Perspective in Excel
Throughout this guide, you have gone through the steps to insert images in Excel with the correct perspective. Using Excel's image editing functions, you can not only easily insert visual elements but also creatively design them. Applying these tips will help make your presentations appear more professional and appealing.
Frequently Asked Questions
How do I insert an image in Excel?To insert an image, choose "Insert", then "Pictures" and select the image.
Can I resize an image in Excel?Yes, you can adjust the size of an image by selecting it and dragging the corners.
How can I customize the shape of my image?You can choose a shape and edit its points through "Format Shape" to precisely adjust the shape.
Does this technique work in all versions of Excel?Yes, the described functions are available in most current versions of Excel.


