If you, like many others, sometimes struggle with large Excel spreadsheets that need to be printed on multiple pages, you've come to the right place. This tutorial will show you how to adjust your tables so that they print neatly and effectively on as few pages as possible. After following these steps, you will be able to print your documents efficiently and attractively.
Key Takeaways
To print large tables on one page, you can use the Page Break Preview in Excel to see how the print area is defined. Alternatively, you can make adjustments directly in the print dialog to display all columns on one page. These two methods will help you maintain a consistent and clear print view without having to manually scale.
Activate Page Break Preview
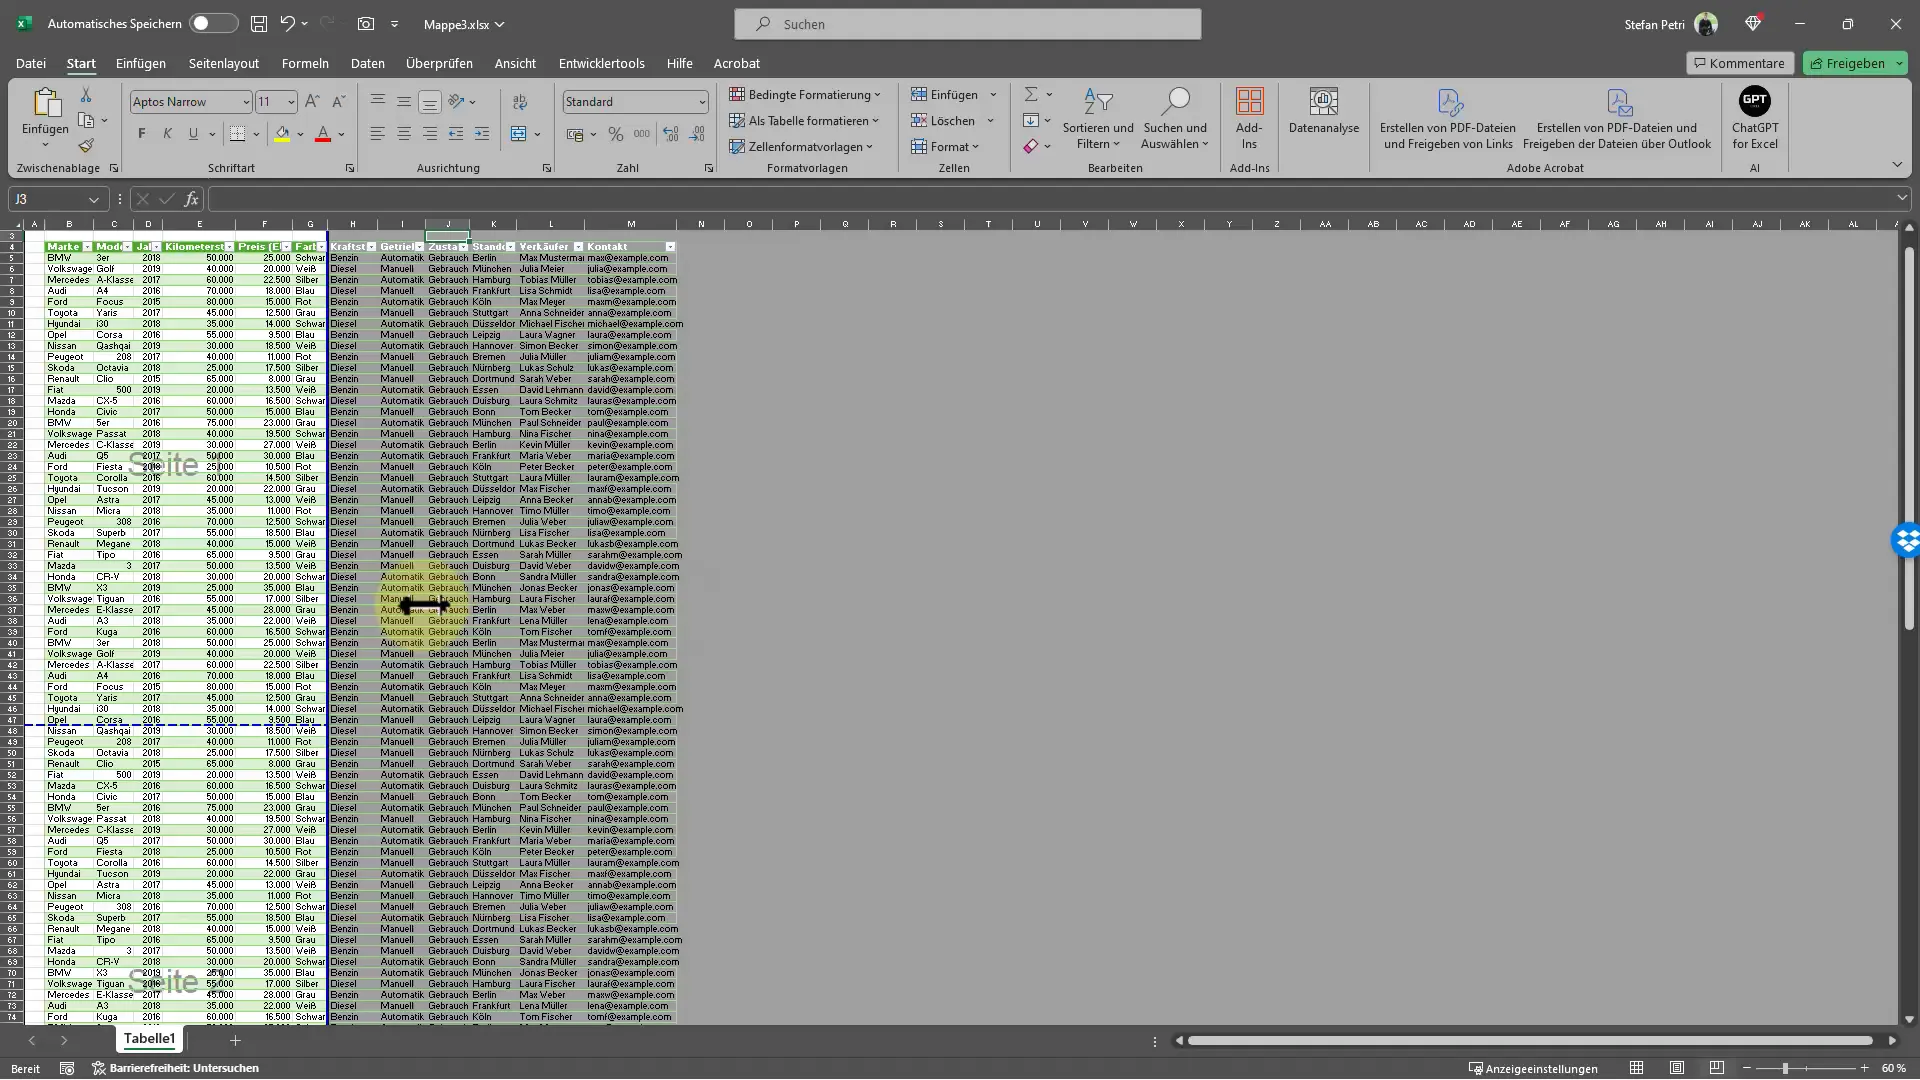
To adjust the print area of your table, launch Excel and open the document you wish to print. To see how your table is distributed across pages, activate the Page Break Preview. You will find footnotes for the Page Break Preview at the bottom of your worksheet.
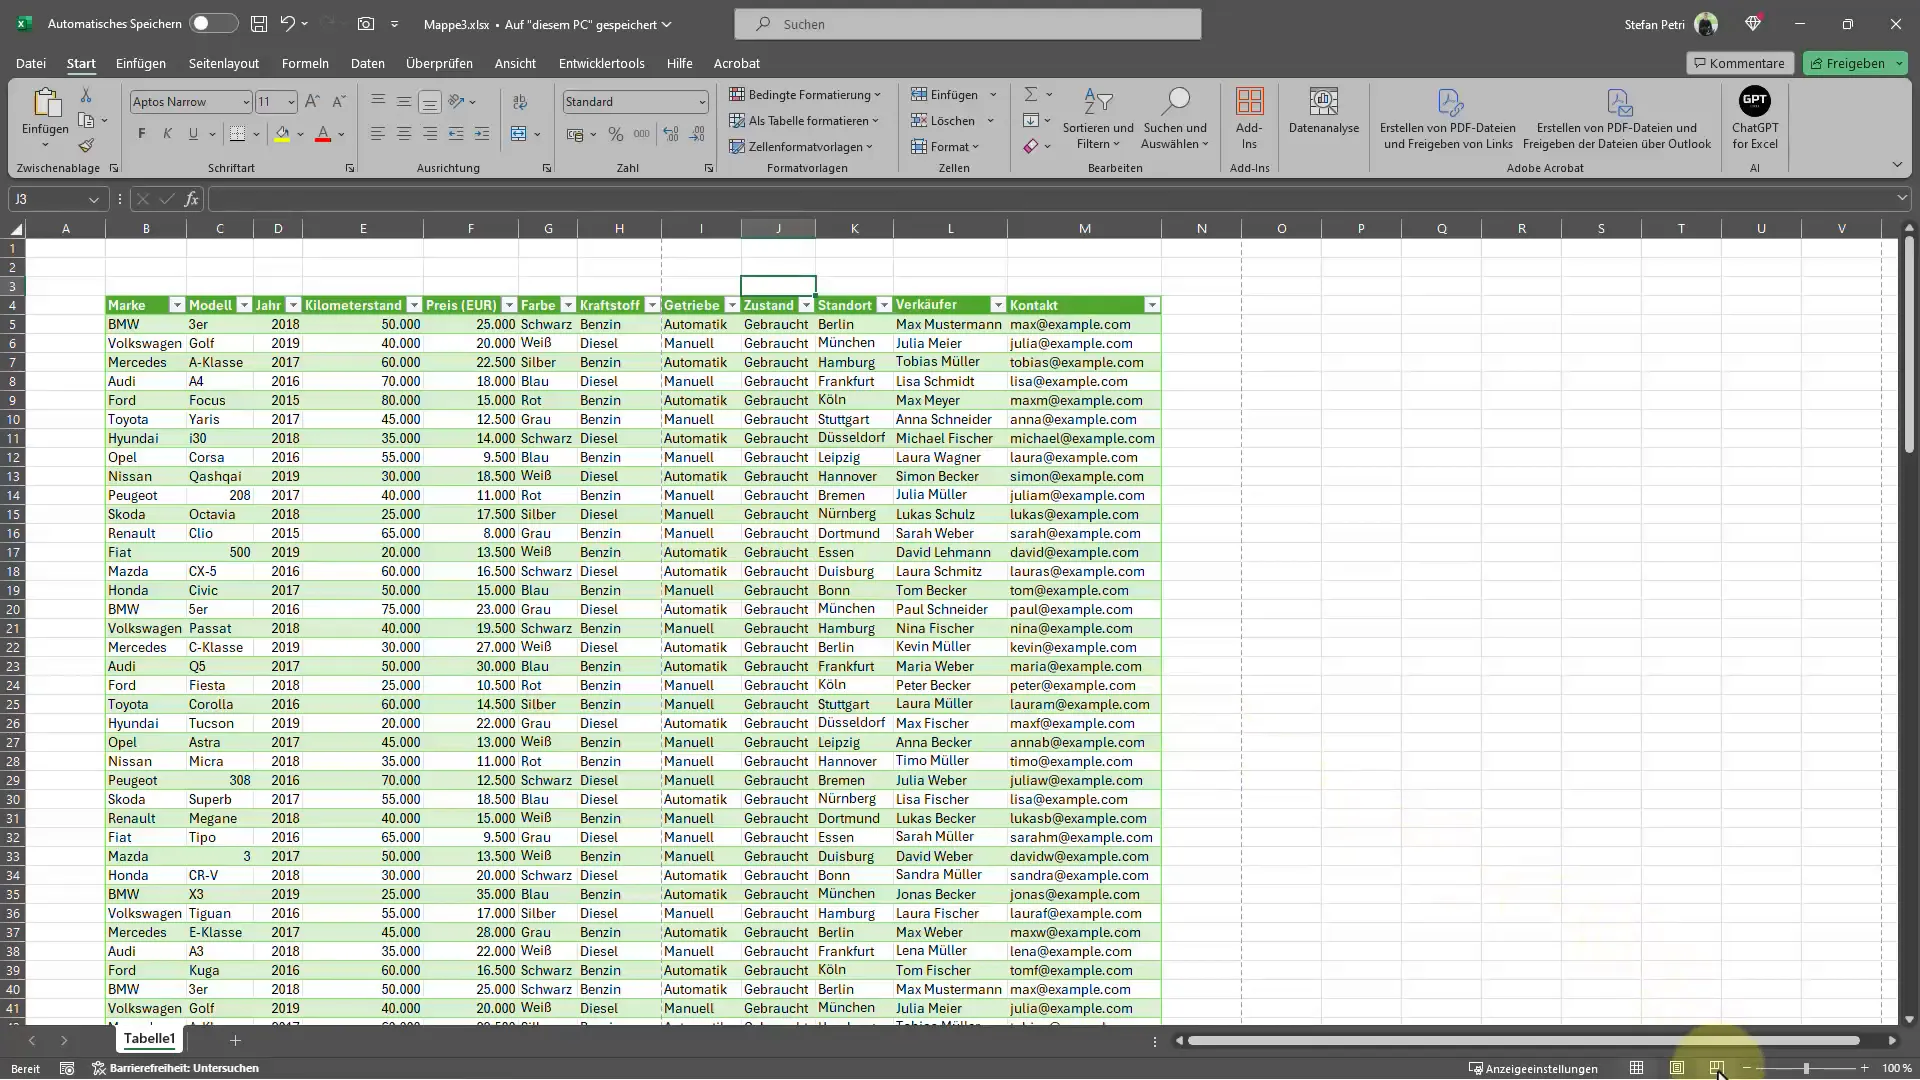
Simply click on it, and you will receive a visual representation of the page layout. This way, you can quickly identify where the page breaks are and whether your table is correctly distributed across the pages.
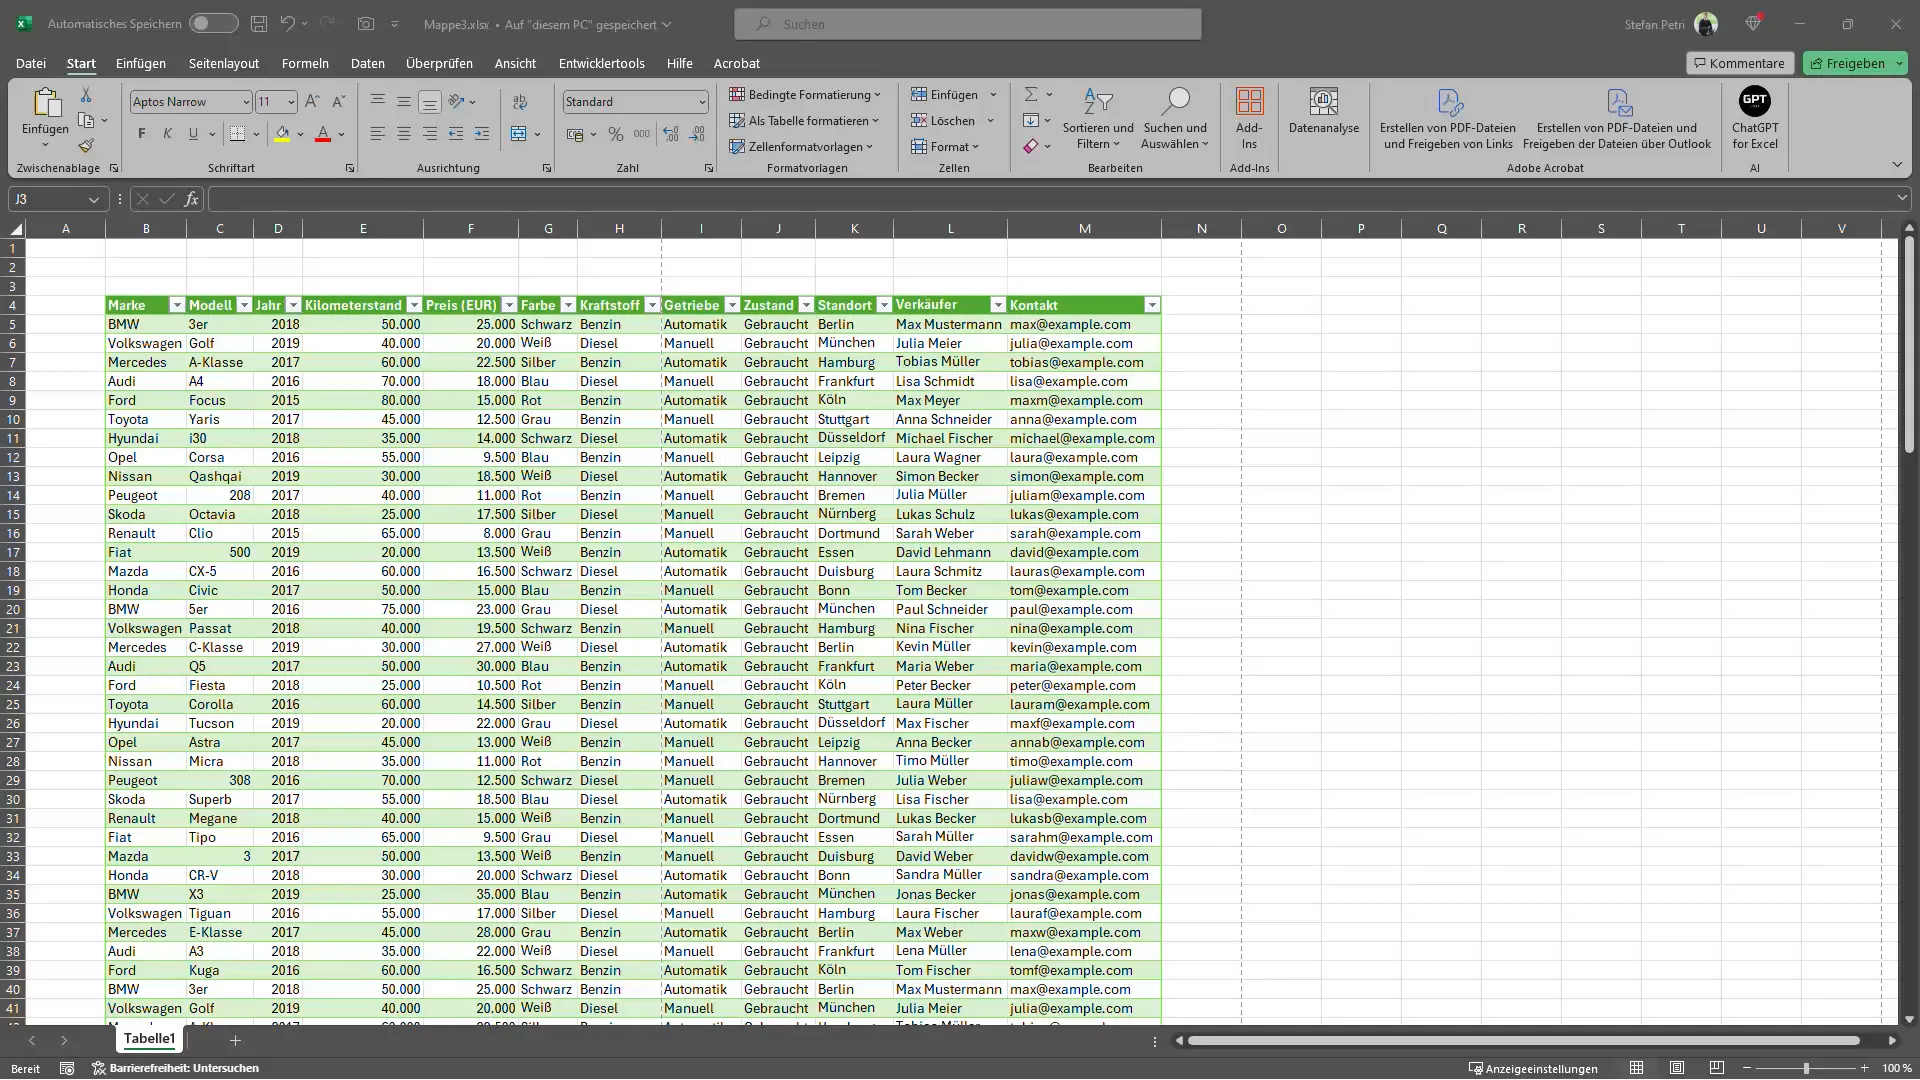
Adjust Page Breaks
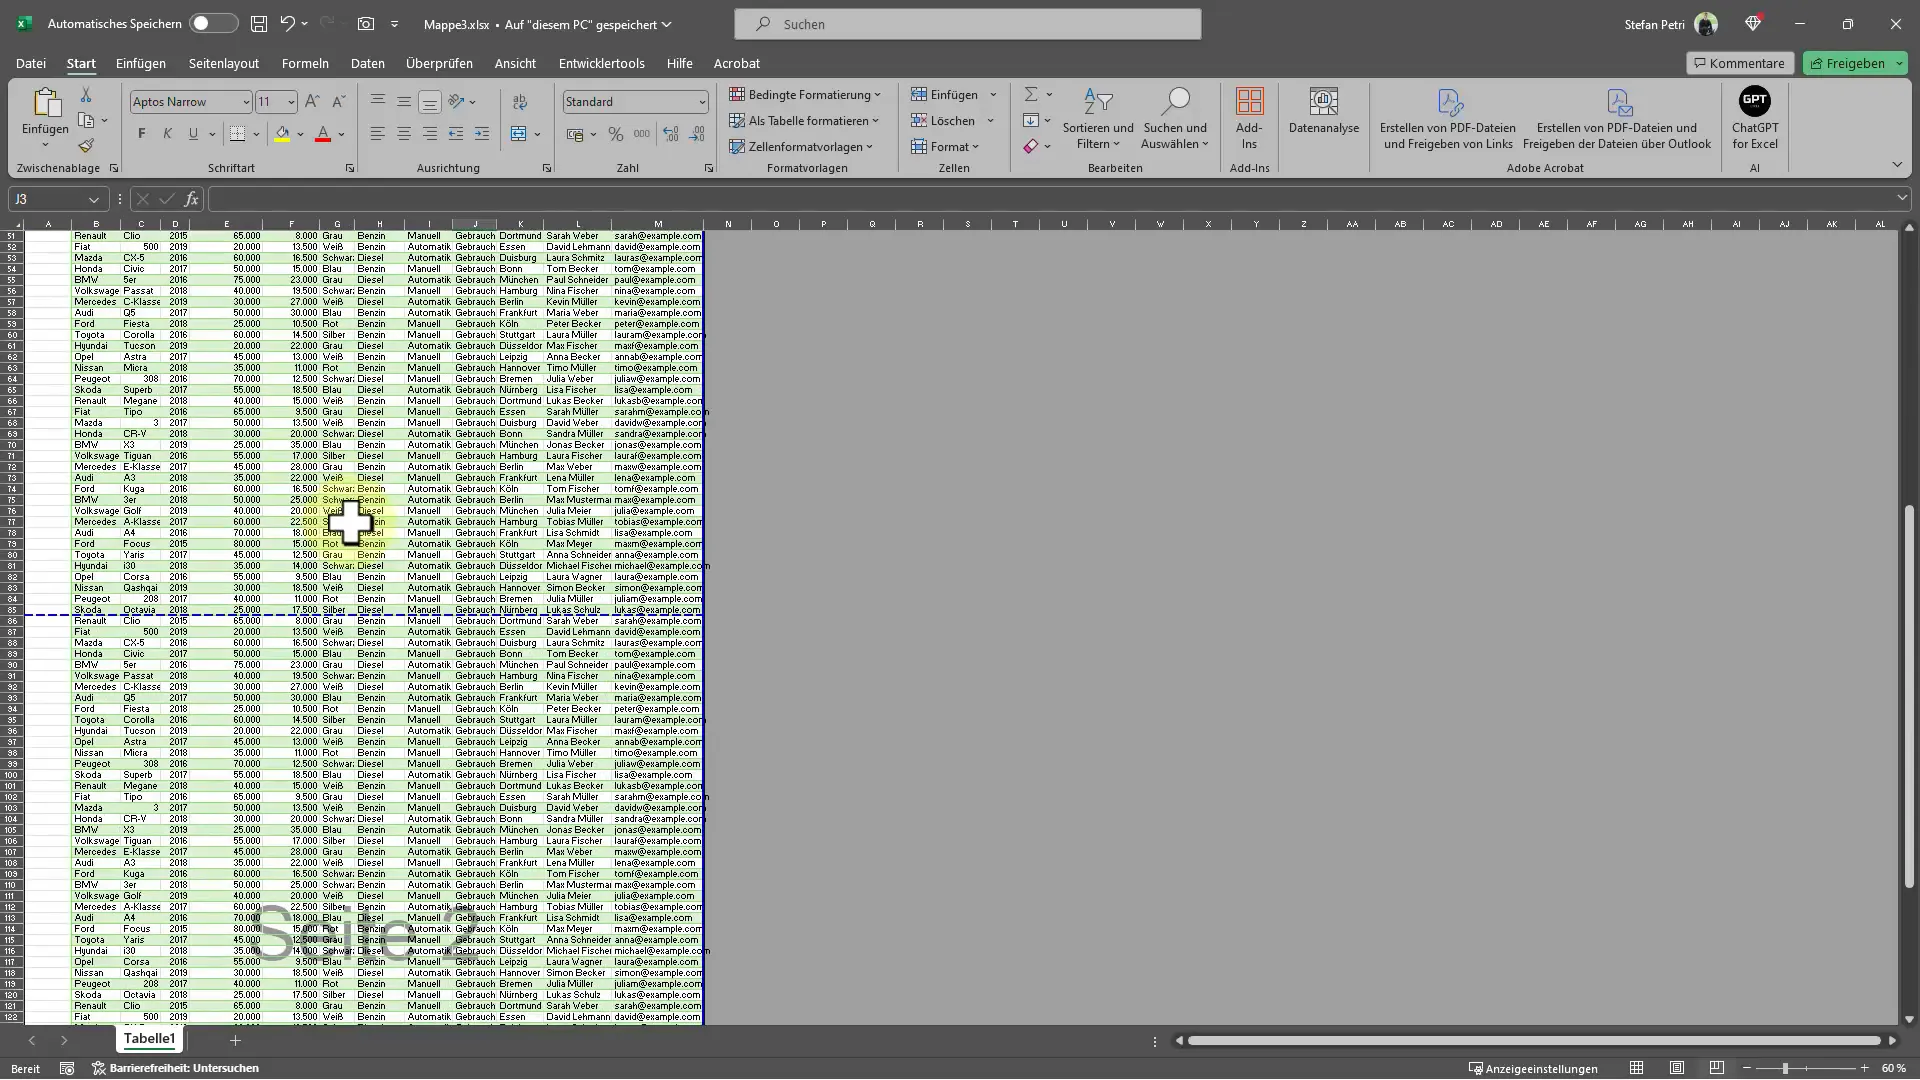
In the Page Break Preview, you can now change the dashed lines to adjust the page breaks according to your preferences. If you want to move the separations, simply click on the line and drag it to the desired position. These adjustments allow you to arrange all columns elegantly to be printed on one or at most two pages. After making new settings, check how the document looks by opening the print dialog again or pressing Ctrl+P.
Adjust Settings in the Print Dialog
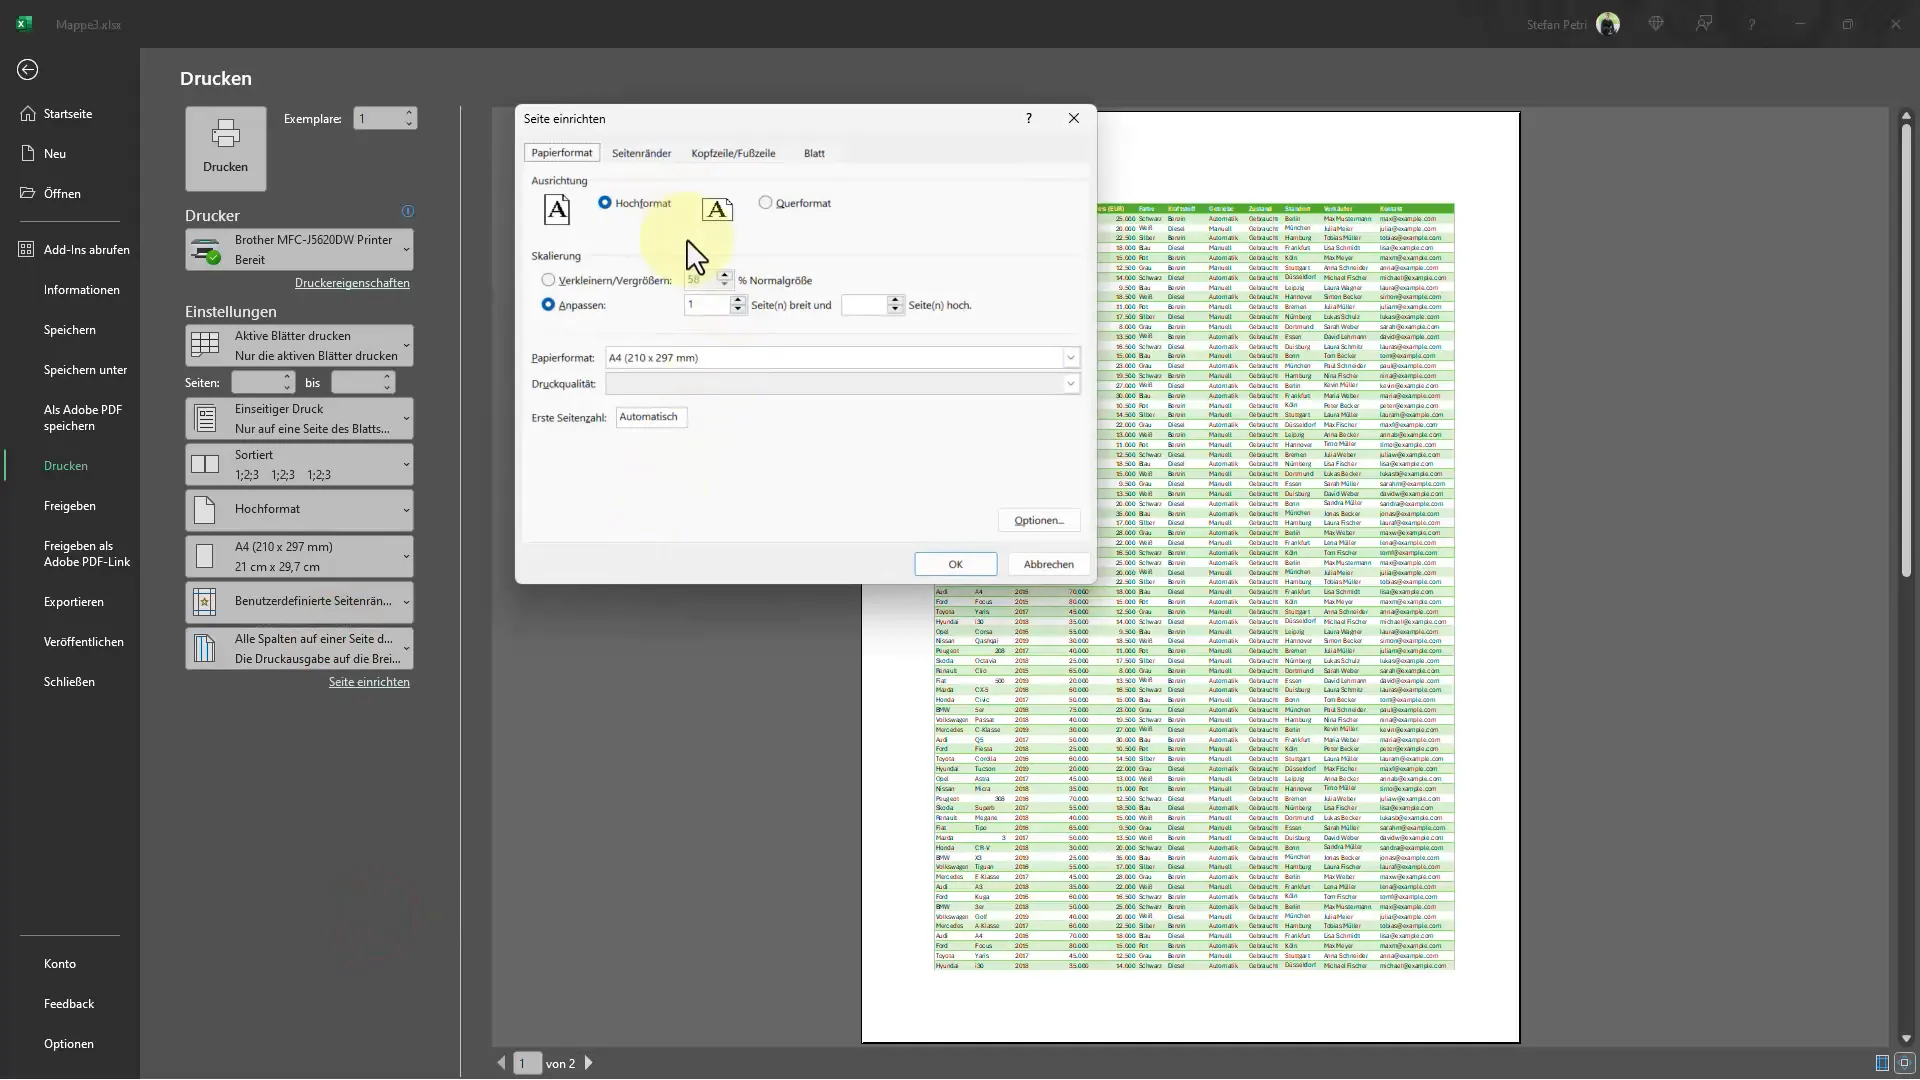
Another helpful step is utilizing the print dialog. Press Ctrl+P or go to "File" and select "Print". Here, you have the option to make further adjustments. In the print dialog, you can choose the option to display all columns on one page. This function often speeds up the printing process significantly since you don't have to make individual page breaks. It is a simple yet effective method to optimize the layout of your table.
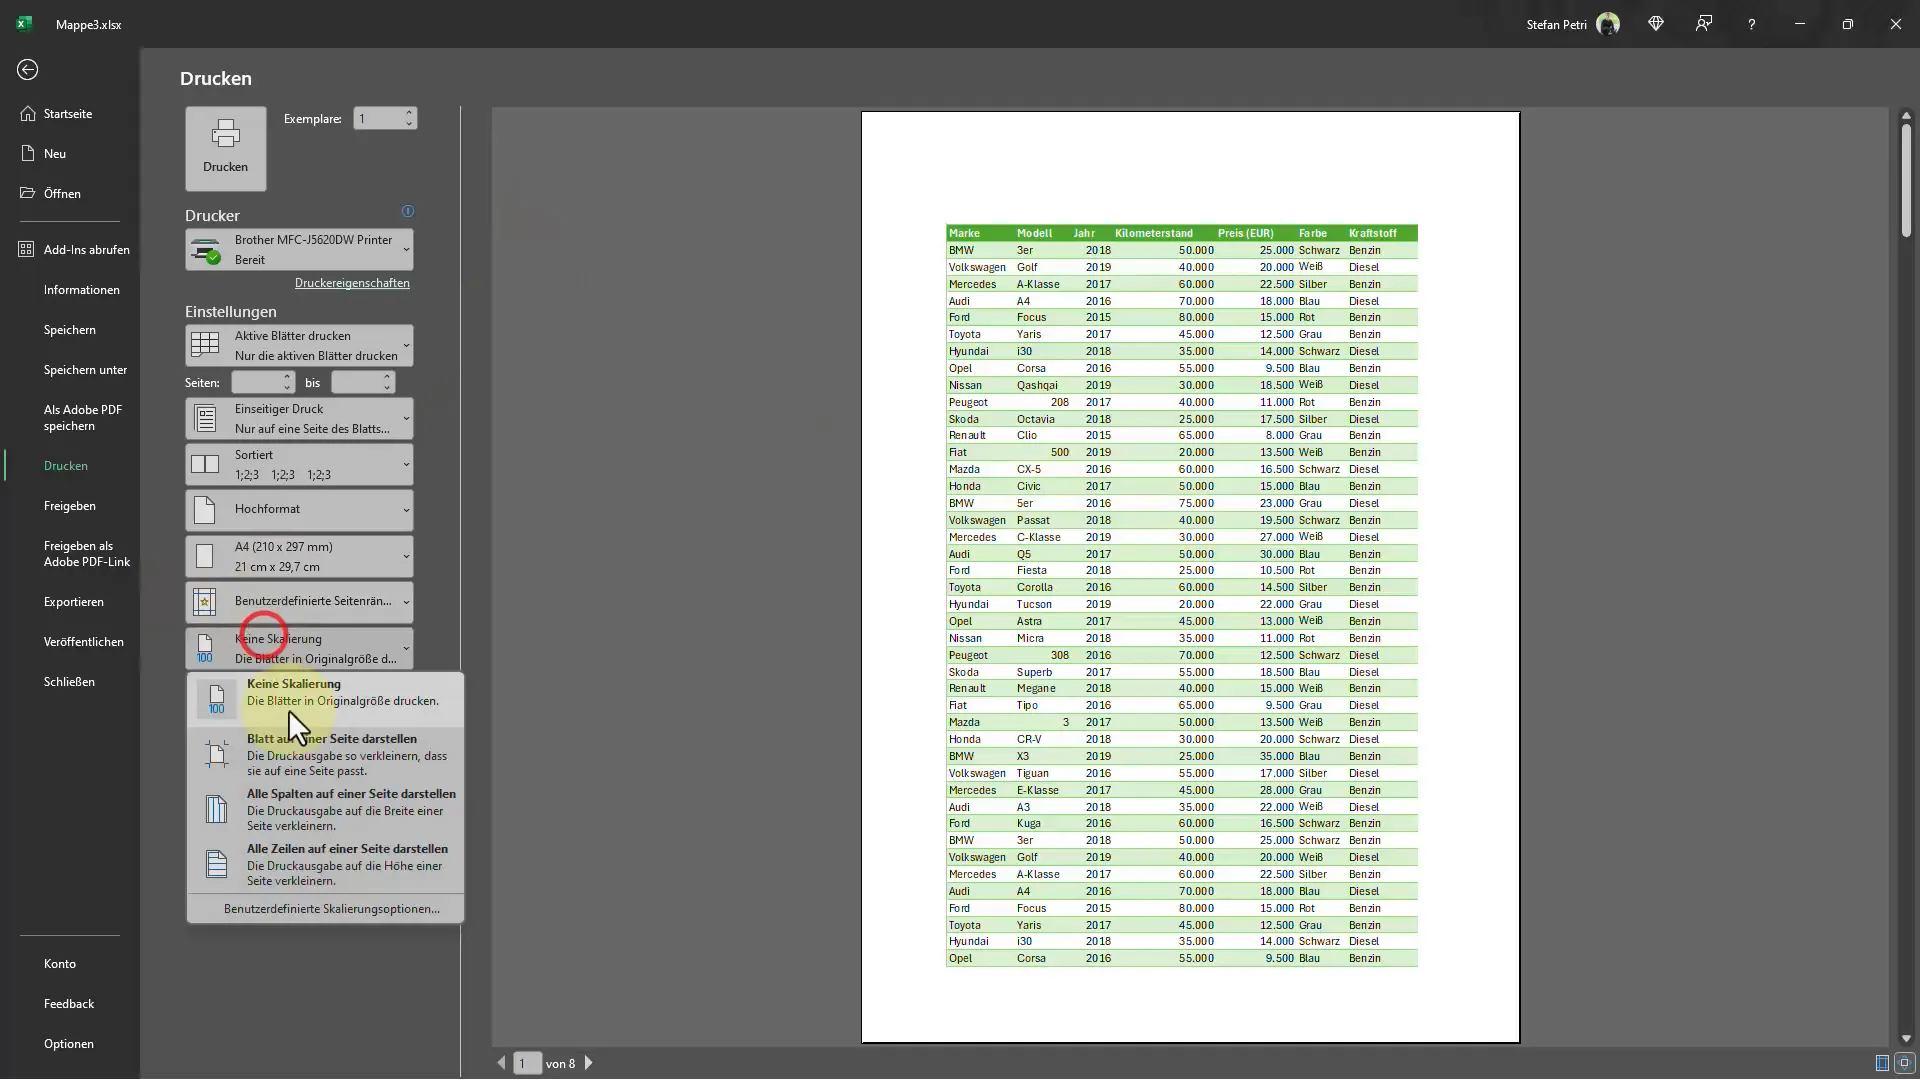
If you need further customization options, you can also use custom scaling options in the print dialog. These options allow you to automatically adjust the size of your data to ensure everything fits well on the page. You can choose from various predefined options or set a custom scaling yourself. This flexibility enables you to completely tailor the print view to your individual needs.
Finally, Define the Print Area
If your table still doesn't fit optimally on one page, consider setting a specific print area. Go to "Page Layout" and then "Print Area" to determine which part of the table should be printed. This is particularly useful when you have extensive data that you only want to print partially.
Summary - Excel Tips: Printing Large Tables on One Page
With these easy-to-follow steps, you can ensure that your large Excel tables are printed efficiently and neatly on one or two pages. Use the Page Break Preview and the various settings in the print dialog to make the most of your documents. Not only will you save paper, but also time and effort in adjusting your tables. You are now well-equipped to present large amounts of data elegantly.
Frequently Asked Questions
How do I activate the Page Break Preview in Excel?You can find the Page Break Preview at the bottom of your worksheet. Click on it to activate the view.
Can I manually adjust the page breaks?Yes, in the Page Break Preview, you can drag and drop the dashed lines.
How do I set a specific print area?Go to "Page Layout" and select "Print Area" to set a print area.
Are custom scaling options easy to use?Yes, you can use custom scaling options in the print dialog to achieve optimal display.
Can I print multiple tables in one document simultaneously?It depends on your settings, but you can define multiple print areas within one document.


