In modern data processing, Microsoft Excel is one of the most commonly used programs. One of the most efficient methods to save time is to automatically fill in data. This tutorial will show you how to efficiently and quickly automatically fill in data in Excel, whether they are numbers or data. You will learn how easy it is to create a series of data and how it can make your work easier.
Key Takeaways
The Fill Handle in Excel is a powerful tool that helps you save time and increase the accuracy of your data. Not only can you automatically fill in consecutive numbers, but you can also fill in date values up to a desired end date. This function is perfect when it comes to processing large amounts of data or when you need specific values in a particular order. Additionally, you can choose between vertical and horizontal filling, significantly increasing the flexibility of your work.
Start by entering a starting number in a cell. For example, you can enter 1/1/2026 in cell A1. This number will be the starting point of your series of data.
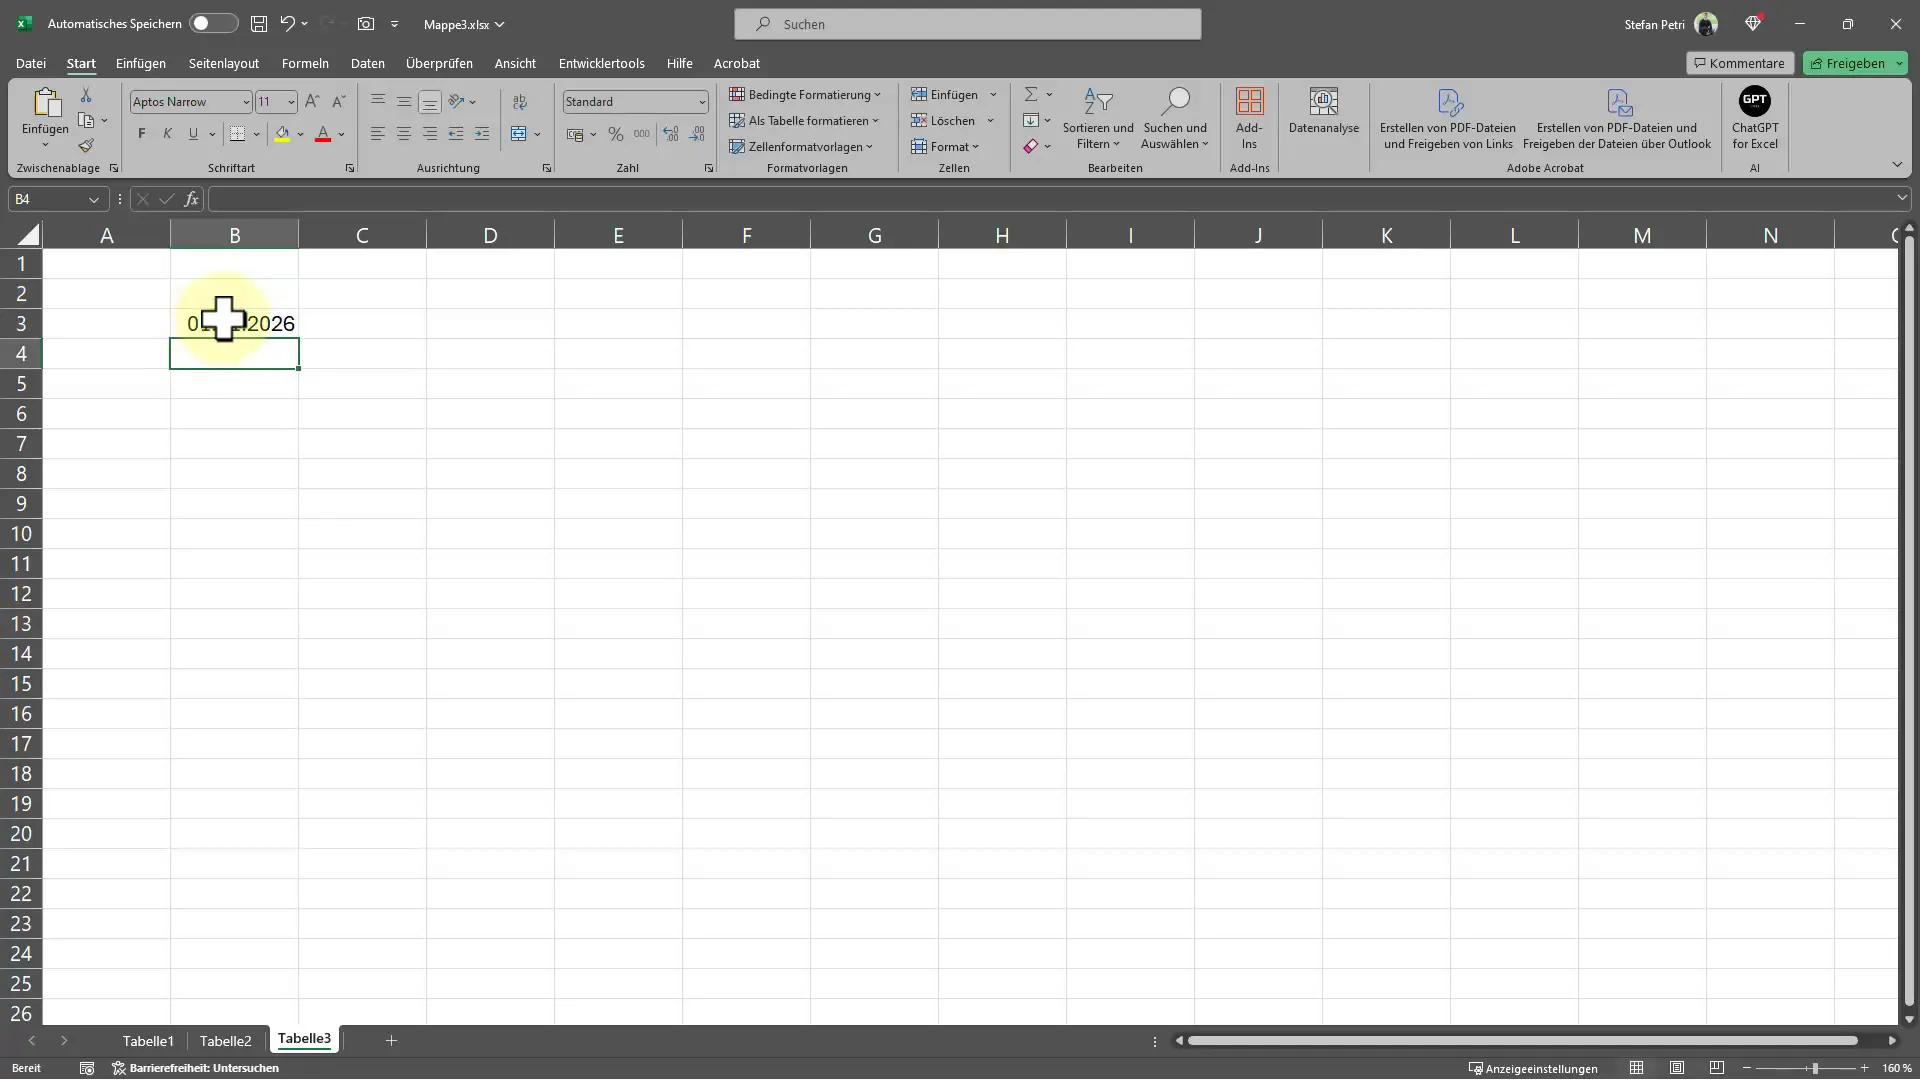
Automatic Fill by Dragging
Once you have entered the first number, go to the small square at the bottom right of the cell, also known as the Fill Handle. Click on it and drag the mouse down or to the side to automatically fill in the cells. Excel will understand that you want to create a continuous series of data, and it will adjust the subsequent numbers accordingly.
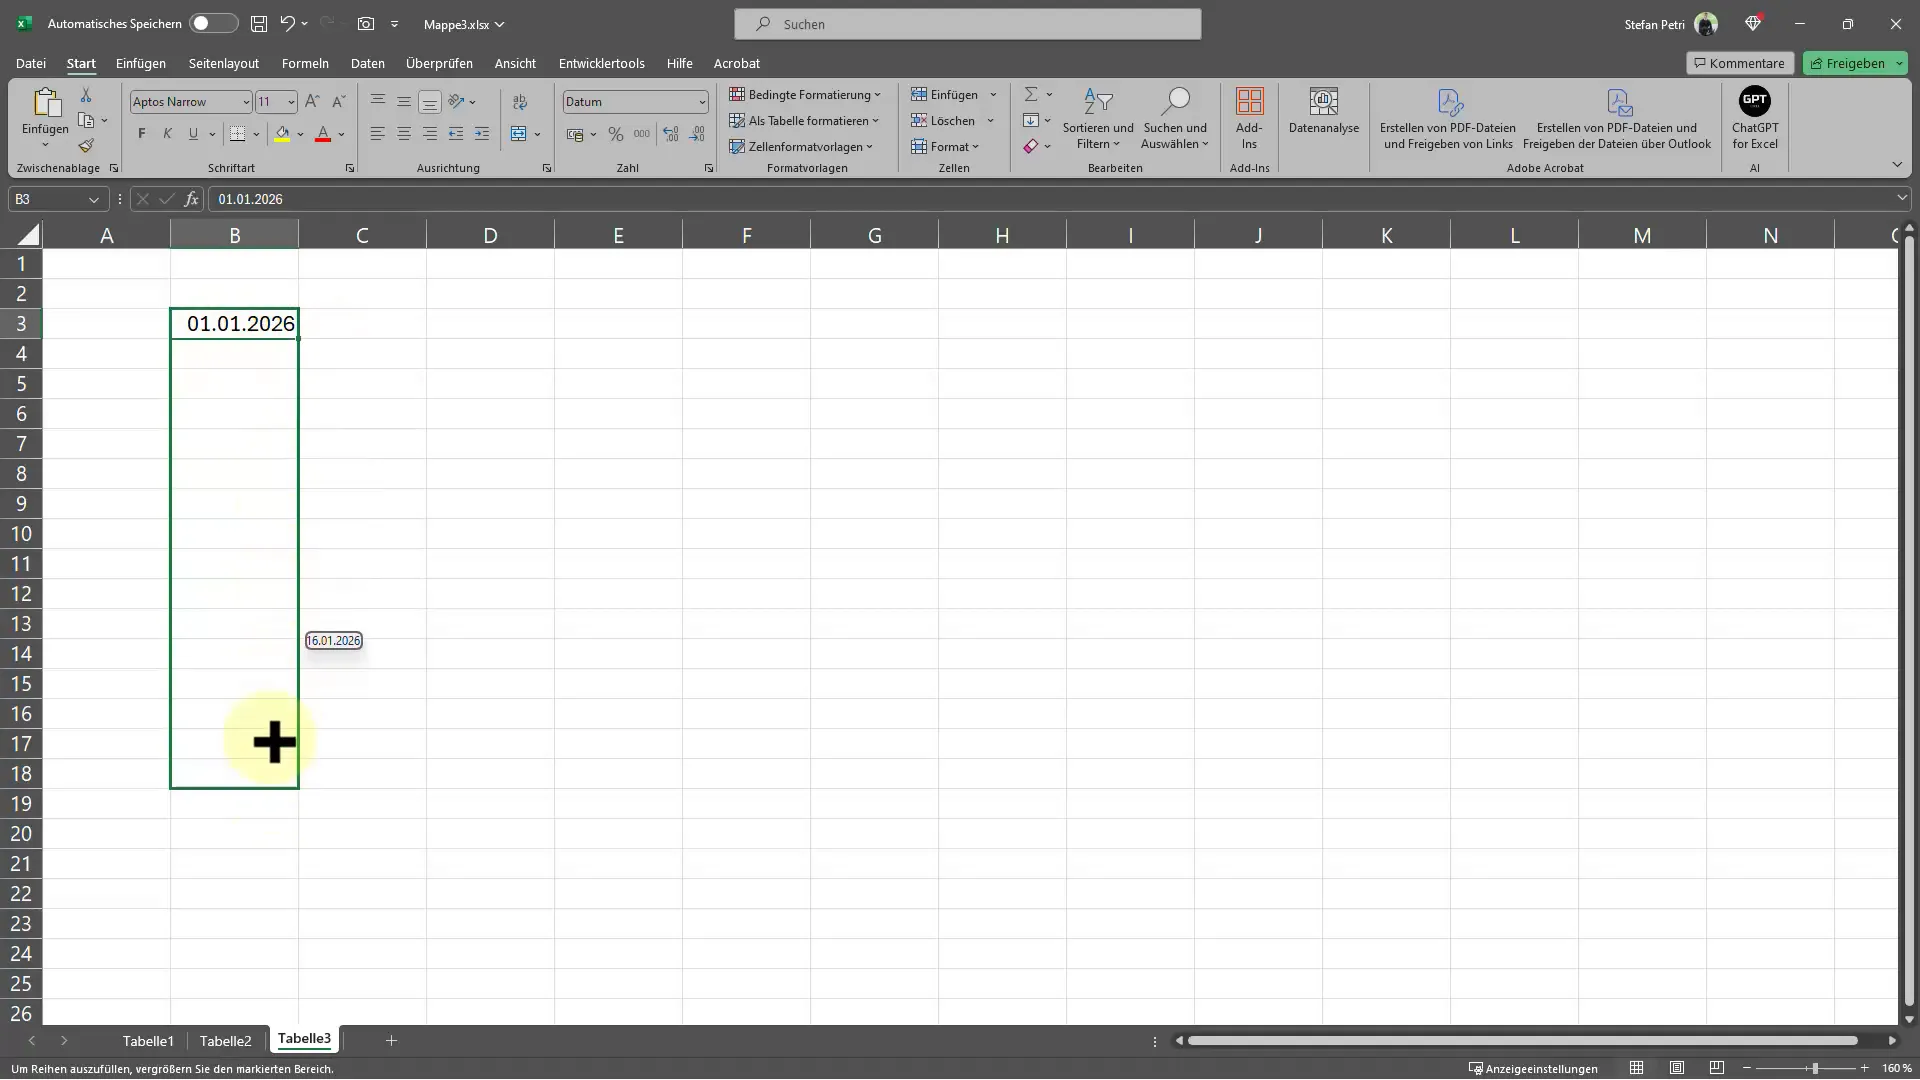
Entering the End Date for Automatic Filling
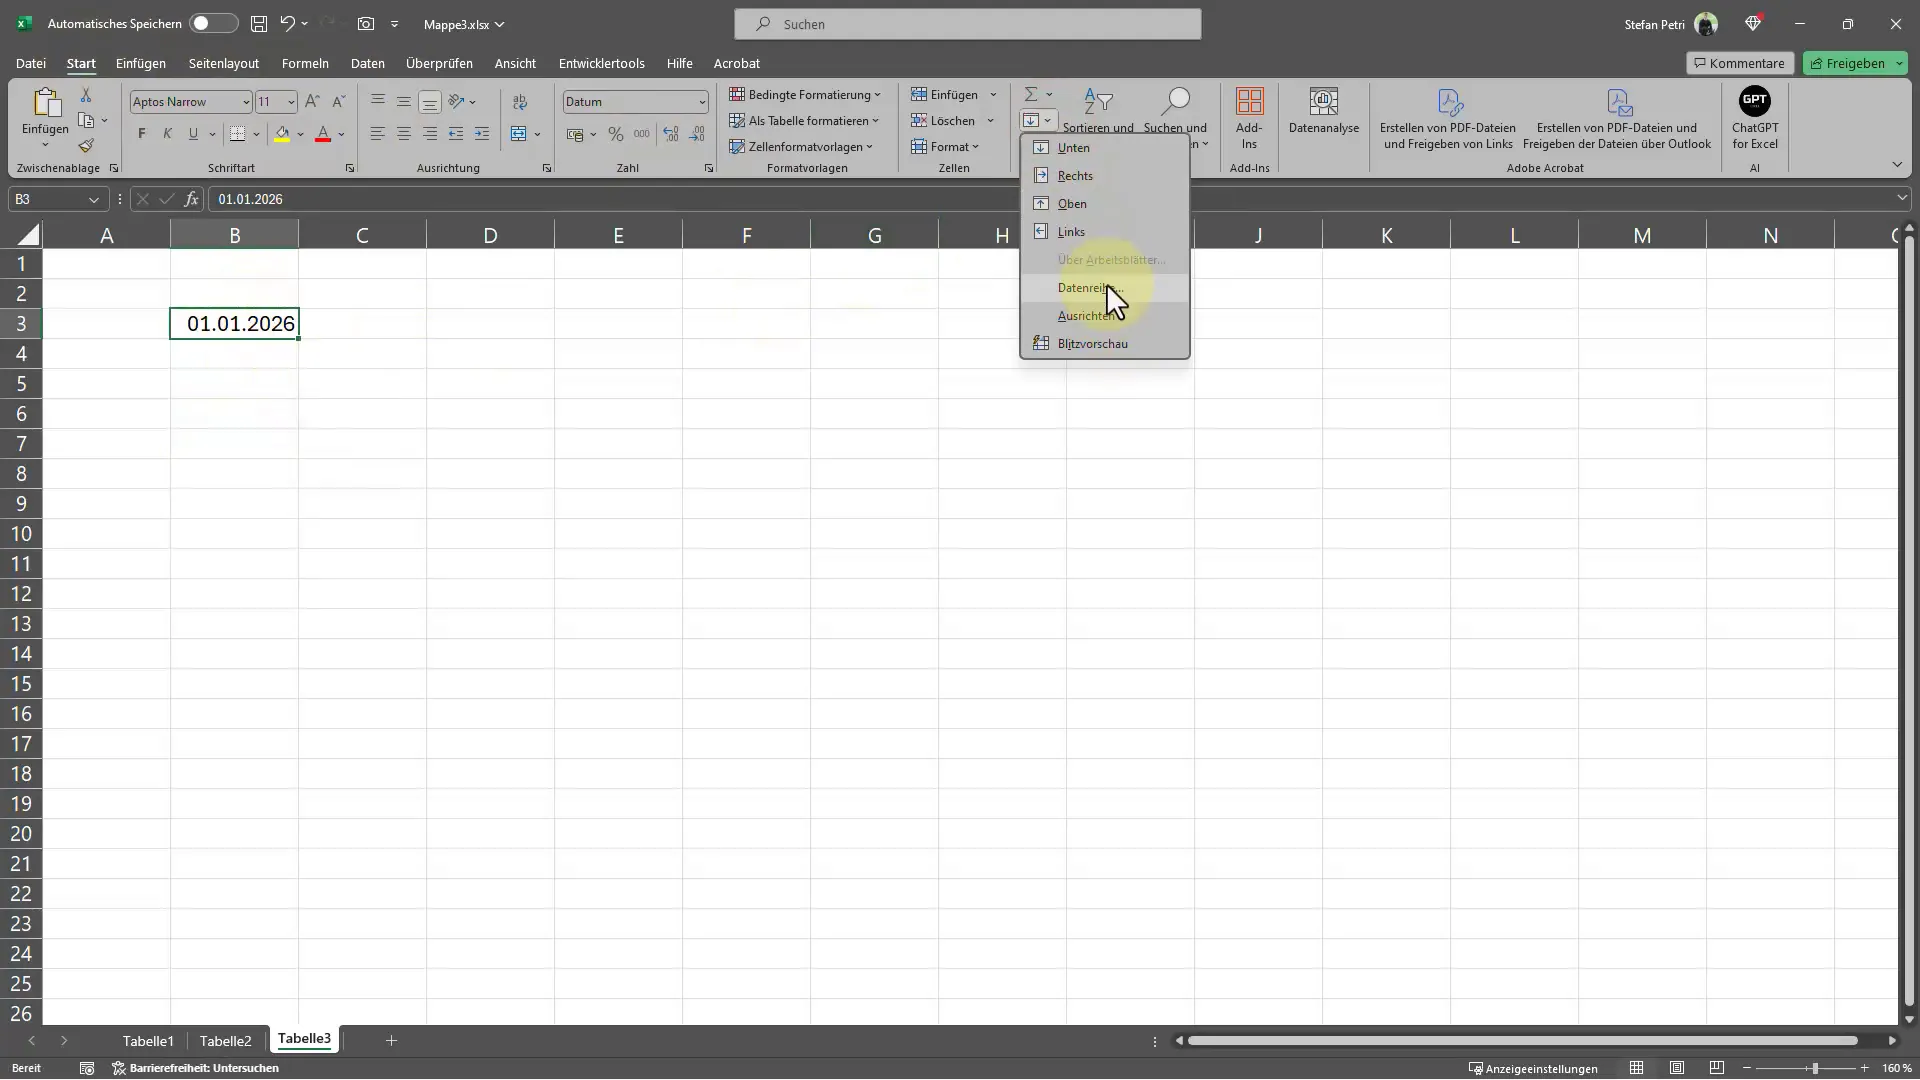
Suppose you now want to create a series of data up to a specific end date, for example, 1/1/2030. To do this, go to the "Home" tab. Find the "Fill" button and click on it. Choose the "Series" option.
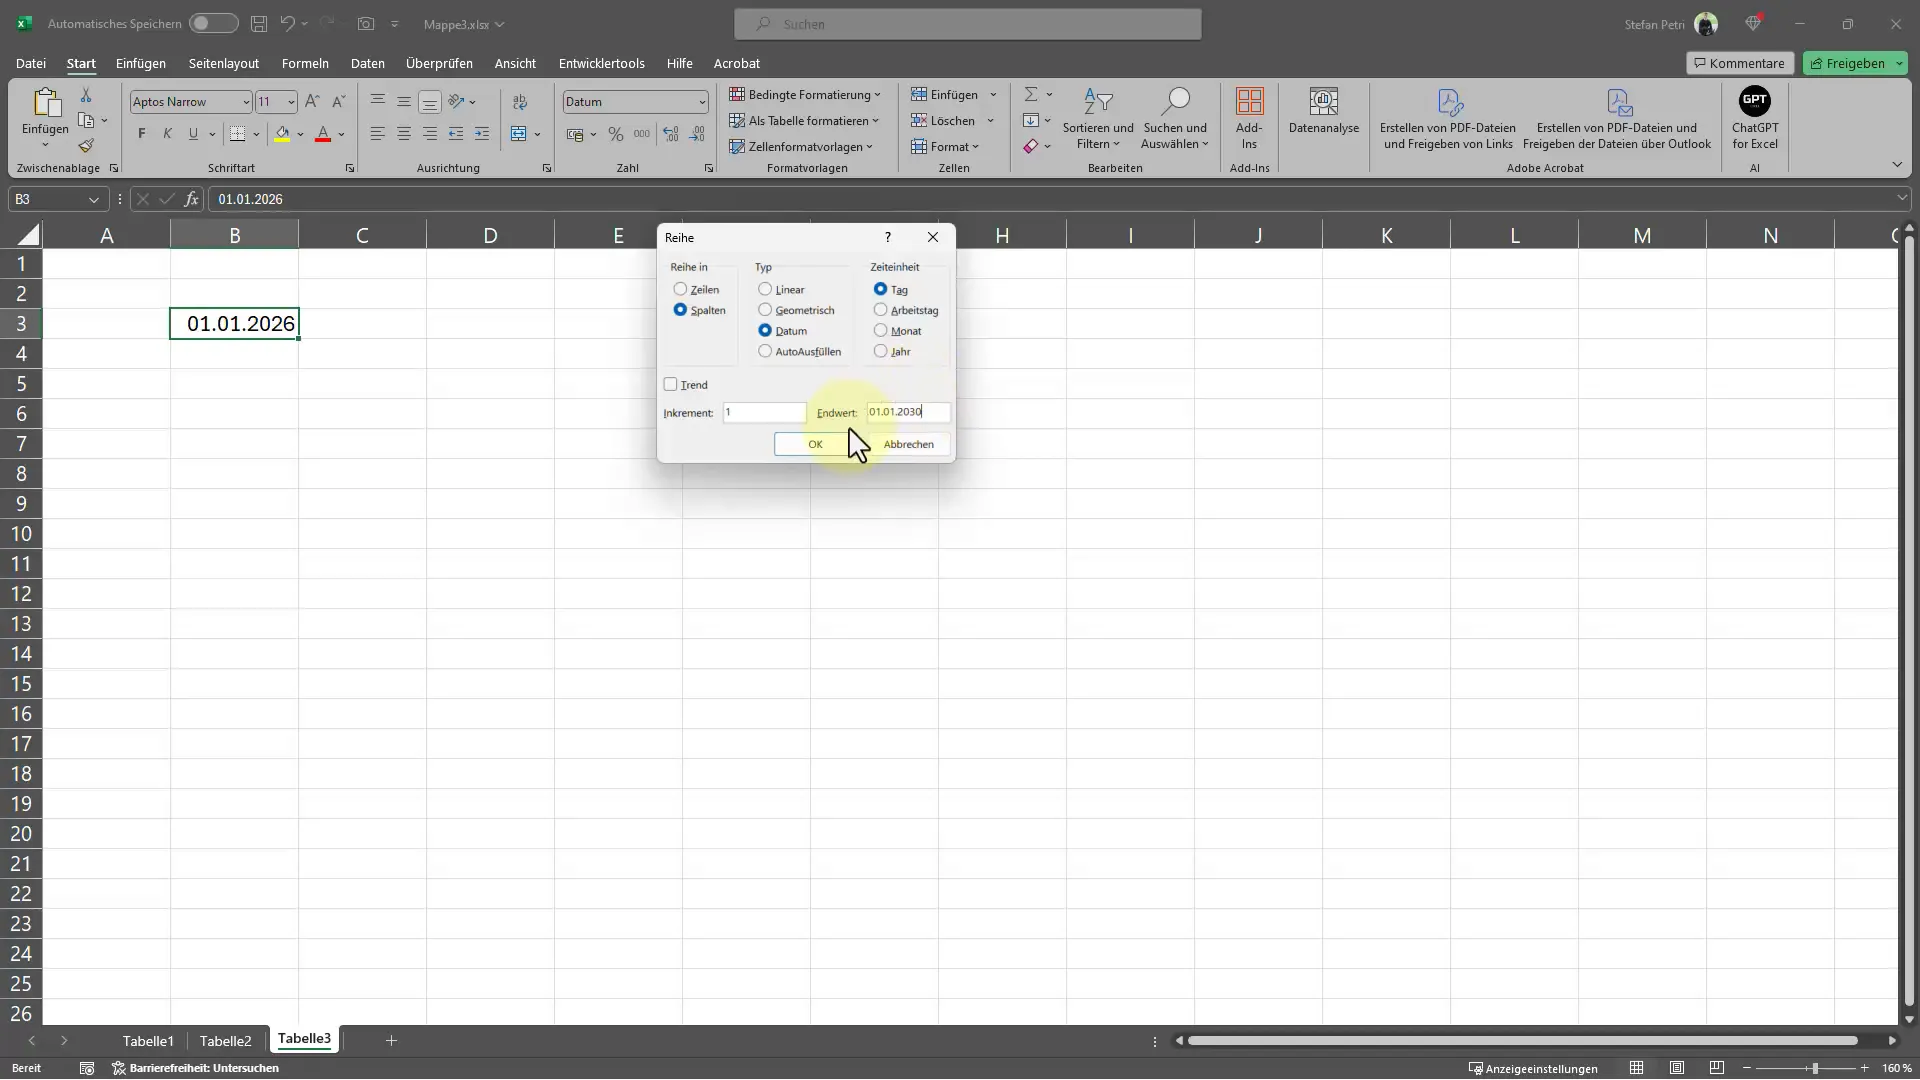
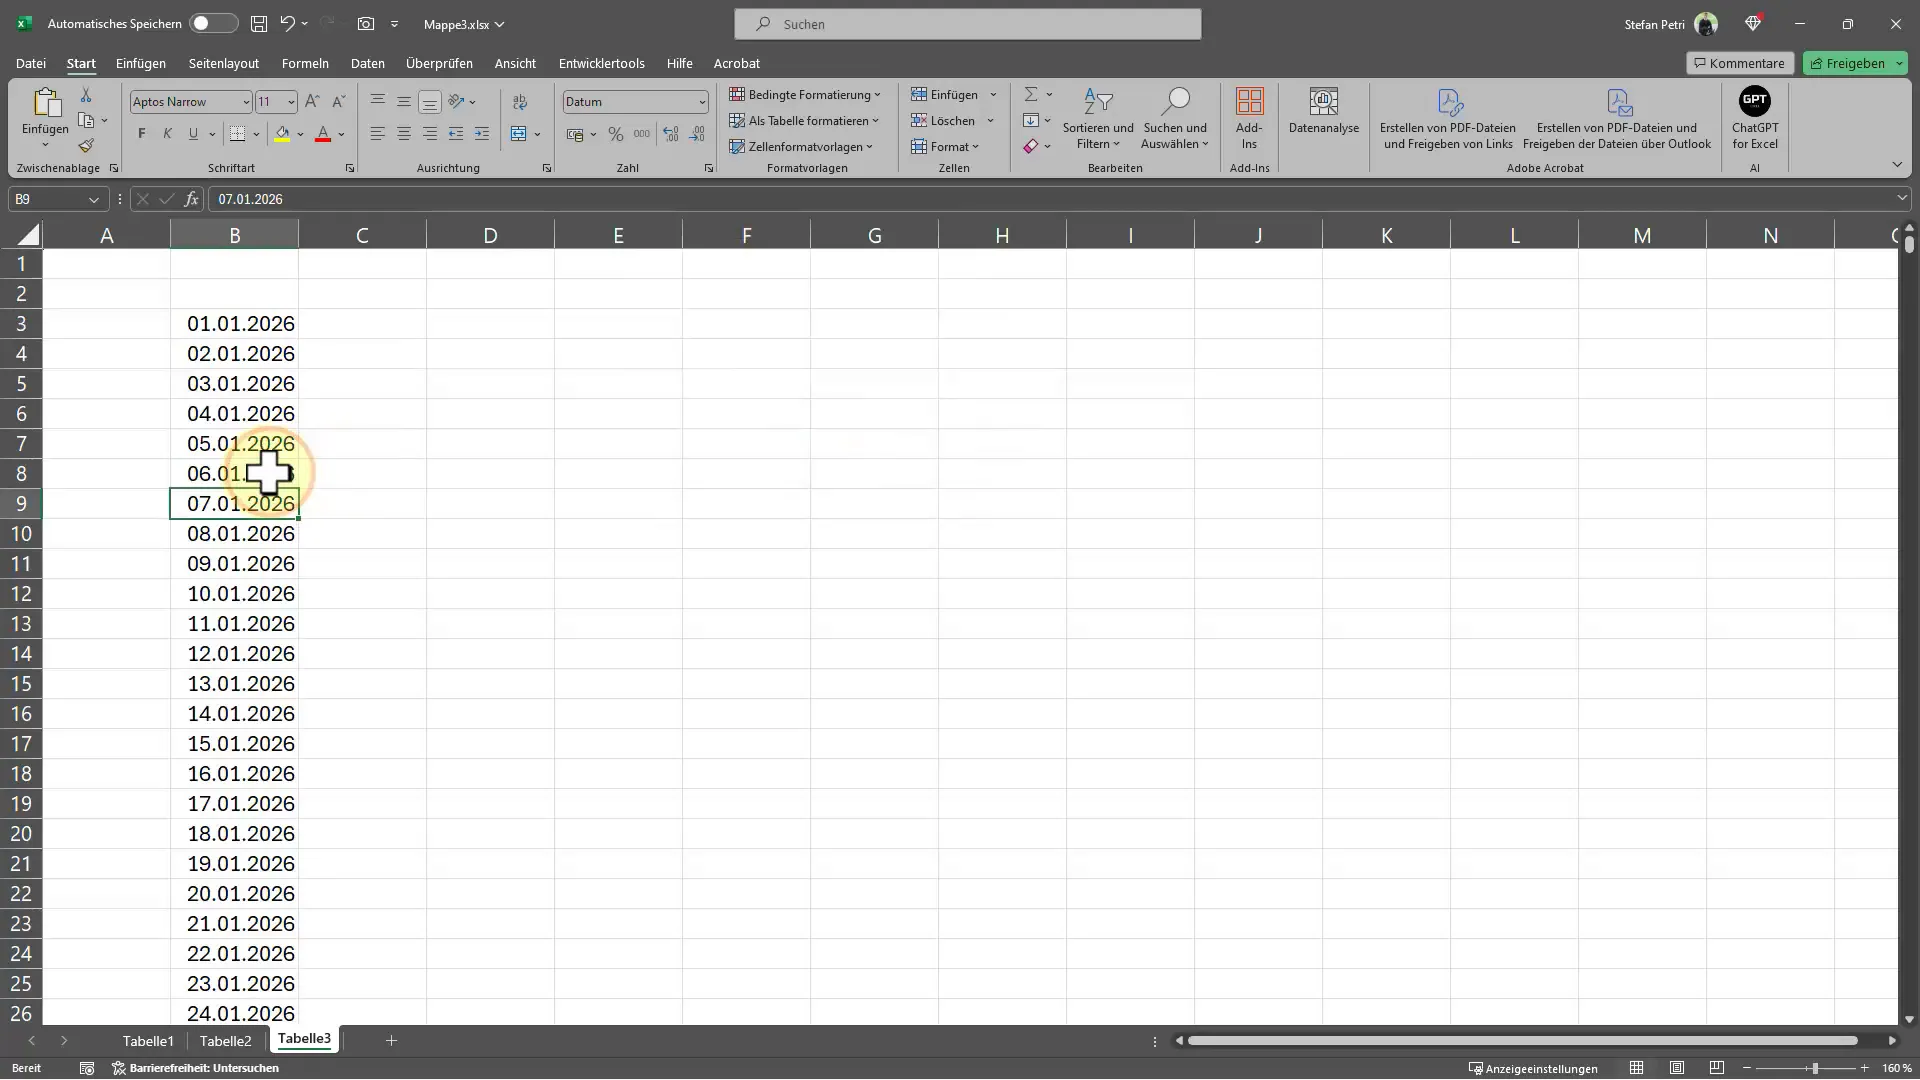
Now you can specify the direction in which you want to create the data series. If you want to fill in the values in a column, choose the "Column" option. If you want to fill in the values in a row, choose "Row". For the end date, enter the desired value. In our example, it would be 1/1/2030. Confirm your entries, and Excel will automatically fill in the desired data up to that end date.
The result will look like this:
Undoing and Changing the Direction
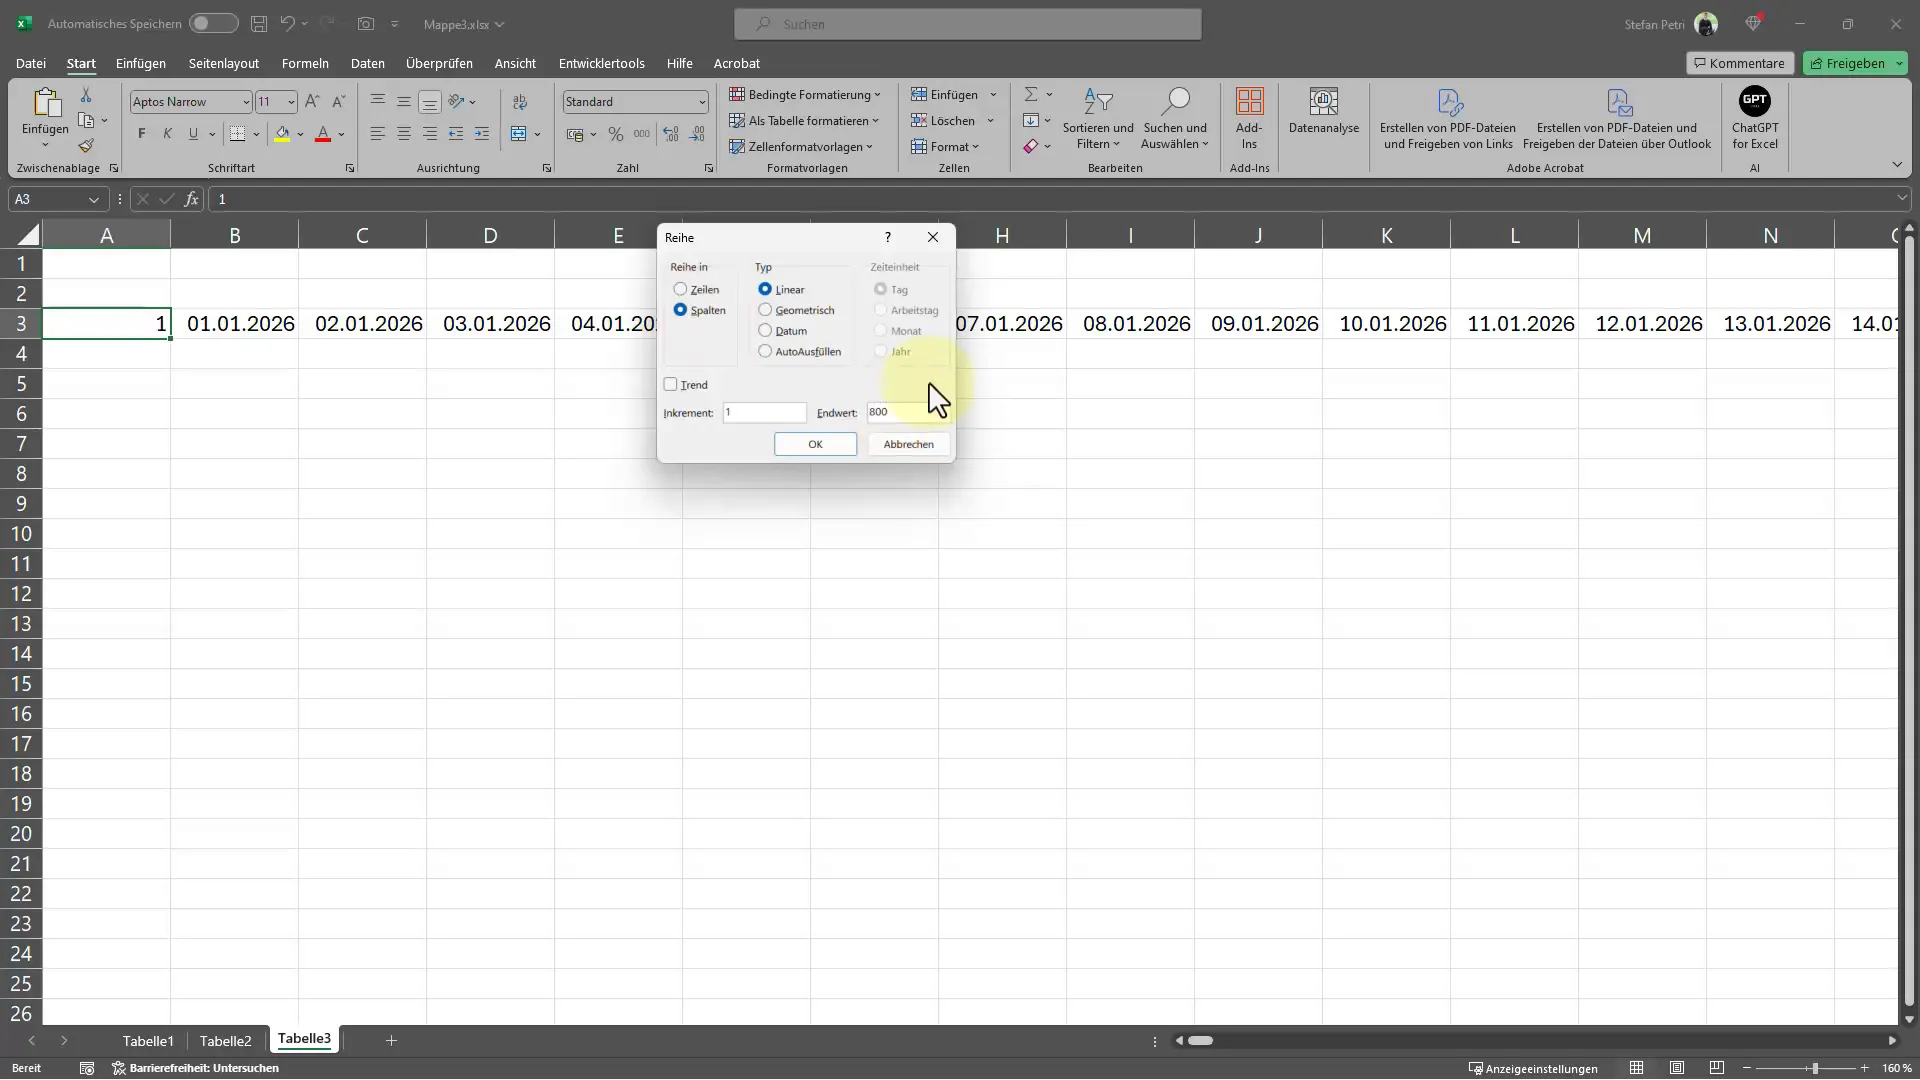
If you want to fill in your data in a row instead of a column, you can simply reset the previous steps. Go back to "Fill", this time choose "Series", and make sure you select the desired direction.
Inserting Specific Cells
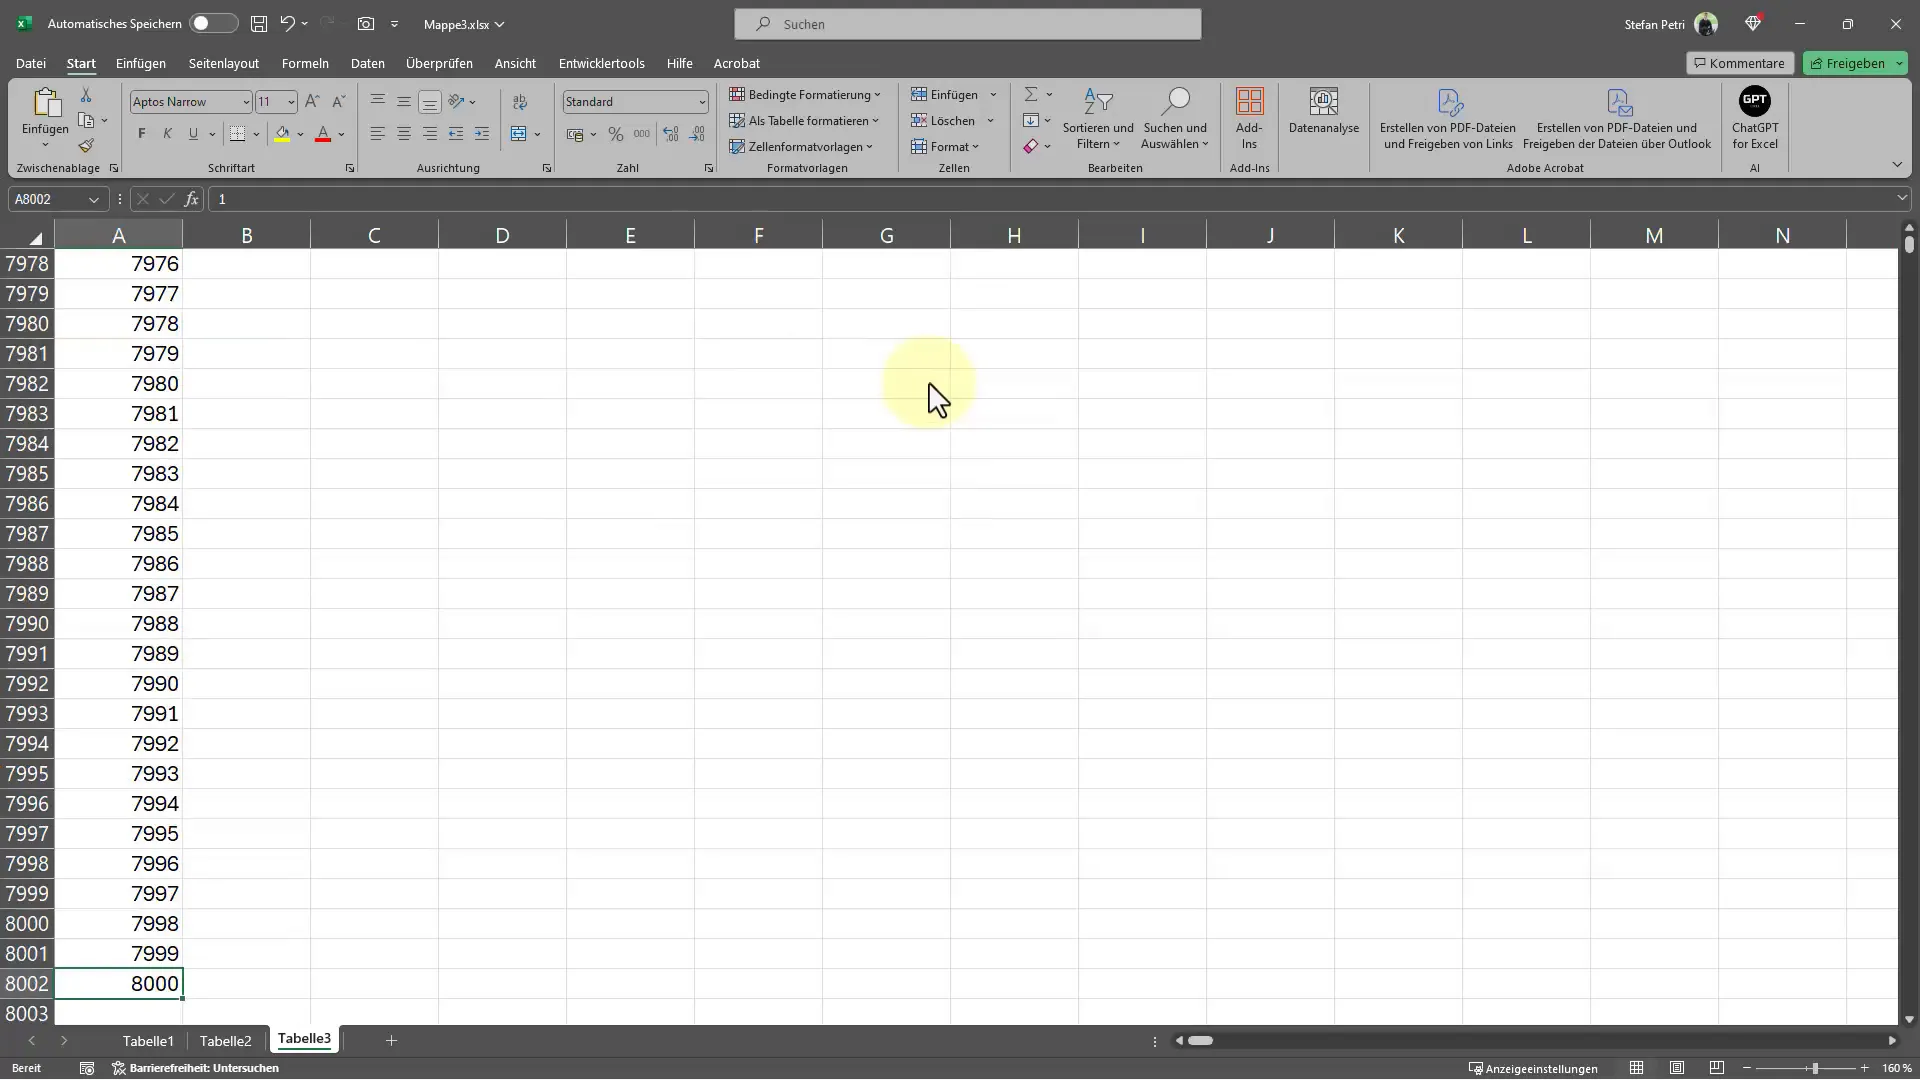
Let's say you also want to work with numbers. Enter a starting number, for instance, 1, in cell A1. Go back to "Series", choose the "Column" option, and set an end goal needed – in this case, 8000.
Checking the Results
Check if the cells have been filled in correctly. You should now have a complete series of numbers up to the end number you defined.
Diversity of Application Possibilities
Note that the "Fill Handle" function in Excel is not limited to numbers or dates. You can also use text strings or other data types to make the function even more effective.
Thanks to the automatic fill function in Excel, you can give your work significant efficiency and accuracy. It is a simple yet incredibly useful tool that can help you process and organize large amounts of data. Practice these steps regularly to acquire a valuable skill in Excel.
Frequently Asked Questions
How do I automatically fill data in Excel?Enter a starting value in a cell and drag the fill handle down or to the side.
Can I automatically fill data up to a specific end date?Yes, use the "Series" function in the fill menu and enter the desired end date.
Can I fill other data types besides numbers and dates?Yes, you can also automatically fill text strings or other values in Excel.
How do I undo the filling?You can use the "Undo" function or simply redo the steps to change the direction.


