In today's tutorial, I will show you how to automatically create table borders in Excel that adjust dynamically when you enter new data or add rows. With two different methods - a quick one and a more detailed approach - you can enhance your tables and improve clarity. Let's get started.
Main insights for automatic table borders
Using the conditional formatting feature in Excel, you can create automatic borders for tables. These borders dynamically adjust as you add or modify data.
Step-by-step guide
To get started, there is an easy way to create an automatic border. By pressing "Ctrl + T" on the keyboard, Excel recognizes it as a table.
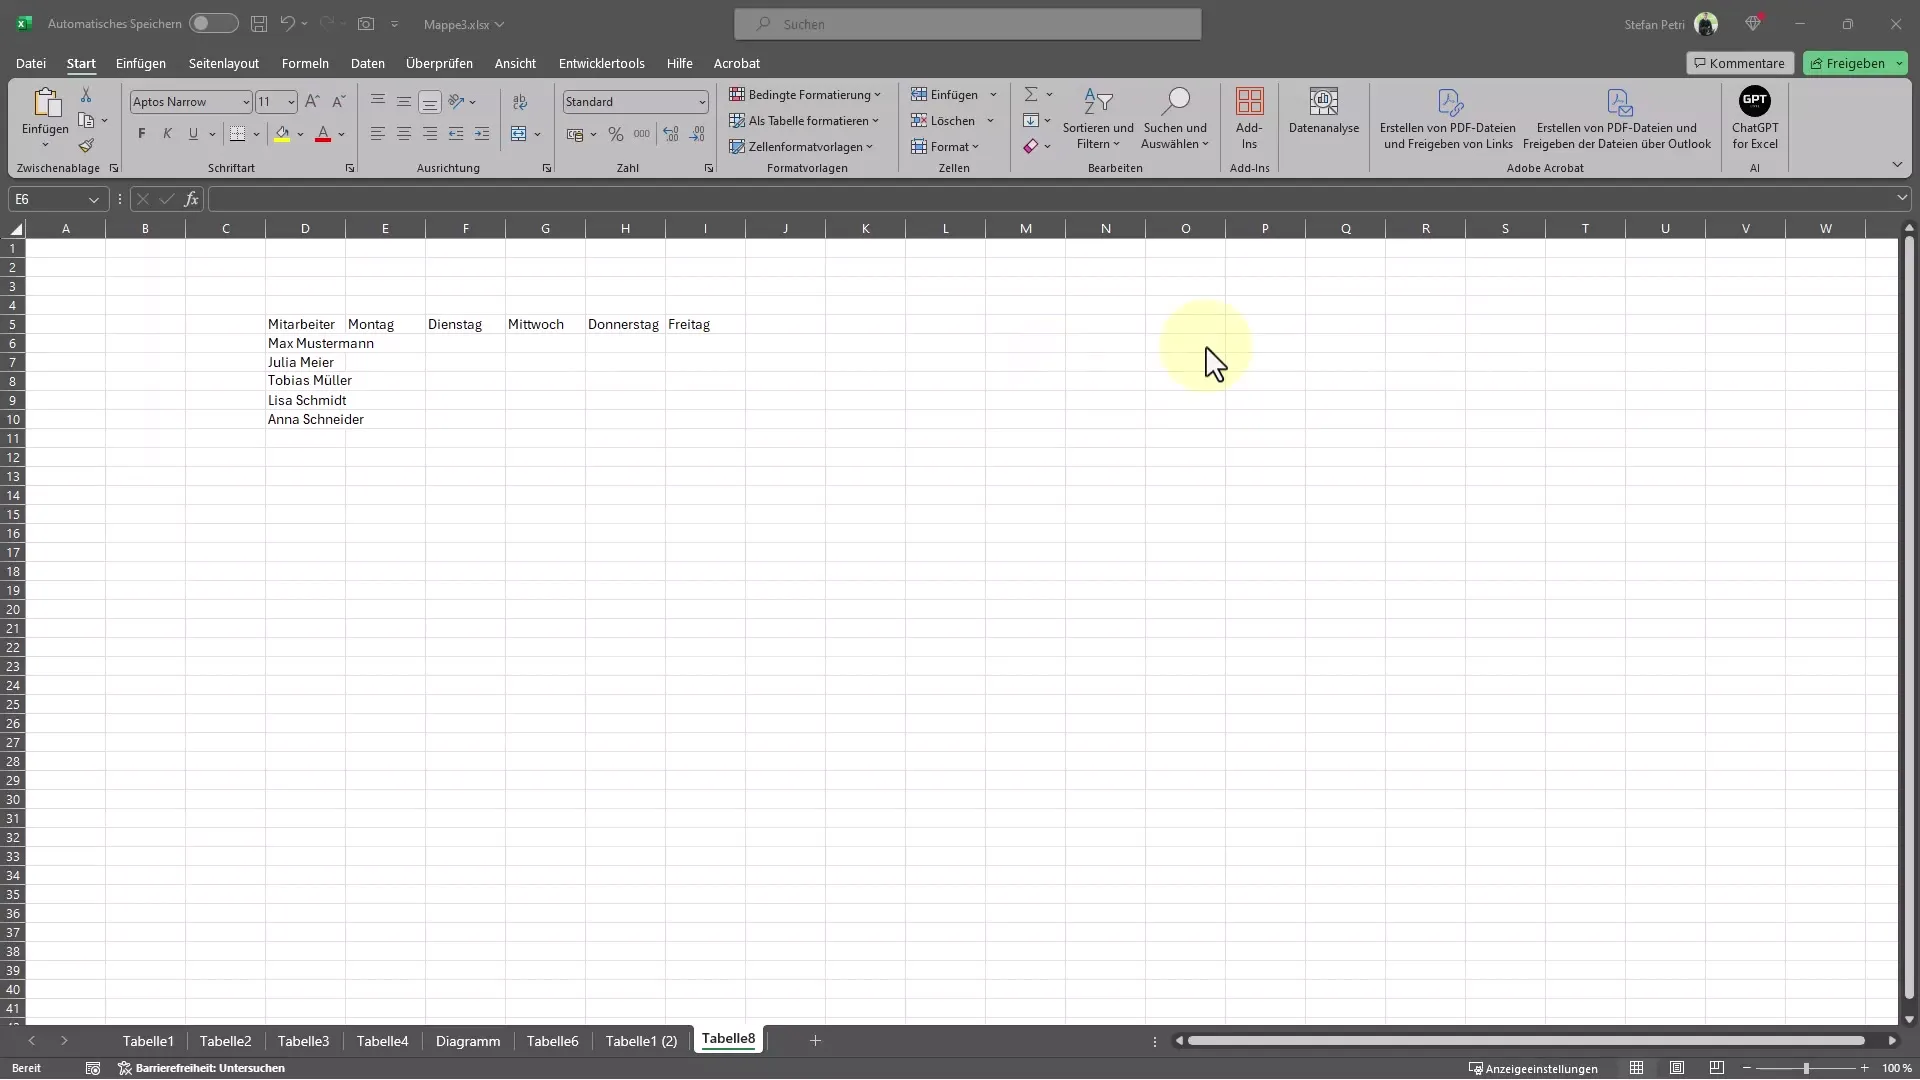
You will immediately see that Excel formats the data as a table and recognizes the first row as a header. Once you make a new entry in the table, the border will adjust automatically.
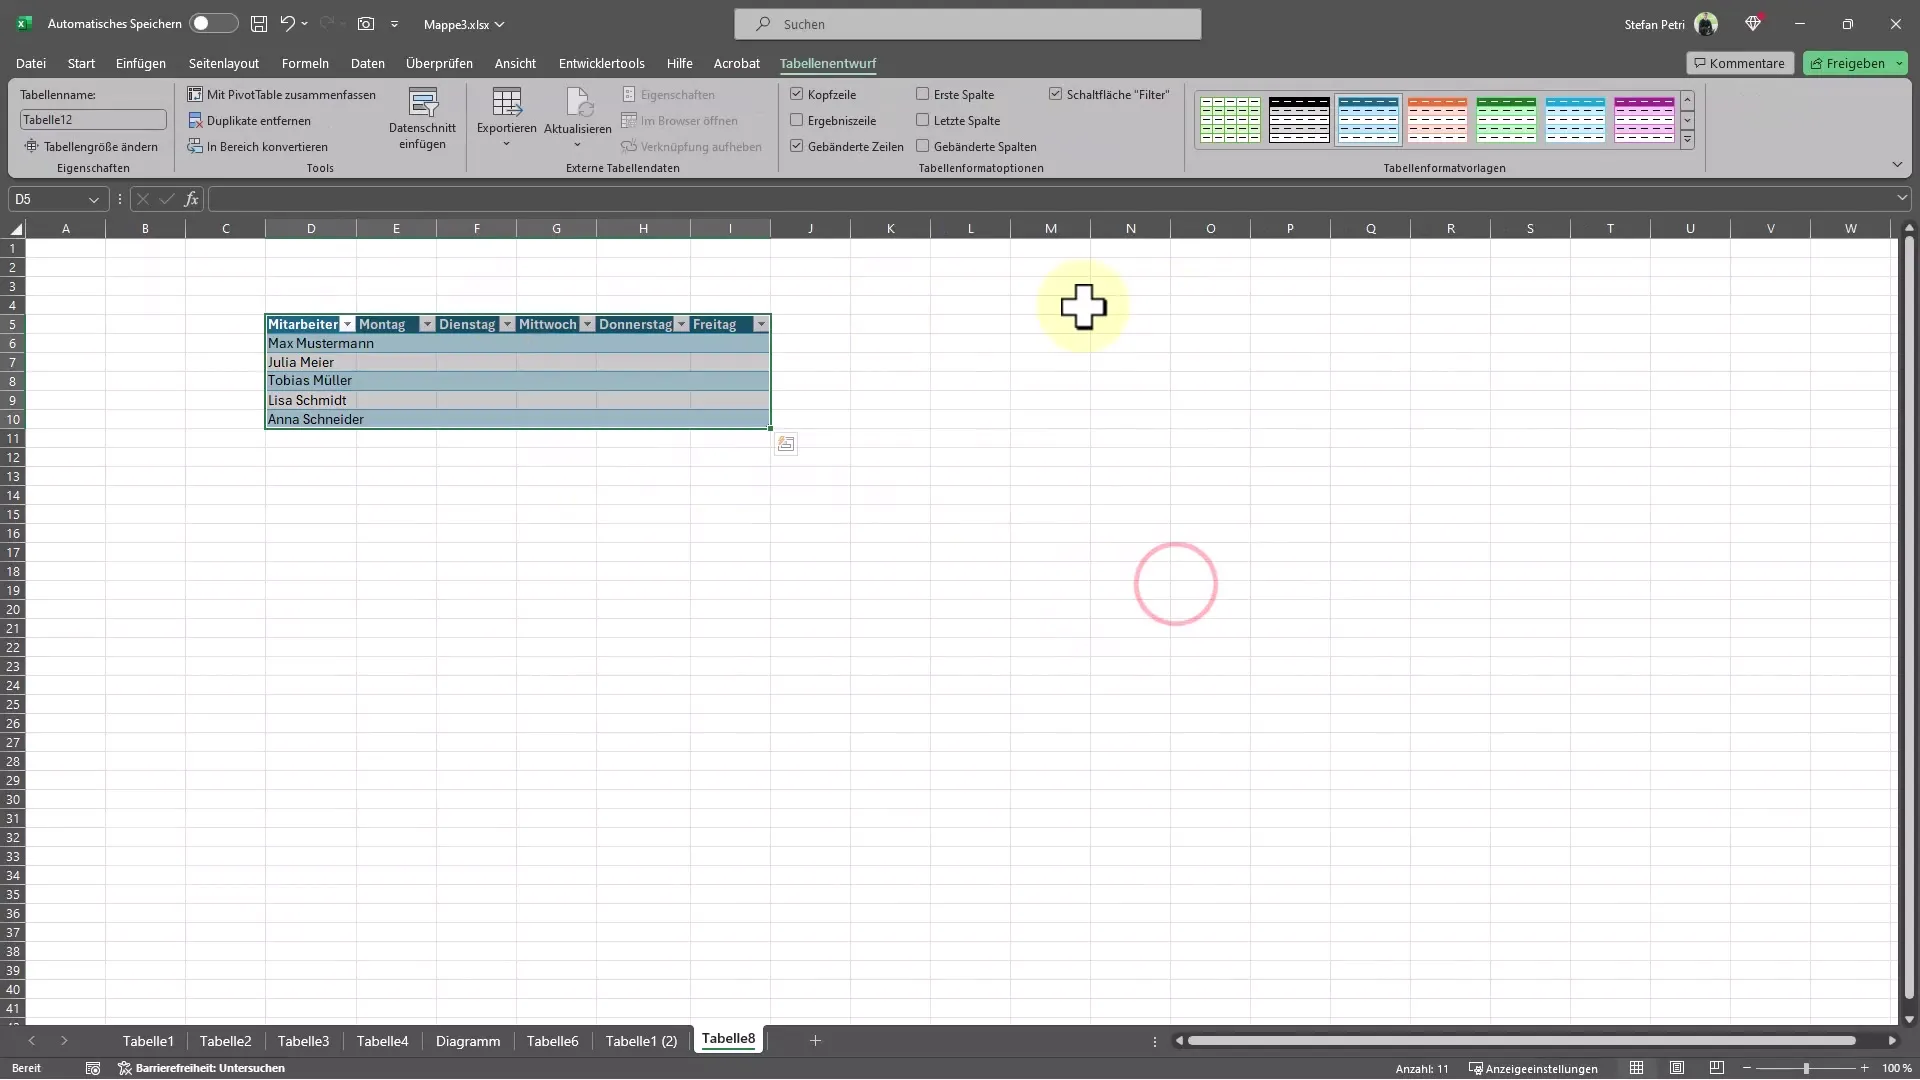
It all seems very simple and user-friendly! But there is also a second method if you want more control over the formatting.
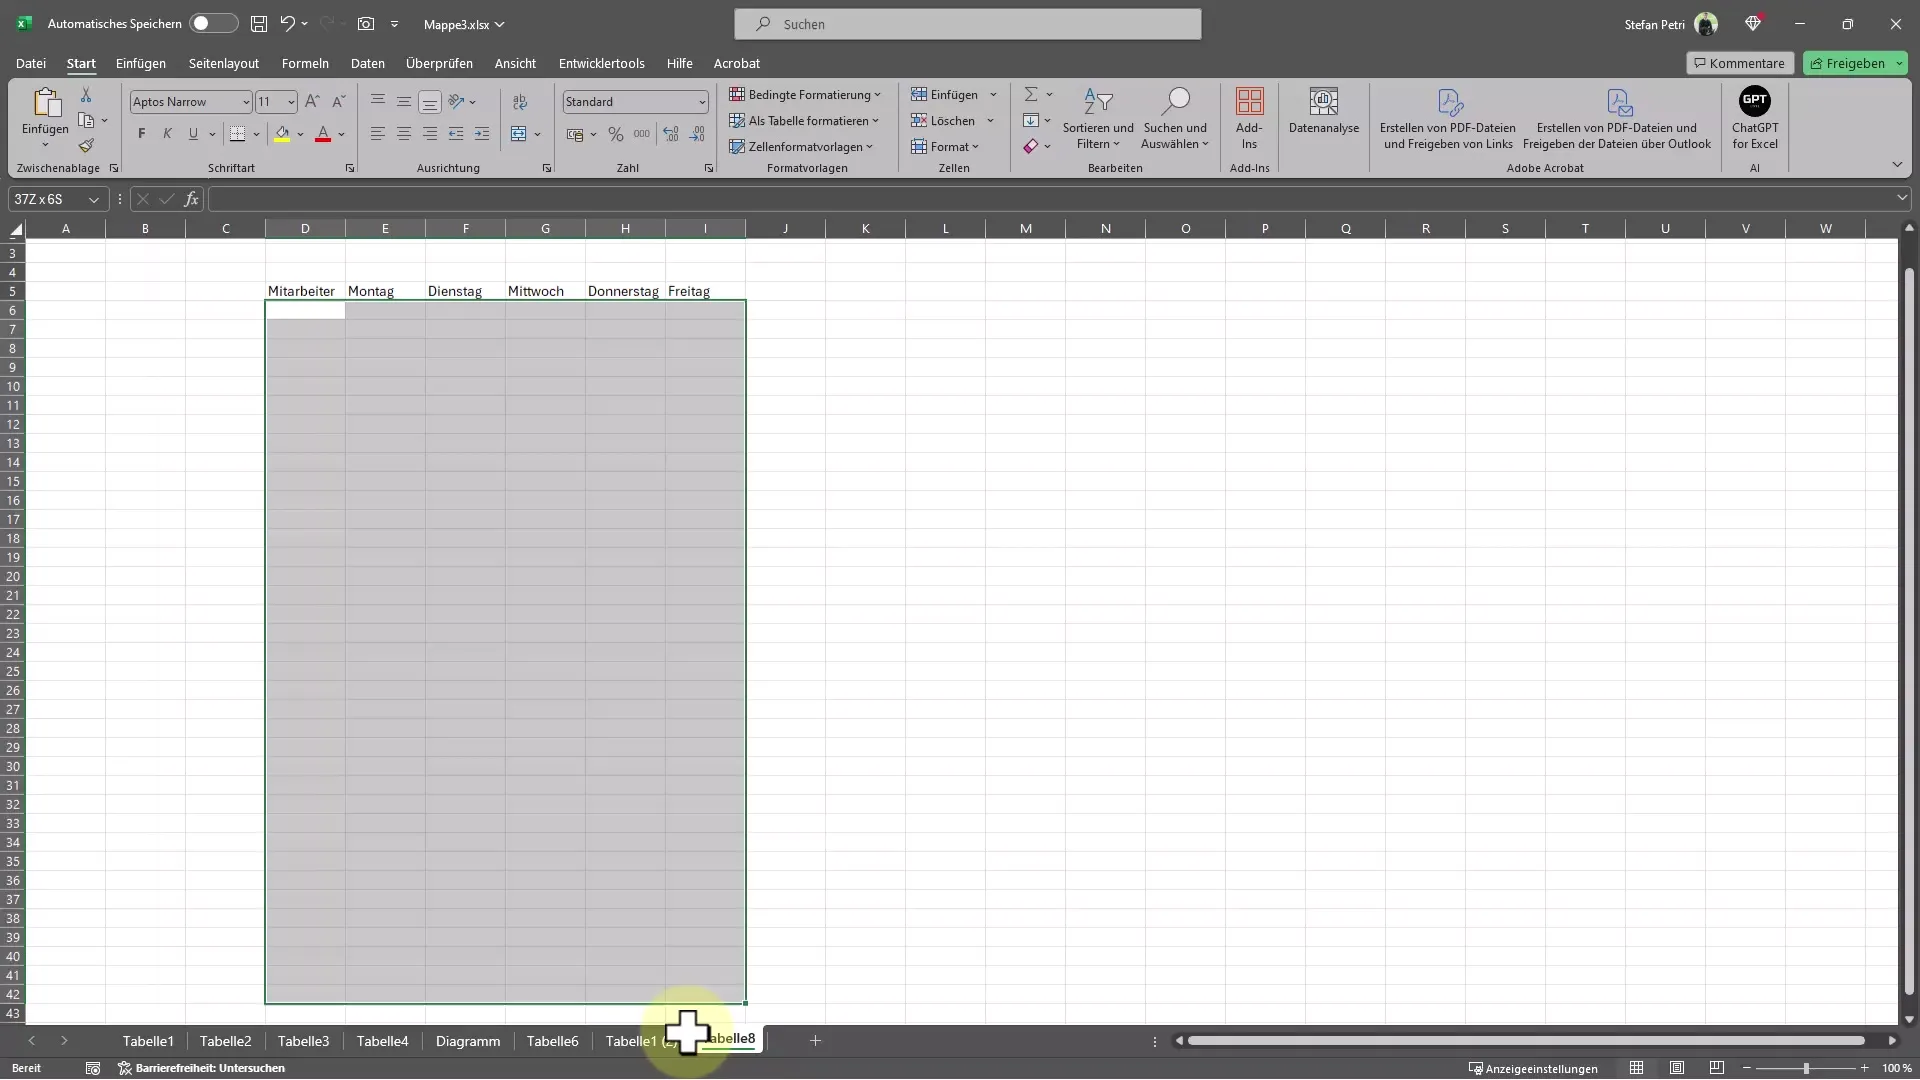
First, select the range where you want to apply the border. Now go to conditional formatting and choose "New Rule". Select the option "Use a formula to determine which cells to format".
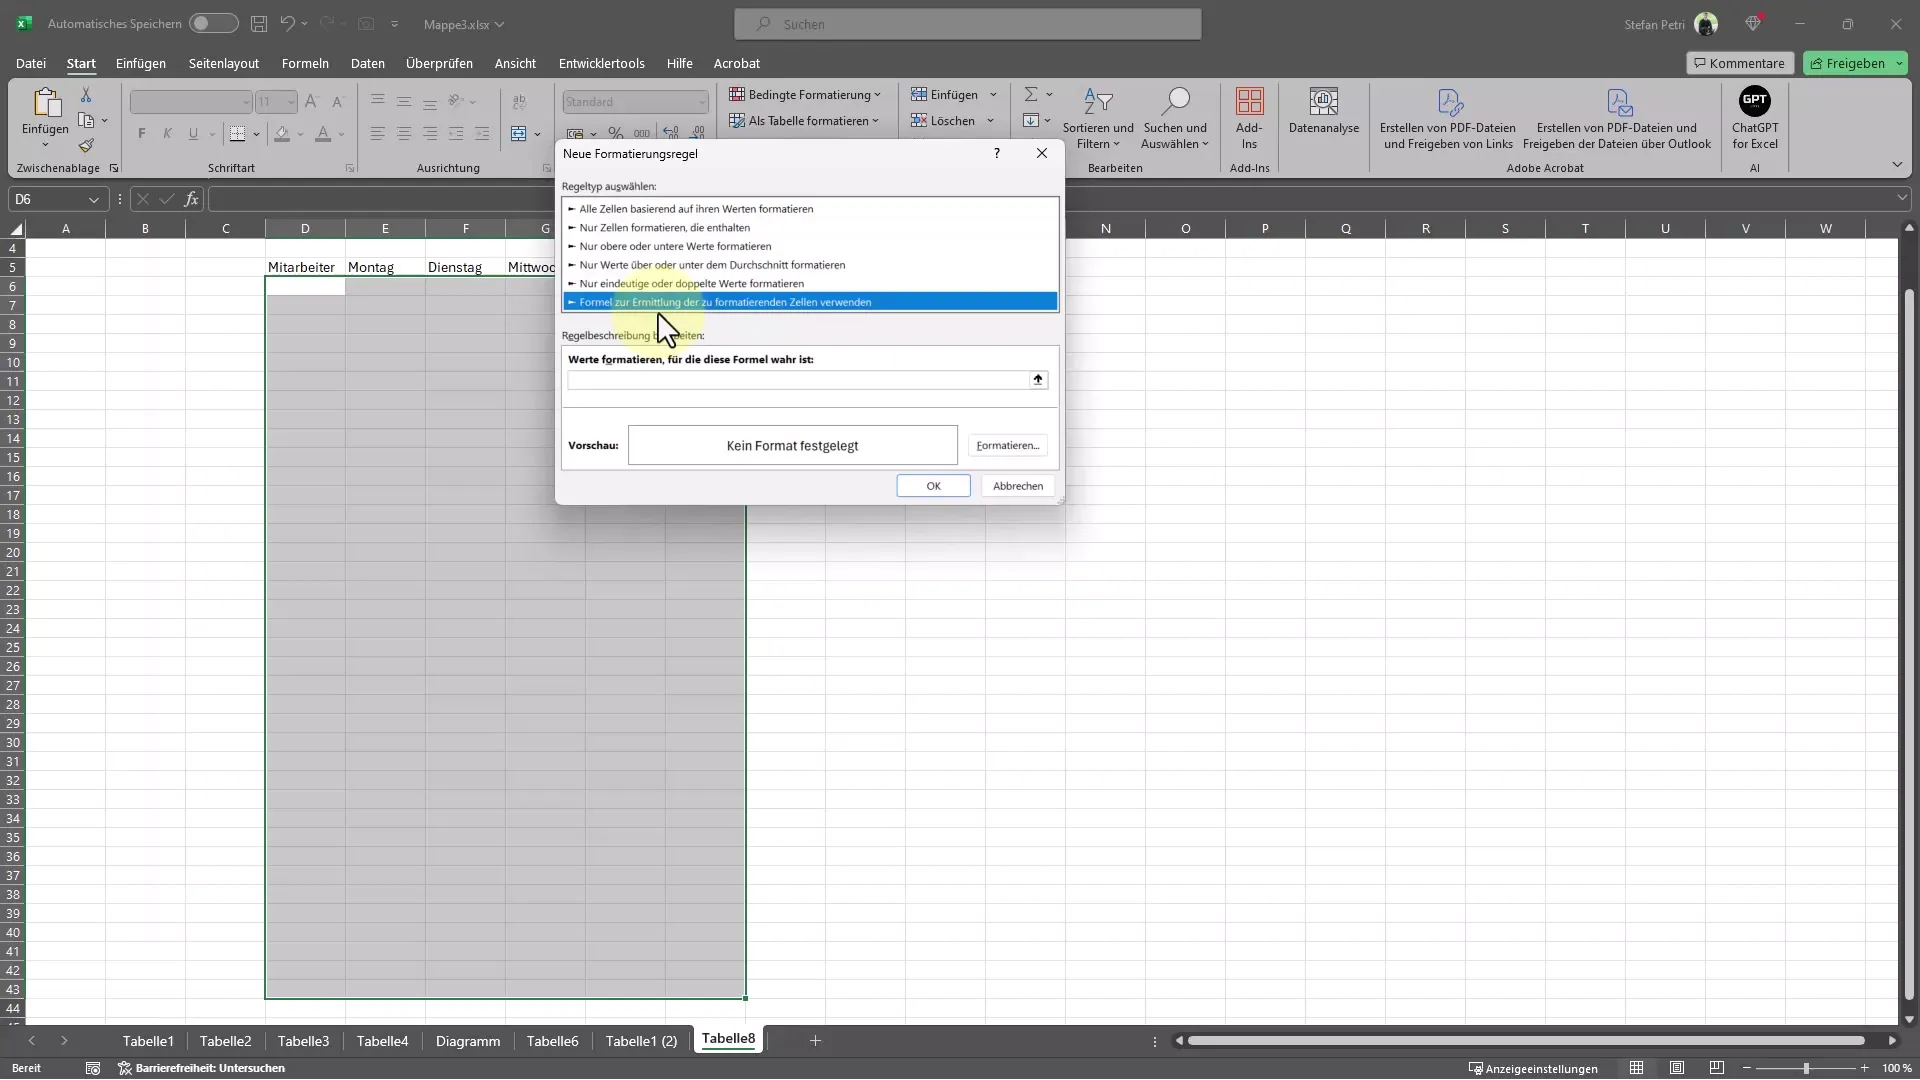
In the rule dialog box, enter the corresponding formula. Make sure to leave the dollar sign before the cell references that should not change.
After entering the formula, press the space bar followed by the appropriate comparison operator such as "<", ">", etc. I entered the following: =$E6 <> ""
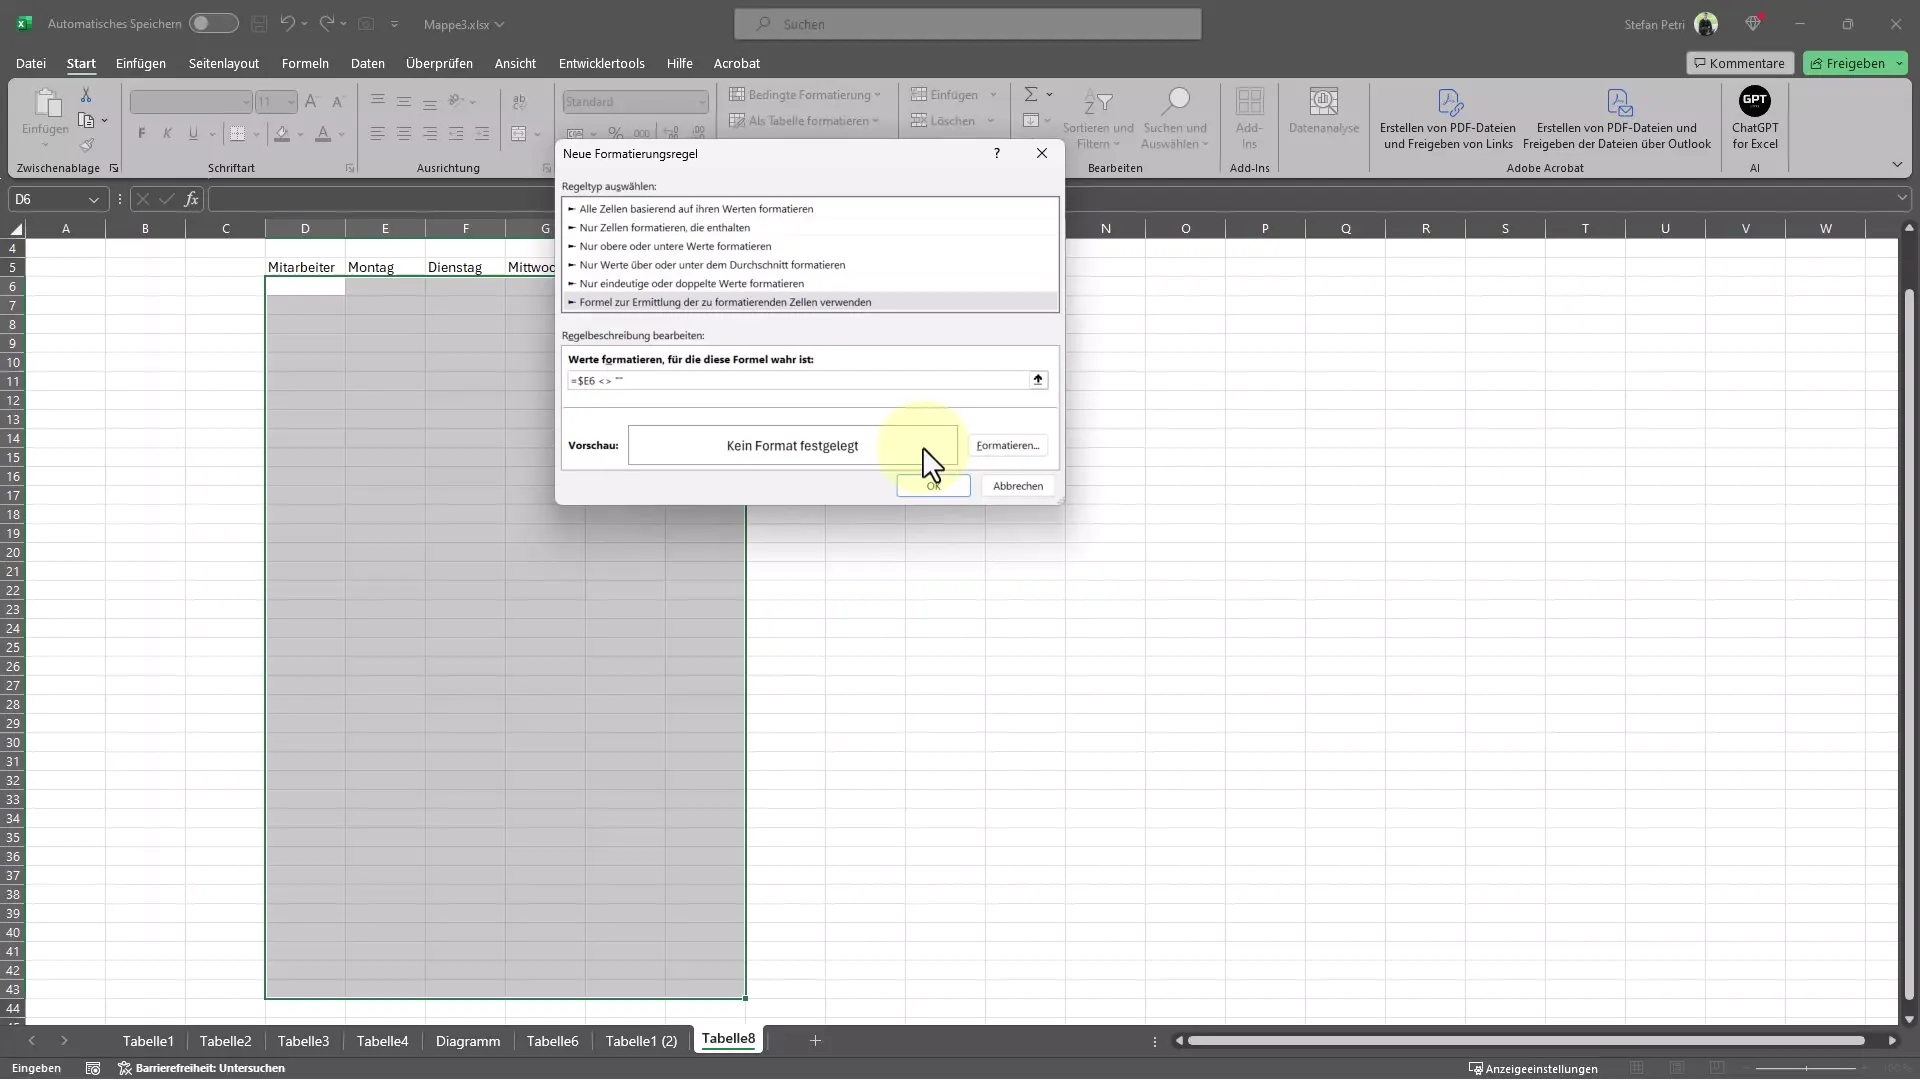
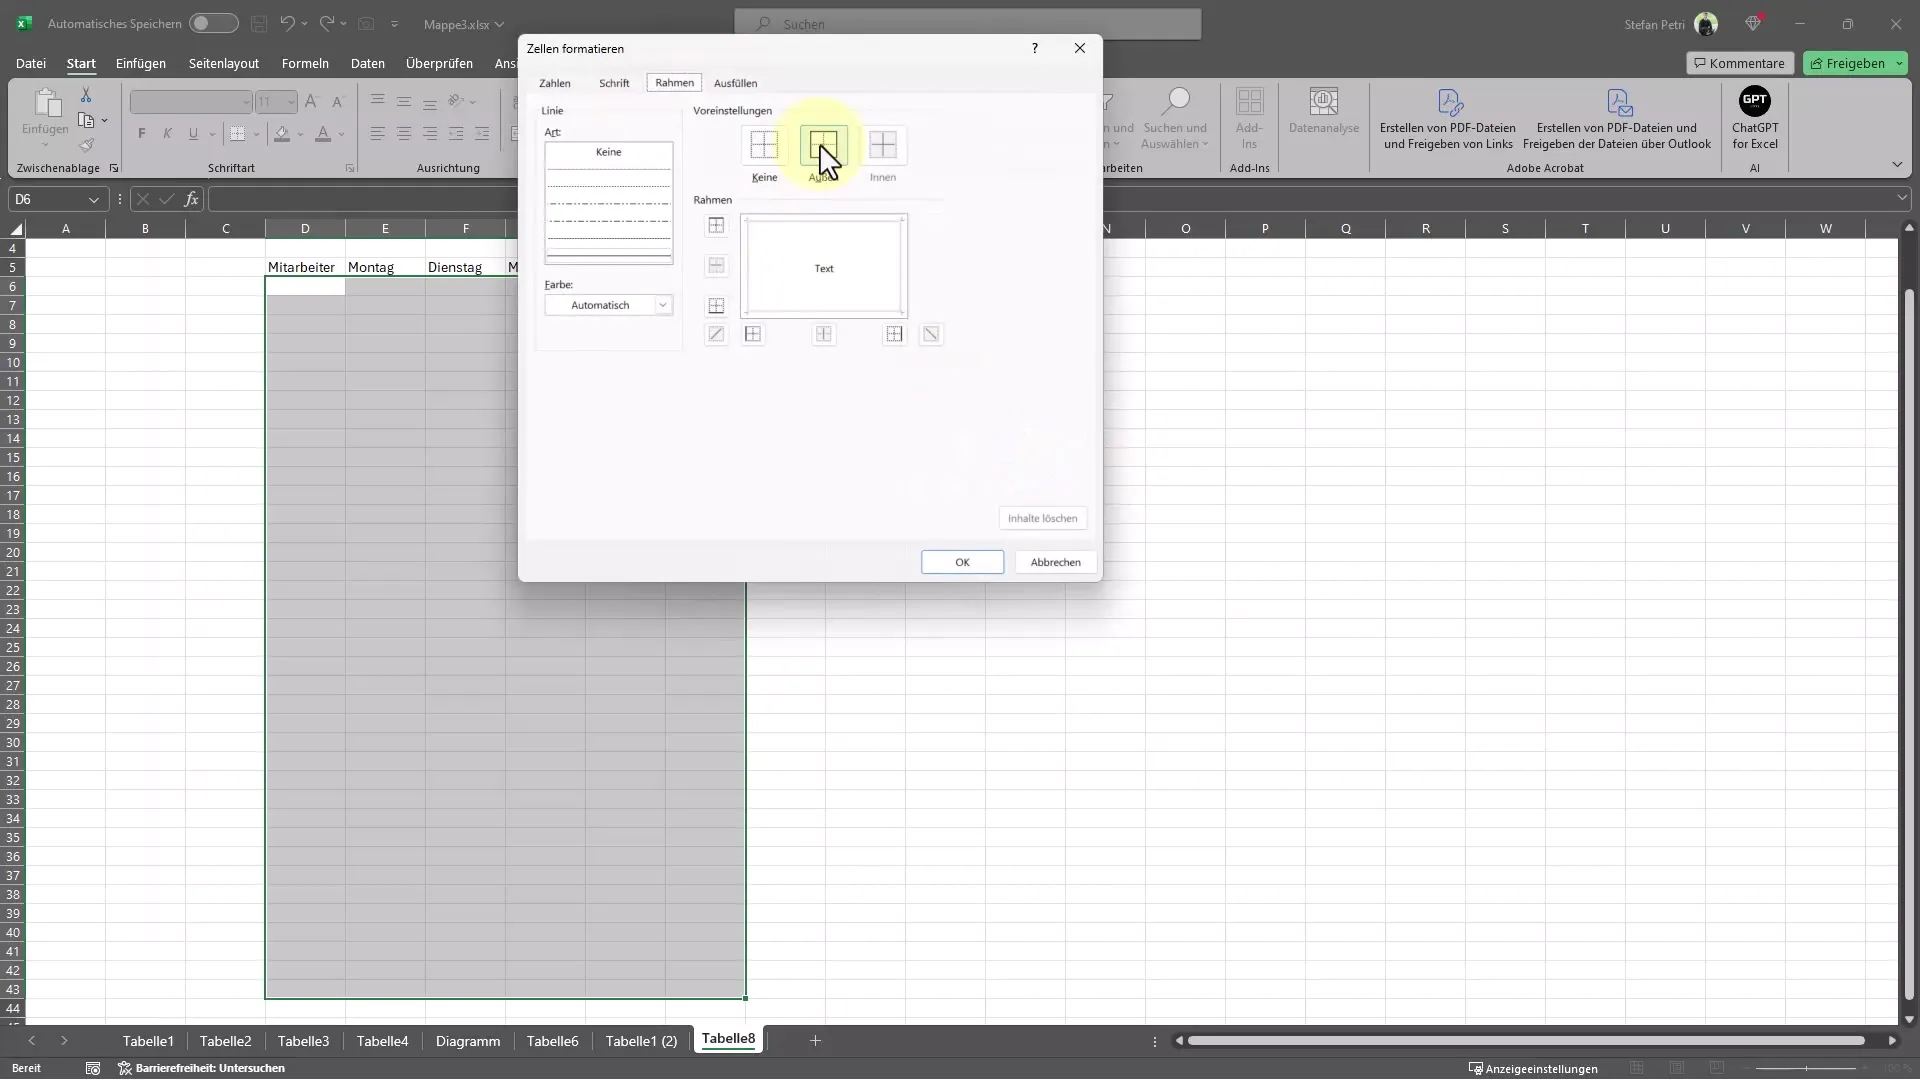
Now you can also select the formatting and define the border color you want to use.
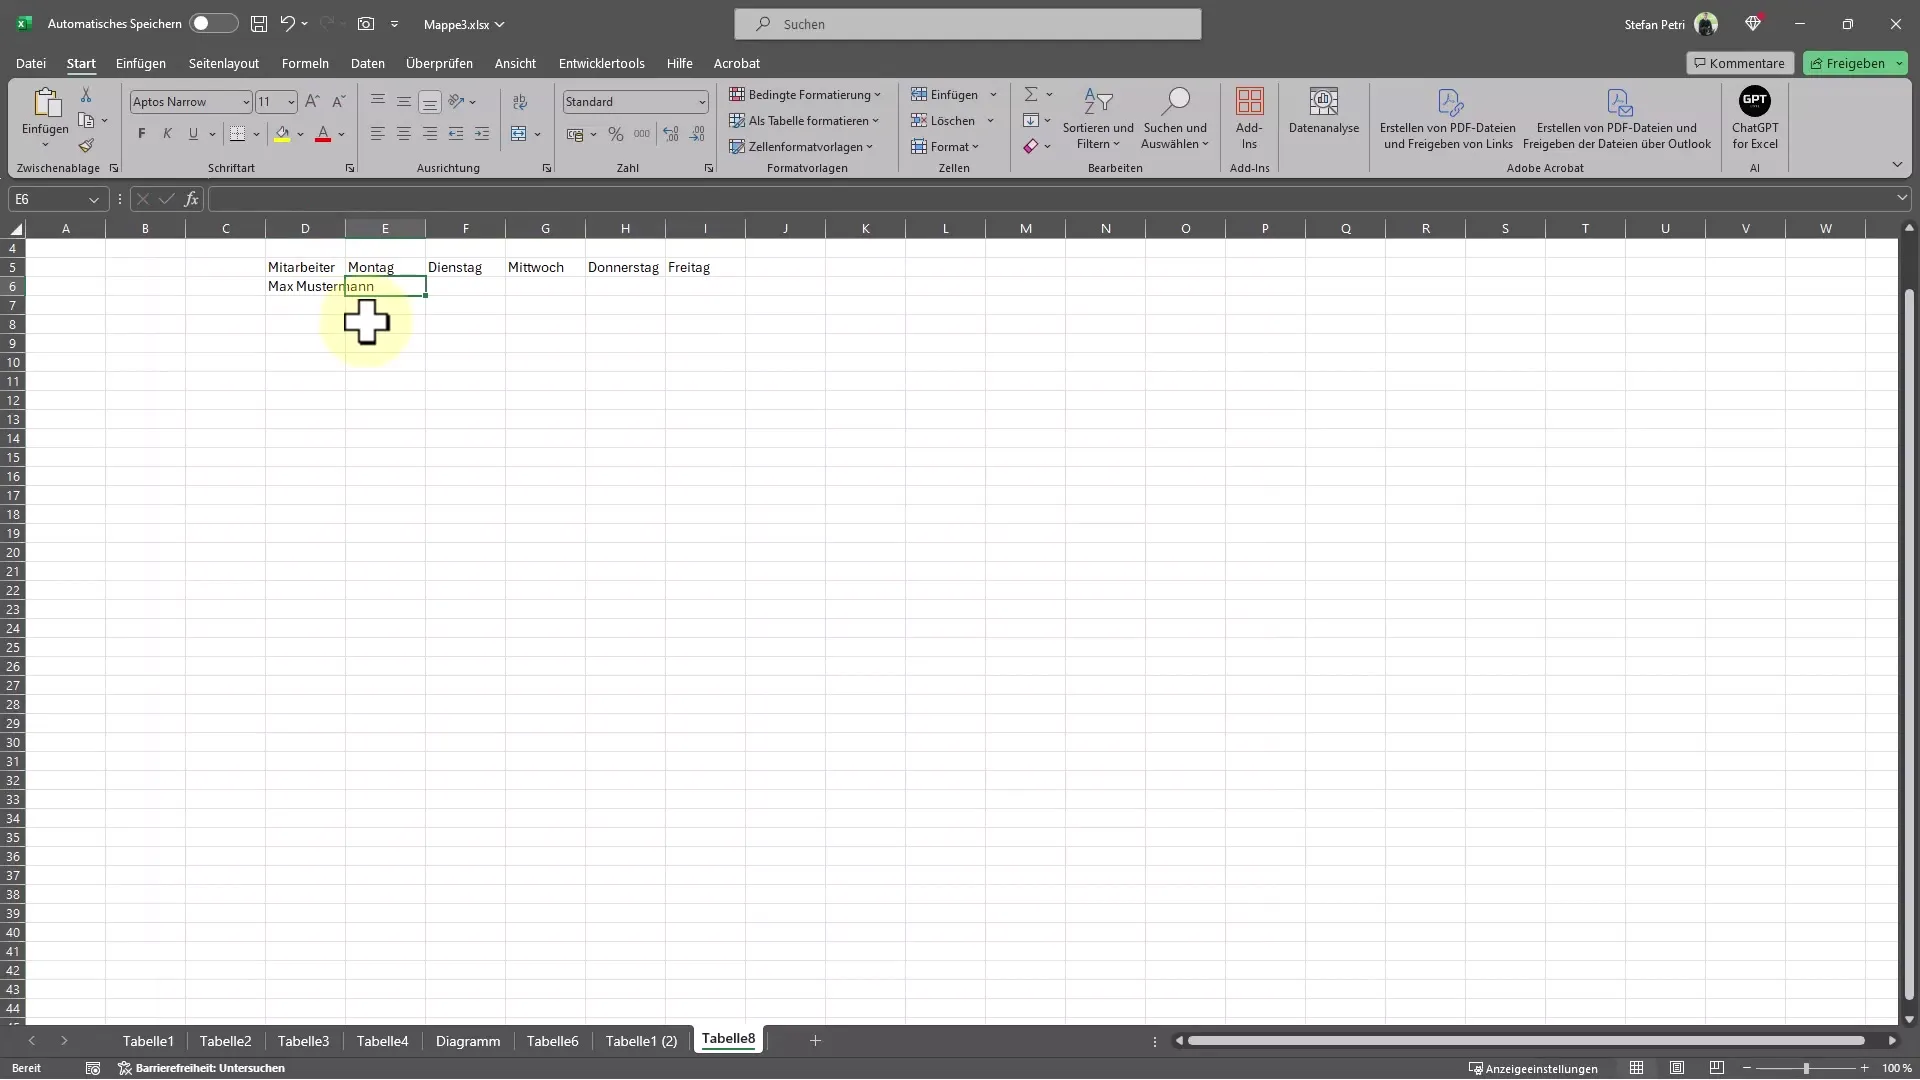
Once you enter values into the specified cells, the border will update automatically.

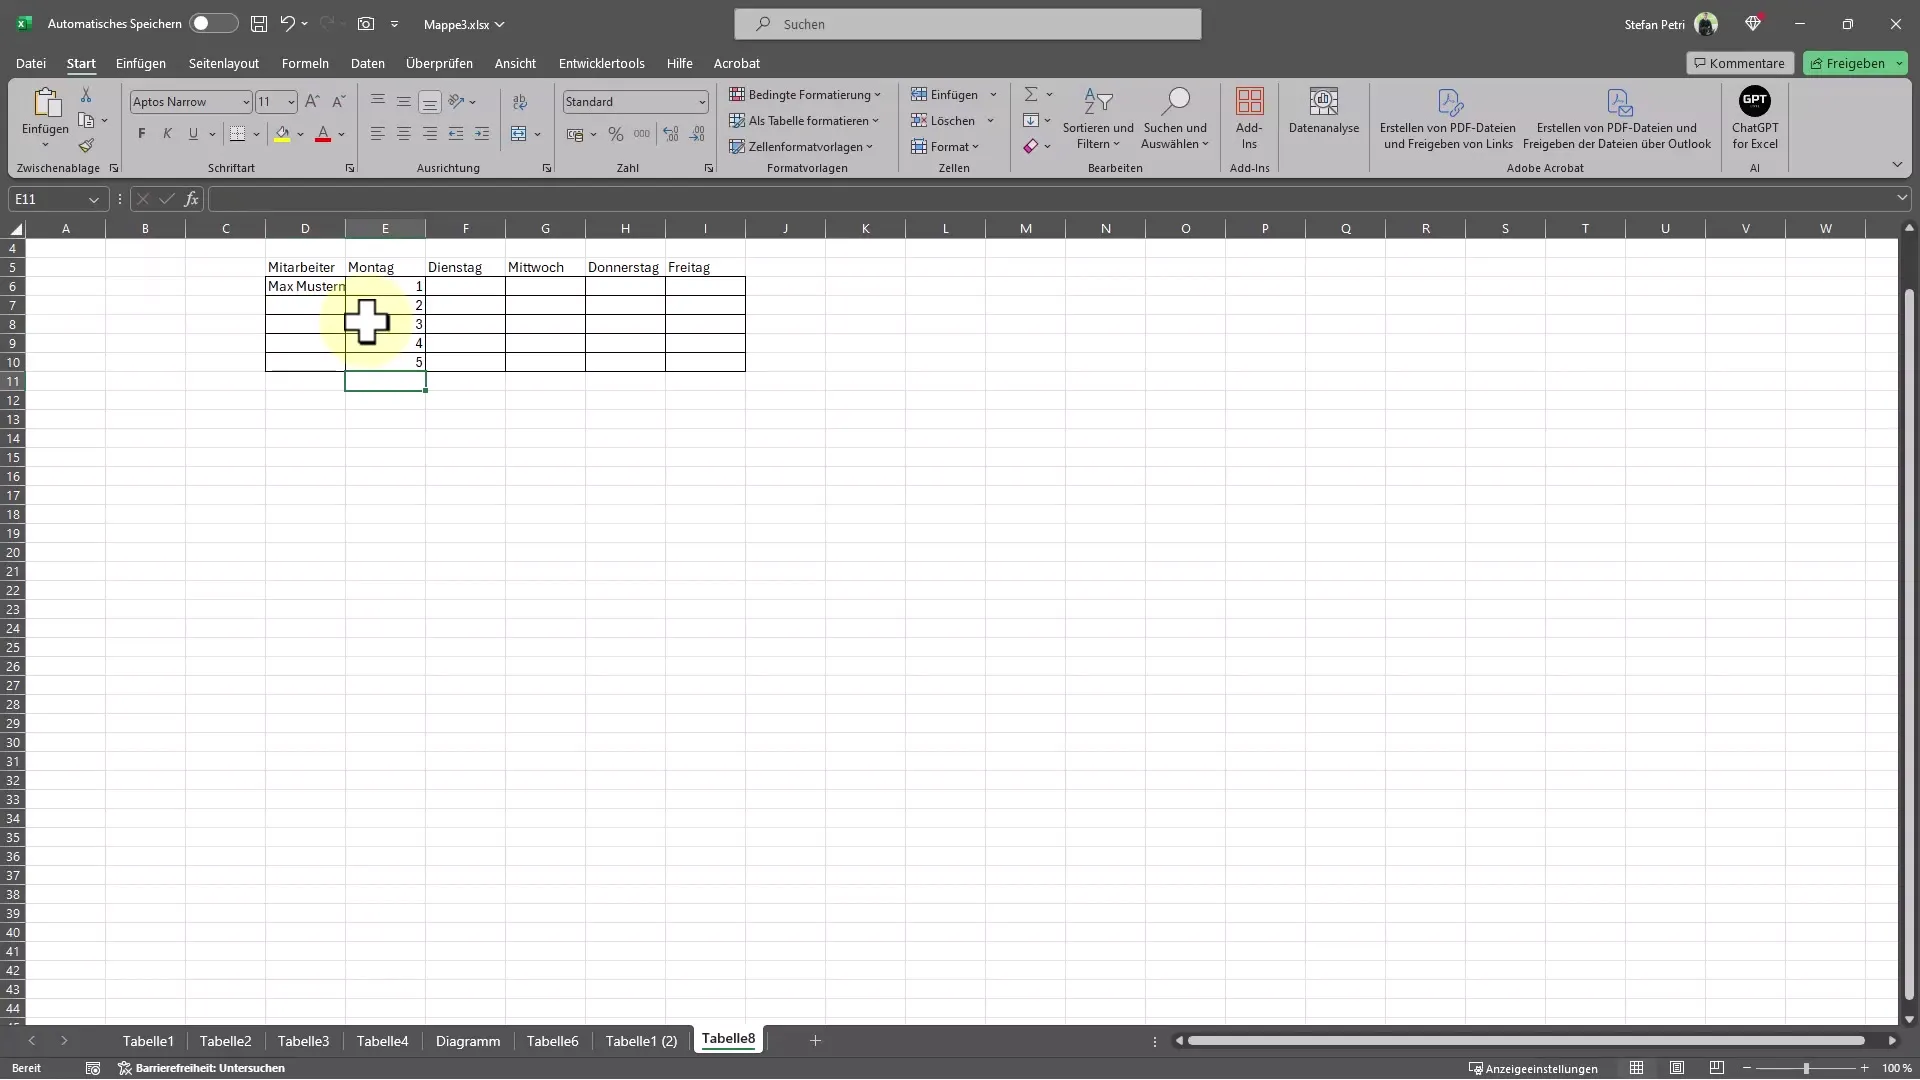
This means that whether entering a name or a number, the formatting will adjust dynamically and automatically.
Even if you make multiple changes or add additional data, the table structure will be preserved and the border will be updated accordingly.
For example, when I enter "Max Mustermann" into the cell, the border becomes visible immediately.

This showcases the power of conditional formatting: you have control and at the same time, an appealing visual representation.
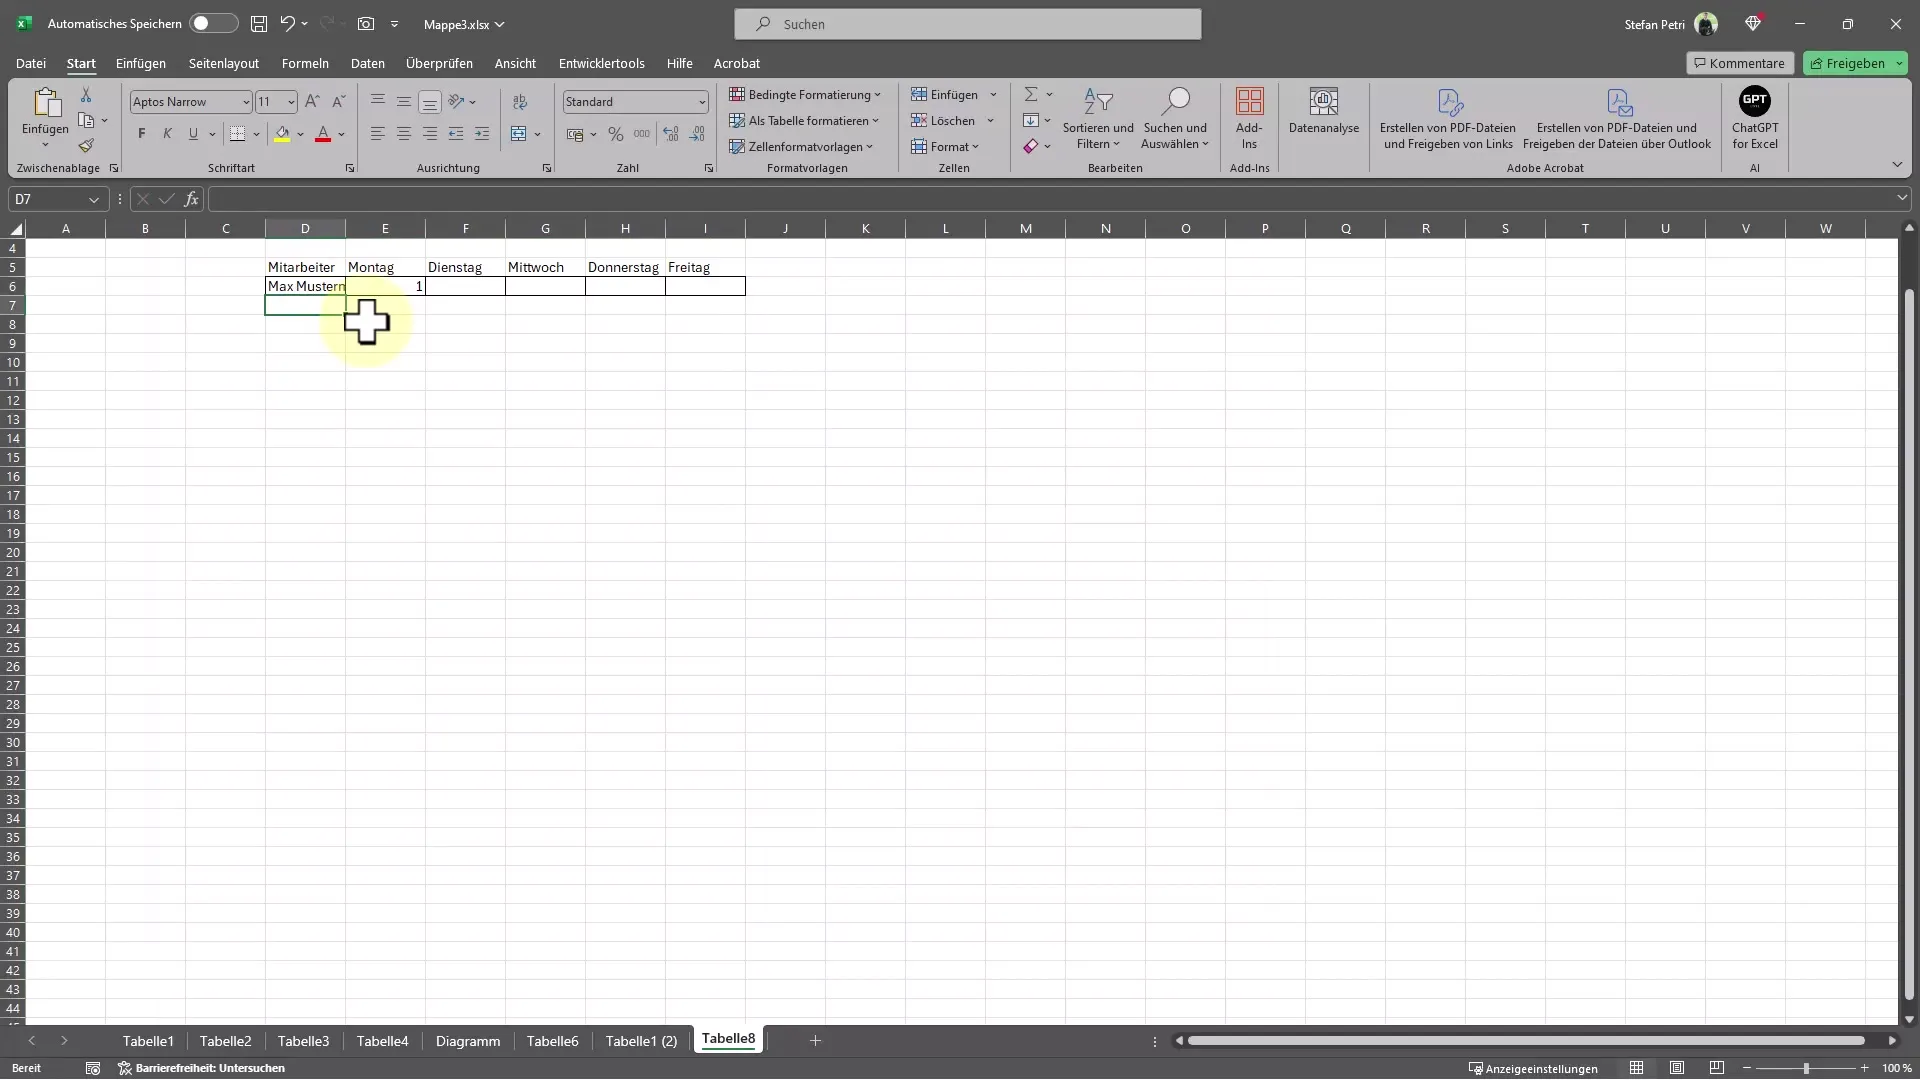
You can also specify the employee name page for a more detailed view if desired.
Summary
In this guide, you have learned how to automatically create table borders in Excel that adjust dynamically as you add new data. The two methods - a simple one and one with more customization options through conditional formatting - offer you flexibility and control over the presentation of your data.
Frequently Asked Questions
How to create an automatic border in Excel?By pressing "Ctrl + T" or using conditional formatting.
Does the automatic border function work with new rows as well?Yes, the border automatically adjusts when new rows or data are added.
Can I define the colors of the borders myself?Yes, this can be done through the formatting options of conditional formatting.


