Welcome to this guide where I'll show you how to create a dropdown list in Excel to facilitate data entry. Excel offers many powerful functions, and creating a dropdown list is a wonderful way to minimize recurring input errors and make data entry more efficient. Whether for personal records or professional projects - with a dropdown list, you can ensure that the correct data is entered. Let's get started!
Key Takeaways
The key points you should take away from this guide are:
- A dropdown list allows for faster and more accurate data entry.
- Data validation is key to creating a dropdown list in Excel.
- You can enter predefined values or use existing data ranges.
- Changes in the dropdown list are automatically updated.
Step-by-Step Guide
First, you should open an Excel table where you want to create the dropdown list.
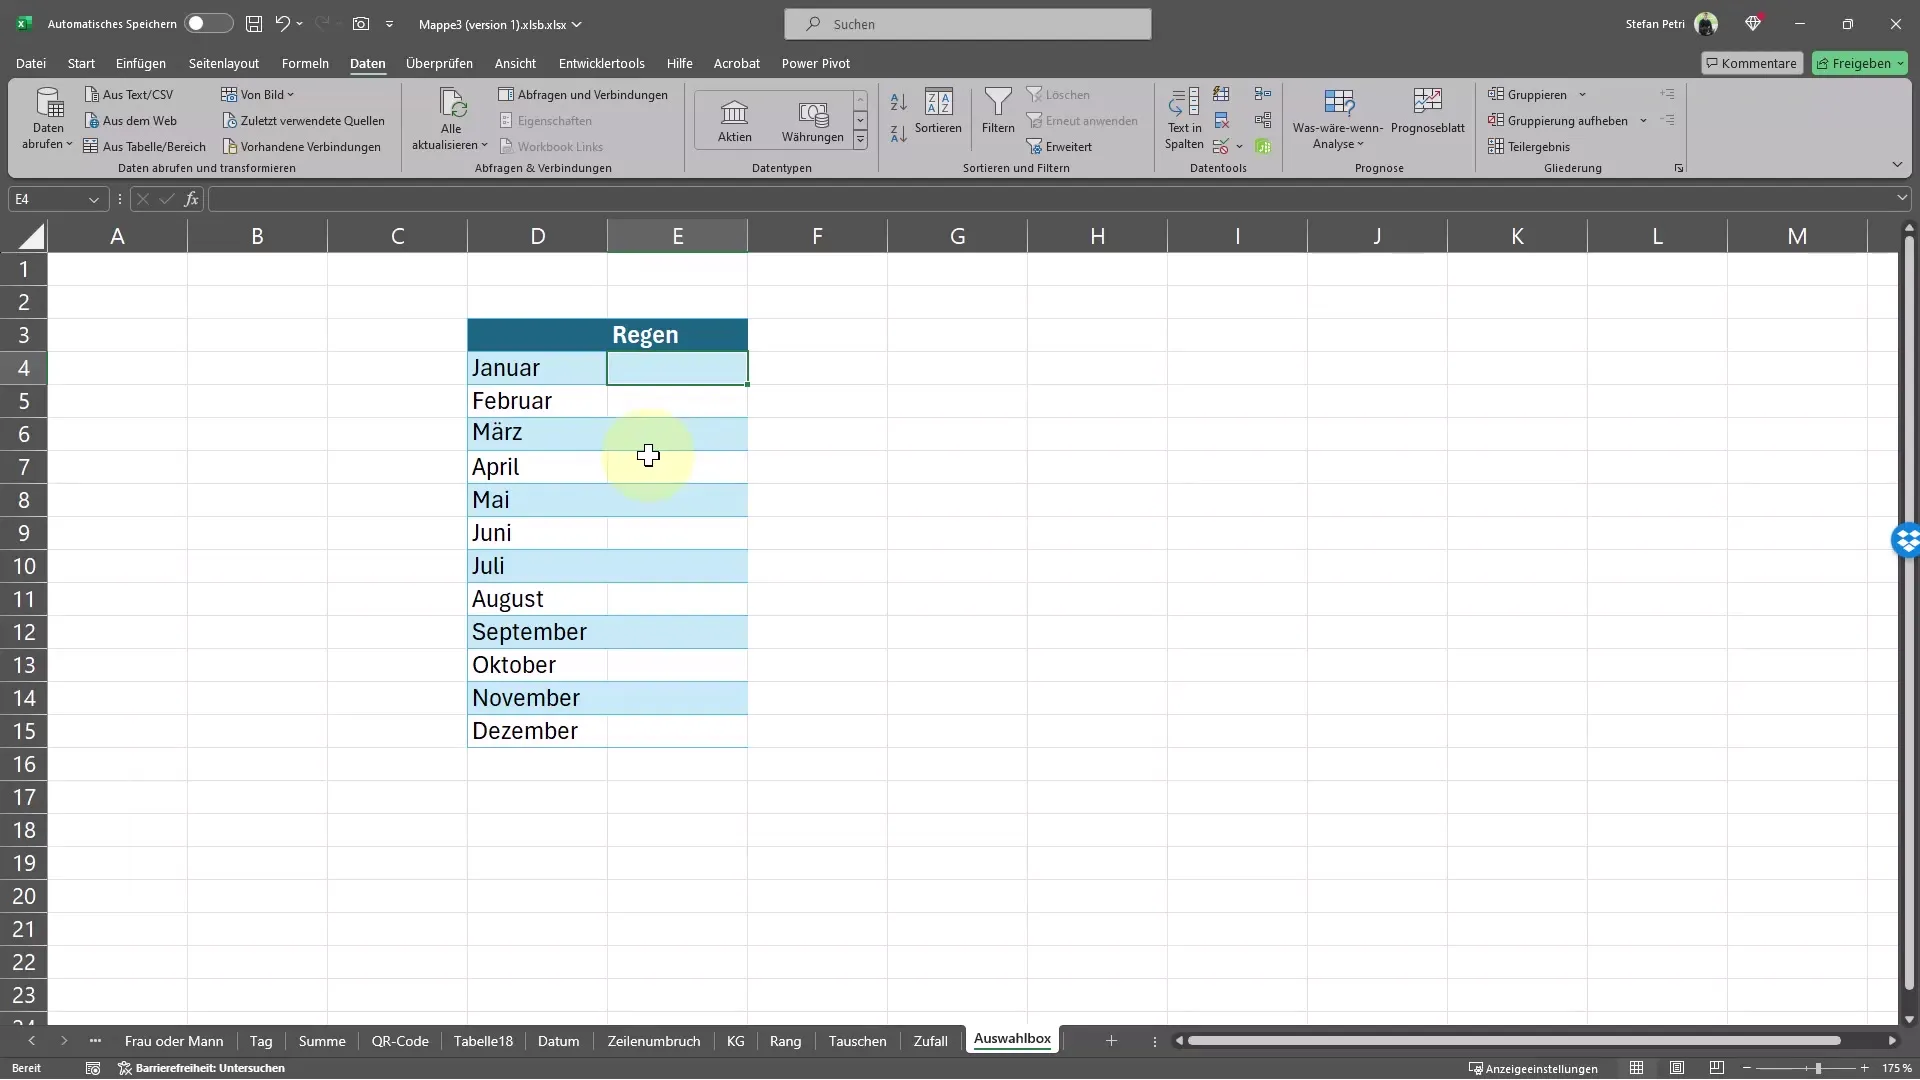
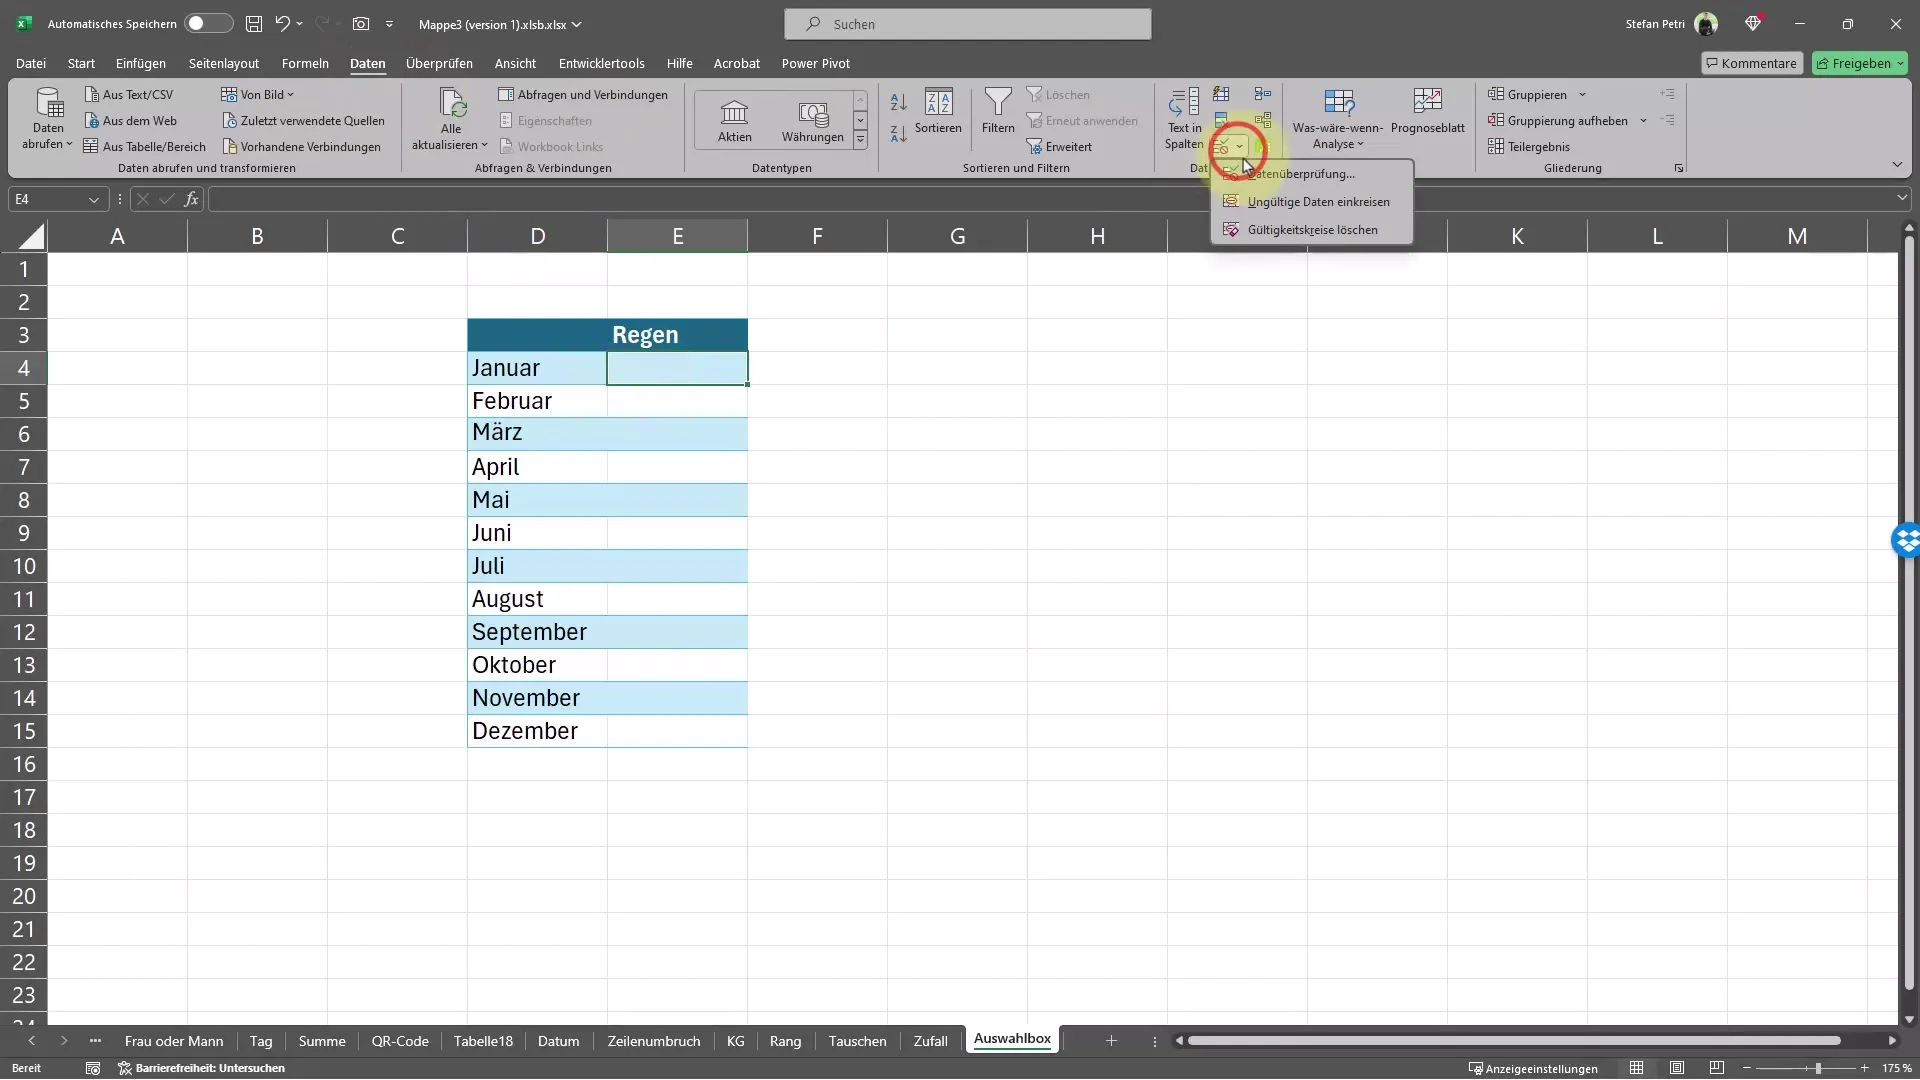
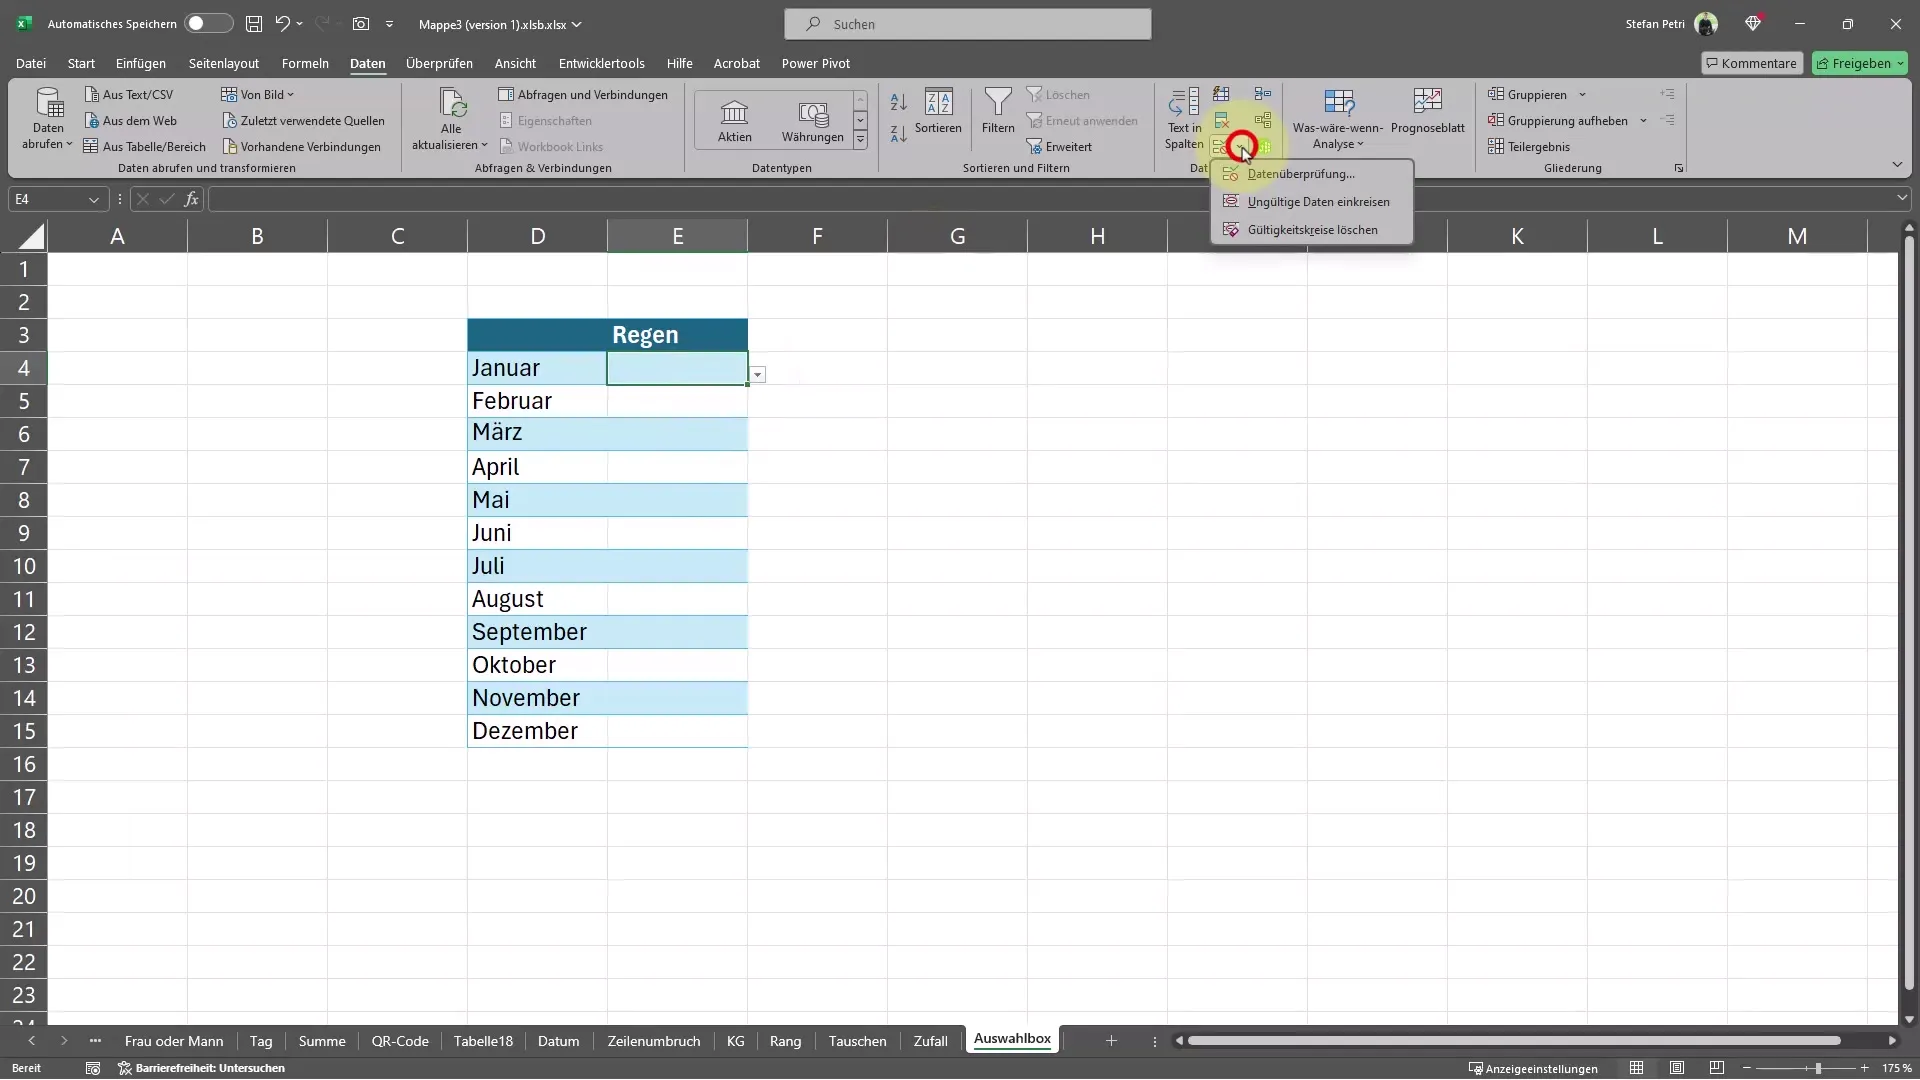
The next step is to activate data validation. To do this, click on the Data tab in the menu bar. On the right side, you will find an icon for data validation that you should select.
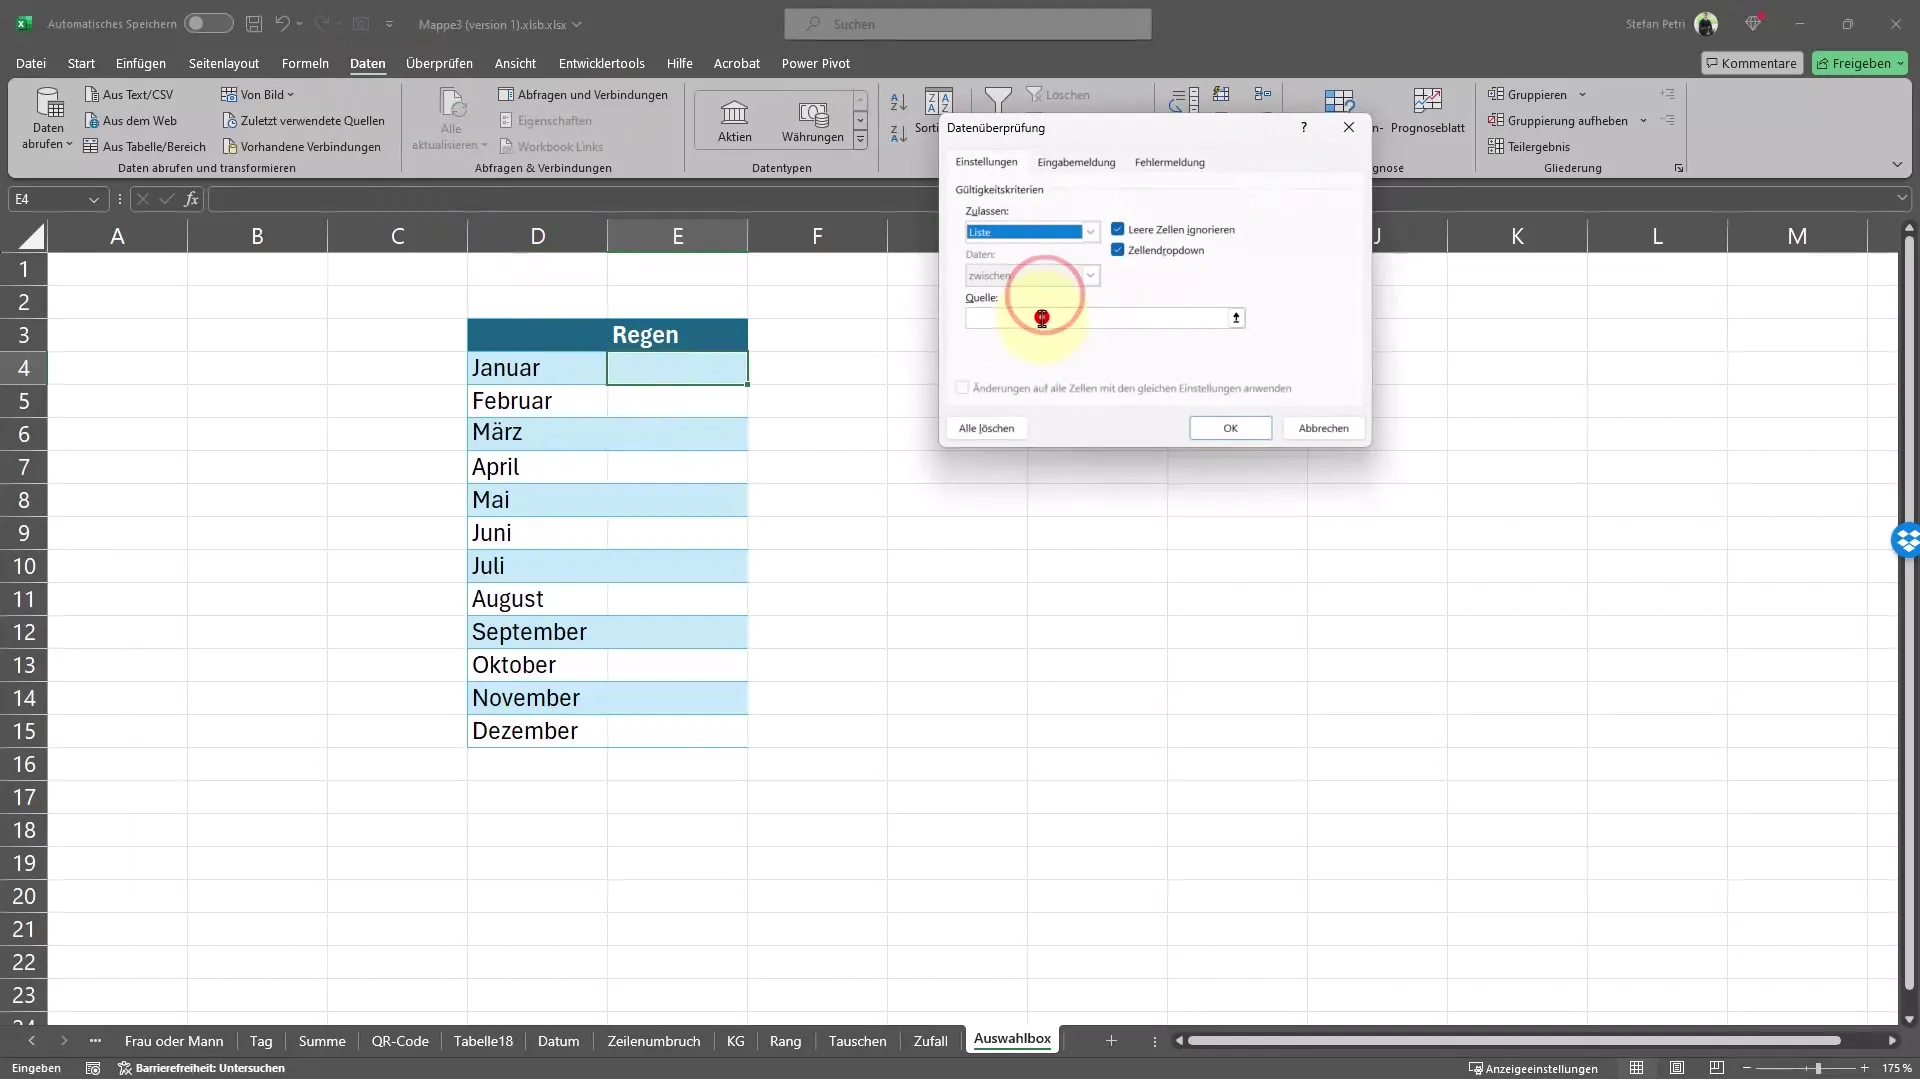
Now select the "List" option. This allows you to create a dropdown list that will be displayed in your dropdown box.
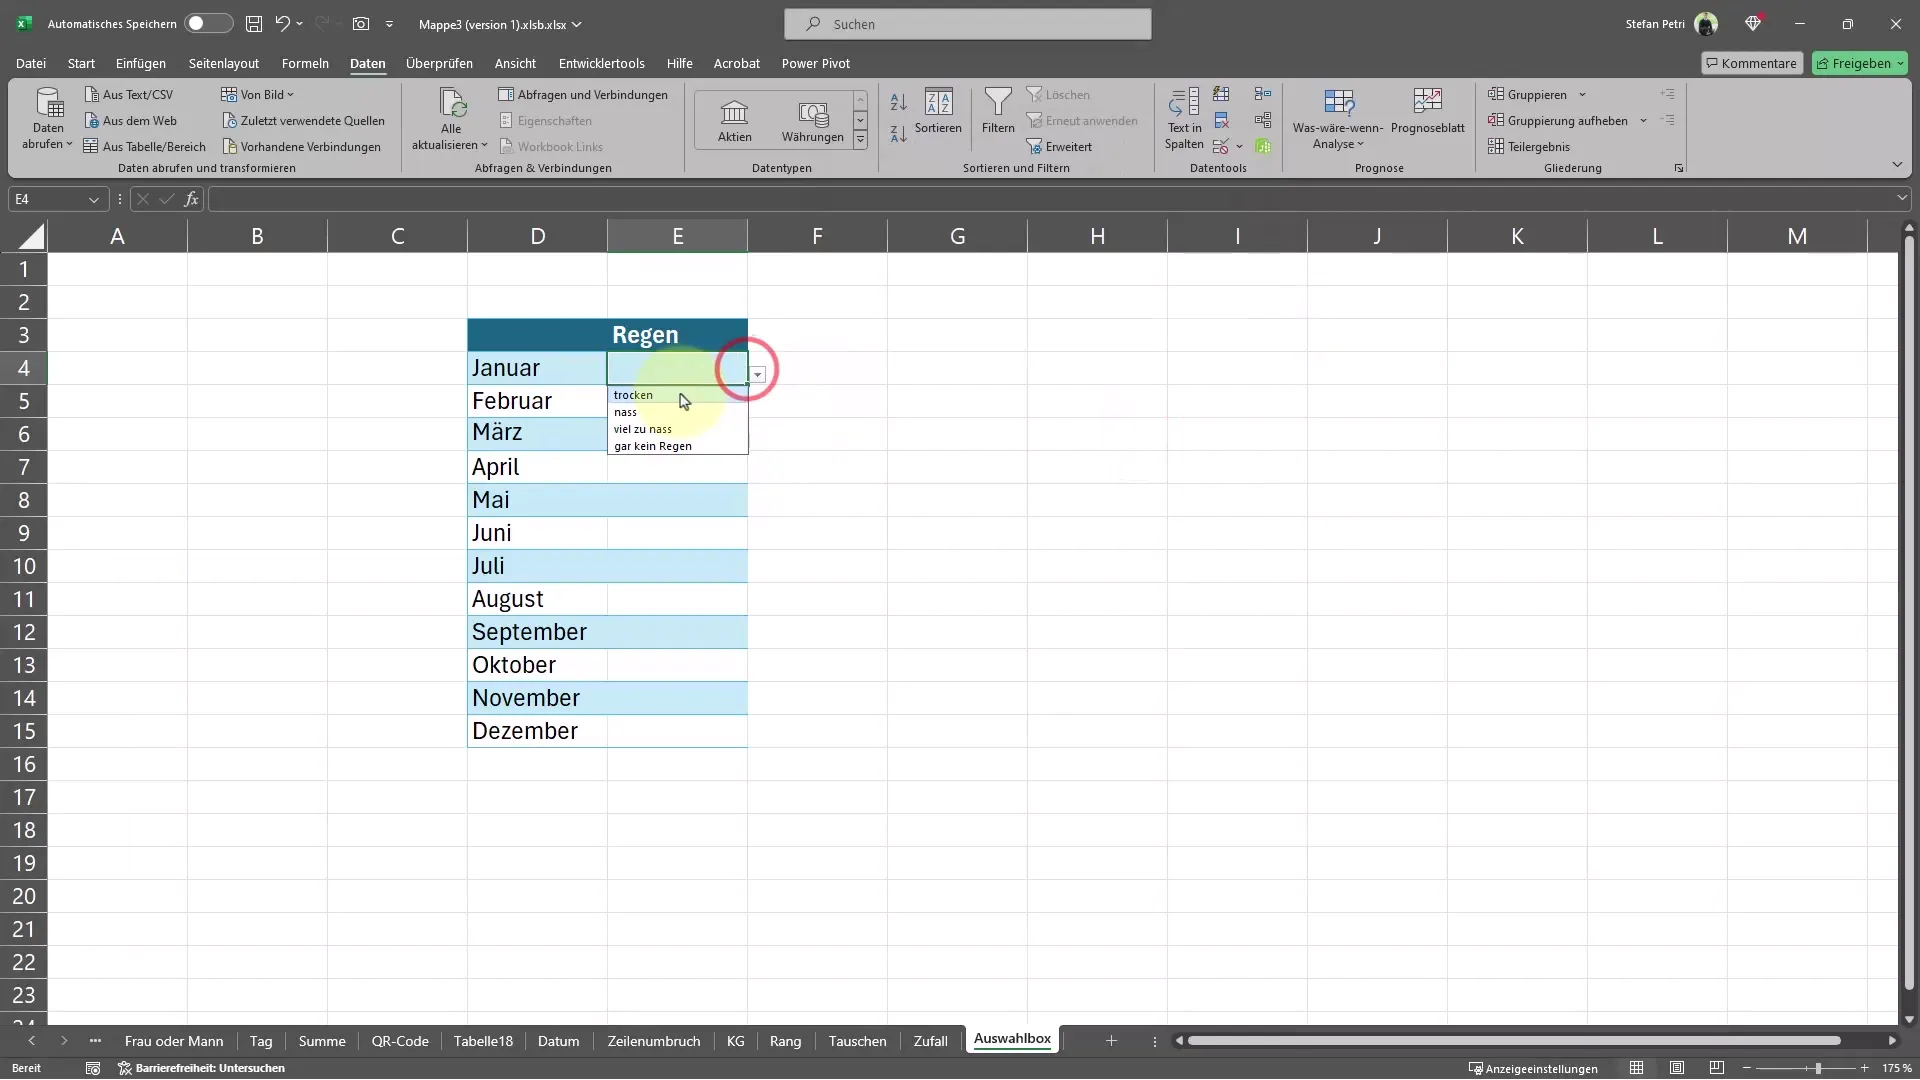
Now you can enter the values for the list. For example, enter possible weather conditions like dry; wet; very wet; no rain. Make sure to separate the individual values with a semicolon, not a comma.
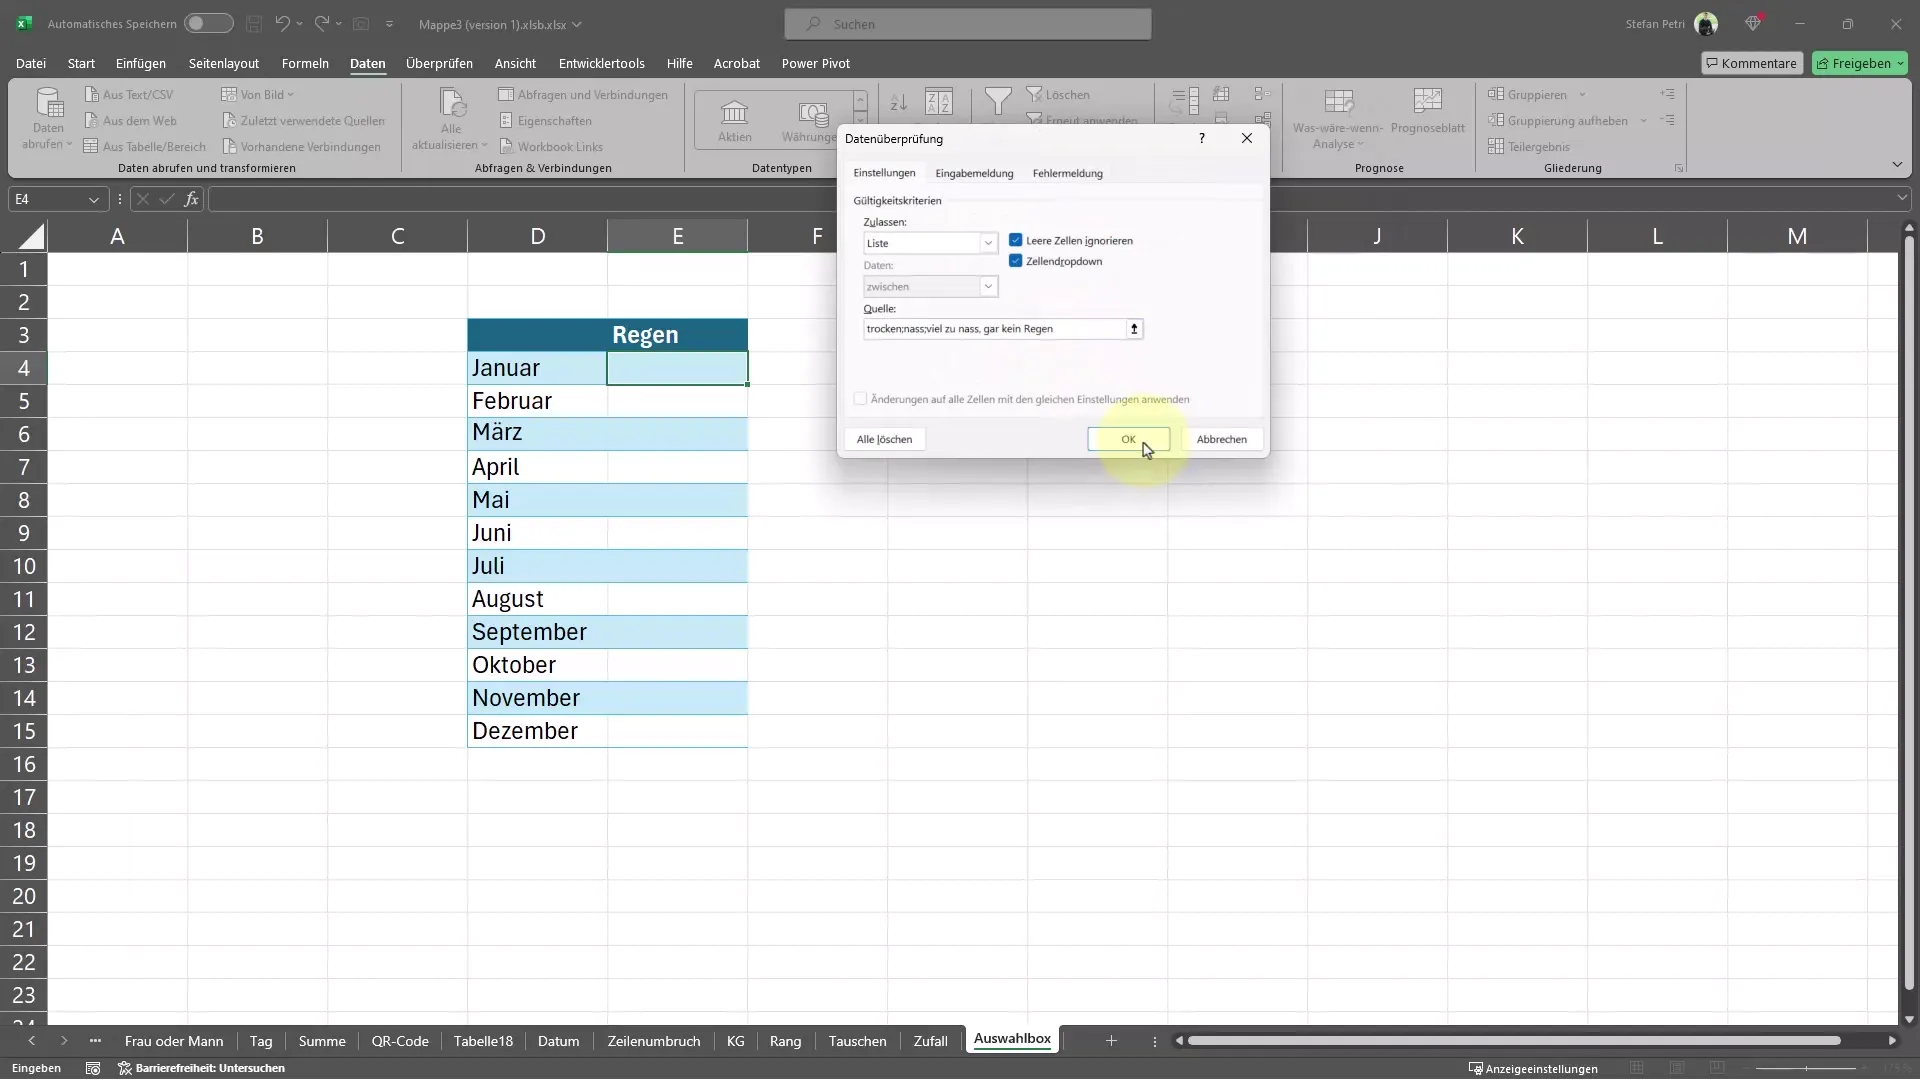
After entering the values, confirm it with "OK". Voilà! You have now created a dropdown list that helps you make data entry faster and easier. You will see a small triangle next to the cell for that purpose.
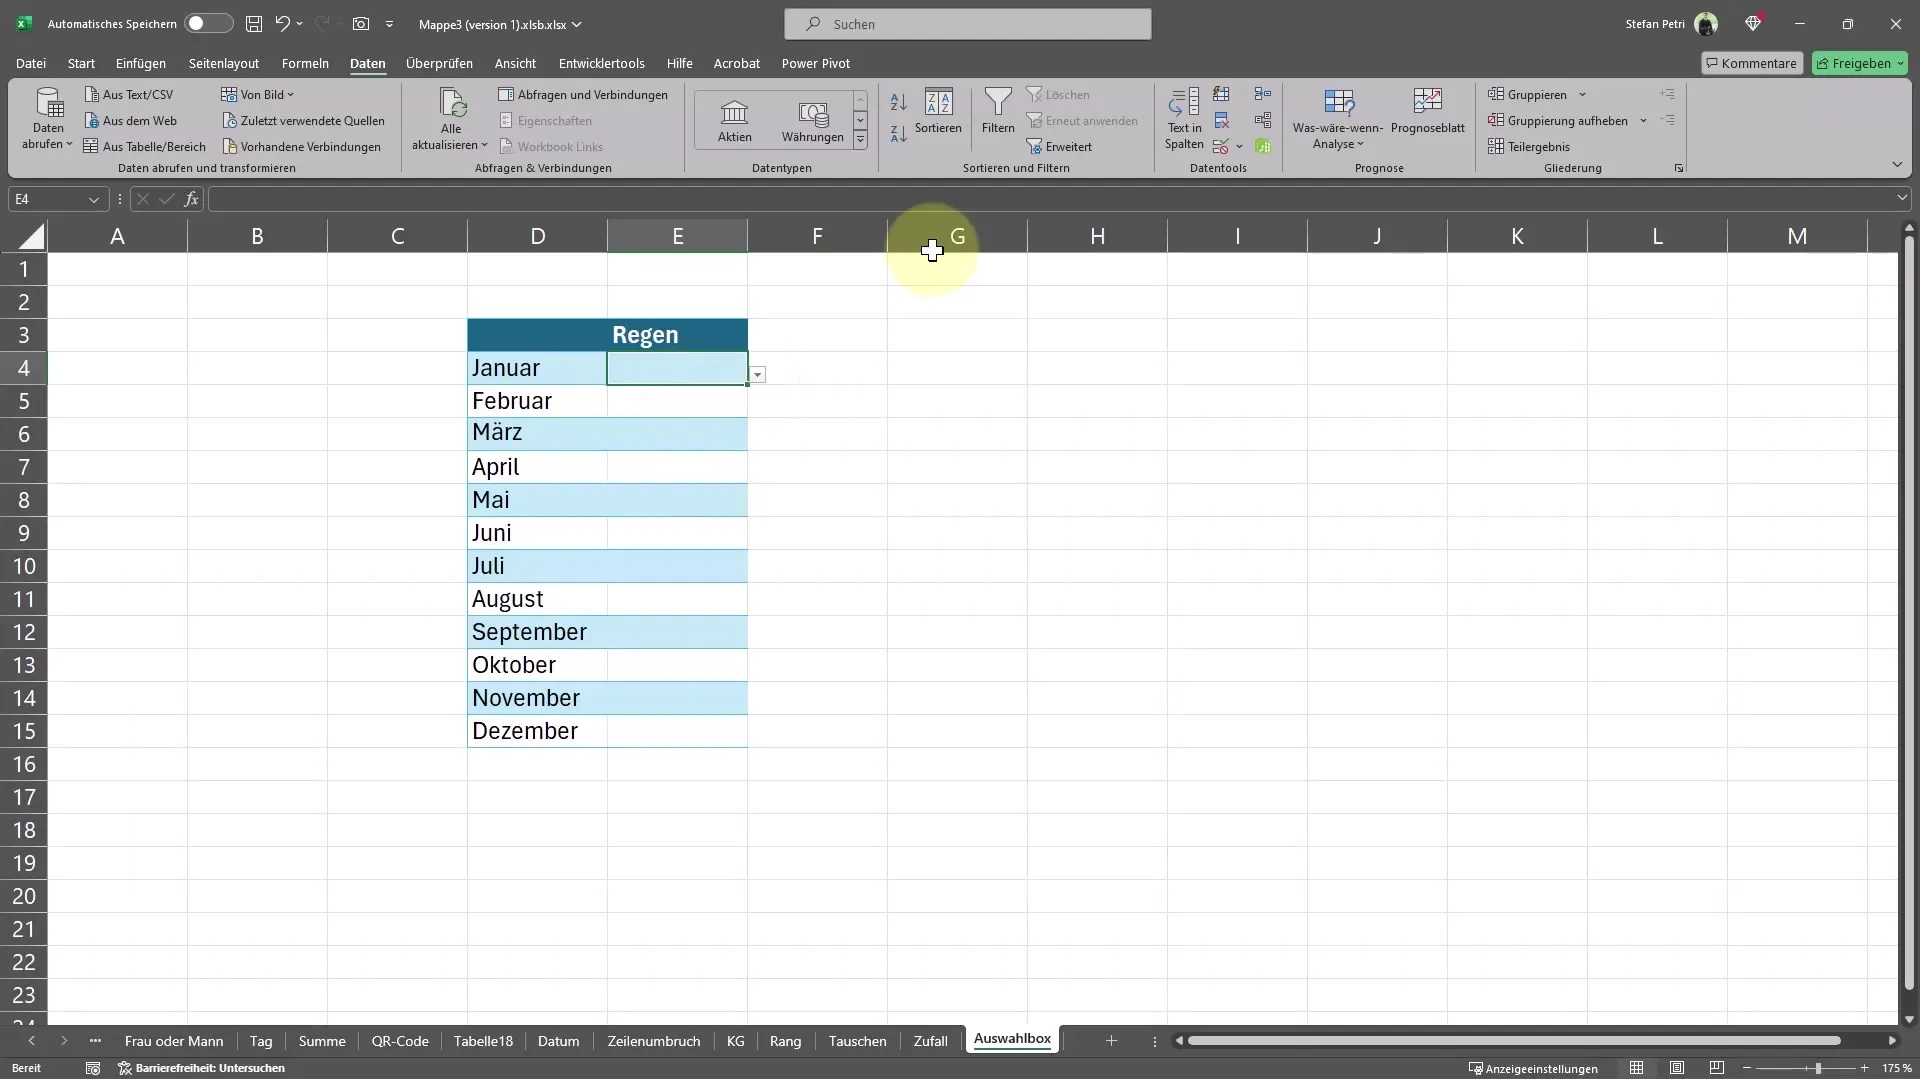
When I click on it now, the data is available:
If you have made a mistake in entering the values, for example, a missing semicolon, you can simply go back to data validation and edit the list again.
After that, you can use the dropdown list to insert your data. Simply click on the dropdown list and select the appropriate value.
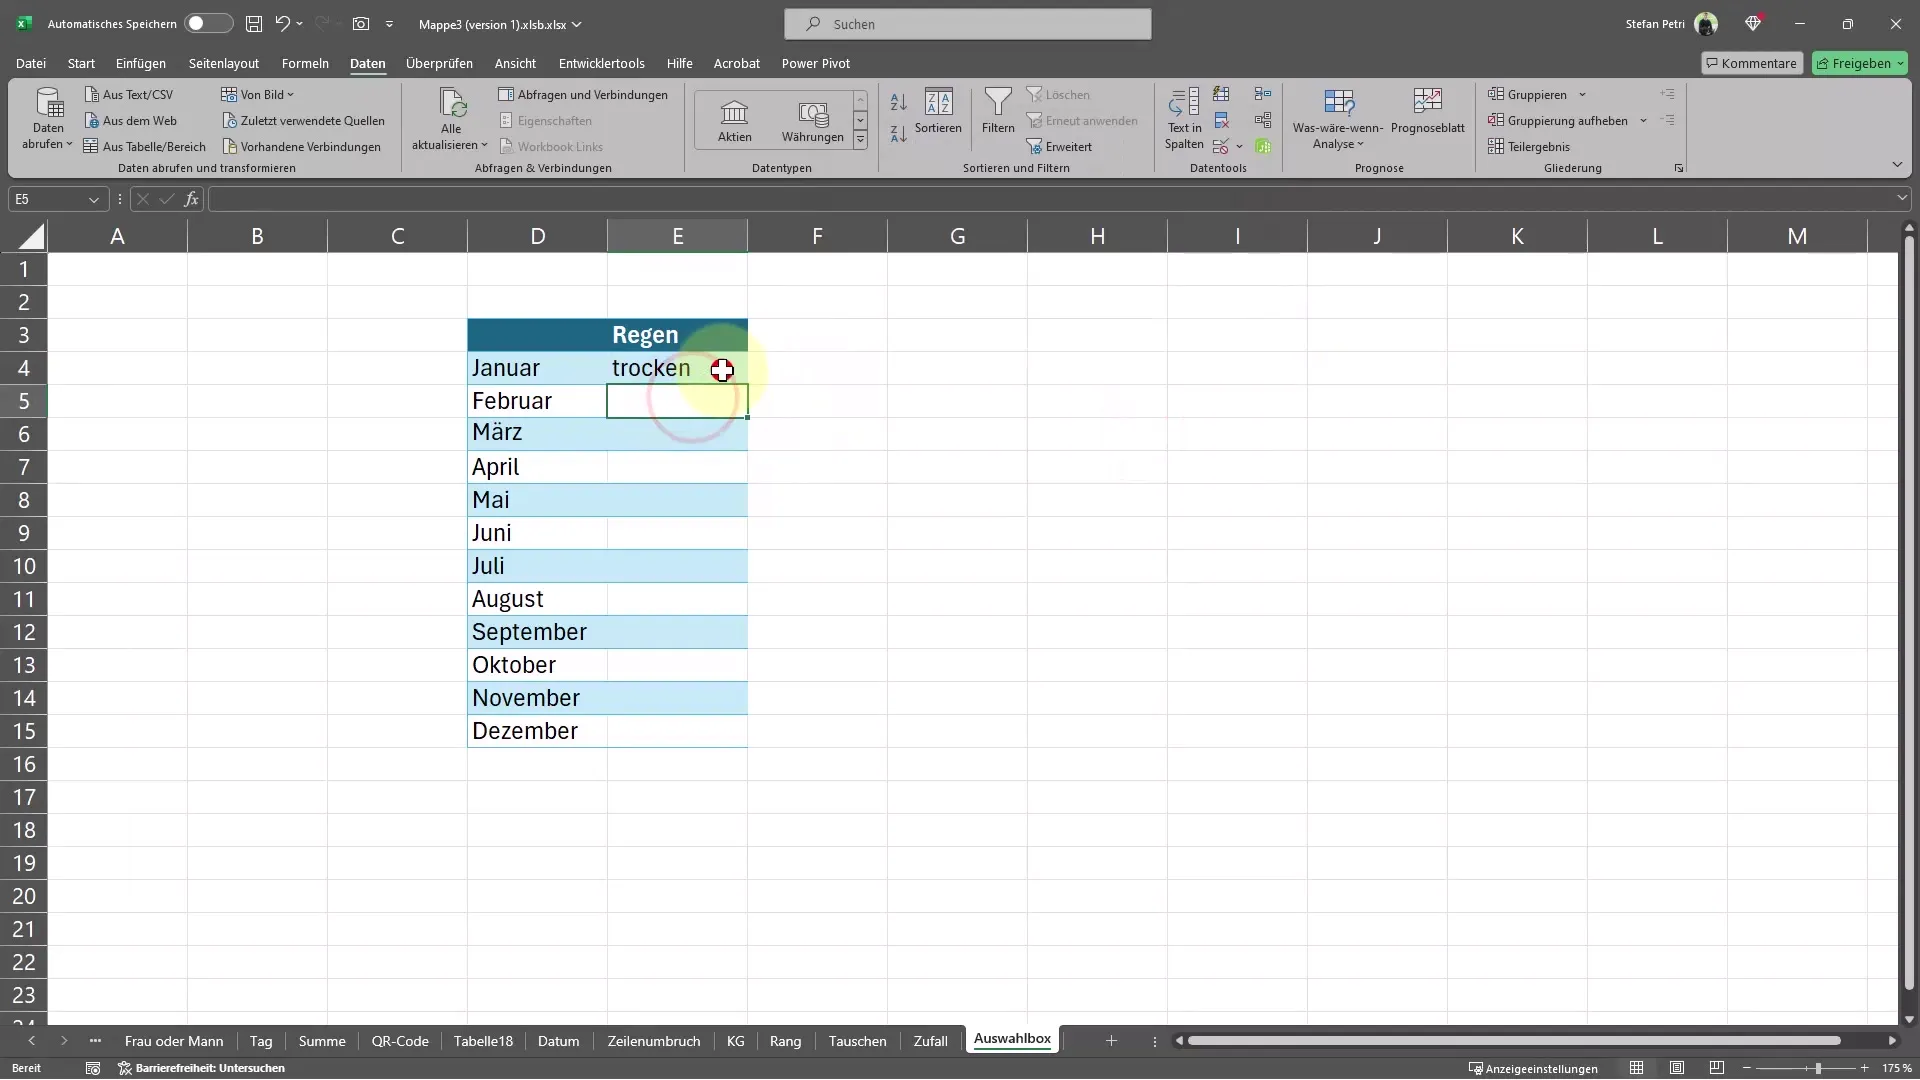
You can also set a default selection, e.g., the most common value.
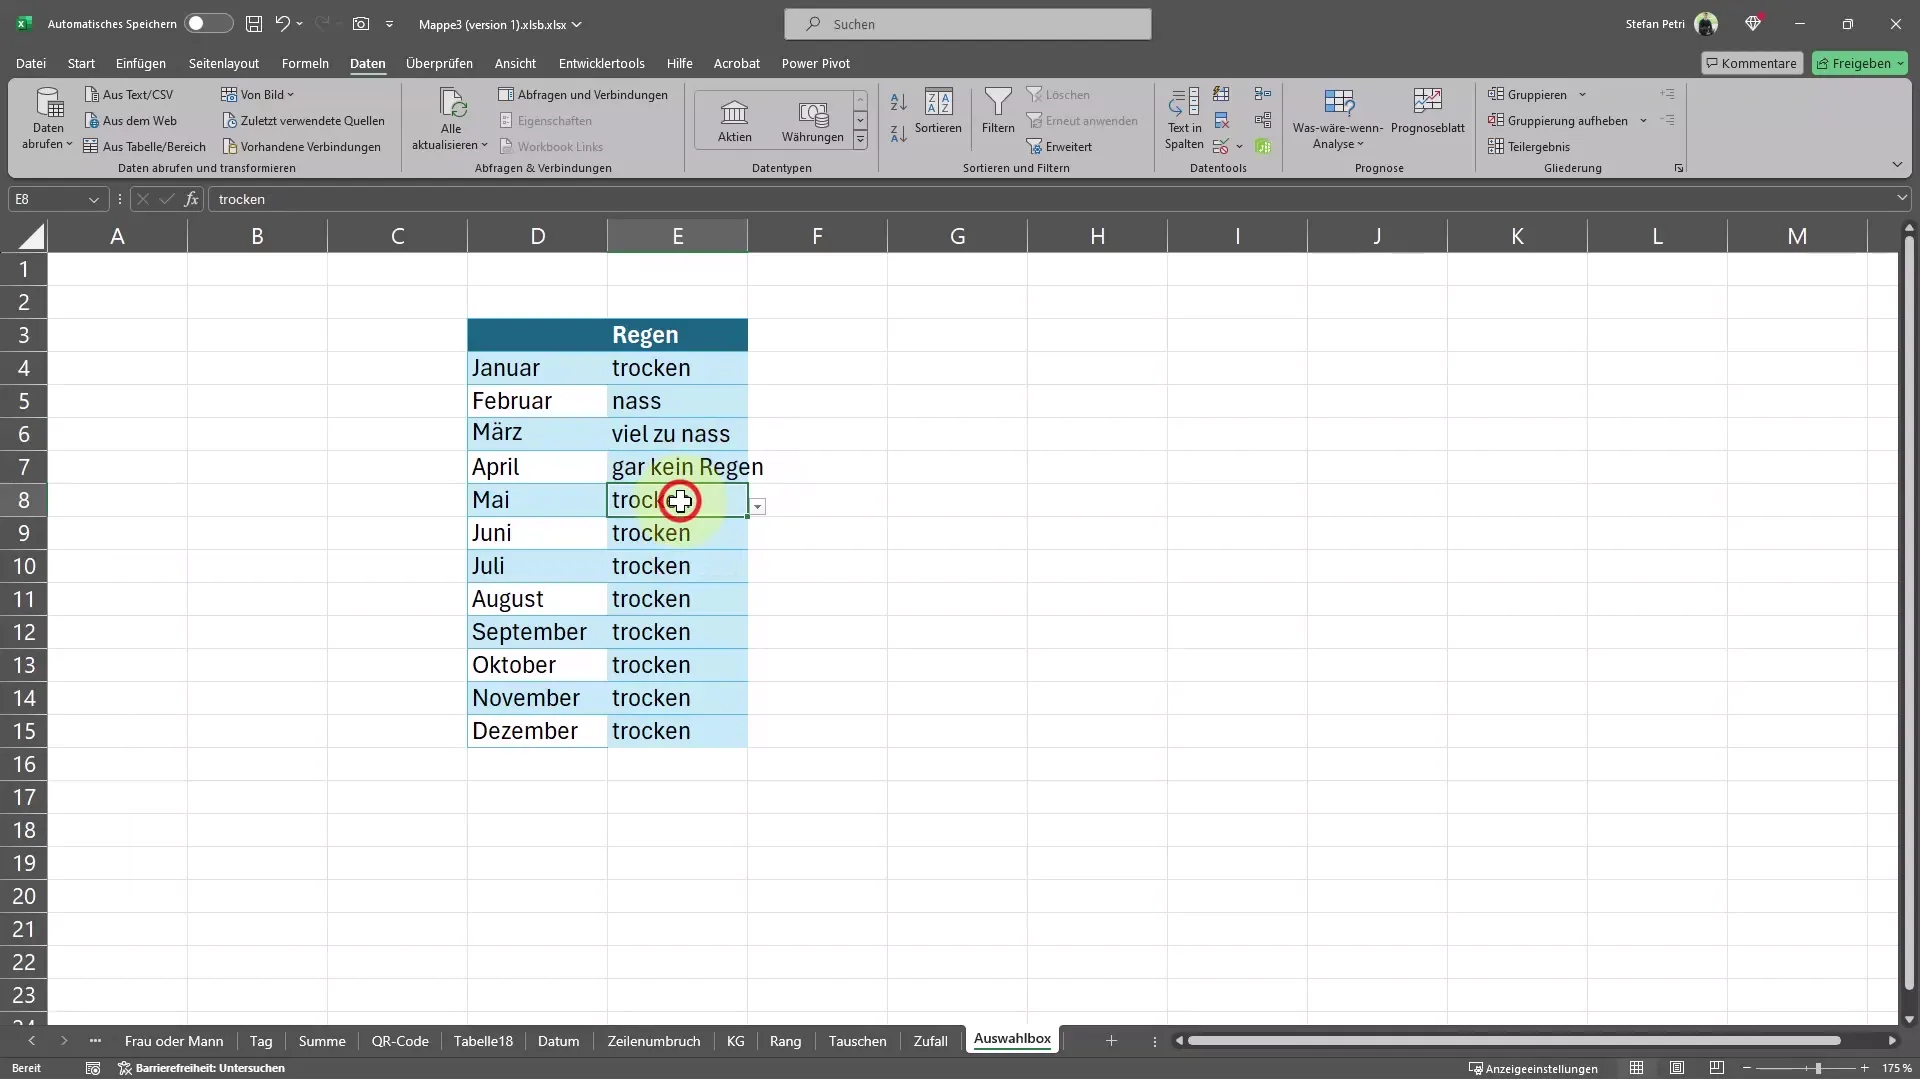
If you wish, you can also create a more comprehensive list of values. You can use existing lists in another area of your table for this purpose. Go back to the data validation settings and select the "List" option.
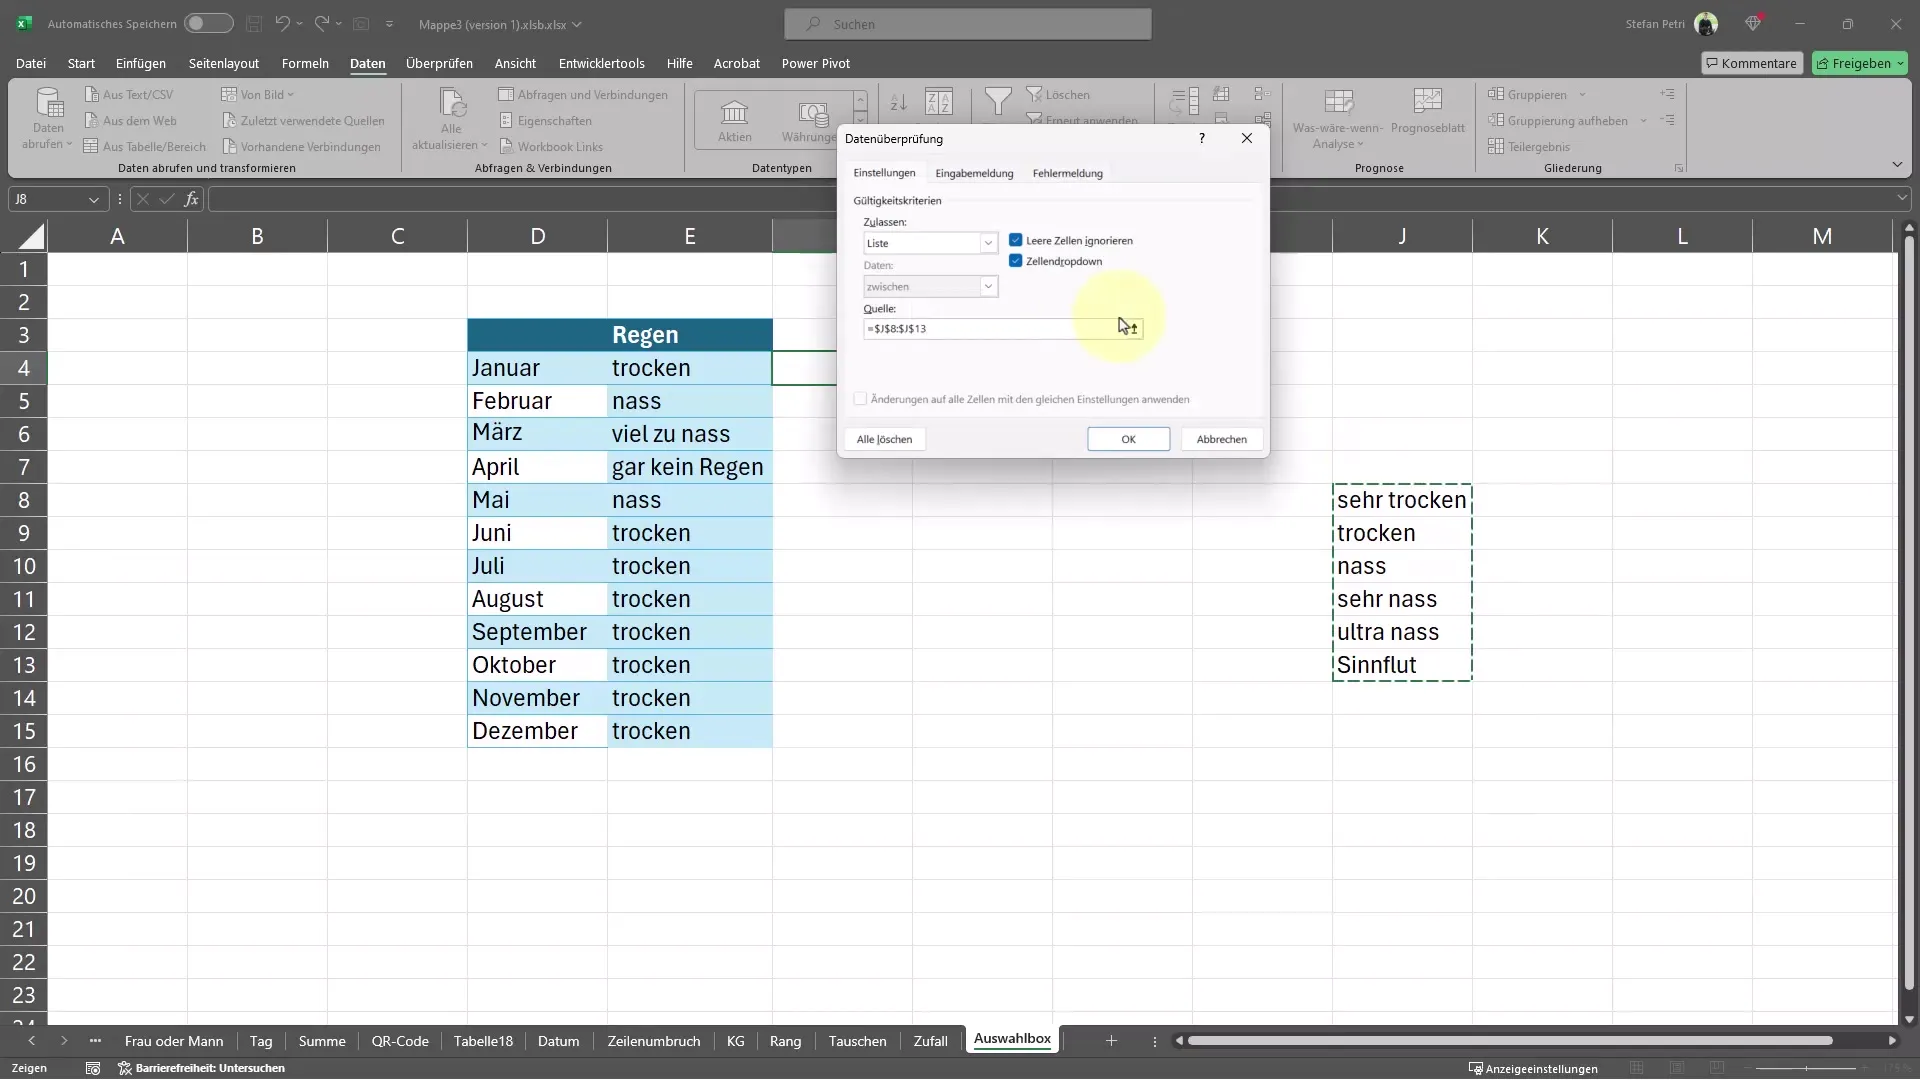
By clicking on the small arrows, you can select the area you want to use. This allows you to dynamically reference the values from an existing list.
After completing these steps, you will see that the dropdown list is updated accordingly when you add new data or make changes to existing data.
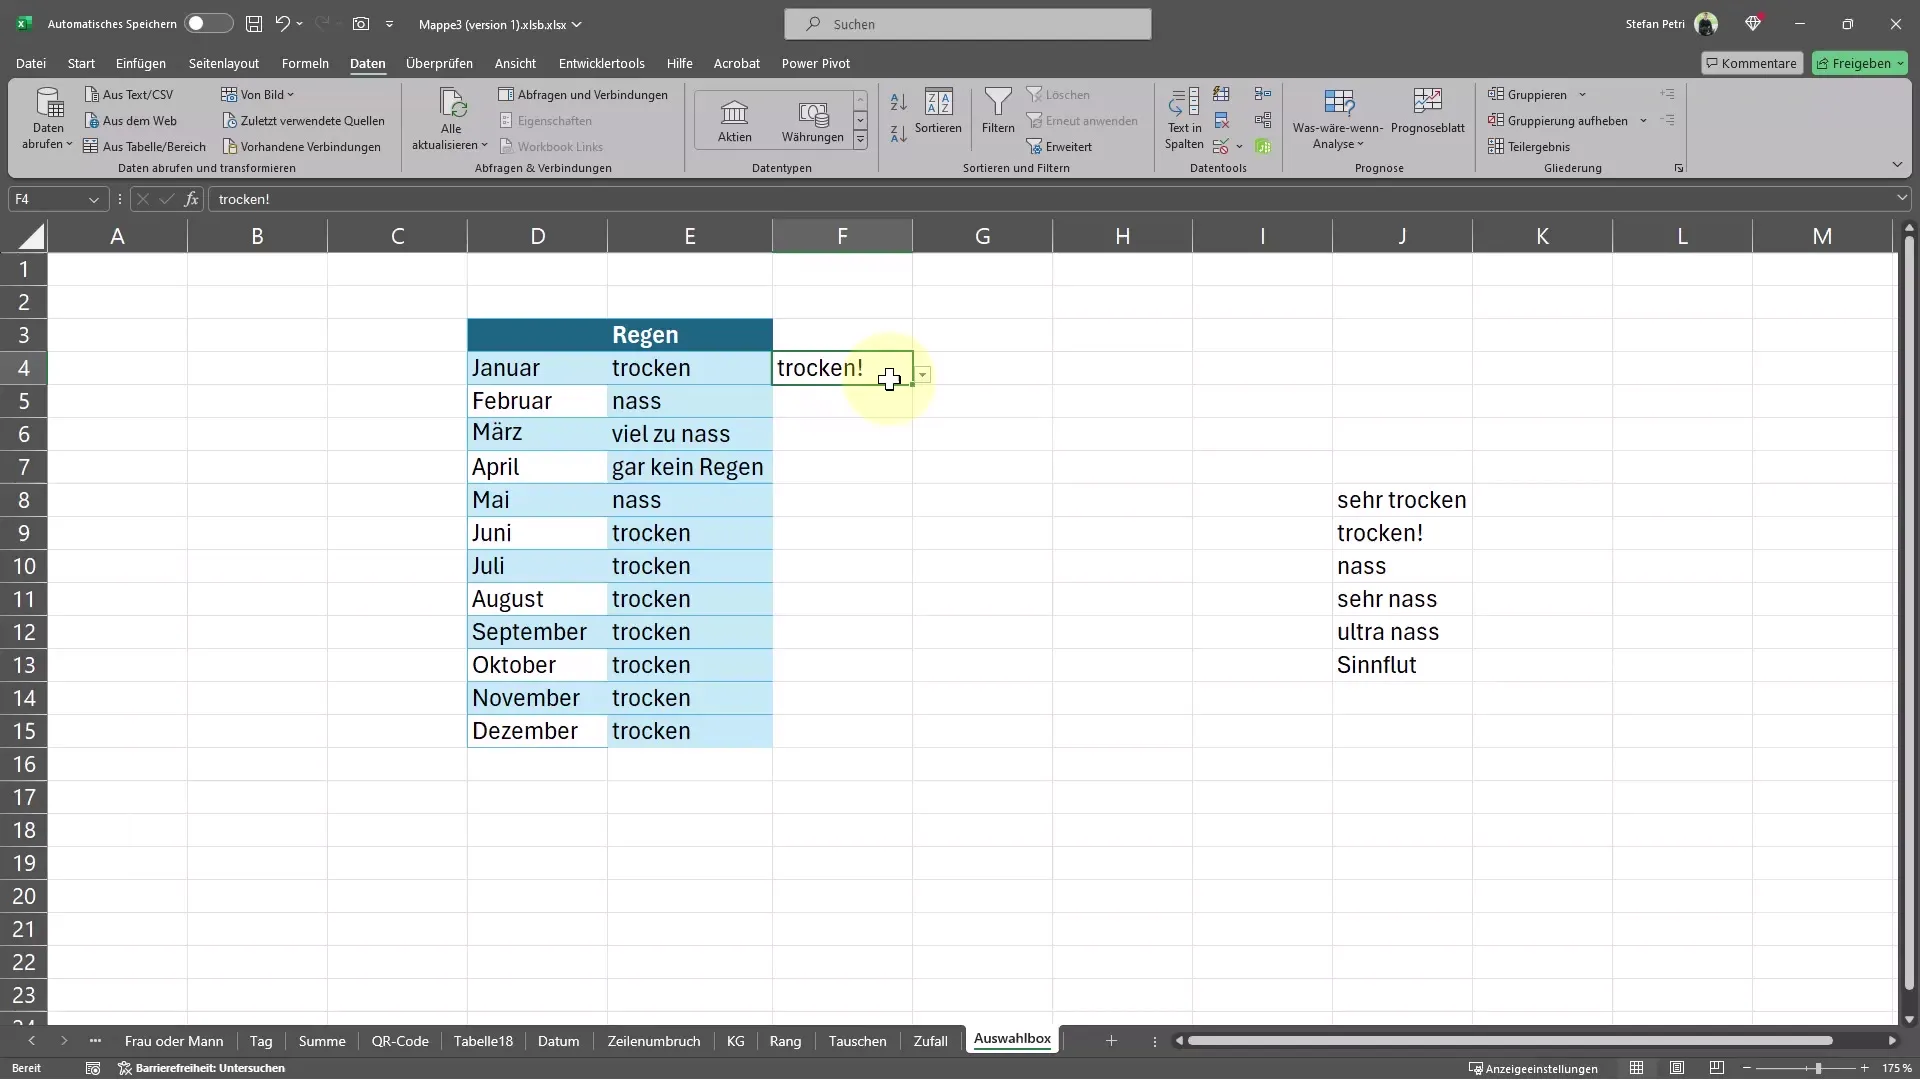
Now you can use the selection box for your entries. For example, if you enter the value wet instead of dry, it will automatically be displayed in the selected cells as well.
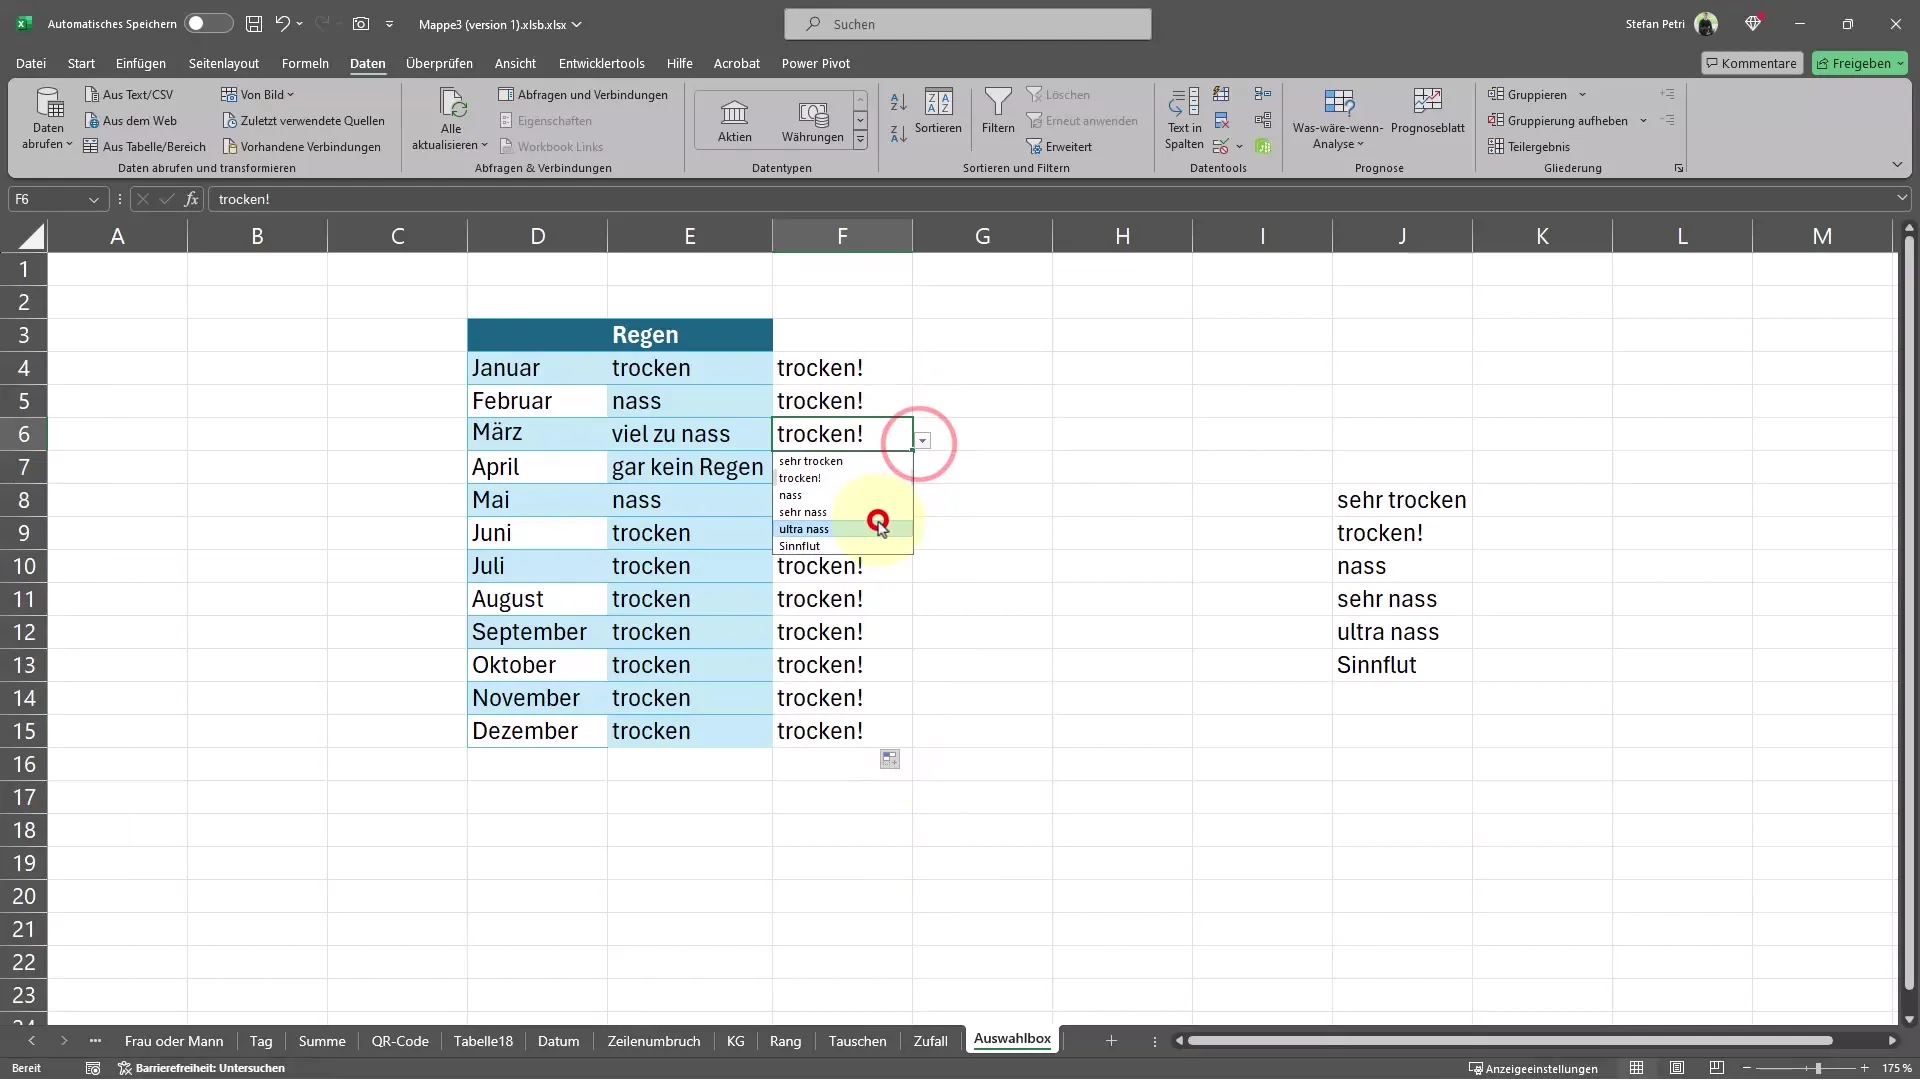
This makes data entry in Excel much easier and fun at the same time!
Summary
In this tutorial, you have learned how to create a simple selection box in Excel to optimize data entry. Using a selection box saves time and minimizes errors. By following the right steps, you can easily create a dropdown list that ensures efficient work with Excel.


