In this tutorial, you will learn how to cut out a motorcycle with a white background in Photoshop. While it has become much easier thanks to modern AI technology, you still need to pay attention to some details, especially when it comes to complex details like spokes. I will show you the best tools and techniques to ensure that your result is as perfect as possible. Let's dive right into the steps.
Main Insights
- Cutting out images with a white background in Photoshop can be easy, but it requires some optimizations.
- The new "Remove Background" feature in Photoshop is a helpful tool, however, additional adjustments are often necessary.
- AI-assisted cutting out can be a good starting point, but manual touch-ups are needed to eliminate unwanted areas.
Step-by-Step Guide
Start by opening your image in Photoshop. In my example, I am using a motorcycle with a white background and shadows. Now, I want to cut it out.
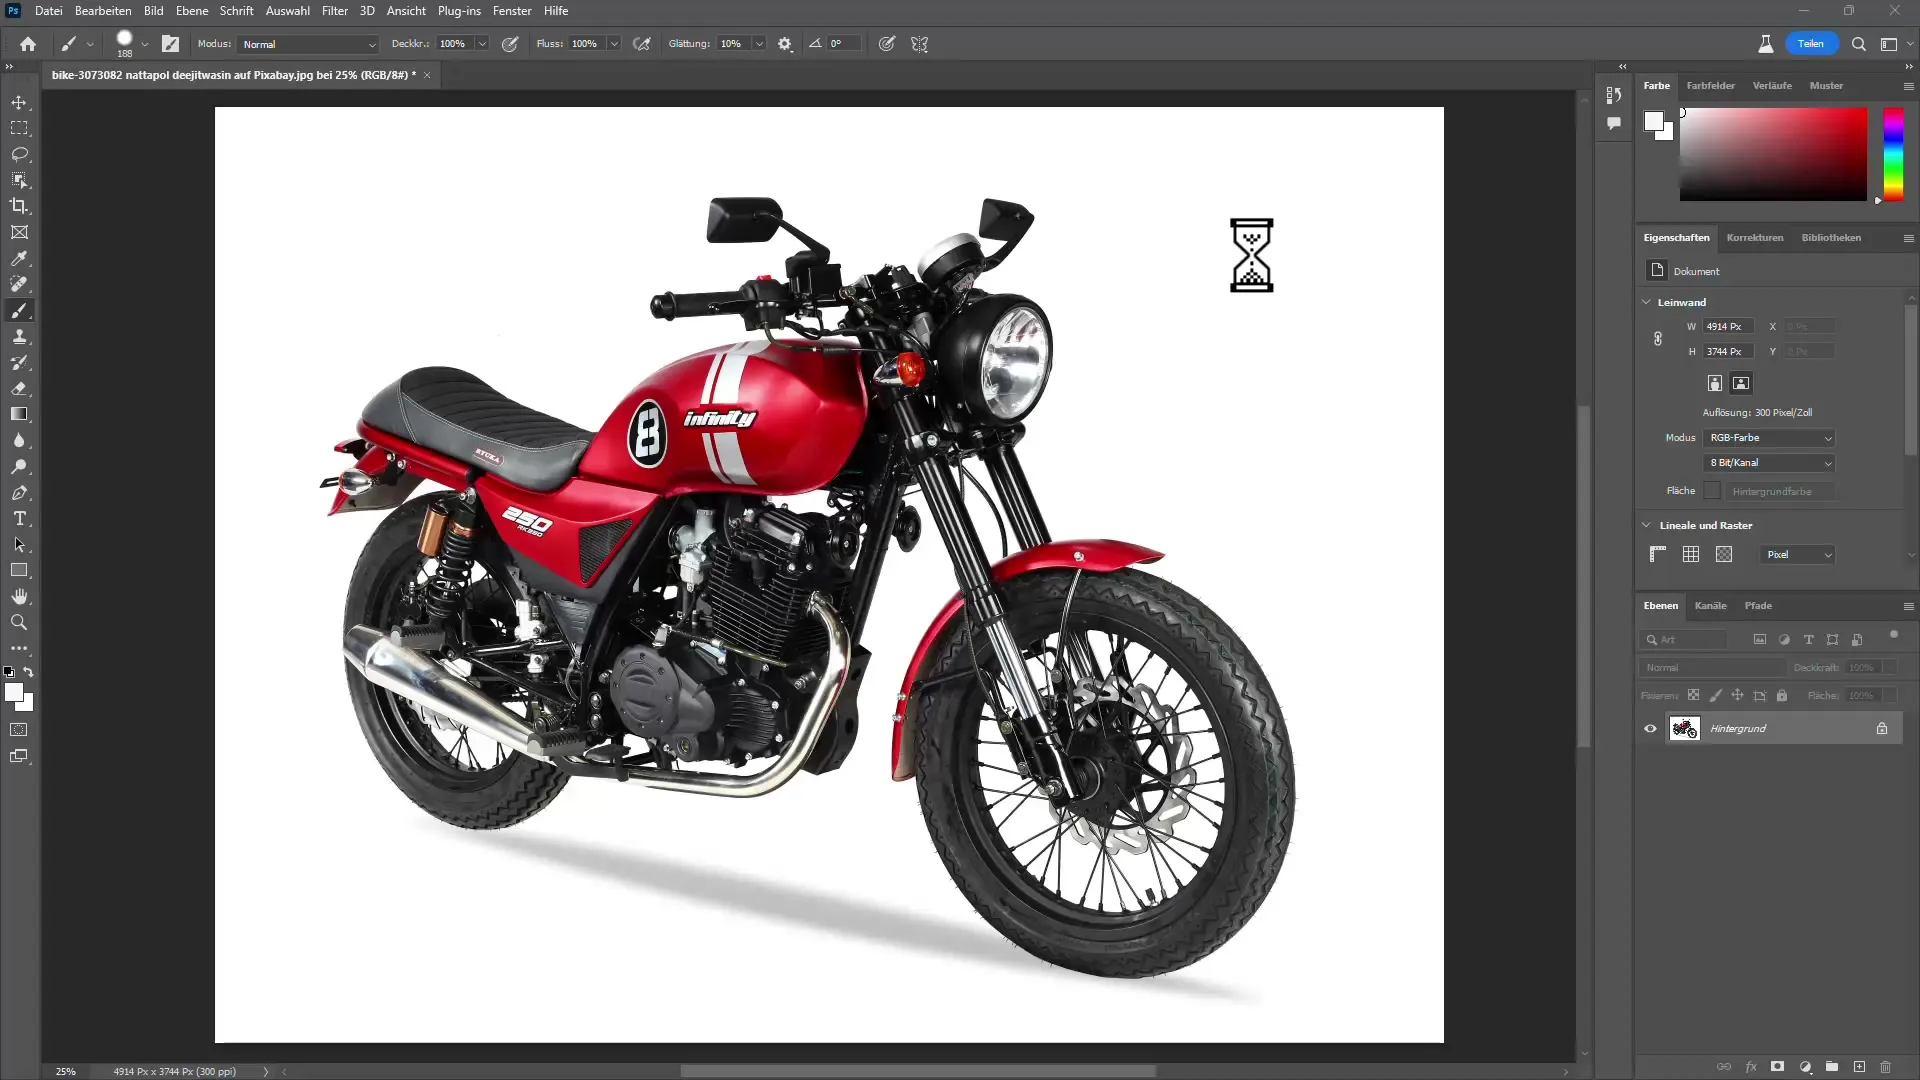
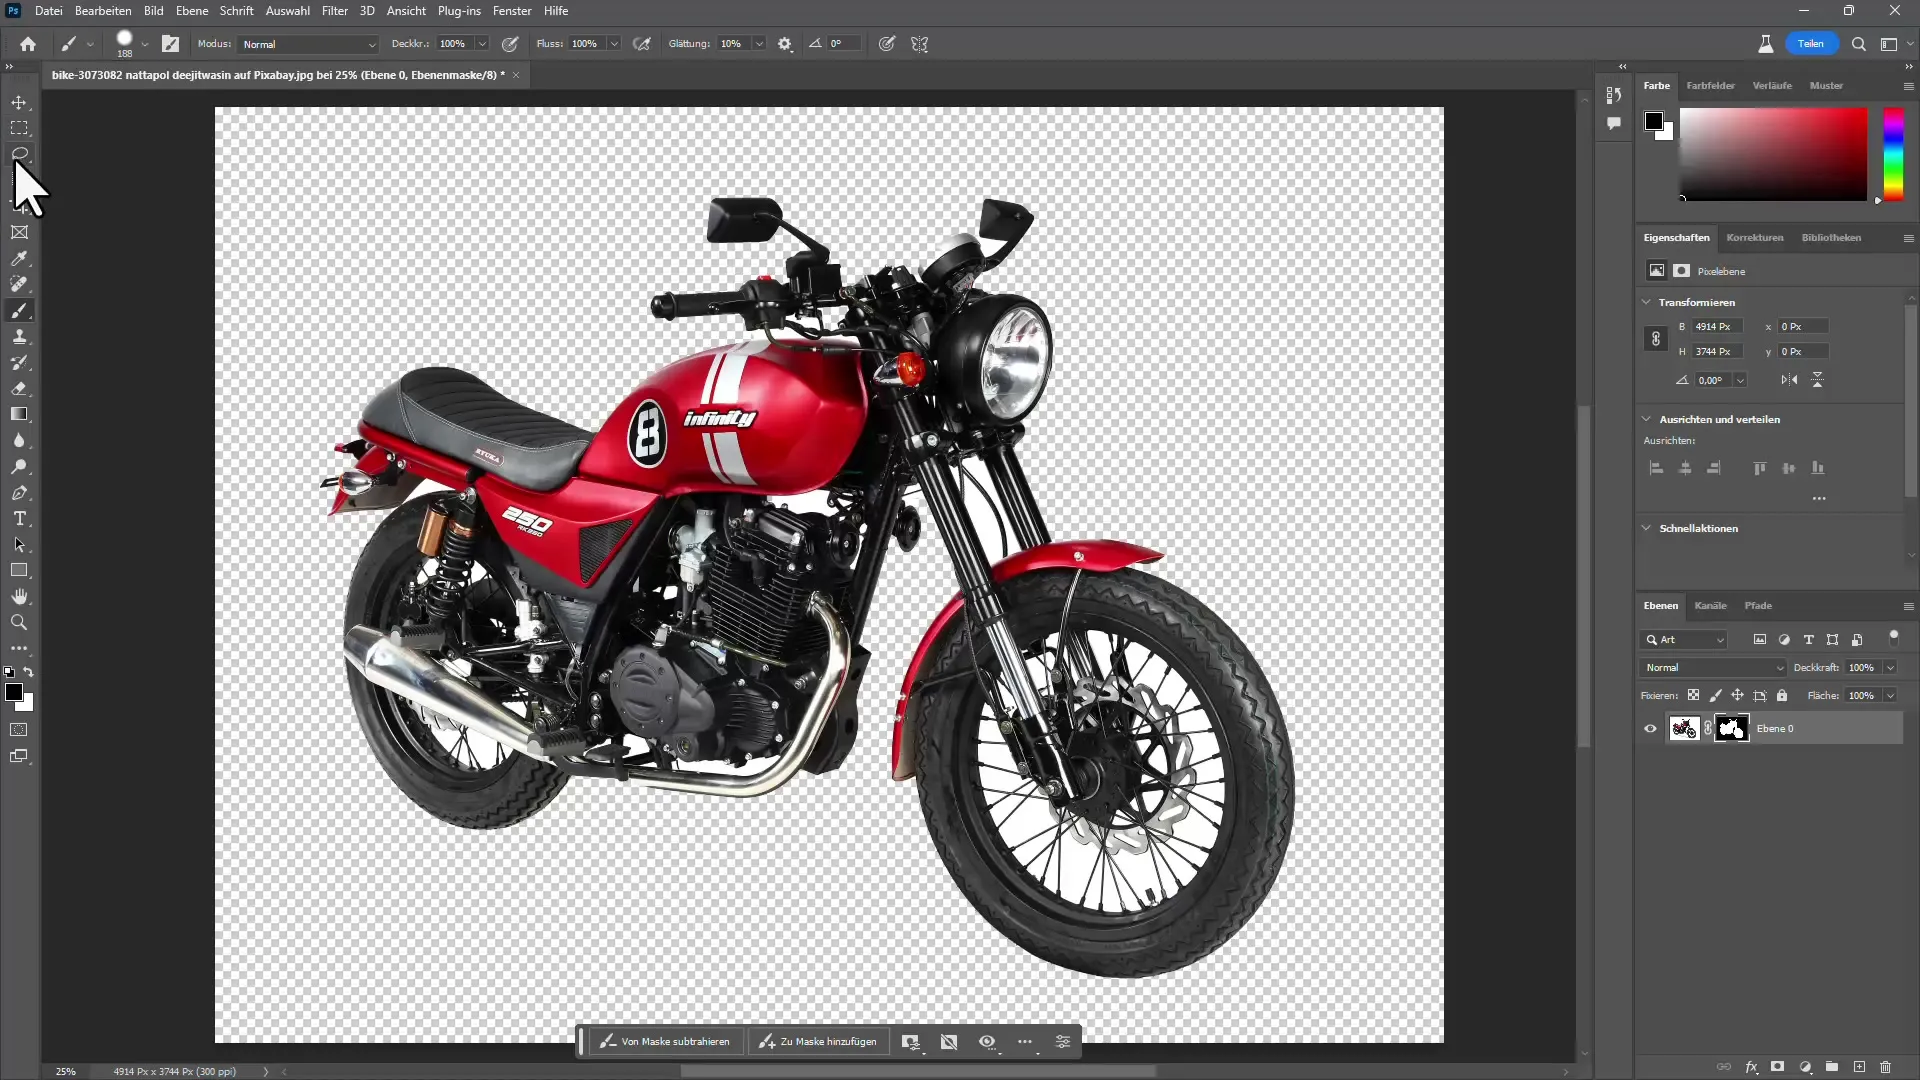
Then, click on the new toolbar at the bottom of the screen and select the "Remove Background" option. One click and the background is gone.

You will notice that the spokes of the motorcycle are not perfectly cut out. To optimize this, choose a selection tool and go to "Select and Mask" at the top of the menu bar.
In the next step, activate the AI-assisted cut-out function. Click on "Select Subject." This will give you a better base for your selection.
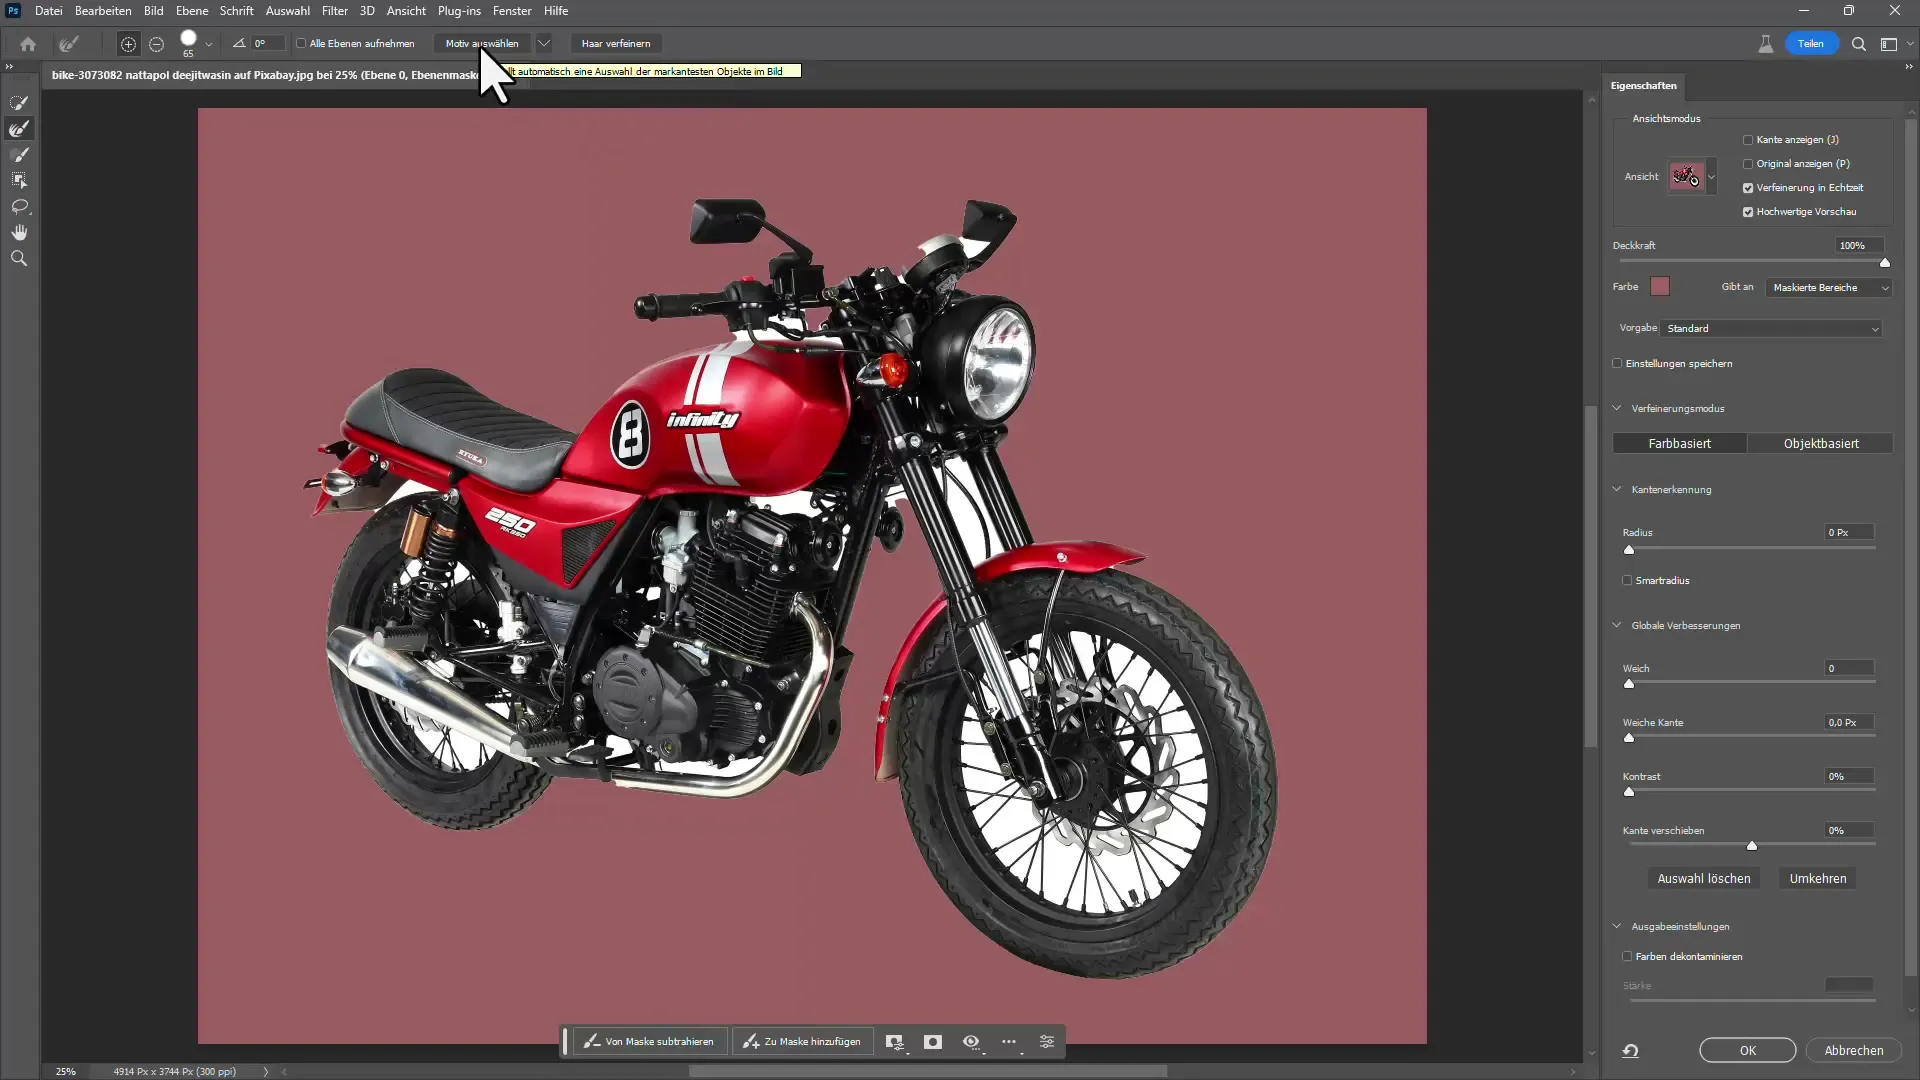
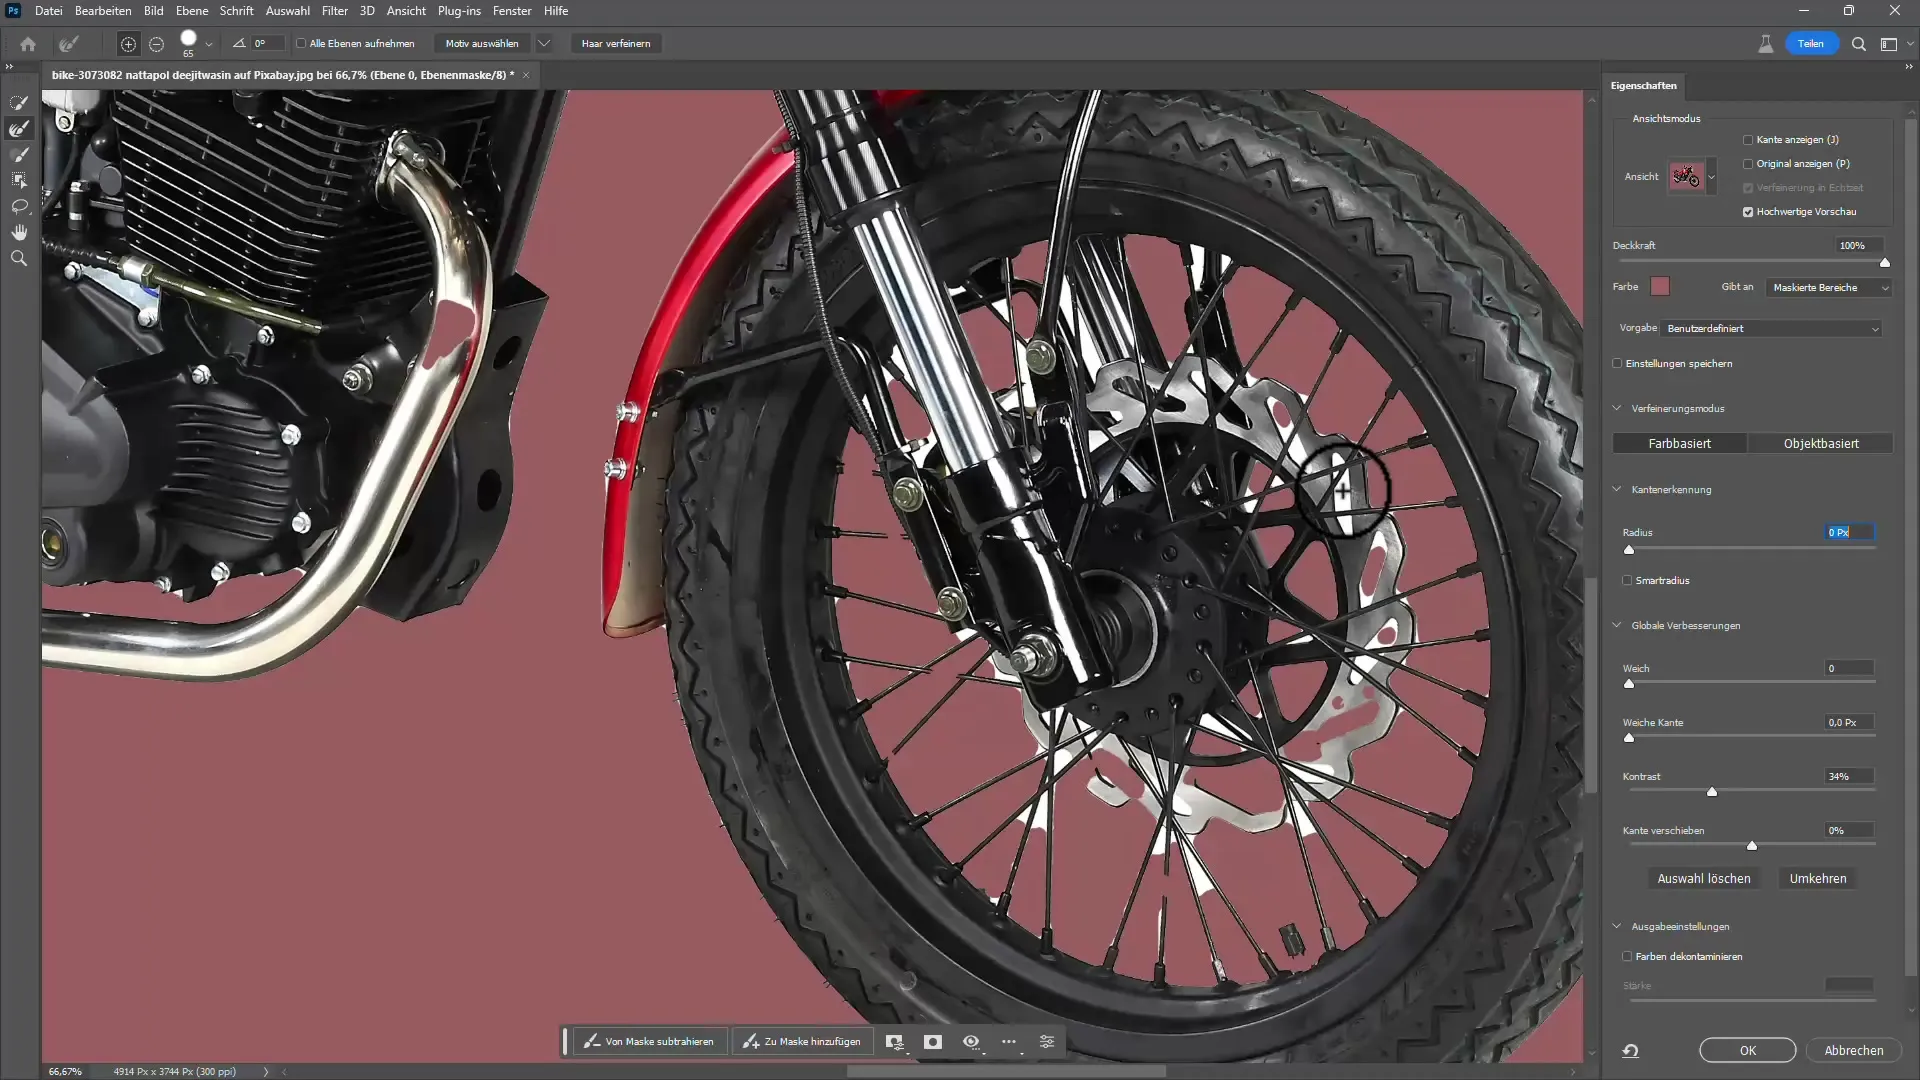
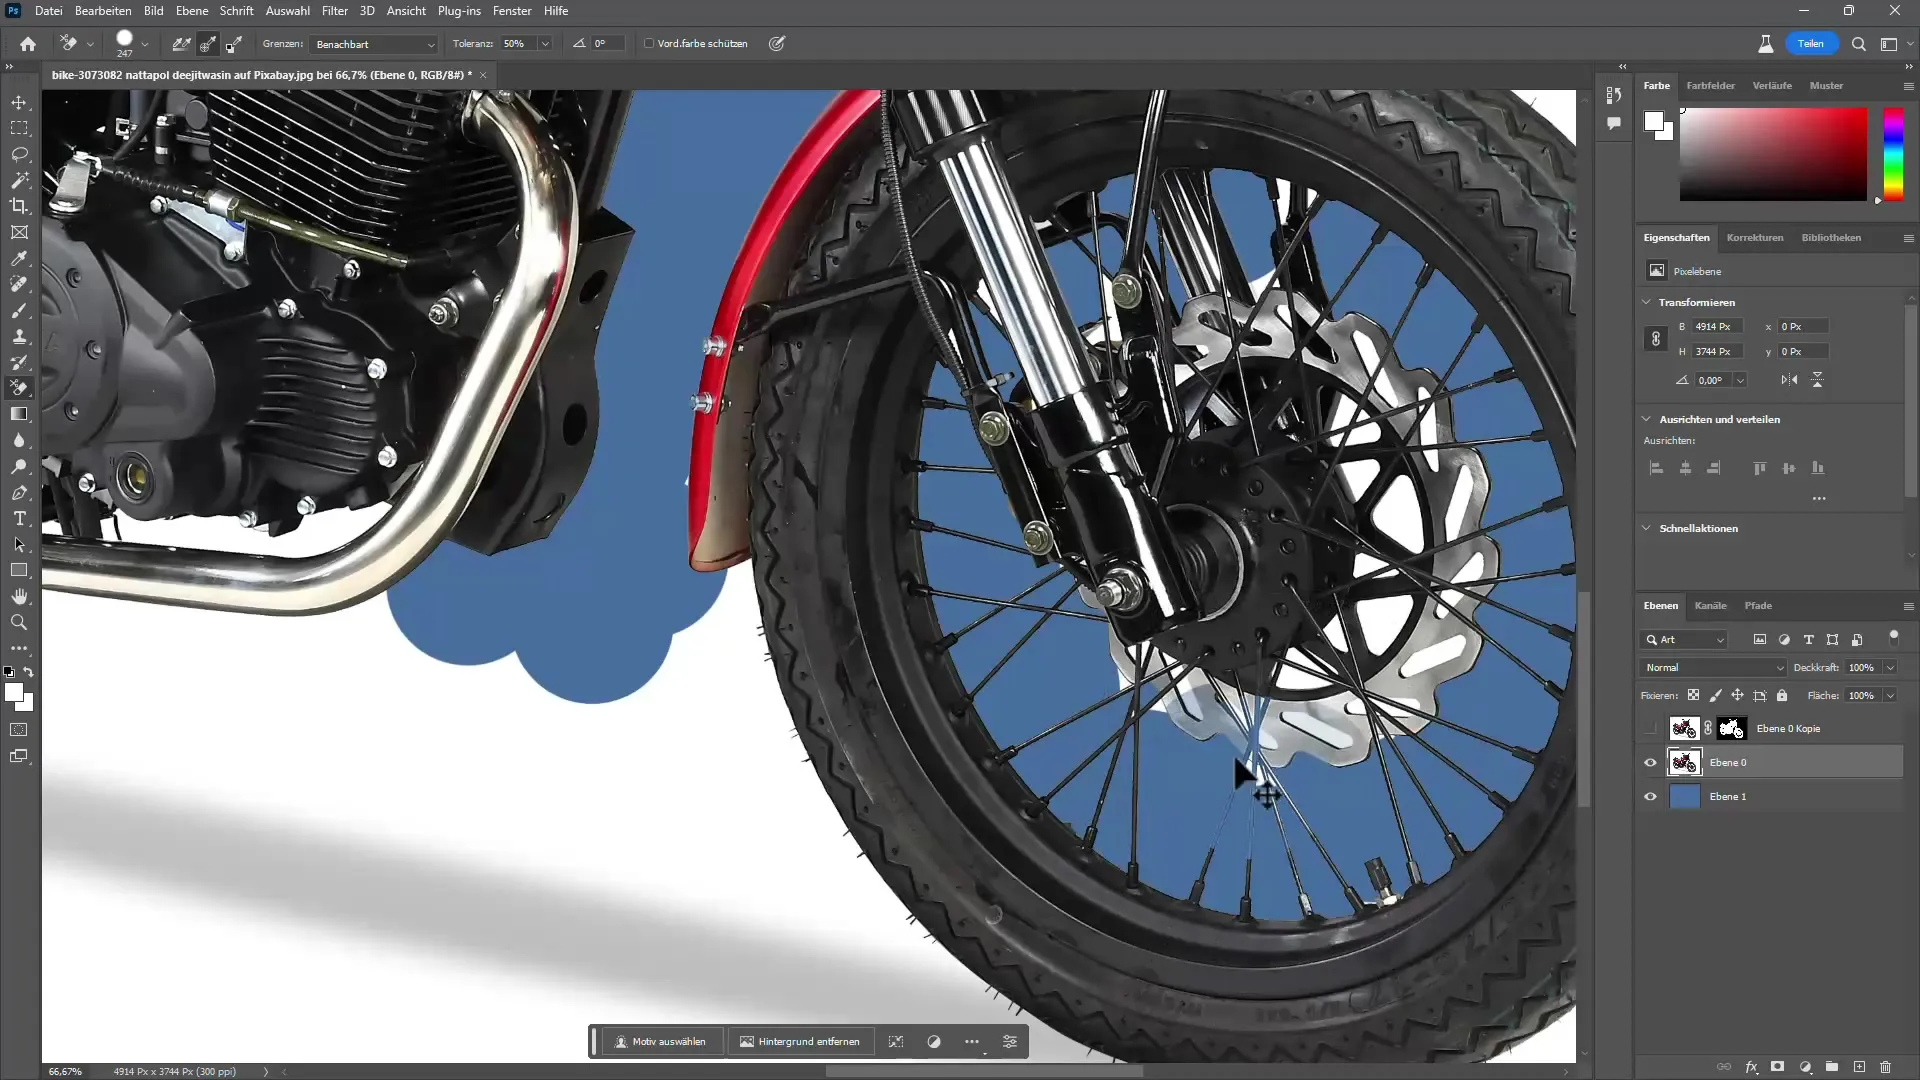
The result will visibly improve, but you will still see white areas remaining from the spokes. Here, you can try adjusting the contrast slider, but often this only brings minor improvements.

A better approach is to use the "Color Contaminate" slider, which can help define the spokes more clearly. Depending on the thickness of the spokes, it can be helpful, but often more manual adjustments are needed.
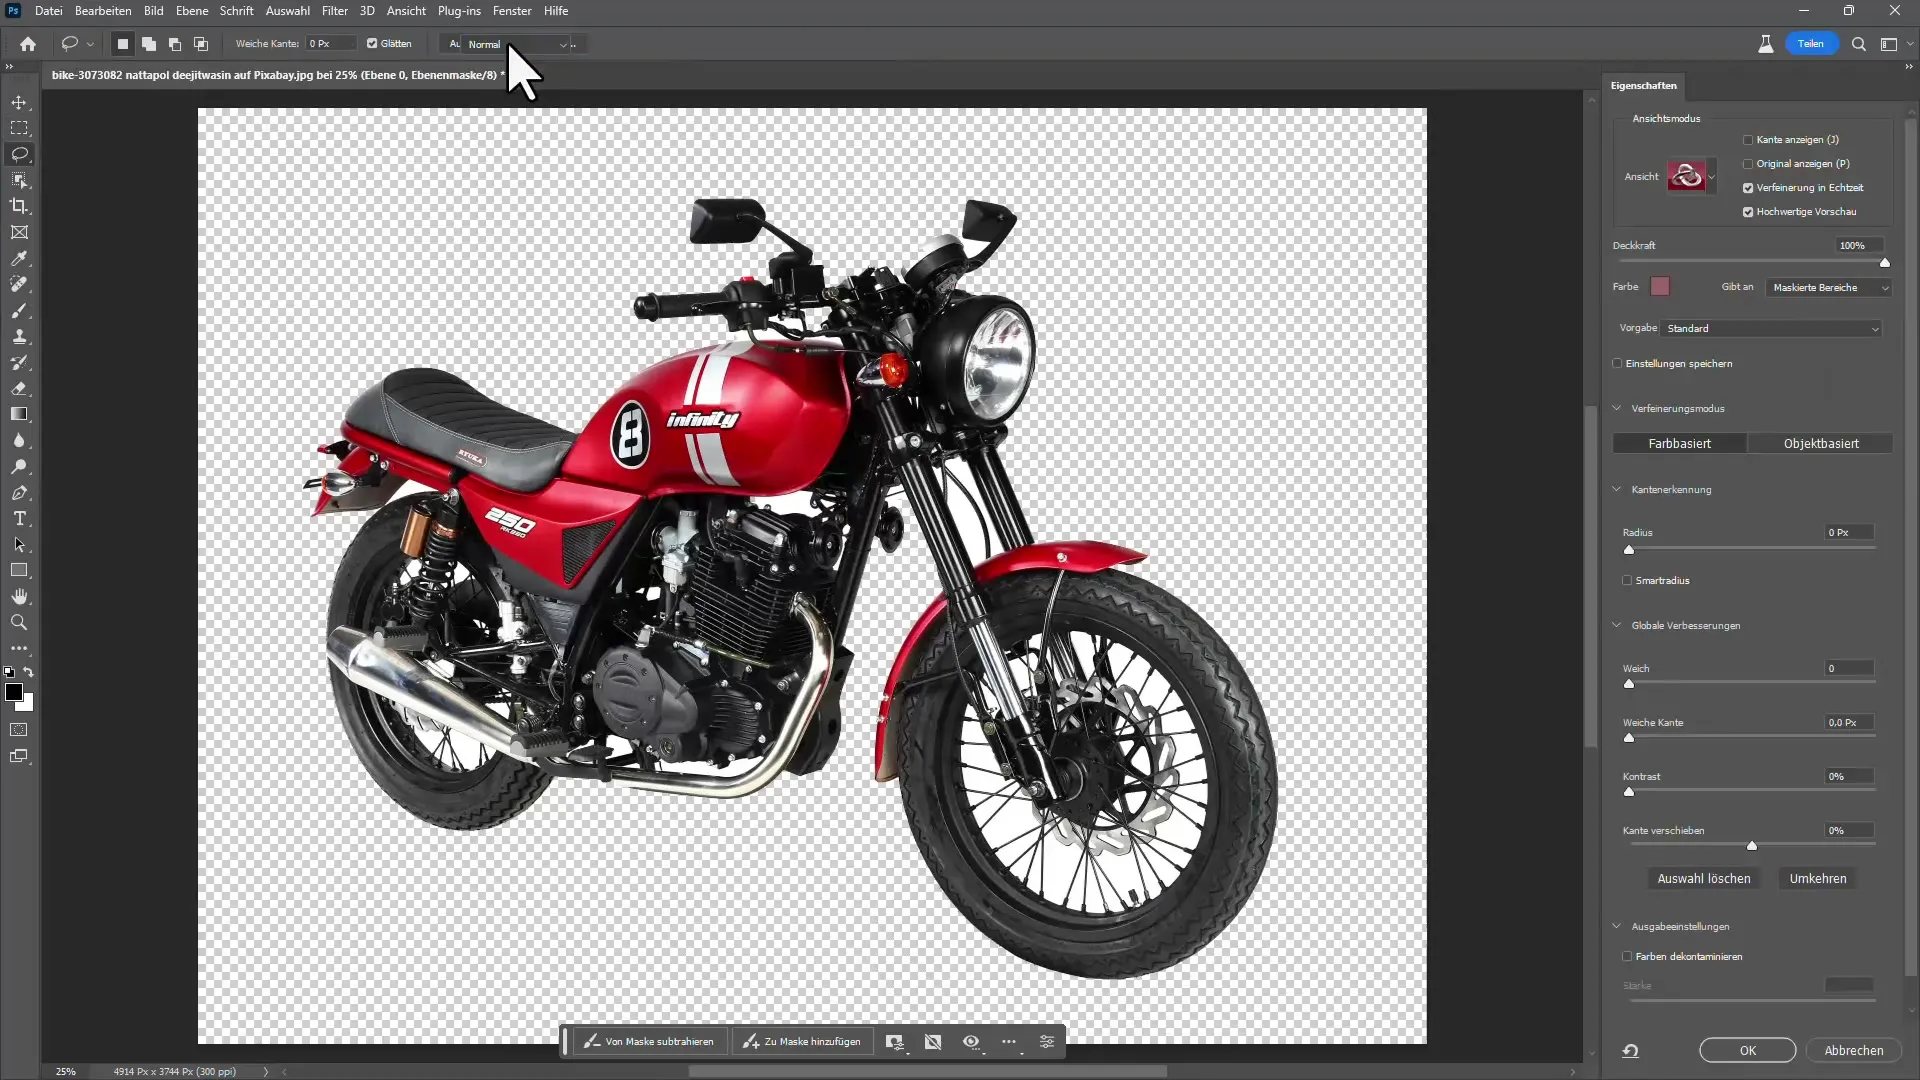
Now, start with the "Edge Enhance" tool on the left sidebar to optimize the edges around the spokes. Overpainting with the brush tool can be helpful, but be careful: Too much can render the image unusable.
After making these adjustments, create a new layer with a layer mask. Voilà, the image now looks much better cut out.
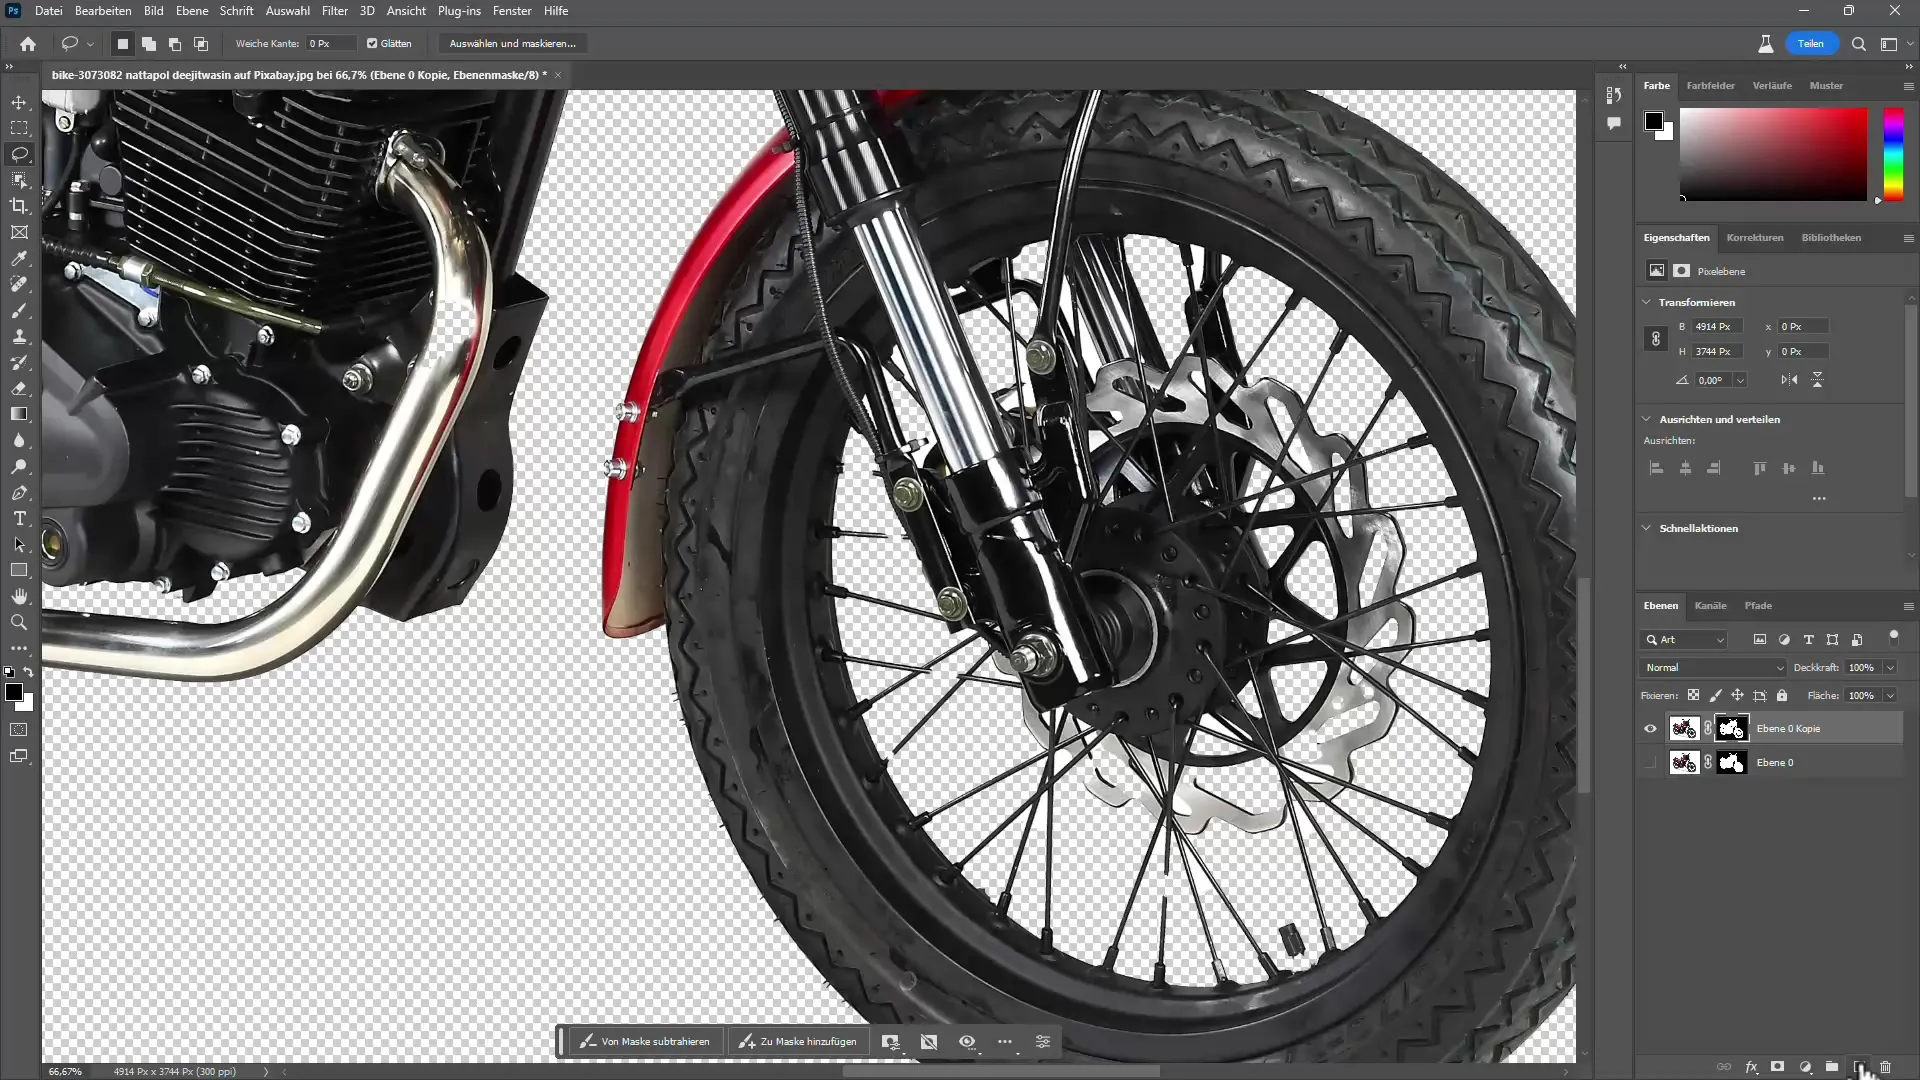
To further eliminate the unwanted white elements, I create a blue guide layer to better identify the white areas. Then, click on your image, go to "Select" and choose "Color Range". This allows you to selectively choose all white areas.
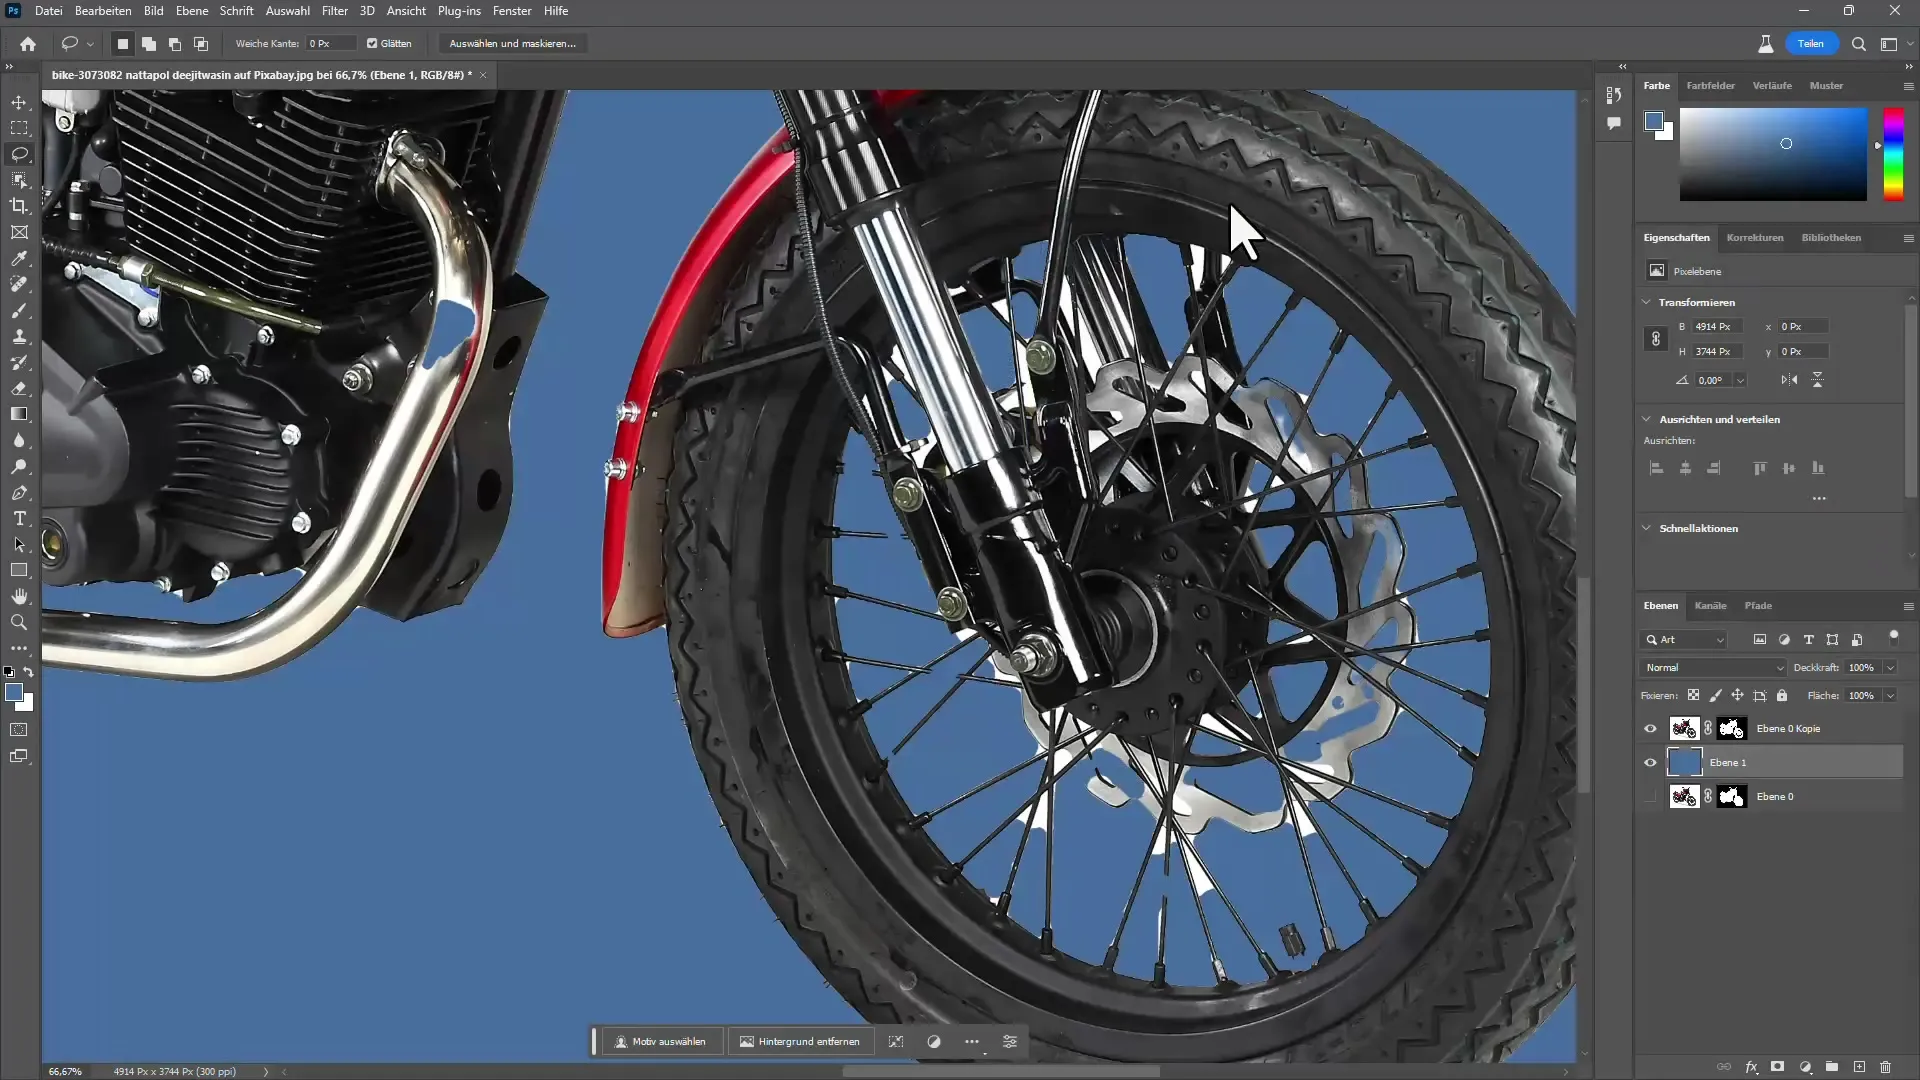
Increase the tolerance for a more accurate selection and observe the preview. Activate the selection with a black background to better see what is really selected.
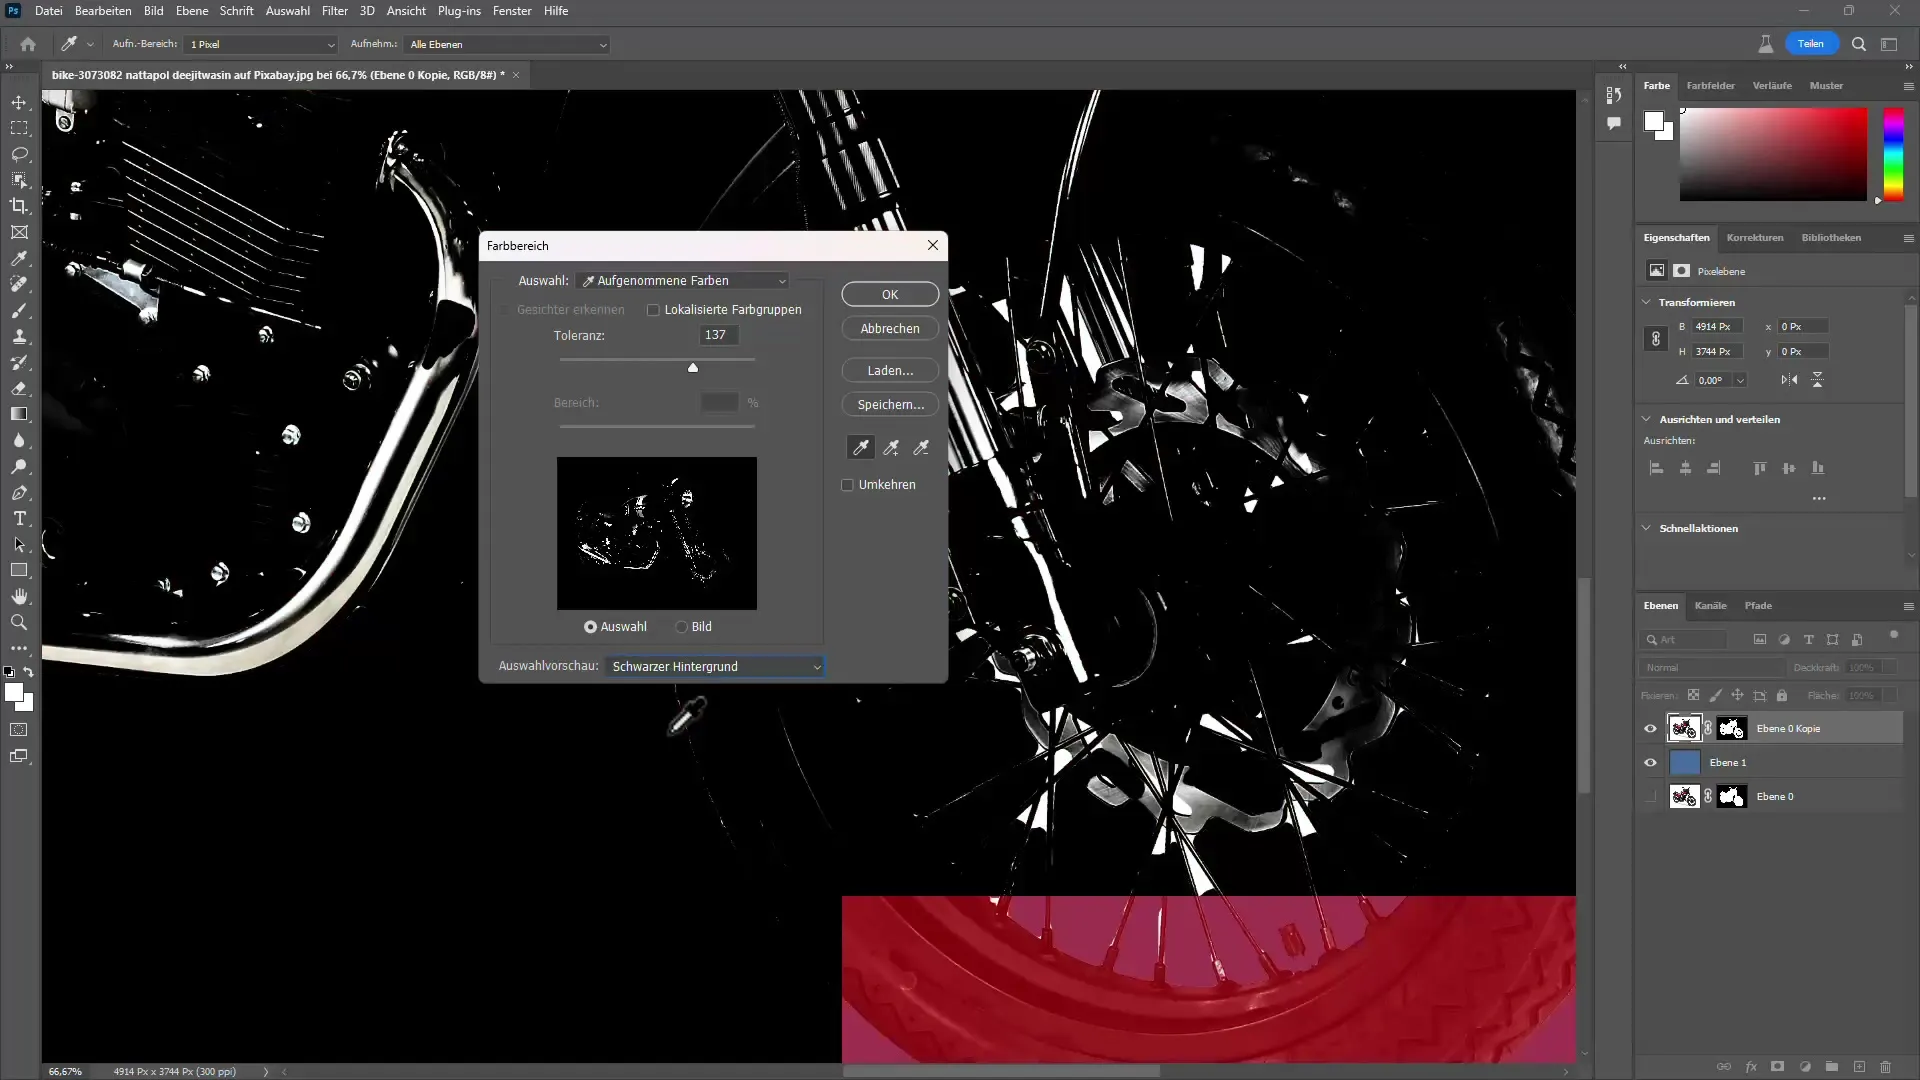
If the selection fits, go back to your layer mask. Choose the brush and set the color to black to hide the unwanted areas.
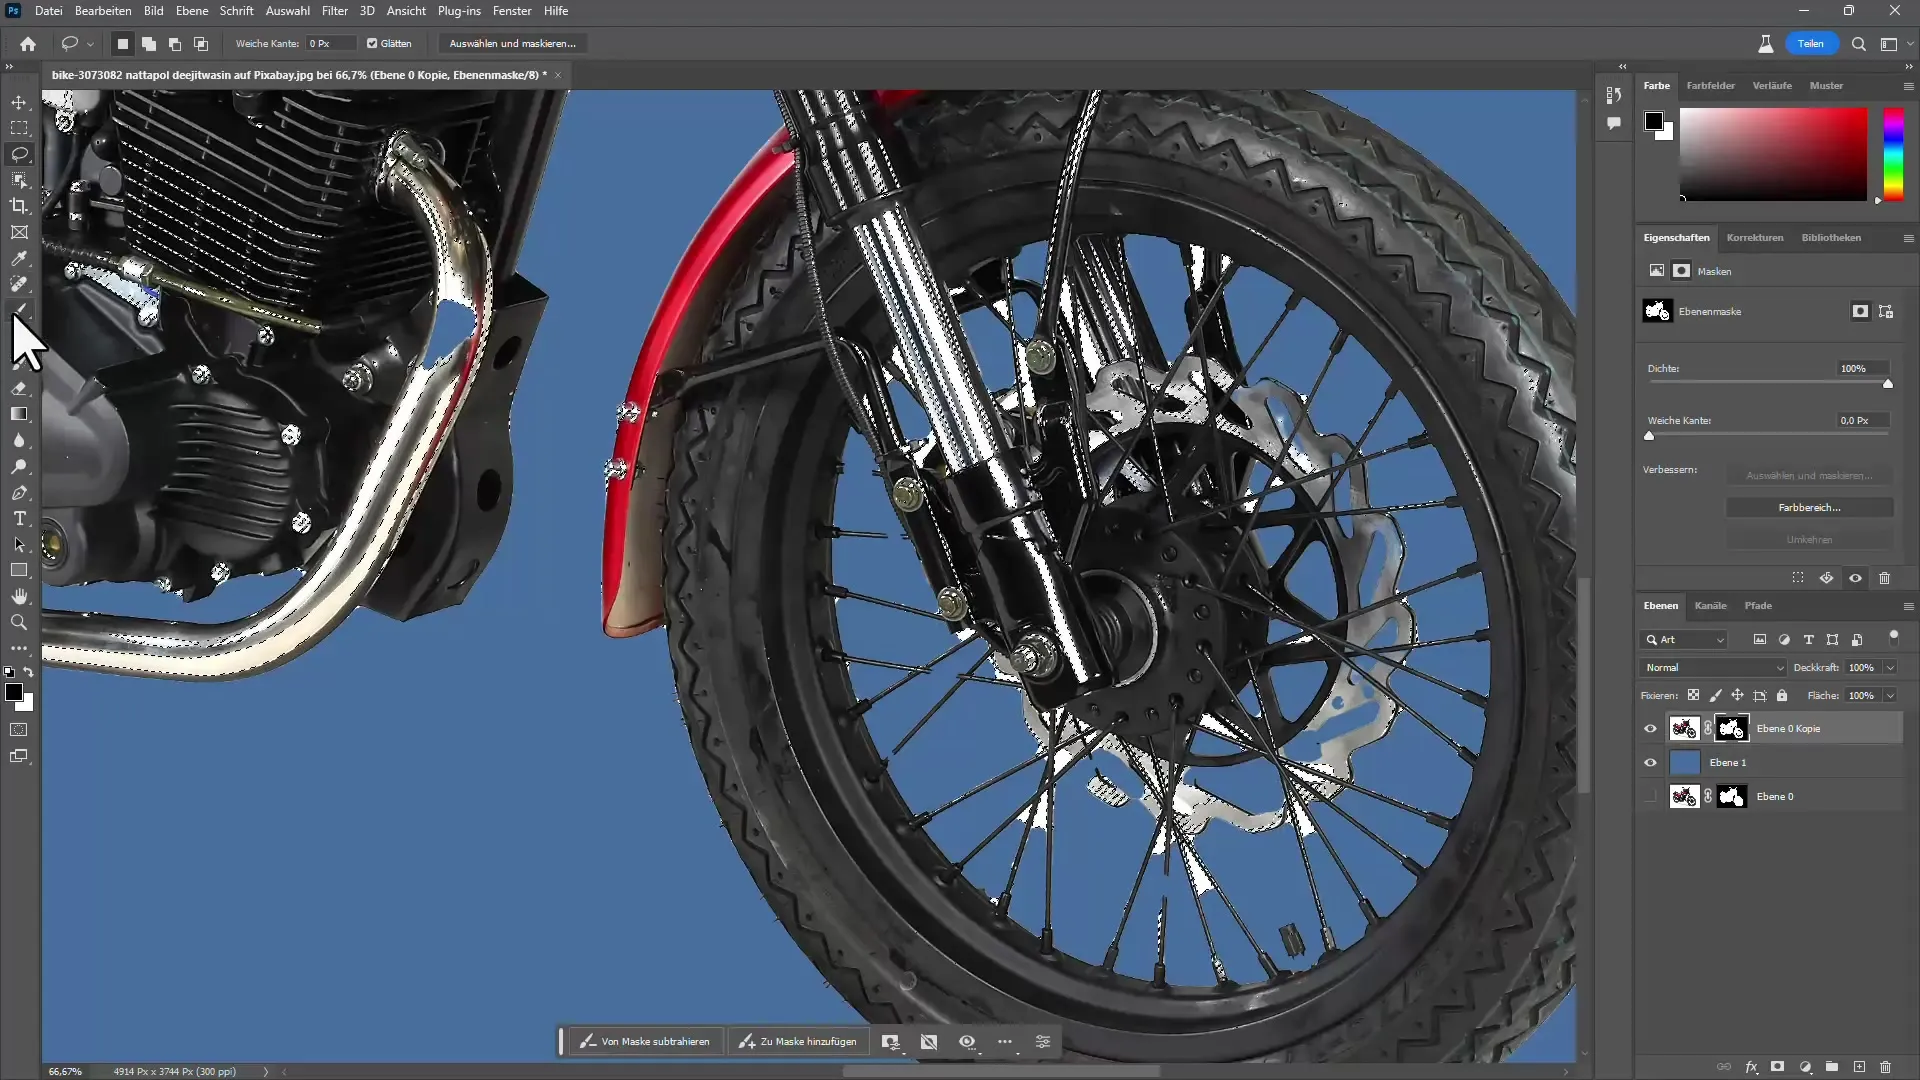
But be careful! You don't want to accidentally delete anything important. Use the Alt key to quickly adjust the brush size while paying attention to the details.

If you have deleted too much, you can use the undo function to correct mistakes. Restoring is an essential skill to perfect the image.
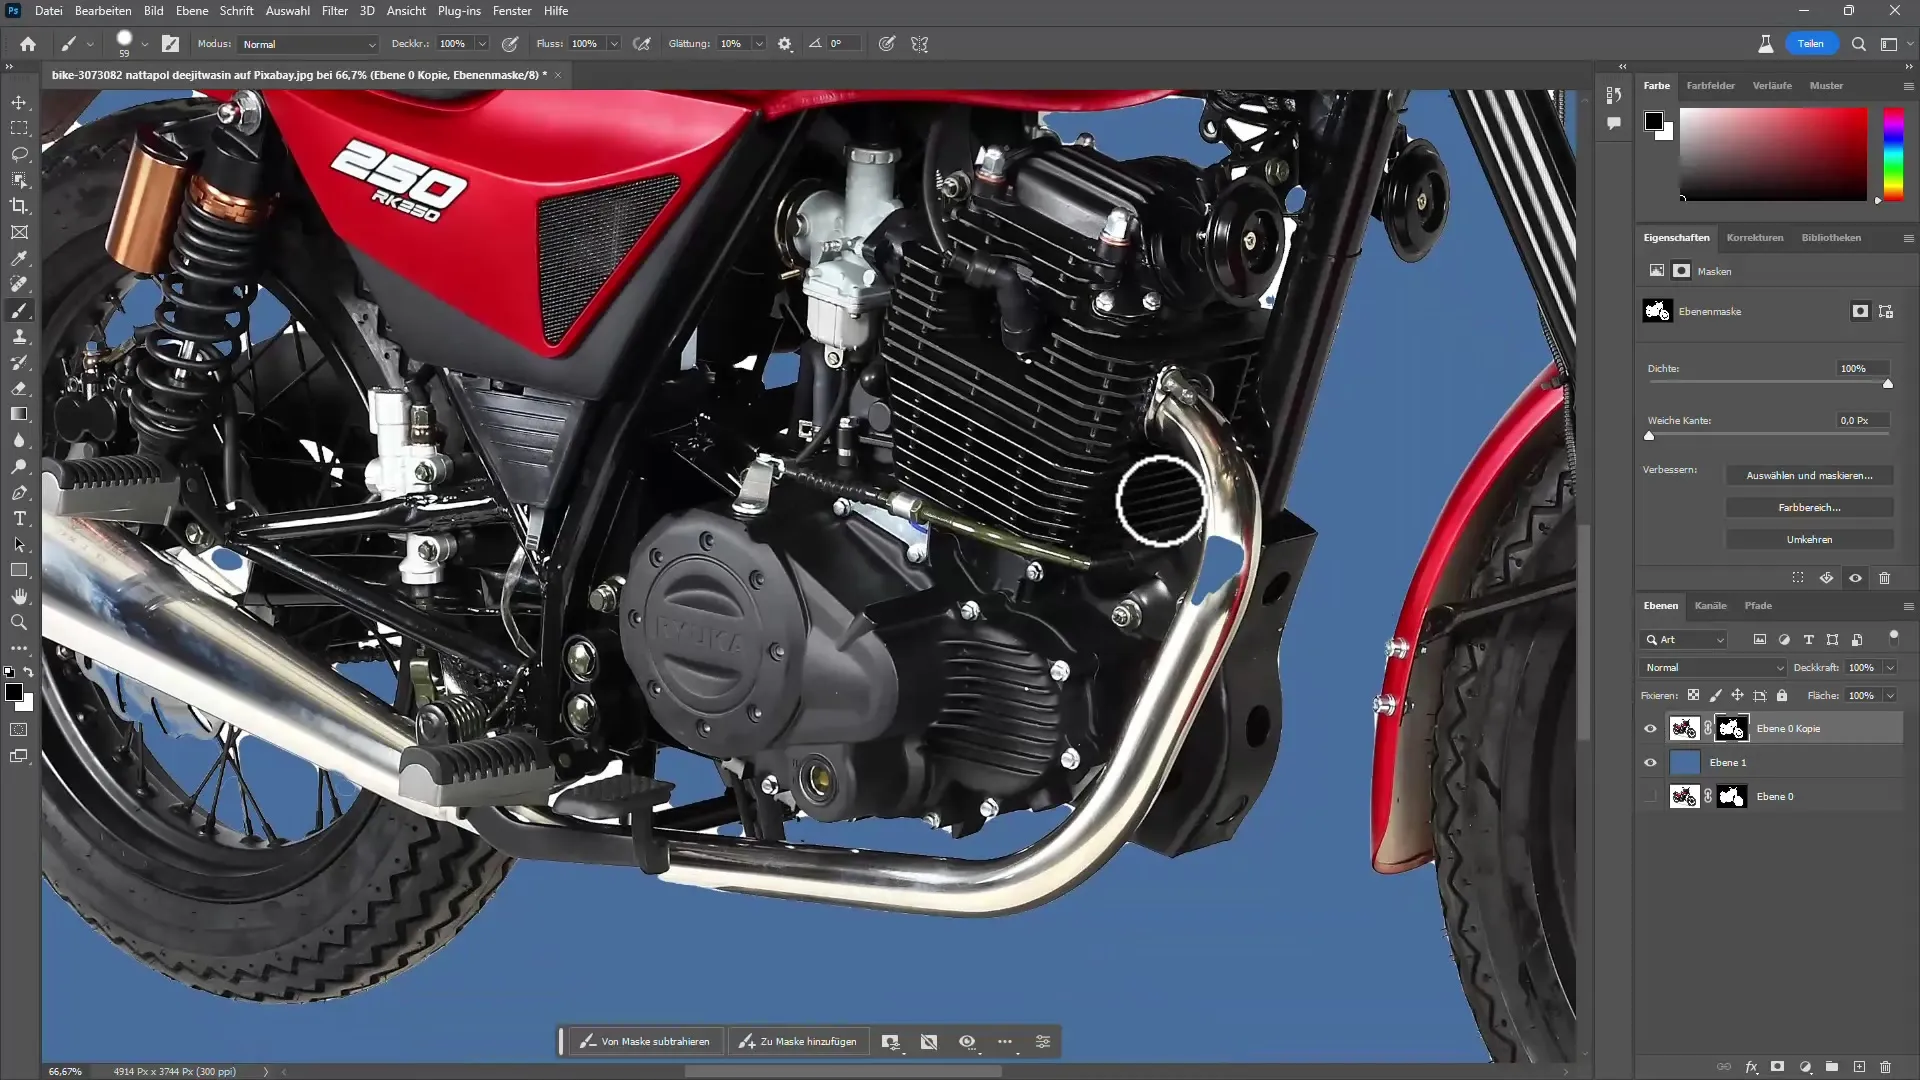
If you are not satisfied with the result, try using the magic wand to select non-adjacent white areas. Sometimes you need several attempts to achieve the desired precision.
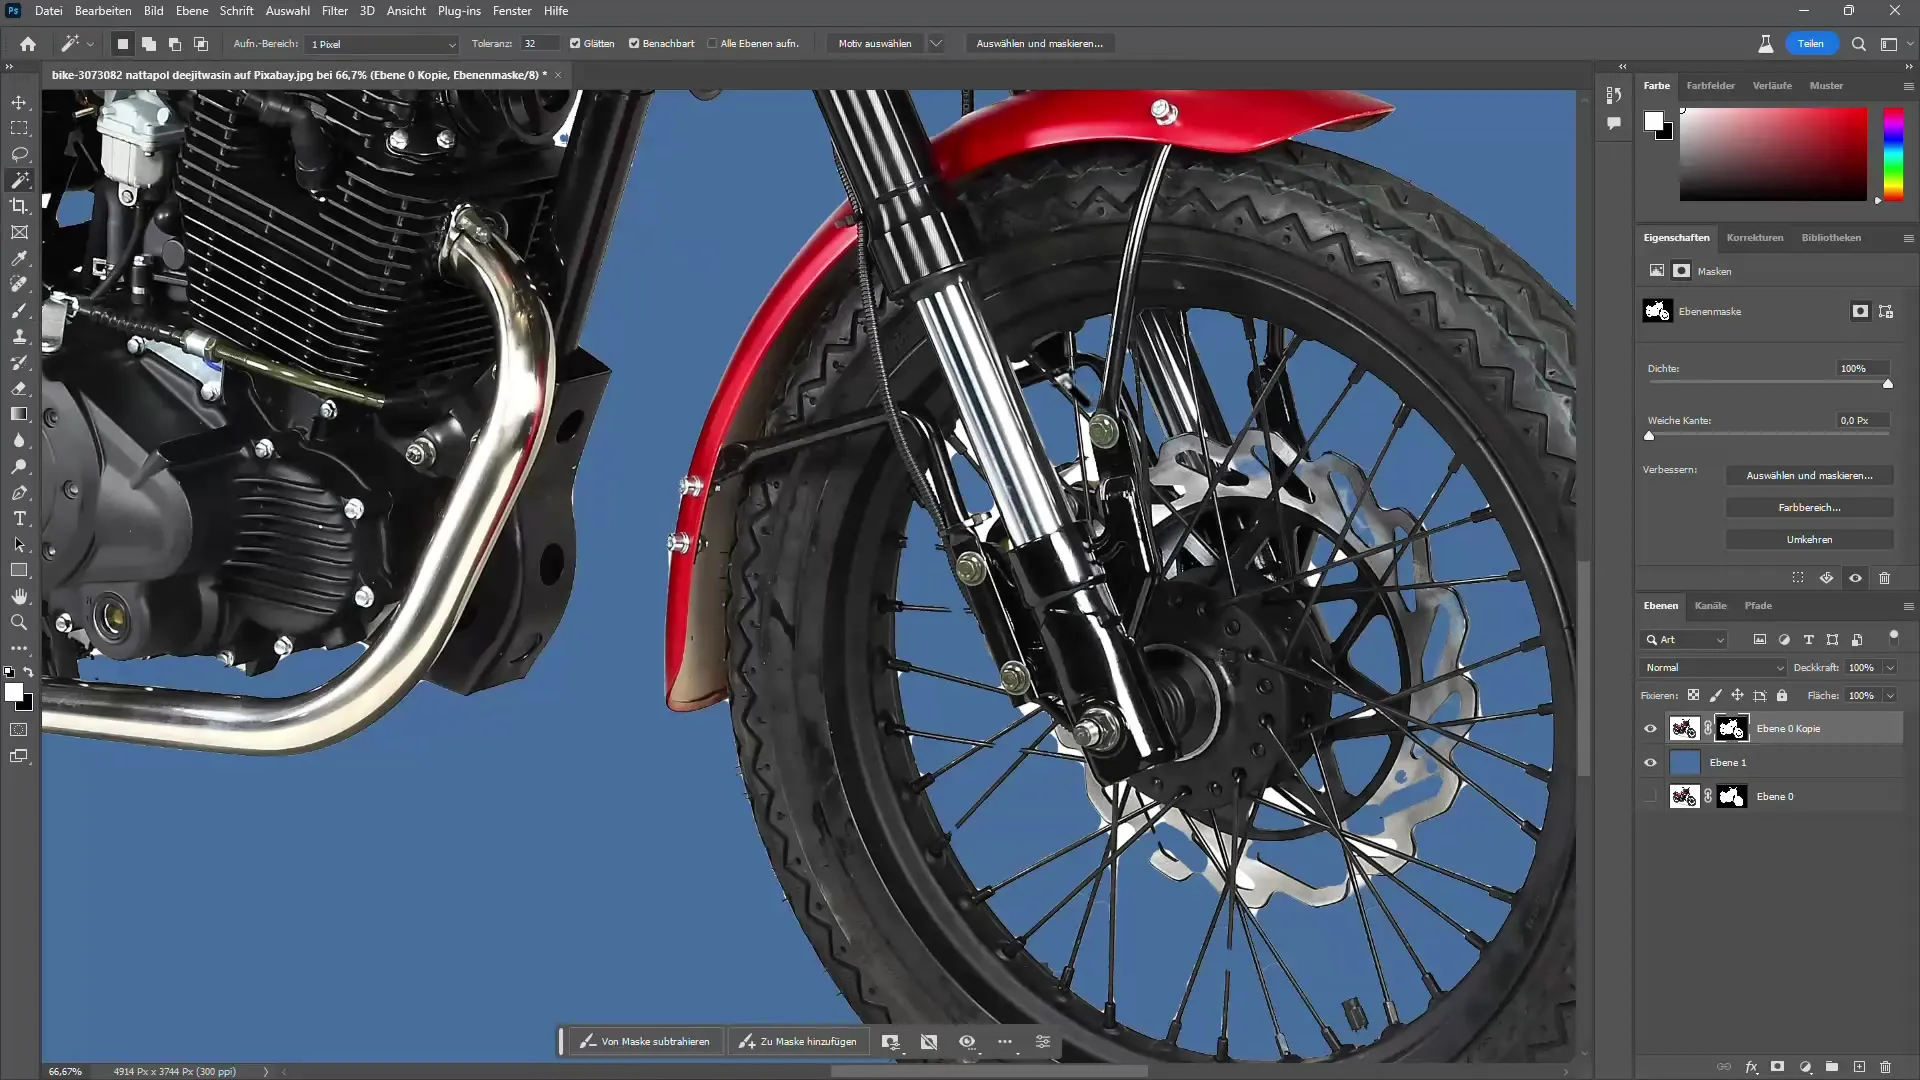
To make sure you have caught everything, you could also use the magic eraser tool. It is fast, but be careful! Test its use to avoid overlapping.
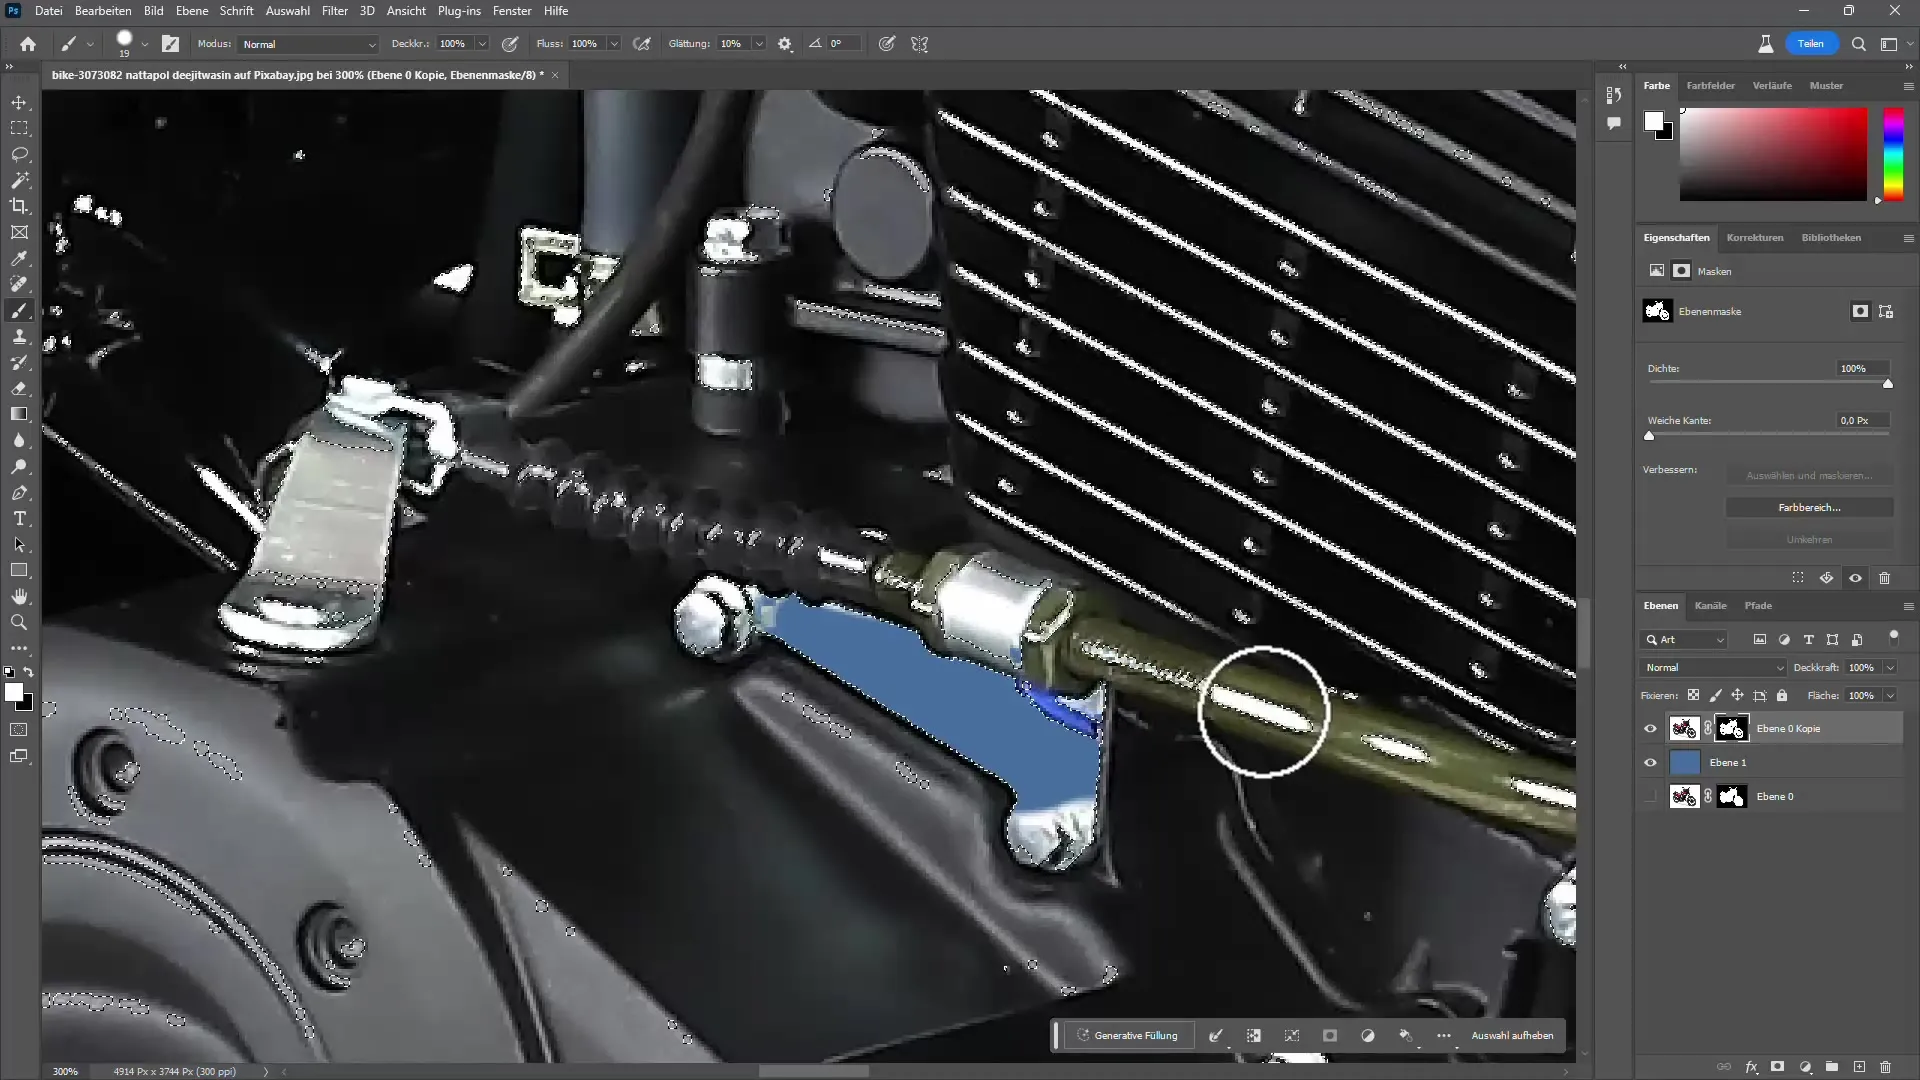
Finally, if you are sure that all white areas have been removed, double check that no details have been lost. Use the brush function again to make small adjustments.
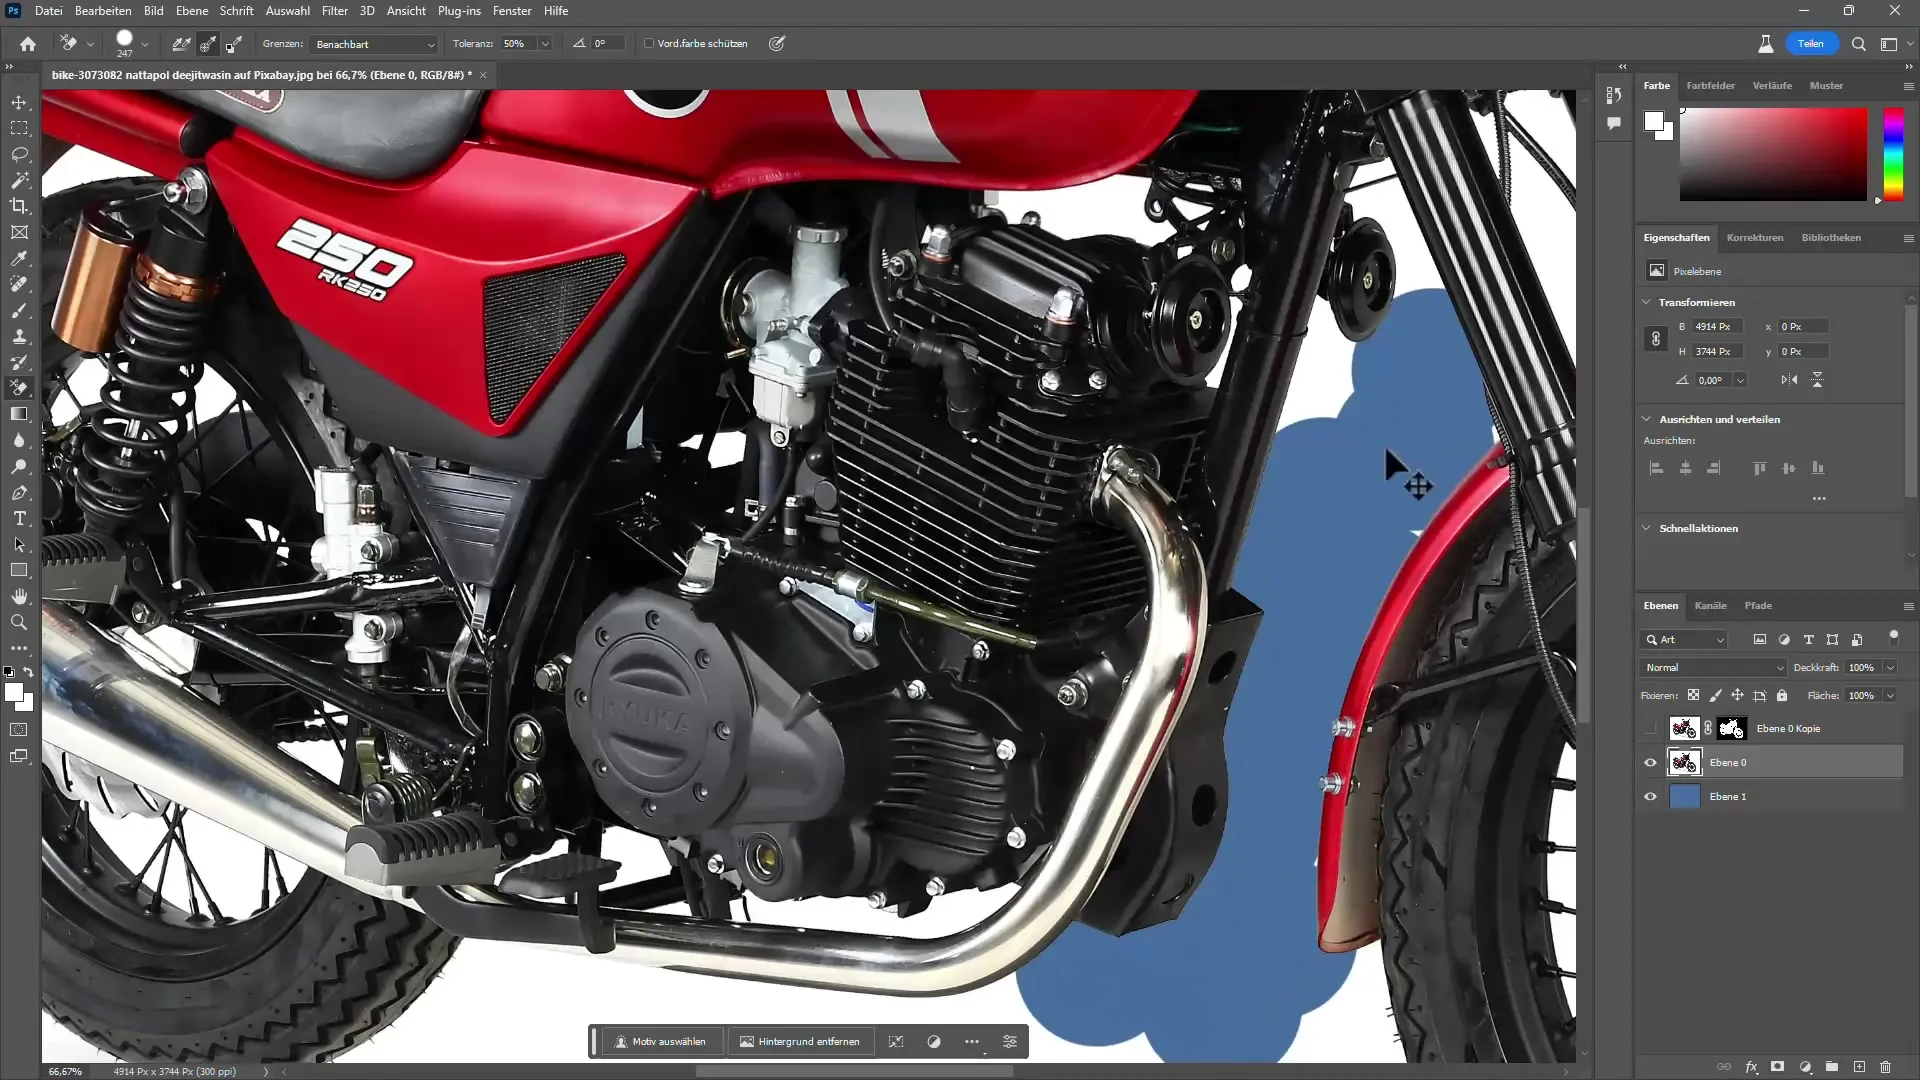
Lastly, once you have isolated all desired elements, you can combine the above techniques to optimize your image. The background eraser tool can also be helpful, but it is destructive; however, with a layer copy, you can do it safely and then create a selection by Ctrl + click on the layer and then create a layer mask for the actual layer where all image information is still there (more details in the video at the top).
Summary
By following these steps and using the right tools in Photoshop, you can efficiently isolate images with complex details. Experiment with a variety of options to achieve the best result.
Frequently Asked Questions
How does the AI-assisted clipping function work in Photoshop?The AI-assisted clipping feature recognizes objects and removes the background based on intelligent algorithms.
What should I do if the spokes are not perfectly isolated?Use tools like "Refine Edge" and "Color Range" to make selective adjustments and remove unwanted white areas.
Can I change the edited images later on?Yes, work with layer masks and non-destructive tools to make changes anytime without losing the original pixels.


