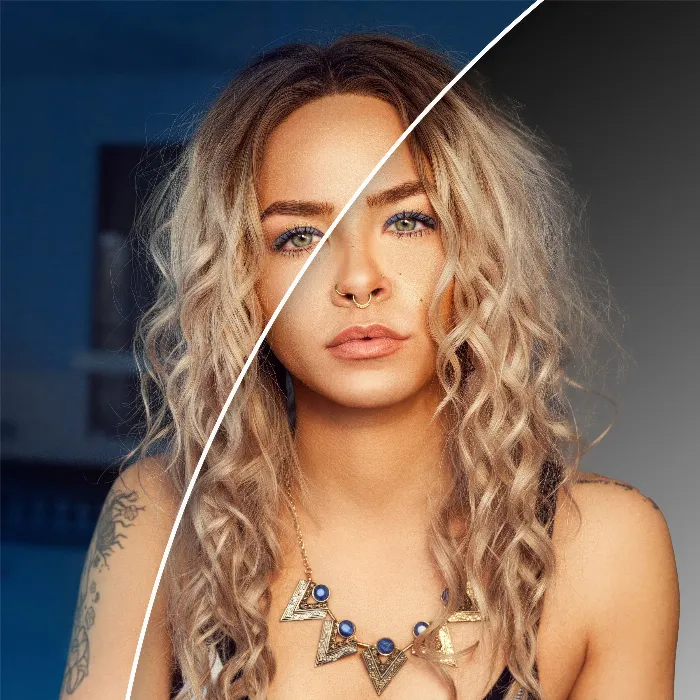
Masking hair in Photoshop is considered one of the most challenging tasks in image editing. In the past, it was often tedious to isolate fine hairs without damaging the image. But with the latest developments in Photoshop and the integration of AI technologies, this process has significantly improved. In this tutorial, I will show you how to effectively mask hair by using the new AI-powered selection tools and optimizing them with simple techniques.
Key Takeaways
- Photoshop offers powerful AI-powered selection tools.
- By refining the selection and applying masks, you can achieve clean results.
- Color decontamination helps remove unwanted color tones.
- Manual adjustments, if needed, enhance the final results.
Step-by-Step Guide
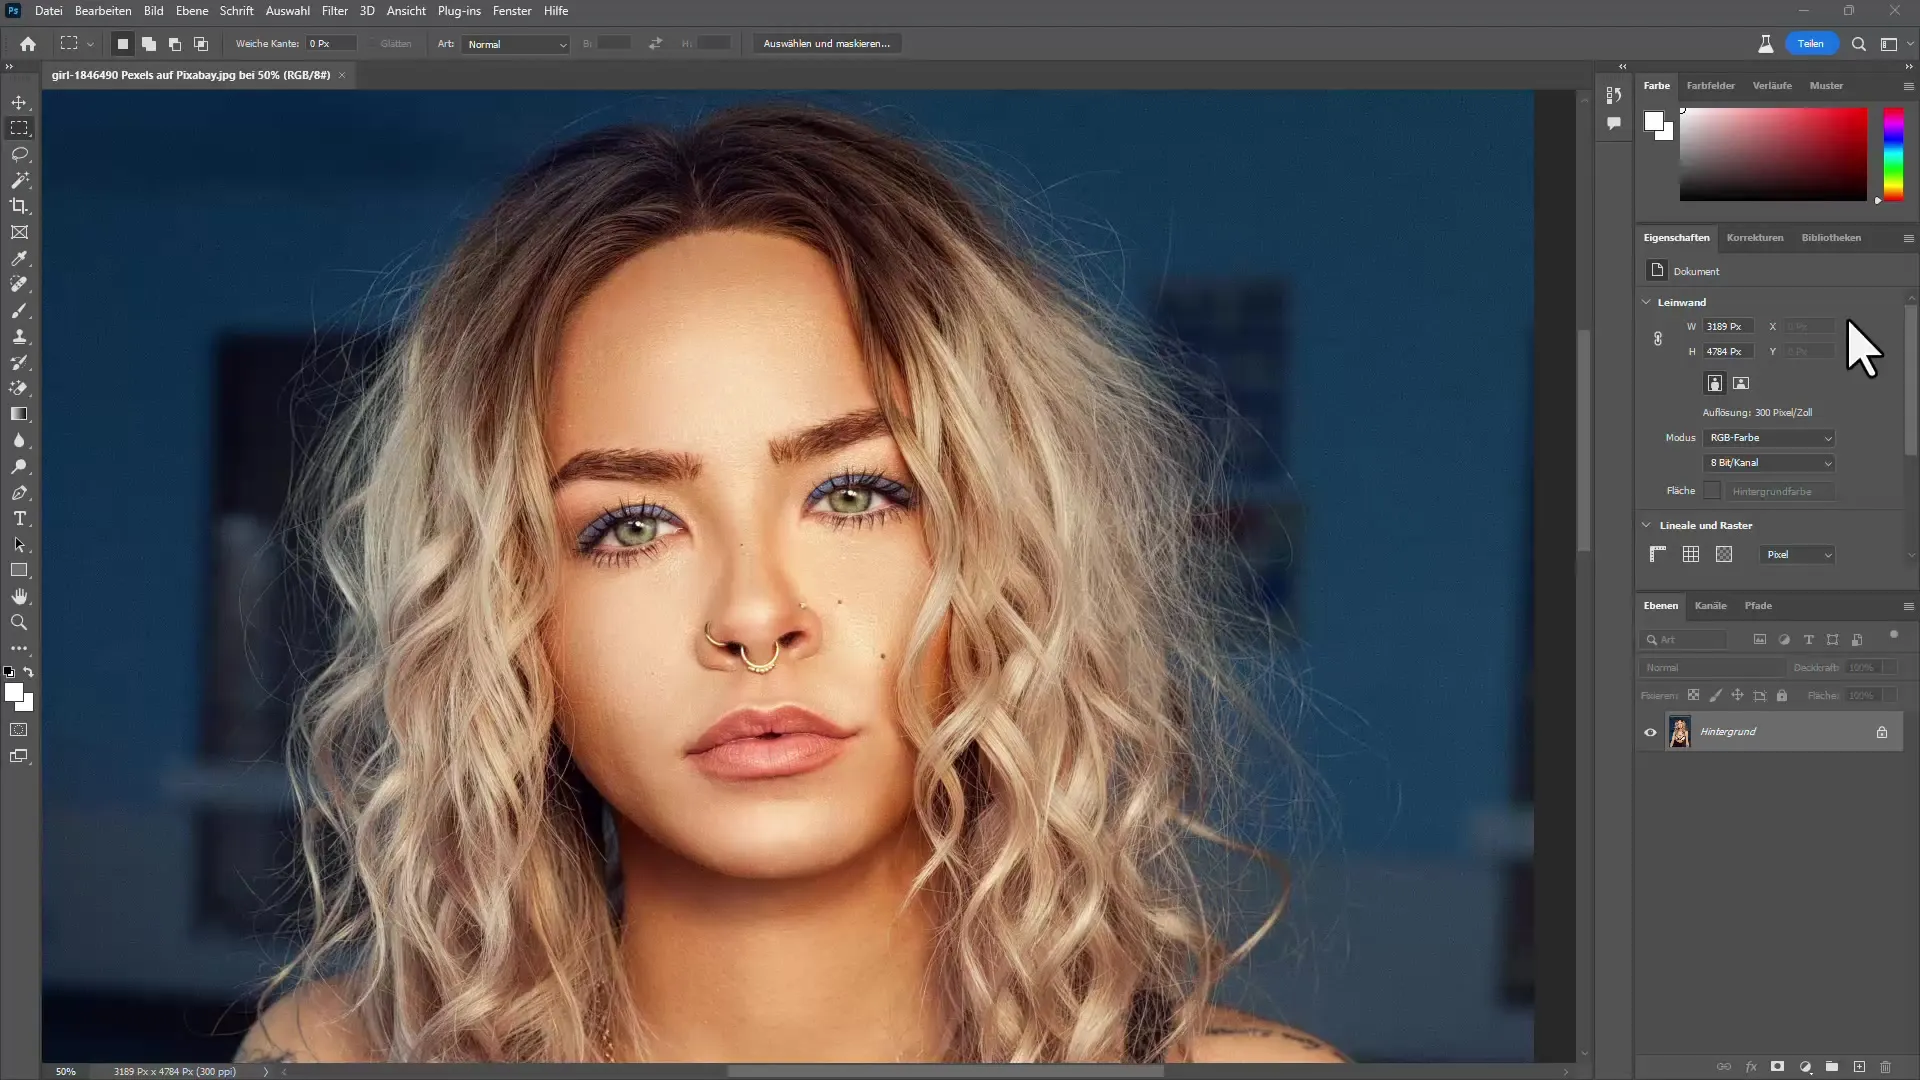
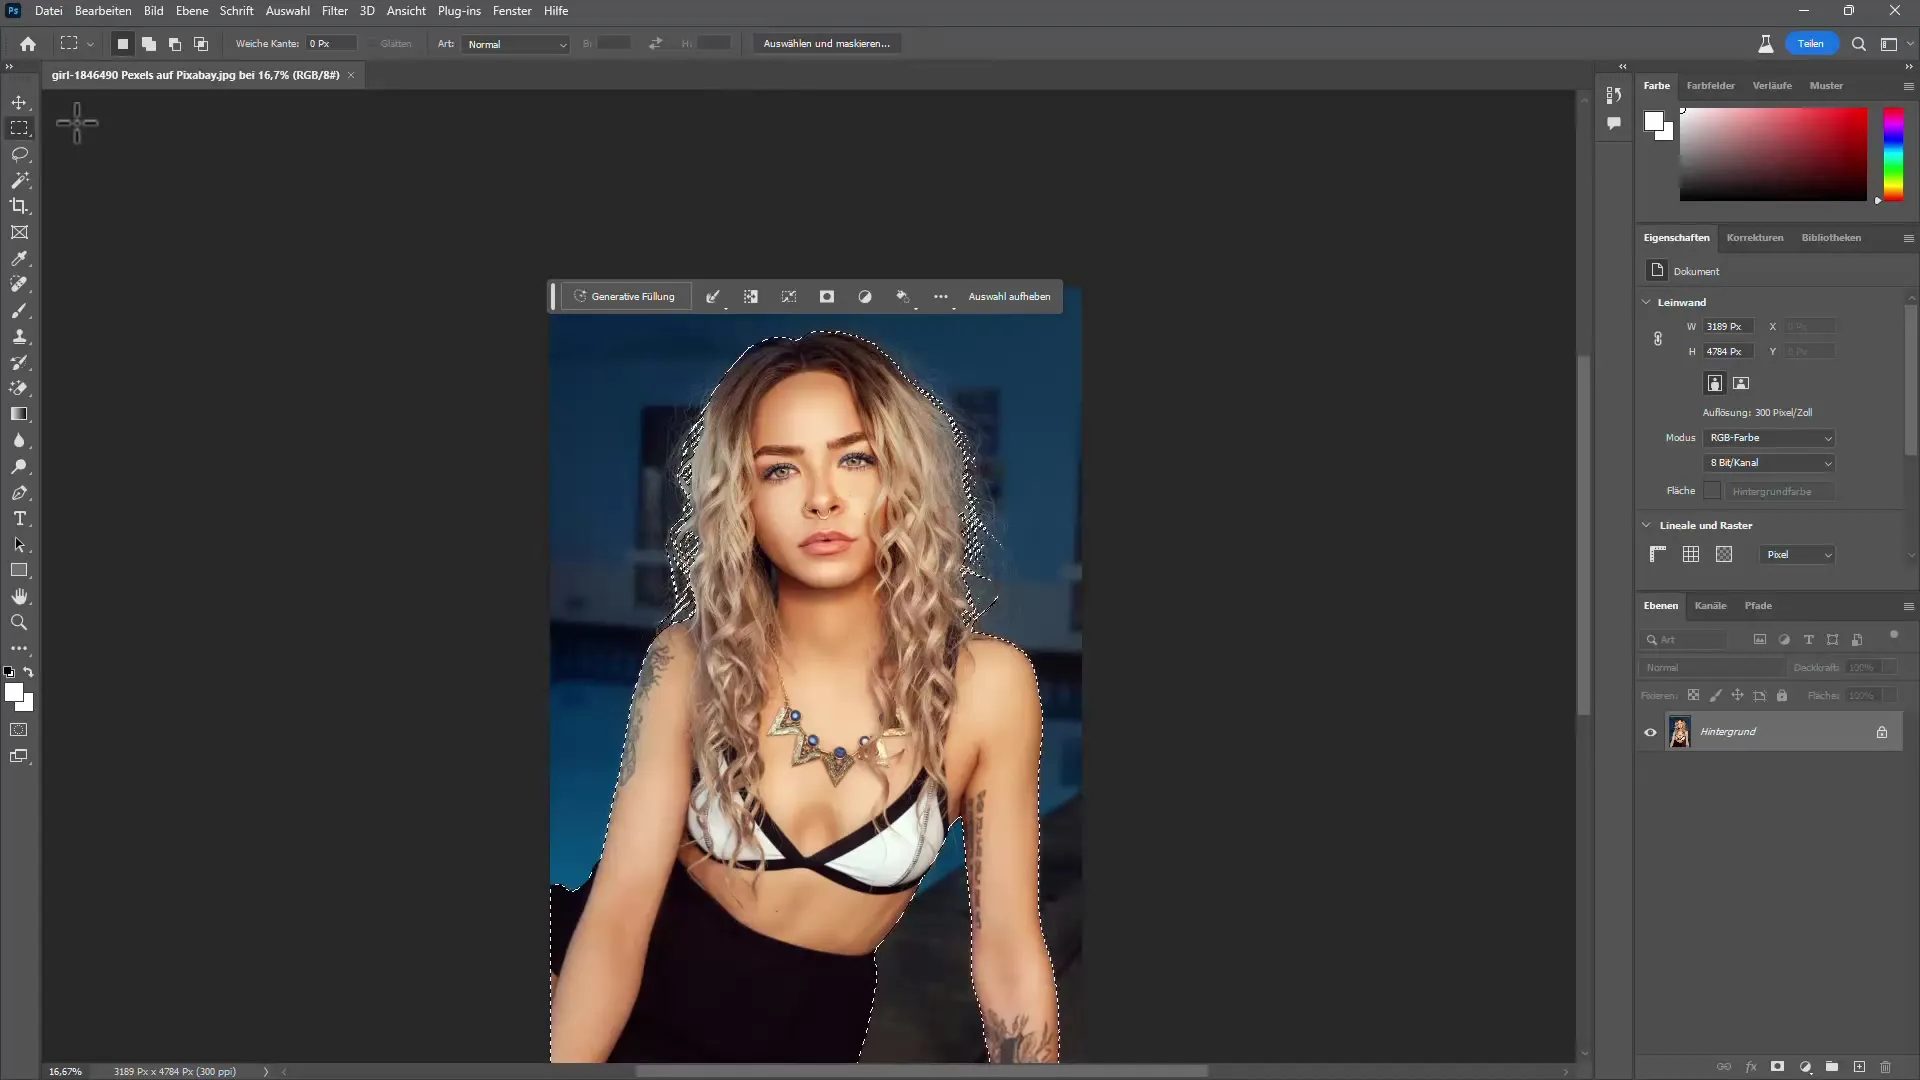
First, open your image in Photoshop and start by selecting the figure whose hair you want to mask. You can use the "Subject Select" function, which significantly simplifies your task.
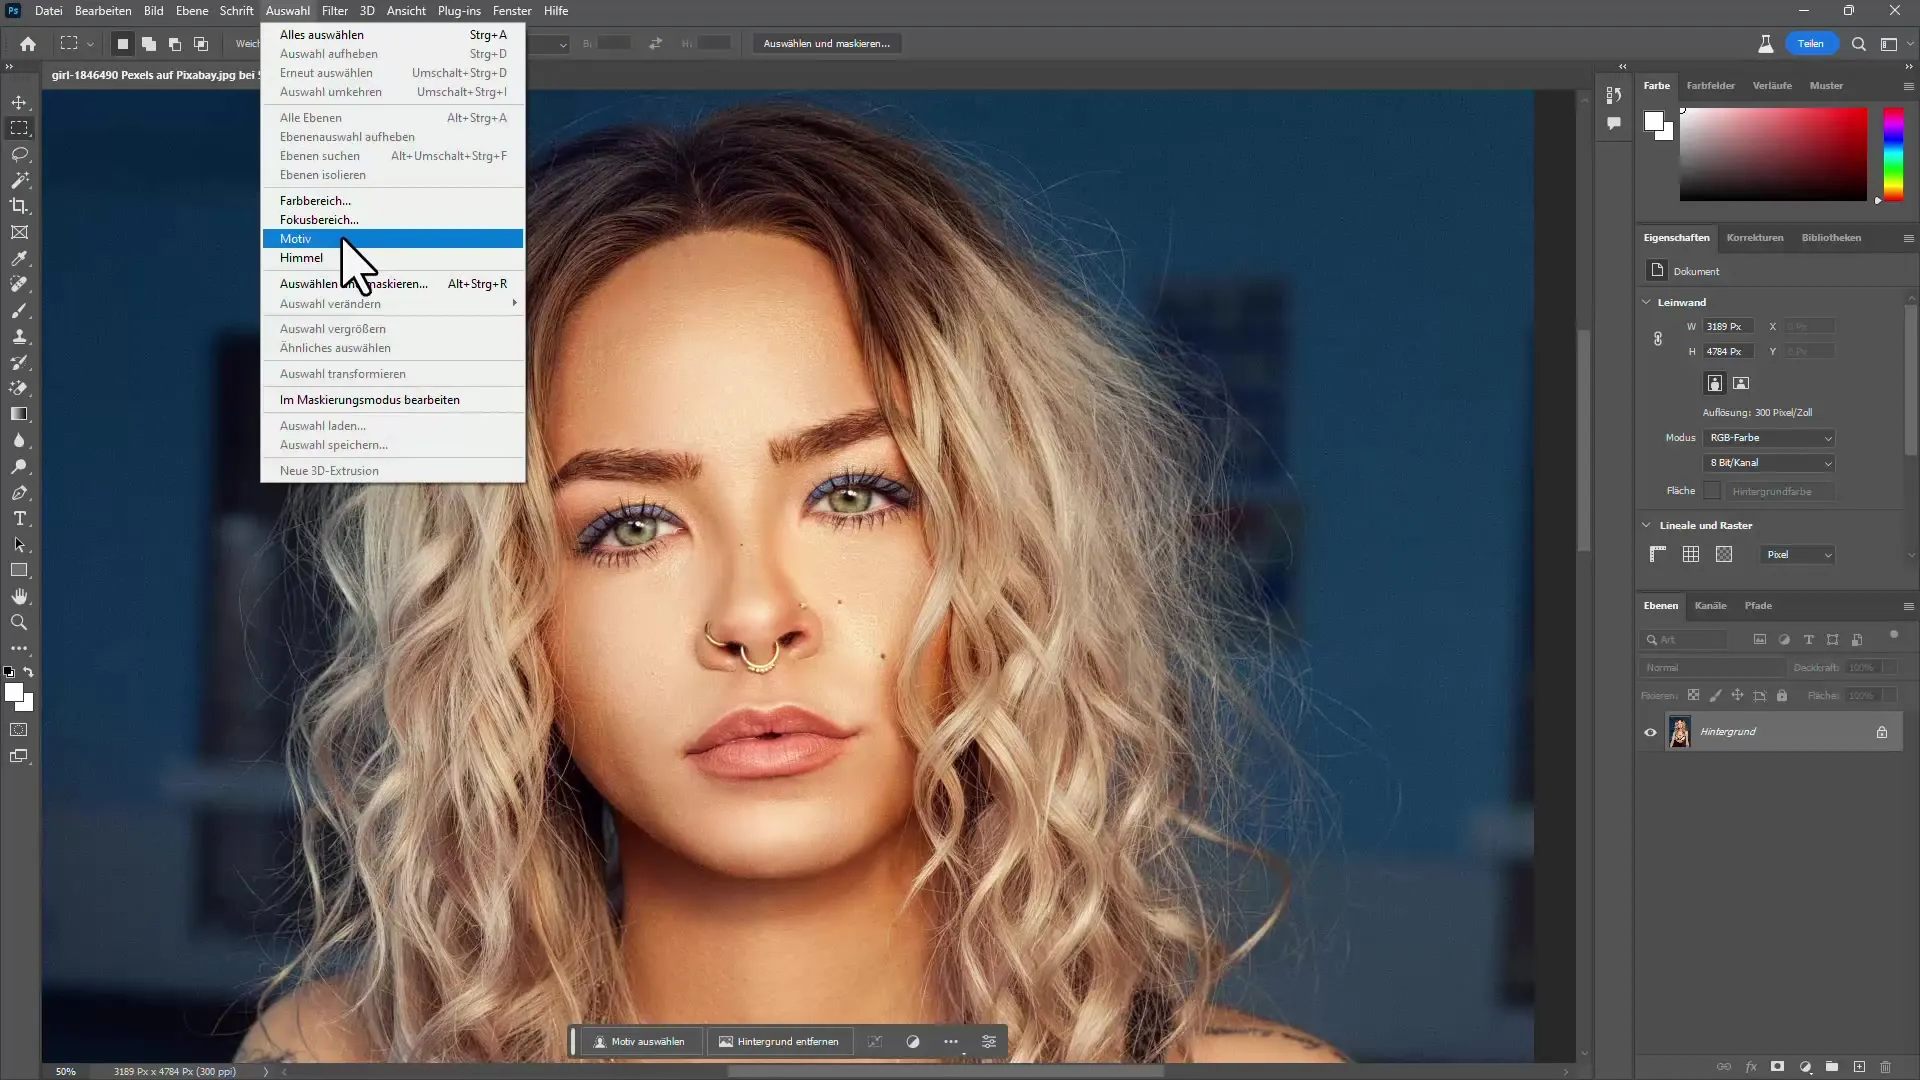
Go to "Select" in the top menu and click on "Subject." Photoshop will now automatically attempt to select the person in the image using AI.
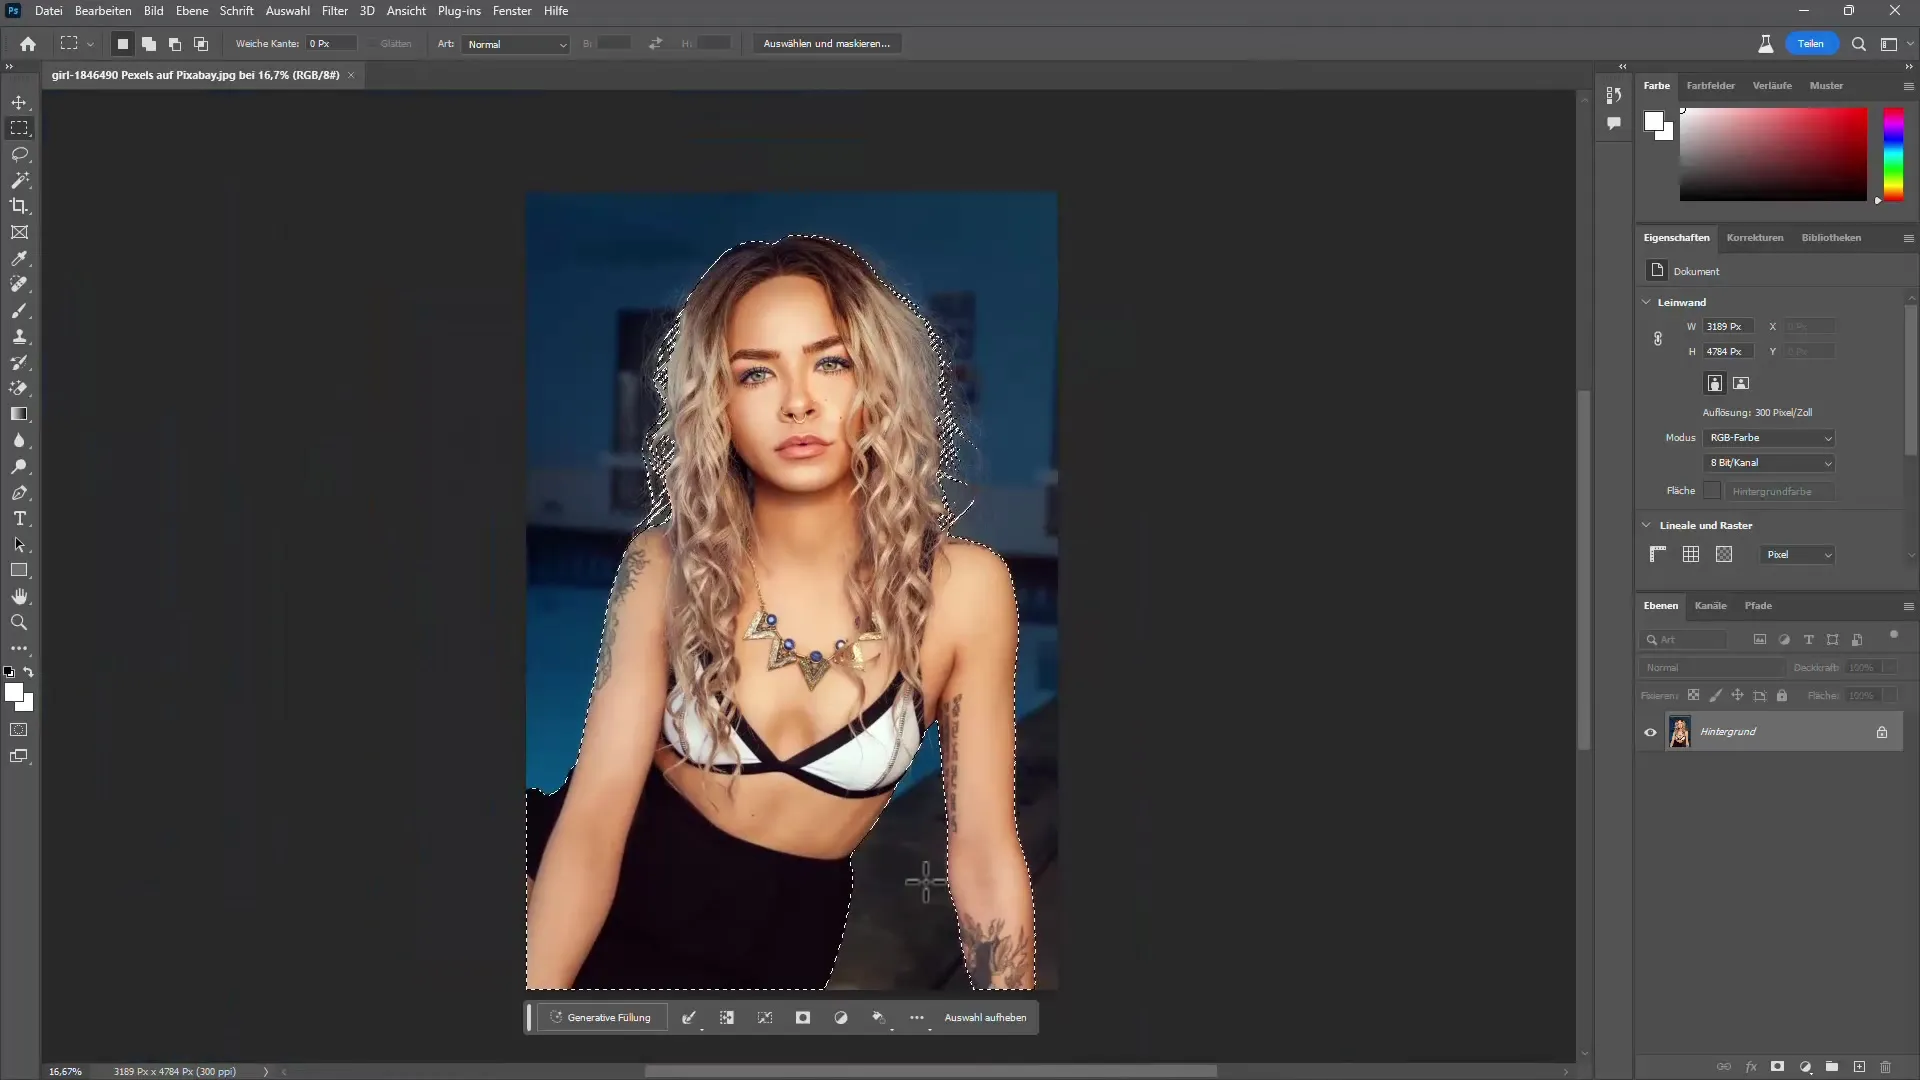
Once the selection is made, zoom out a bit to get an overview of how well the selection has worked. You will notice that the background is usually well detected.
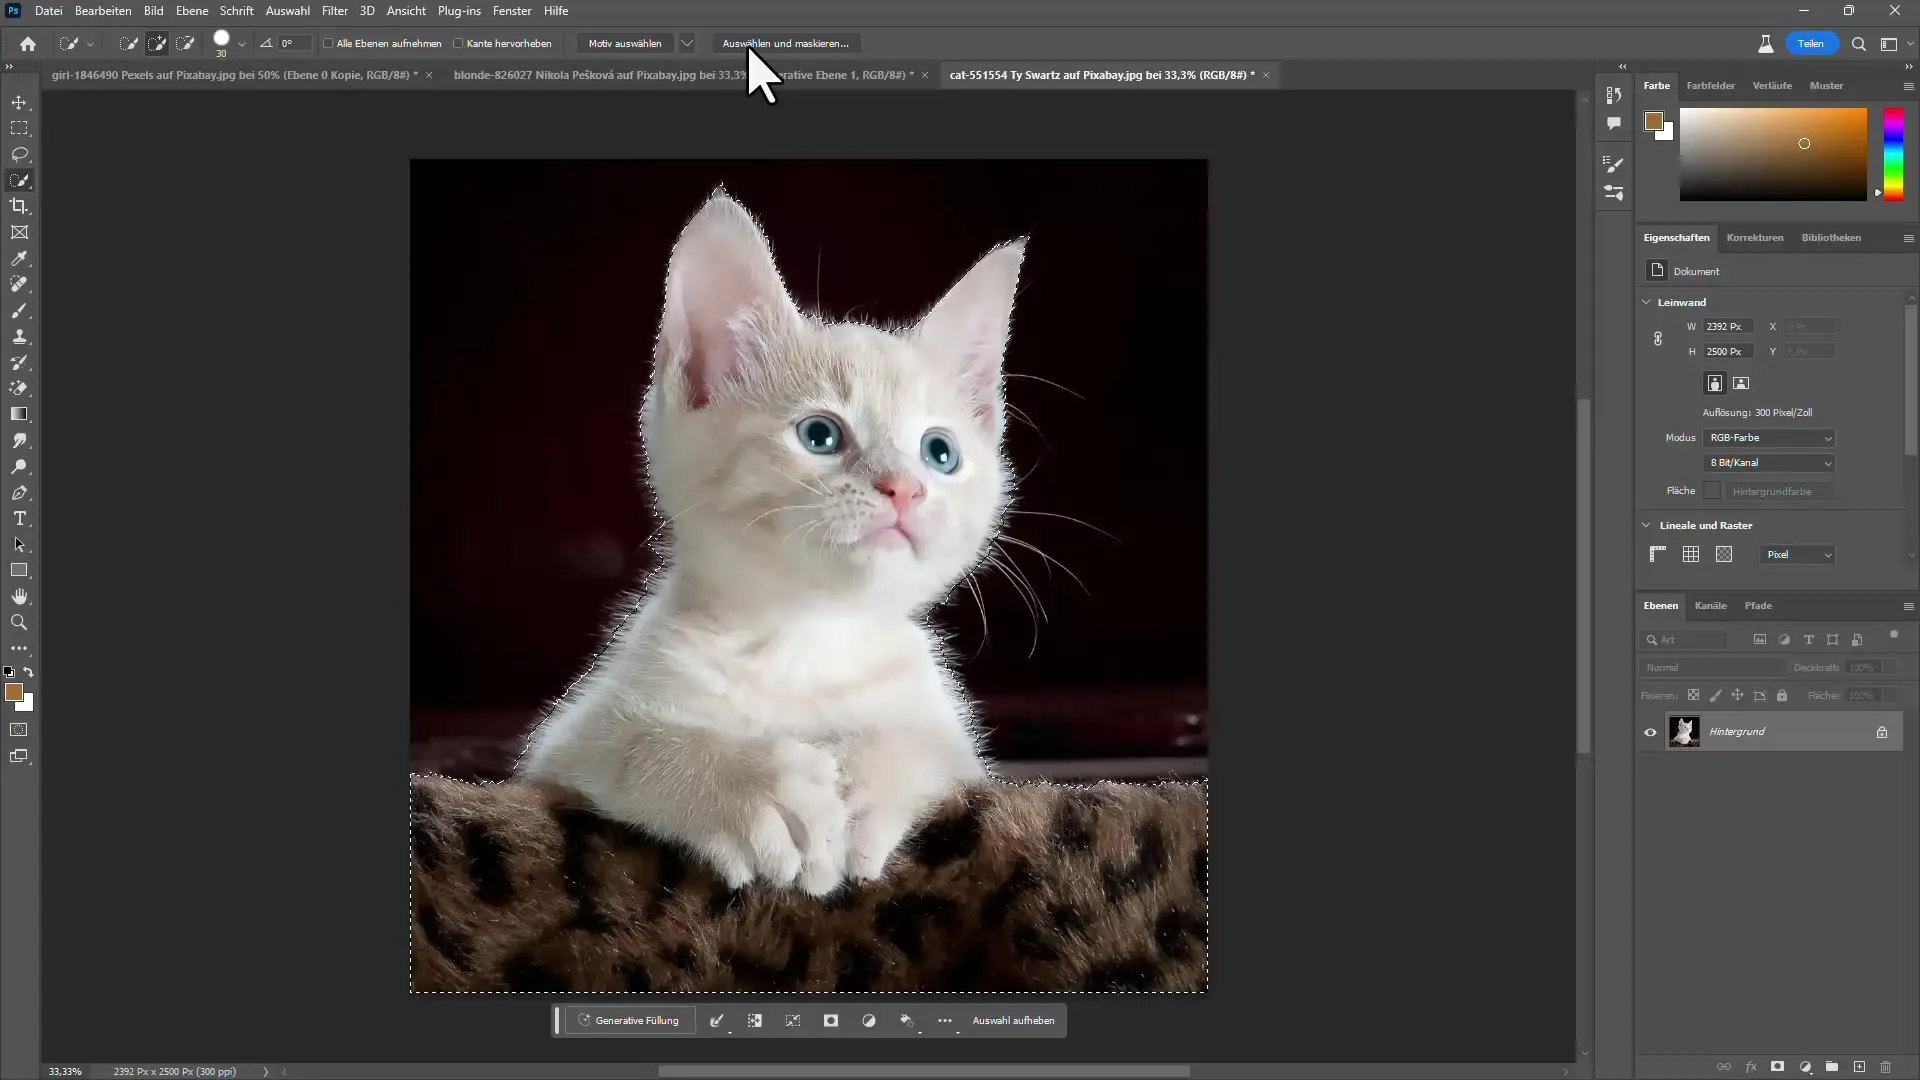
To refine the selection, go to "Select and Mask." This is a crucial step in editing the edges, especially in challenging hair areas.
Here you can activate different views to see what is masked. Also, use the "Refine Edge" feature to further refine the strands of hair.
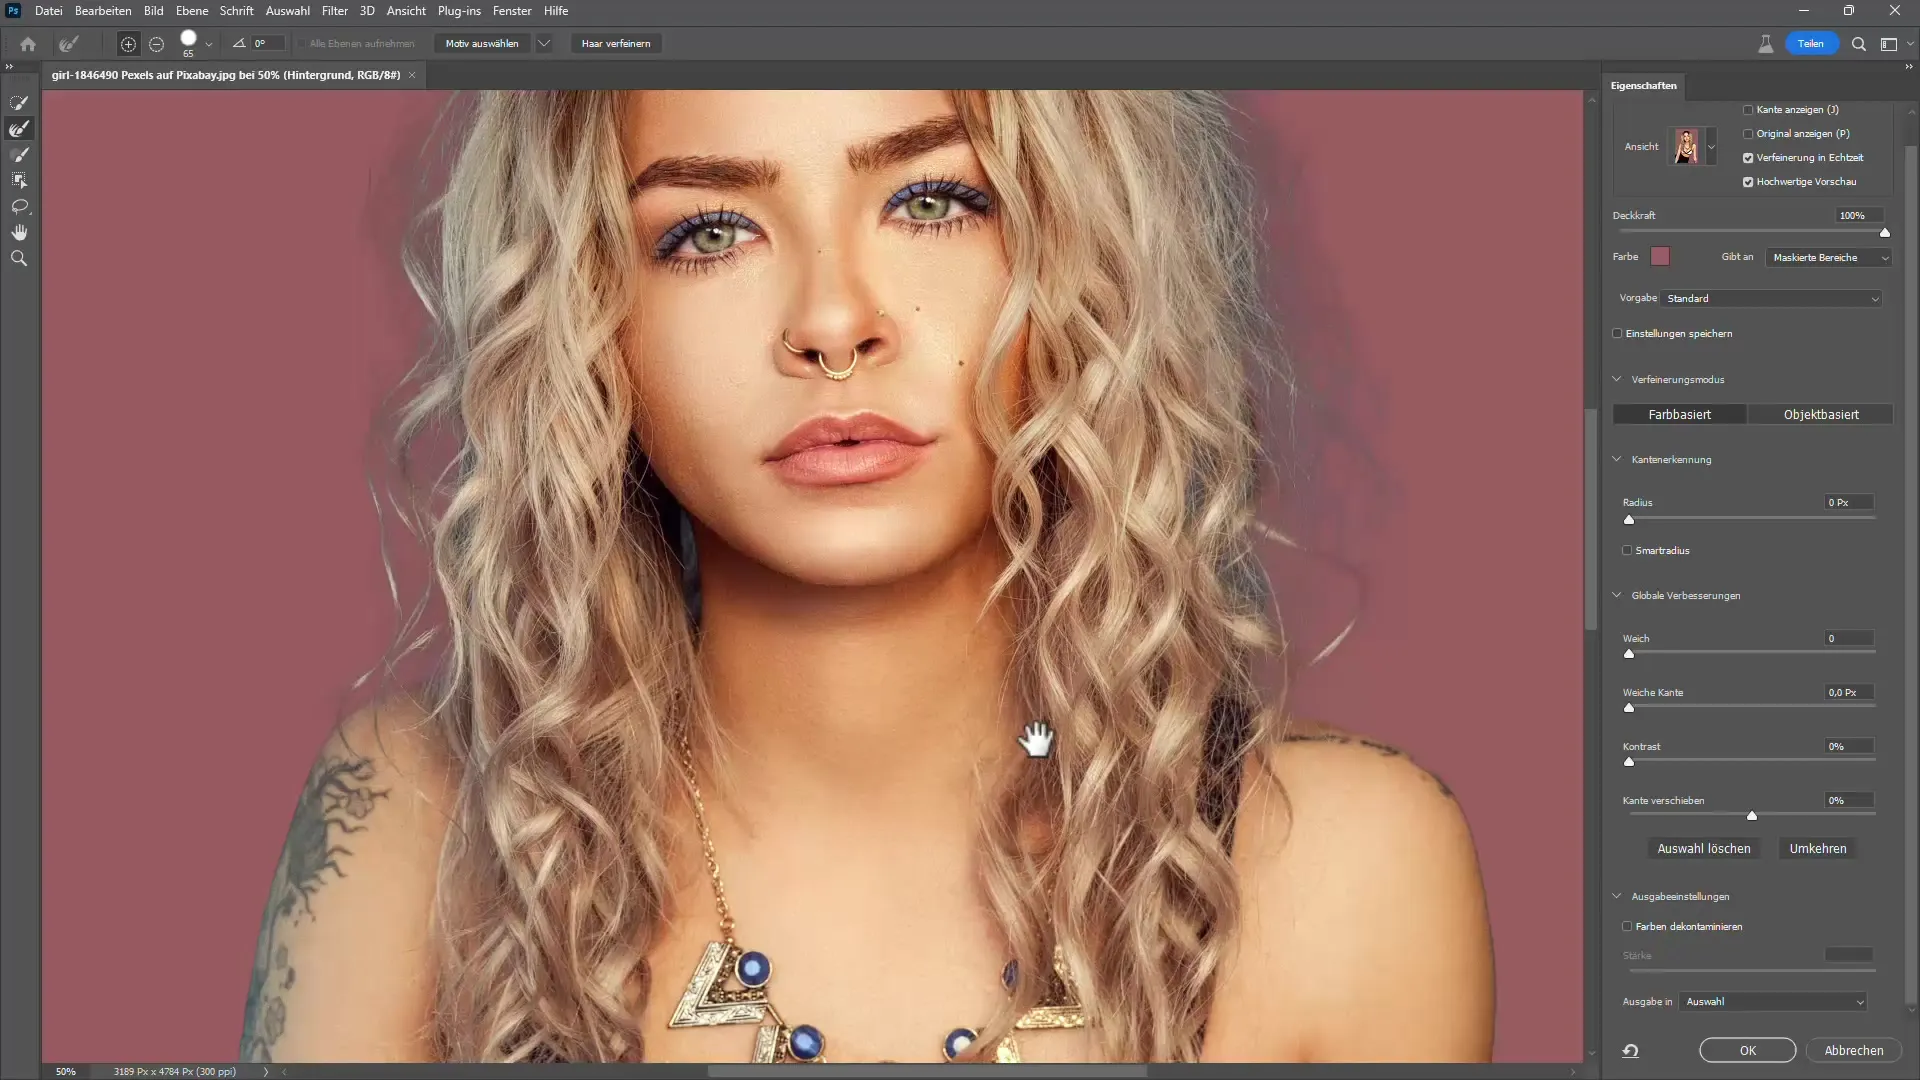
Now you are ready to output your result in a layer mask. Click on "Output To" and select "Layer Mask" to save the edited selection as a mask.
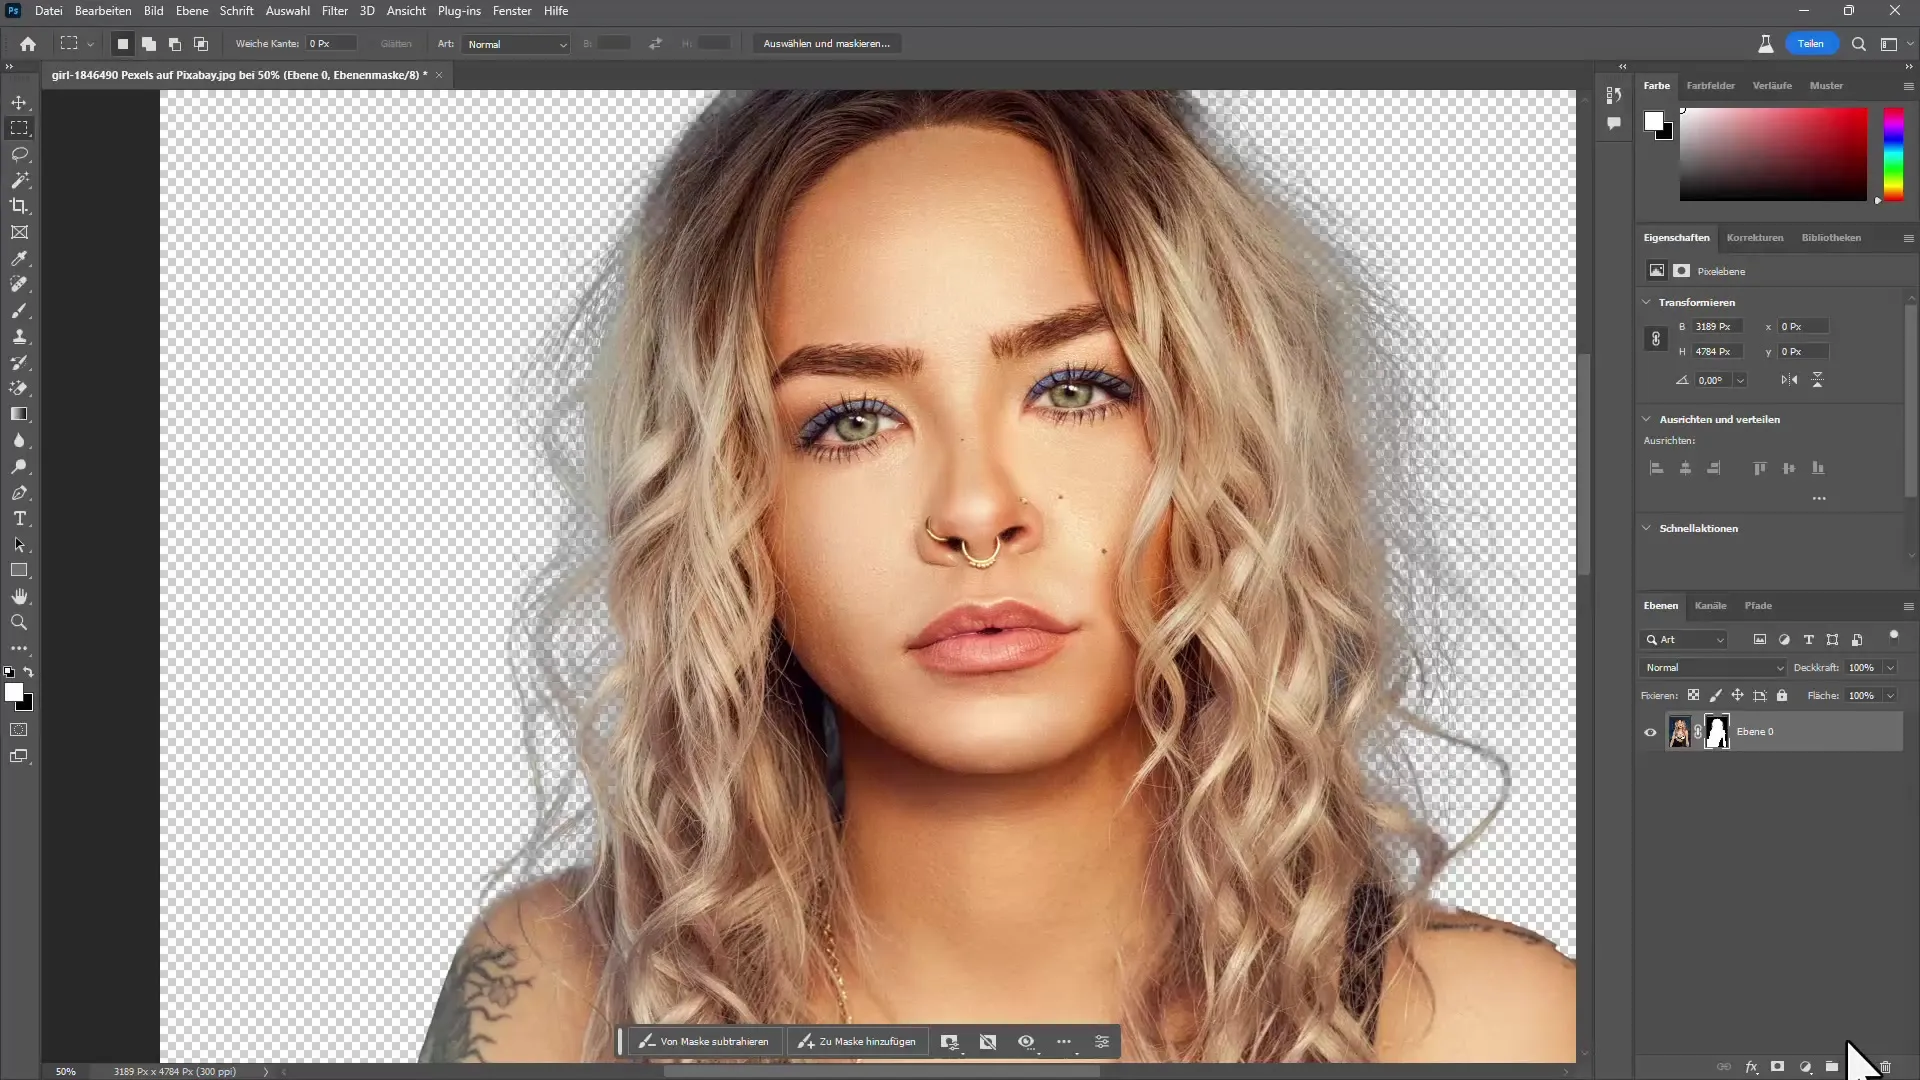
To correct any existing errors, you can use the layer mask to adjust specific details. With a soft brush, you can restore areas that may have been lost.
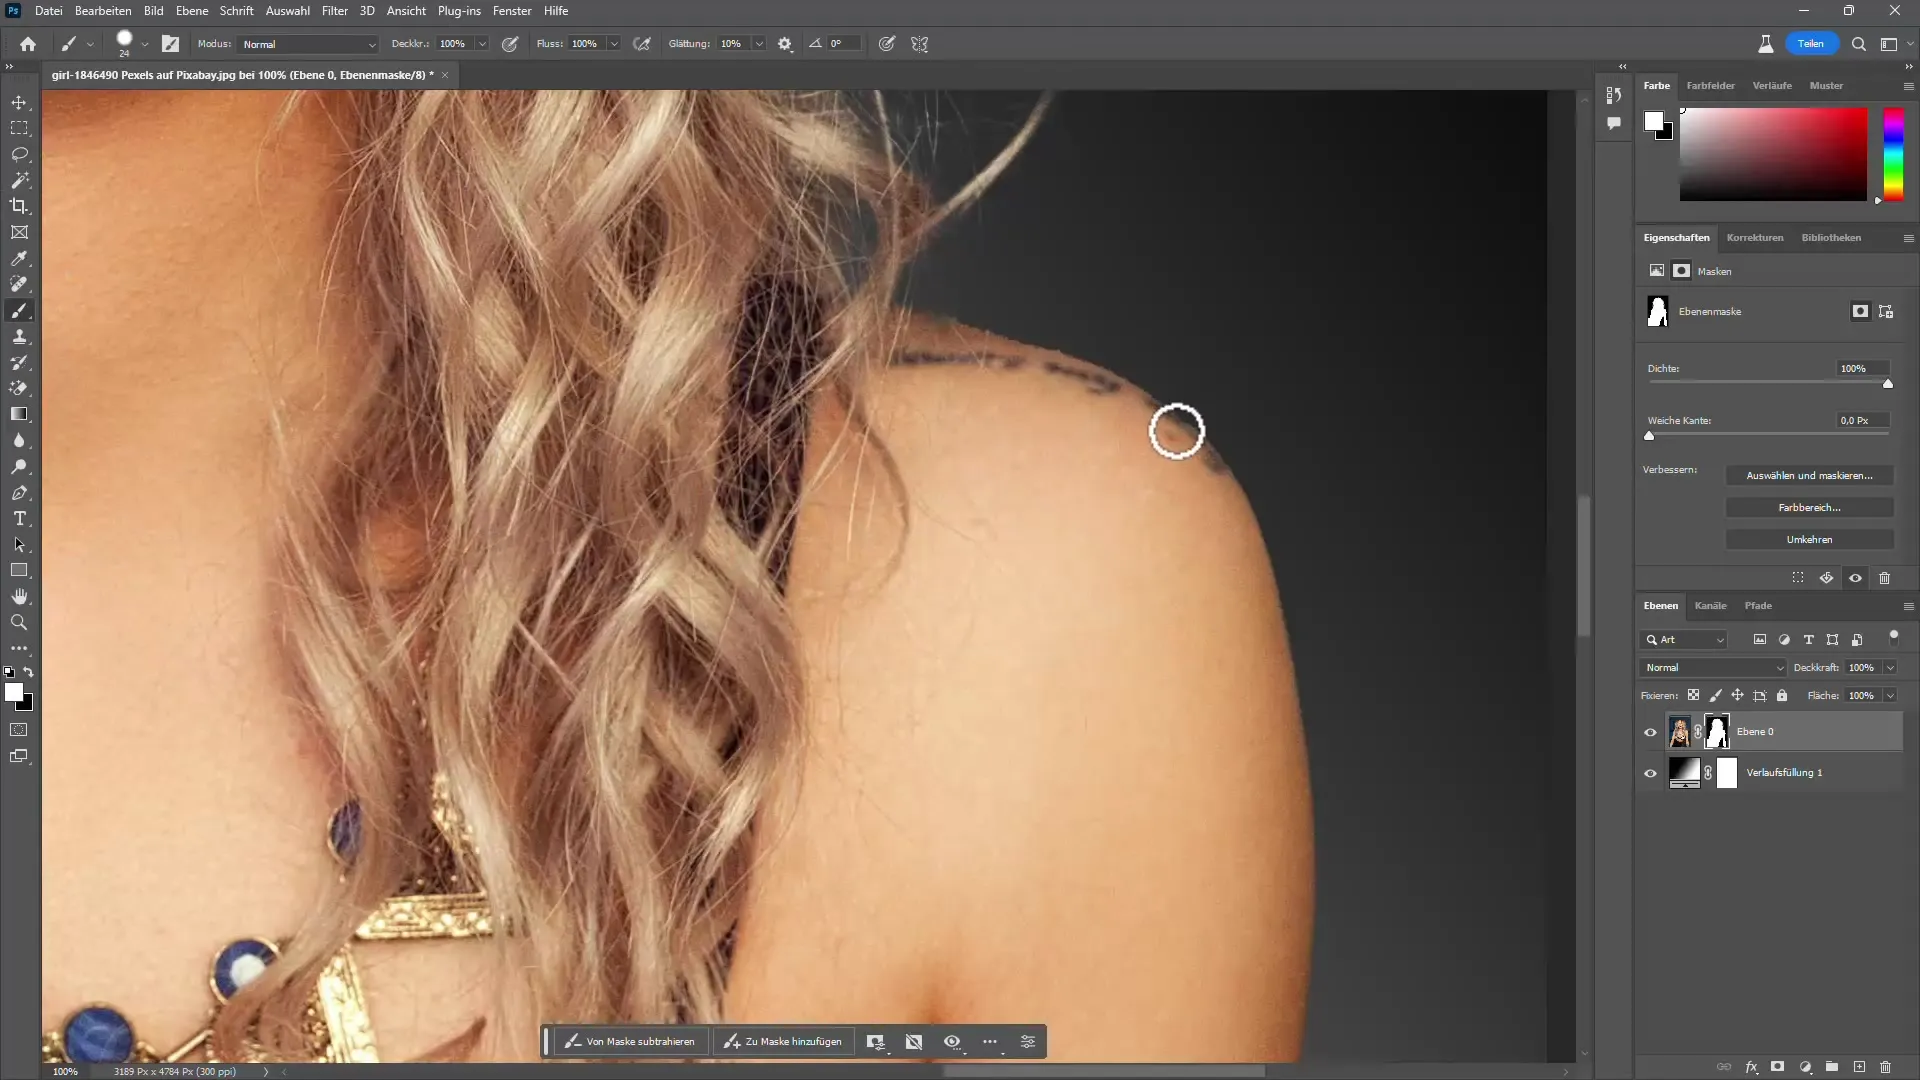
Have you noticed any unpleasant edges or colors along the hair? Then create a new layer and work with "Color Decontamination" to remove unwanted color tones.
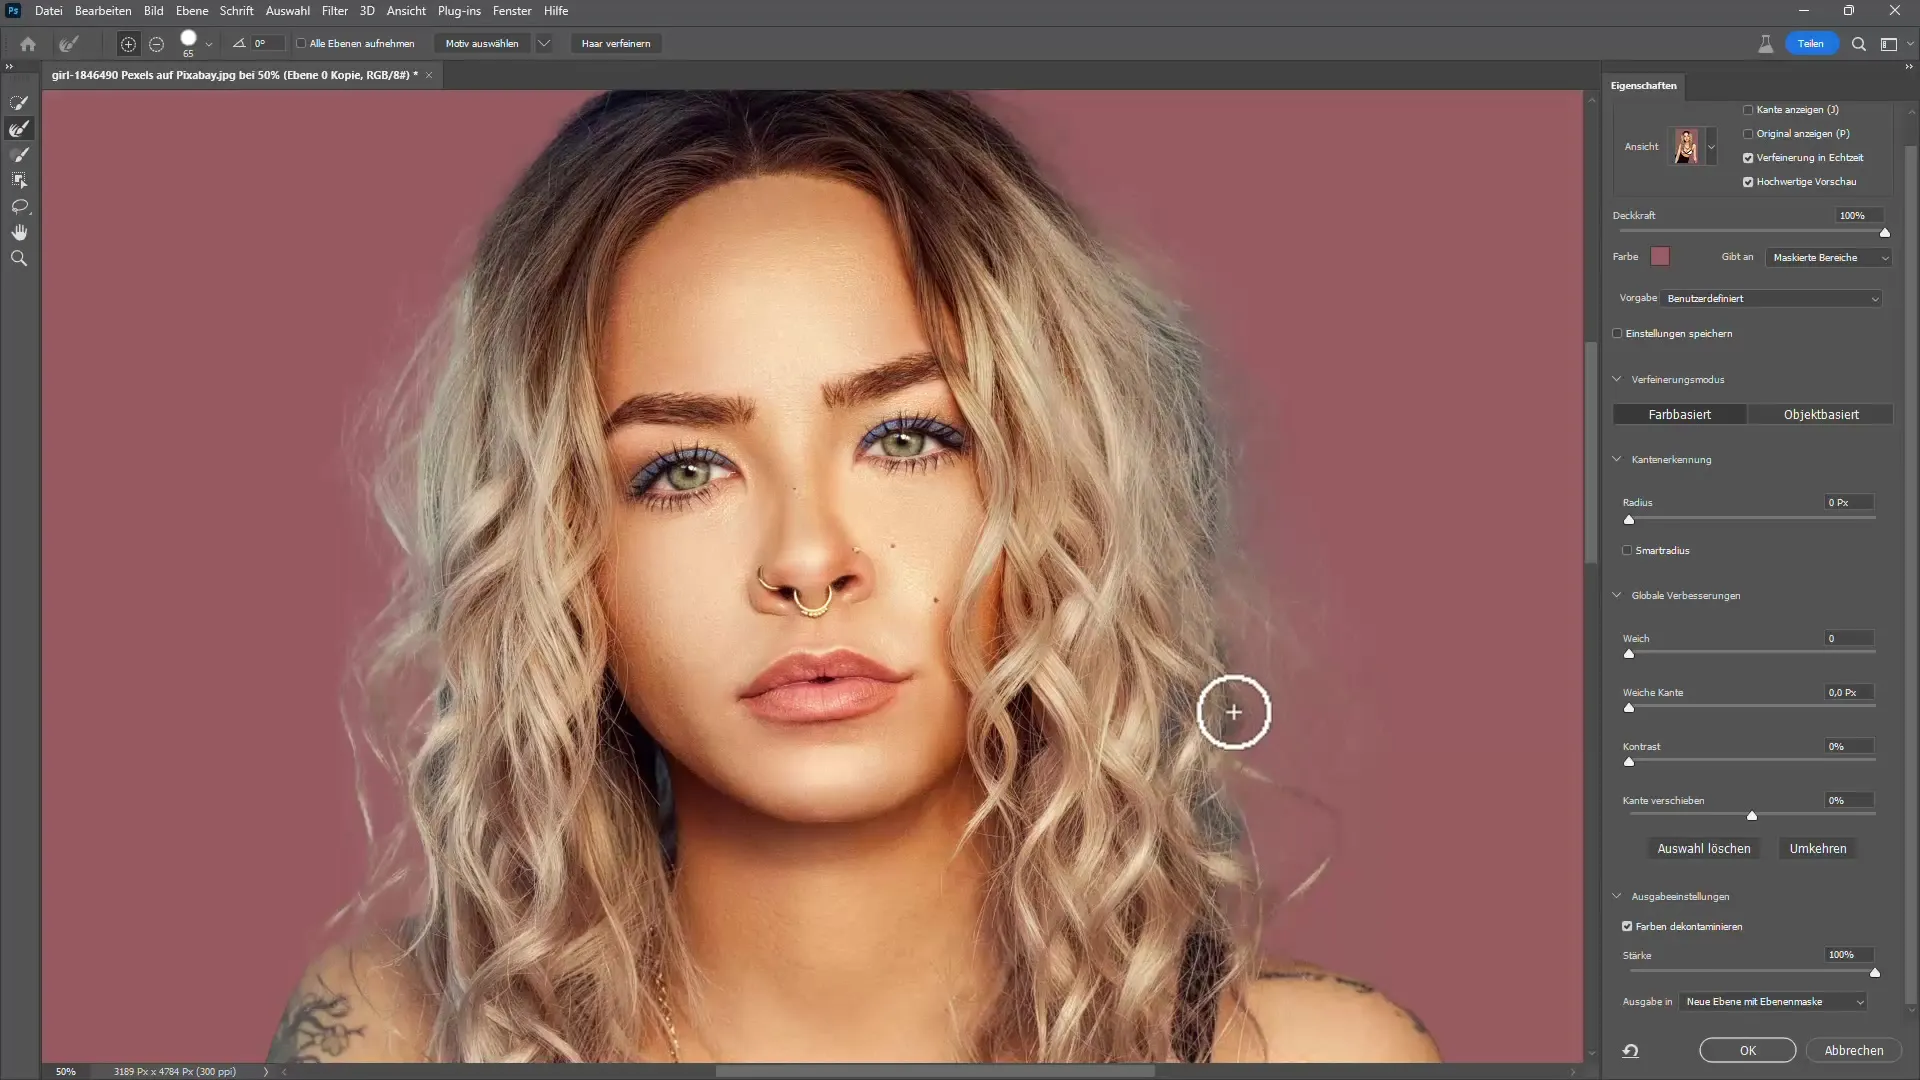
If you are not completely satisfied with the selection, repeat the steps. You can edit the selection at any time by adjusting the existing layer mask and reapplying the "Subject Select" function.
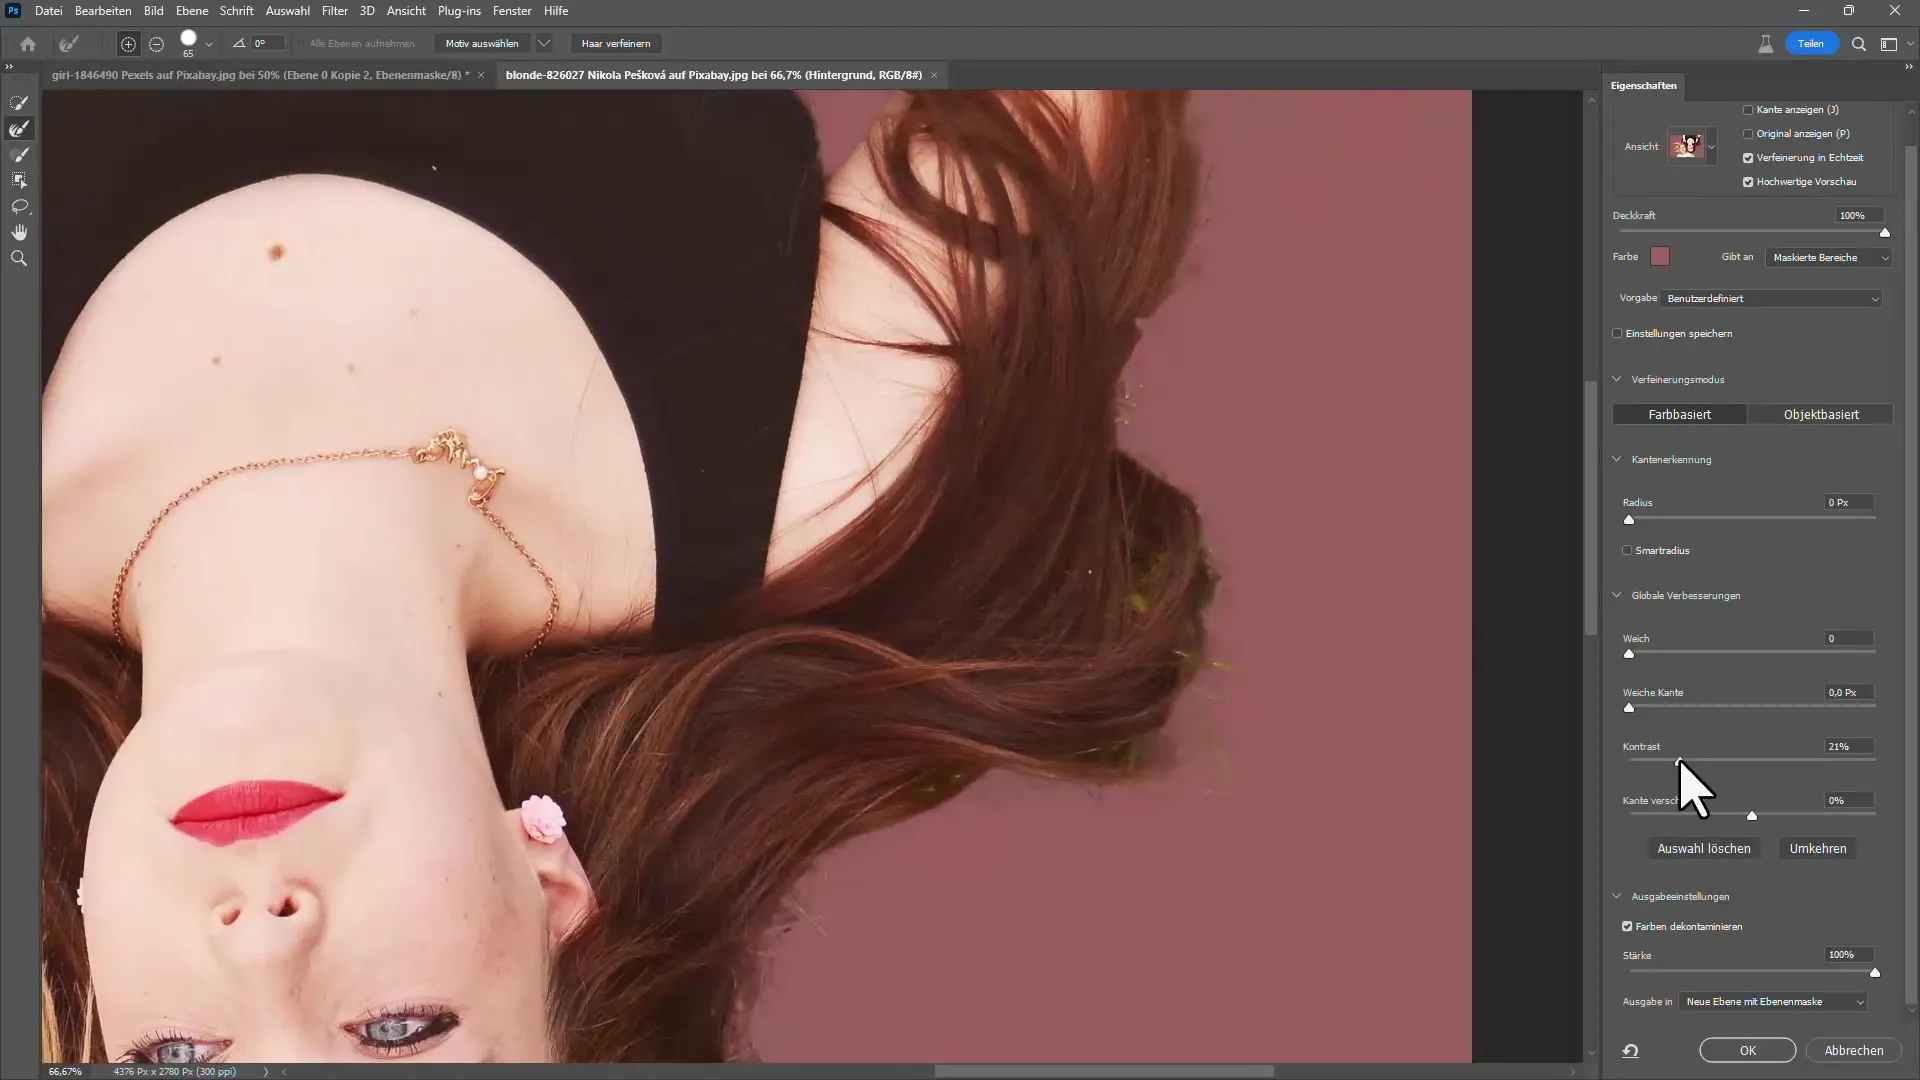
To ensure that the hair color looks realistic, you can adjust the new colors using the layer mask and refine the tones using the brush tool. It's best to create a layer with the Hue mode beforehand and then simply brush with the desired color.
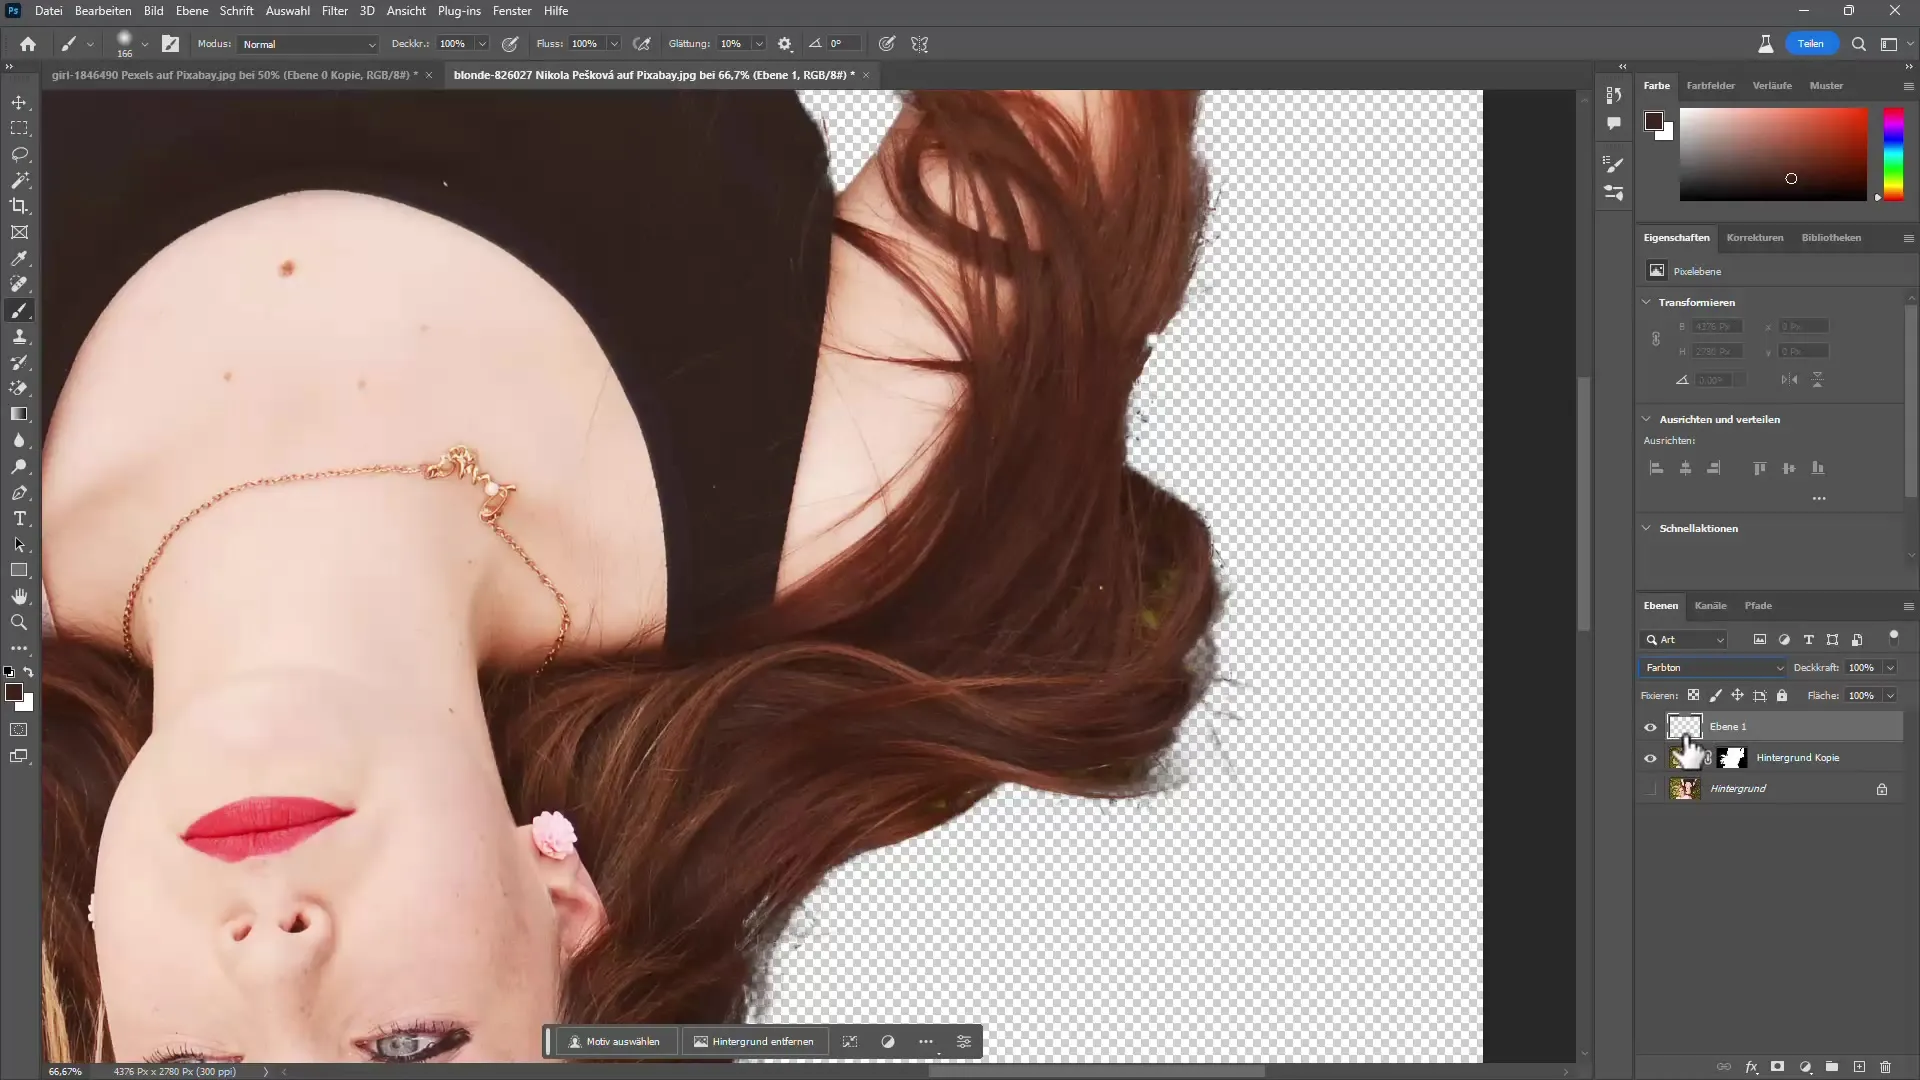
Another useful step is to use a new brush from TutKit to fill in gaps in the hair or add fine strands. This can significantly improve your masking result.
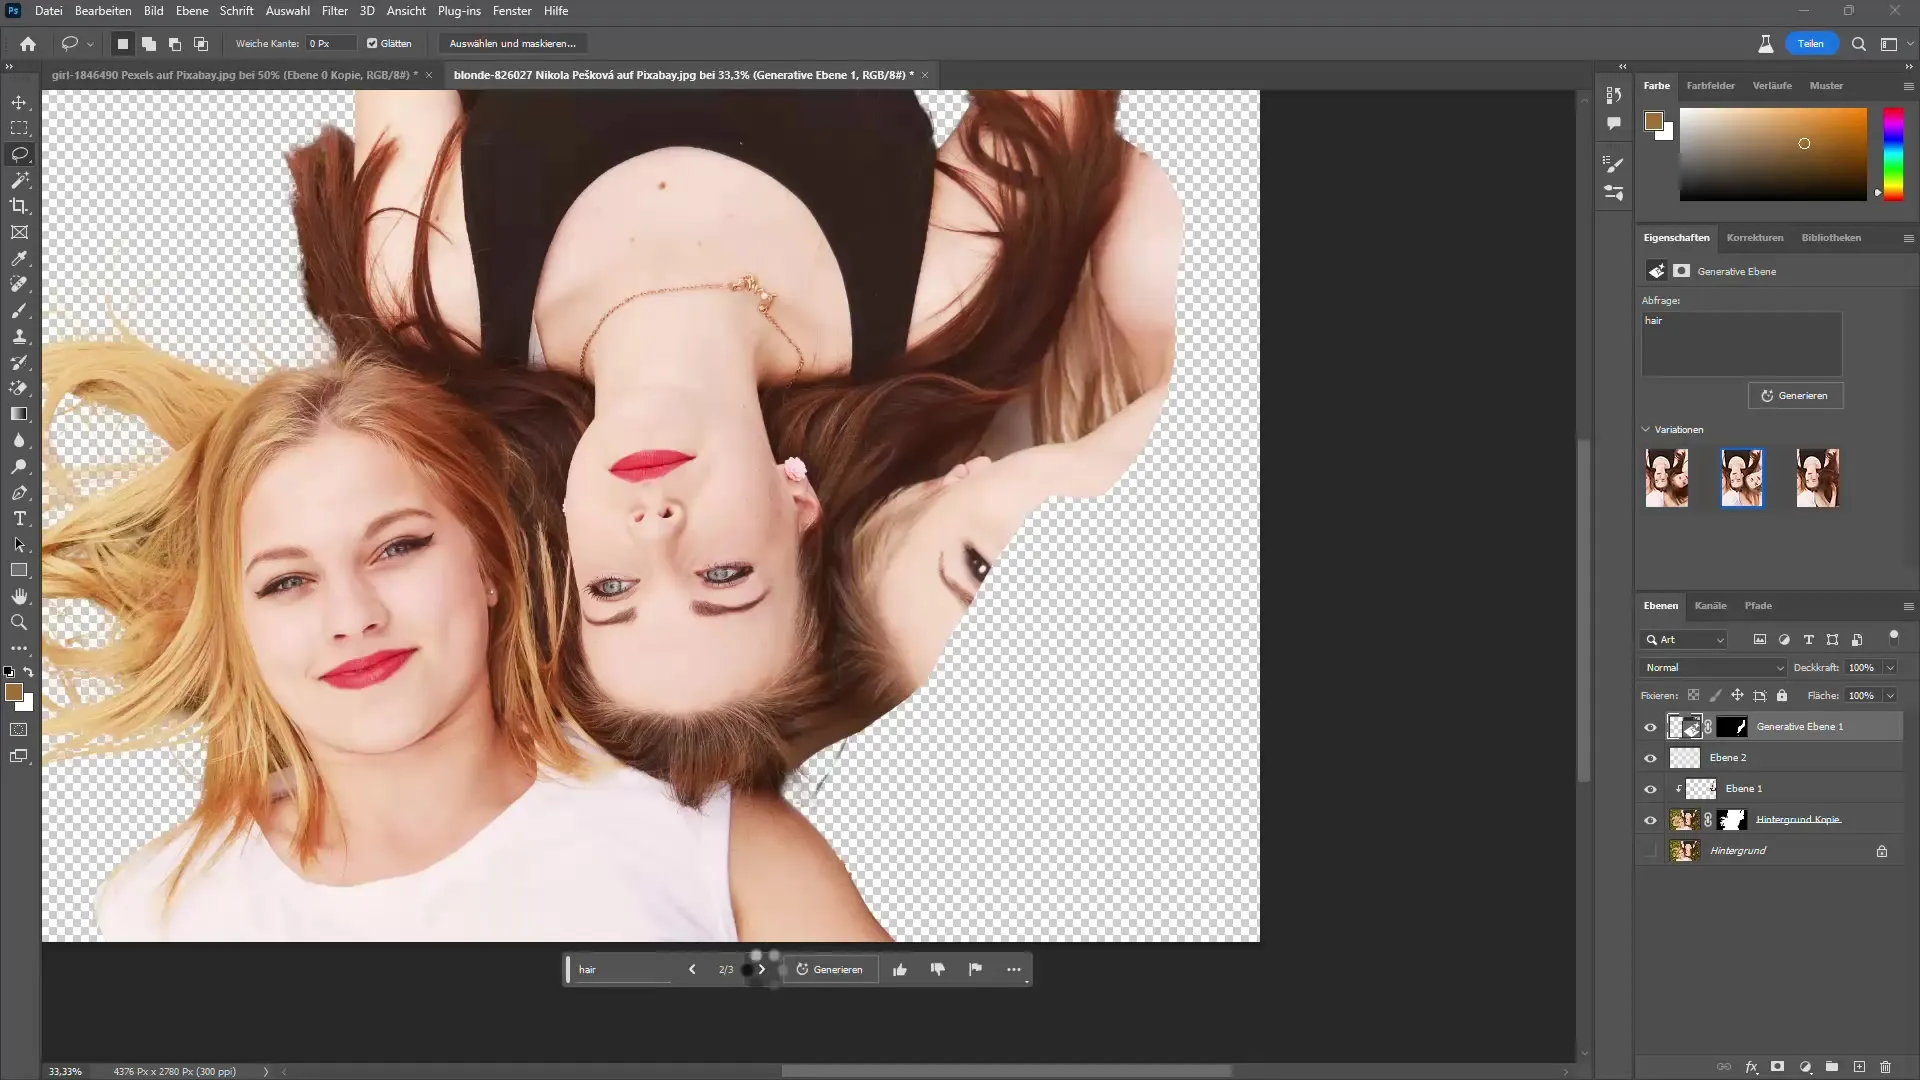
For complex backgrounds that transition fluidly with hair, such as a cat, use the "Refine Edge" tool. This will help you to precisely shape the edges.
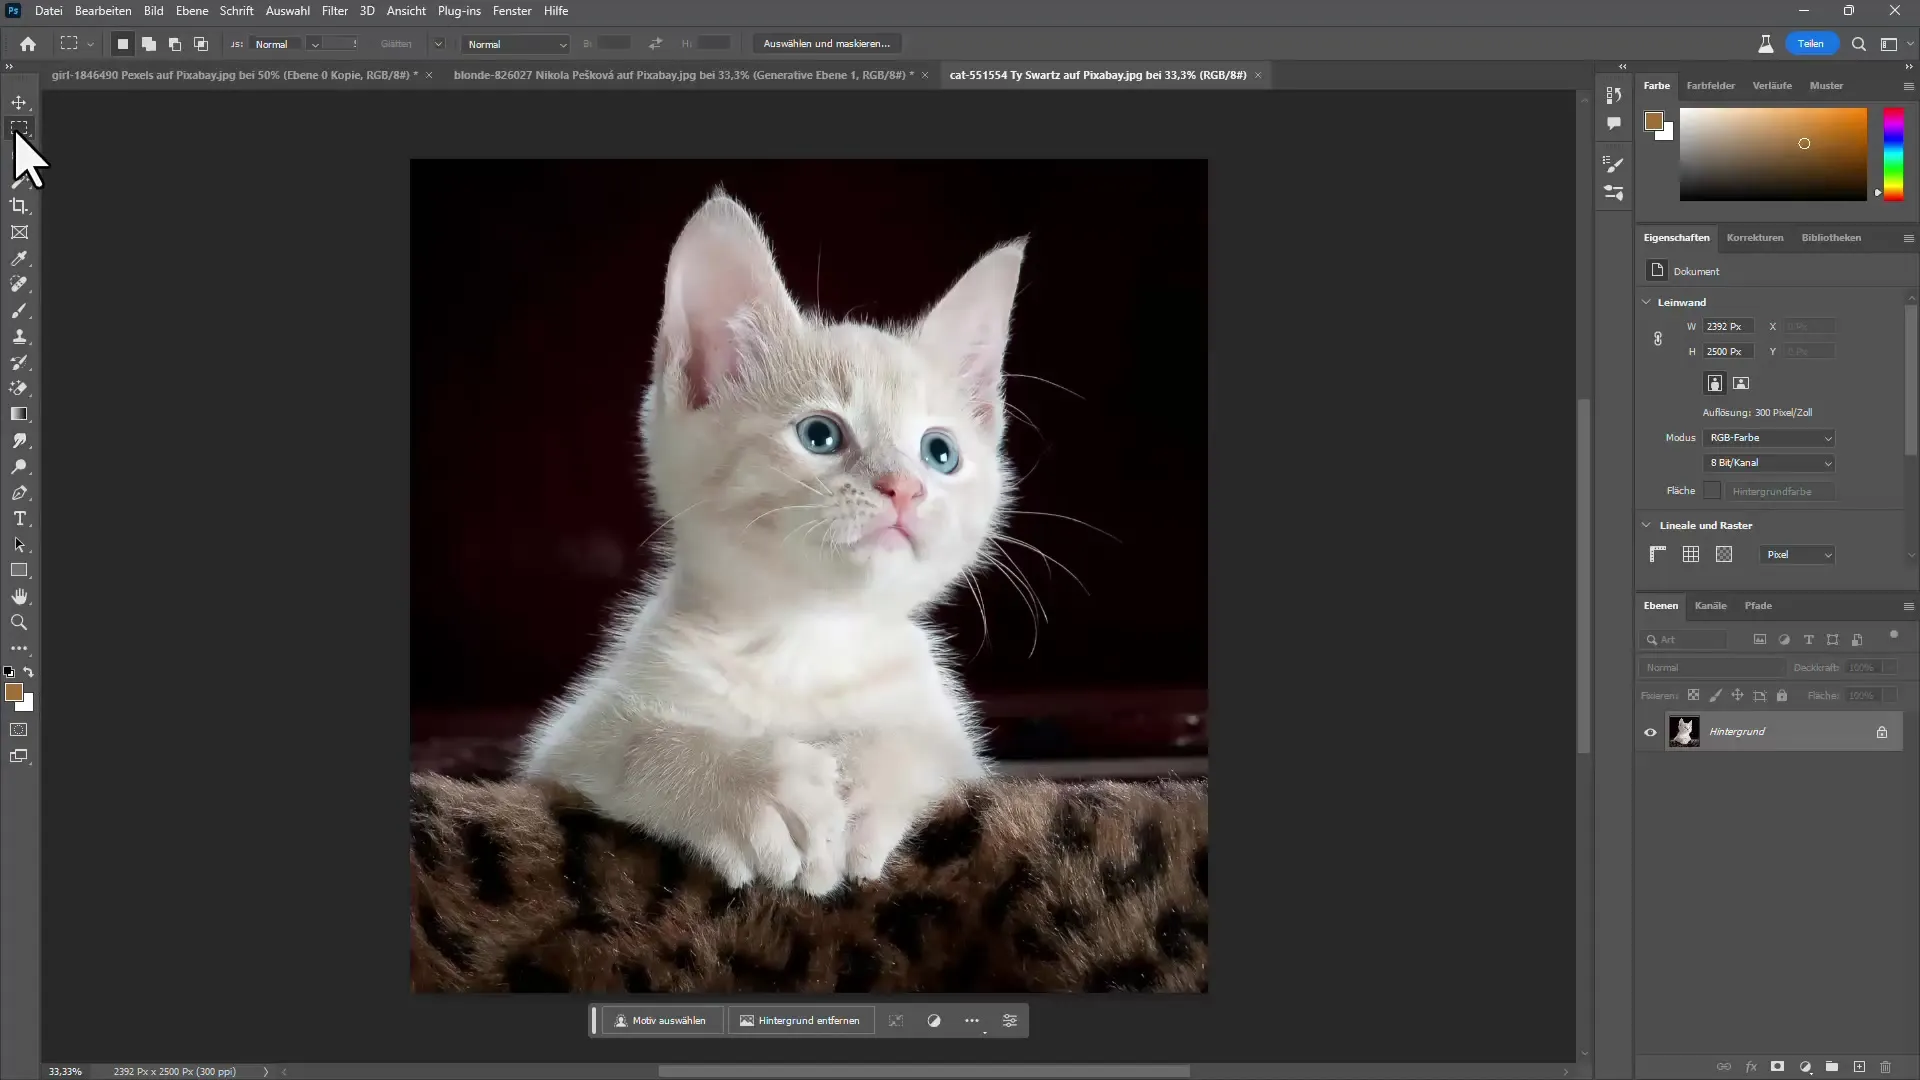
If you are working with more than one hair color, you can create different layer masks to include different colors. This will ensure a more natural appearance.
You can achieve the ultimate result by pasting the selection into a new layer with a gradient. This way, you can easily change the background and add more depth to your image.
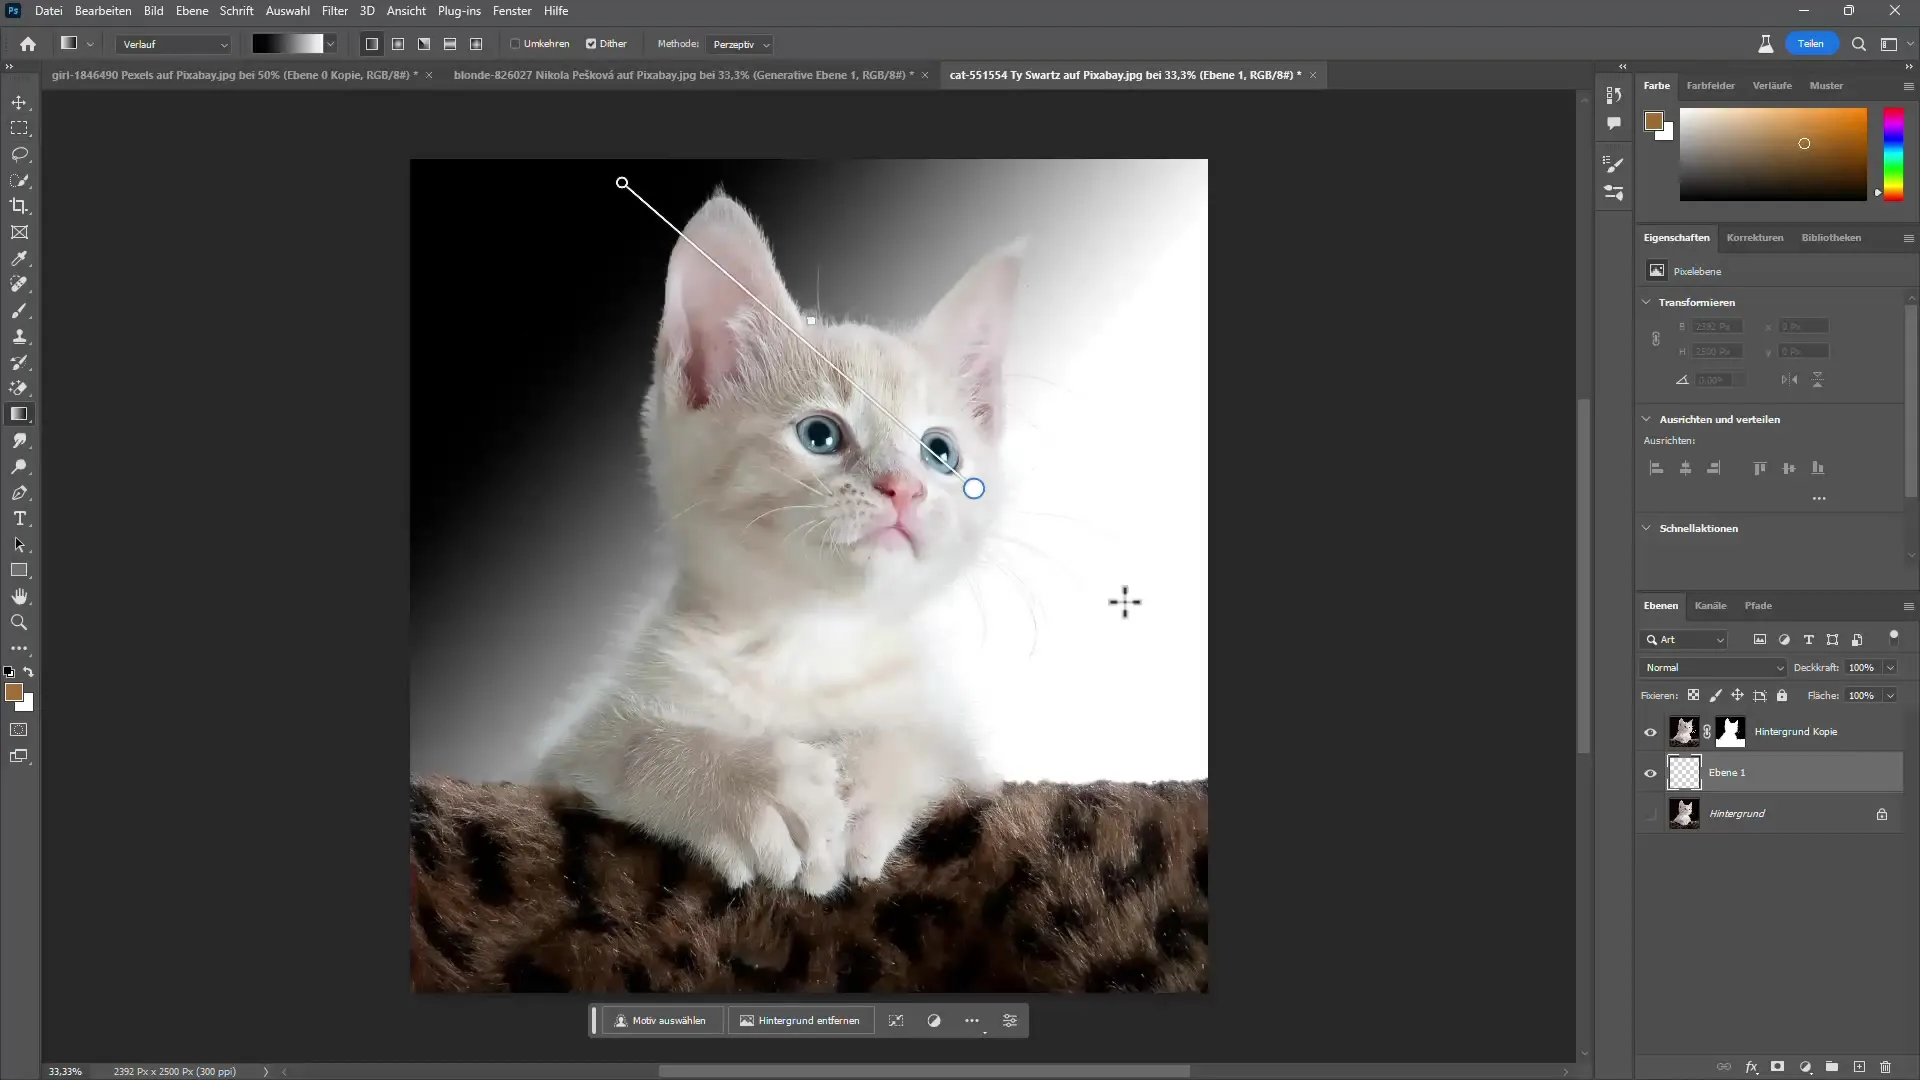
As you can see, the techniques for cutting out hair in Photoshop have become more accessible thanks to the new AI functionalities, allowing for high-quality results.
Summary
Freeing hair in Photoshop is easier than ever thanks to AI technologies. With the described methods and the right tools, you can successfully work on complex scenarios. Have fun trying it out!
What do I do if the AI selection is not correct?FAQ
How long does it take to cut out hair in Photoshop?The duration depends on the complexity of the image, but usually only takes a few minutes.
Can I further adjust my result?Yes, you can adjust and optimize the layer mask at any time.
What is the best method to enhance hair colors?The "Decontaminate Colors" function is excellent for removing unwanted color tones.
How can I correct inaccurate edges?Use the "Refine Edge" tool to manually refine the edges.
What do I do if the AI selection is not correct?You can remove the selection at any time by using "Select Subject" and refine it again.
