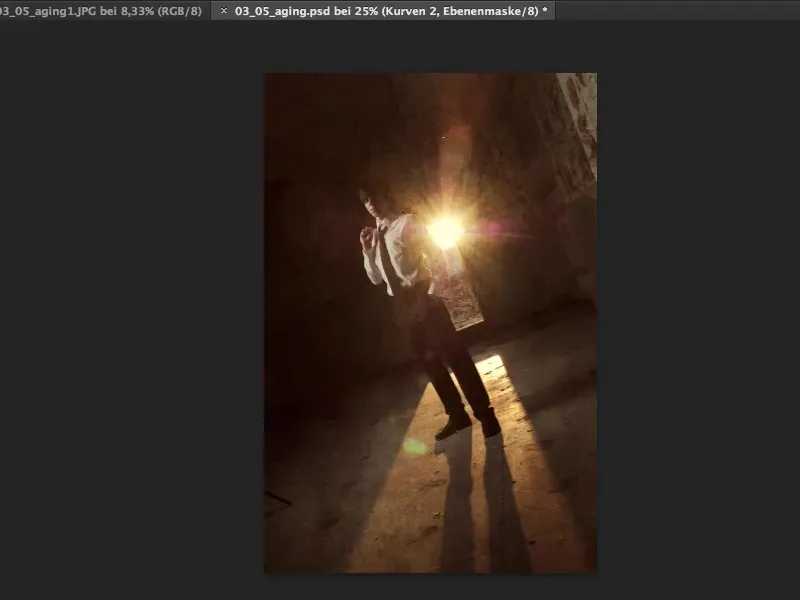
You like to digitally age normal photos. "Aging", translated into English? Then you've come to the right place.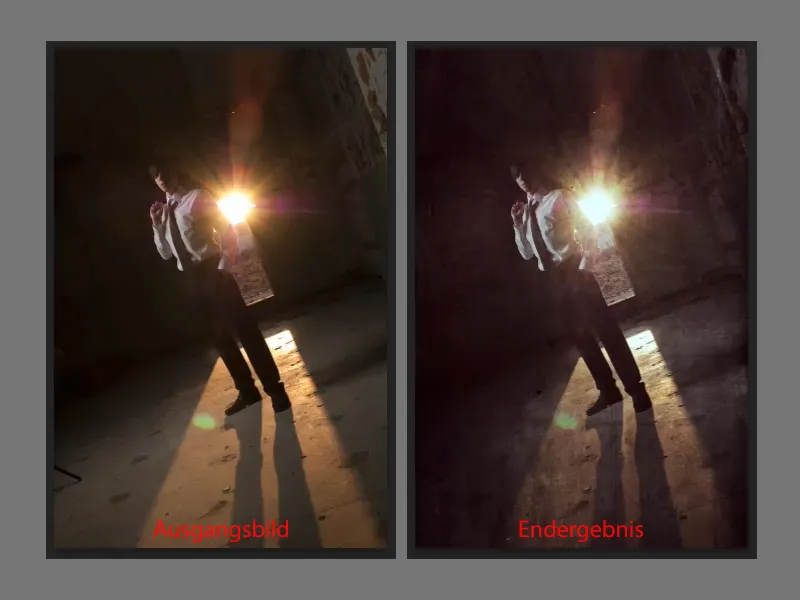
All you need for this aging look here are different textures. You can photograph them right outside your front door in five minutes. Go out into the street, you might not even have to go out, depending on what plaster you have on the walls. Take your camera and make sure the lighting is reasonably neutral. The best way to do this outdoors is with a cloudy sky, which is the biggest, most beautiful softbox that our lives will ever provide us with: the cloudy sky.
Photograph such textures, directly, beautifully frontal, little light, few shadows, as many shades of gray as possible, which is ideal for aging. The more of these textures you have, the more flexible you are. Gradually, you will quickly build up a large collection of aging textures, which you can of course also use for backgrounds in Photoshop composings.
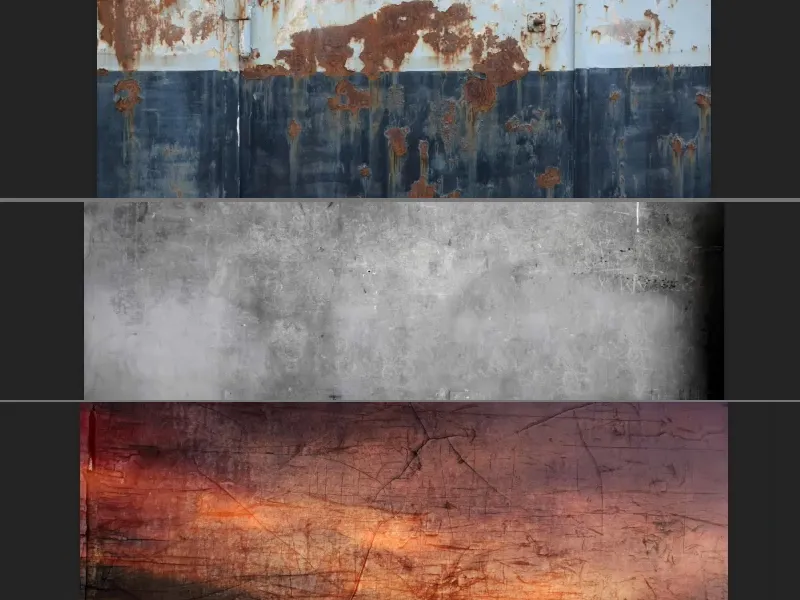
So how does this aging work? All you have to do is cut something out of these backgrounds or apply them completely to your image. This is now in color. I'll select it completely with Command + A (Ctrl + A), cut it out with Command + X (Ctrl + X) and close the document, because I won't need this anymore.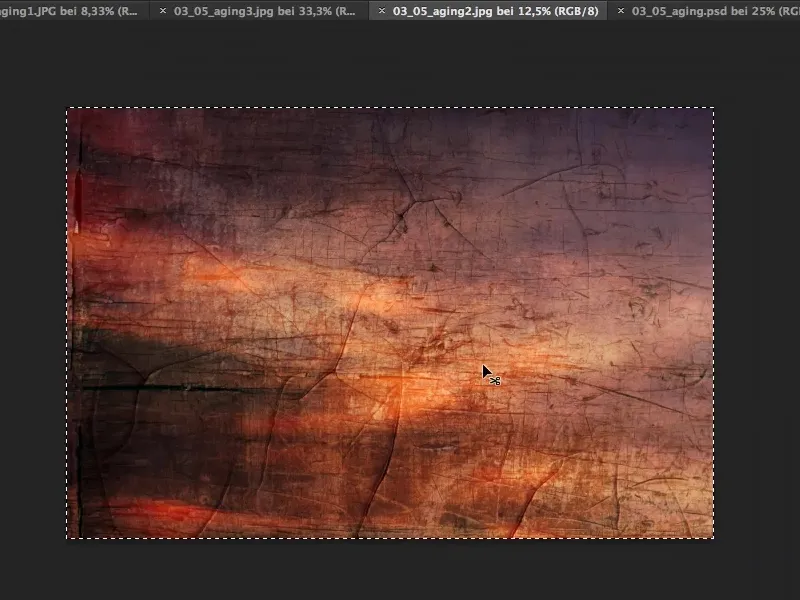
I go to my aging file (1) and insert the texture using Command + V (Ctrl + V). Now I have this thing here in the picture (2). I can use Command + T (Ctrl + T) to make it a bit smaller. Alternatively, I could also use Place.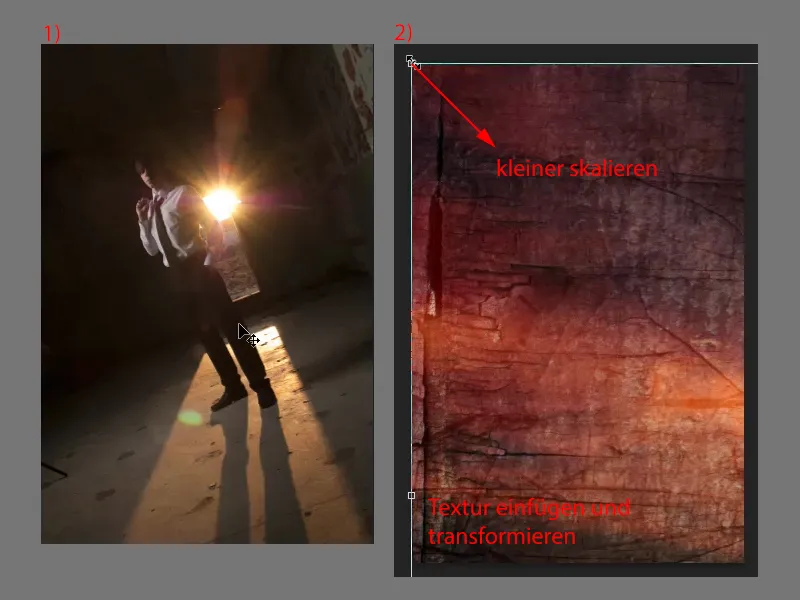
But this gives me the opportunity to say how I want to apply this structure to the image. I'm a bit more flexible here and can rotate, ...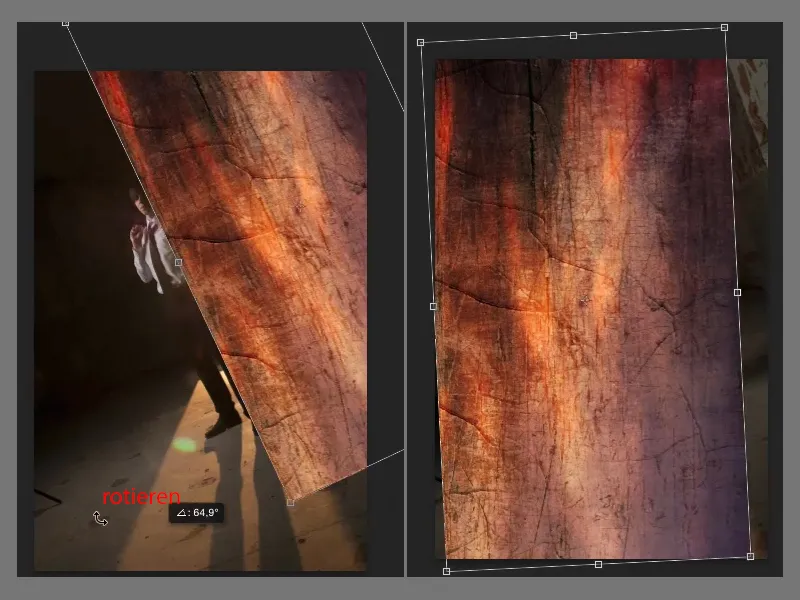
... deform the image with the handles, ...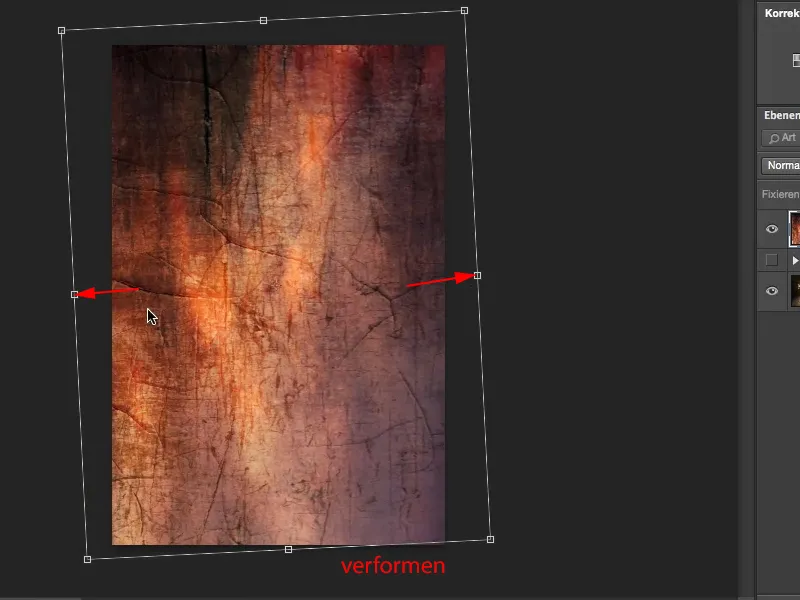
... until I have it the way I want it. It looks really cool like this. I confirm this with the Enter key. (Note: You can decide for yourself exactly how you want to place the texture over the image).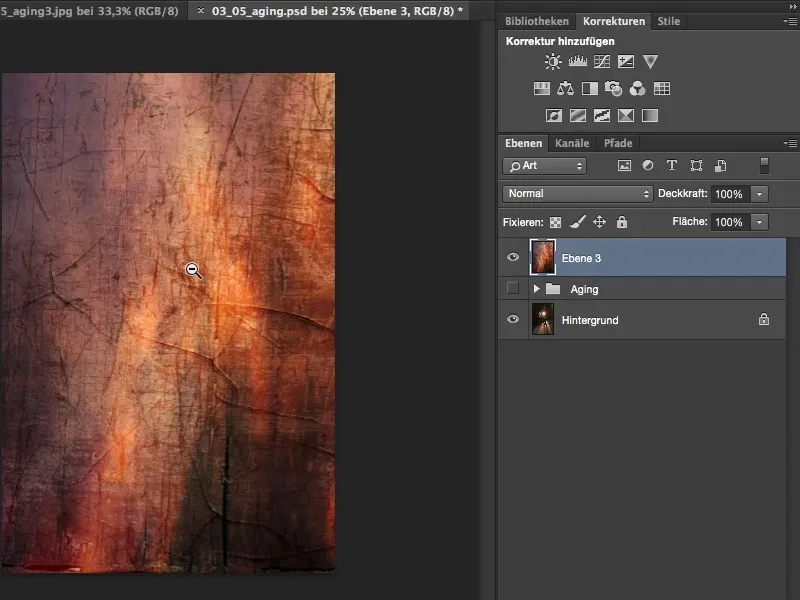
Now I have color here. If I set this to soft light mode, then of course I also get an extreme color shift. If I want to have the color shift here in the picture when aging, then it's okay.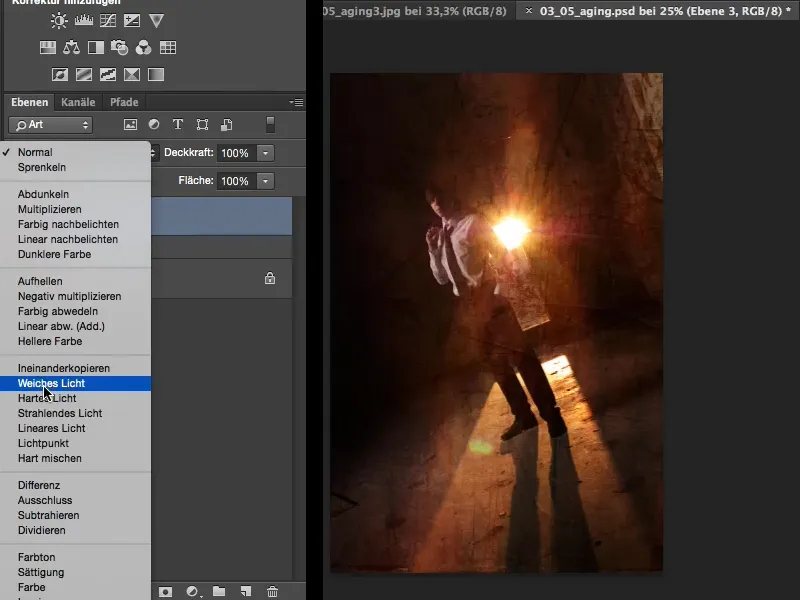
I don't like it at all in this case. So I go up here to Image>Corrections>Reduce Saturation. This removes the color from this aging texture, i.e. my original color shows through here, and now I only have the structure here on the image.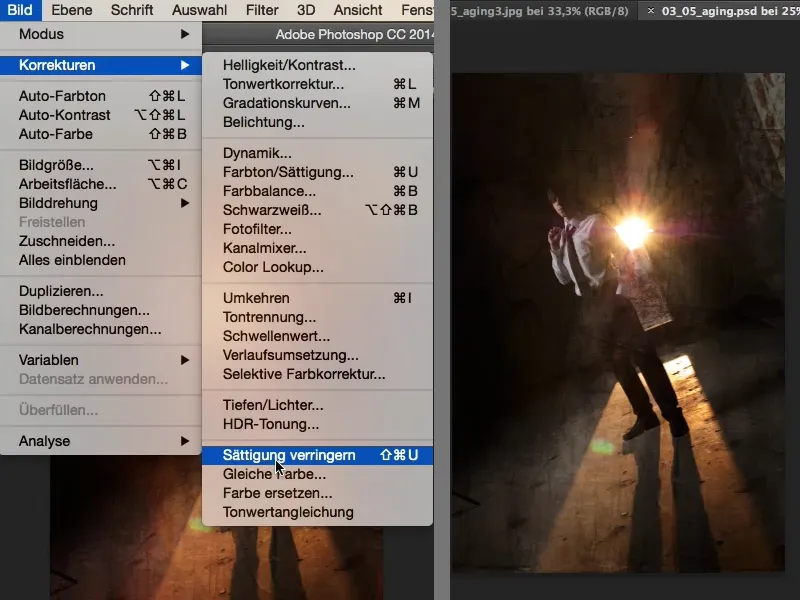
The whole thing is a bit too powerful for me, so I reduce the opacity to 50%. I'll zoom in a little closer so that you can see what's happening here. It looks a bit like there are creases, cracks, all sorts of things in the picture, and that's exactly what aging is all about.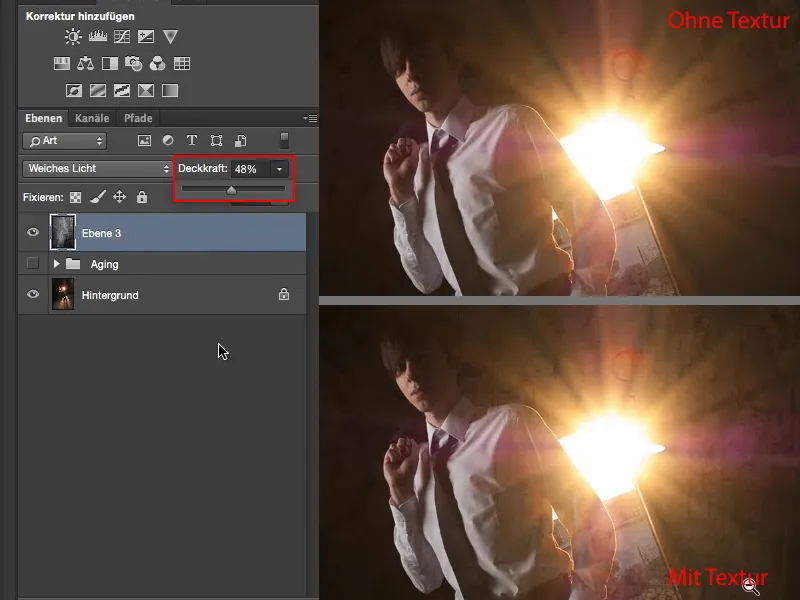
I'm playing the same game here. The whole thing is a bit too big, so I'll take the selection rectangle tool (M key) and pull out a portrait format. Command + X (Ctrl + X) for cut and Command + W (Ctrl + W) for close document.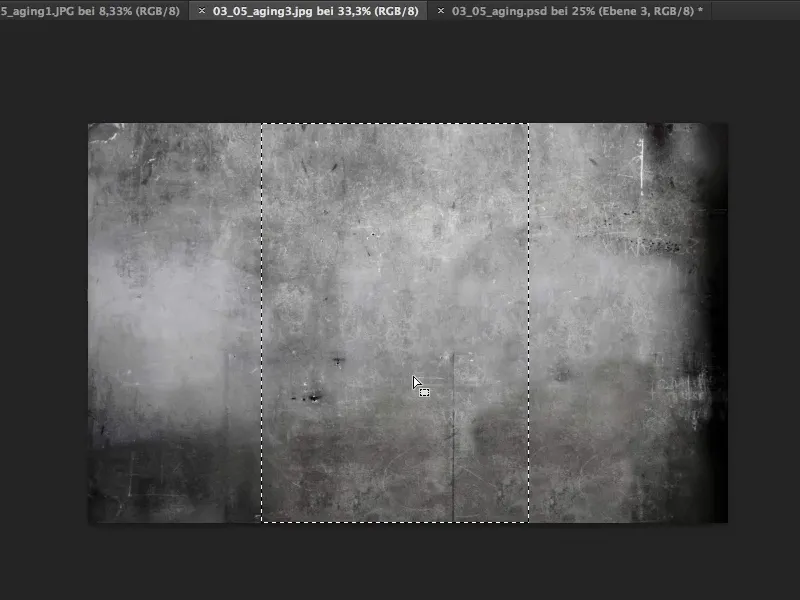
And then I can paste it at the top of the layer stack (1). This is already a relatively desaturated texture, so I don't think I'll get any more color shift. I set the layer to Soft Light (2) and see that it's just right, there's not much shift.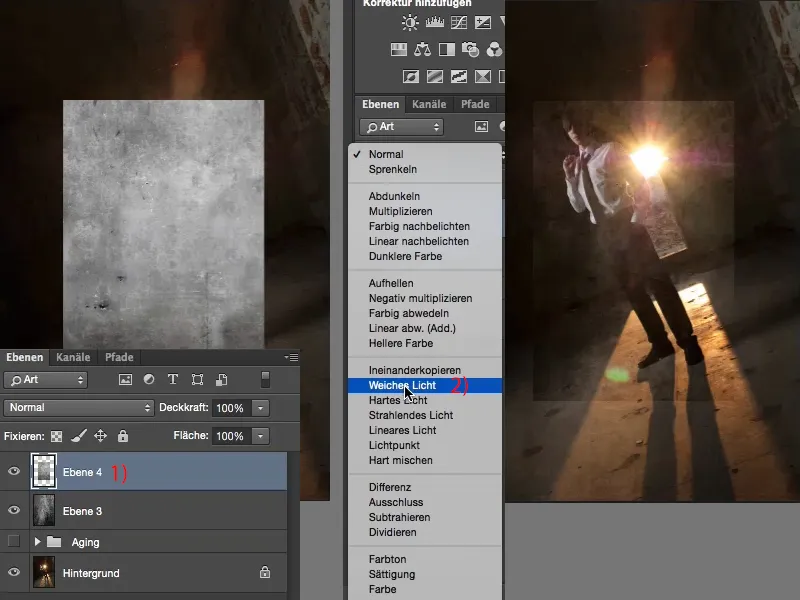
It's a bit dull, so I'll try copying one into the other (1). And lo and behold: it fits in harmoniously here (2). Free transform (3), which you can find above under Edit, or you can use the shortcut Command + T (Ctrl + T). I'll now use this to bring it into position here ...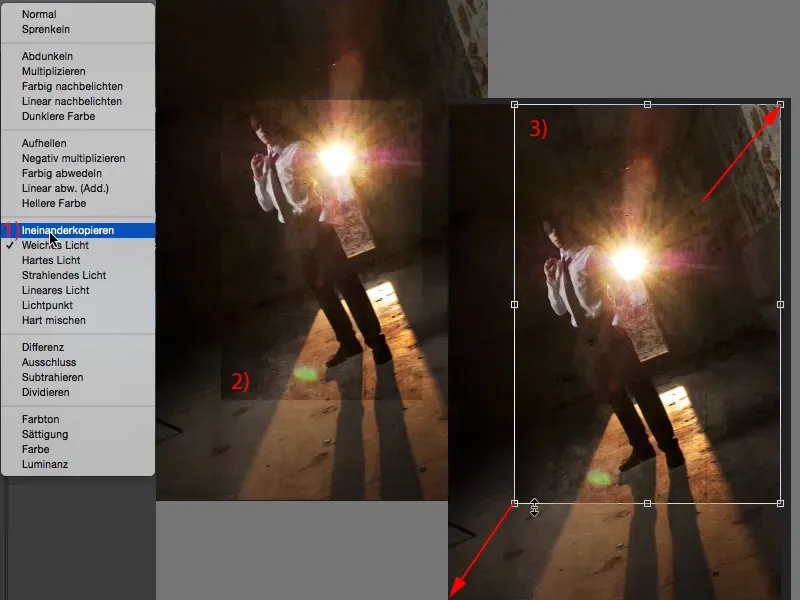
... and confirm the whole thing again. Here, too, I can use the opacity a little so that it doesn't look quite so much like a texture overlay.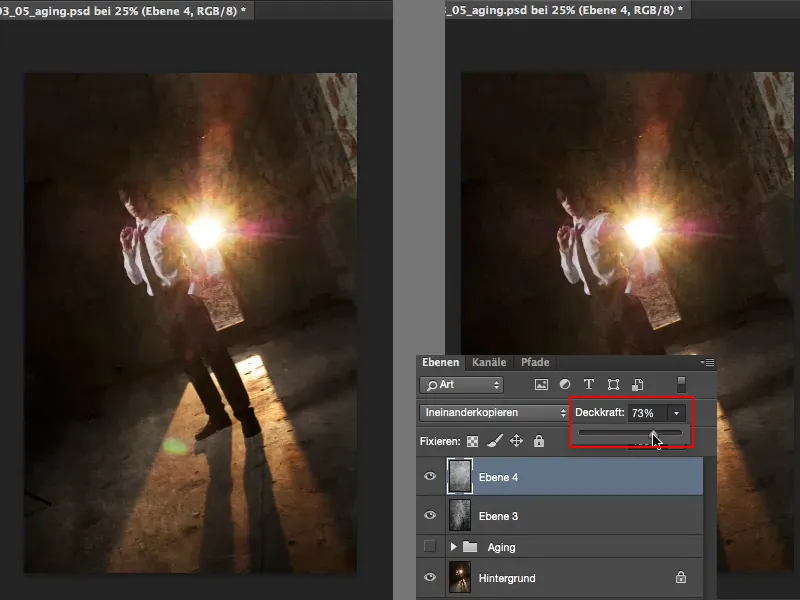
Then I have to think about it: What characterizes an old photo? An old photo usually has a color cast. Color casts ring a bell with every image editor: cross-looks. So I probably need another adjustment layer here:
First of all, I want to reduce the color a bit. To do this, I'll take (1) a black and white adjustment layer and simply reduce the opacity a little (2), to 24%, because the old photos no longer have any bright colors in them, and the sun is far too intense. I have to tone down the color on the picture globally.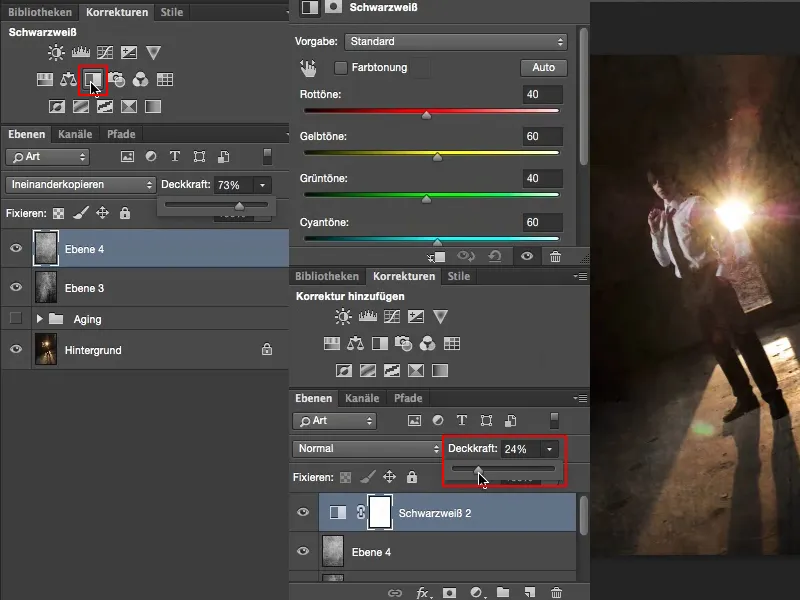
And now I need a little color cast. To do this, I'll use an adjustment layer of the type Gradation Curves (1). I'll close this window here (2) and drag downwards at (3) so that there's a bit more space. Then I go to the individual channels at the top and select Red (4).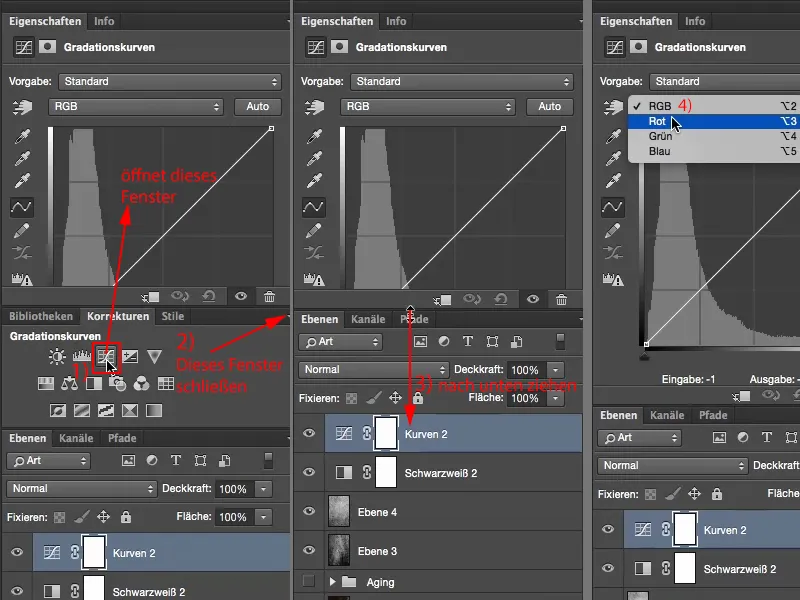
Most of the time, the old images have a bit of a red cast, a bit of a yellow cast. So I go up a little here (1) in the red curve and get this red color cast in my image here (2).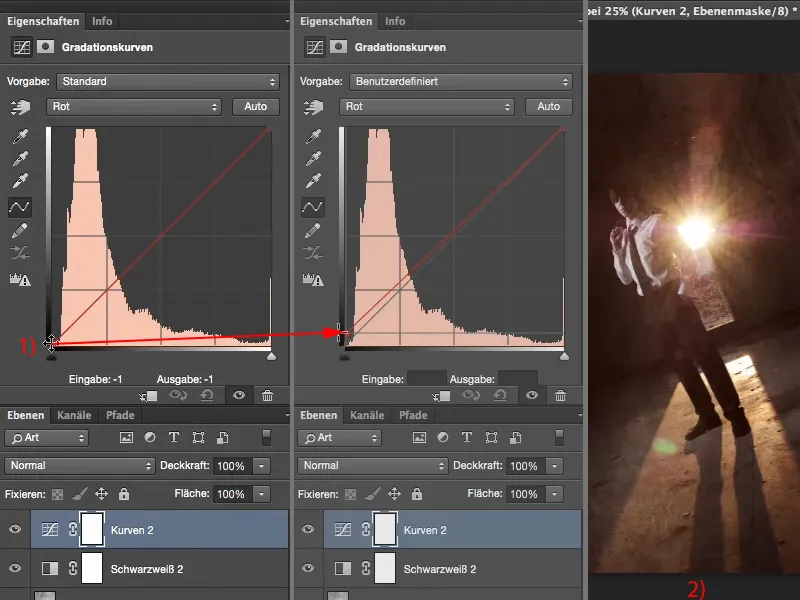
Then I go here (1) to blue and pull the highlights at blue (2) a little into yellow (3). I've already got that sepia-like touch (4) that characterizes such an old picture.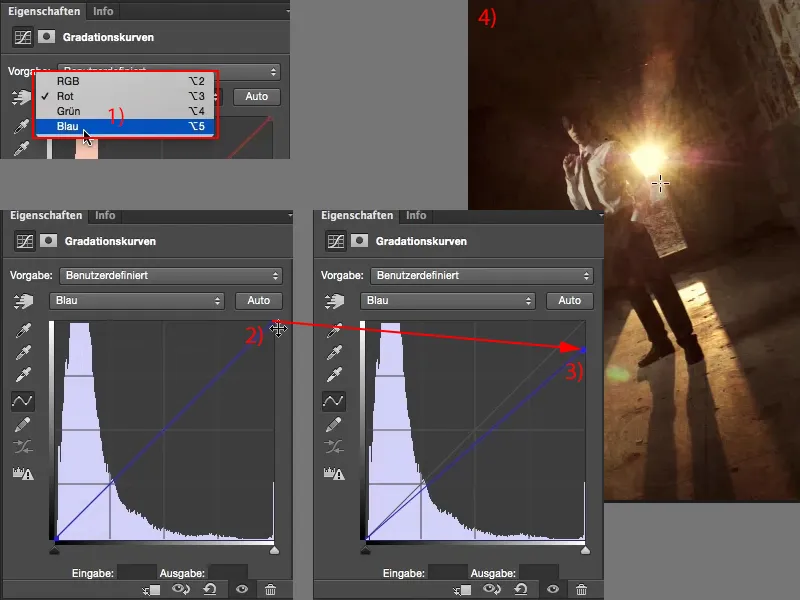
So these are the different stages when I want to do aging. I have to play around a bit with textures. If I don't want to get a color shift here, then you have to desaturate the whole thing first. Whether you do this via an adjustment layer on the individual texture layers or destructively via Image Corrections>Reduce Saturation is entirely up to you.
Last but not least, you need a black and white adjustment layer to reduce the saturation of your normally relatively well-saturated original image, because old photos are naturally not that saturated. And last but not least, you should give your aging photo a little touch of color, a slight cross-shift, and then you have perfected this aging look.